Gkiokan.NETGkiokan.NET
// SYSTEM_READY
02.

Building the NEW Trinity

// TAGS
korgtrinitysynthmusicrebuildhardwarediypimpmykorg
~ / Home / blog / building-the-new-trinity

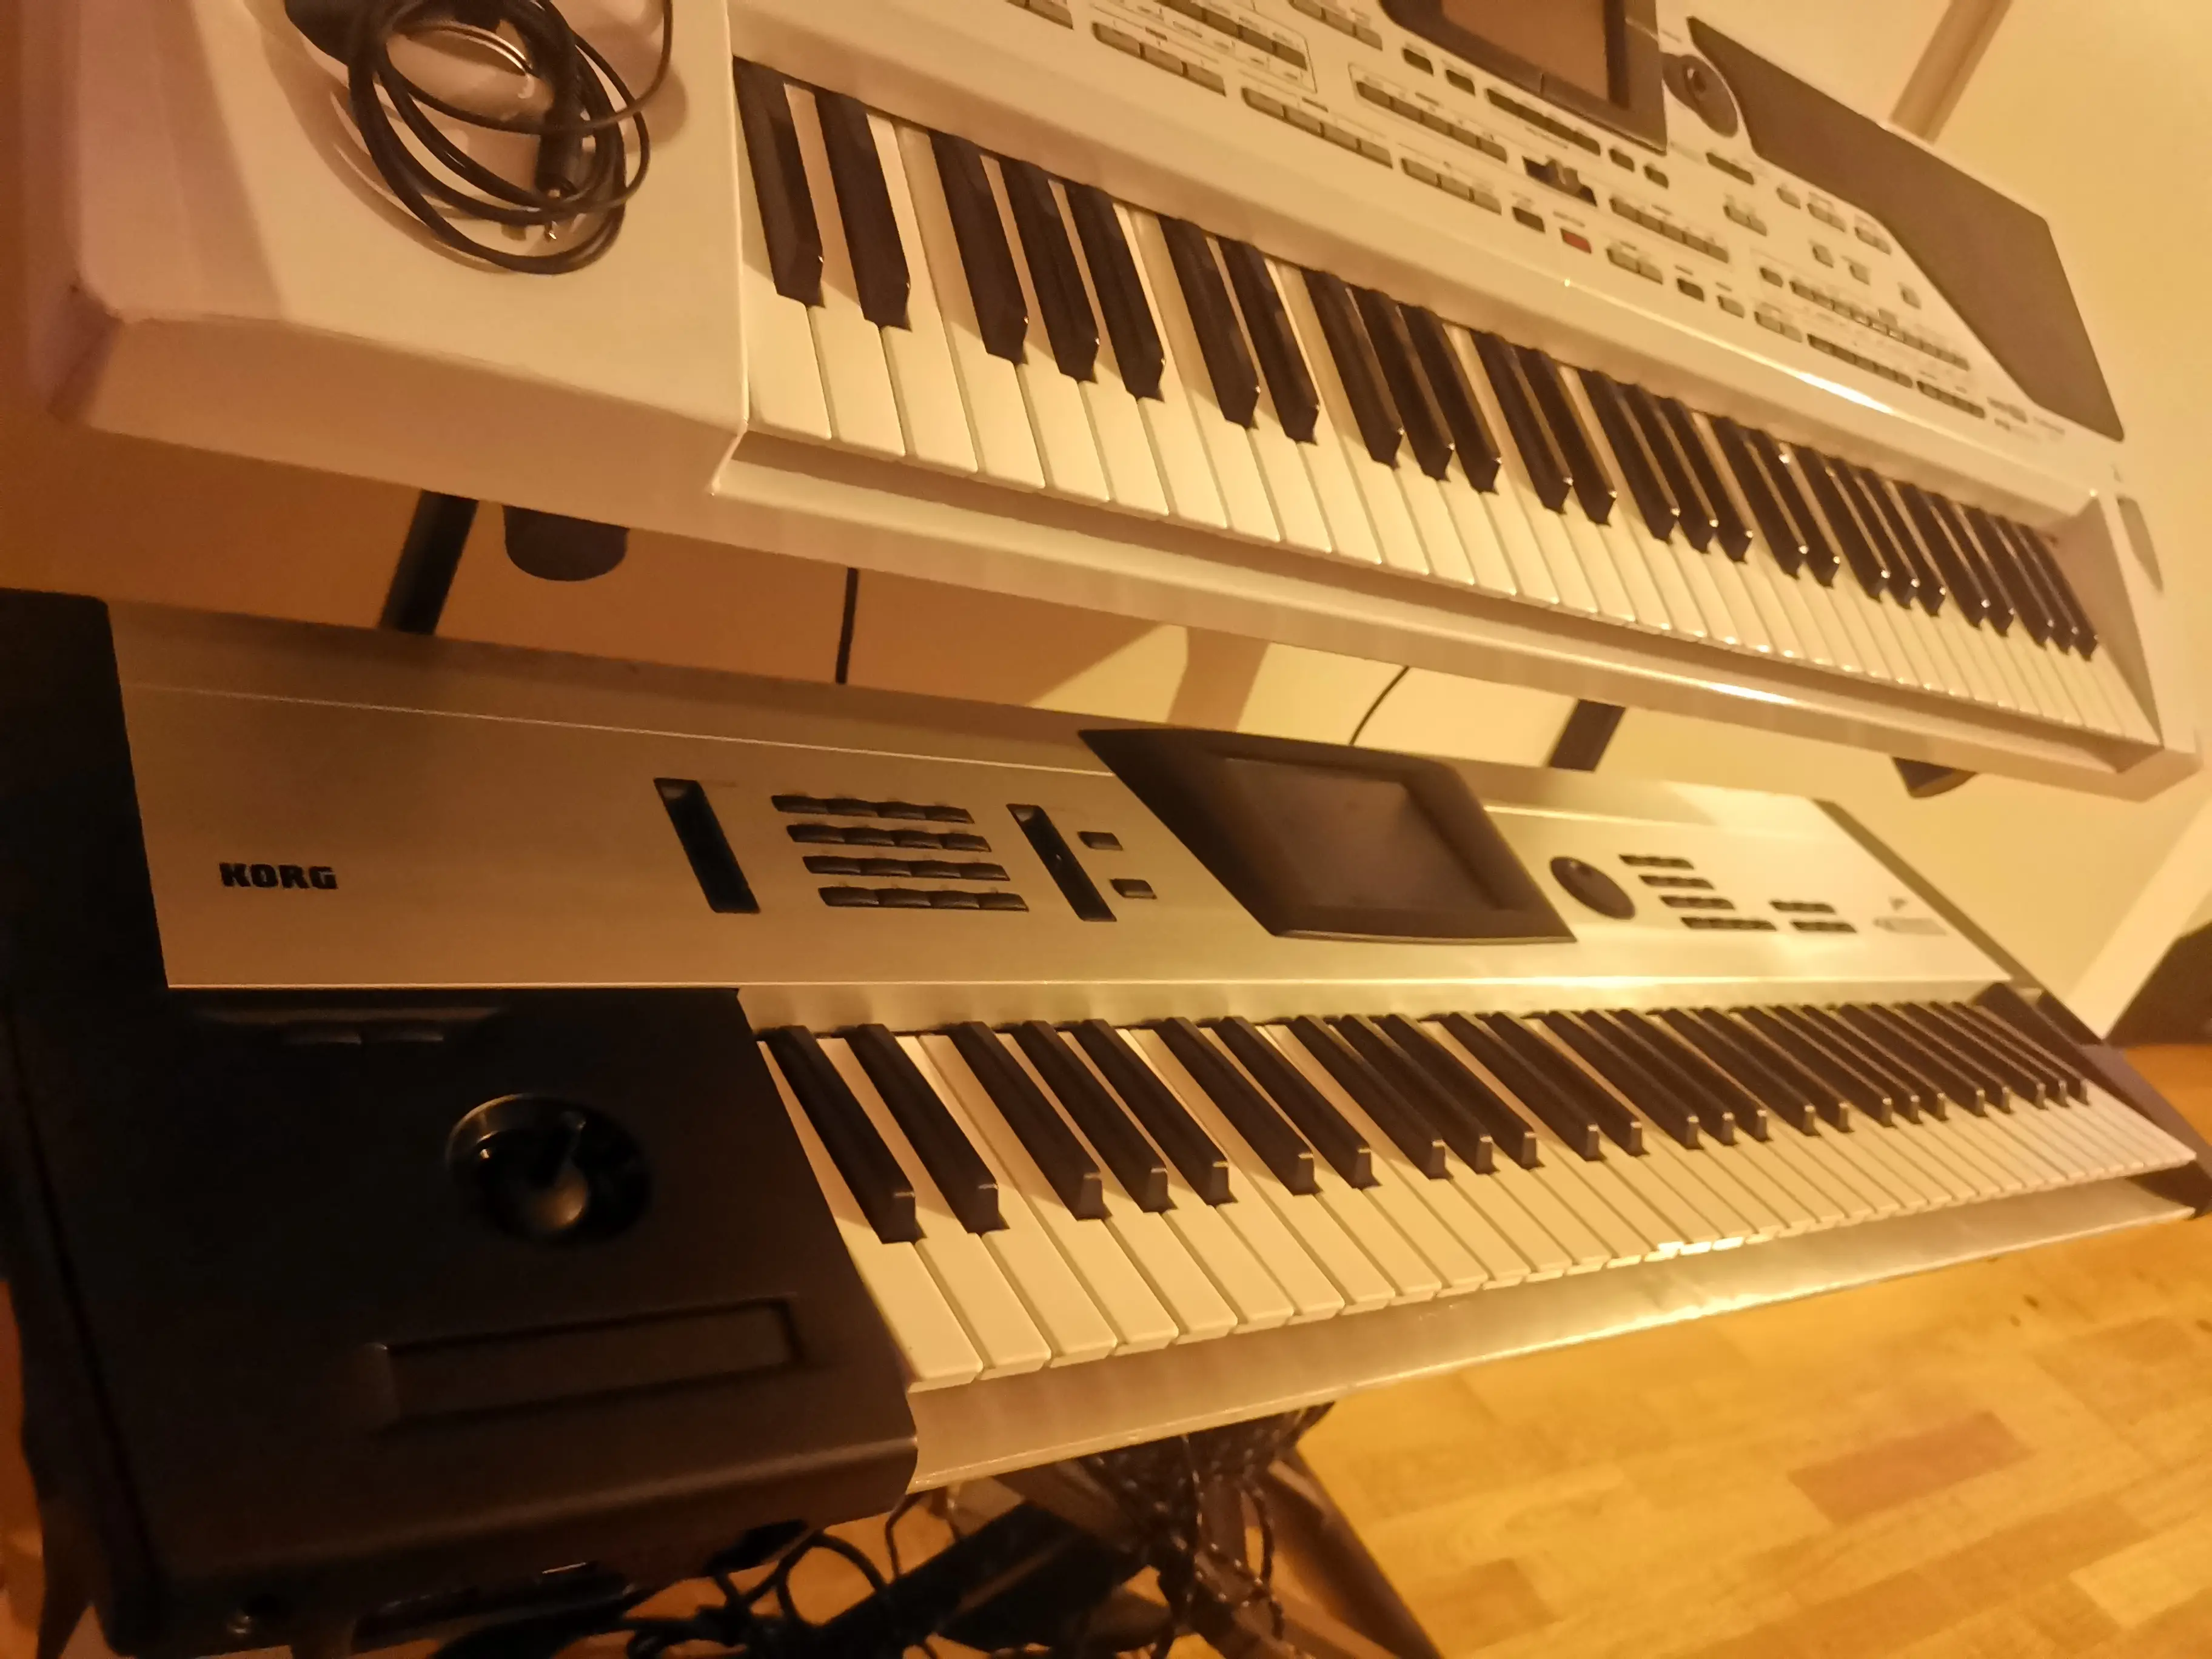
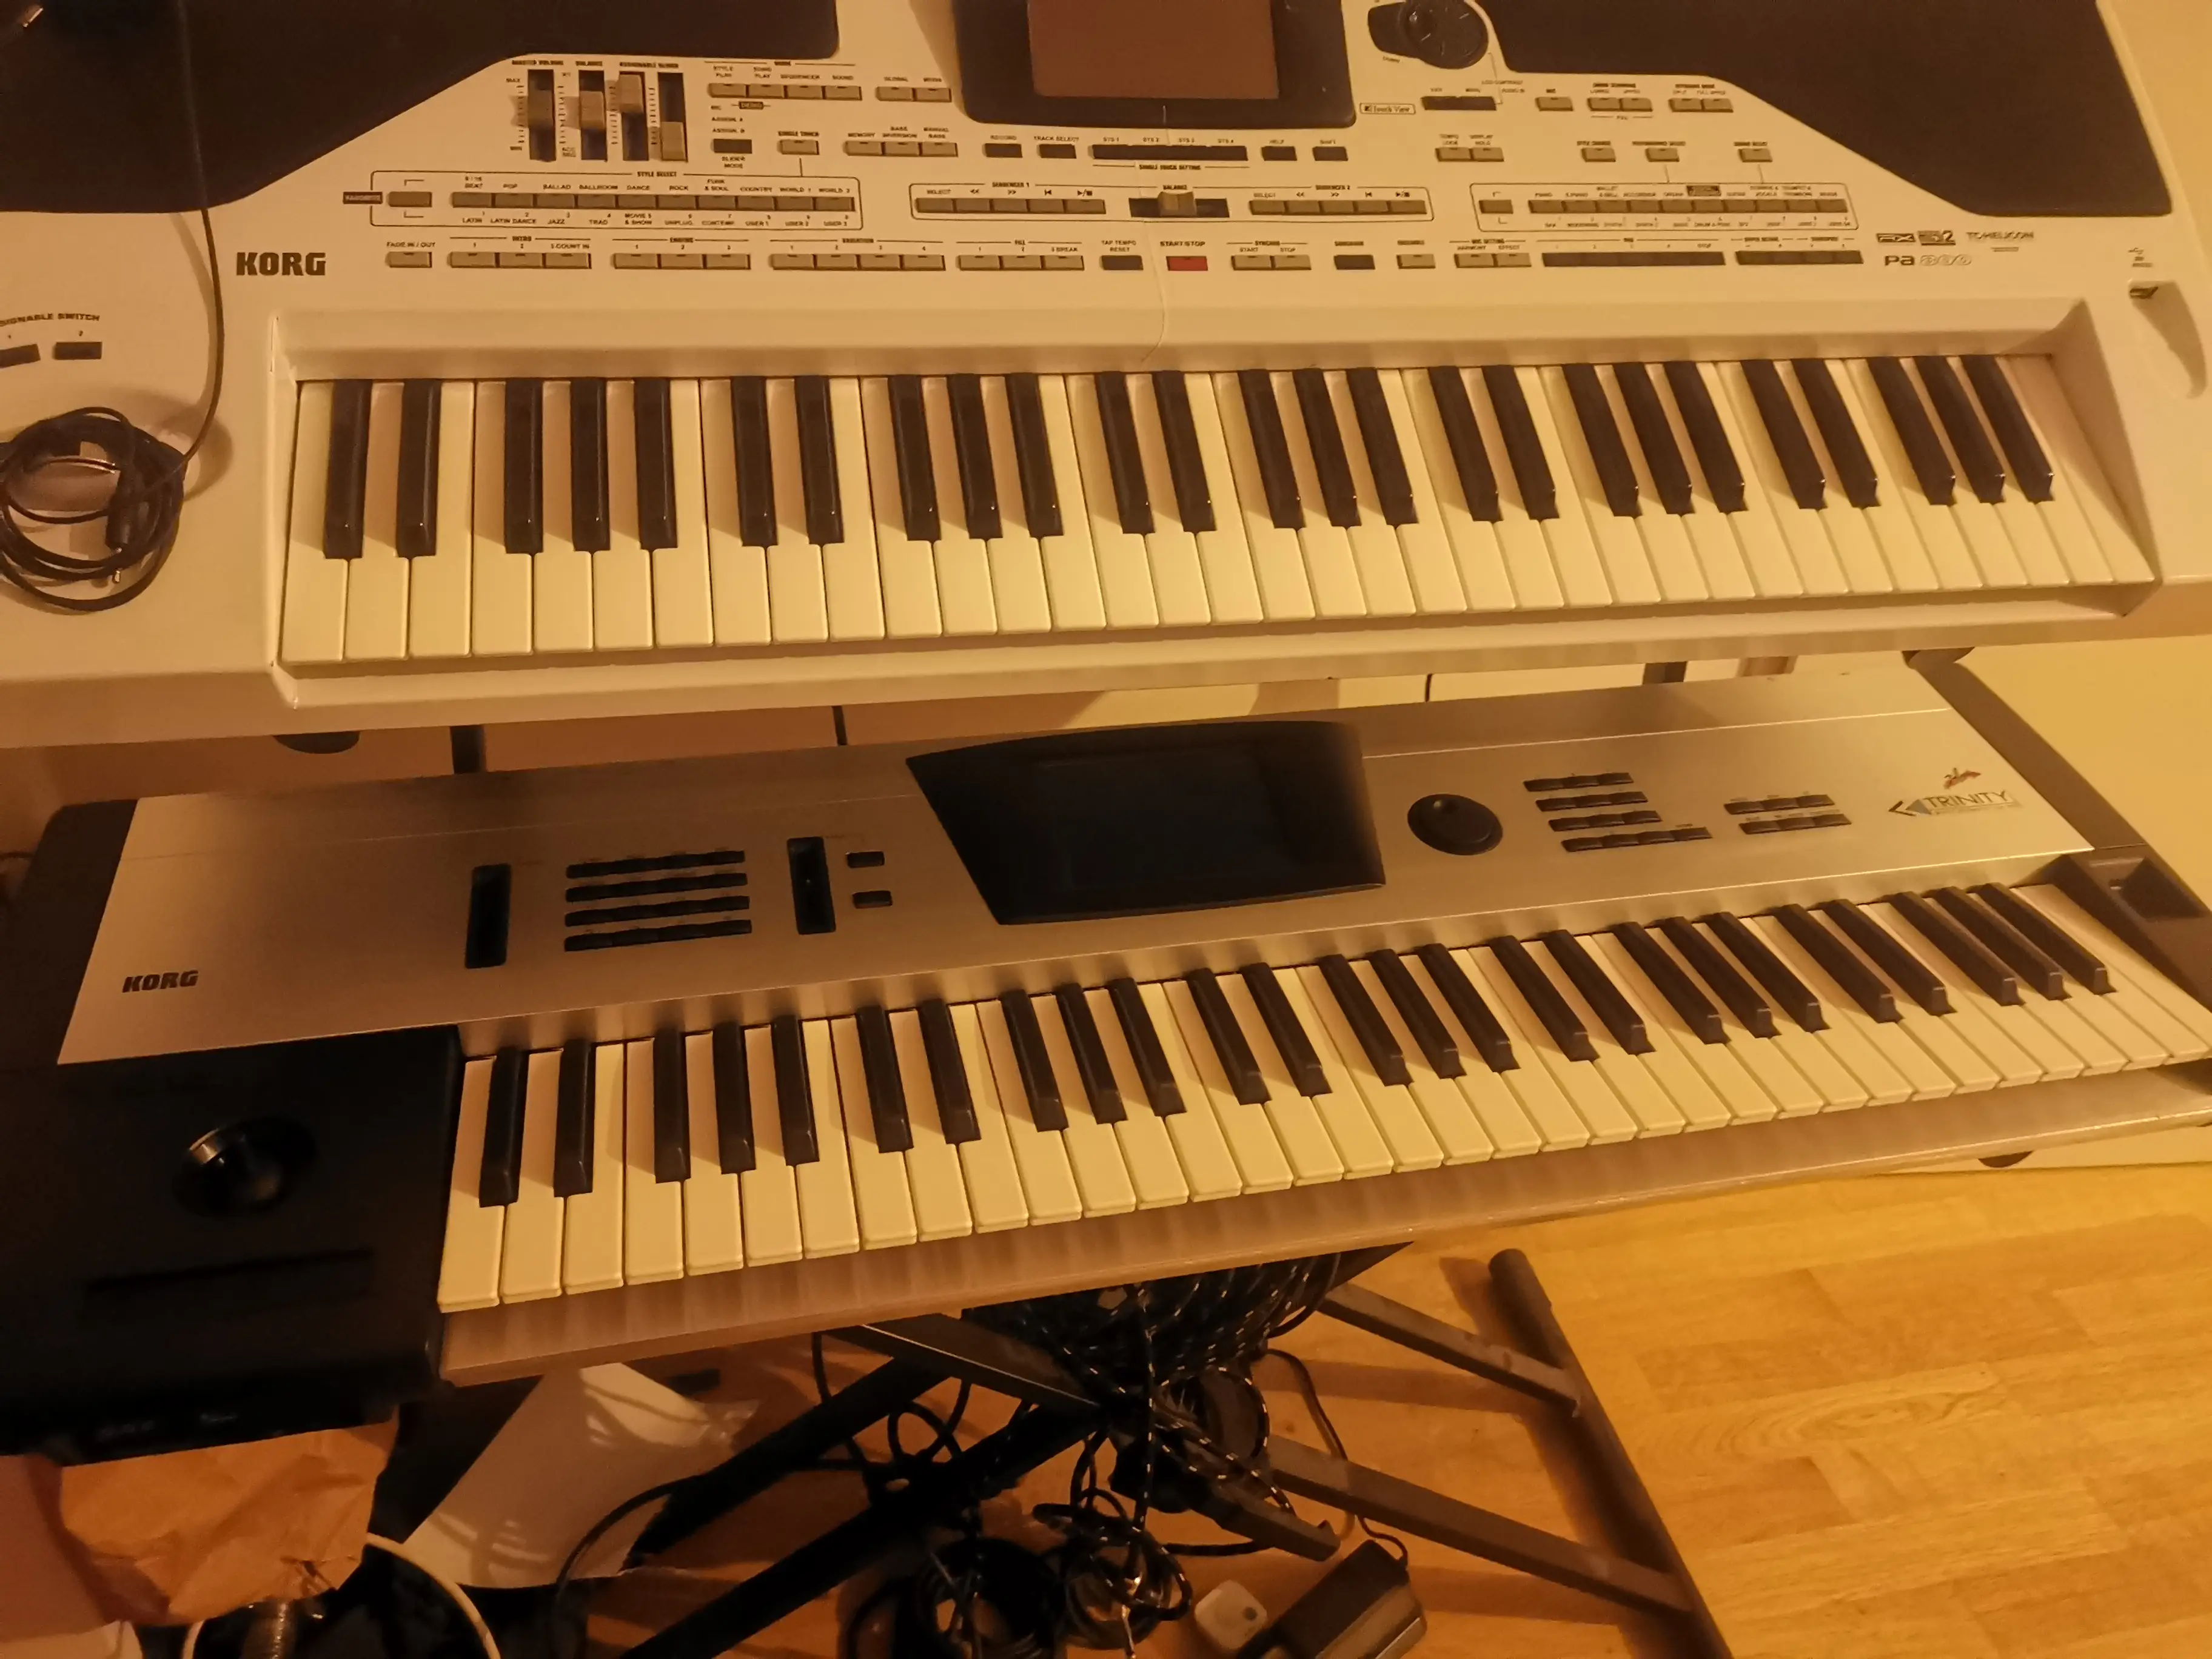
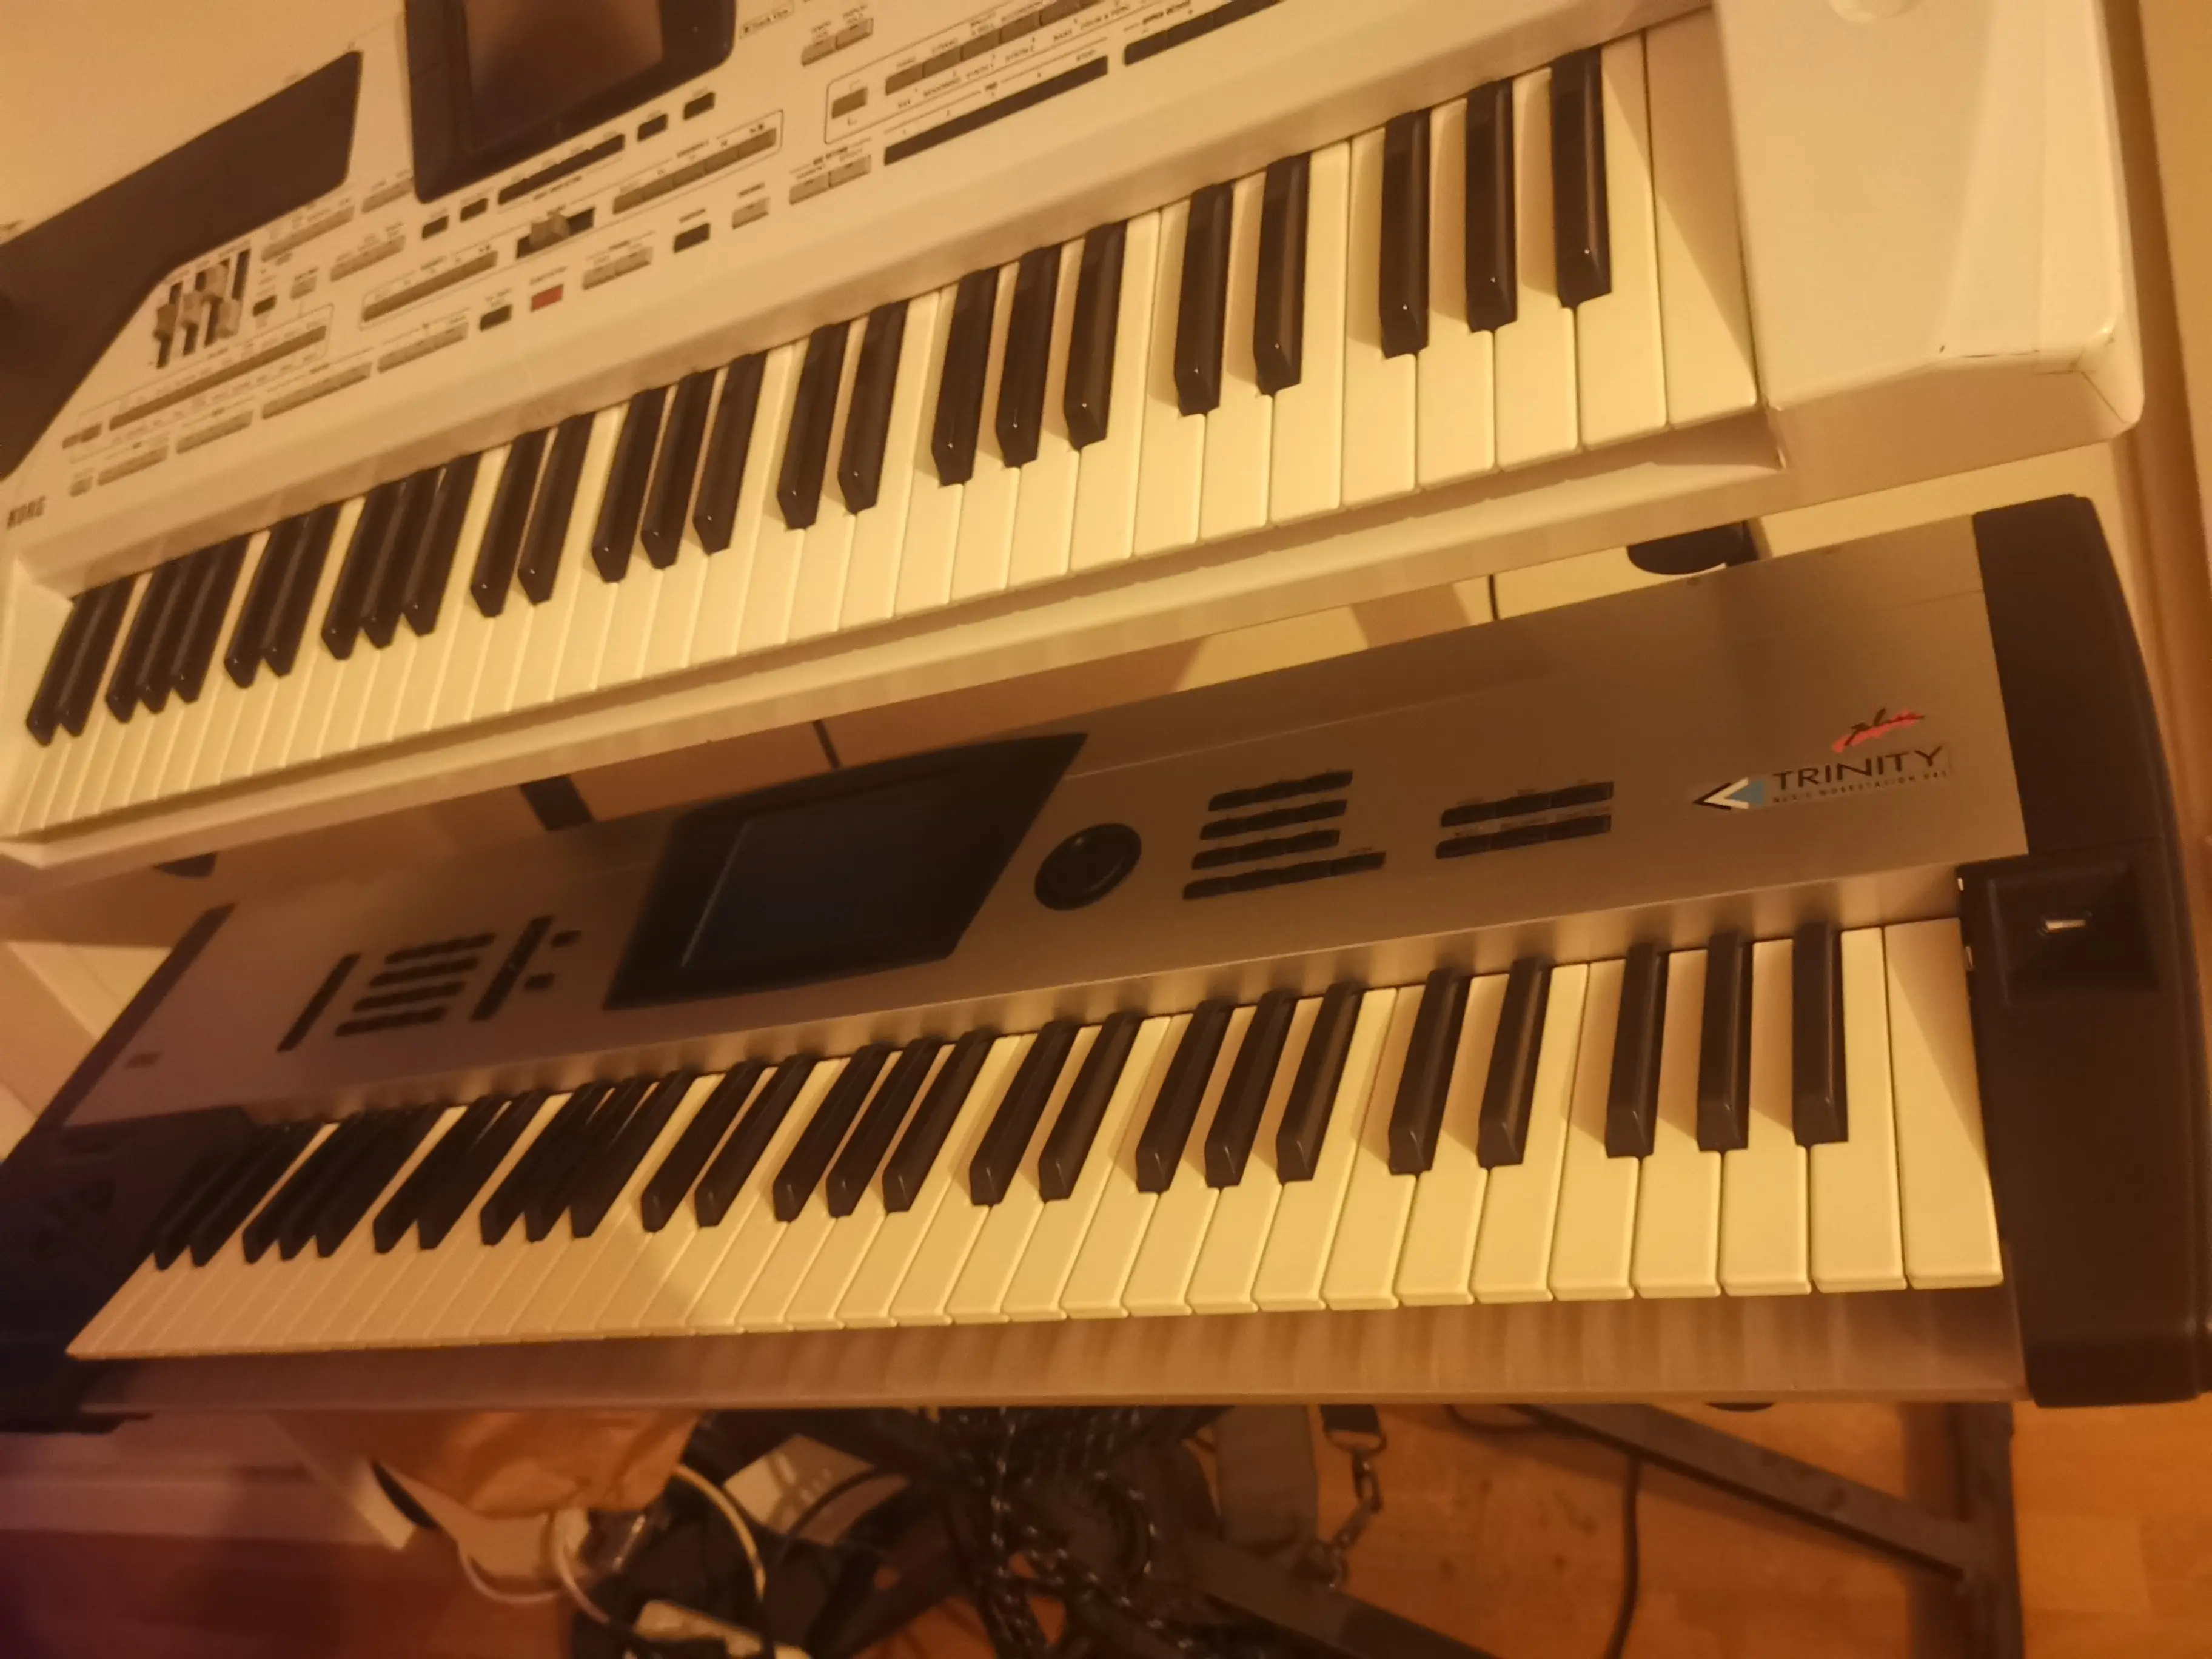
KORG Trinity in it’s new look.

The KORG Trinity has been released in 1995. It is still heavly used in the Balkans and Eastern World Countries.

Mine came a long way, too. It was in a kinda bad condition. Buttons not working, Keys are hammering, cracks on the Chasis, disk drive not working, some cratchy sounds when you plug in your audio cables.

This is the full build log. If you only want to see the result, have a look at the NEW Trinity snapshot.

First steps

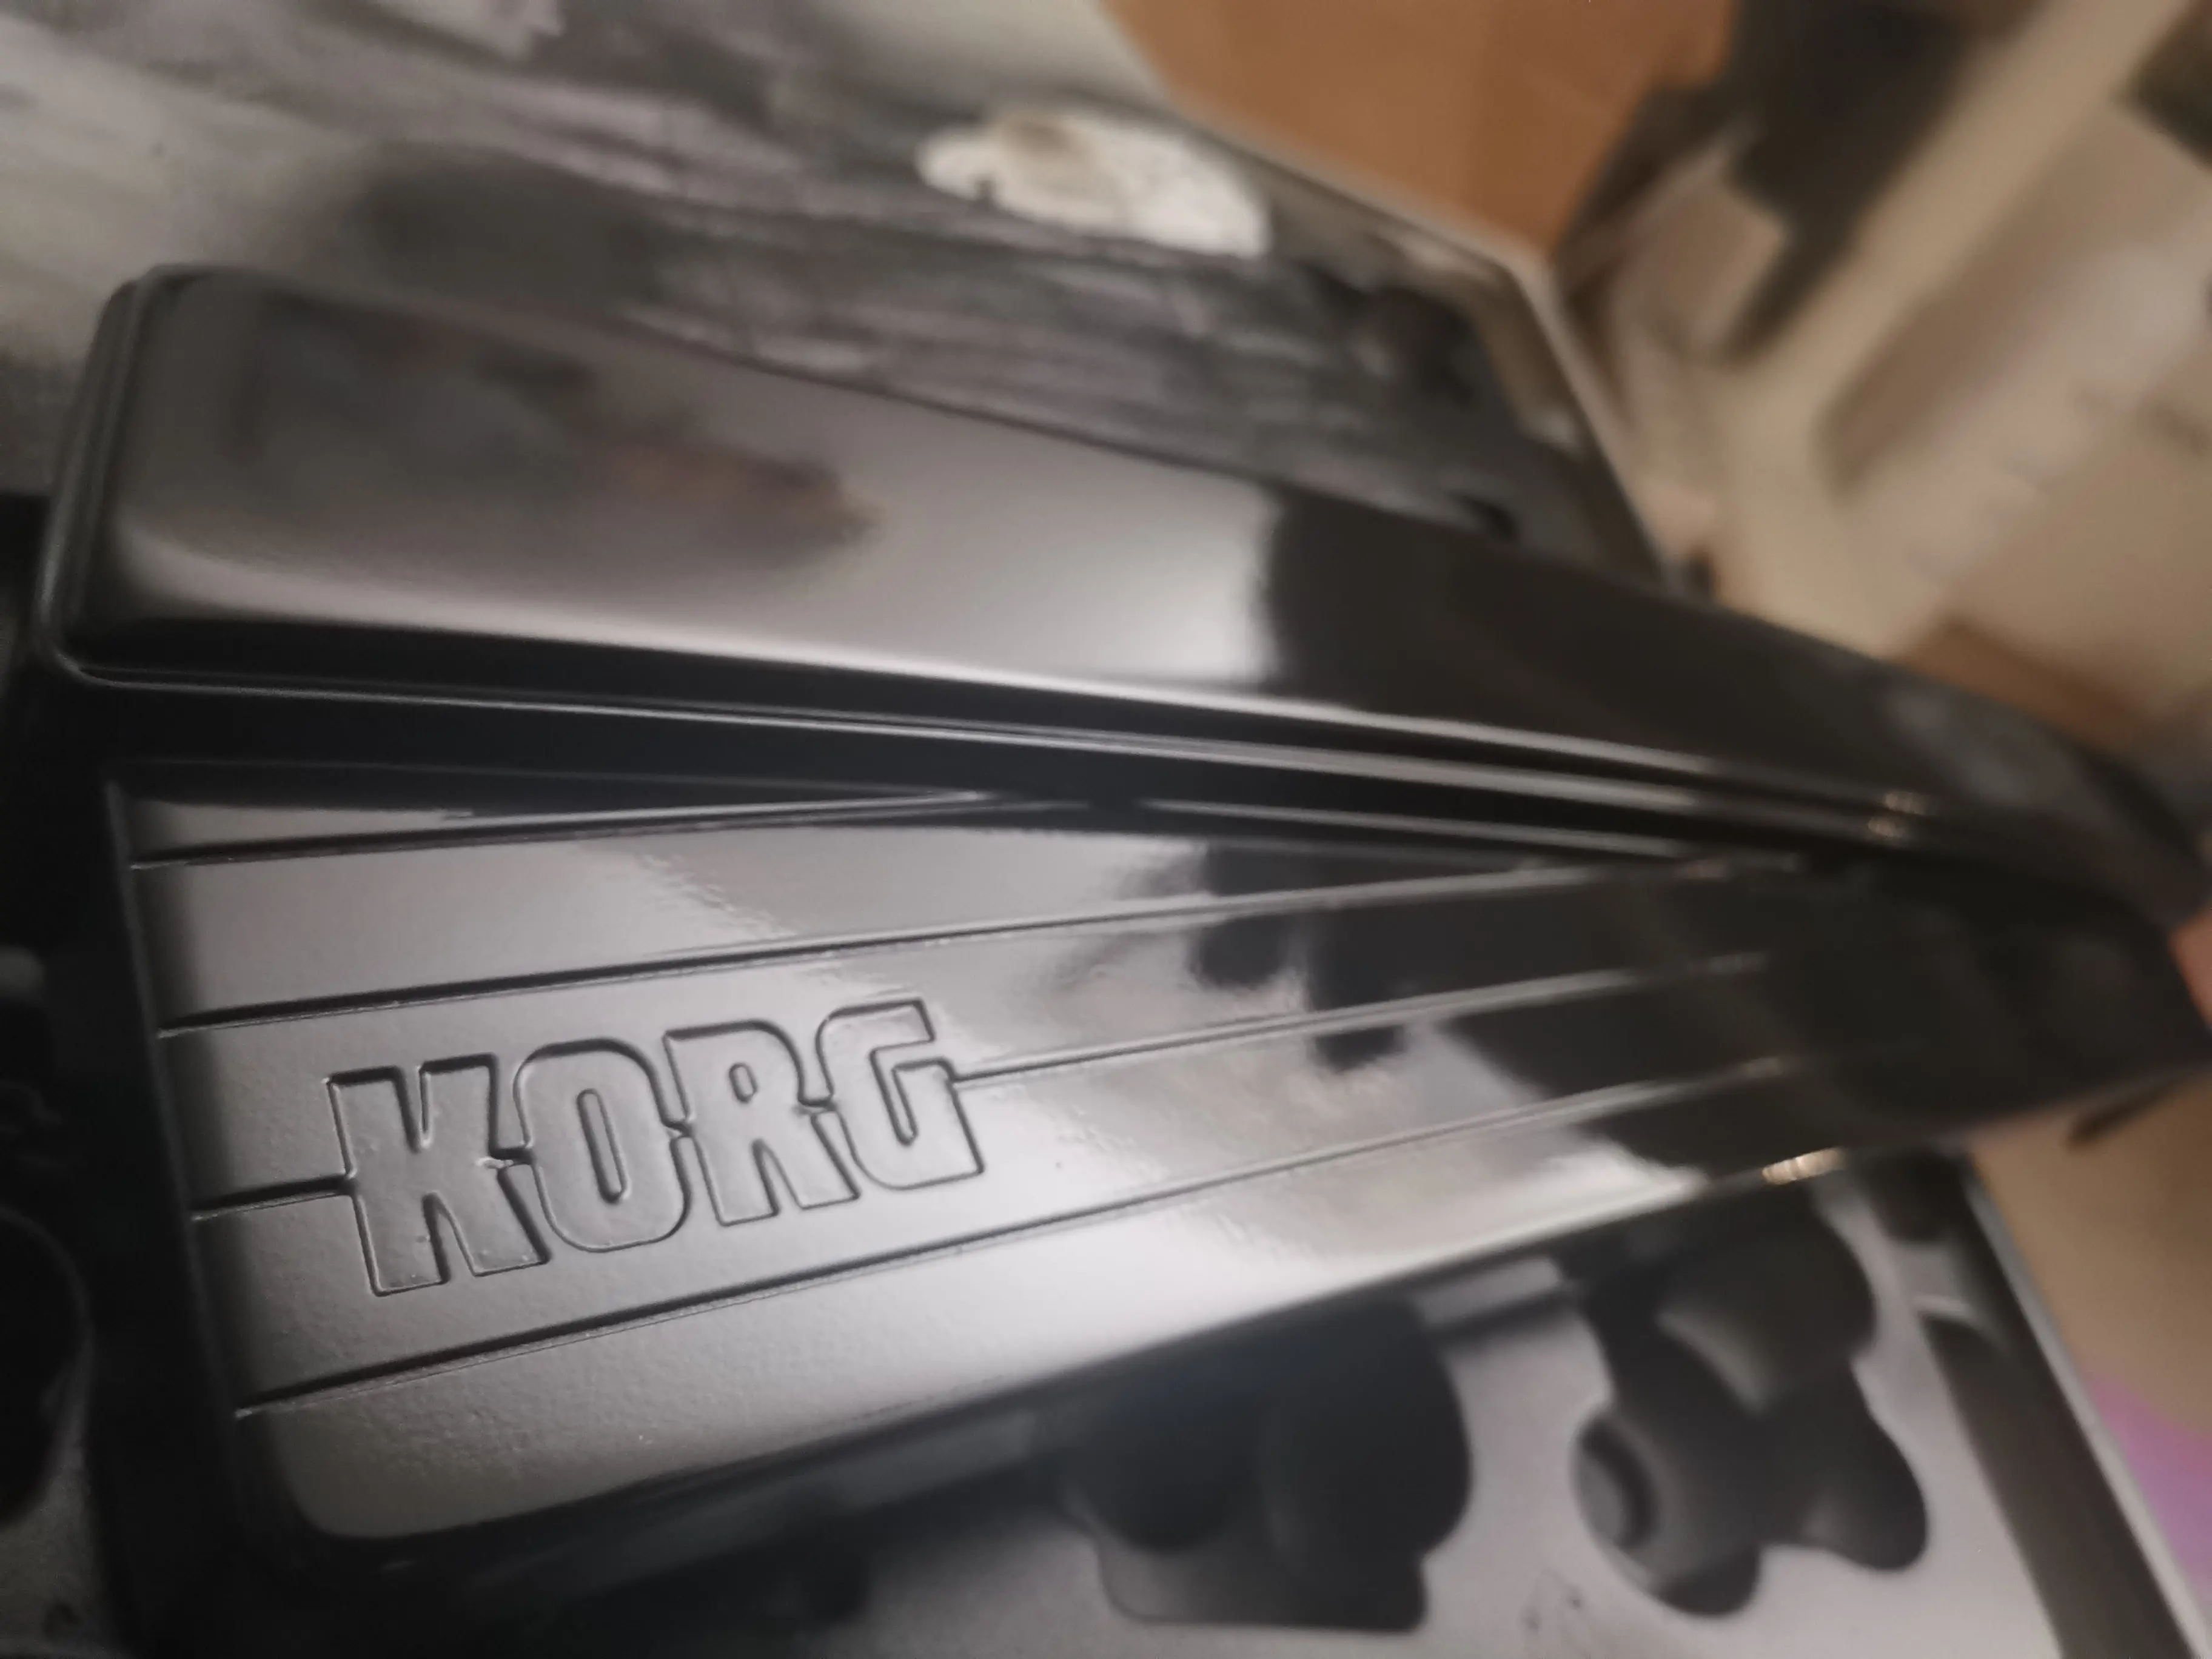
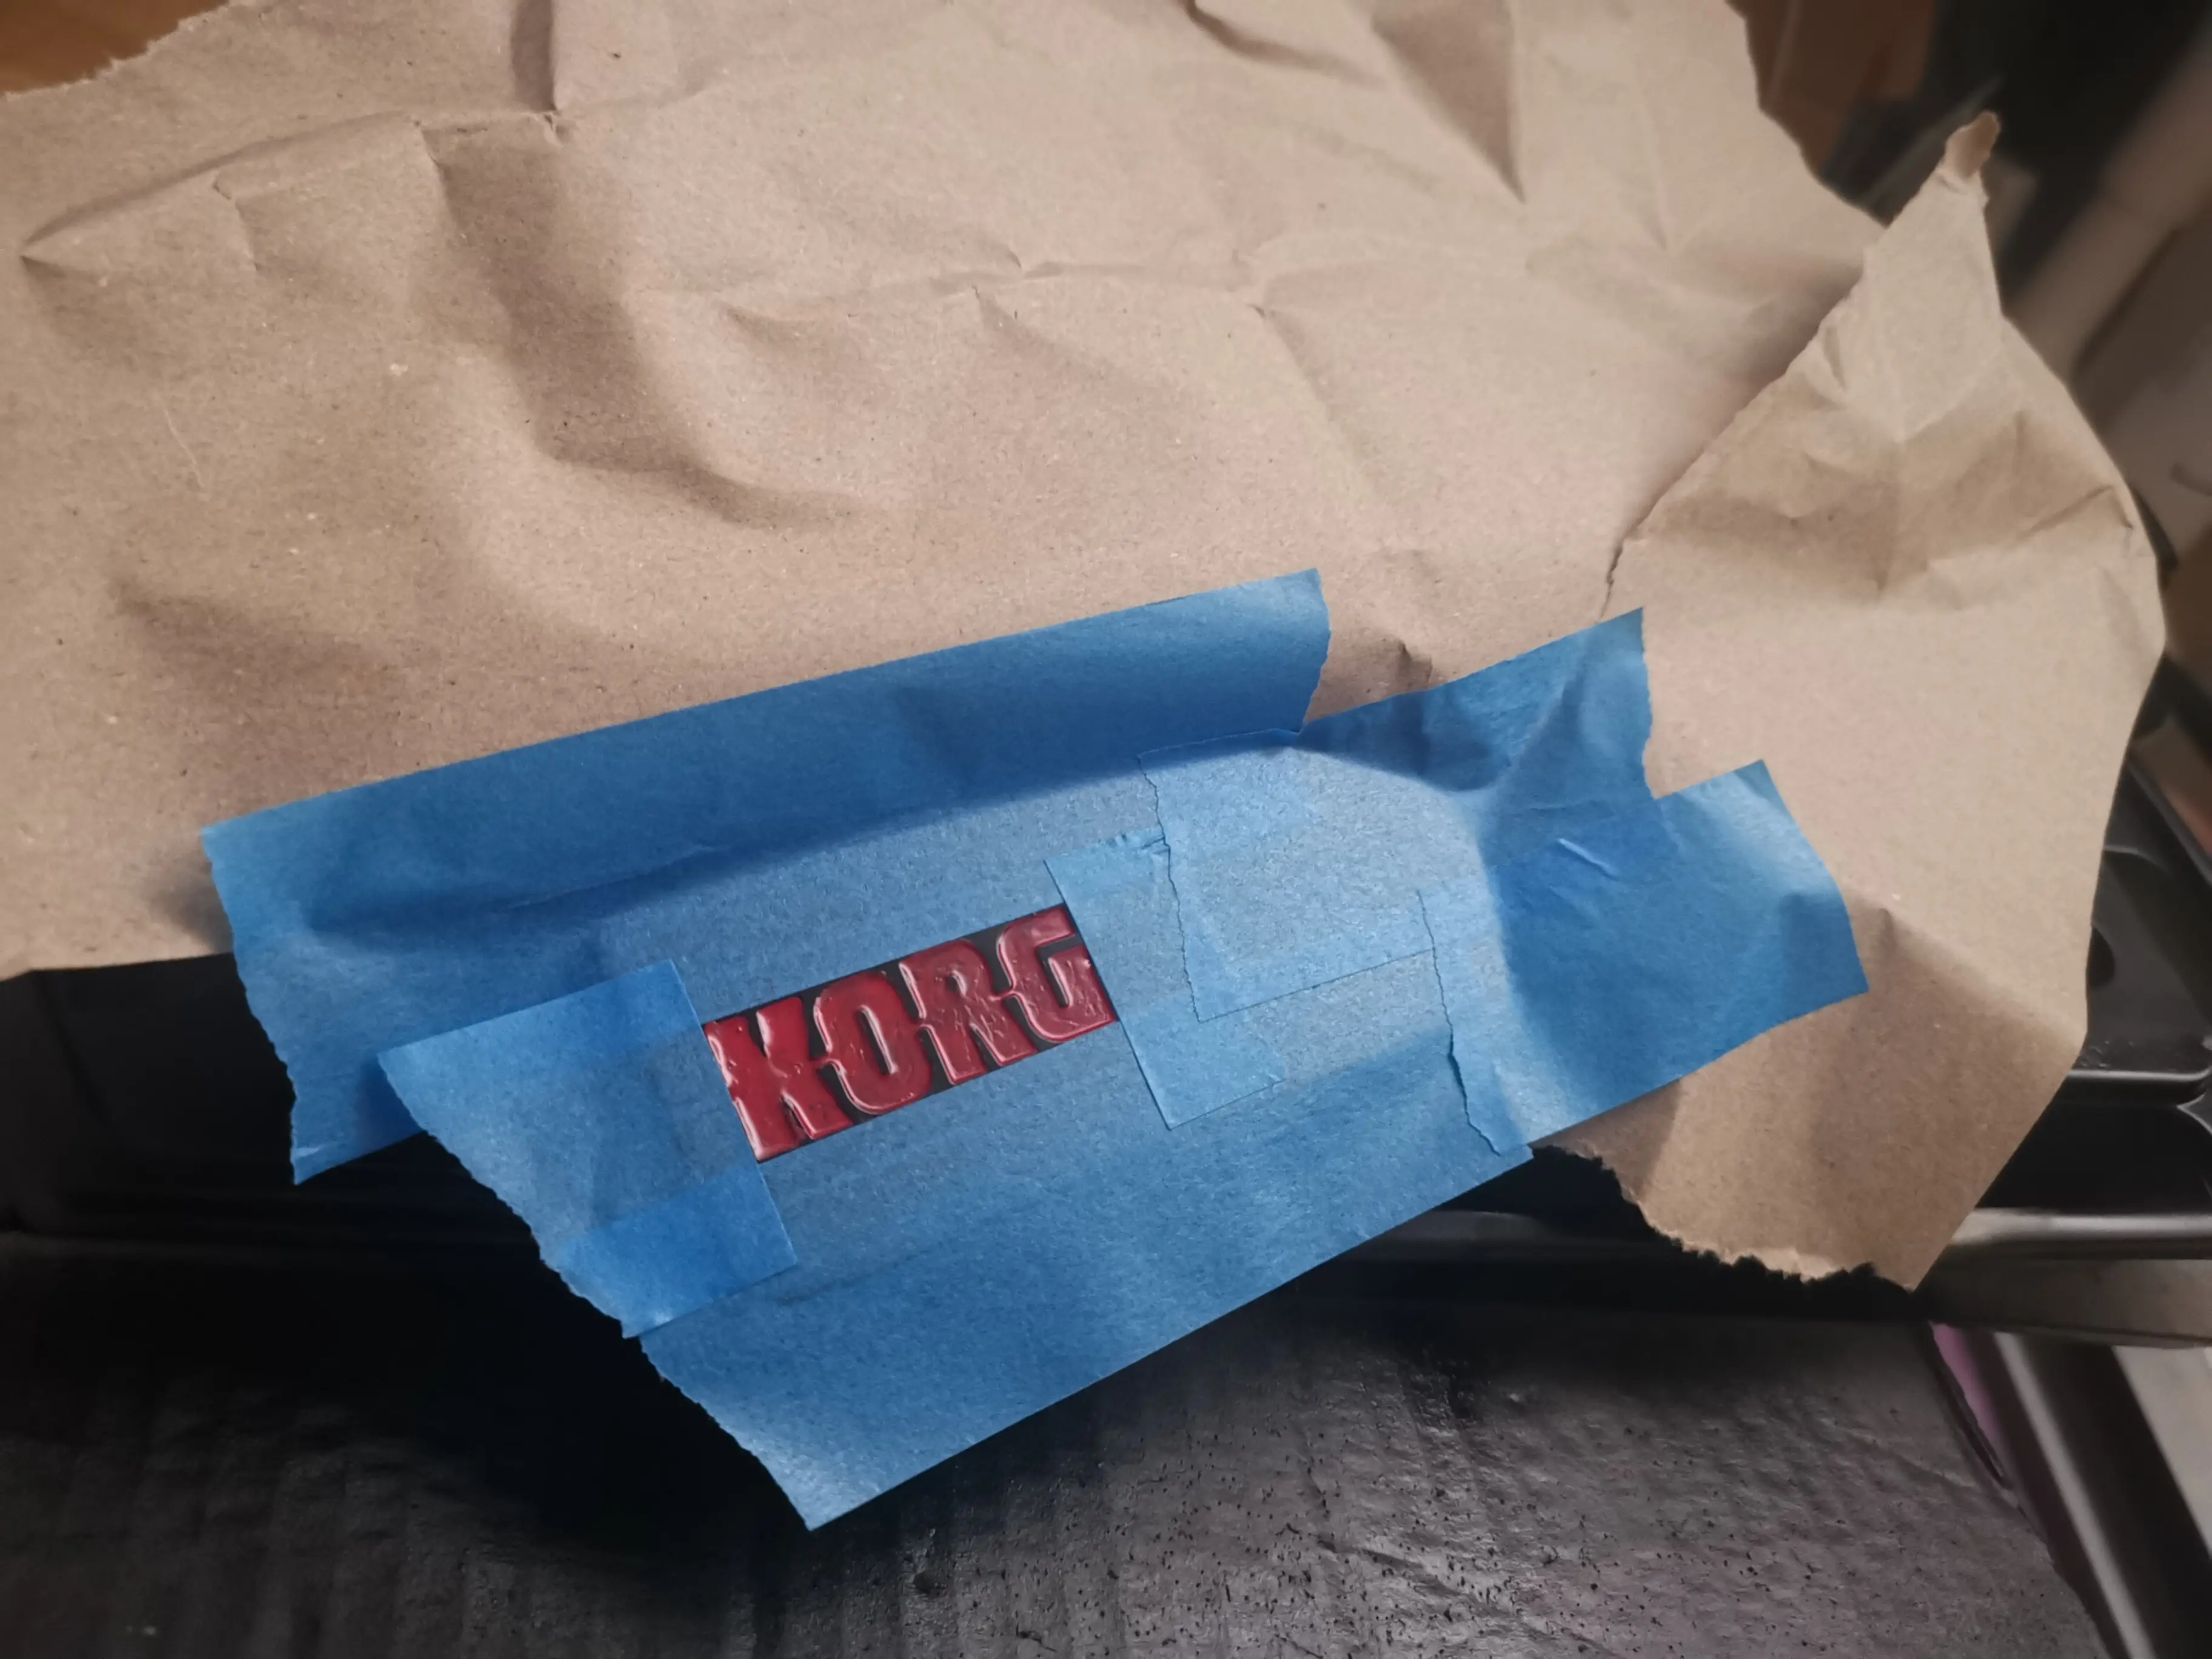
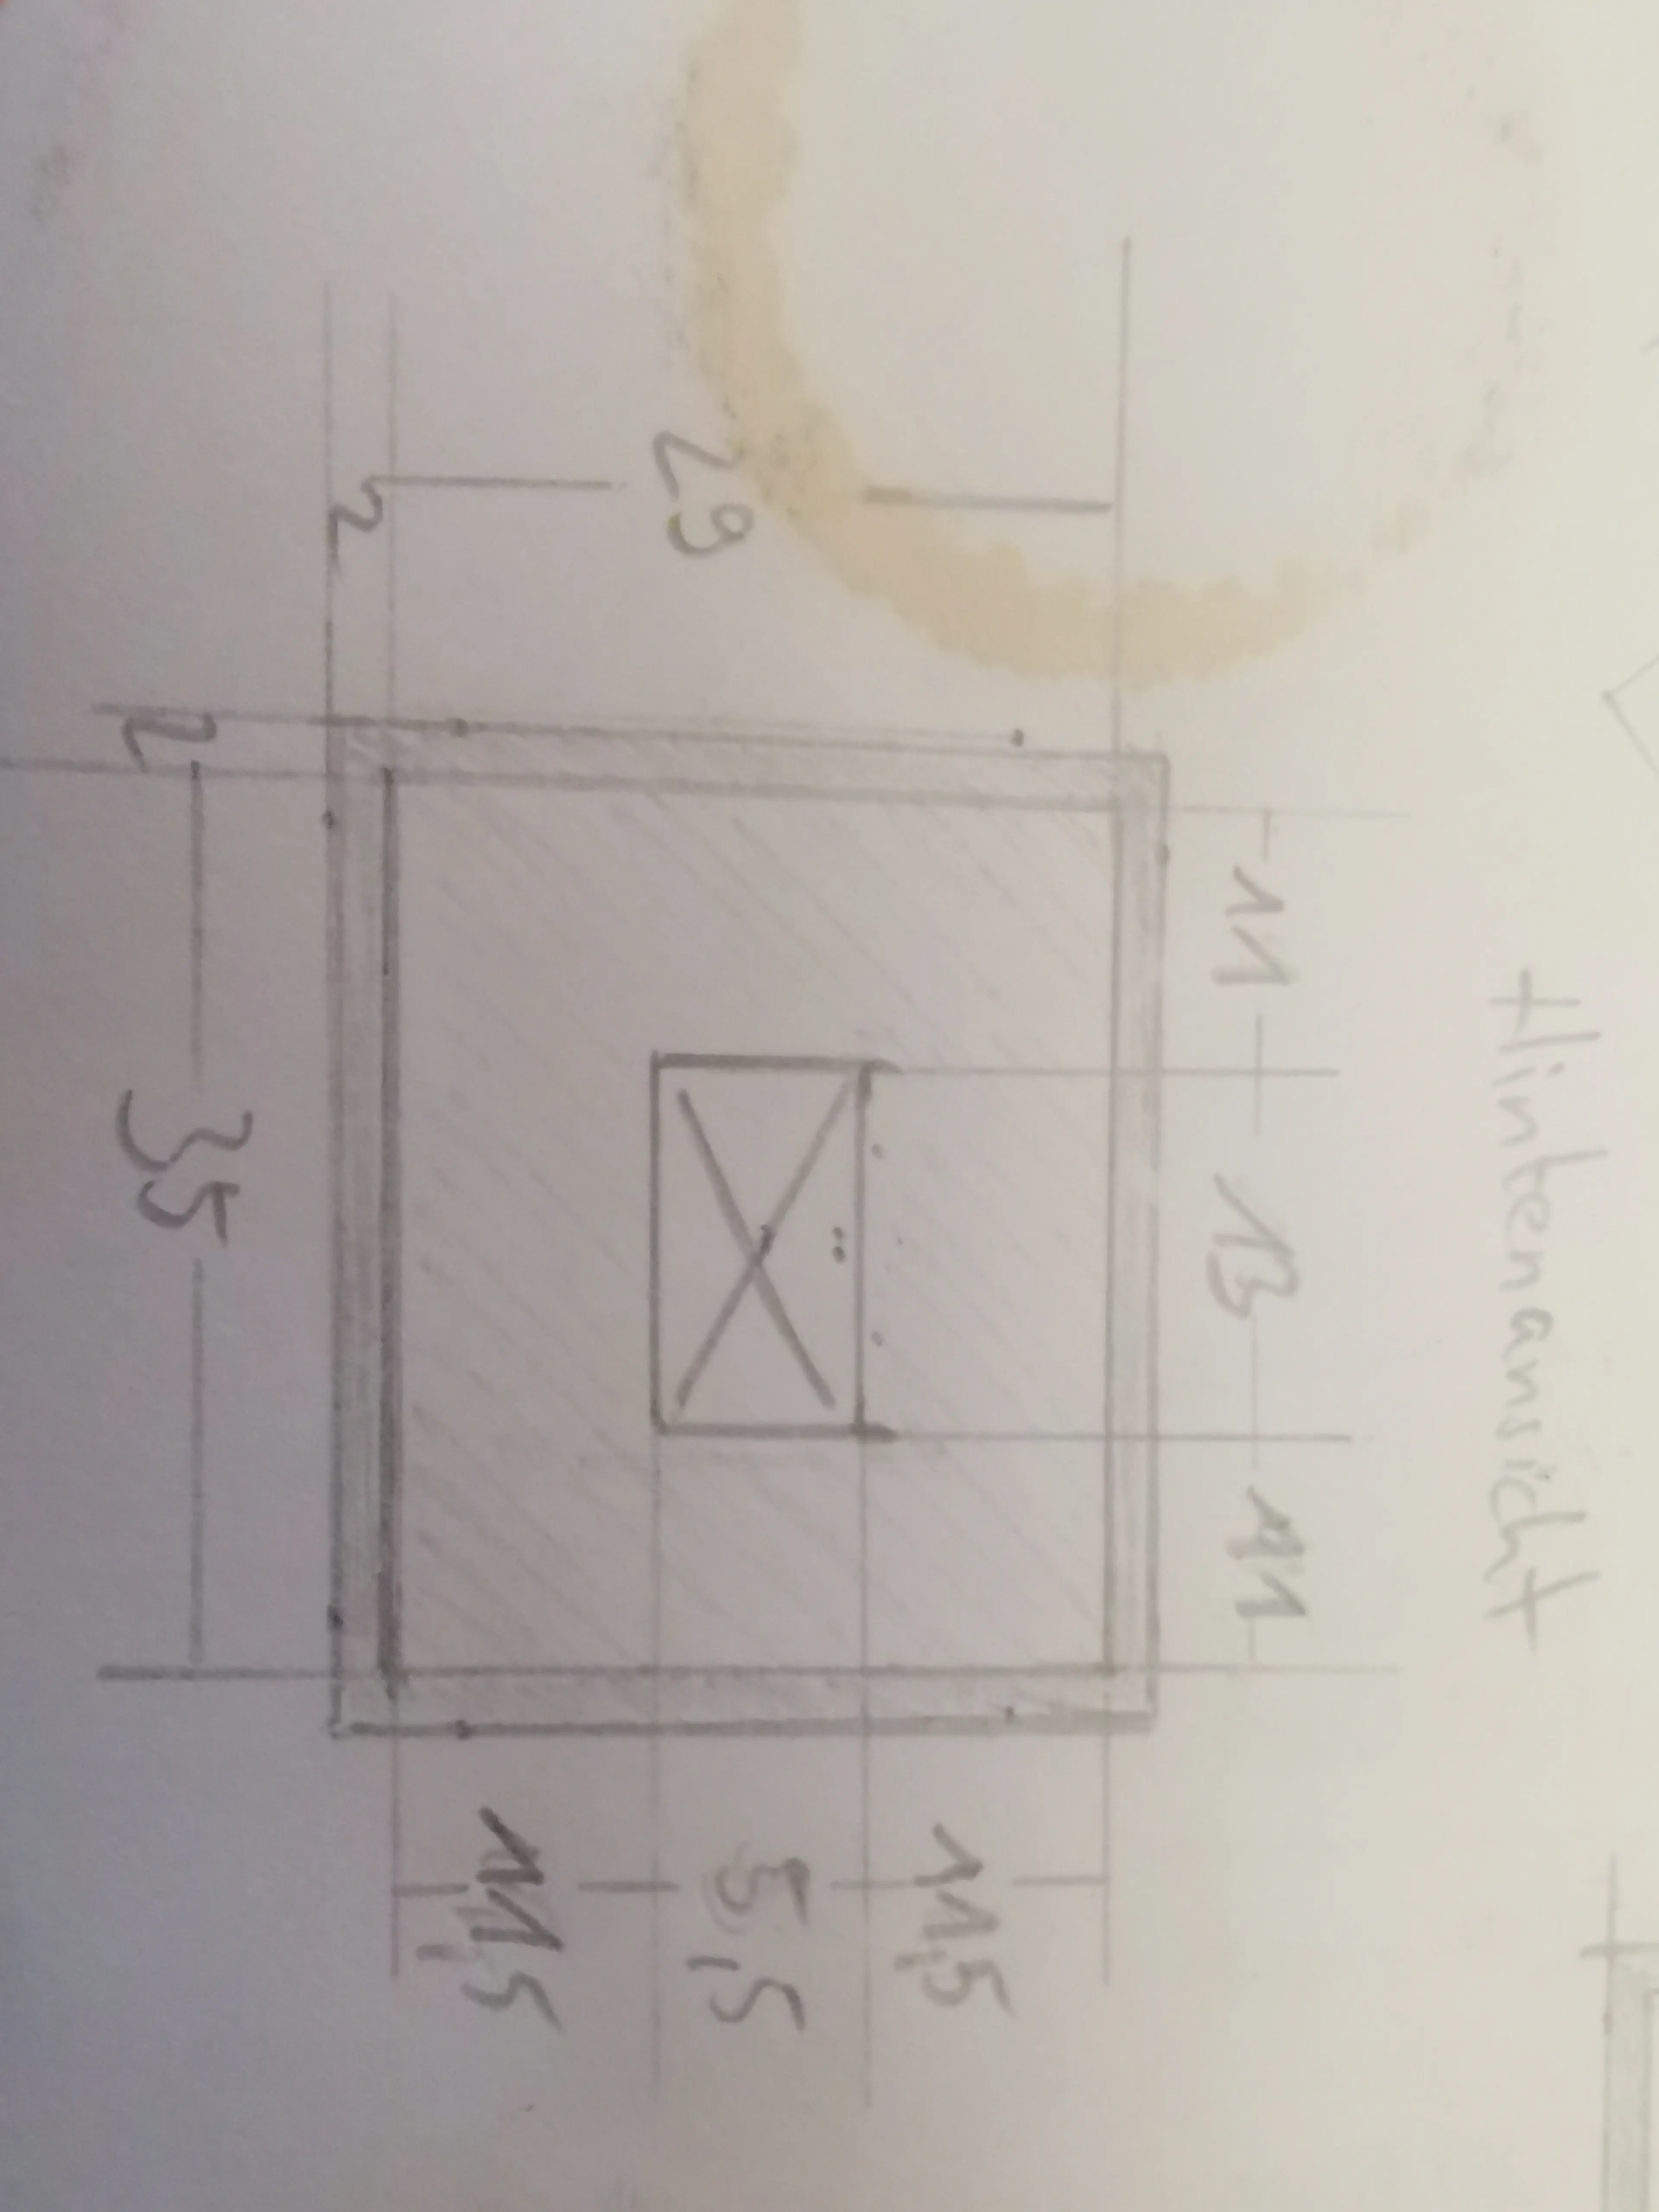
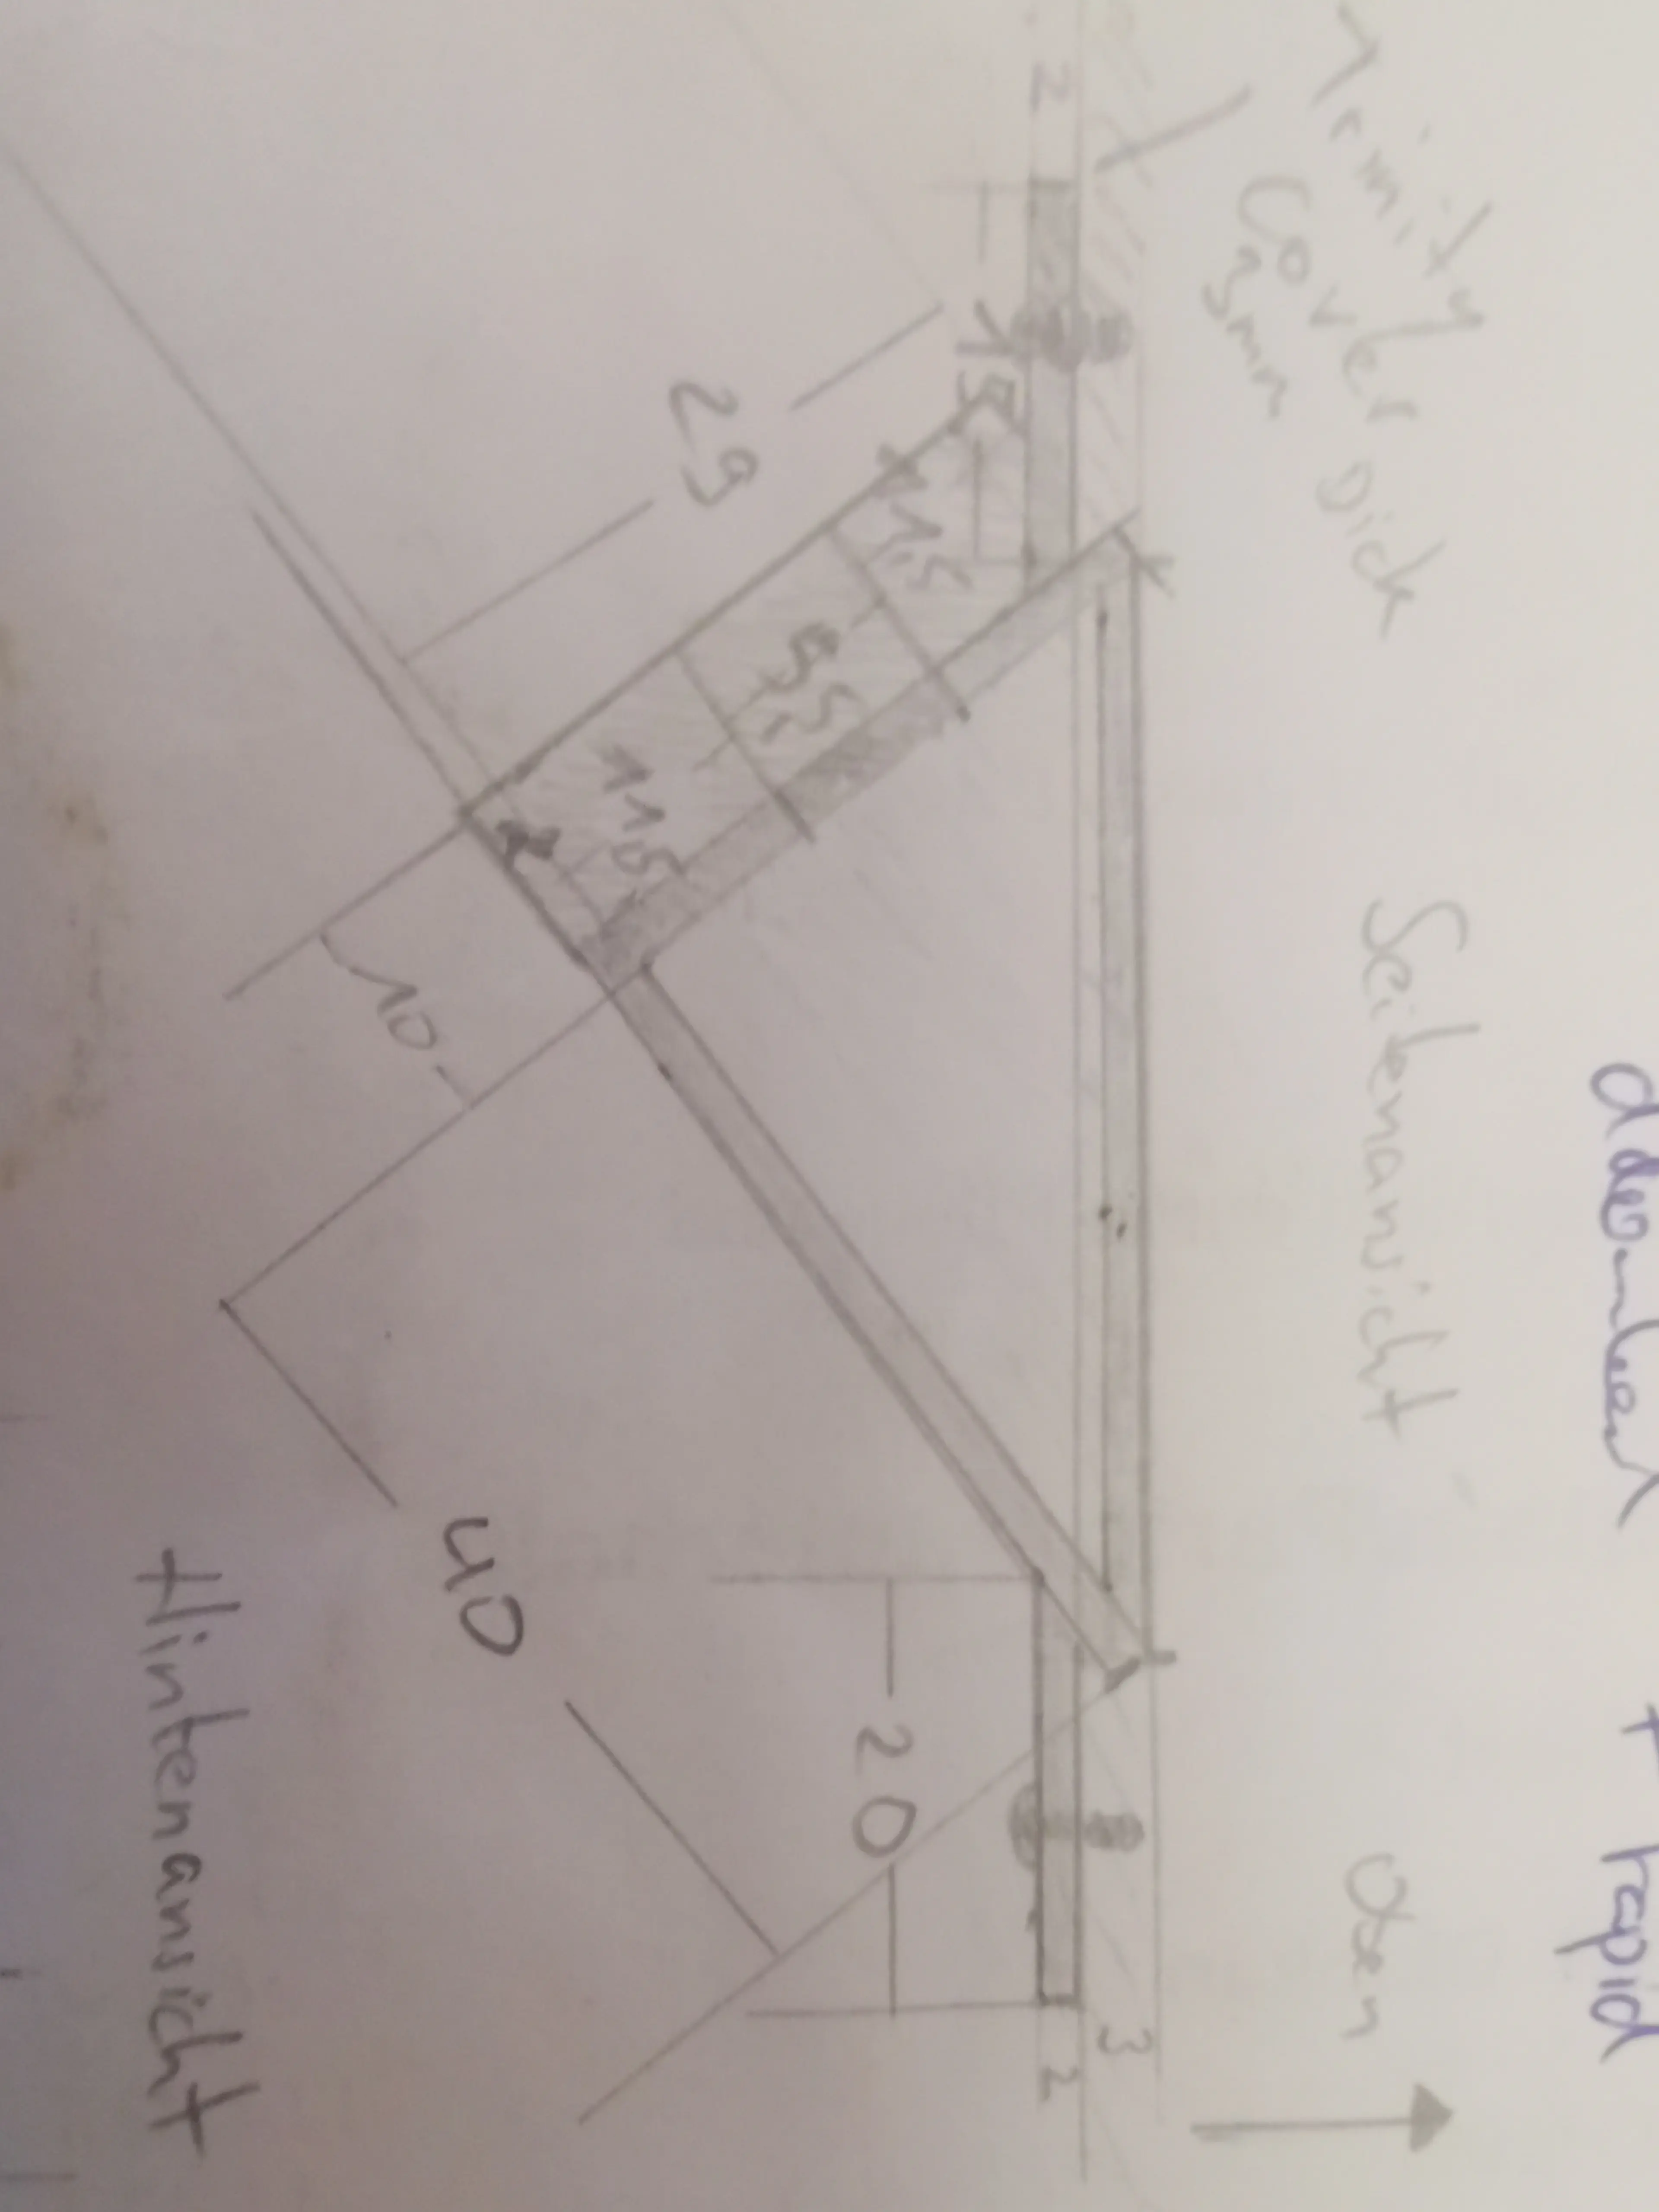
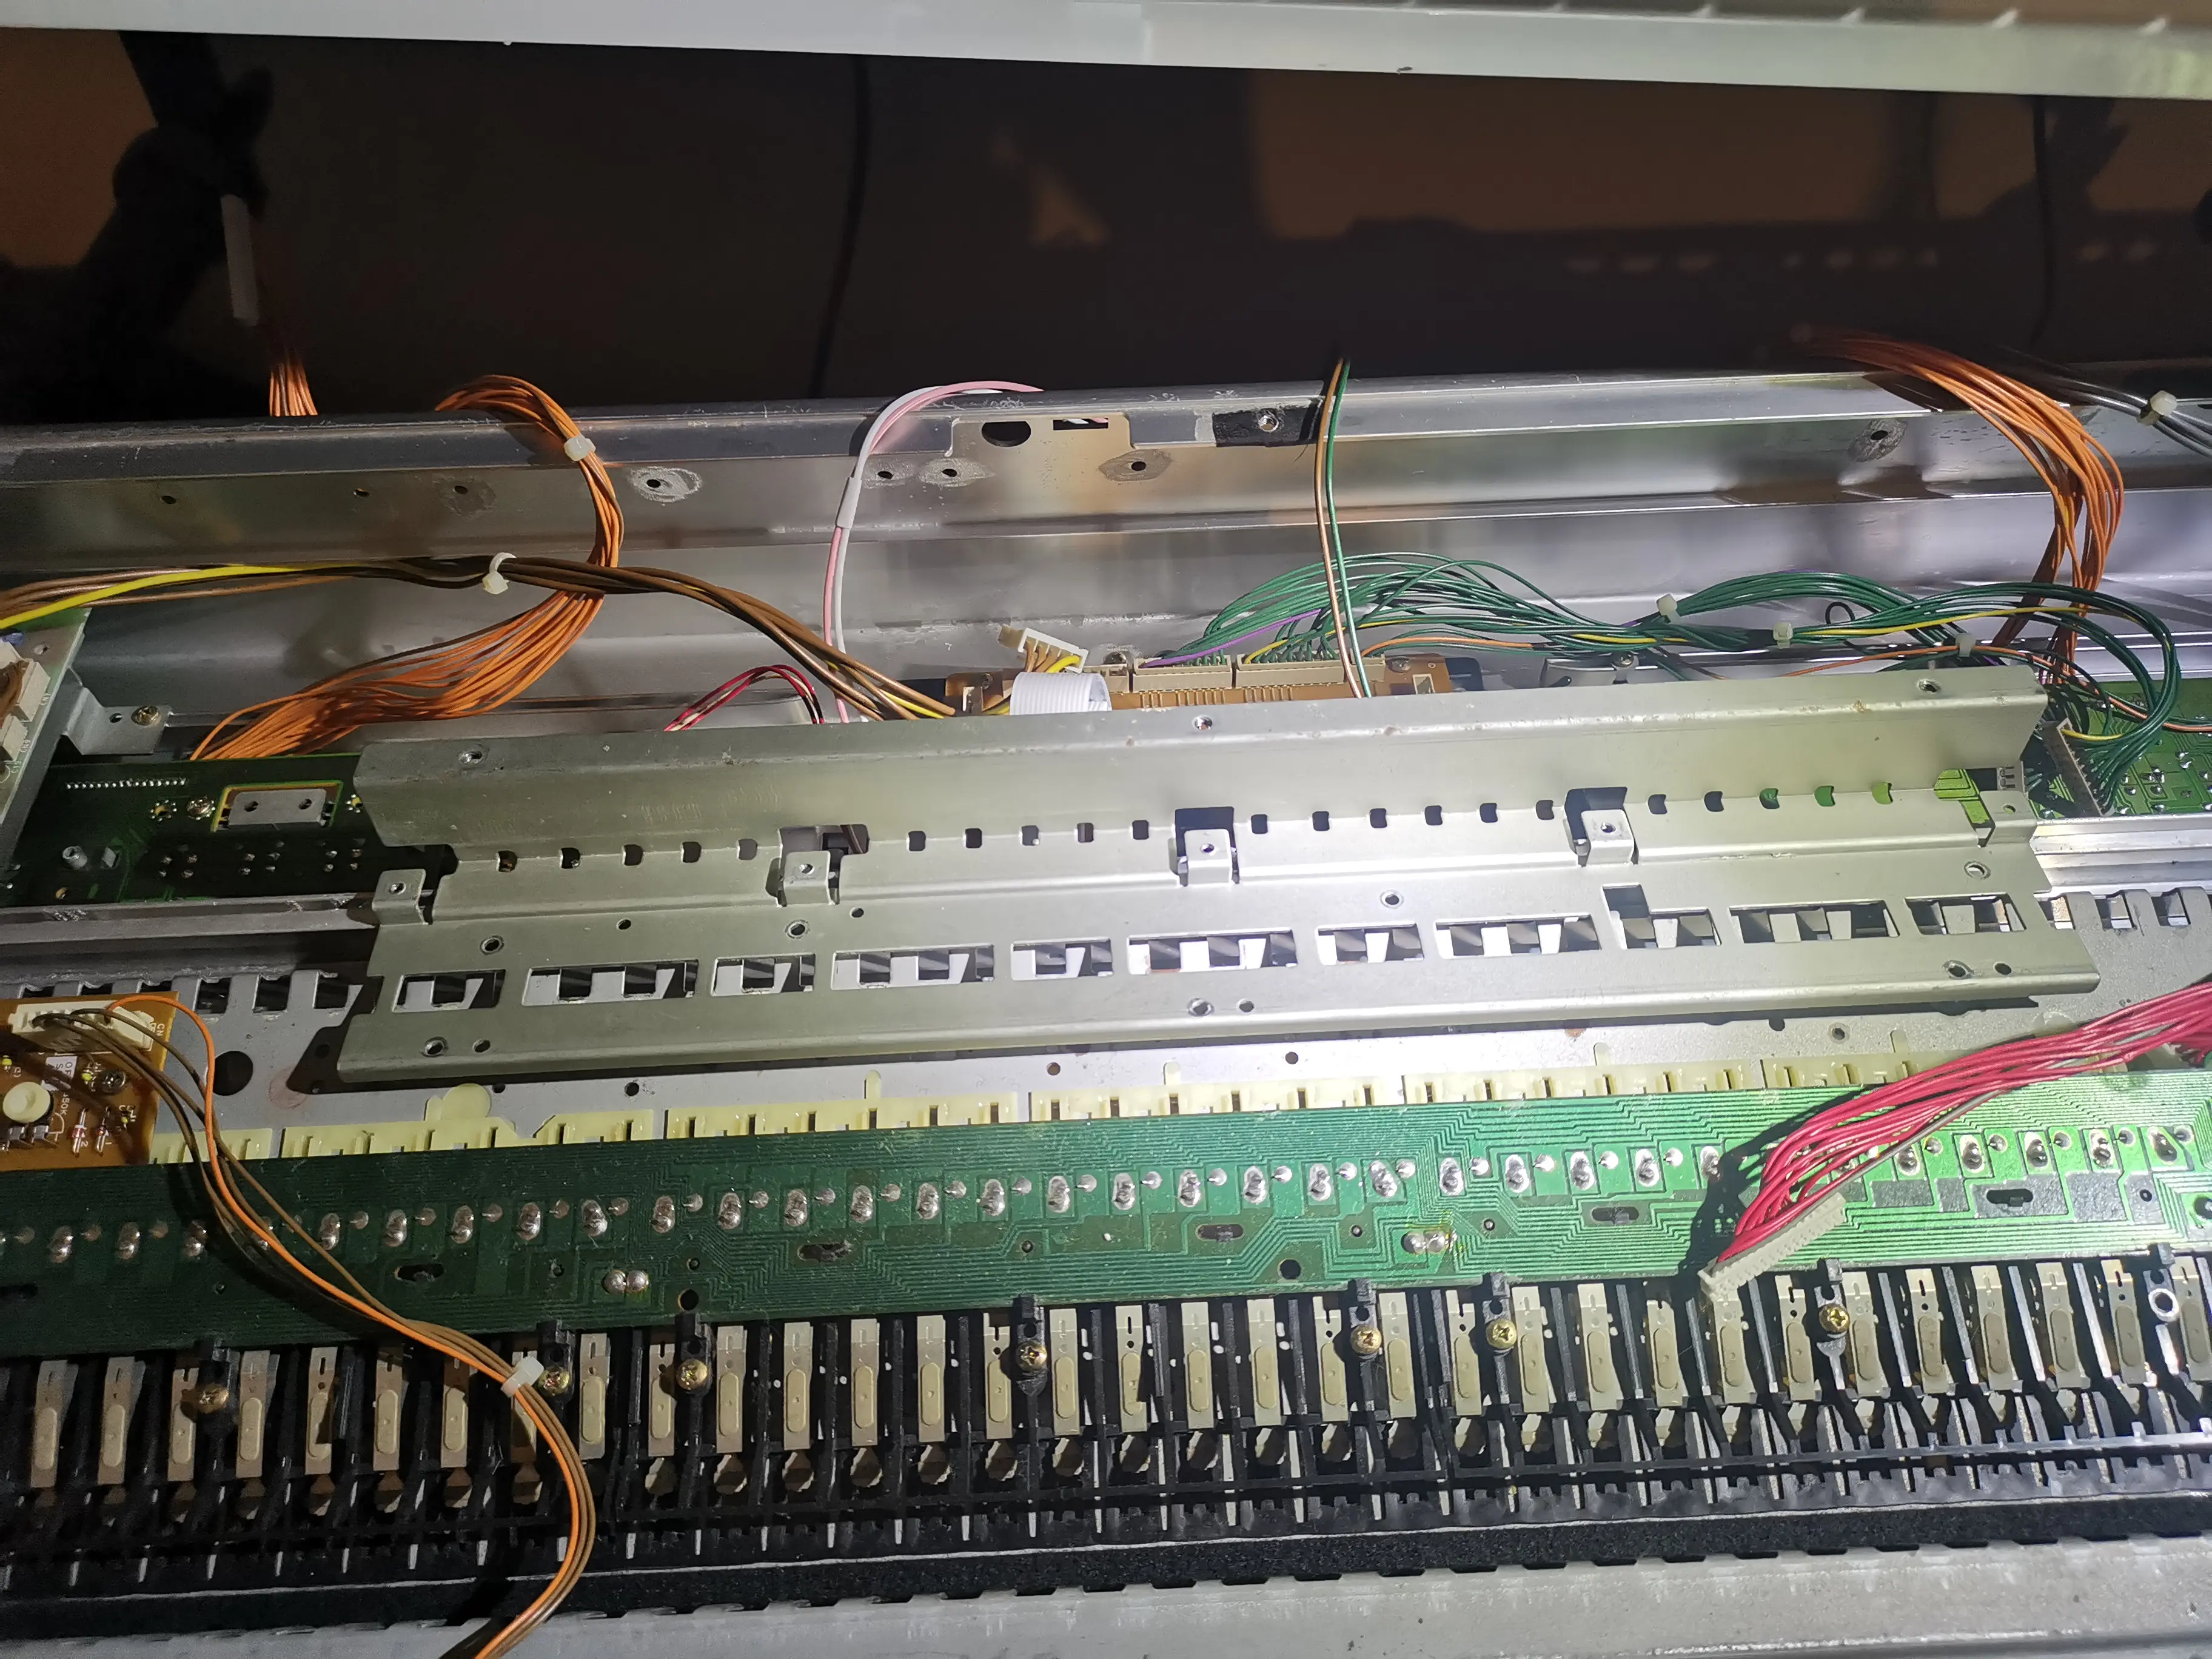
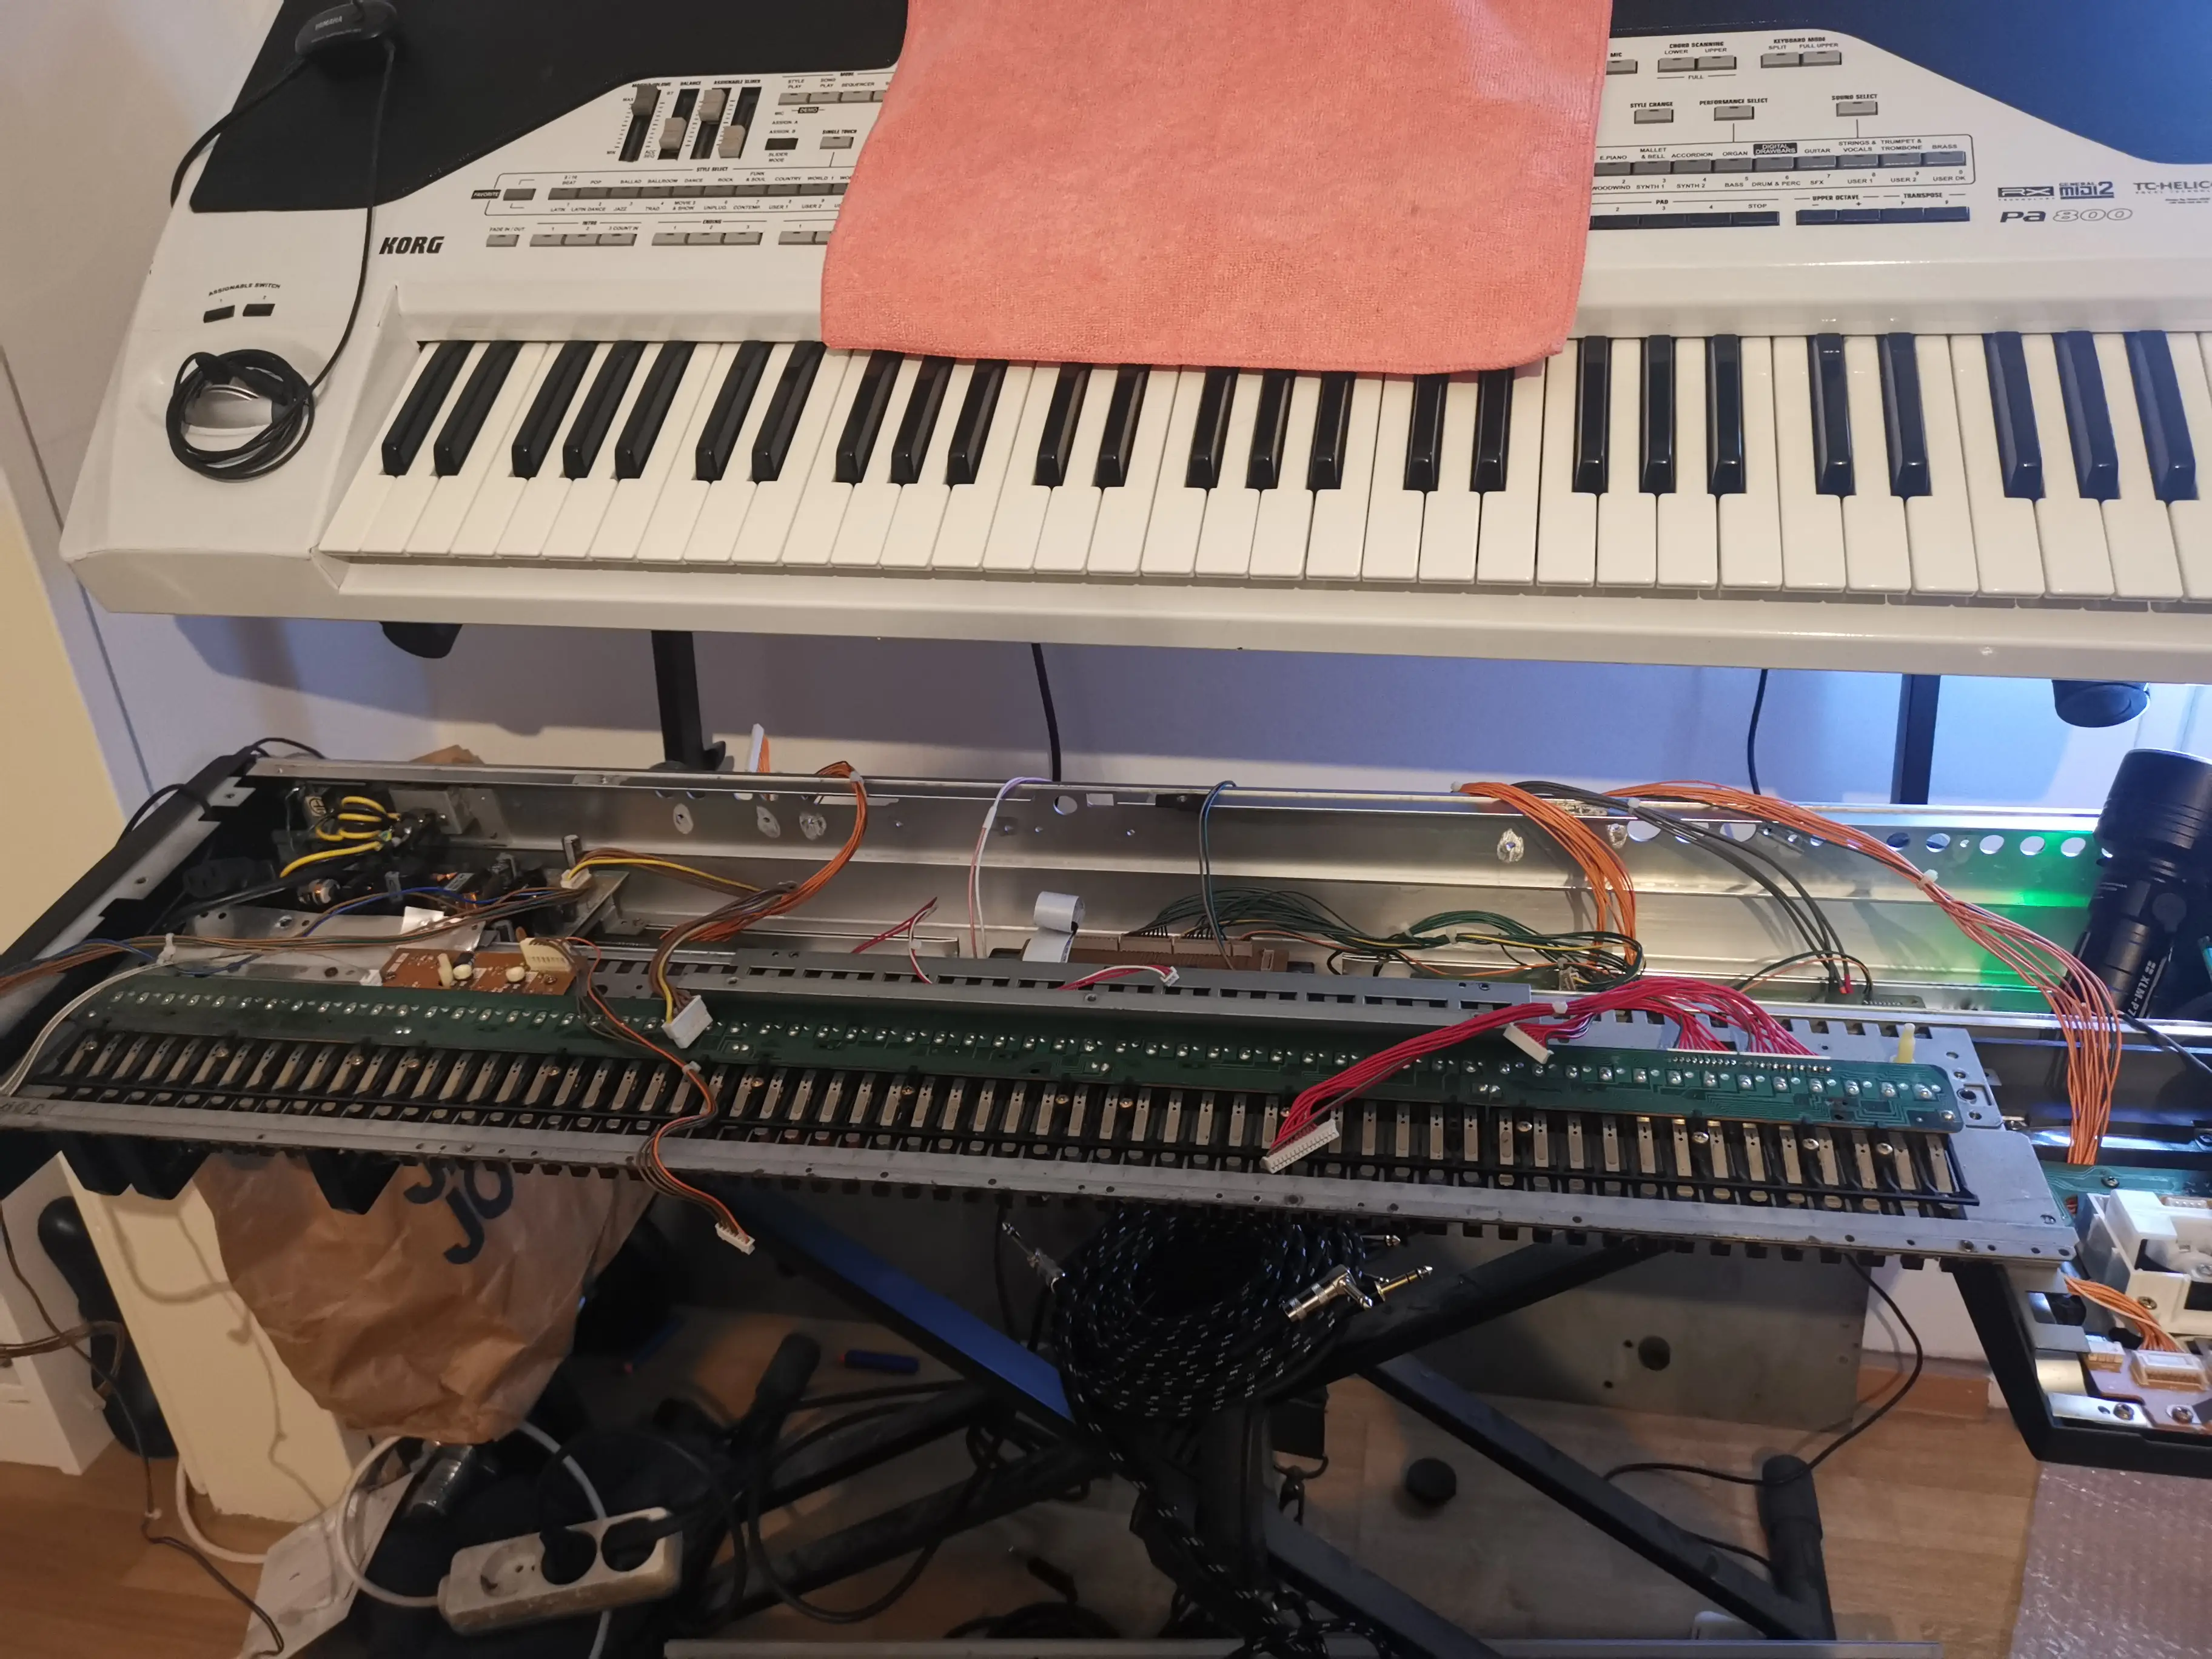
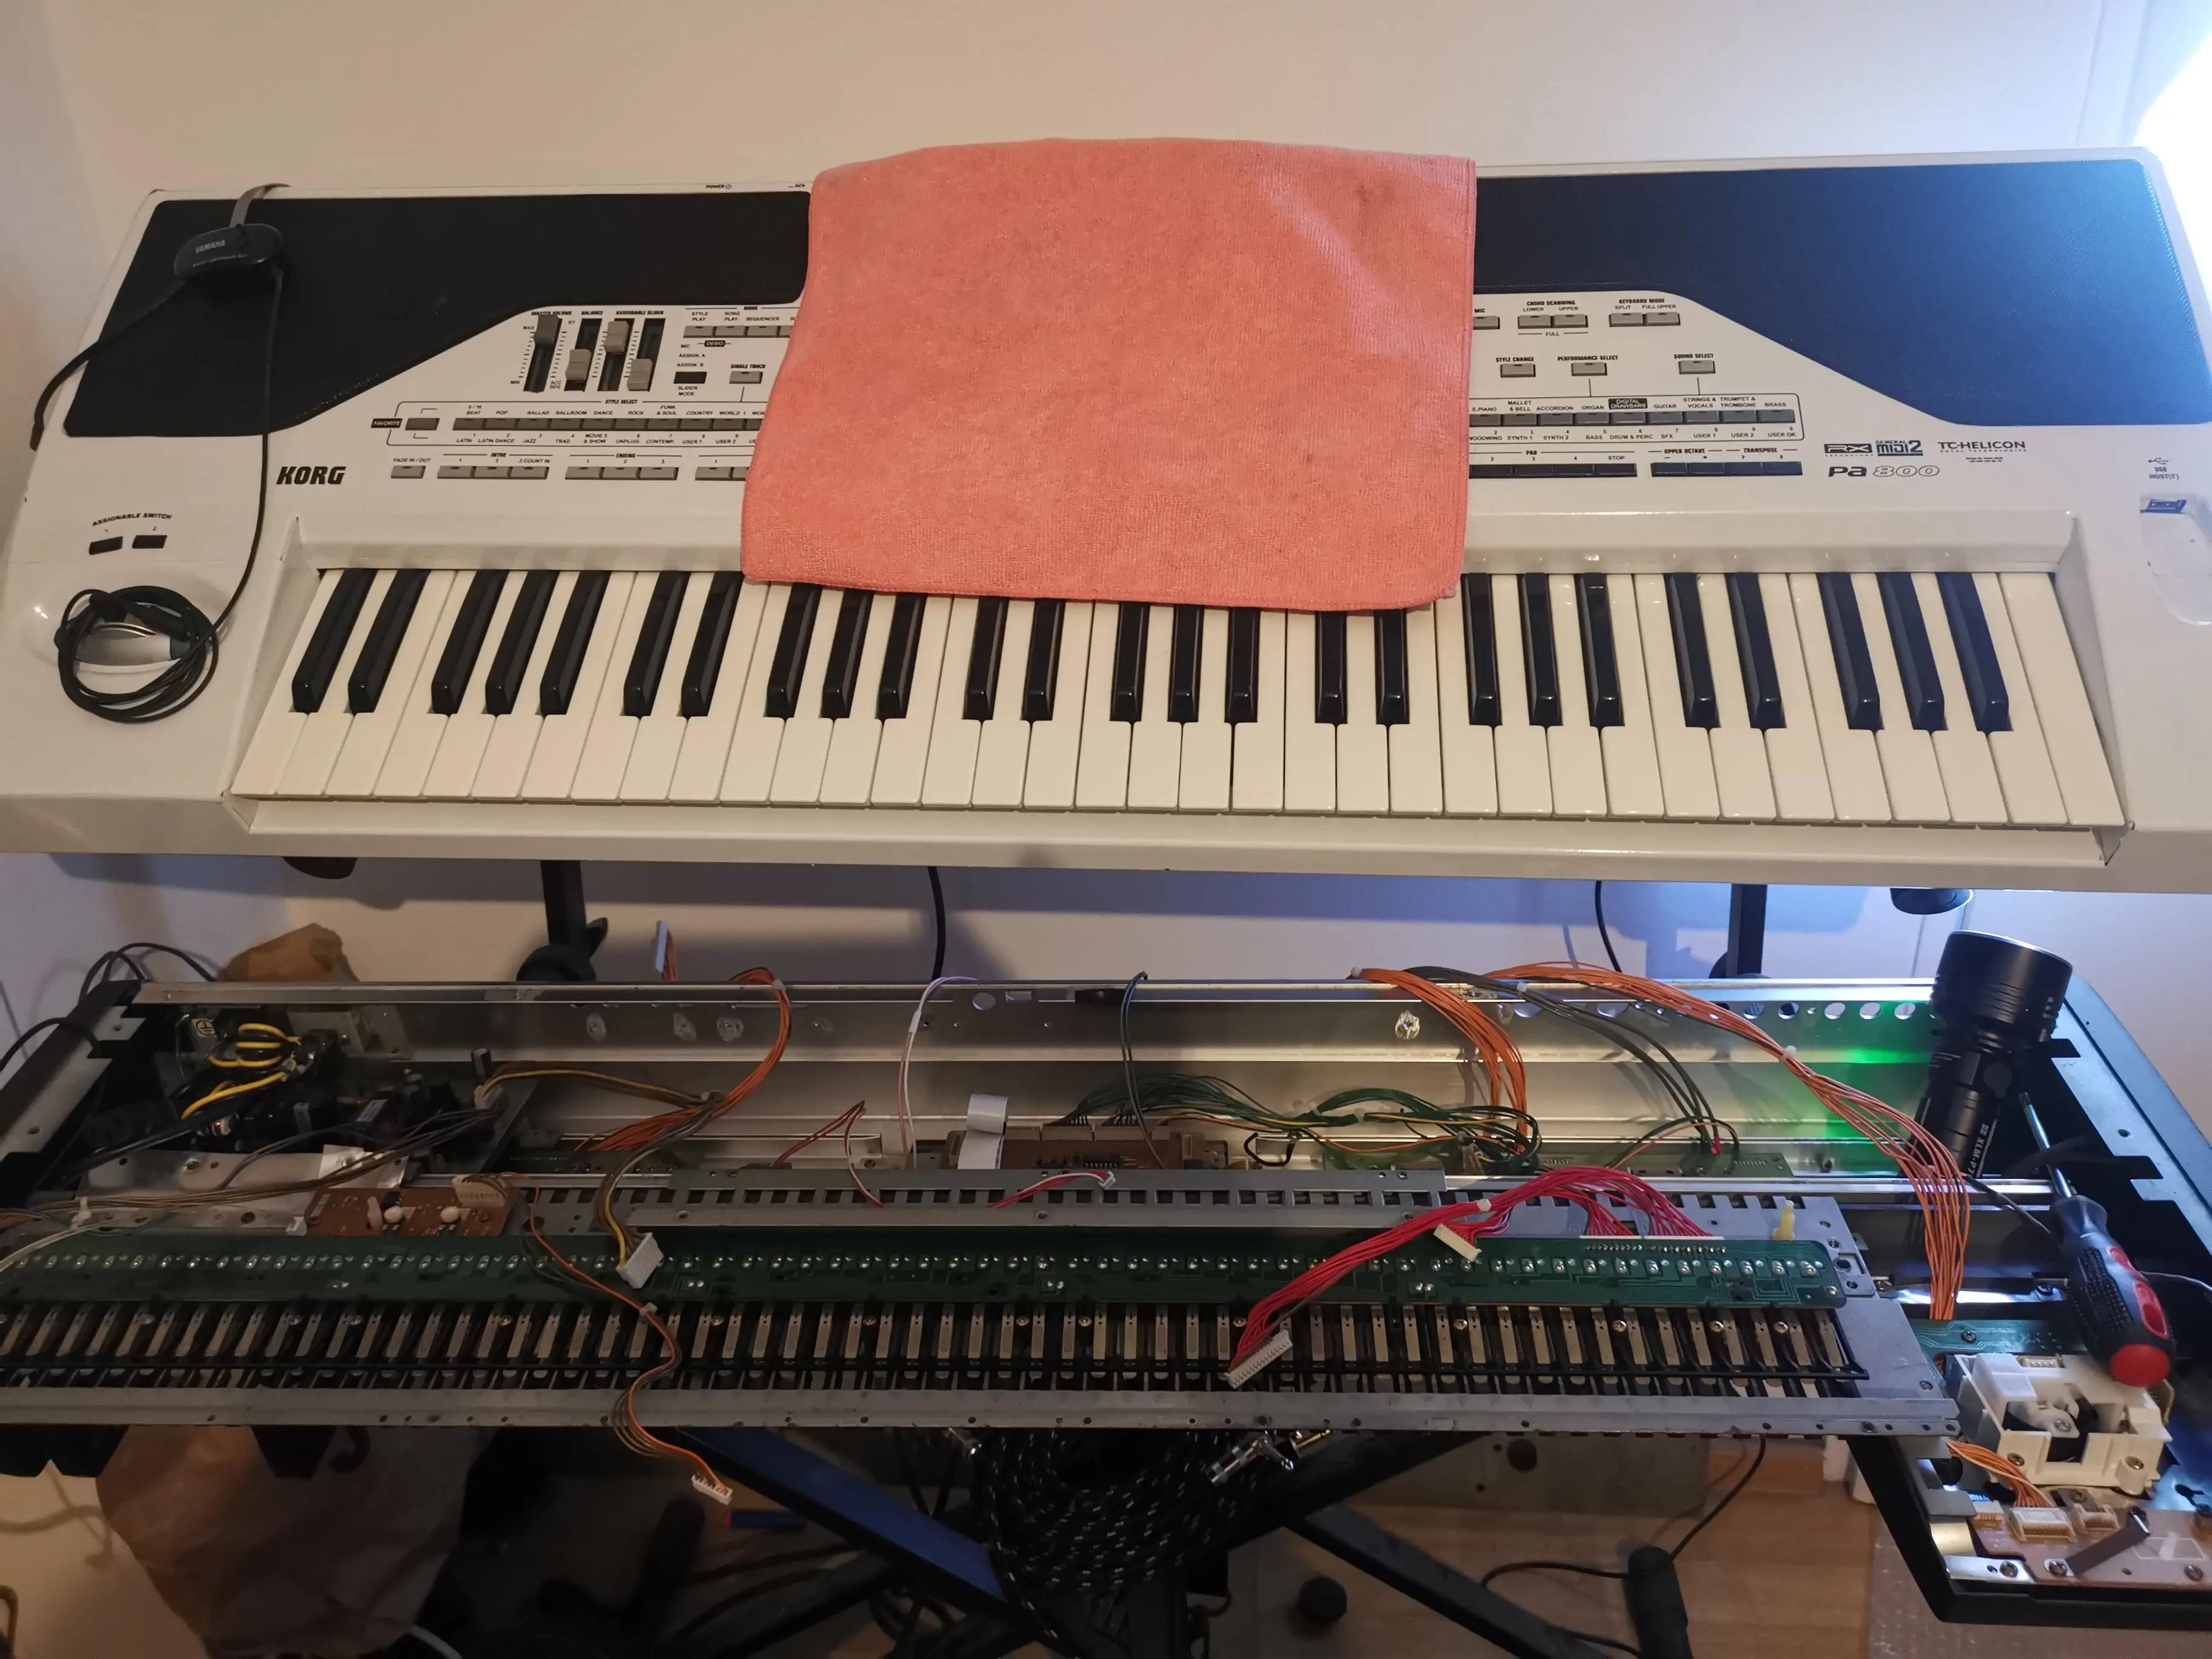
Taking everything apart, masking the KORG logos and sketching the first ideas on paper.
Disassembly and first sketches Disassembly and first sketches Disassembly and first sketches Disassembly and first sketches Disassembly and first sketches Disassembly and first sketches Disassembly and first sketches Disassembly and first sketches Disassembly and first sketches Disassembly and first sketches Disassembly and first sketches

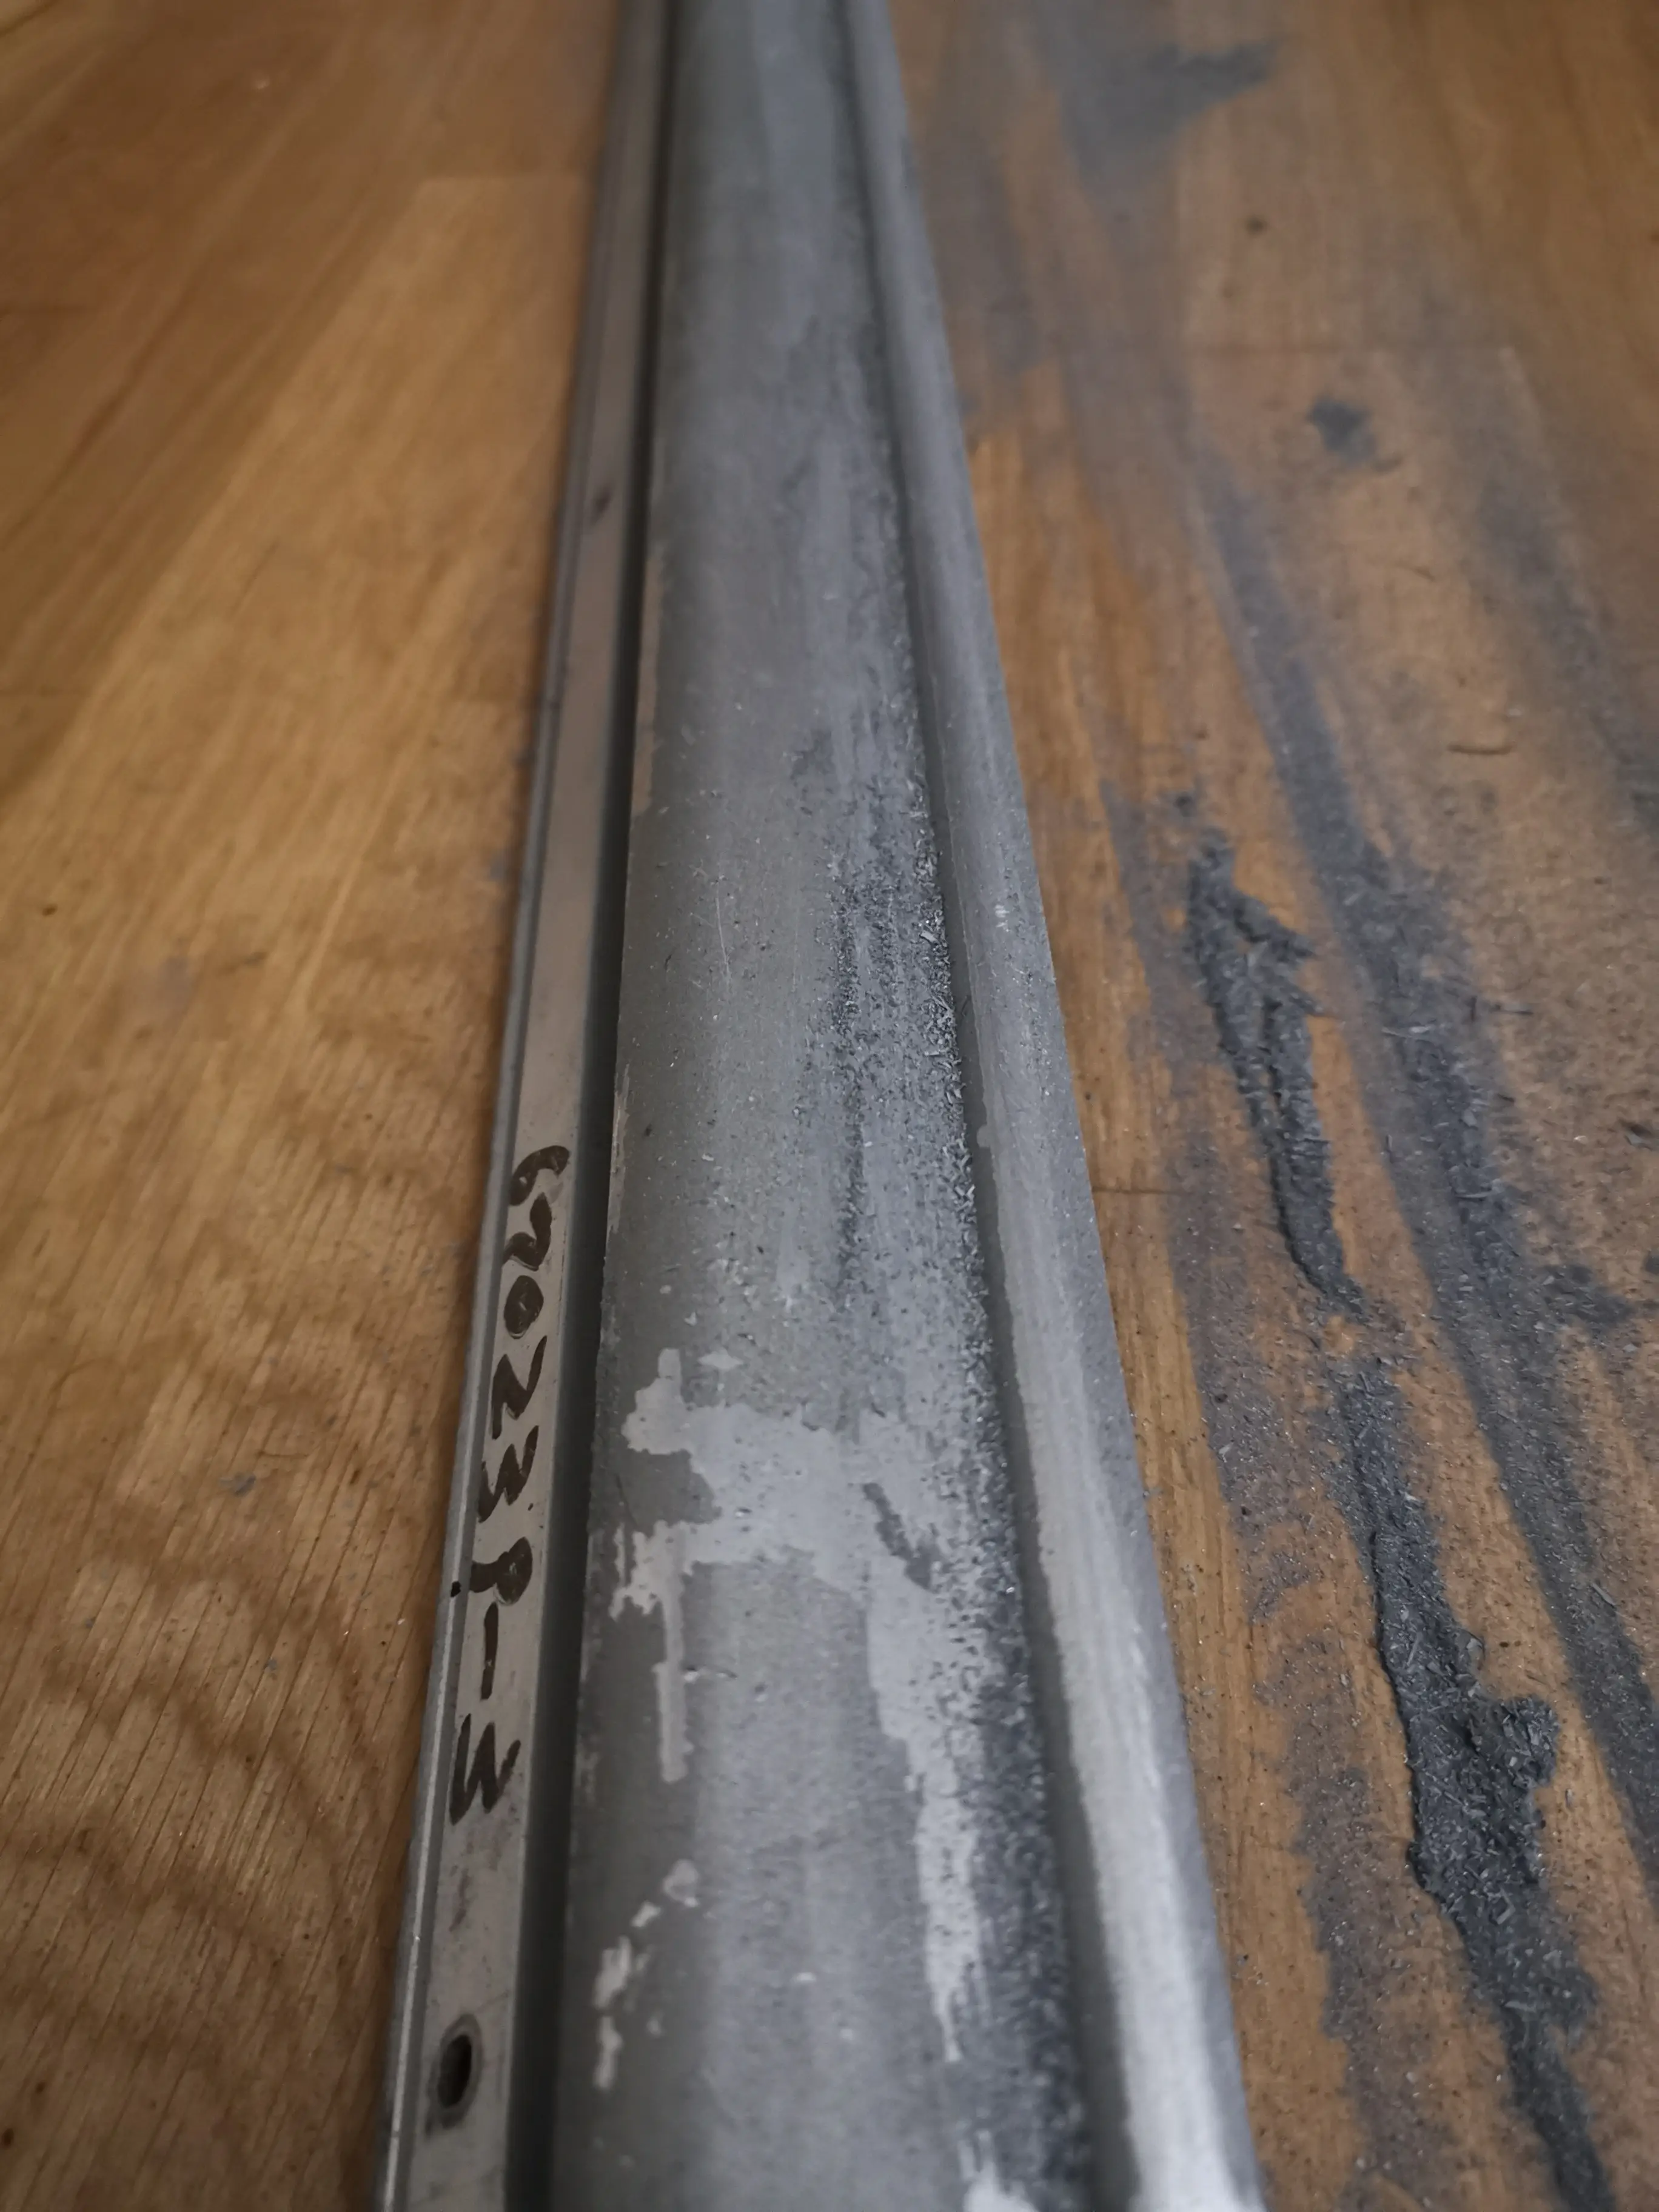
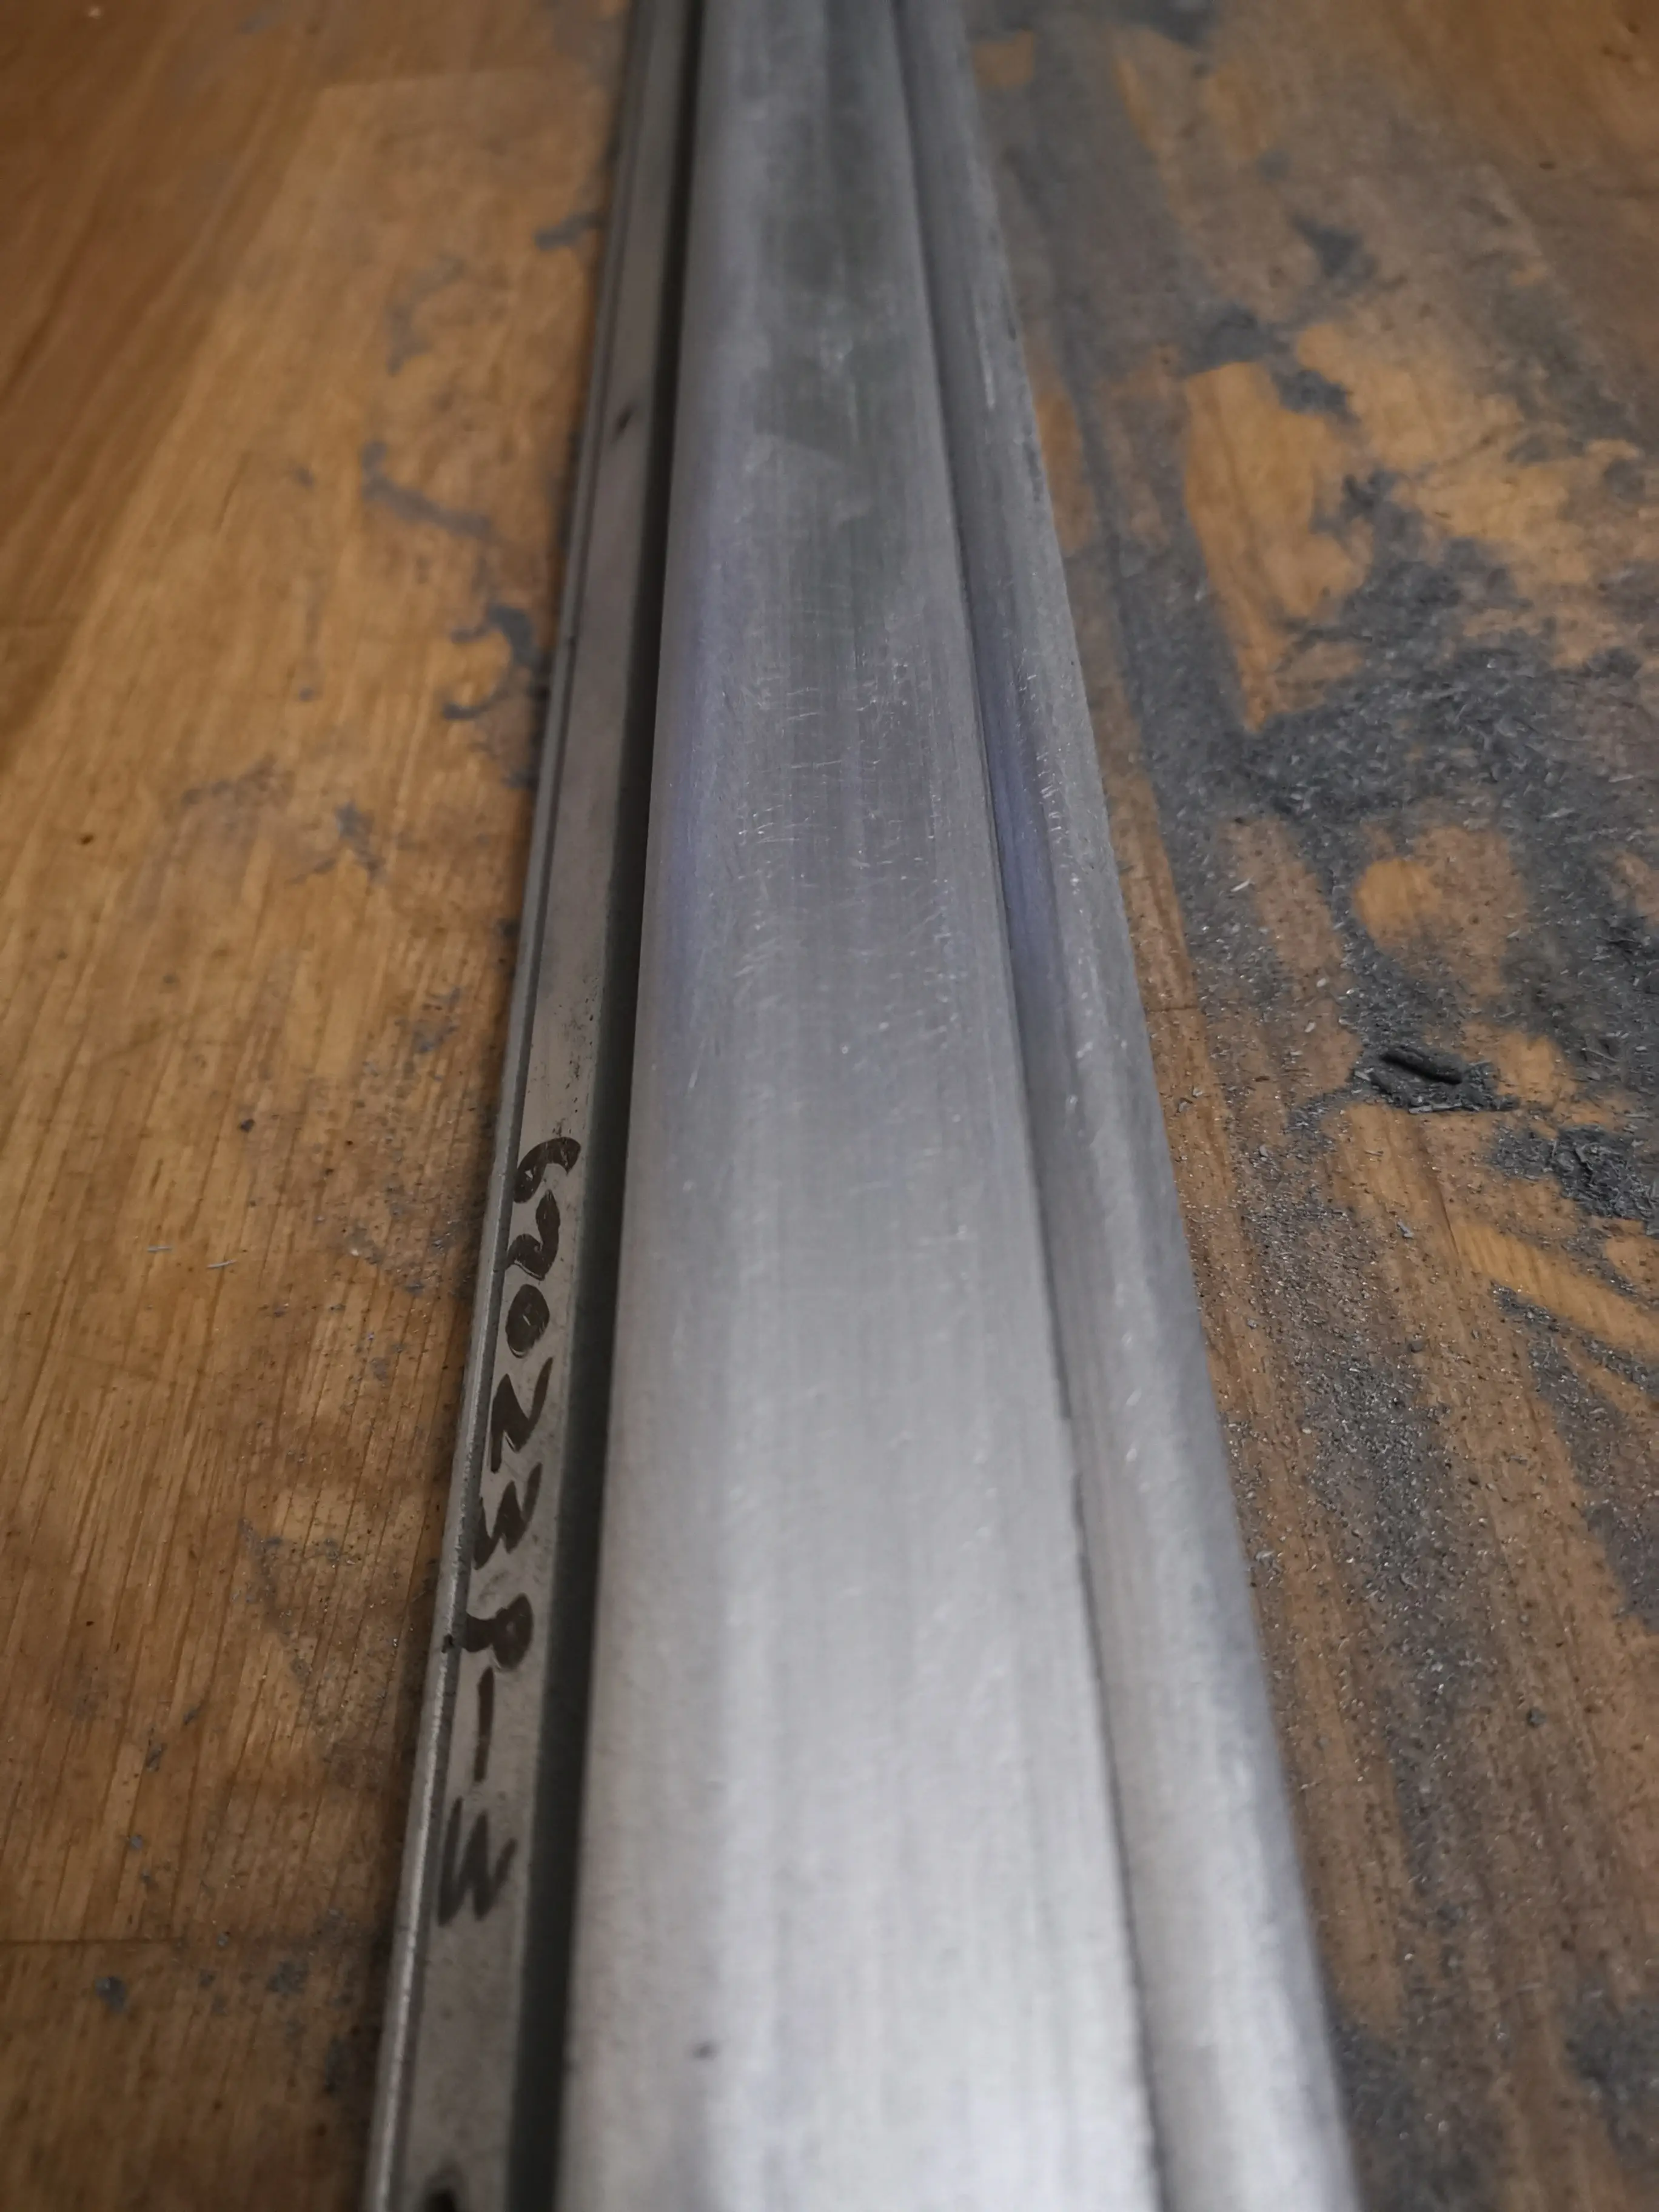
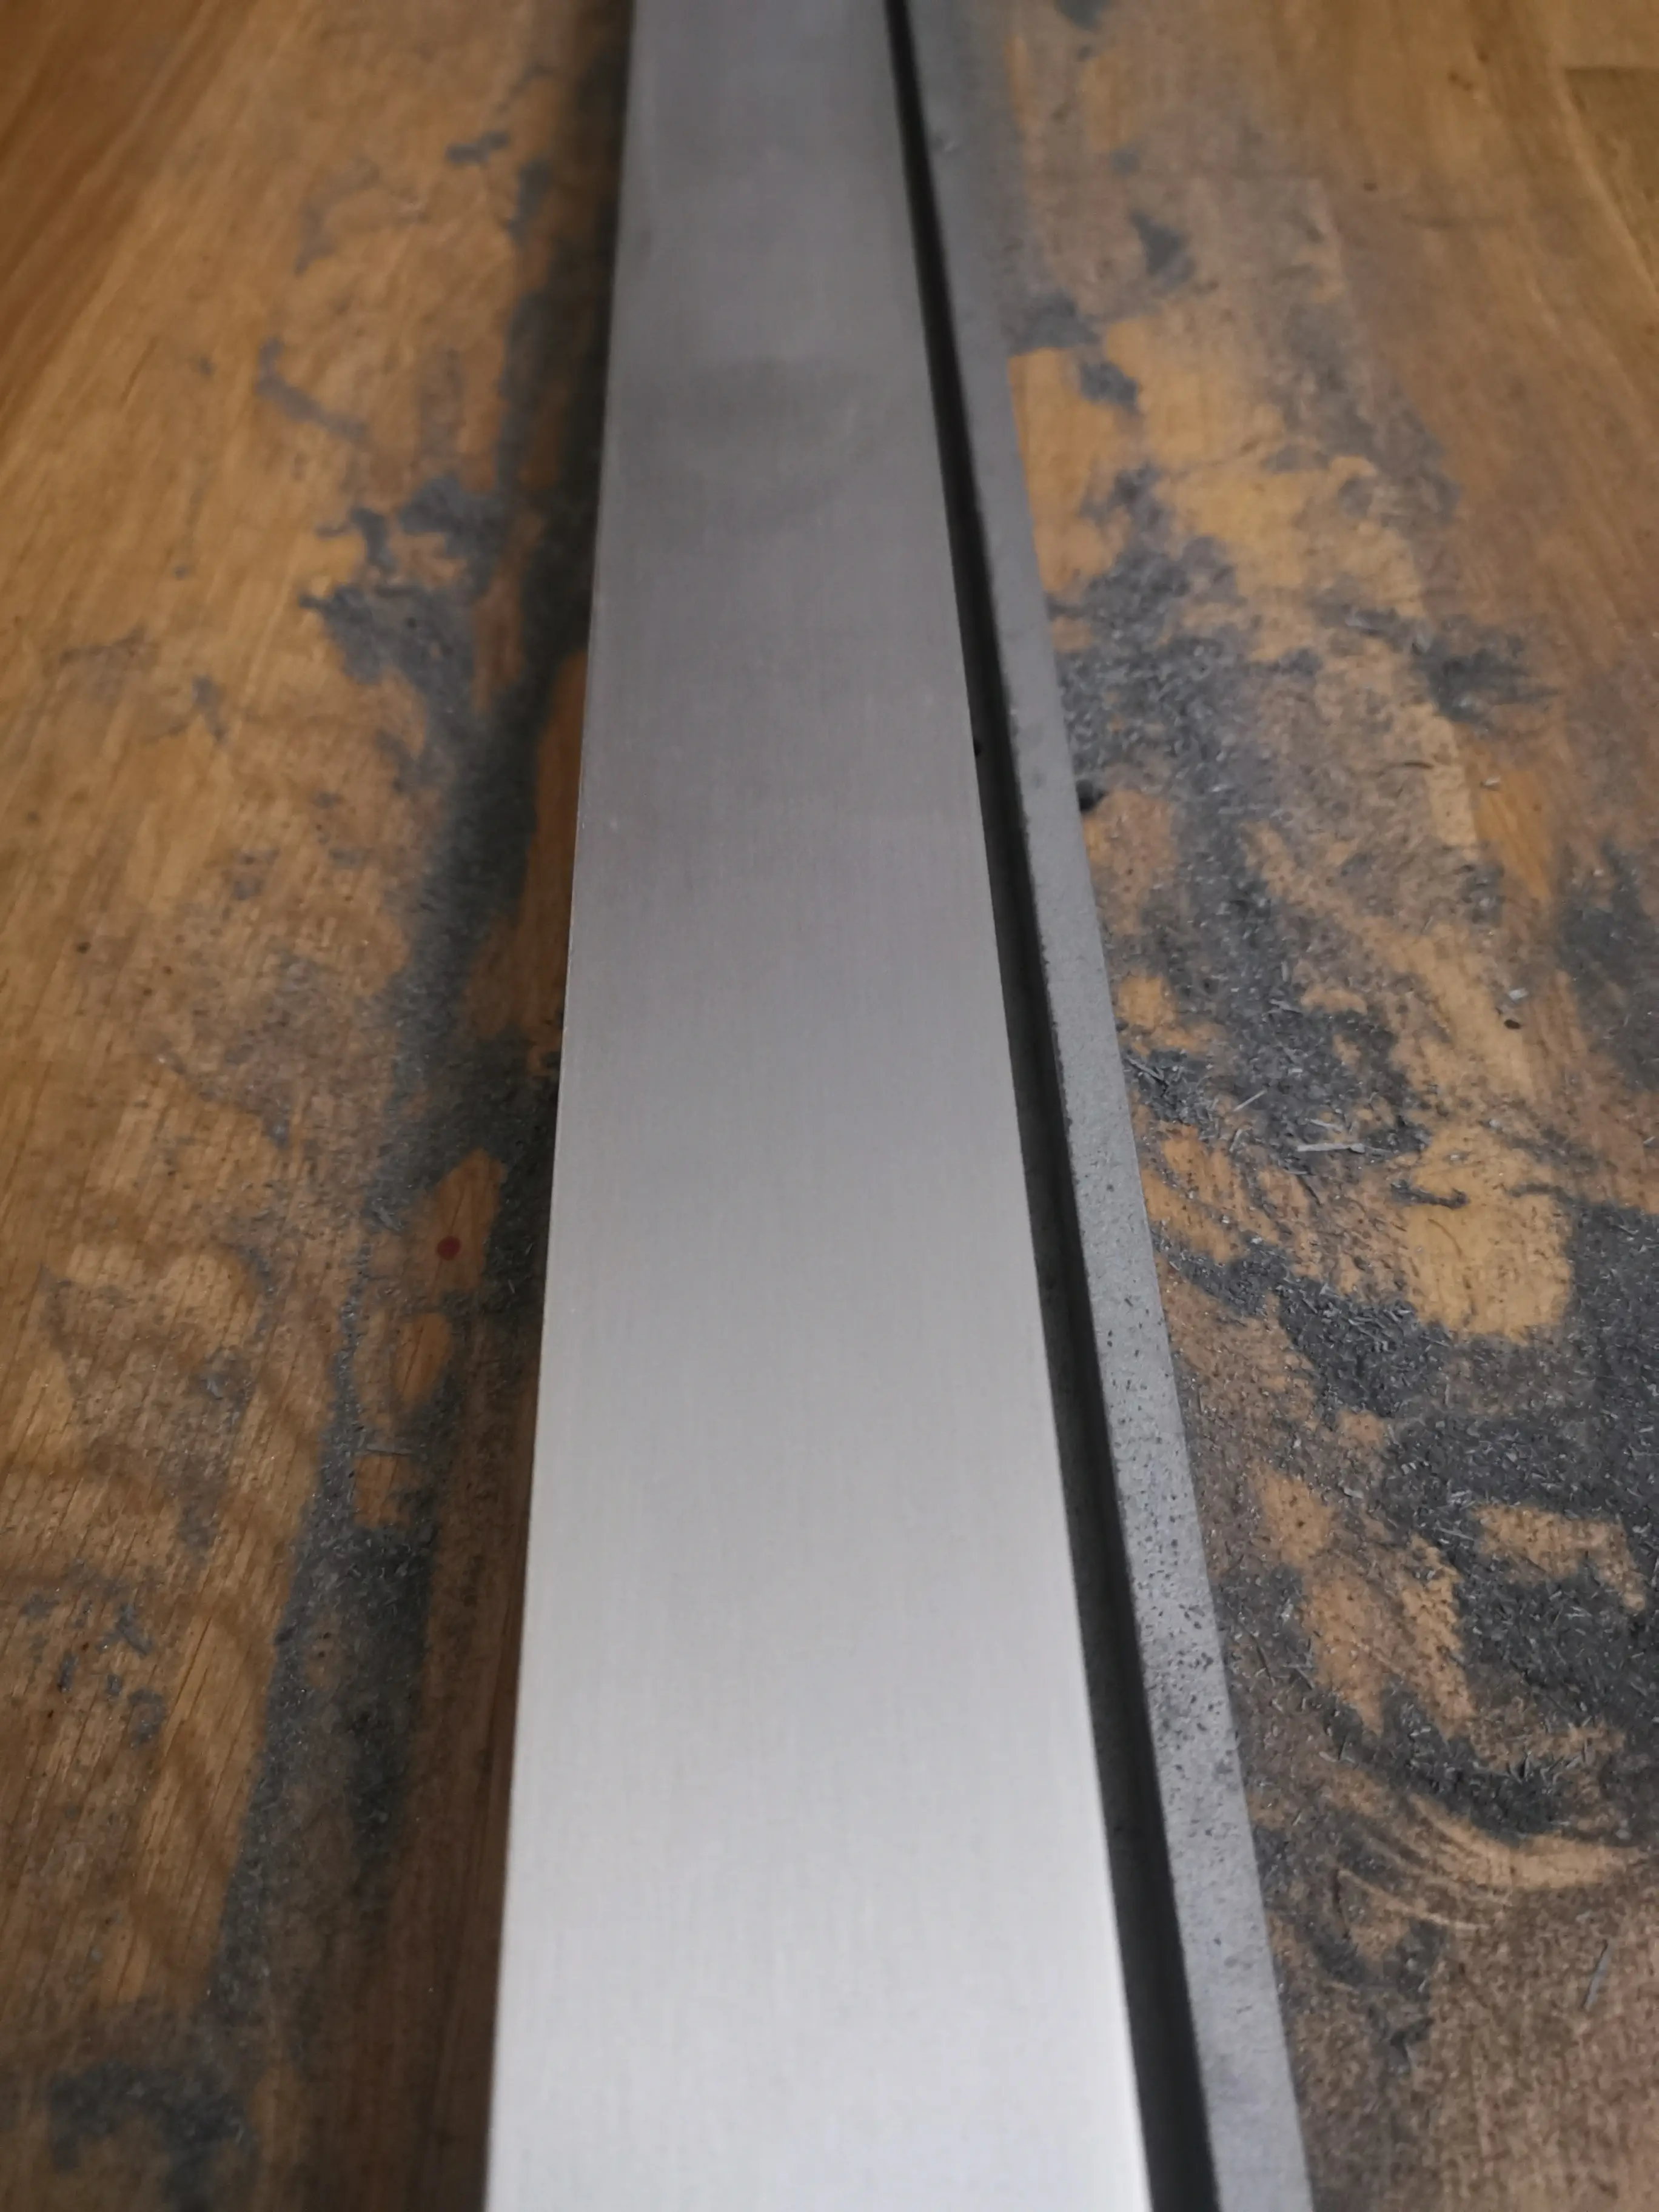
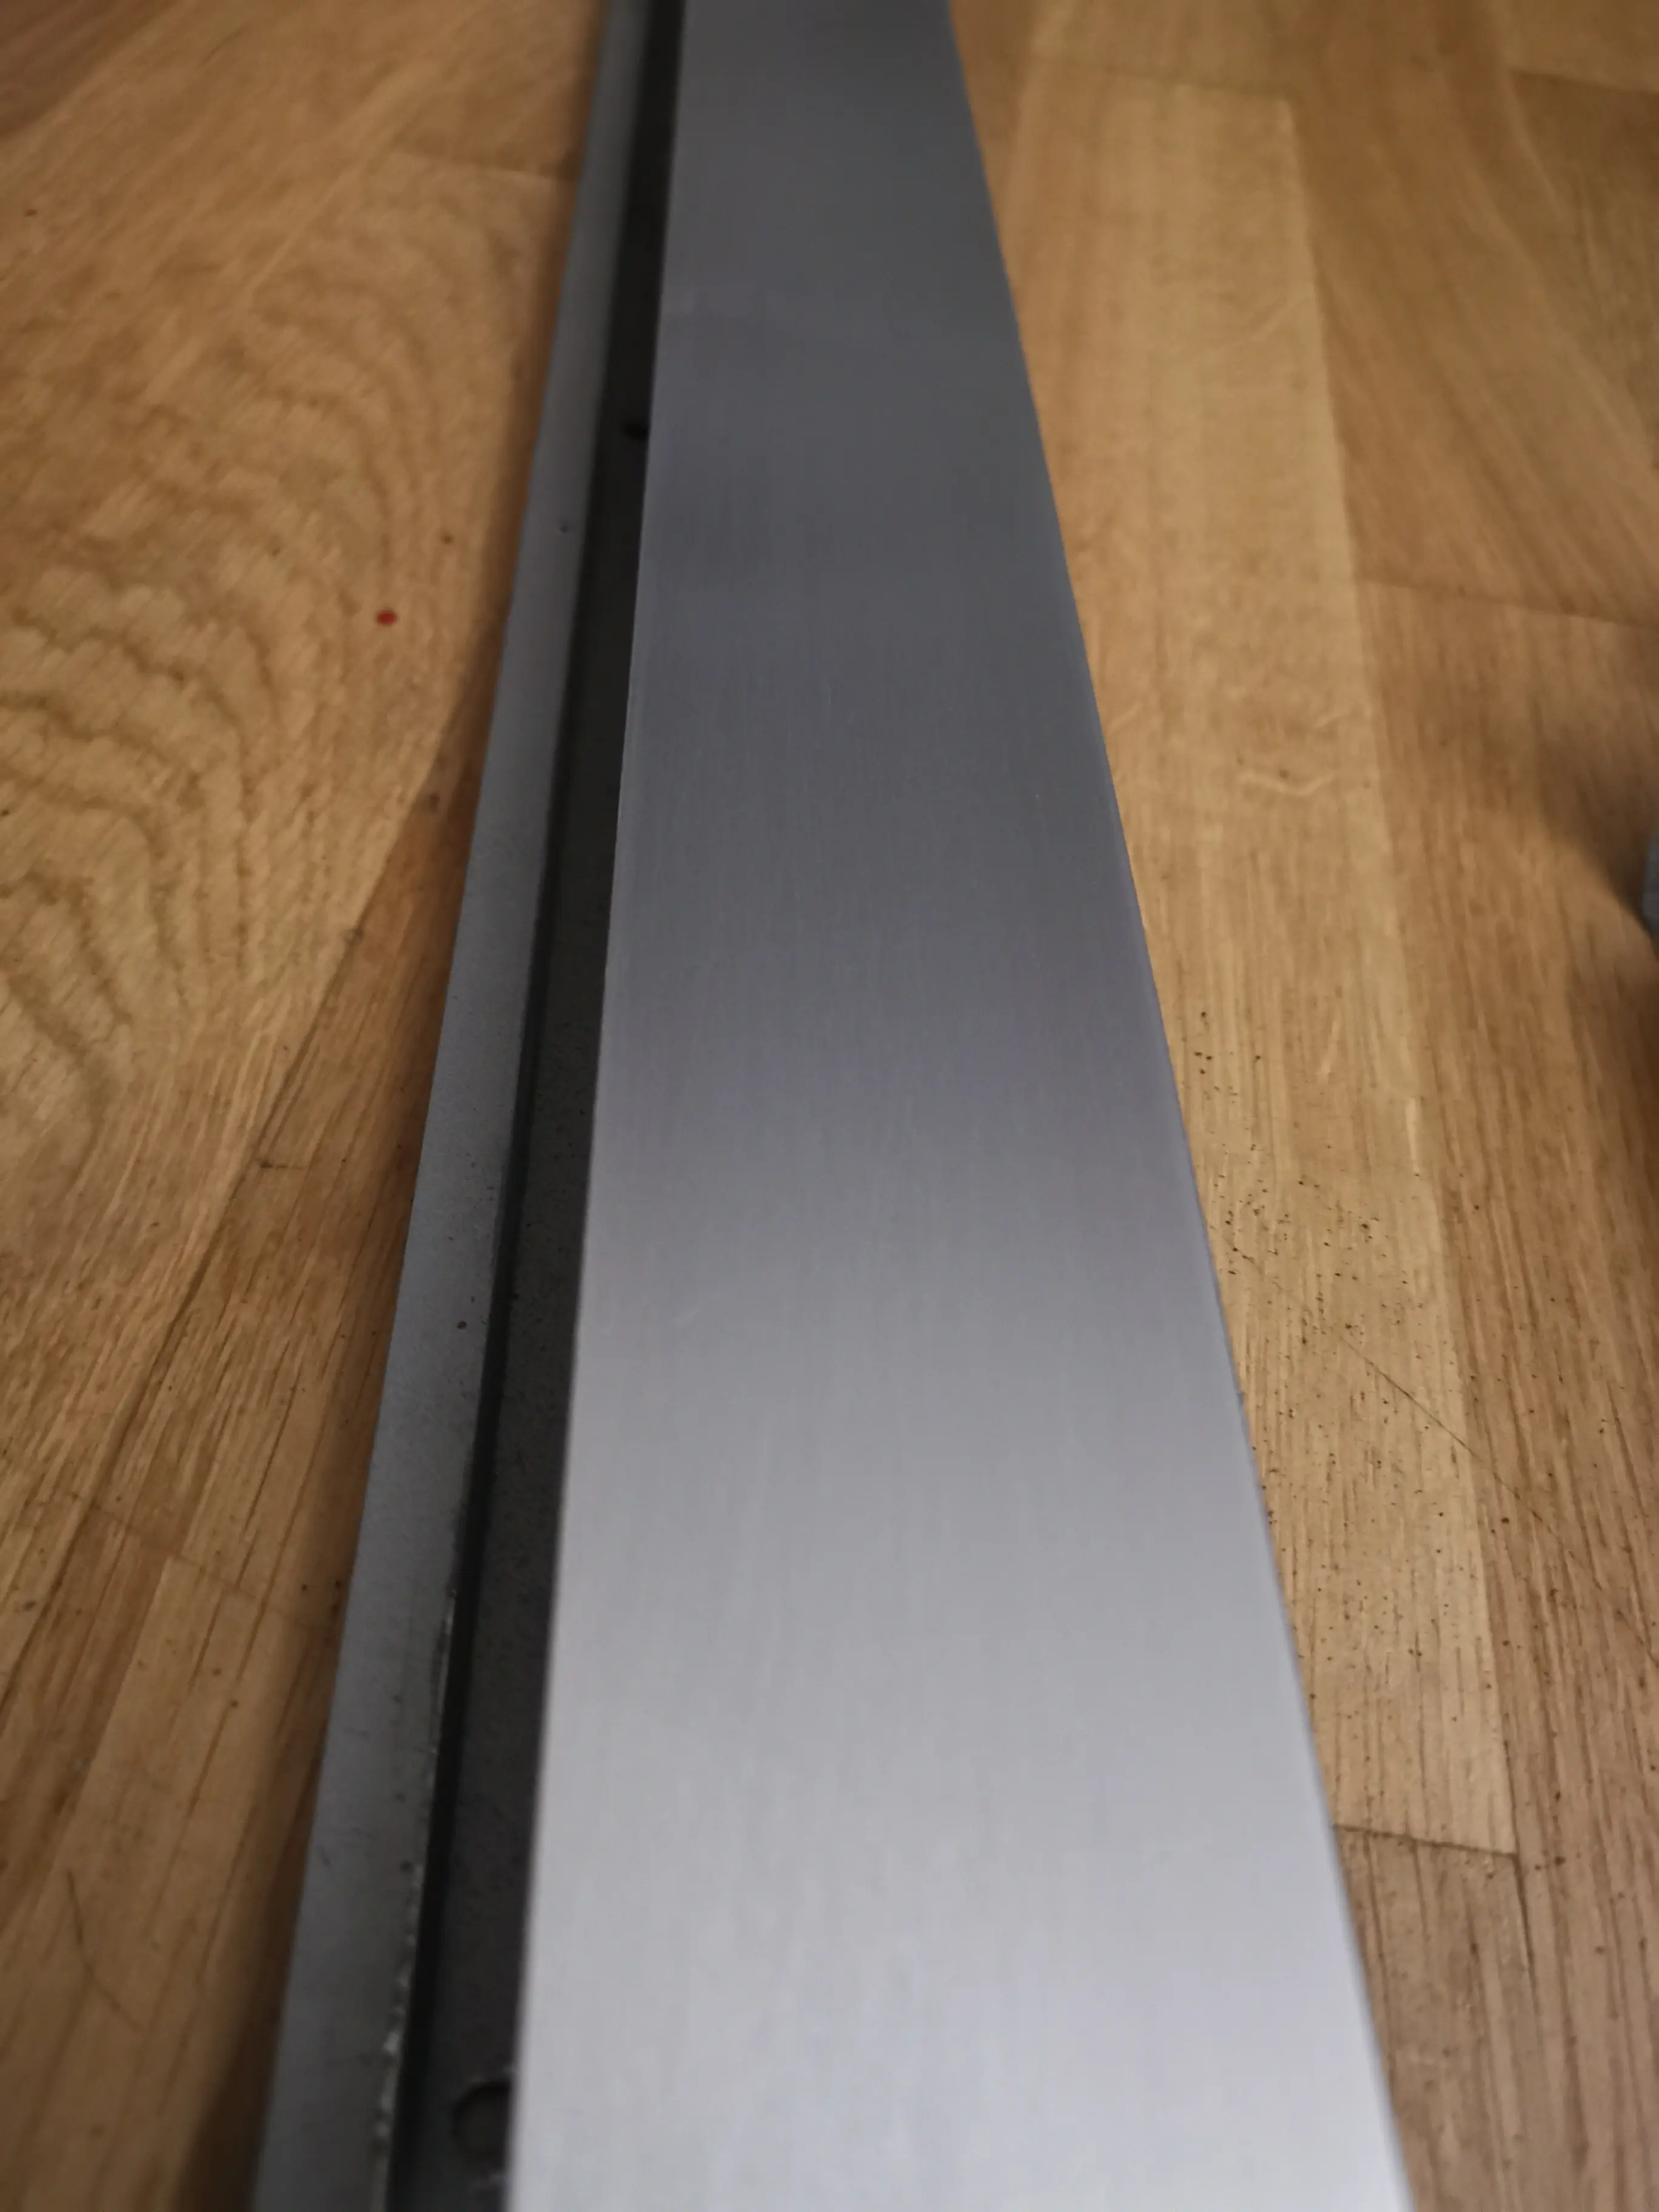
The aluminium strip

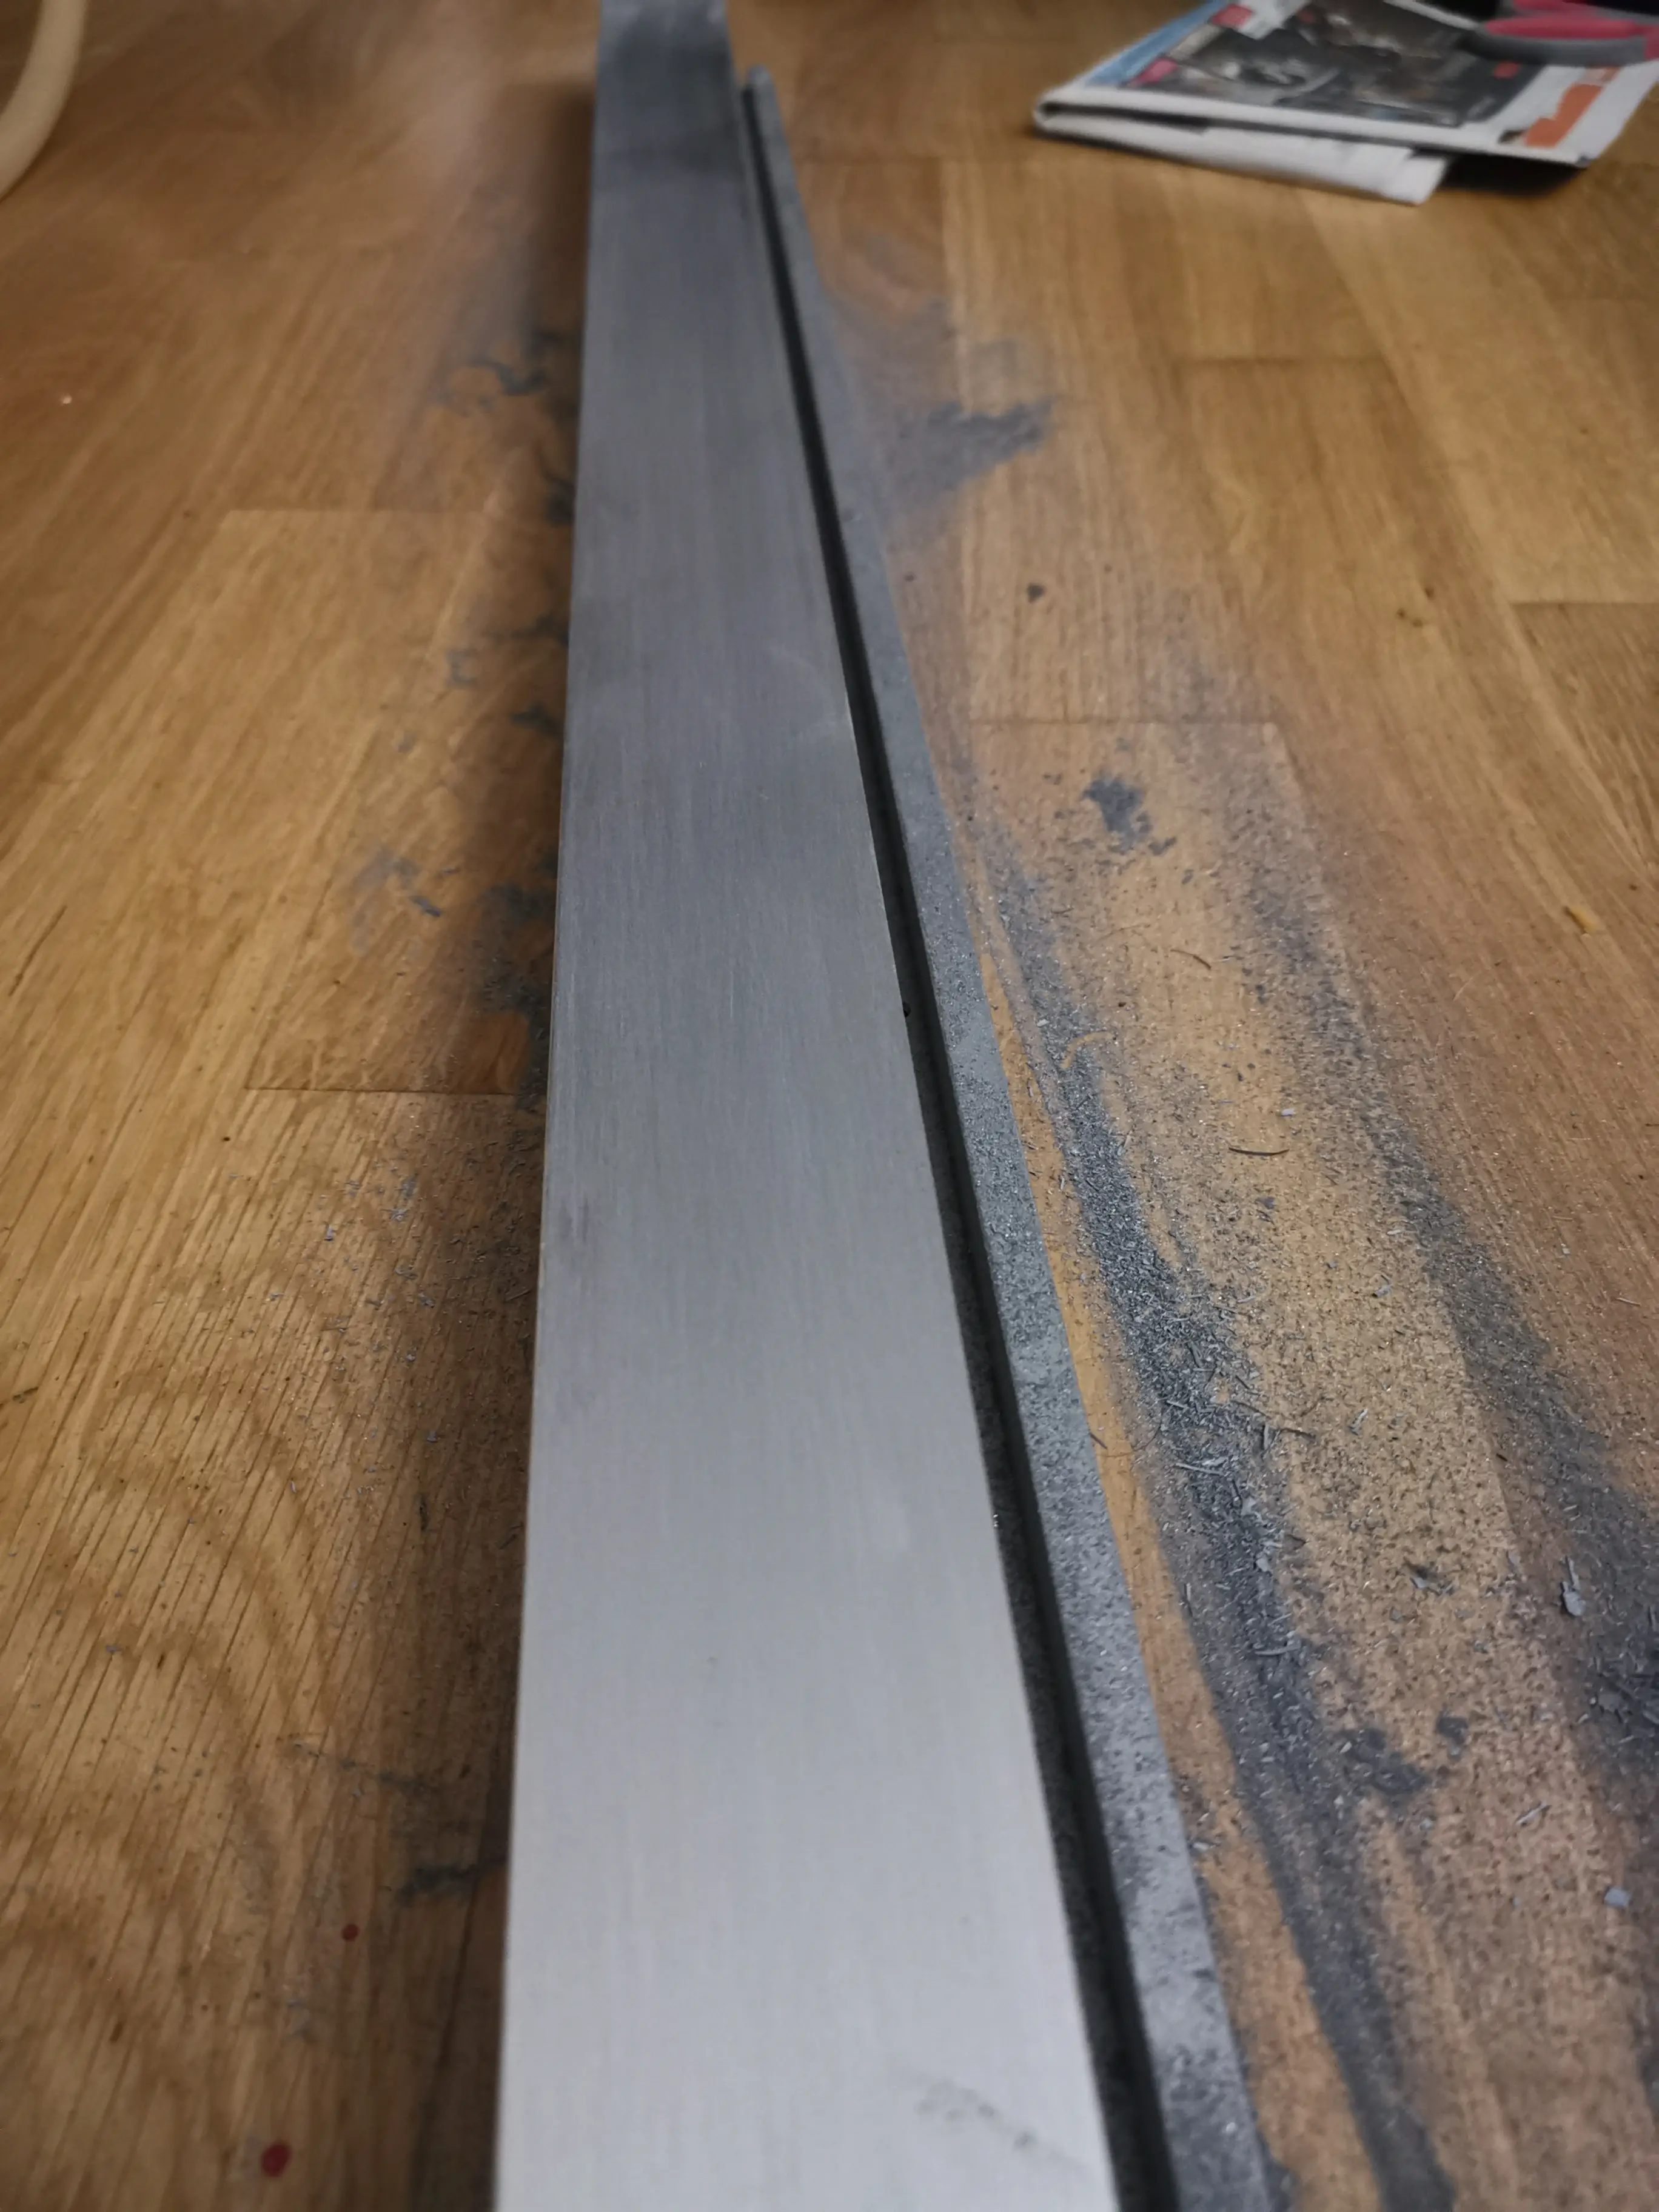
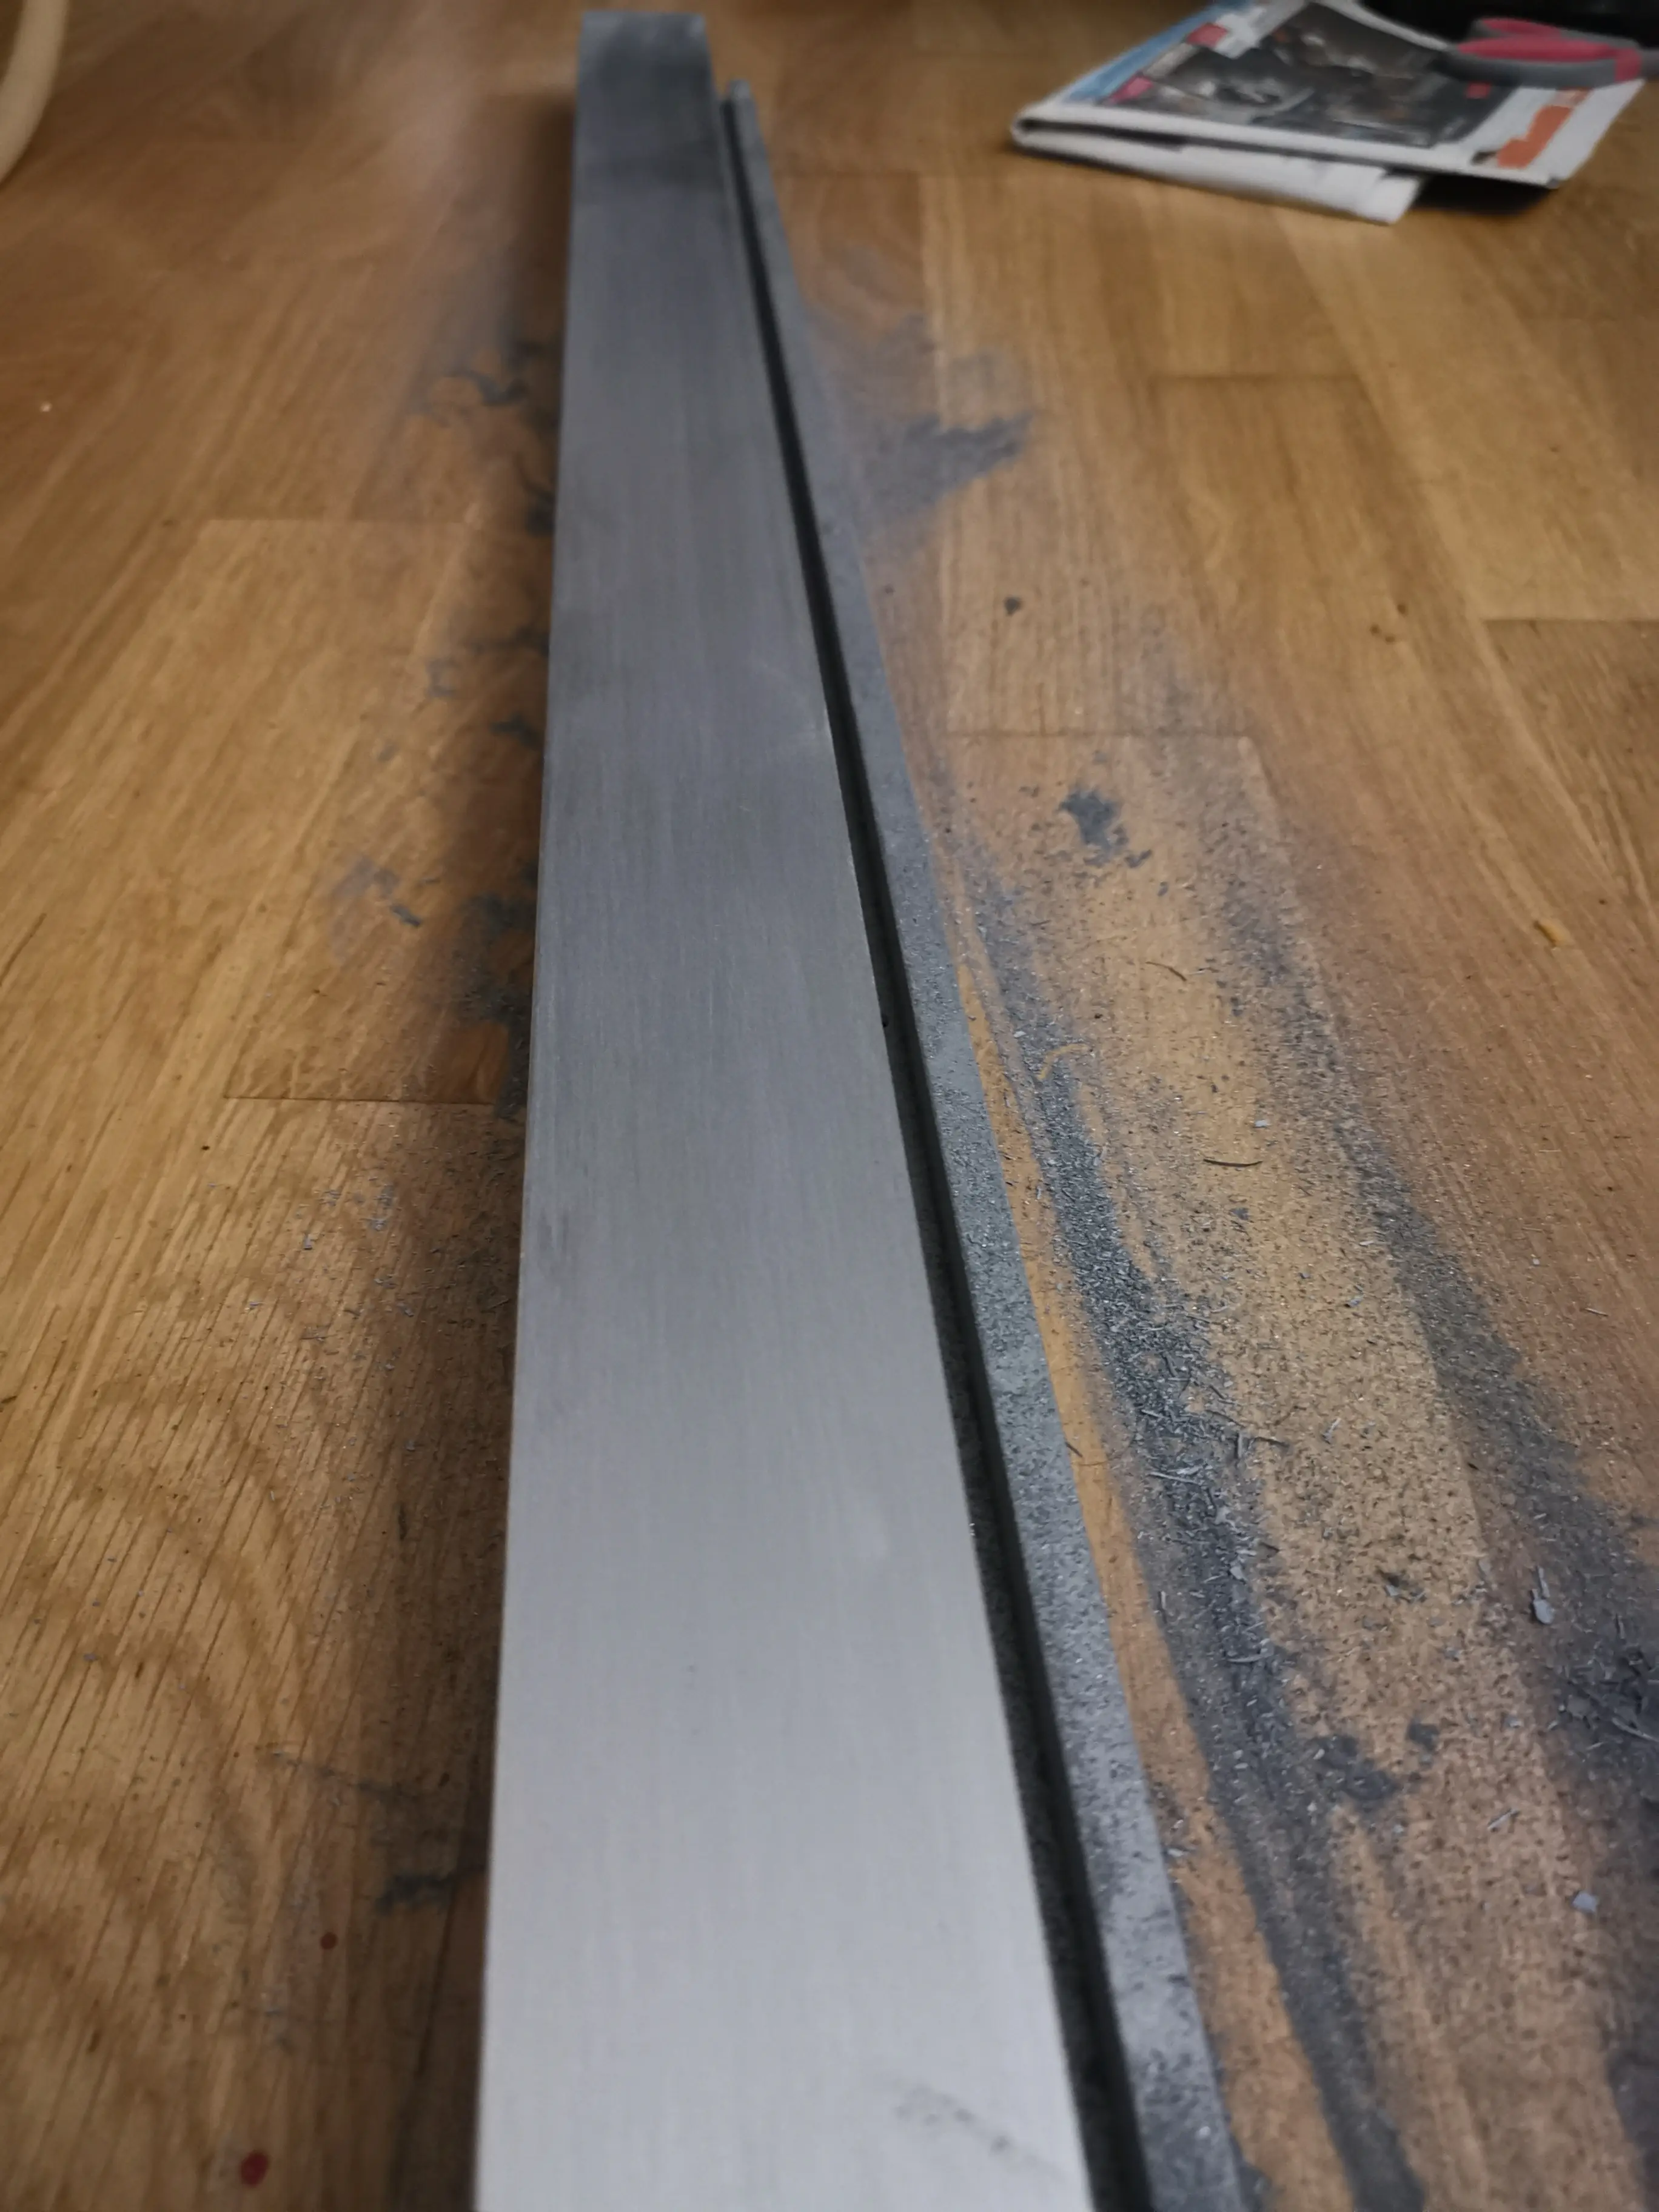
The long front strip gets sanded down to the bare aluminium.
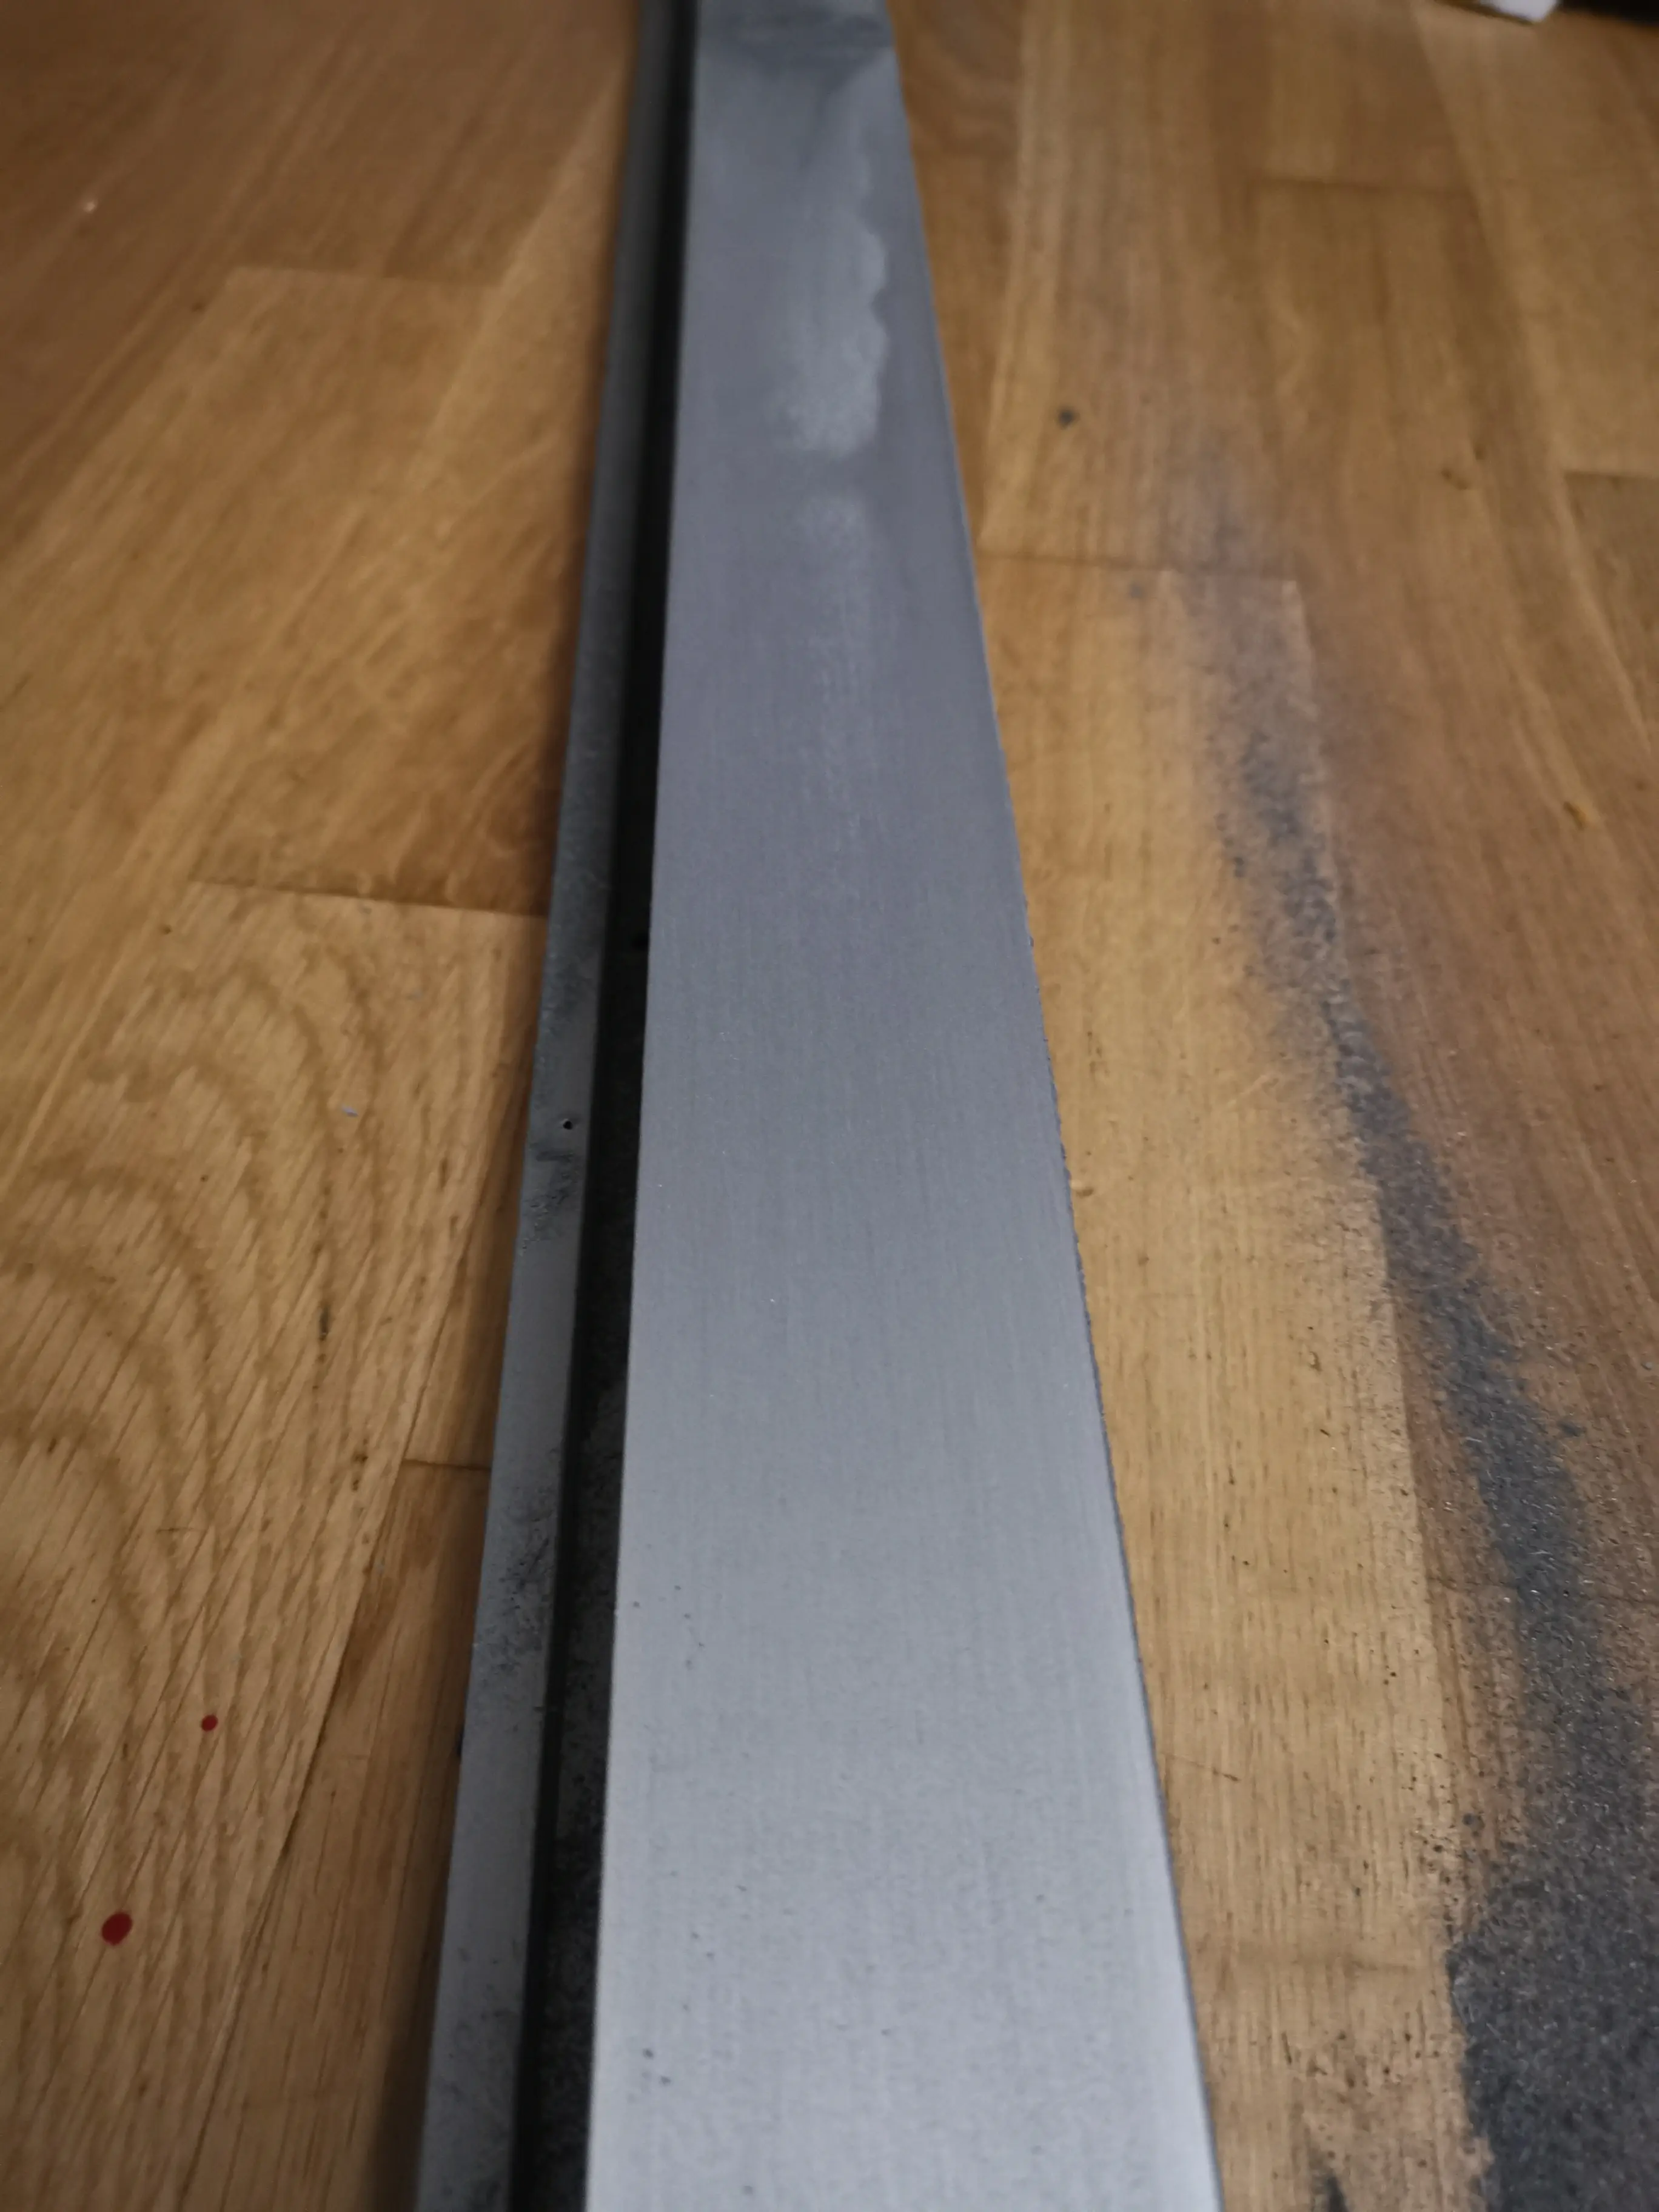
Sanding the aluminium front strip Sanding the aluminium front strip Sanding the aluminium front strip Sanding the aluminium front strip Sanding the aluminium front strip Sanding the aluminium front strip Sanding the aluminium front strip

First metallic test

First metallic paint test on the panels First metallic paint test on the panels First metallic paint test on the panels First metallic paint test on the panels

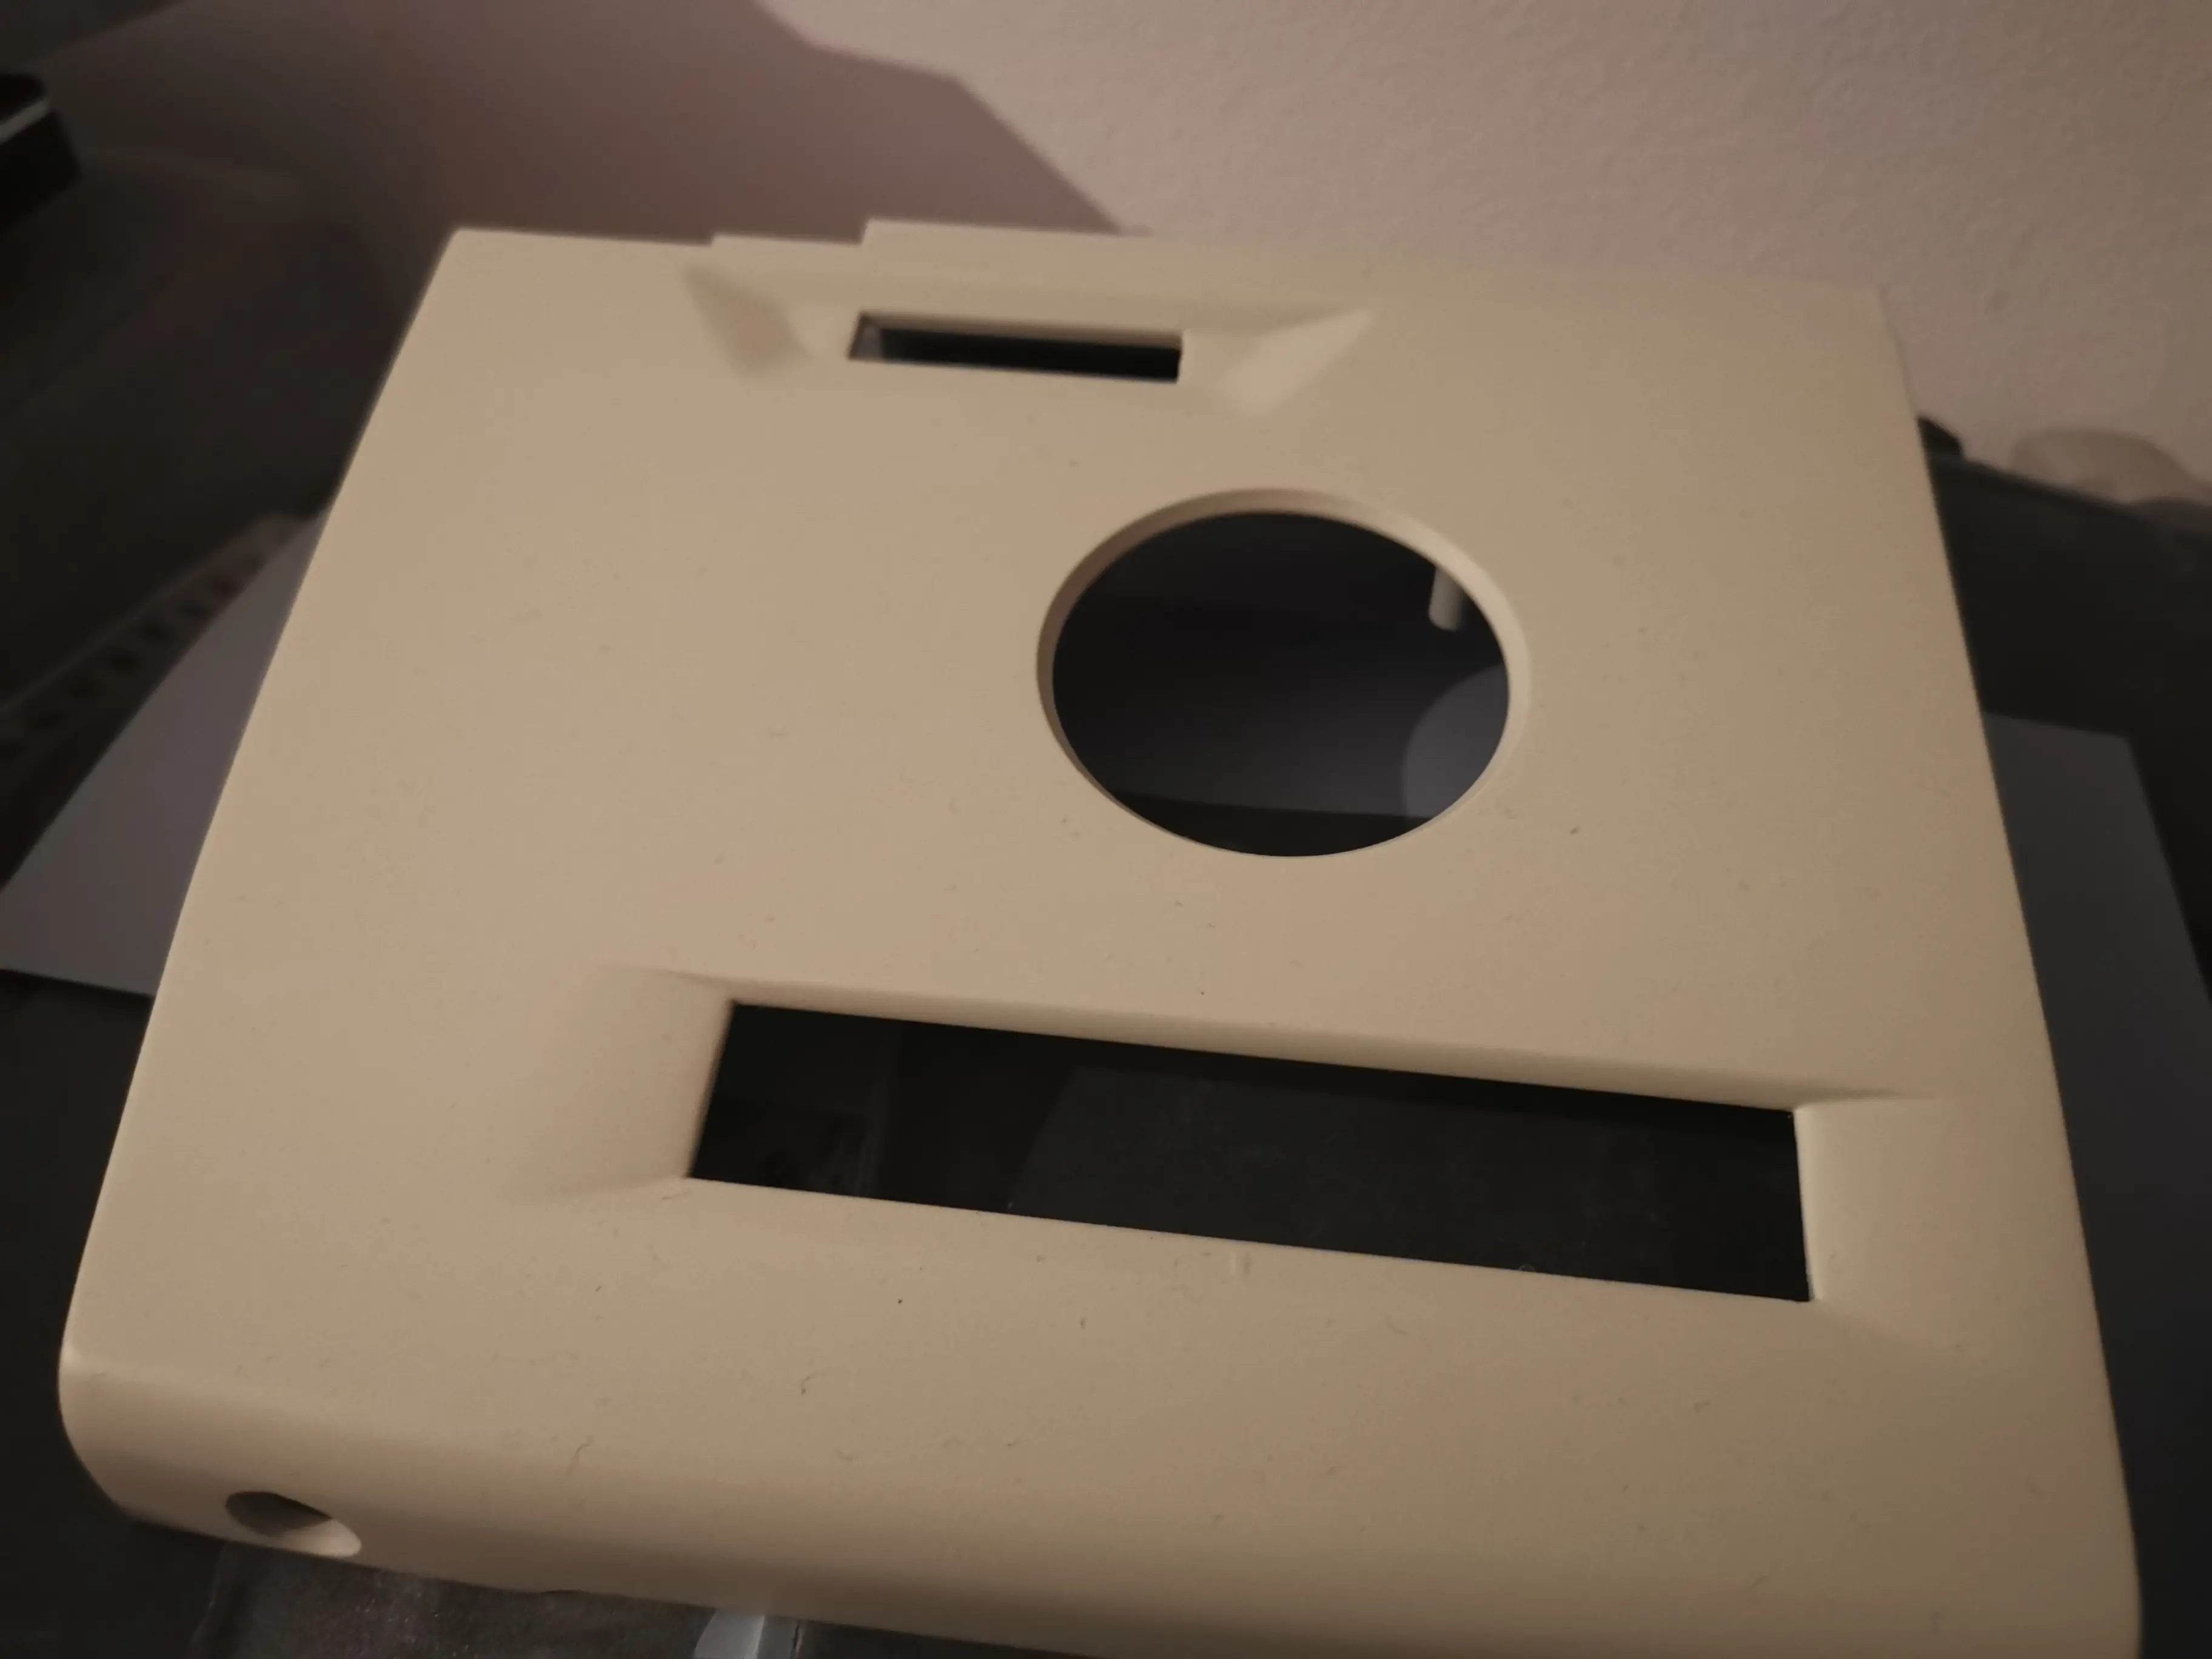
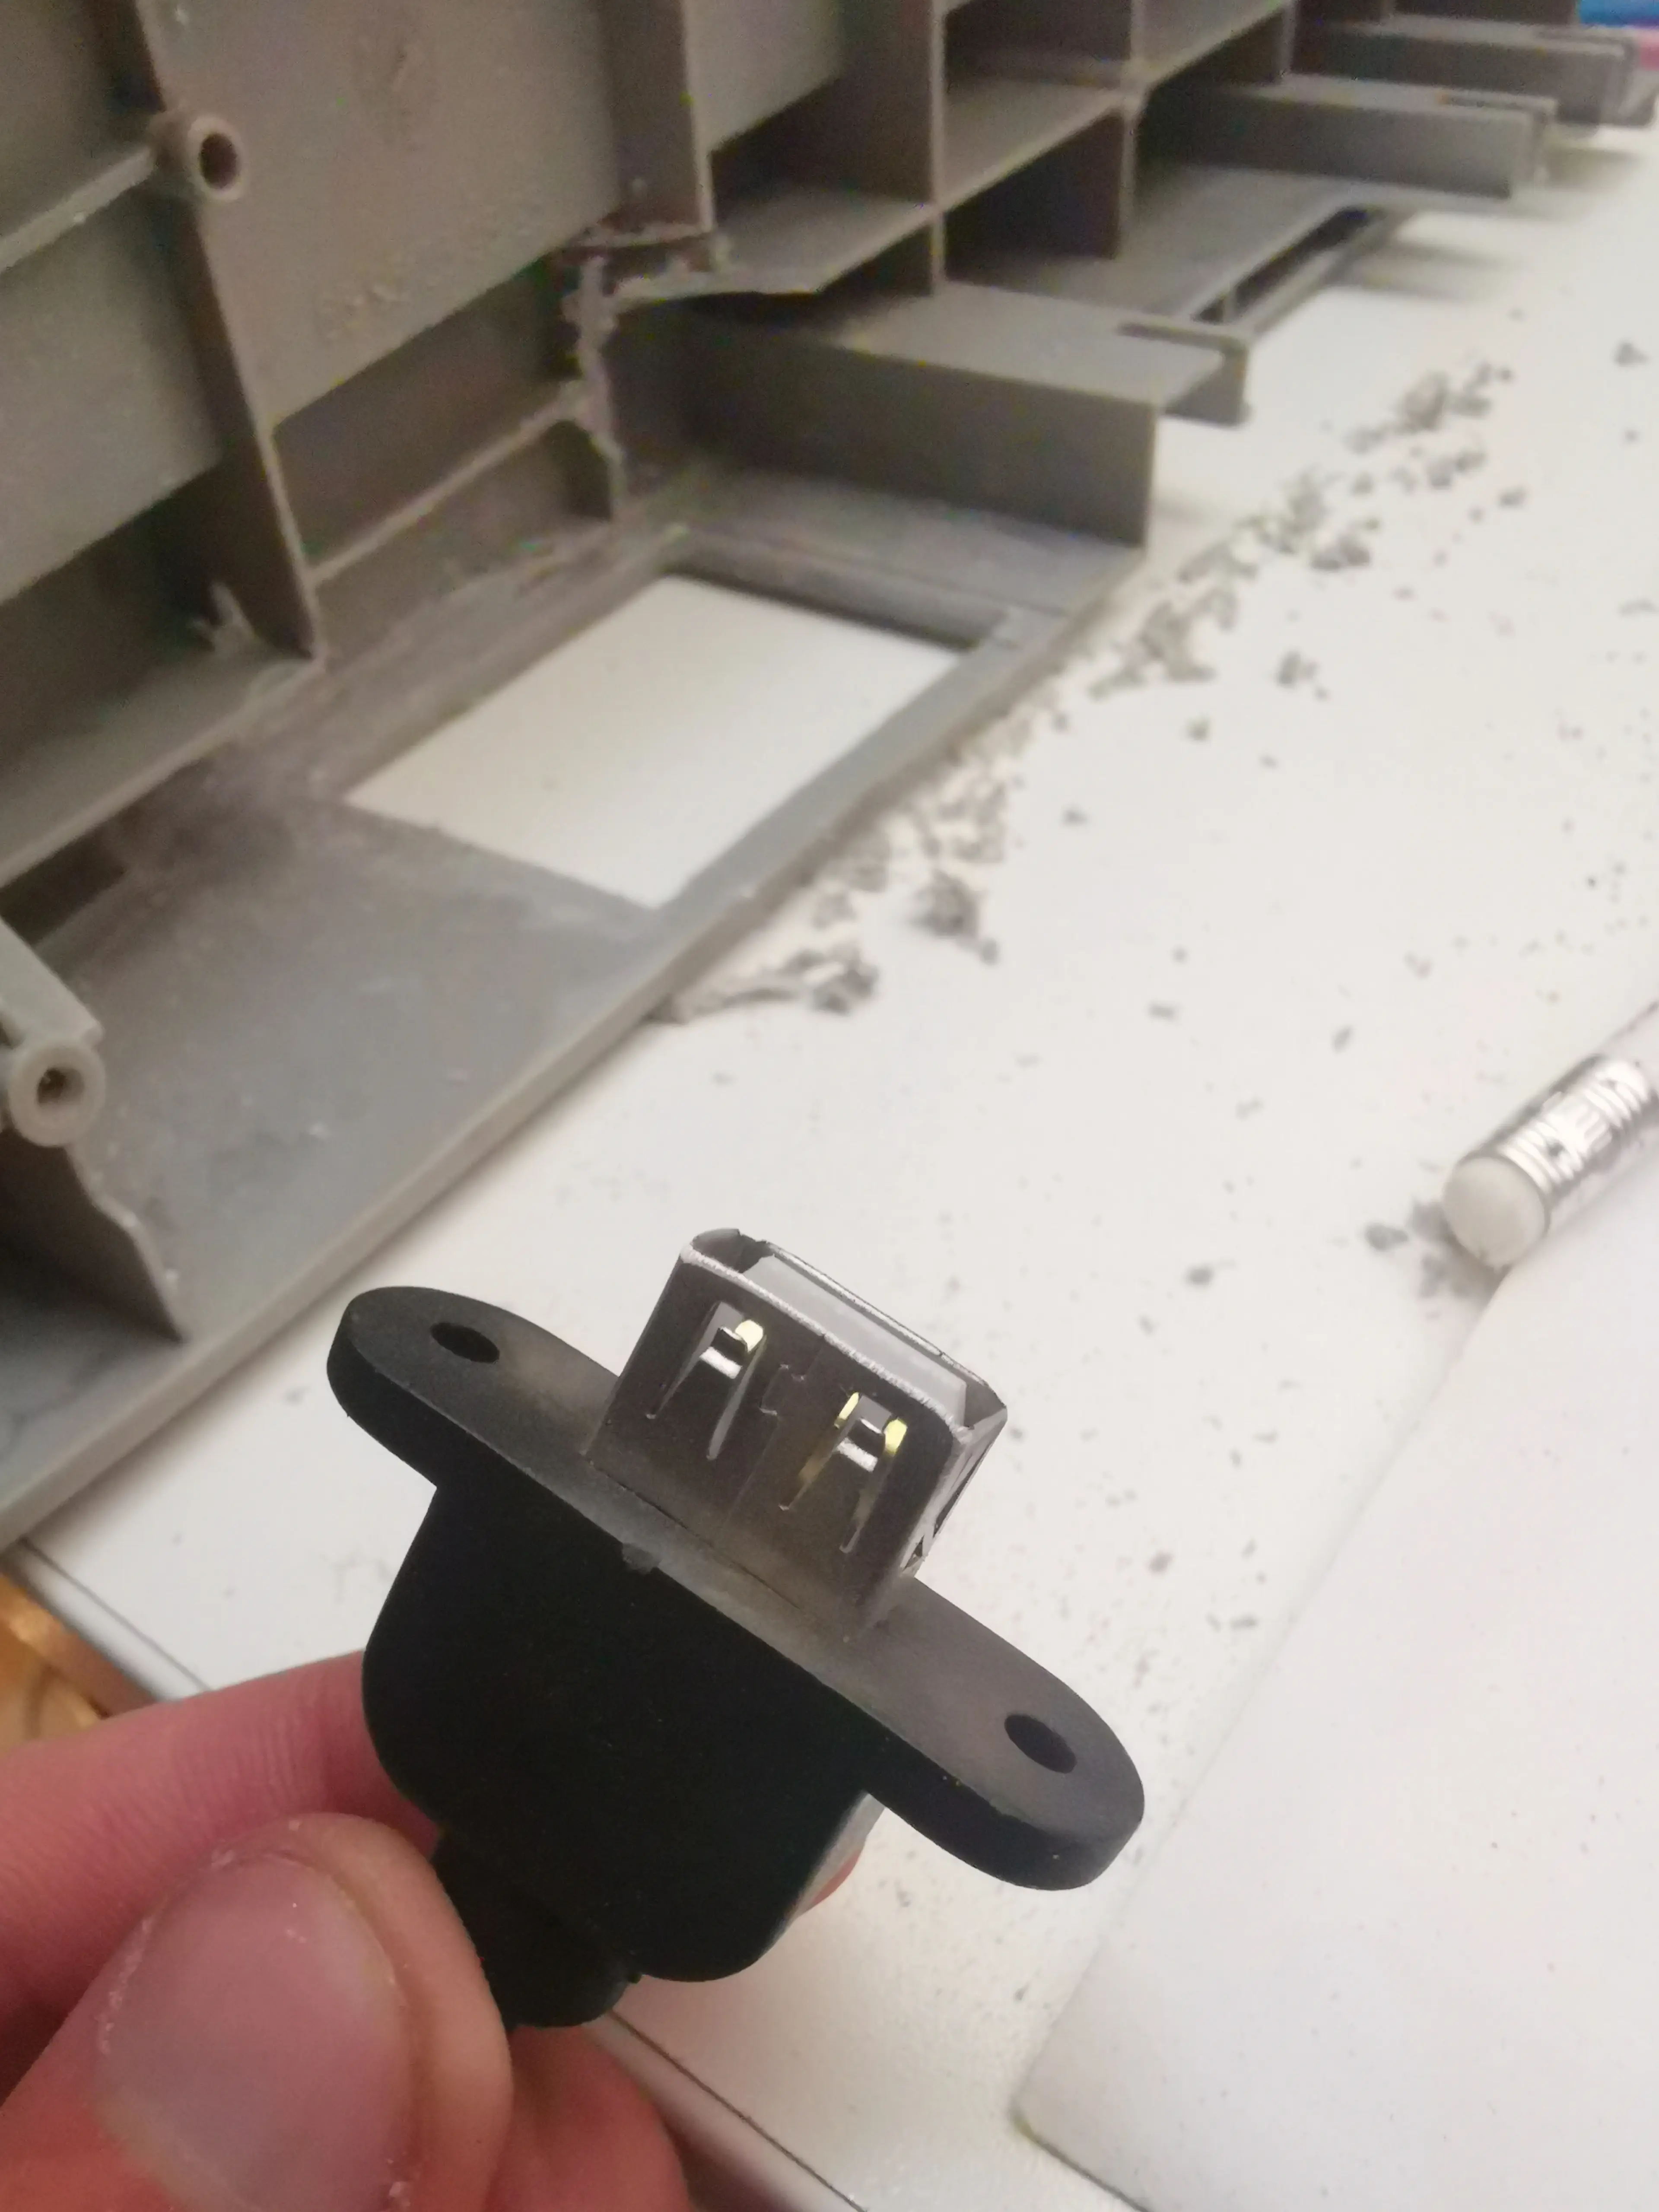
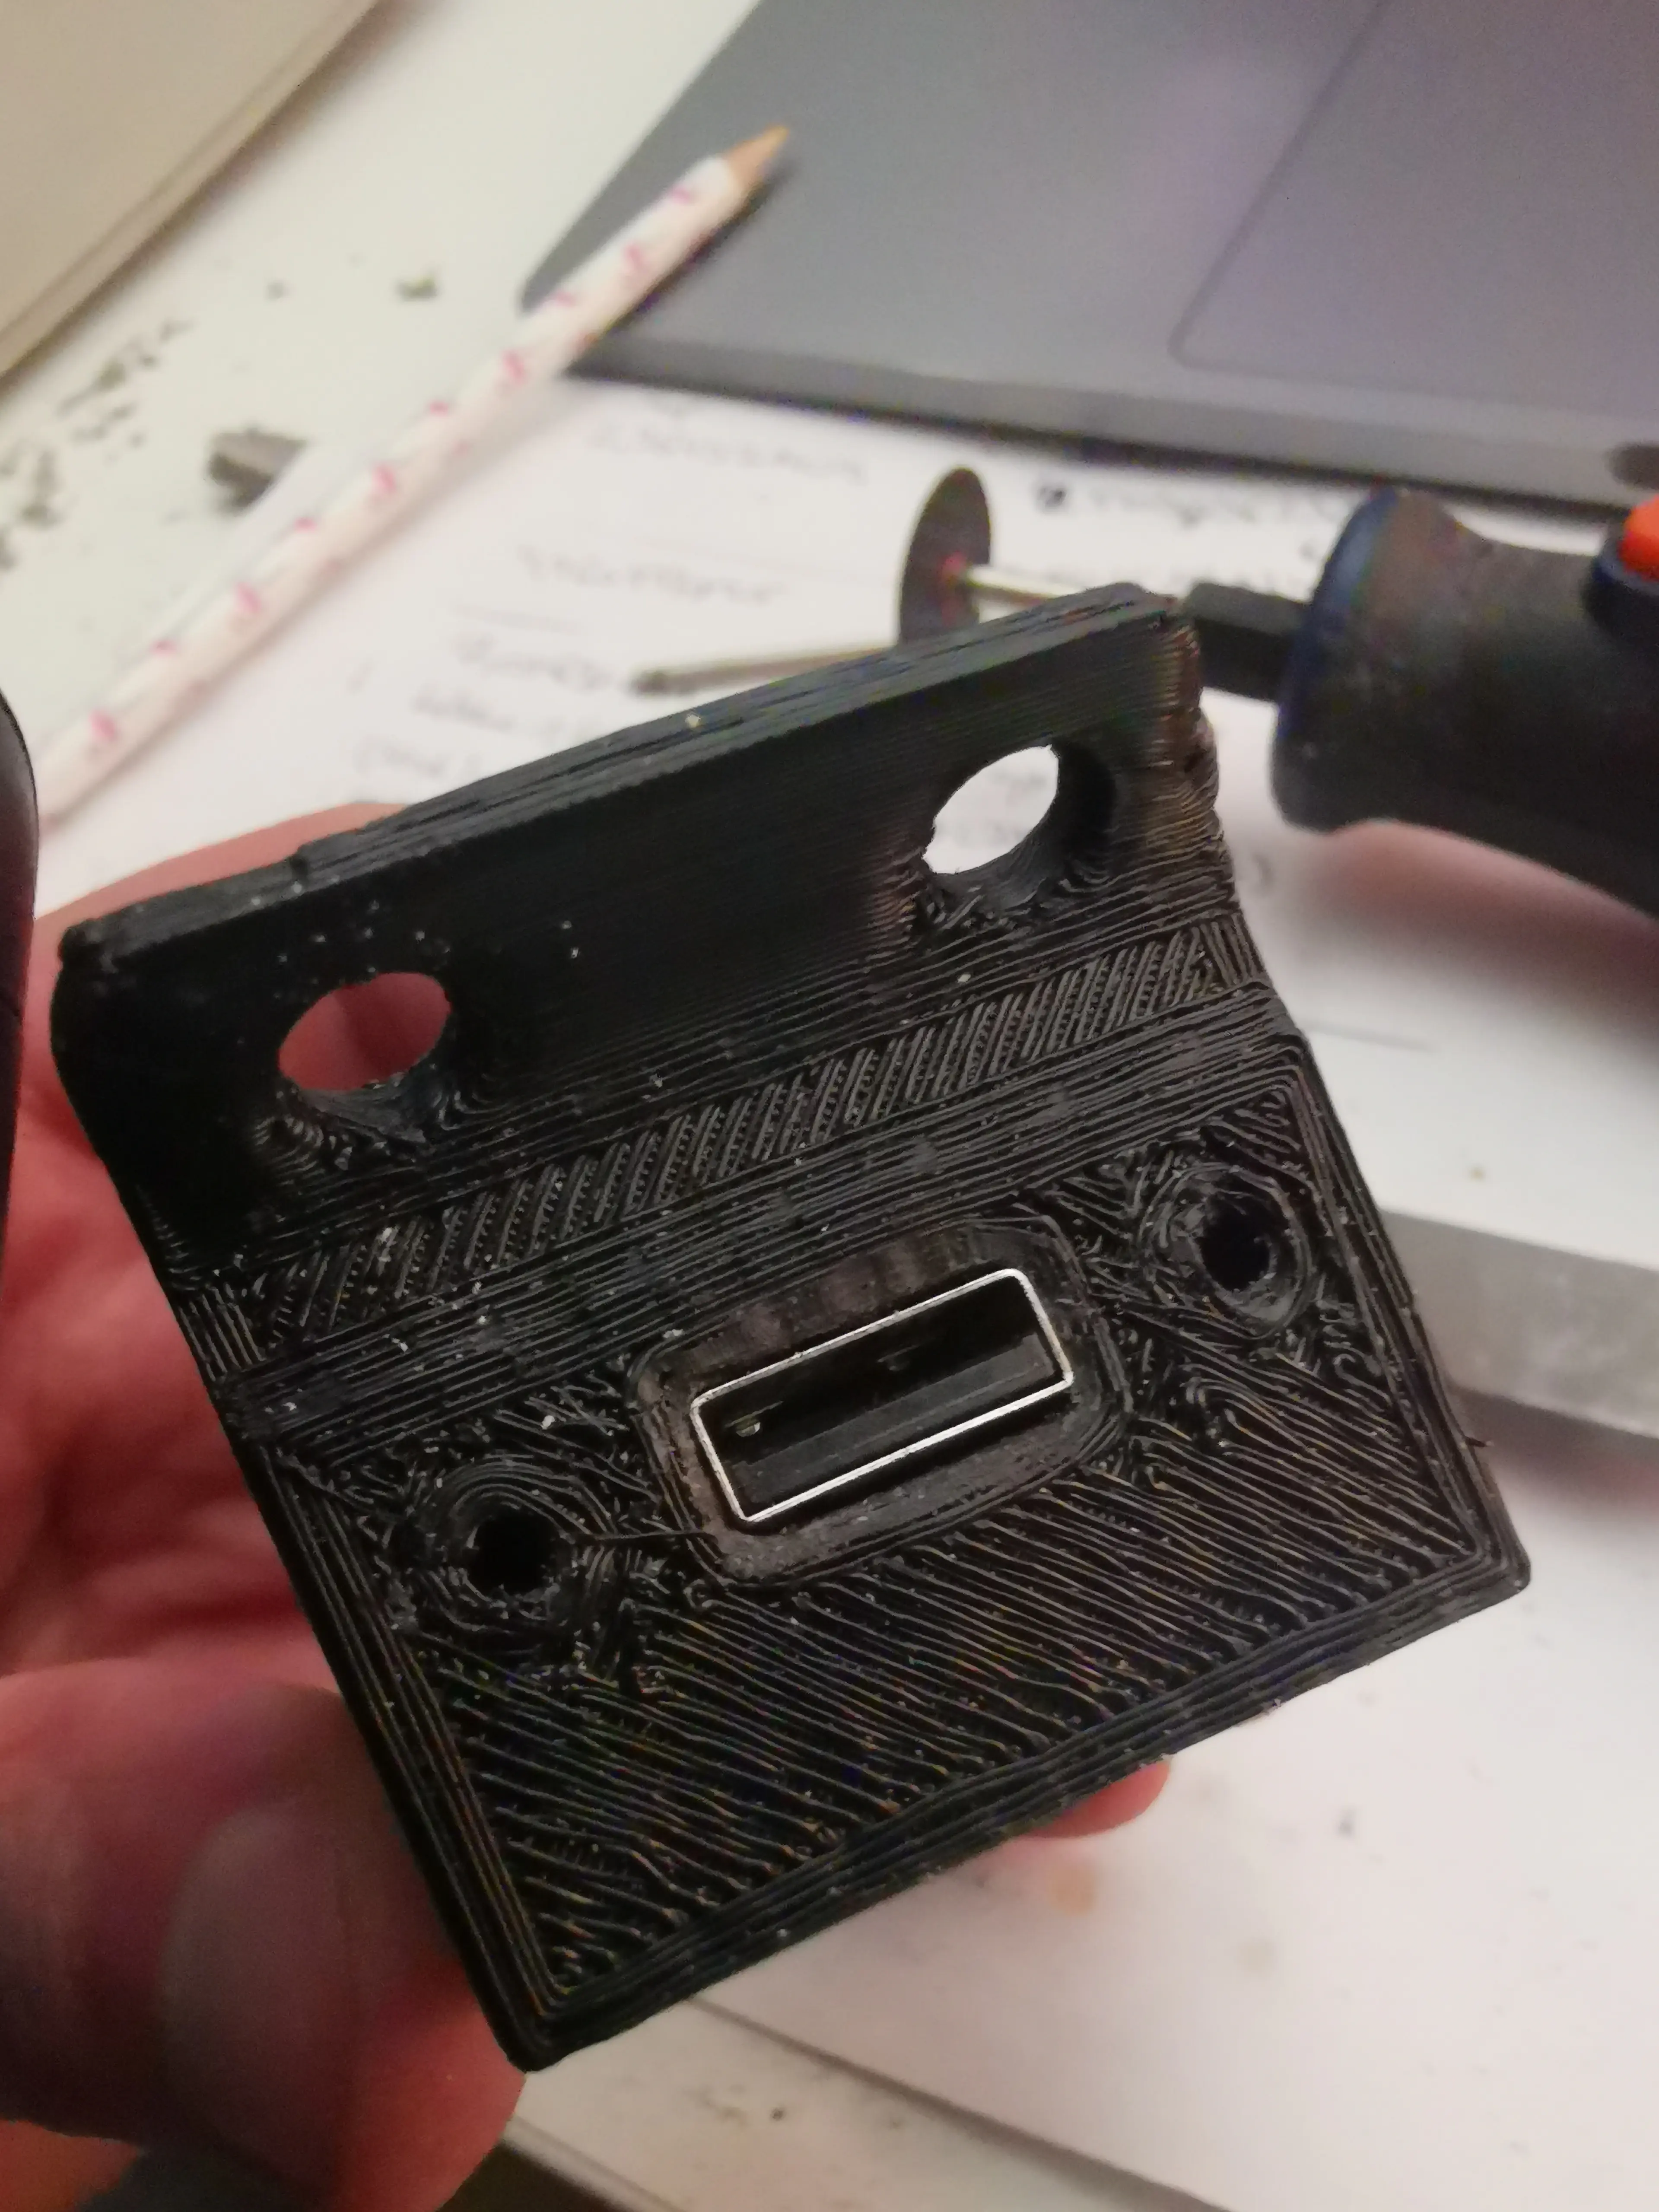
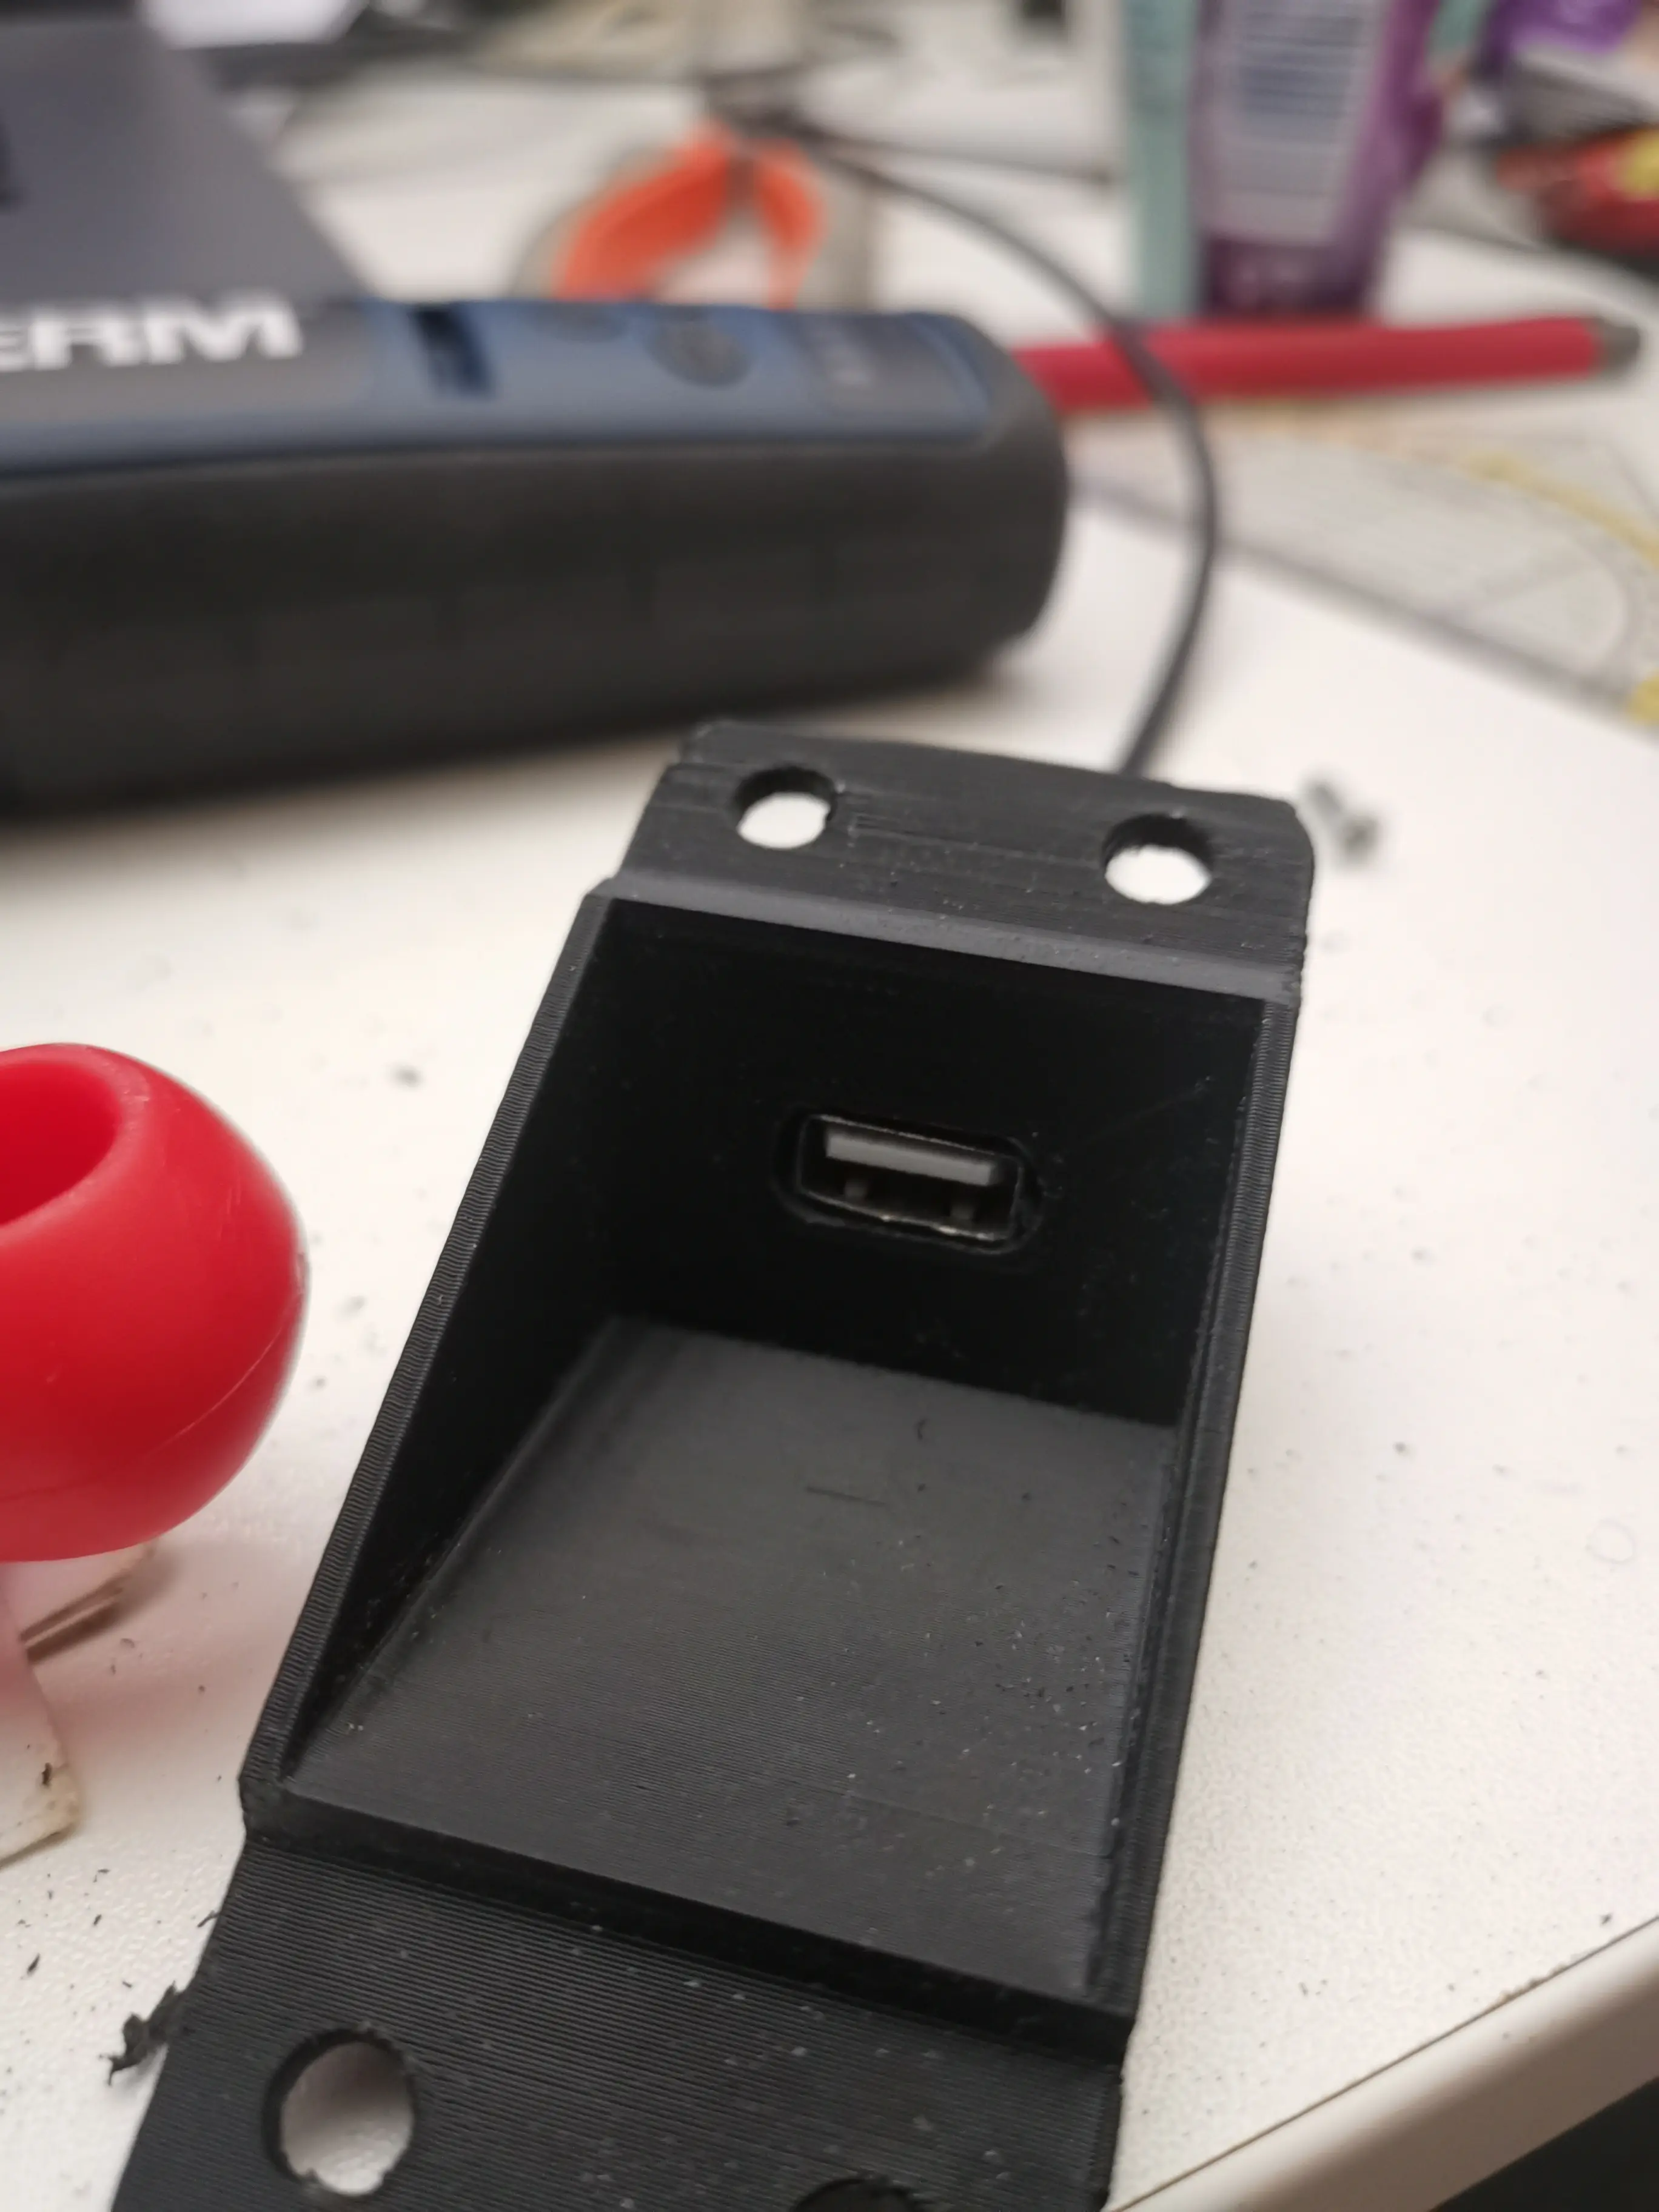
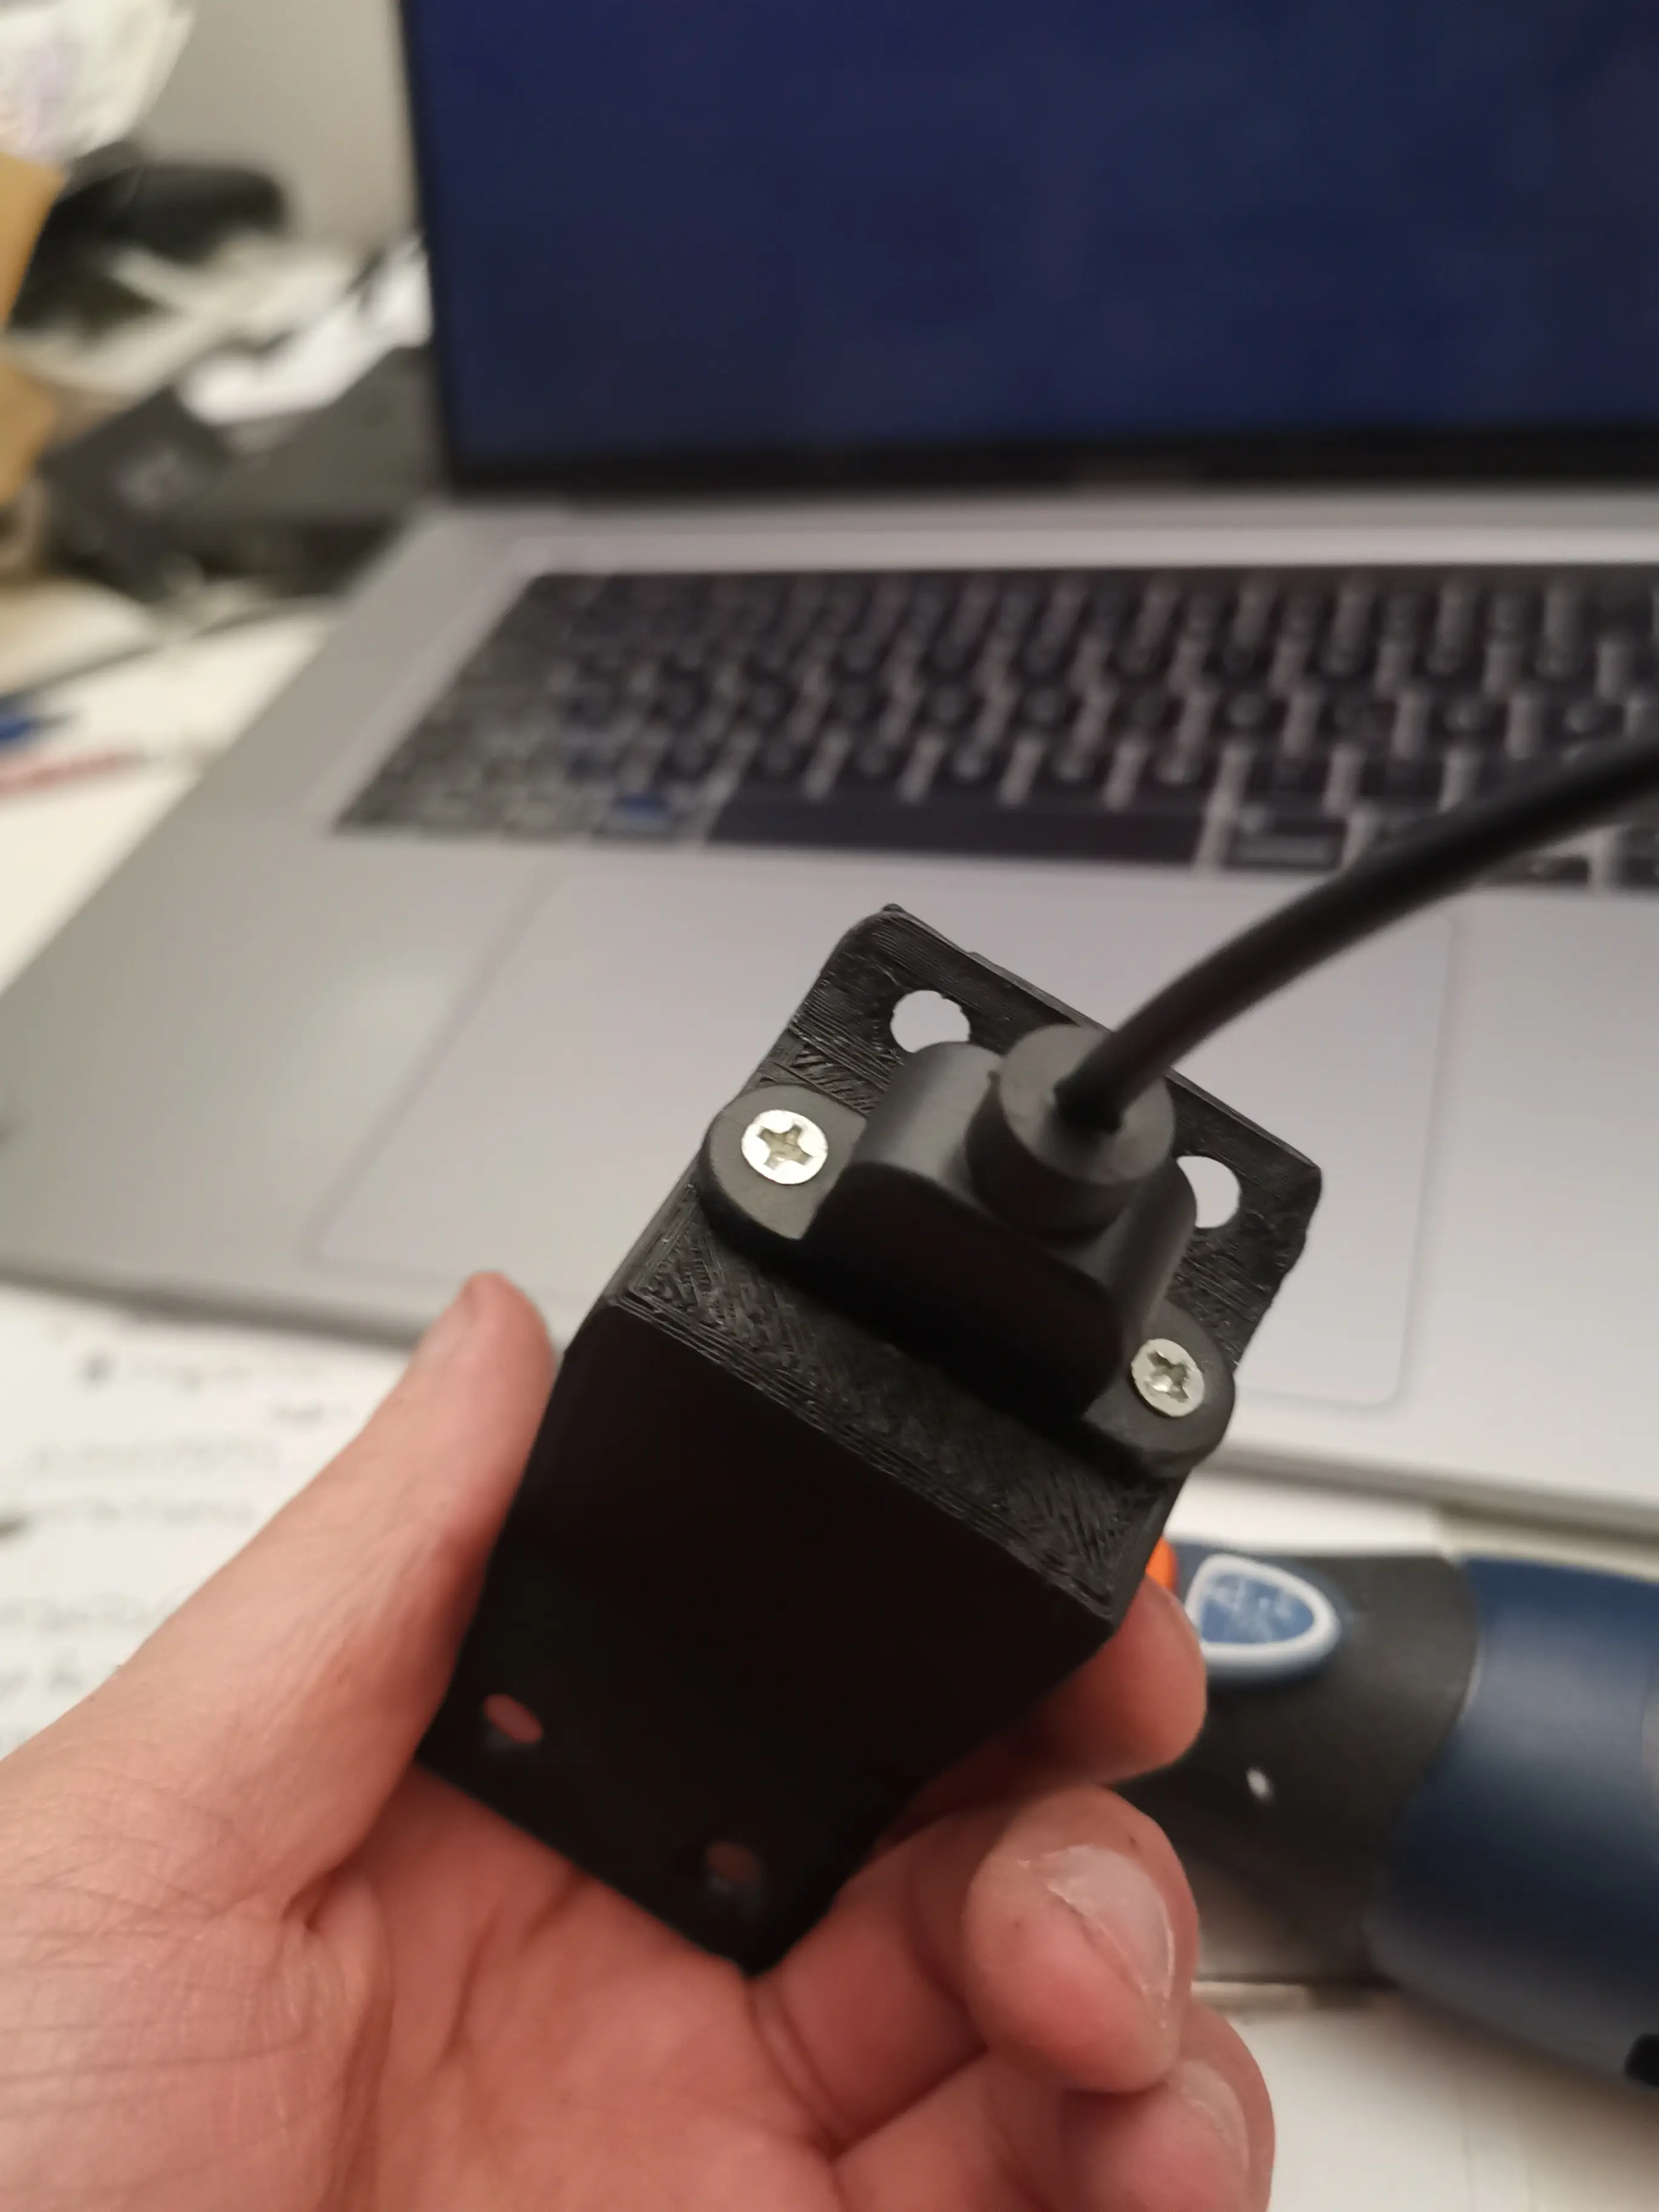
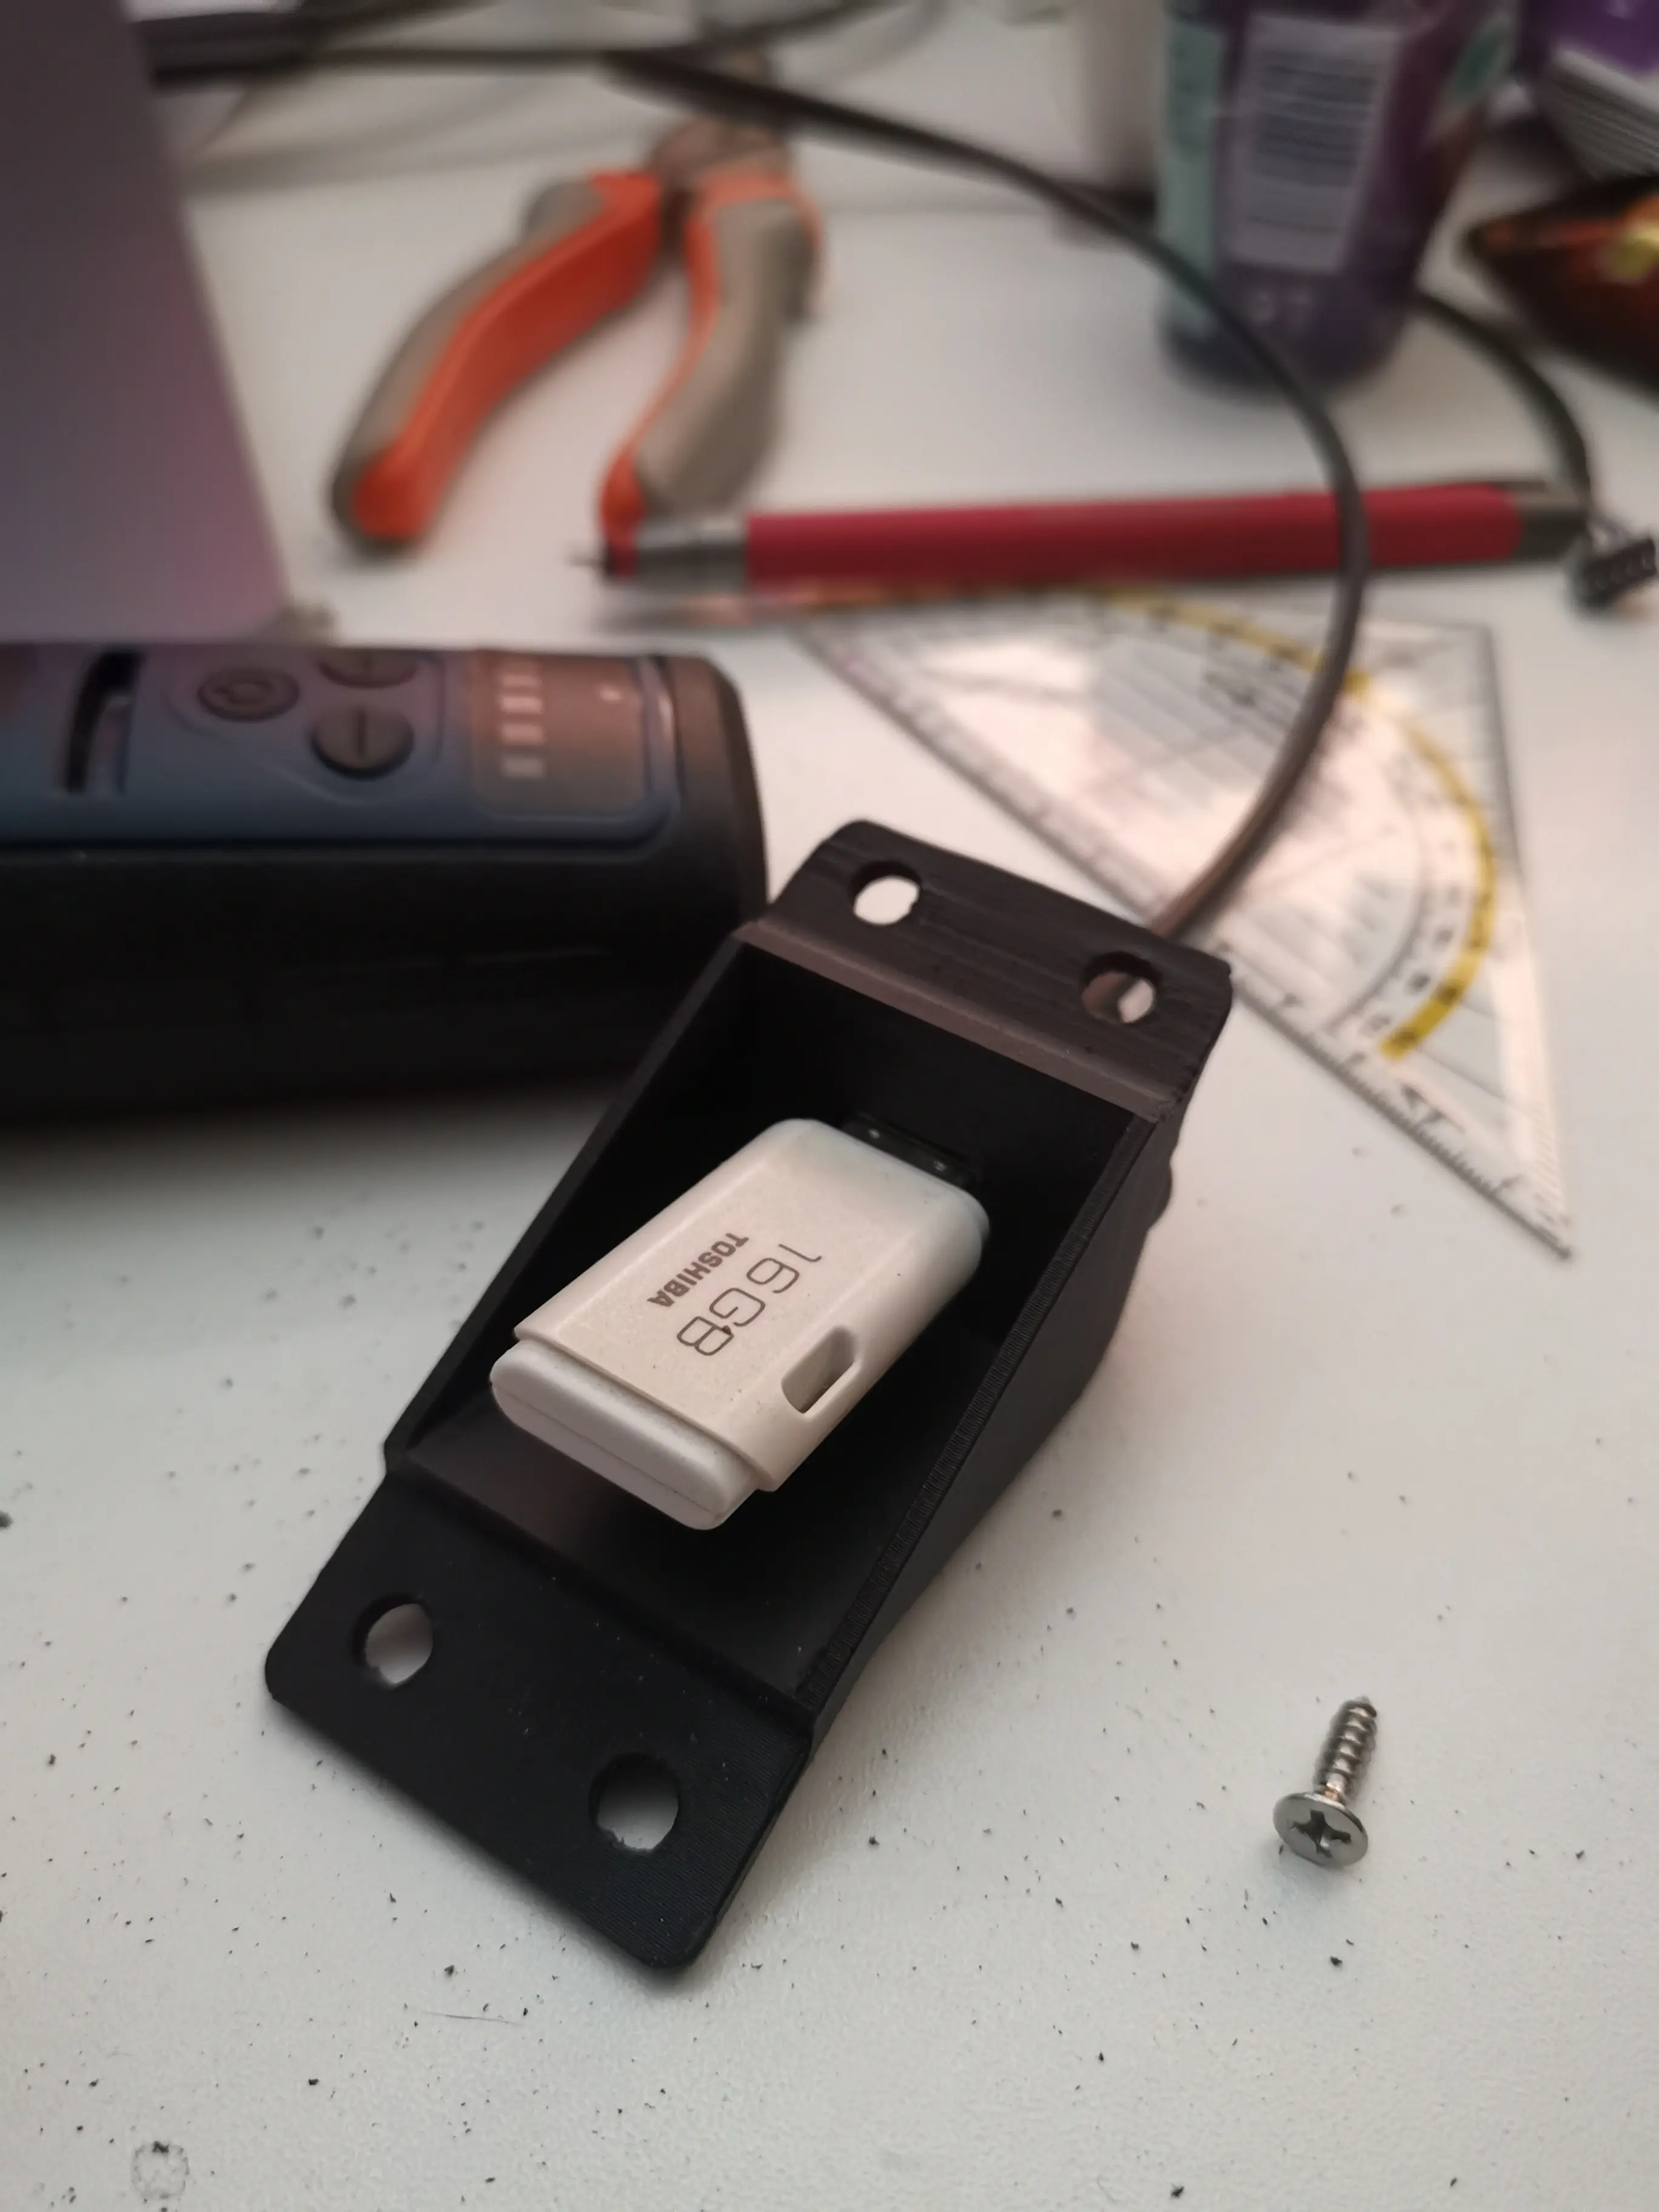
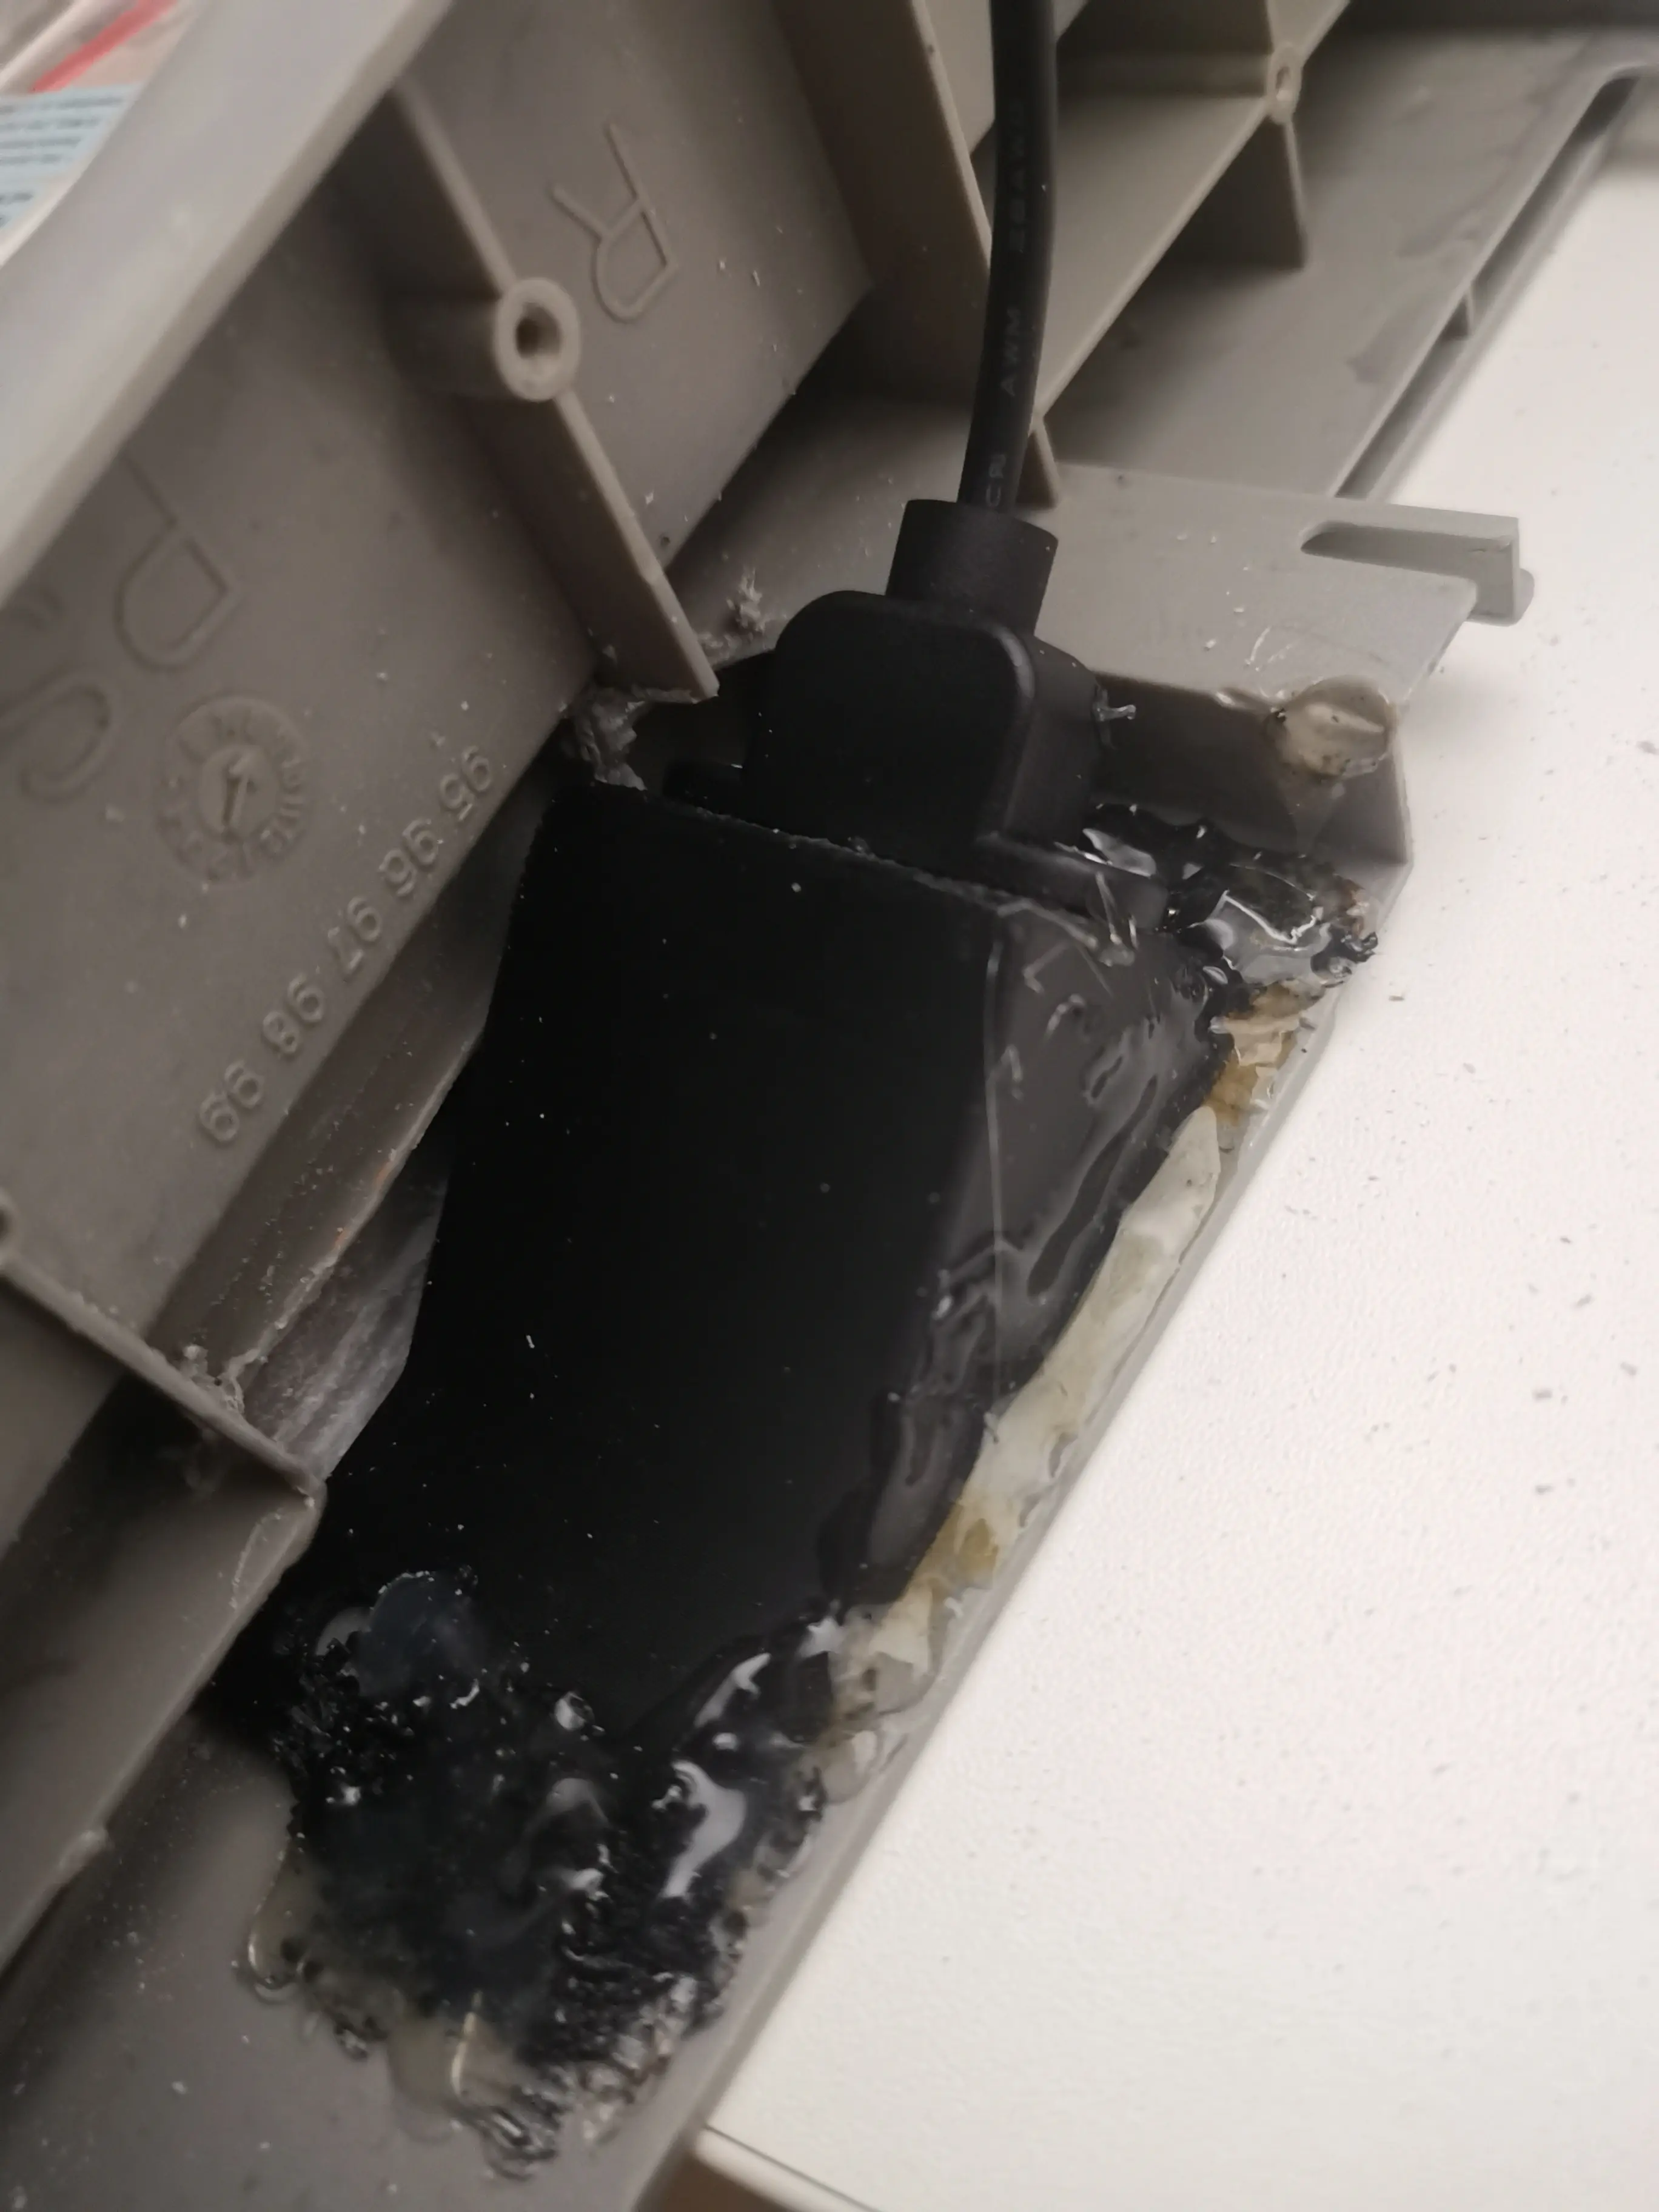
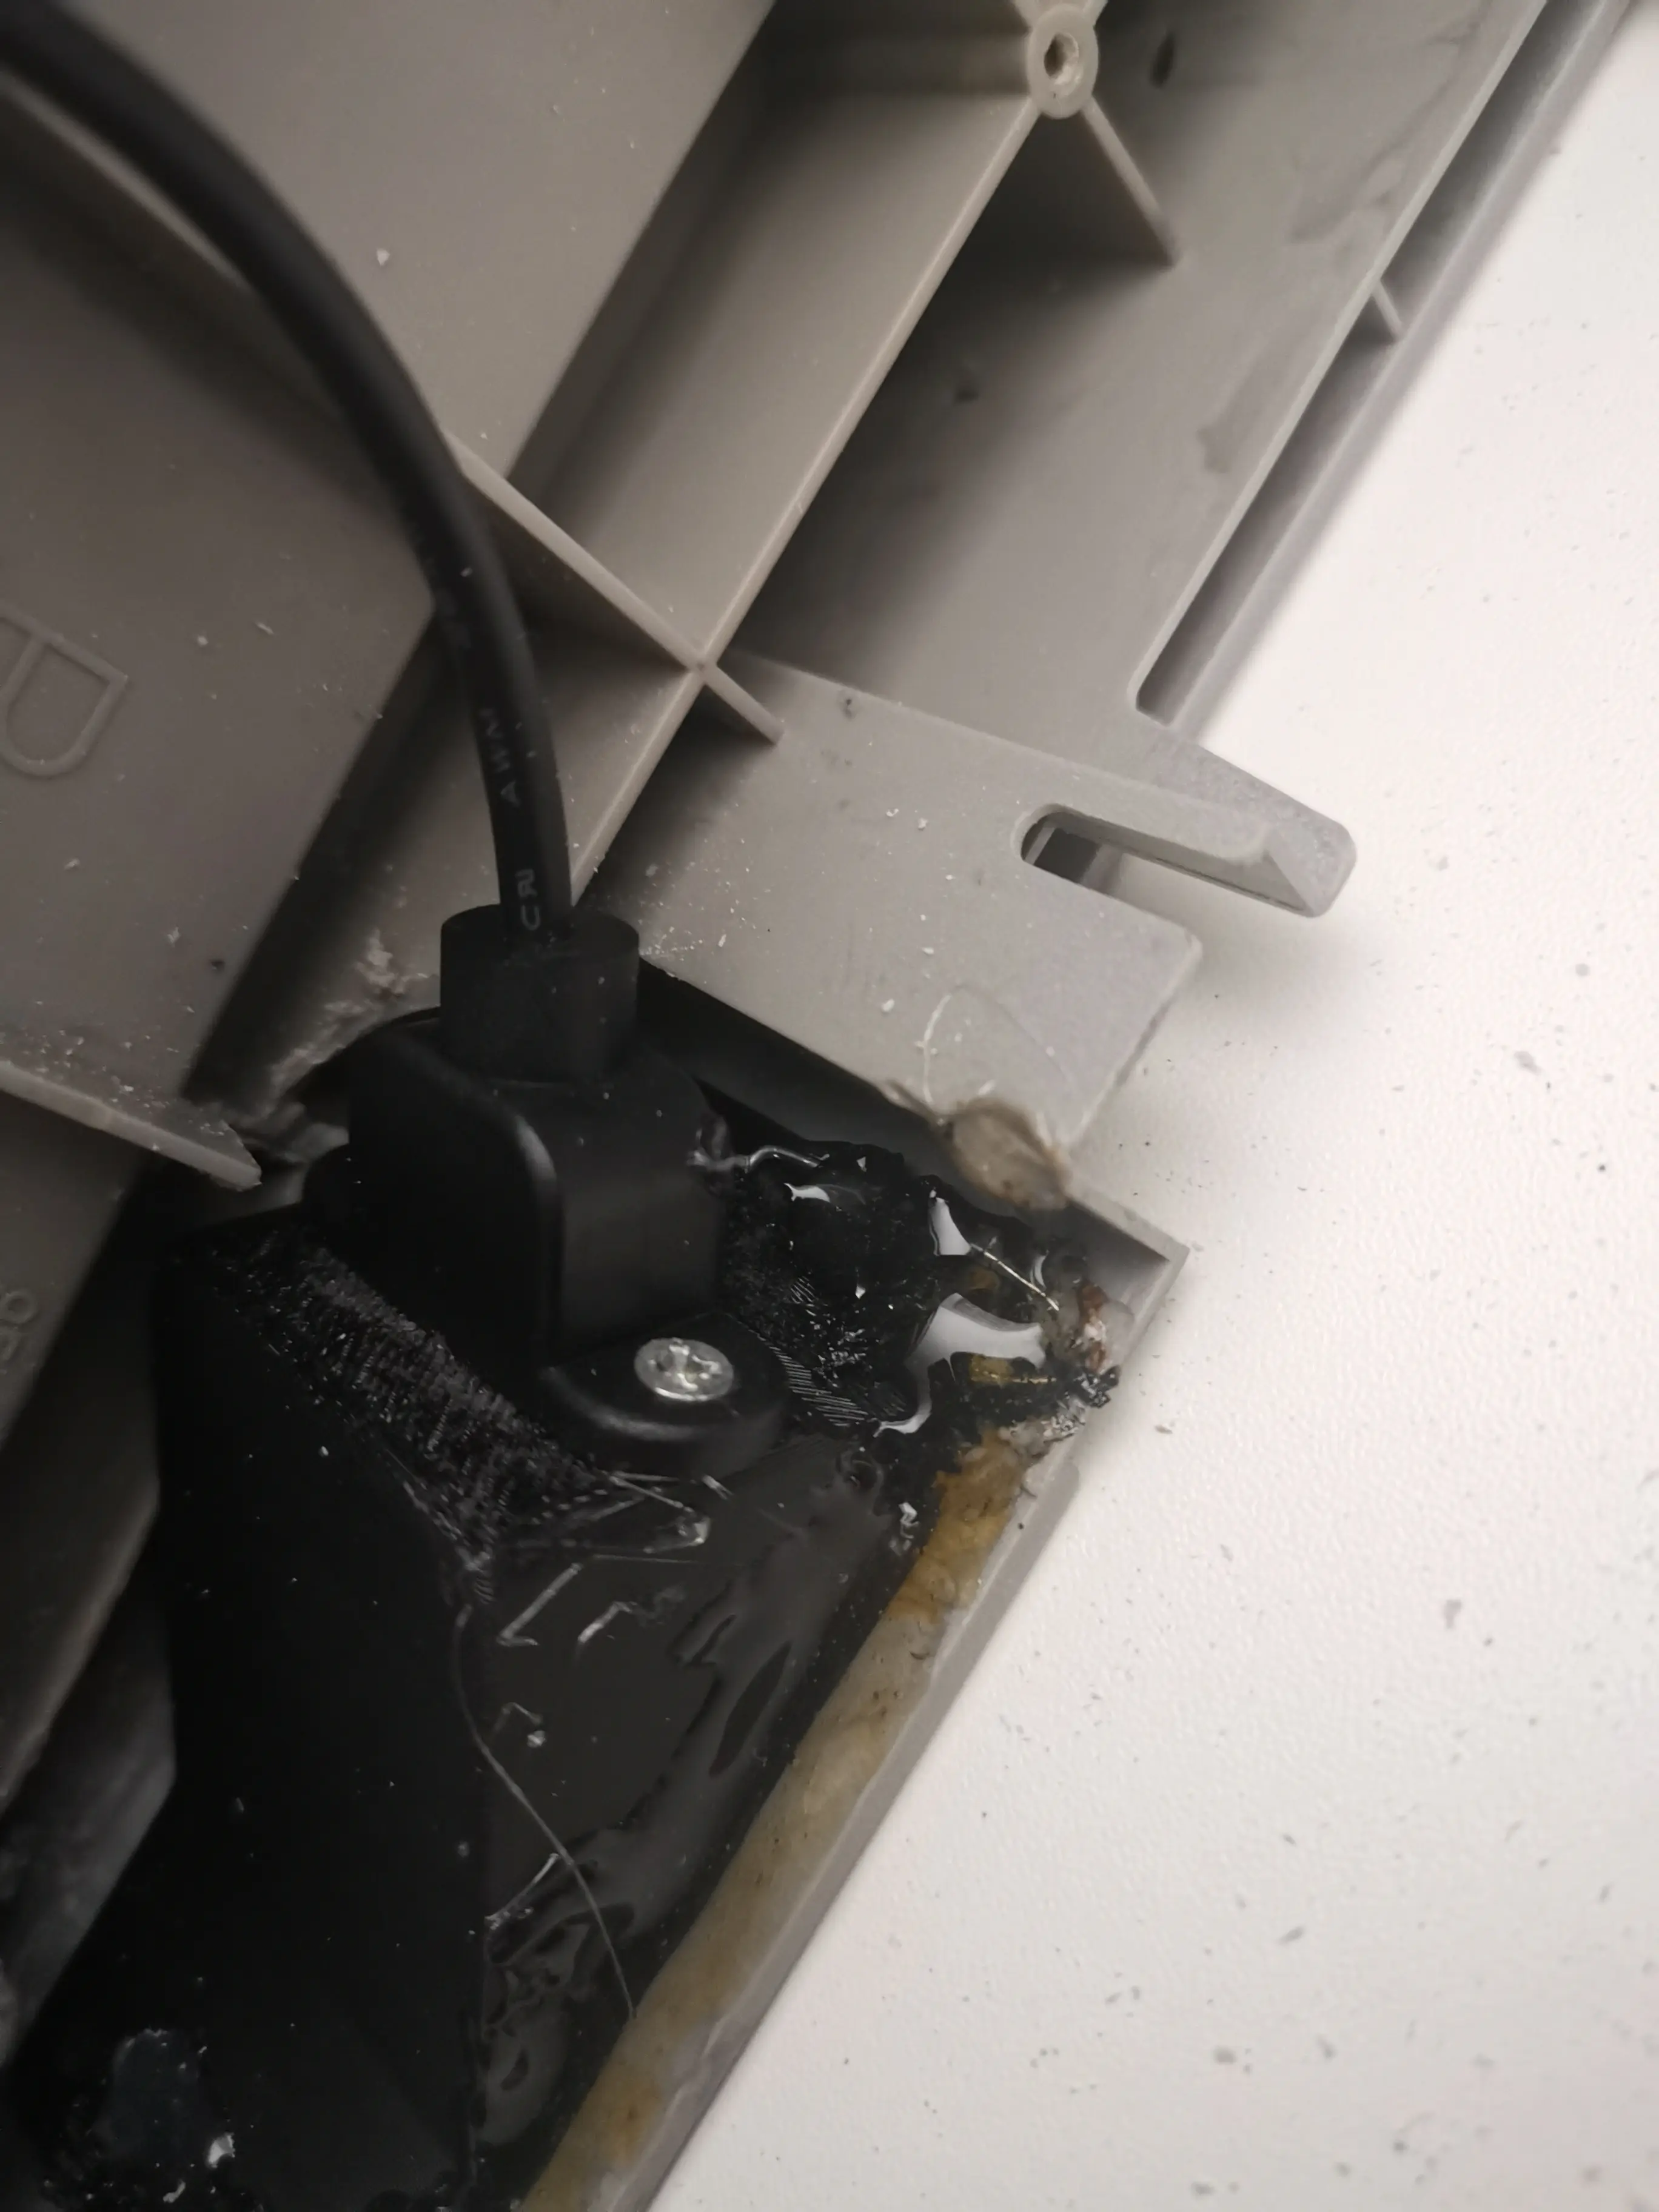
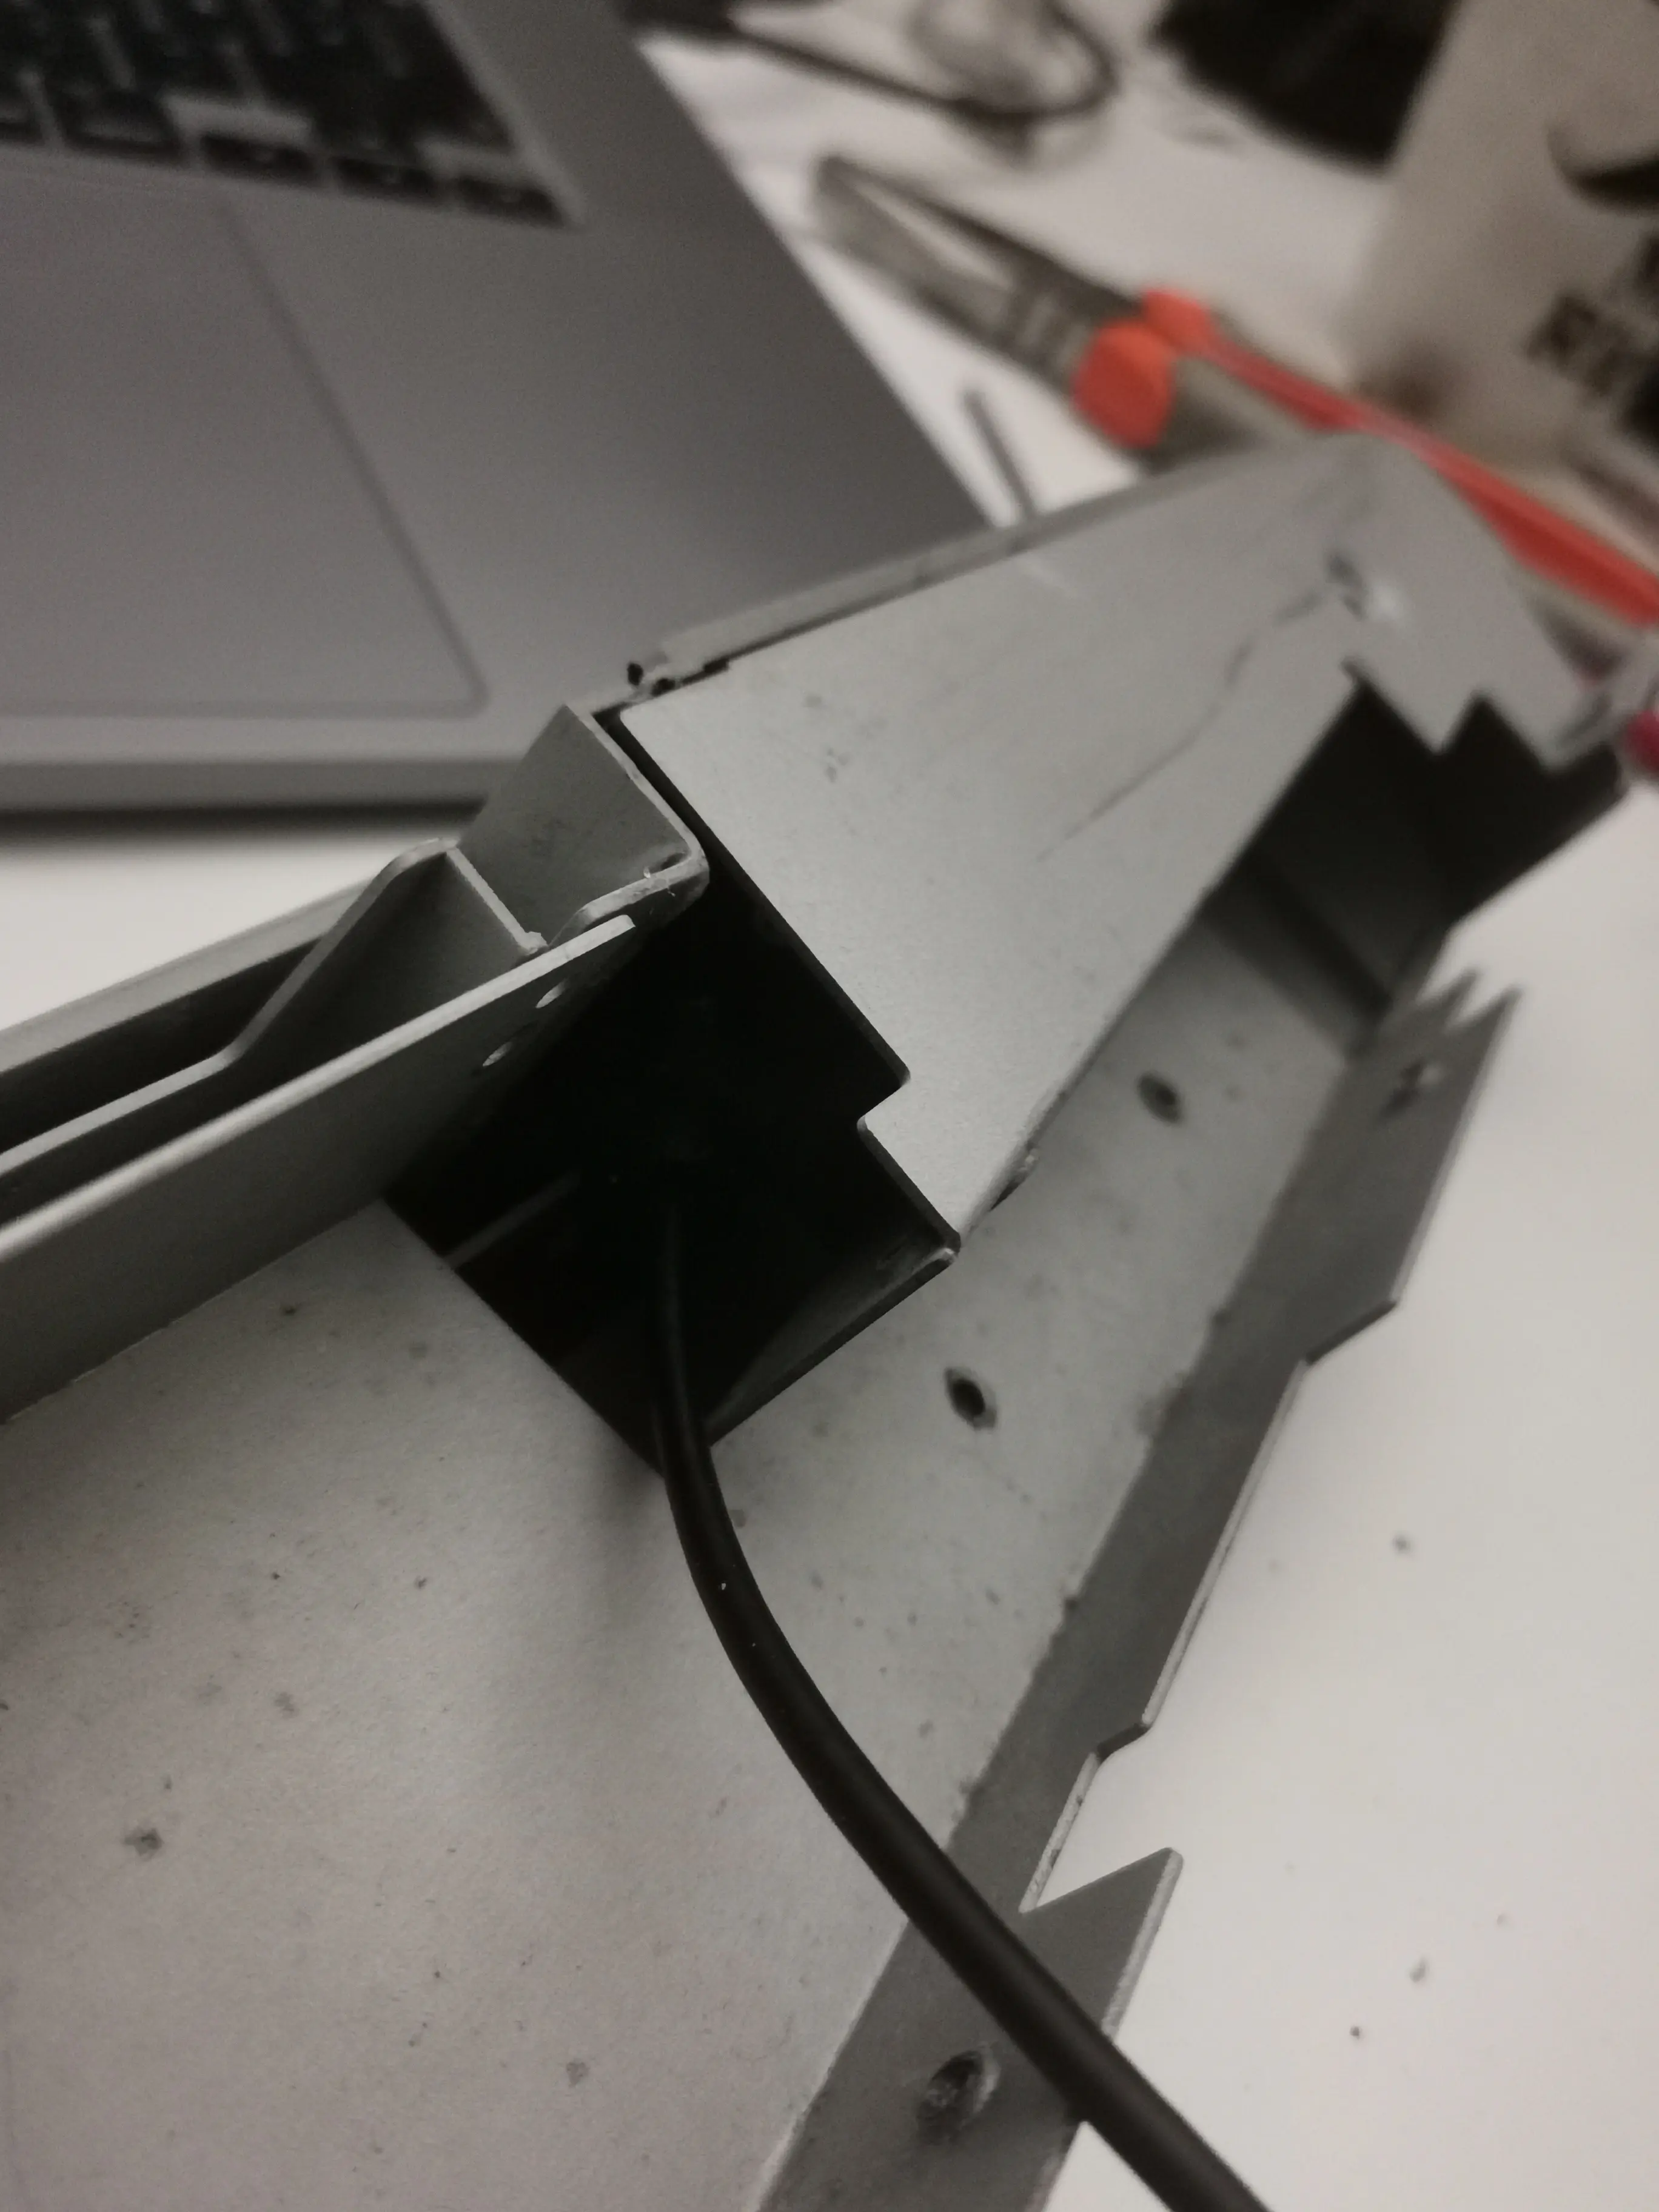
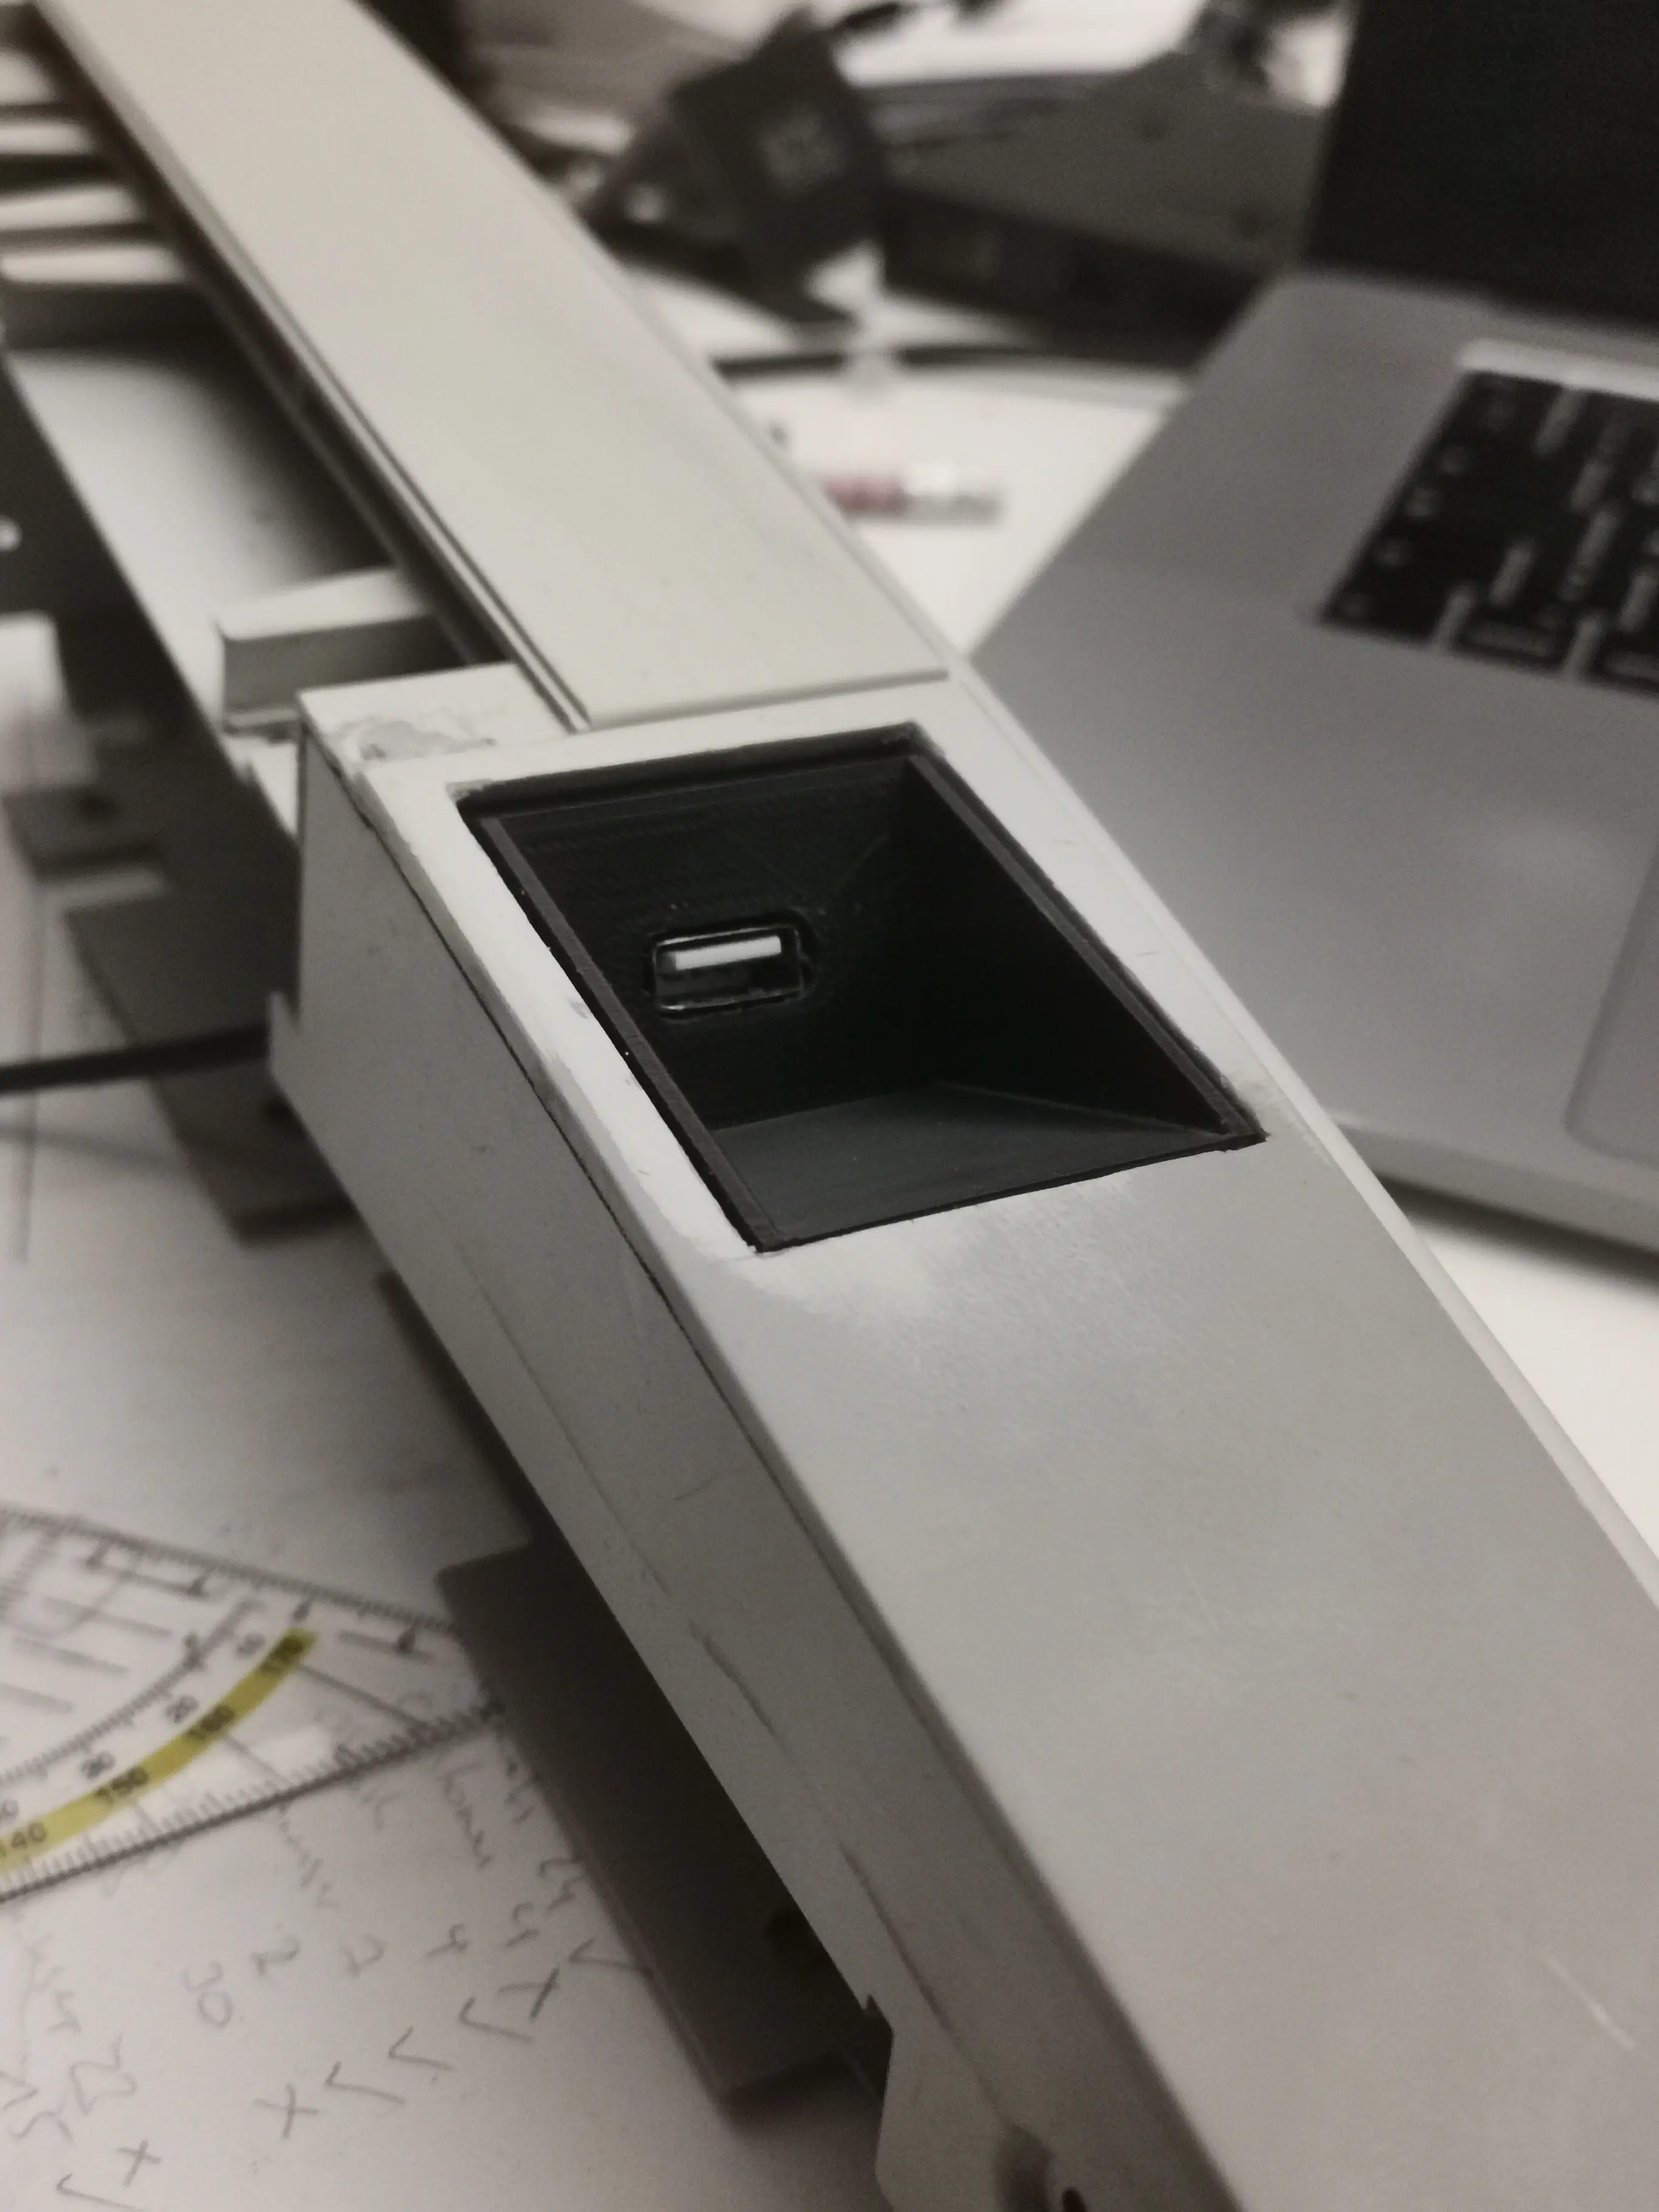
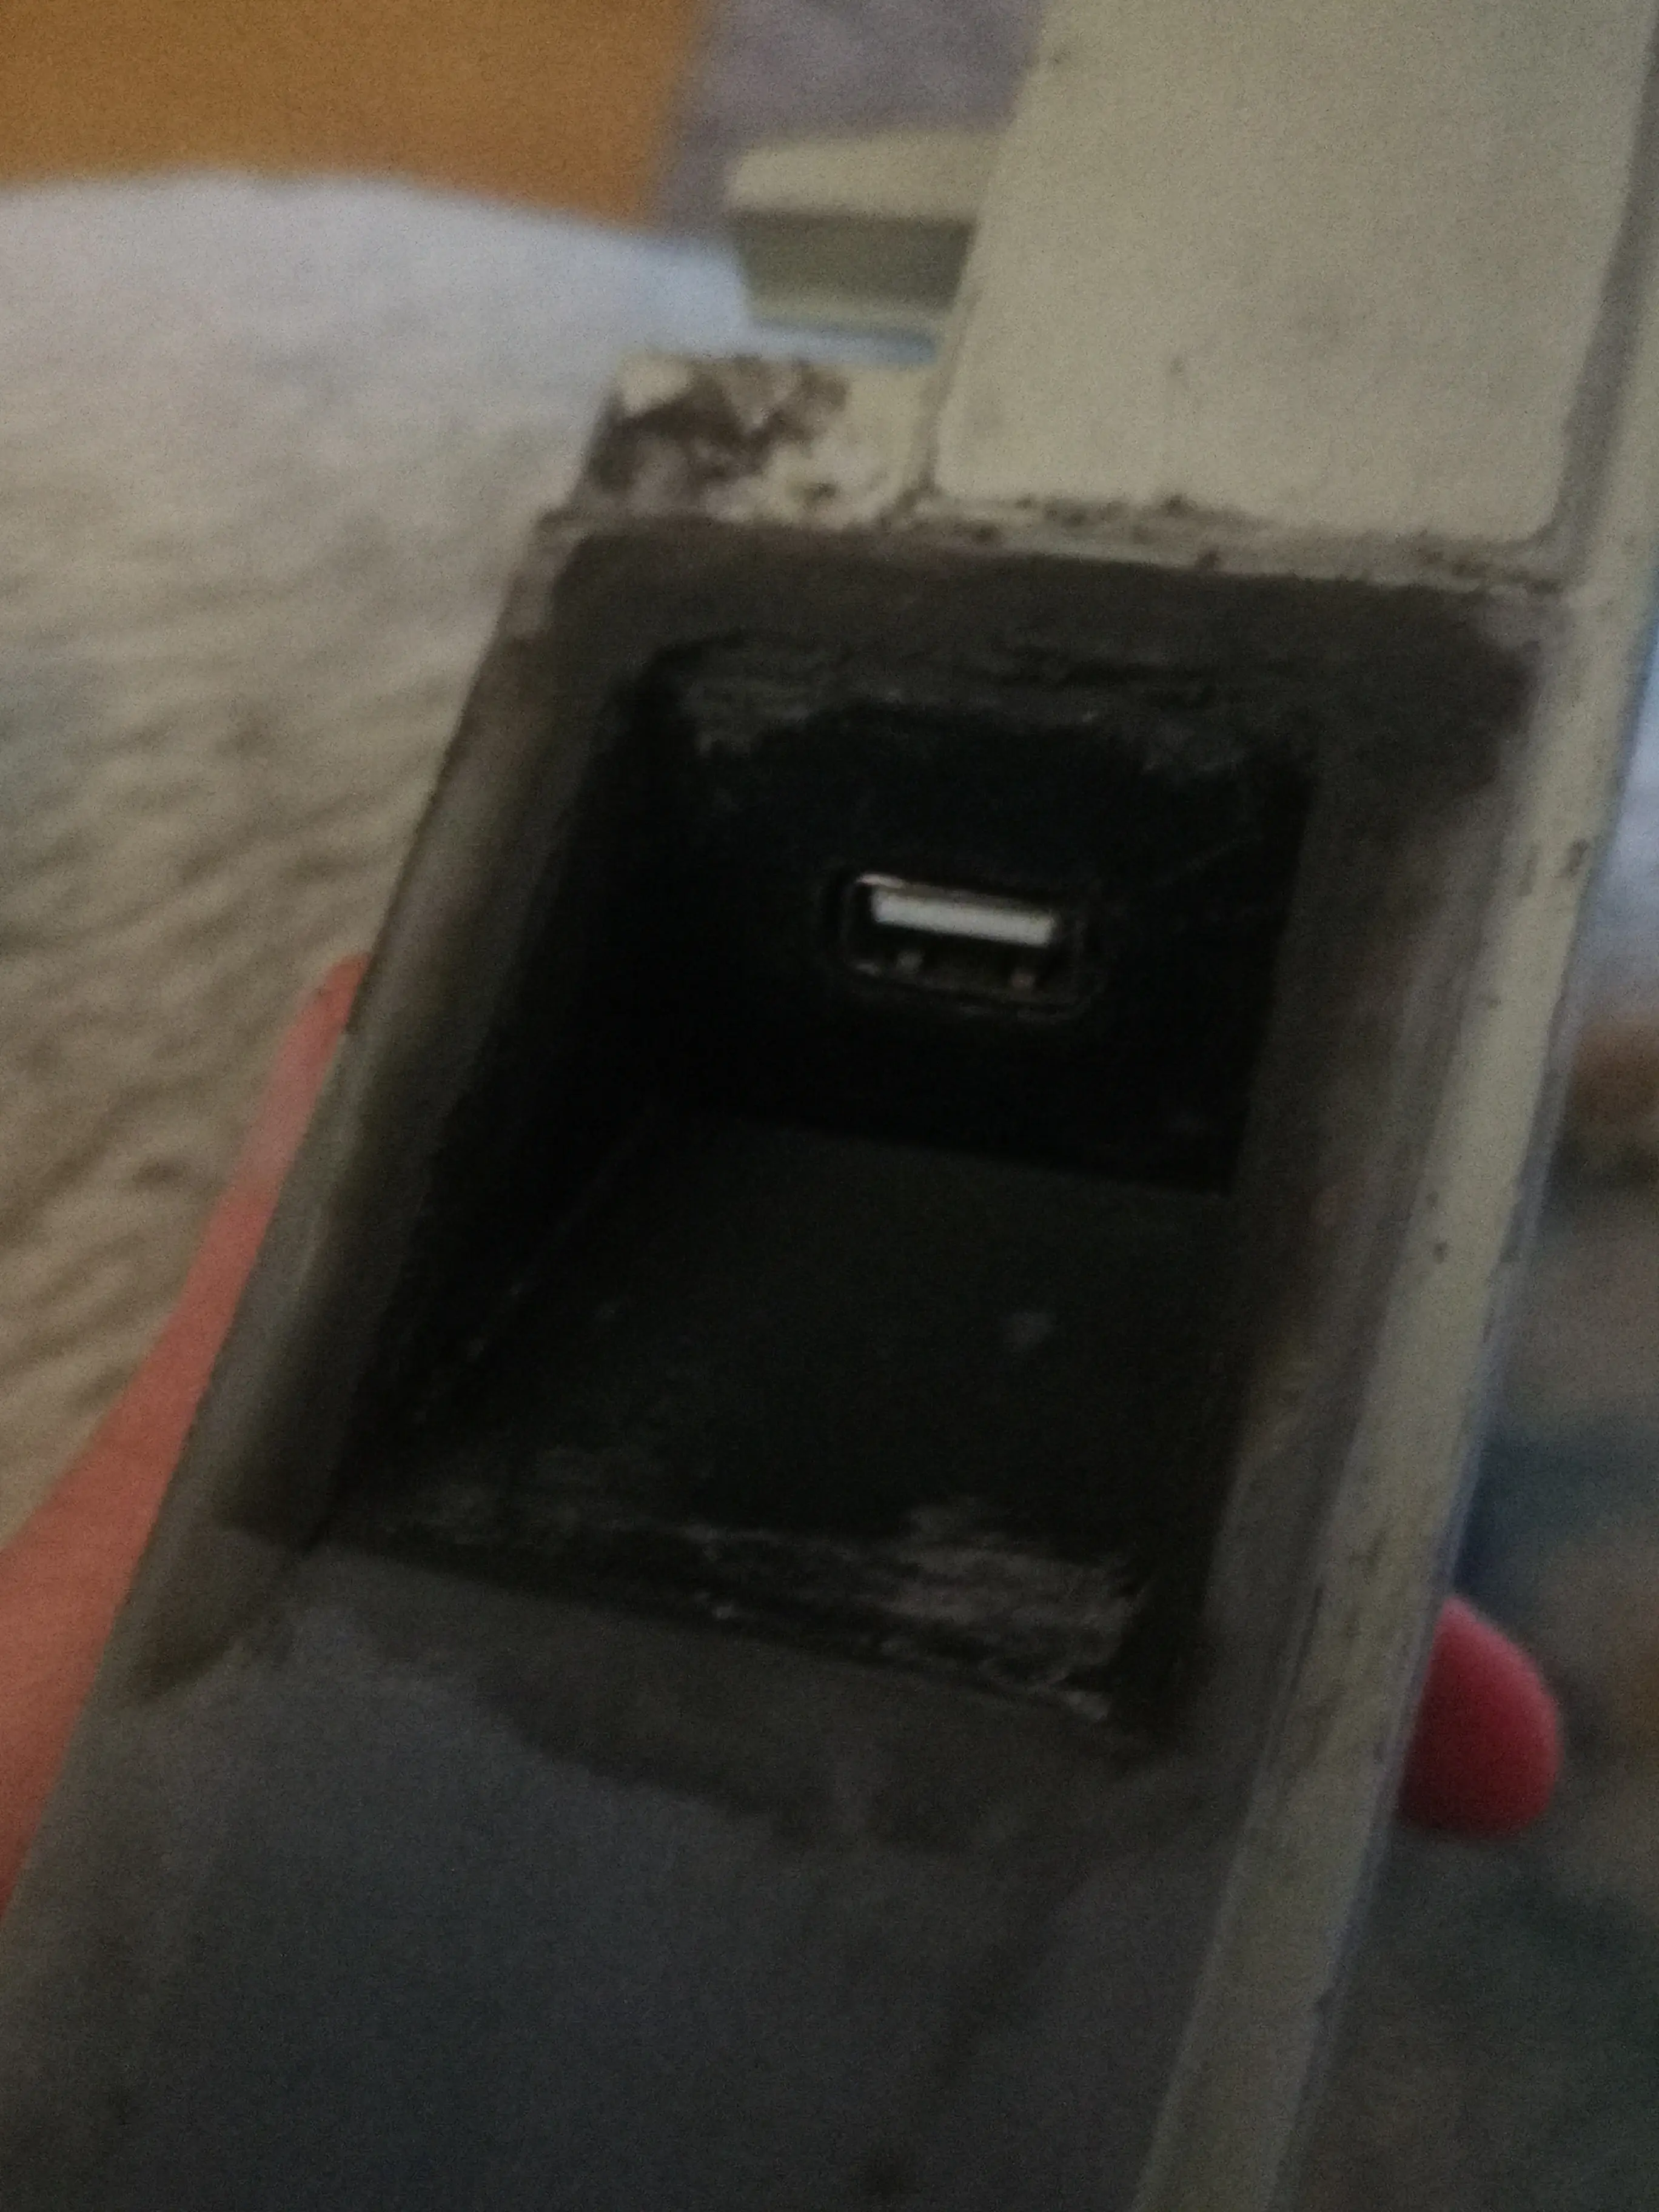
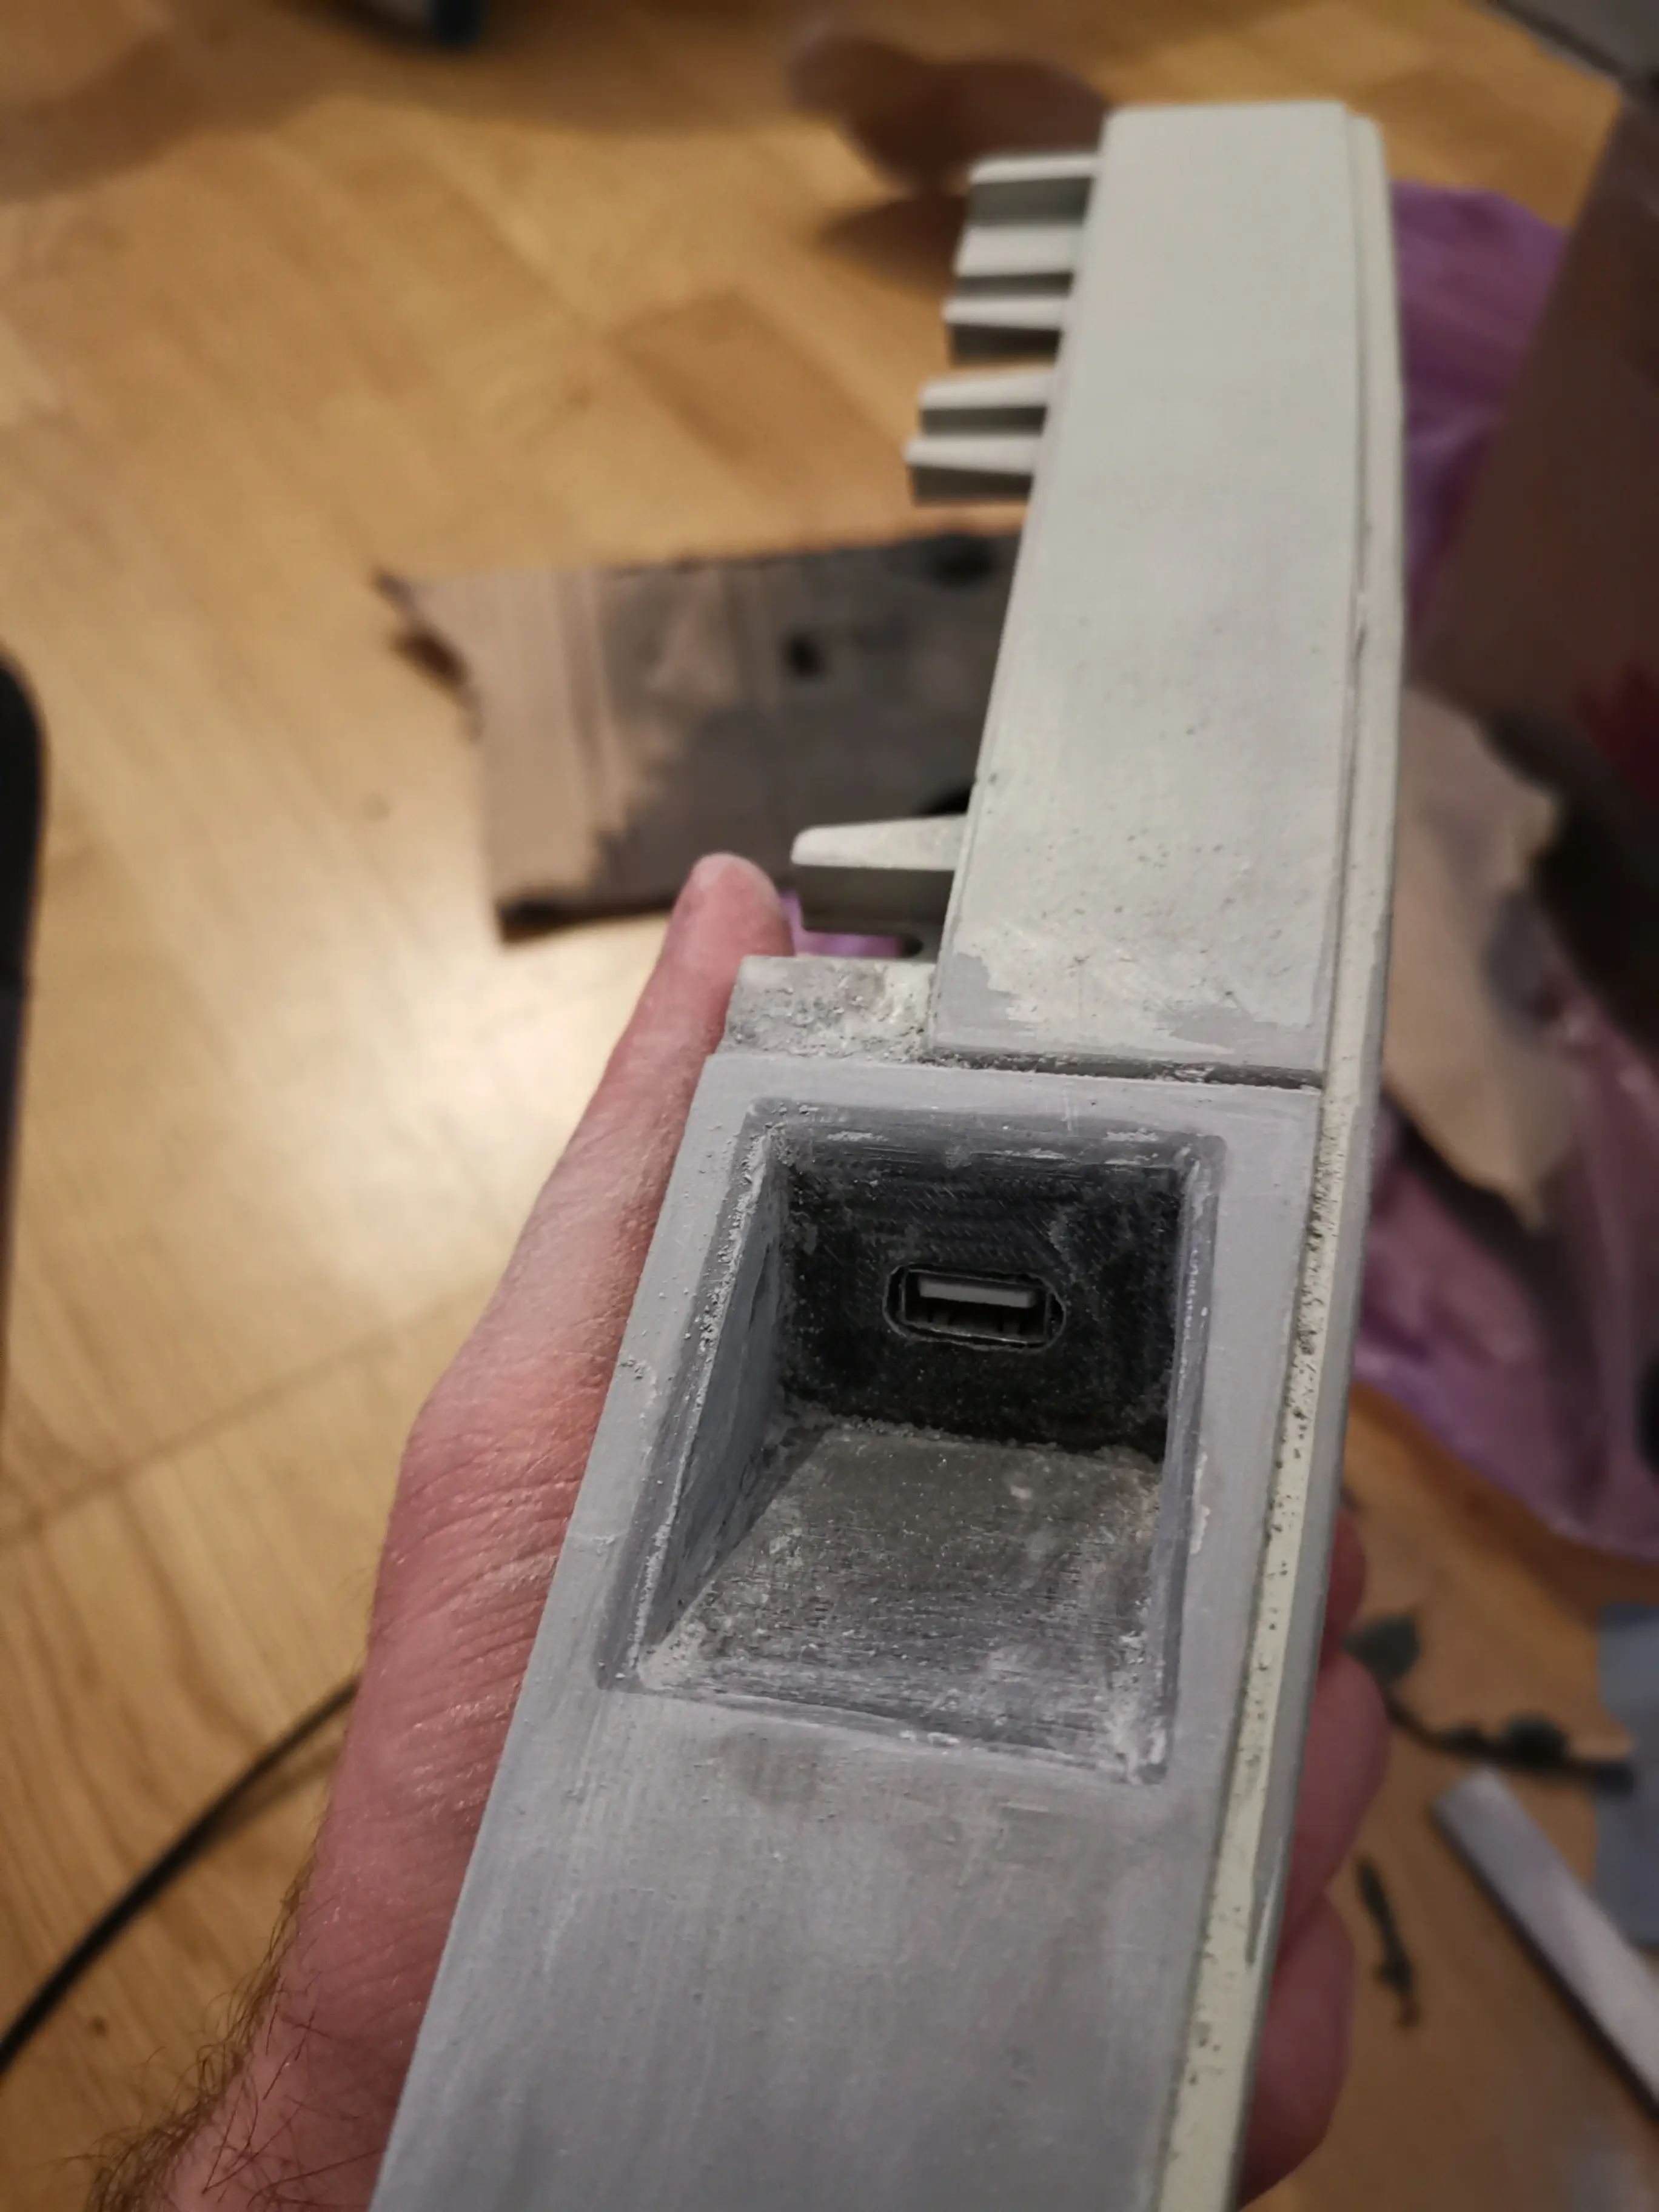
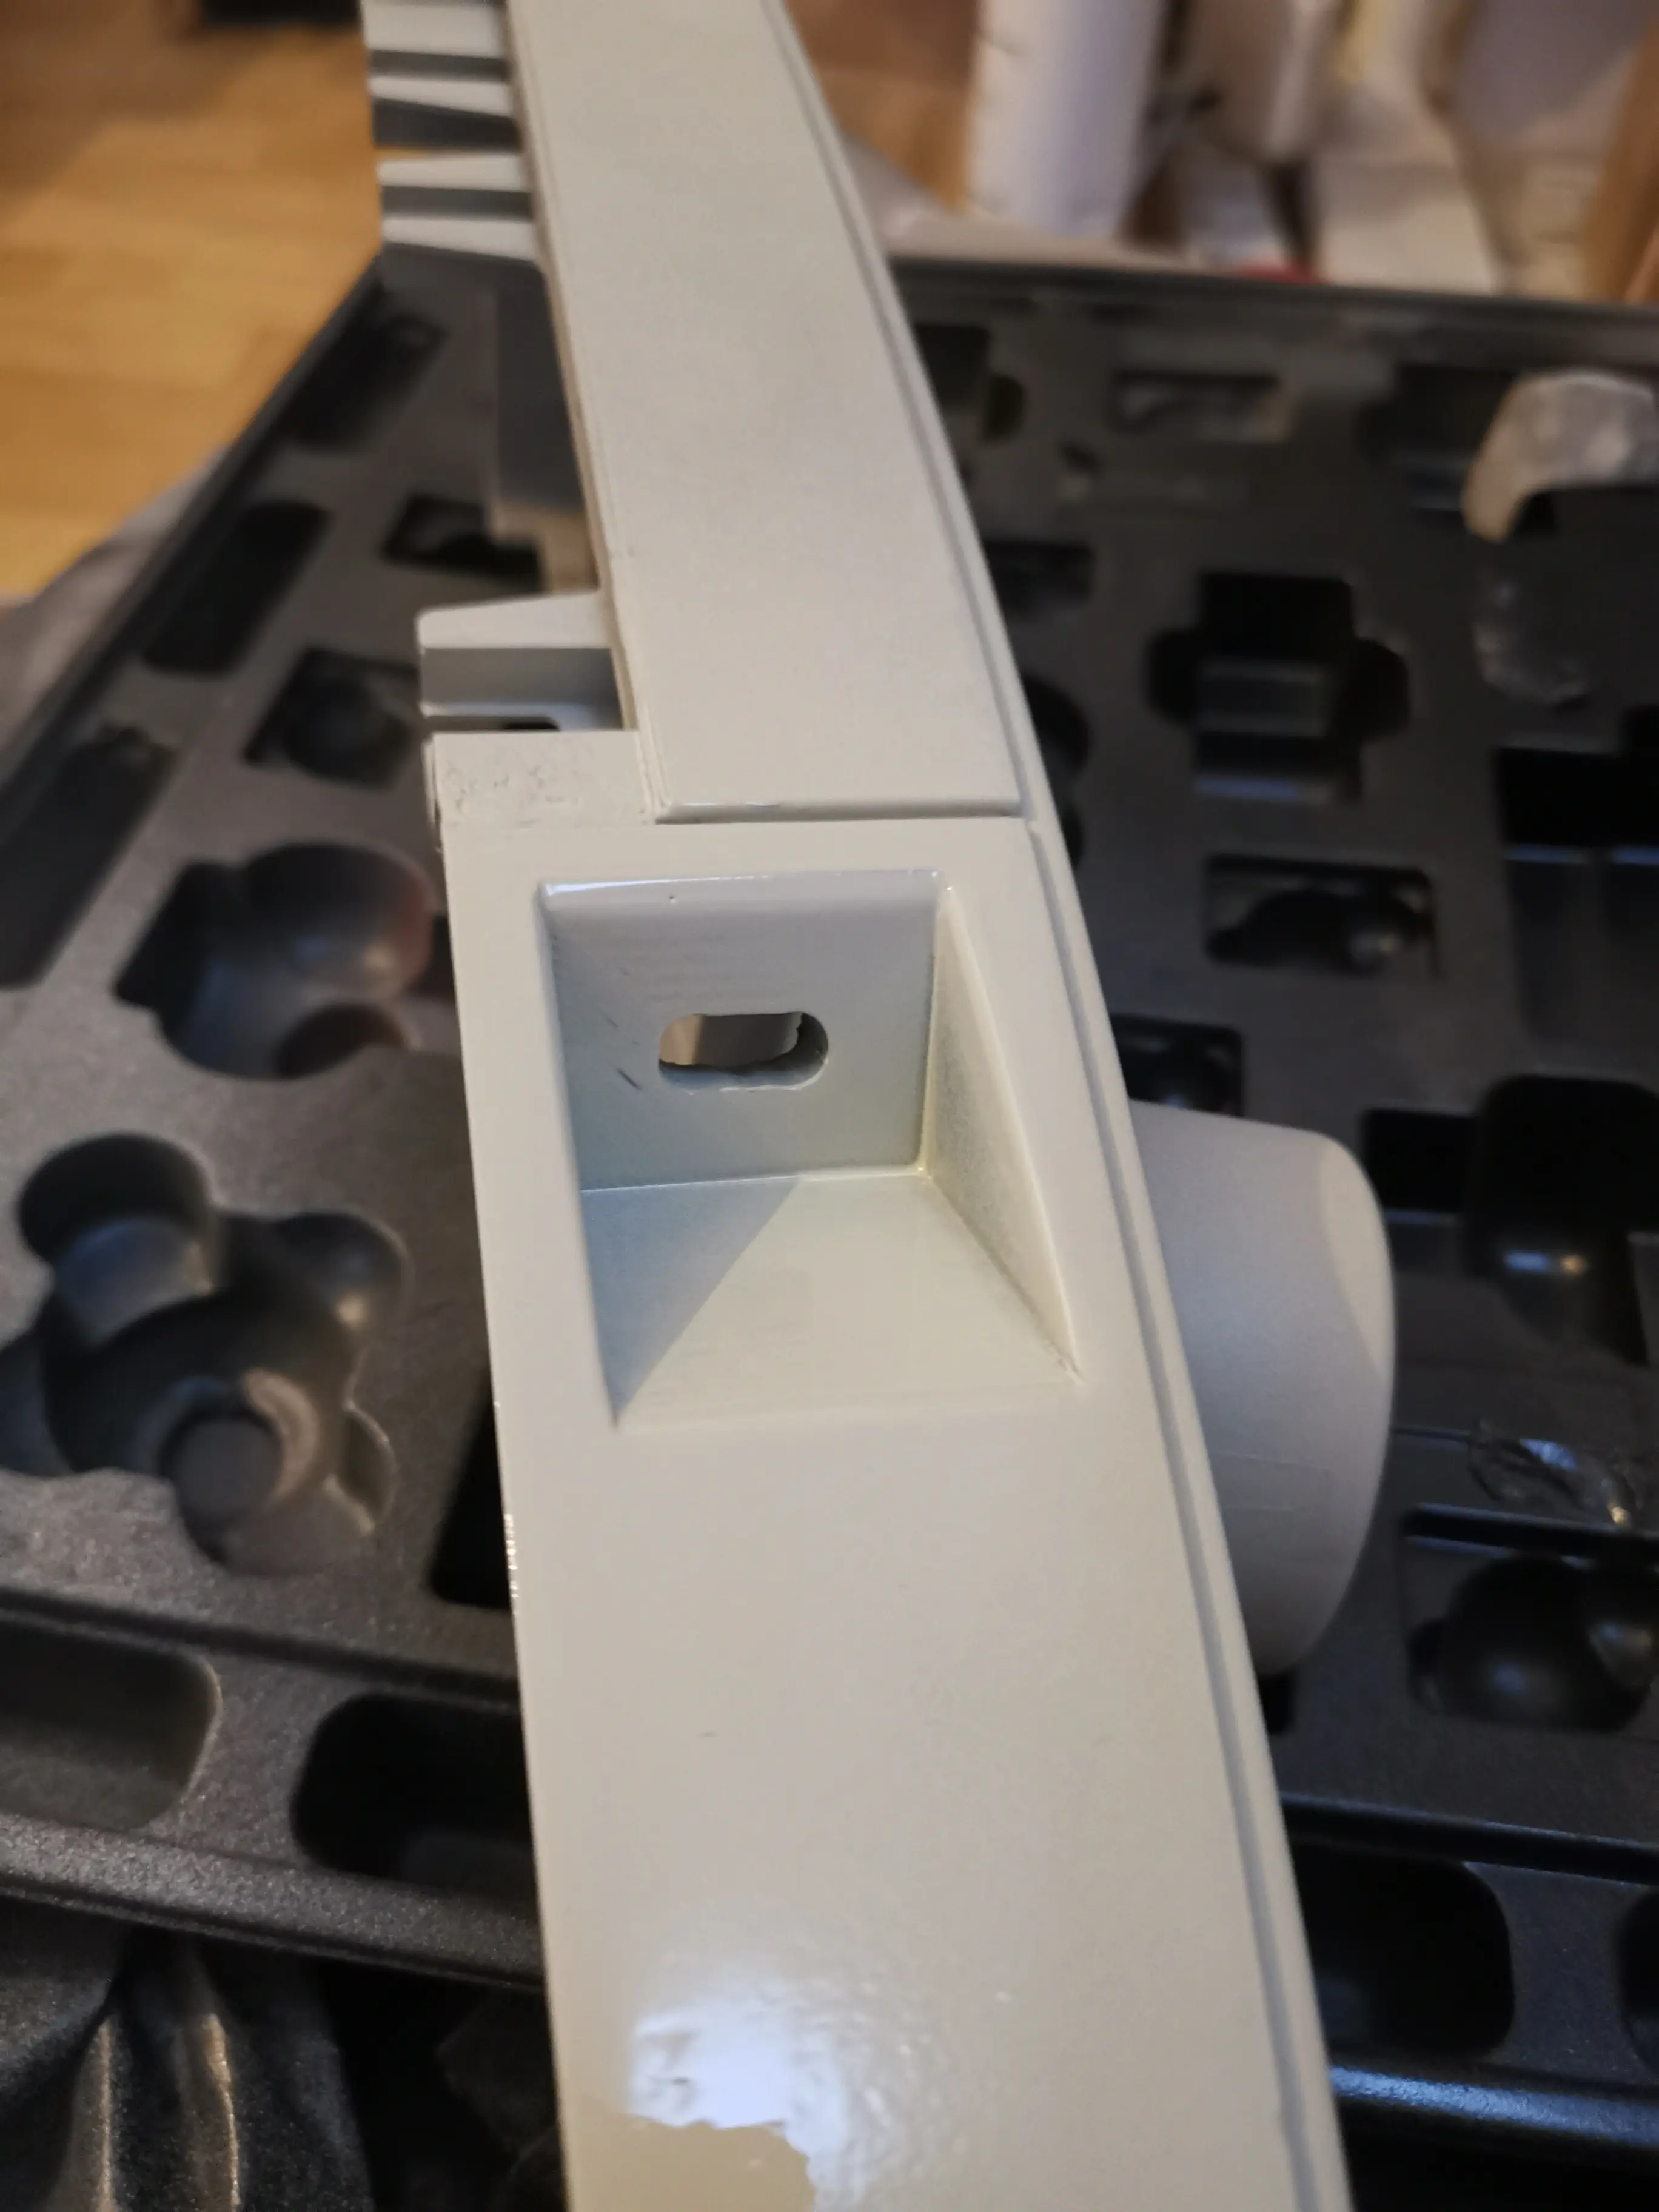
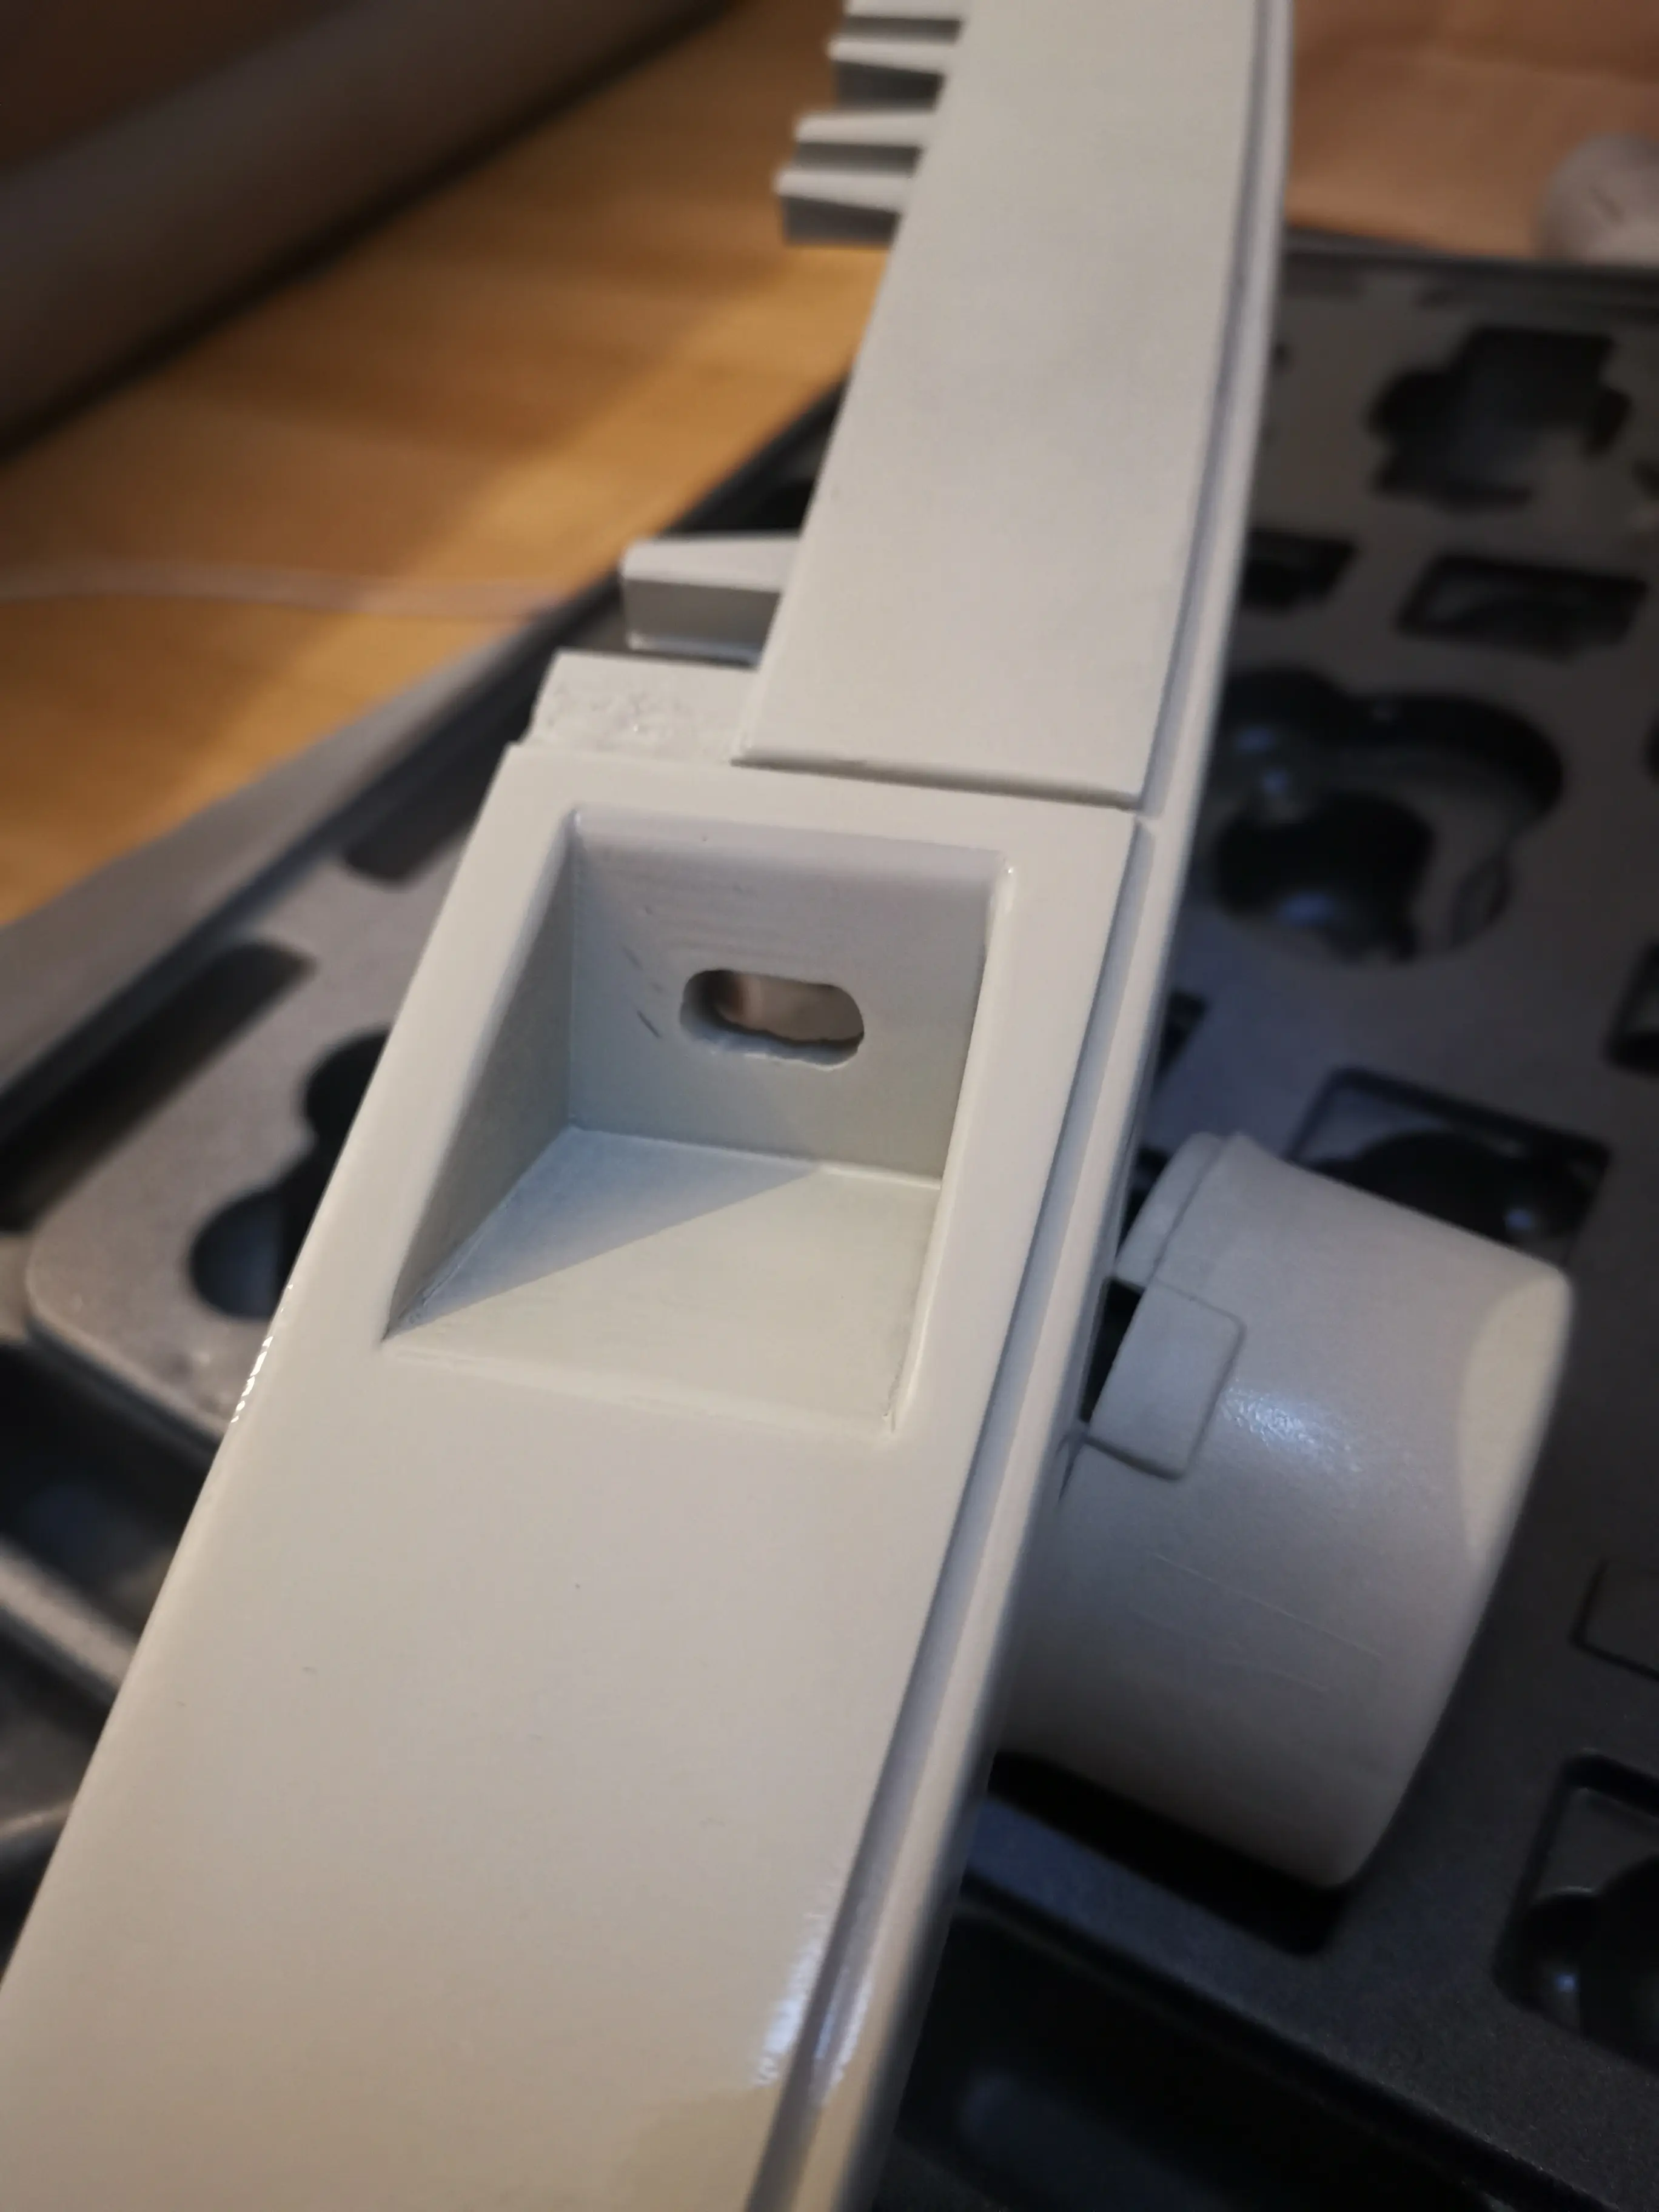
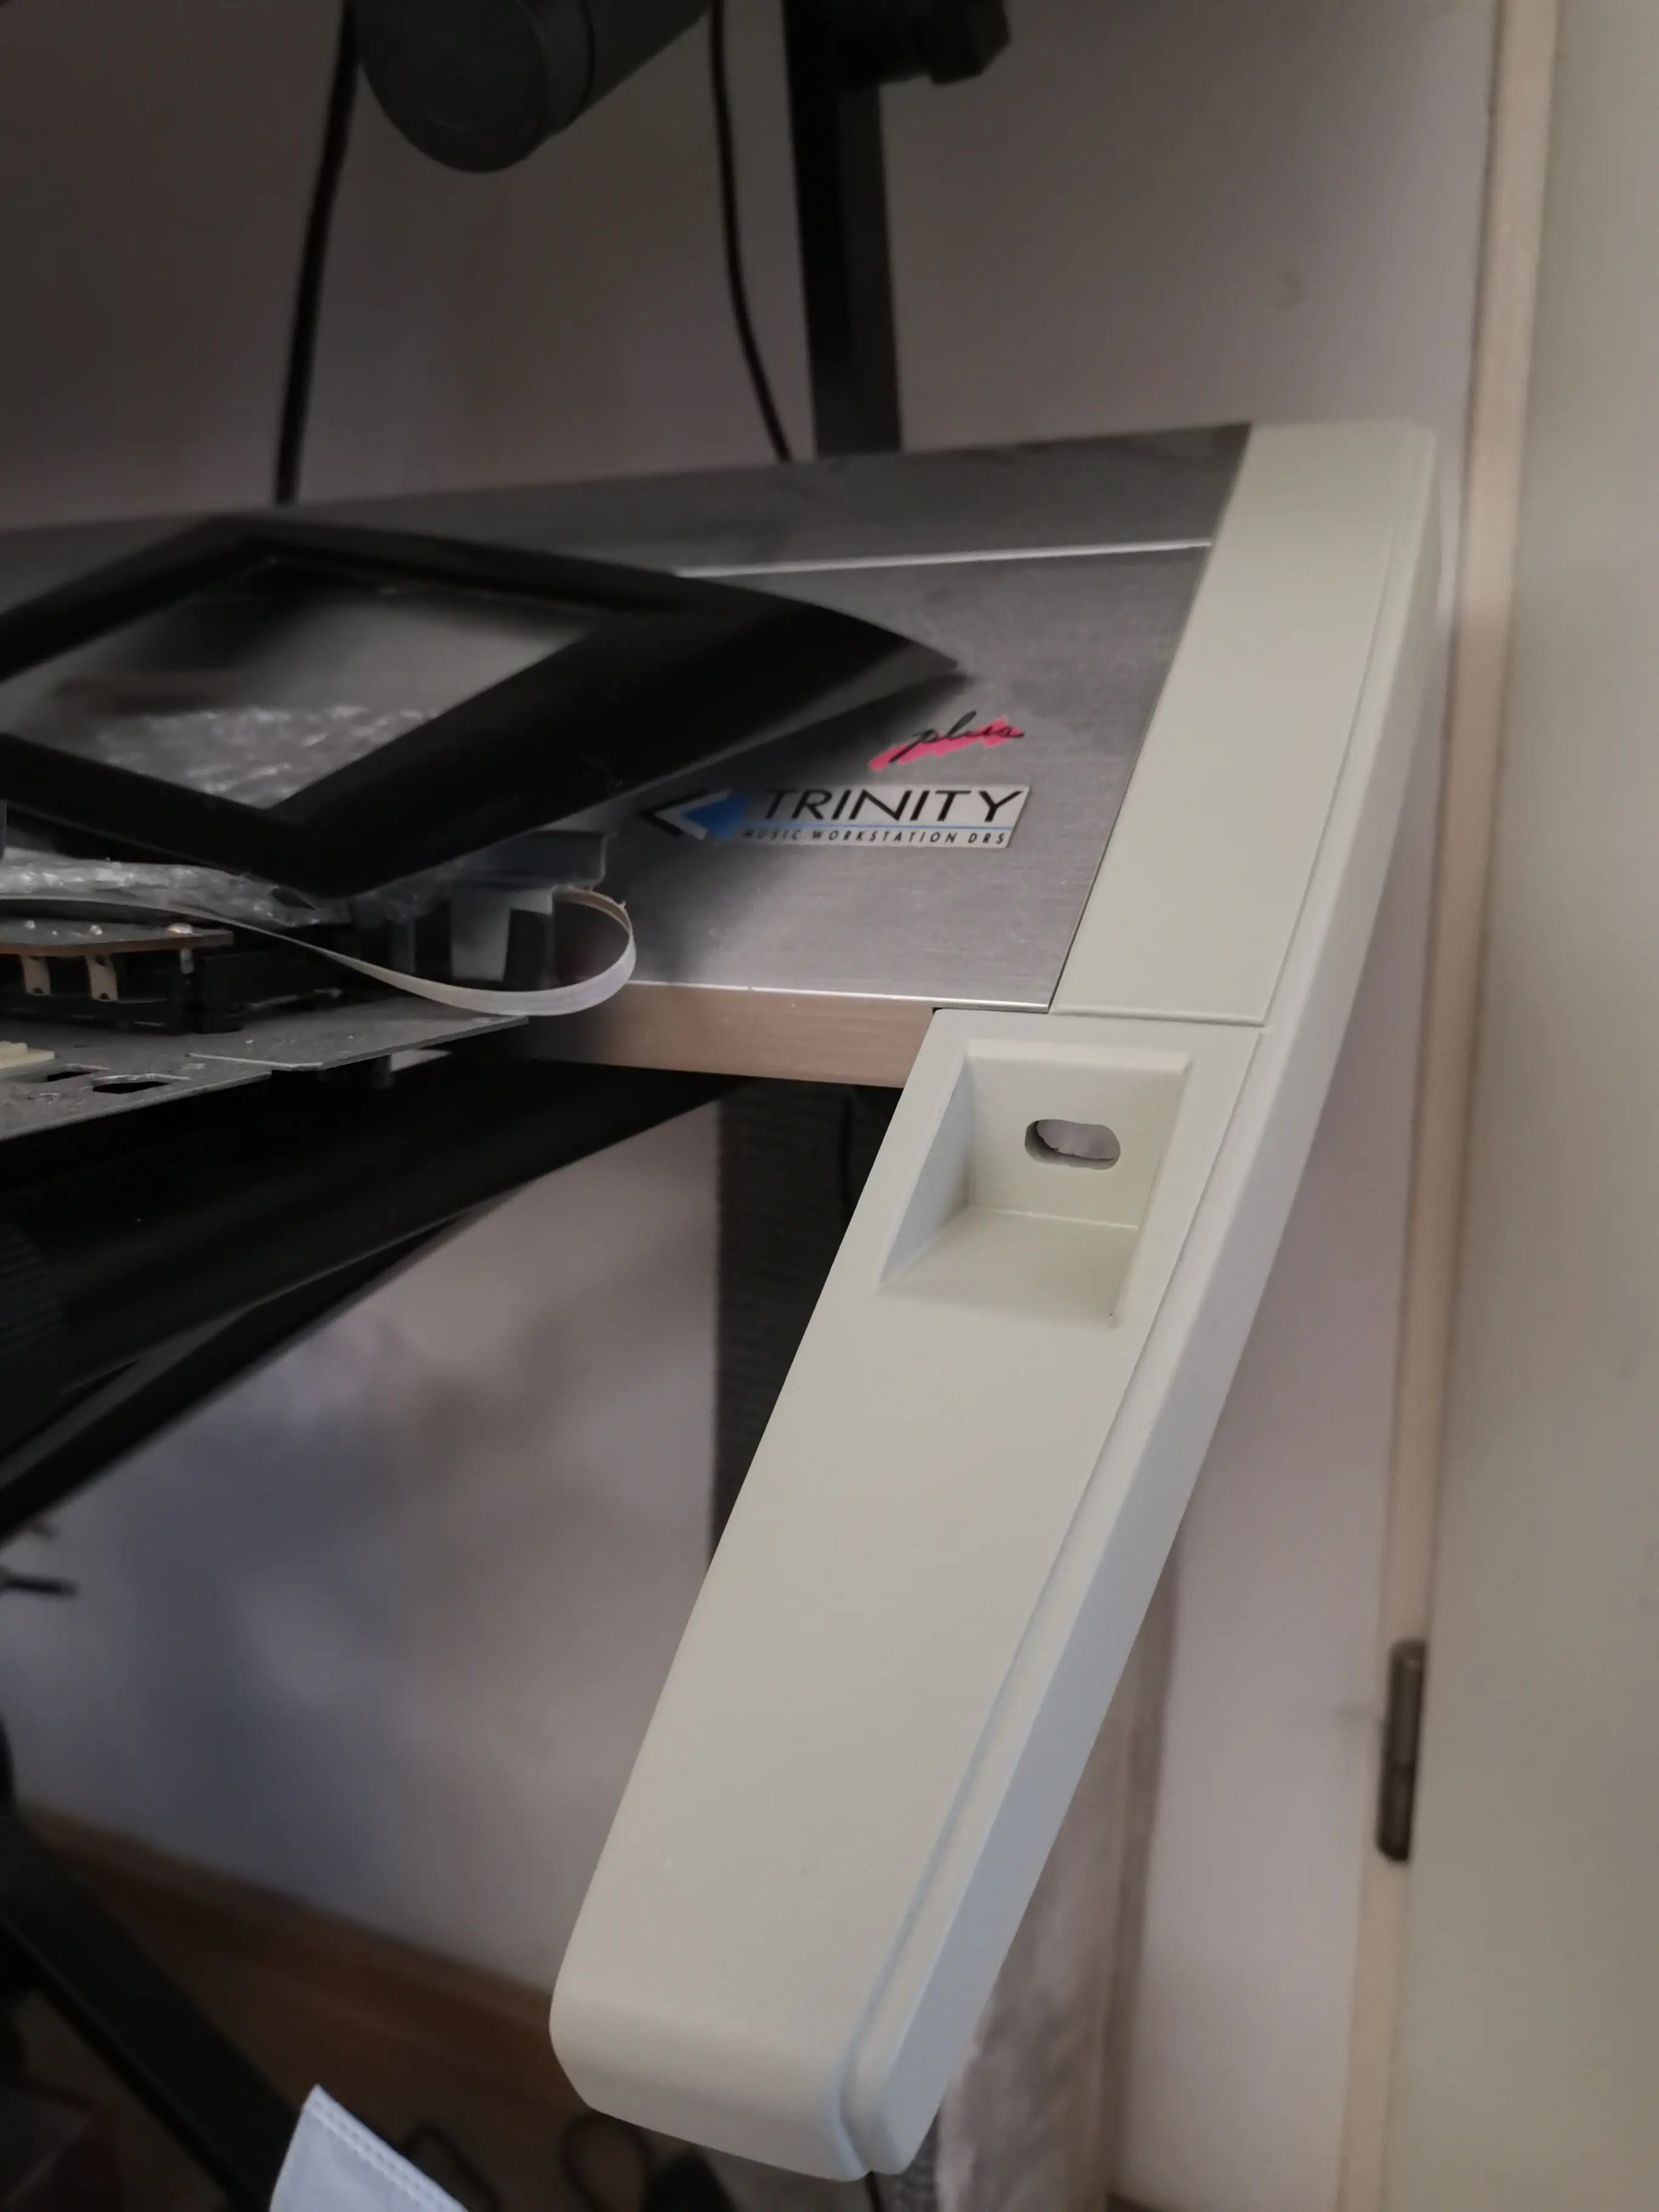
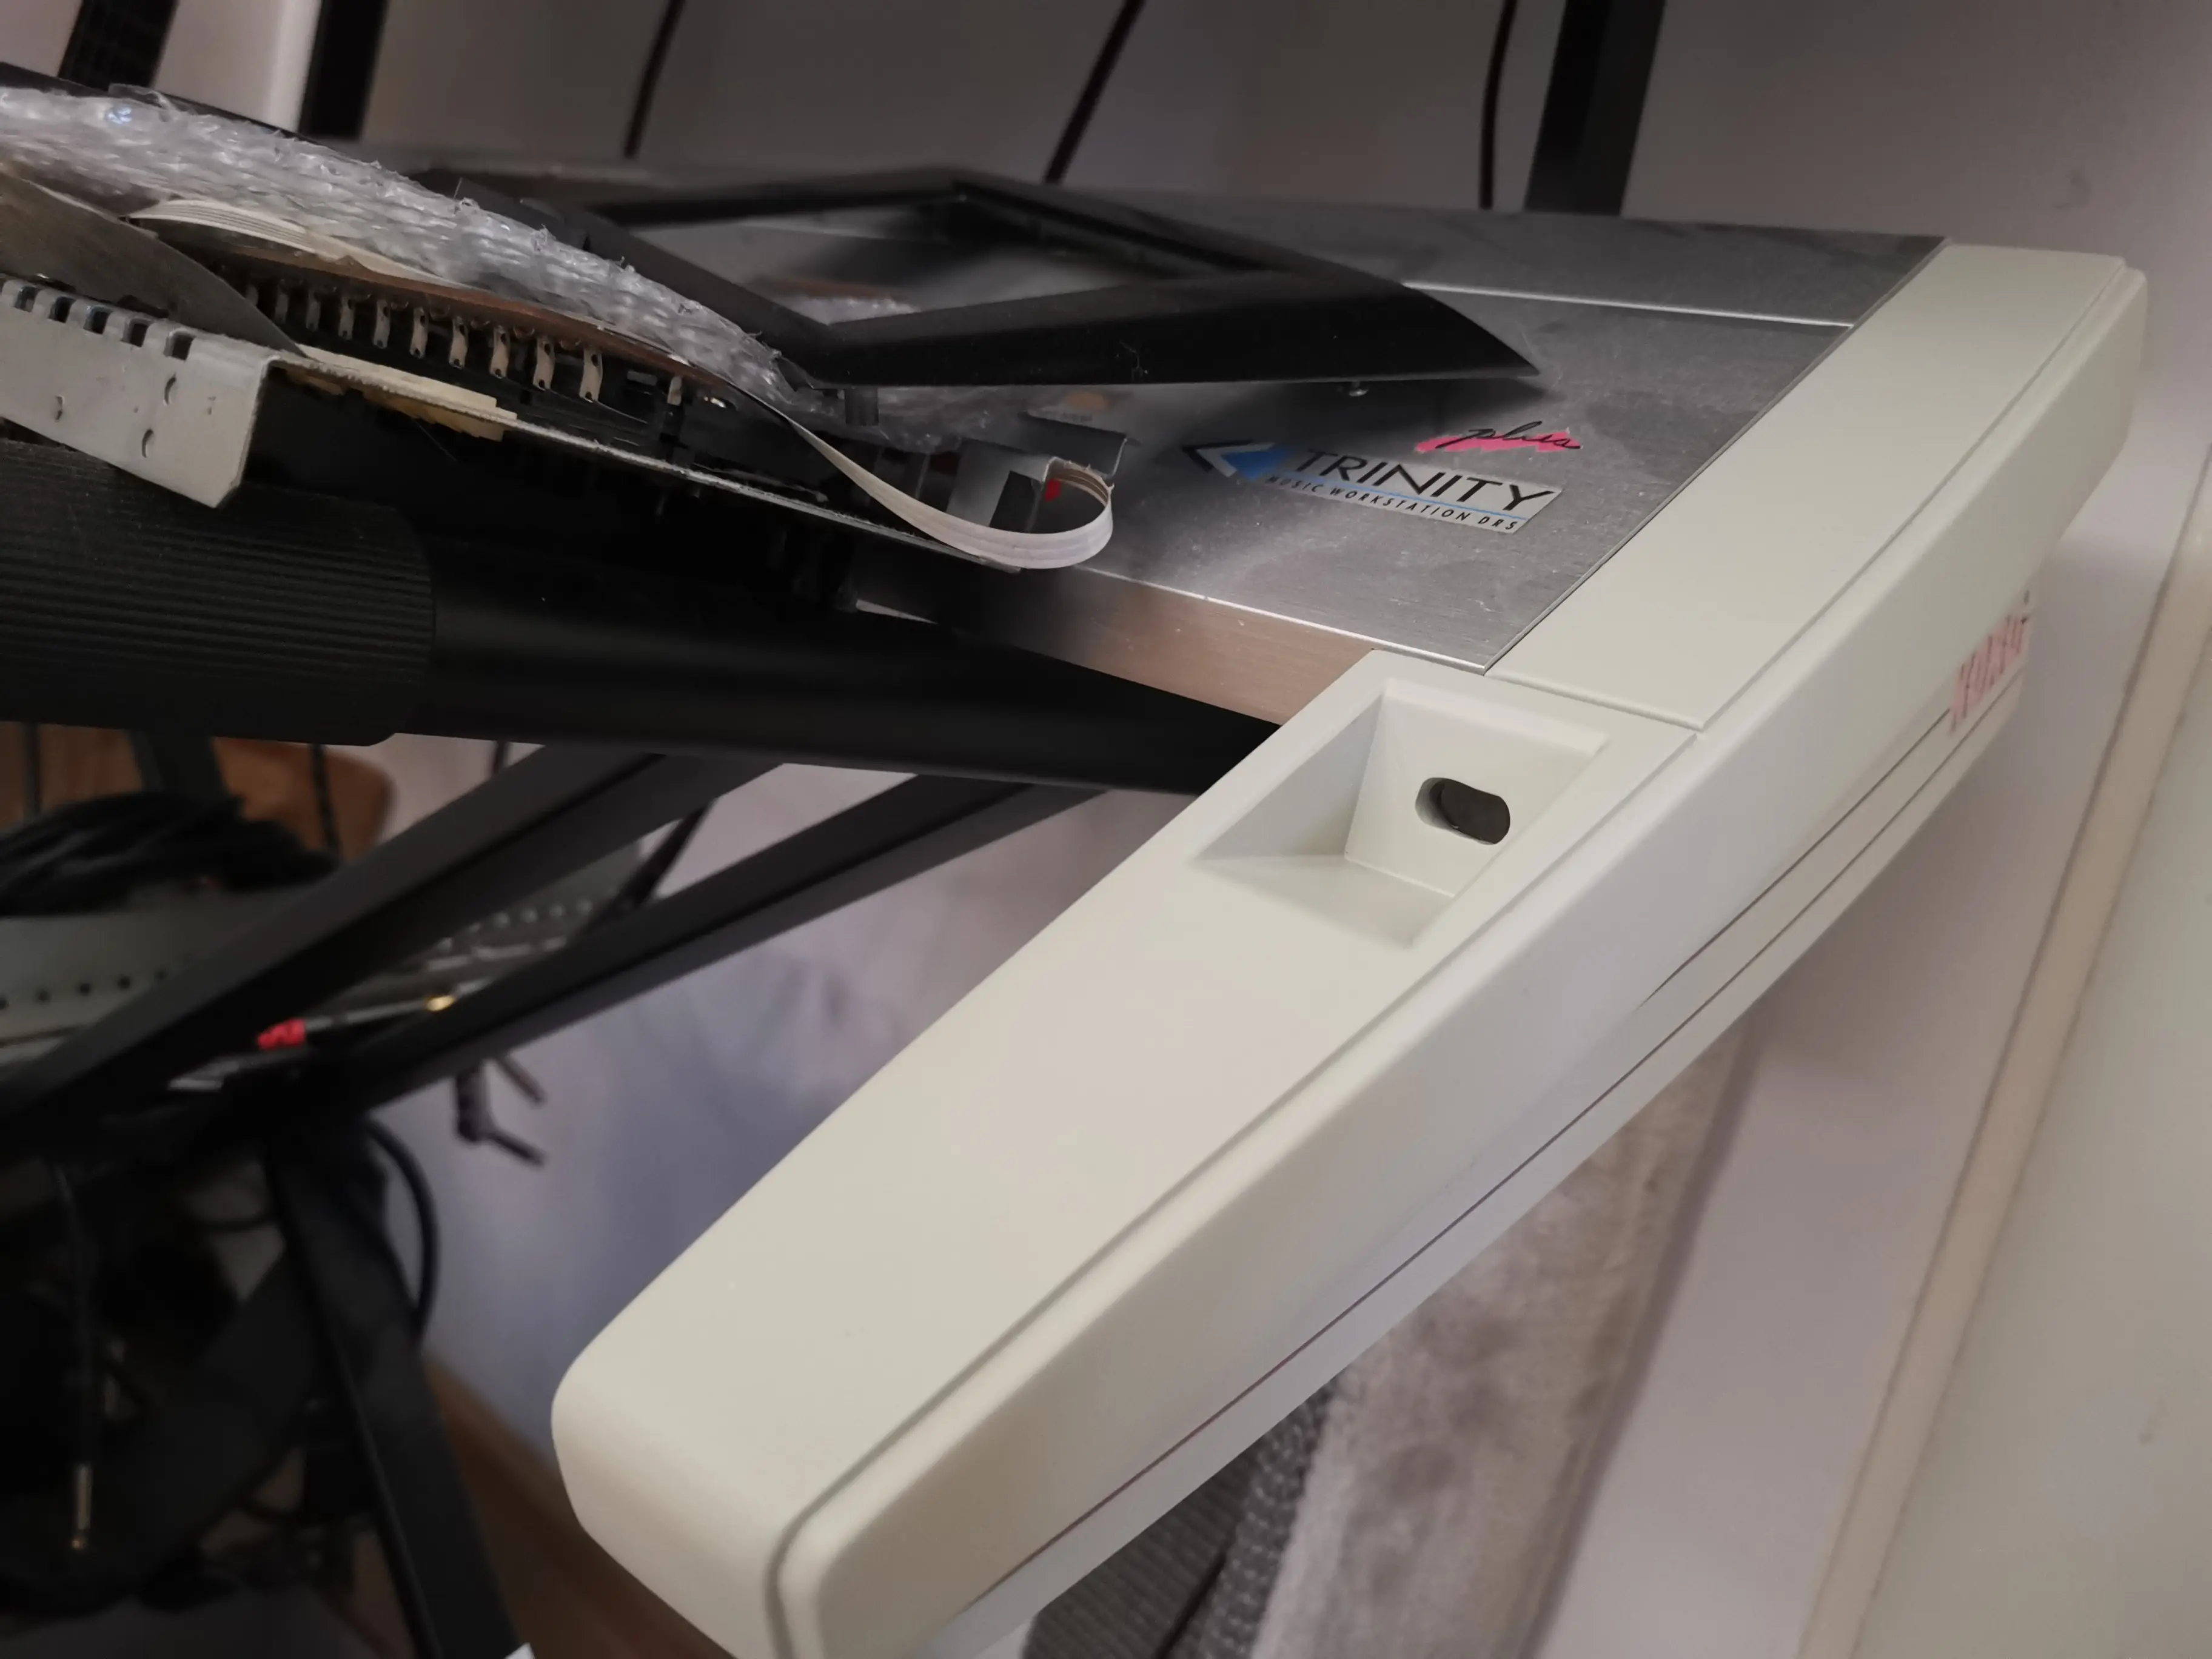
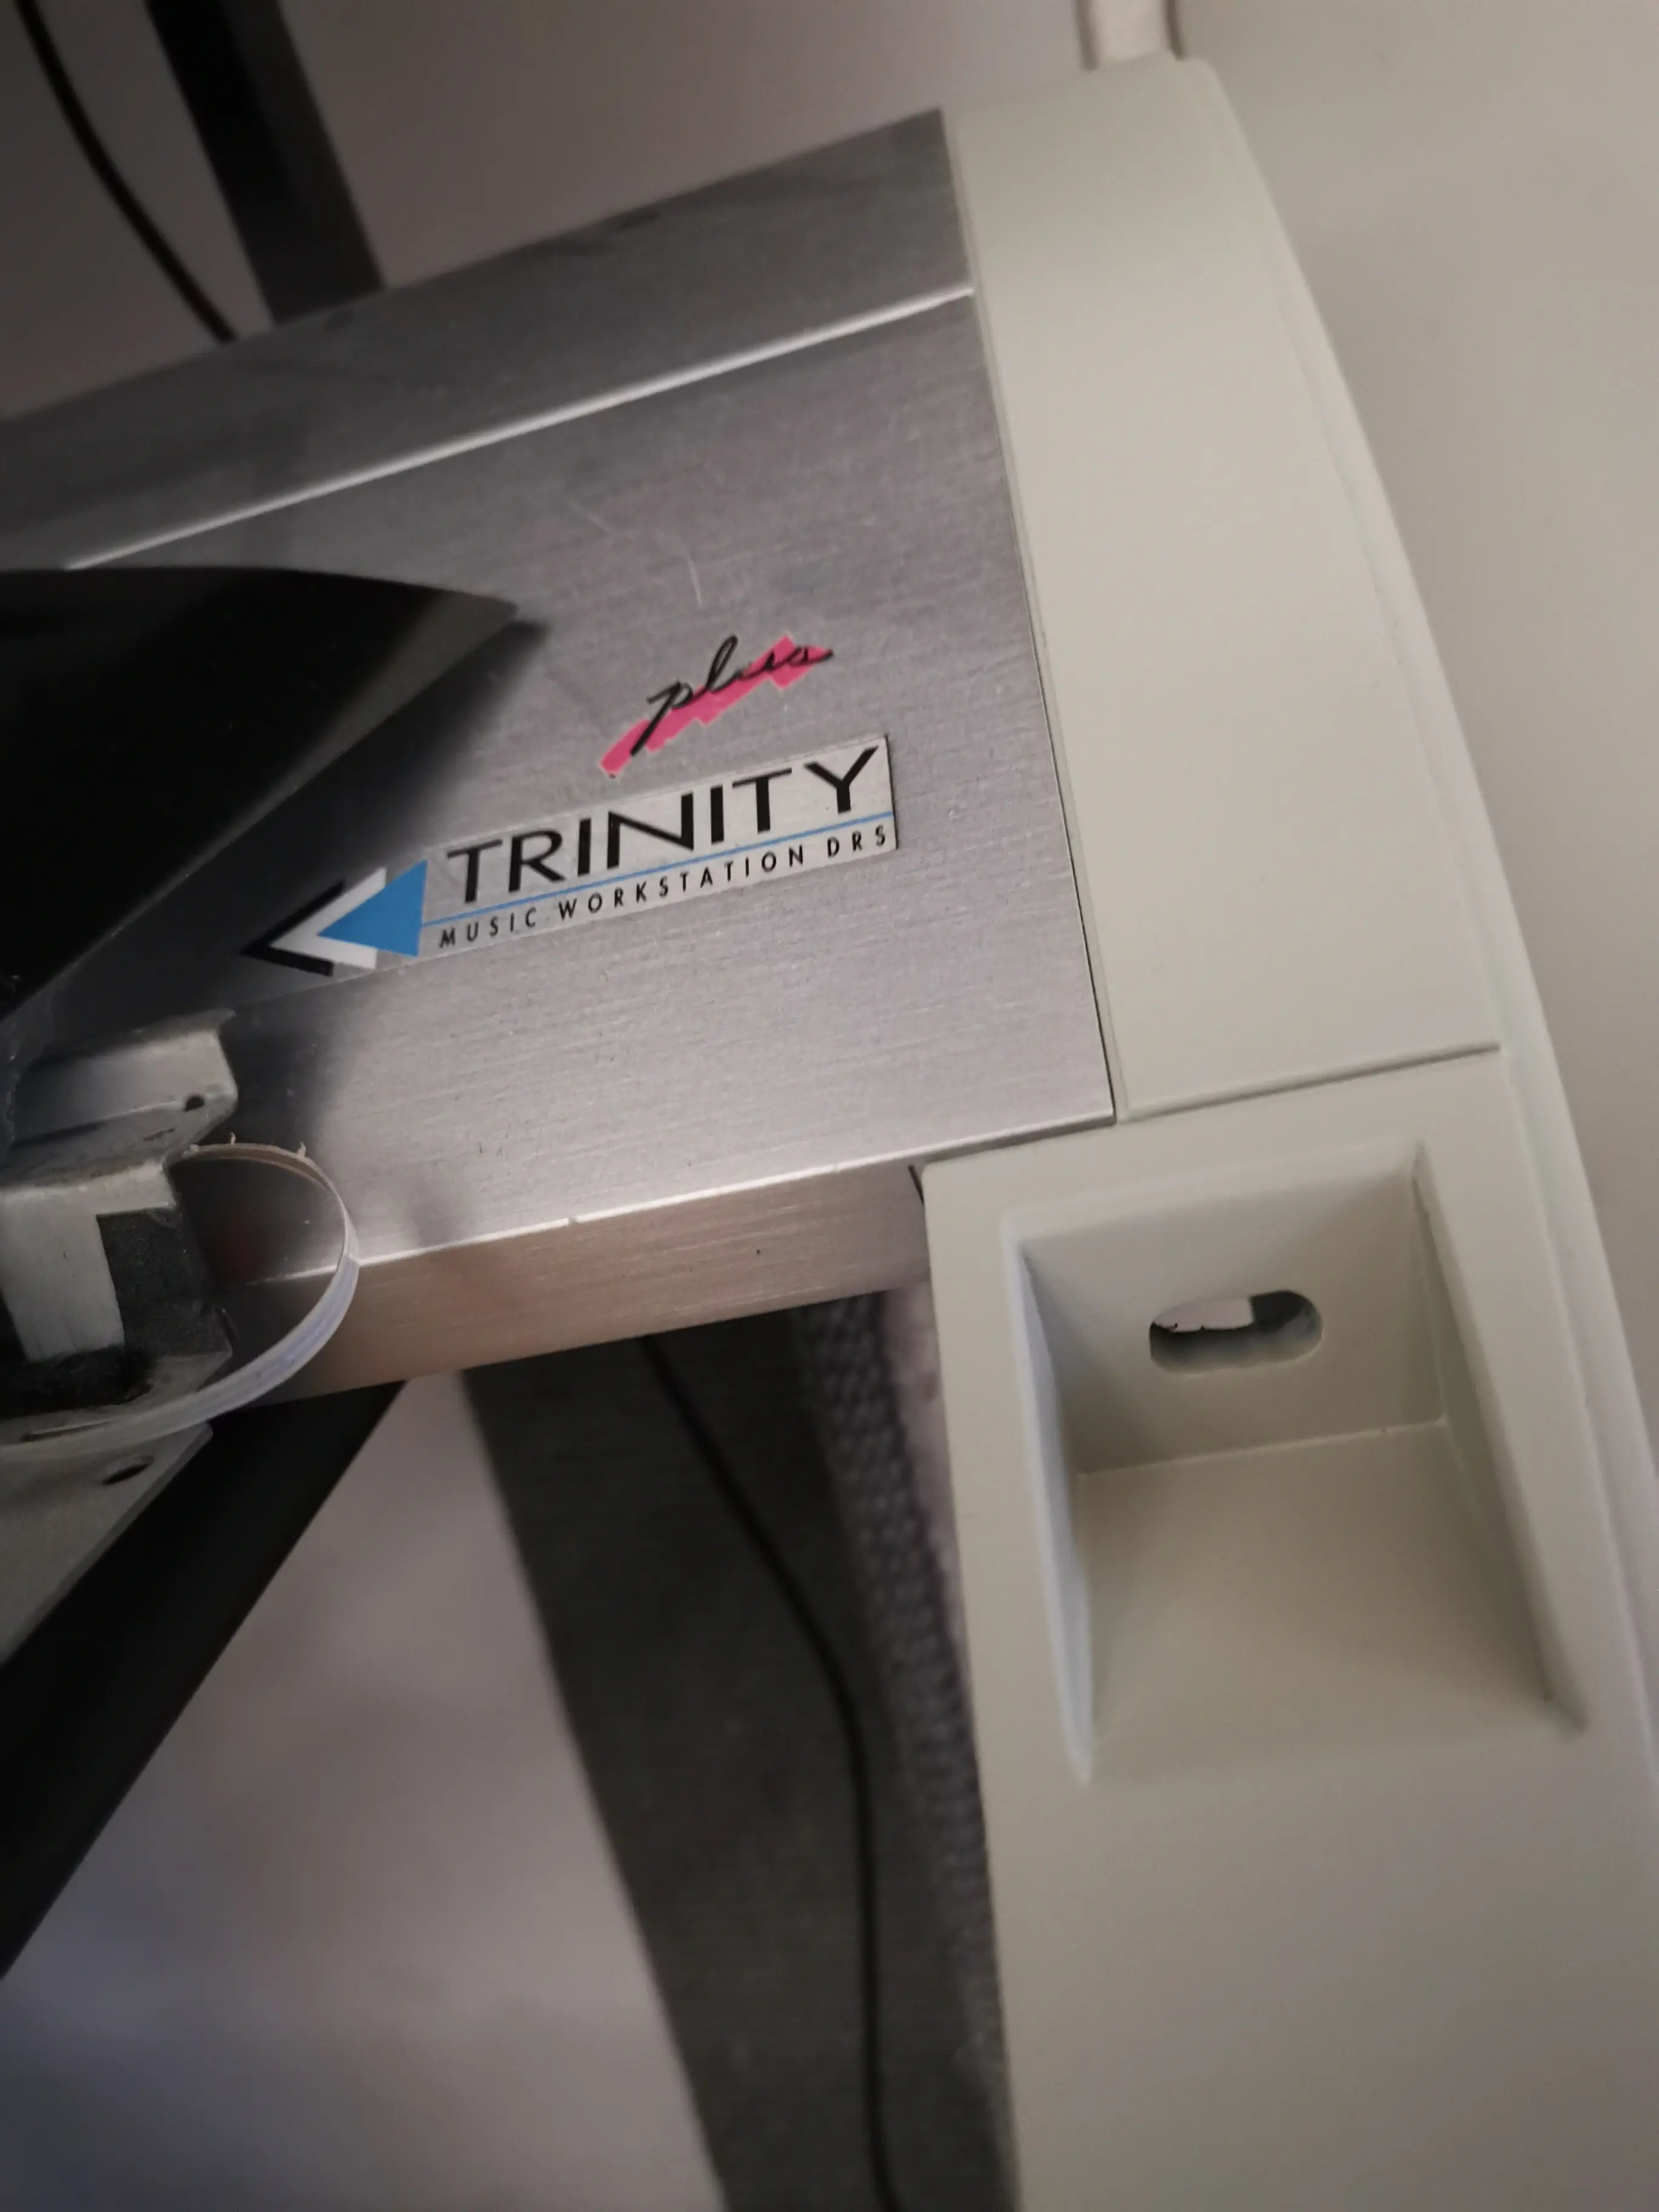
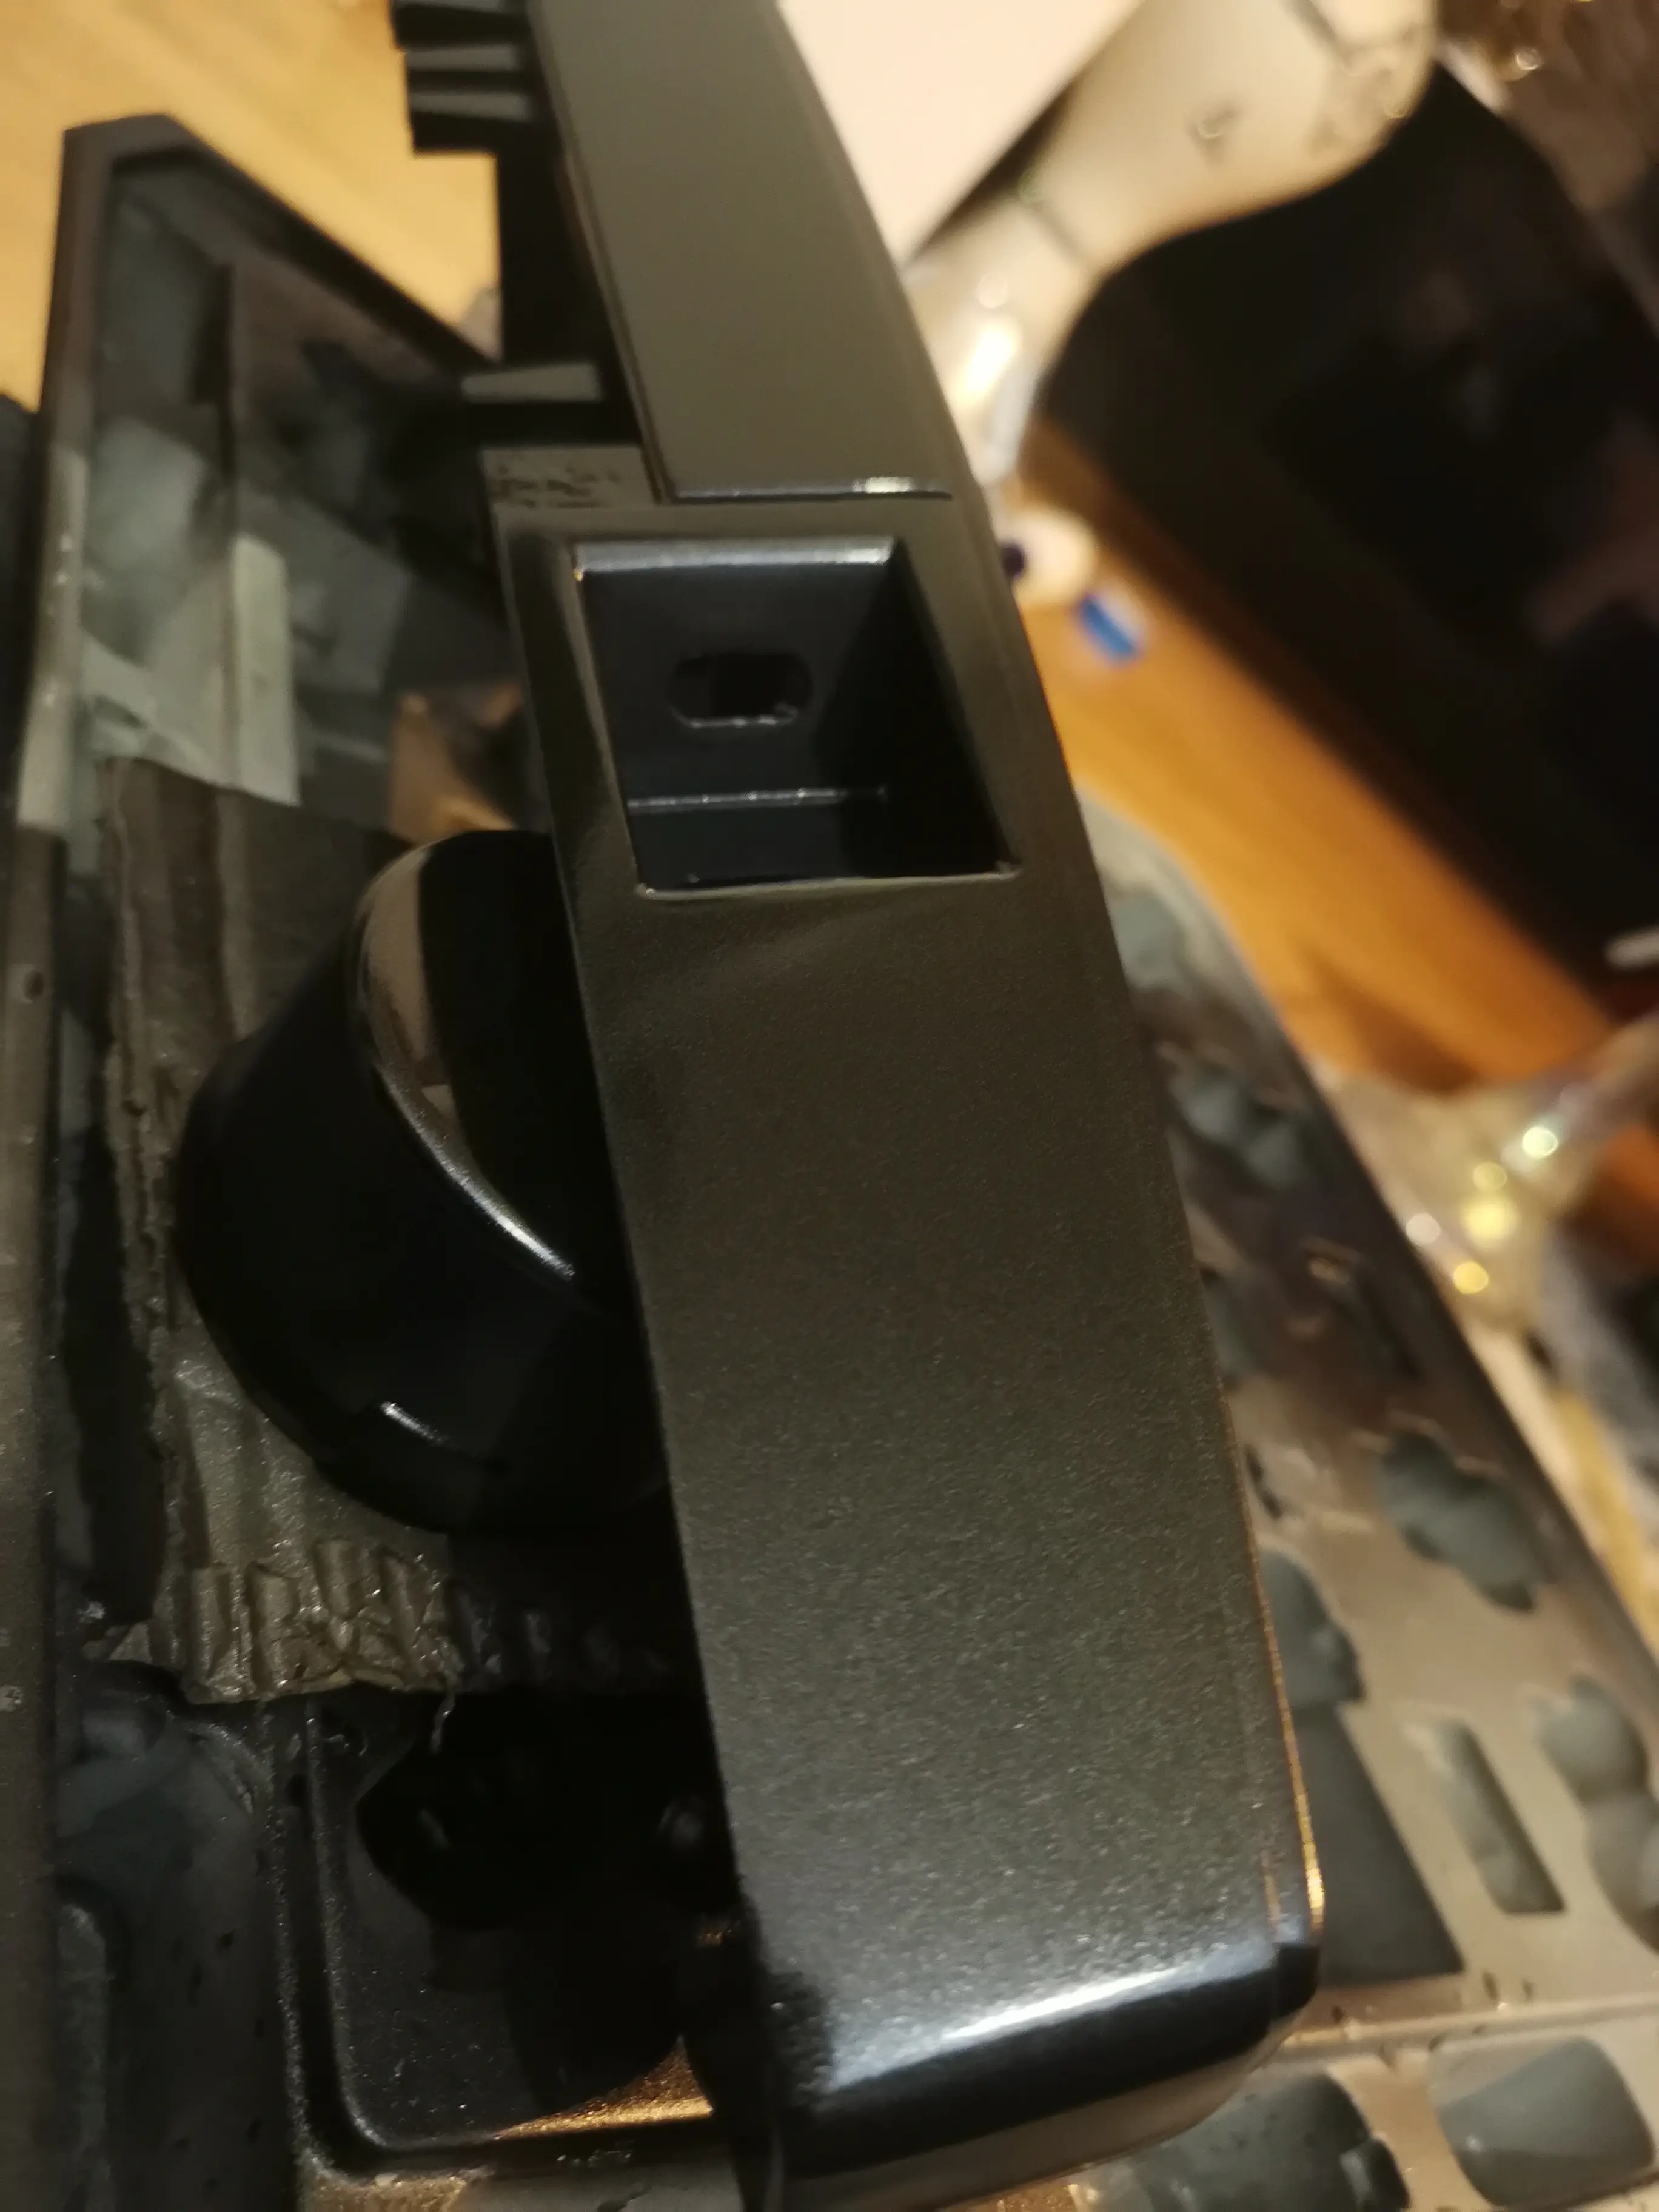
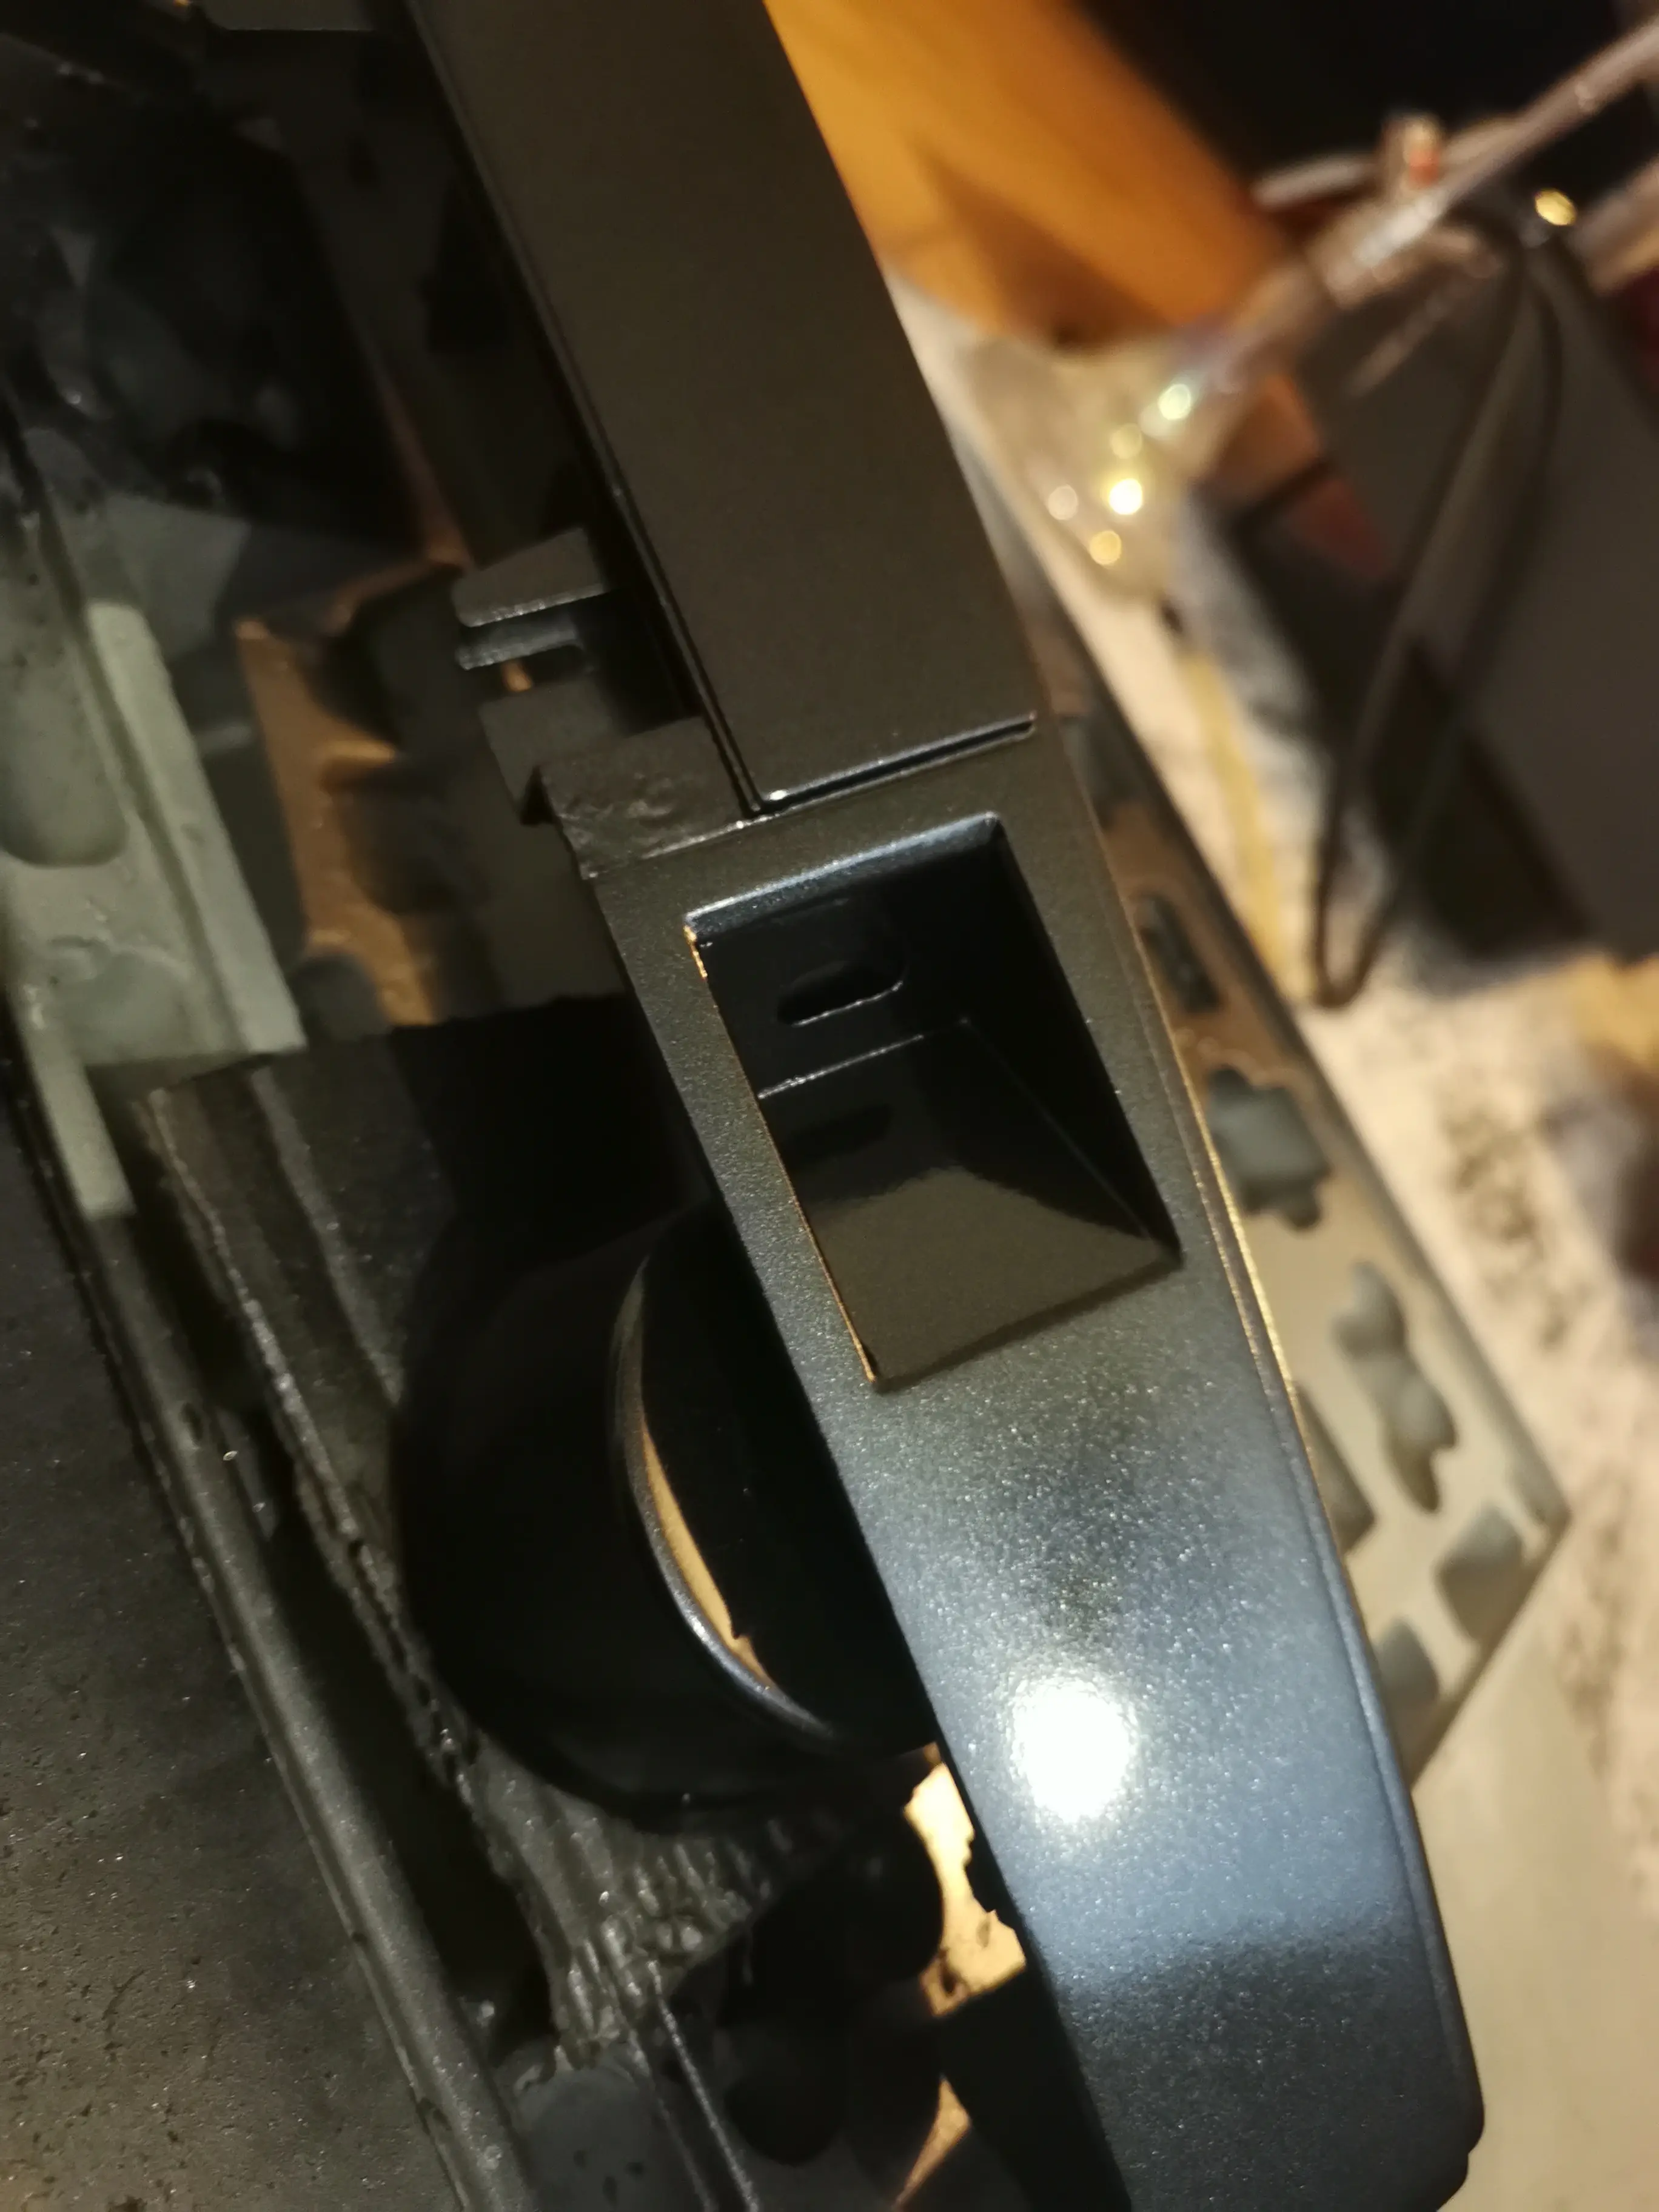
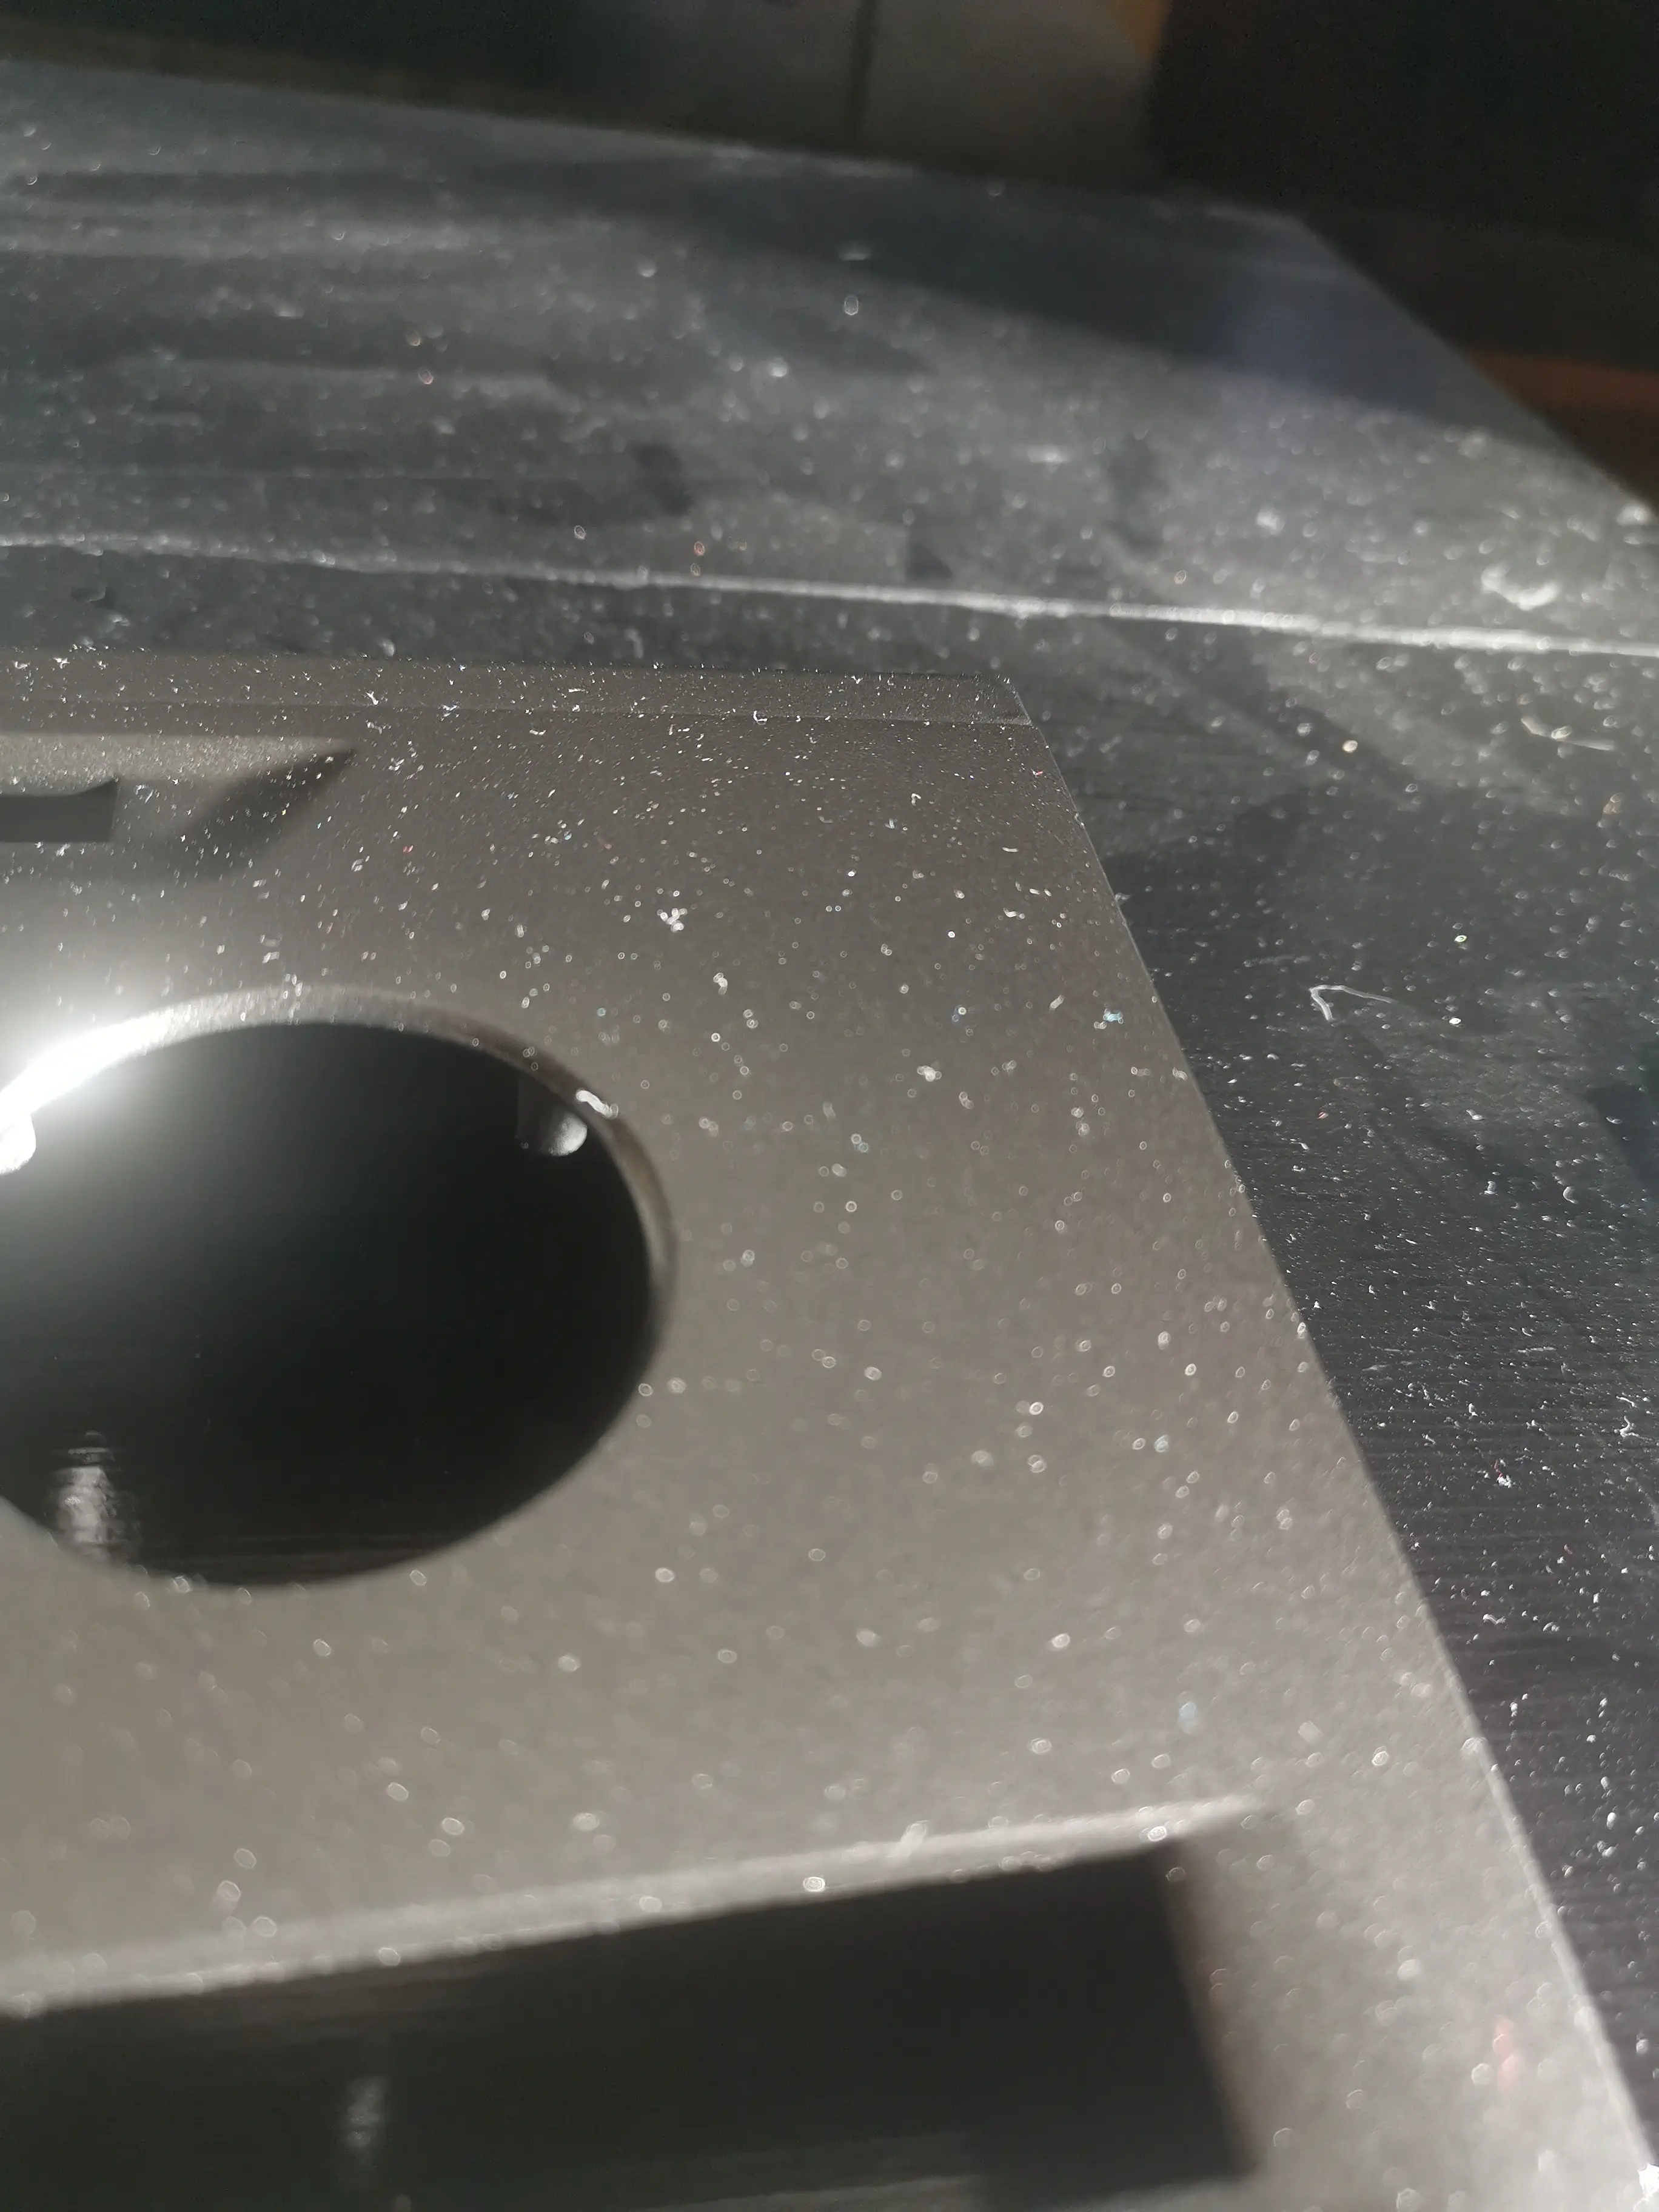
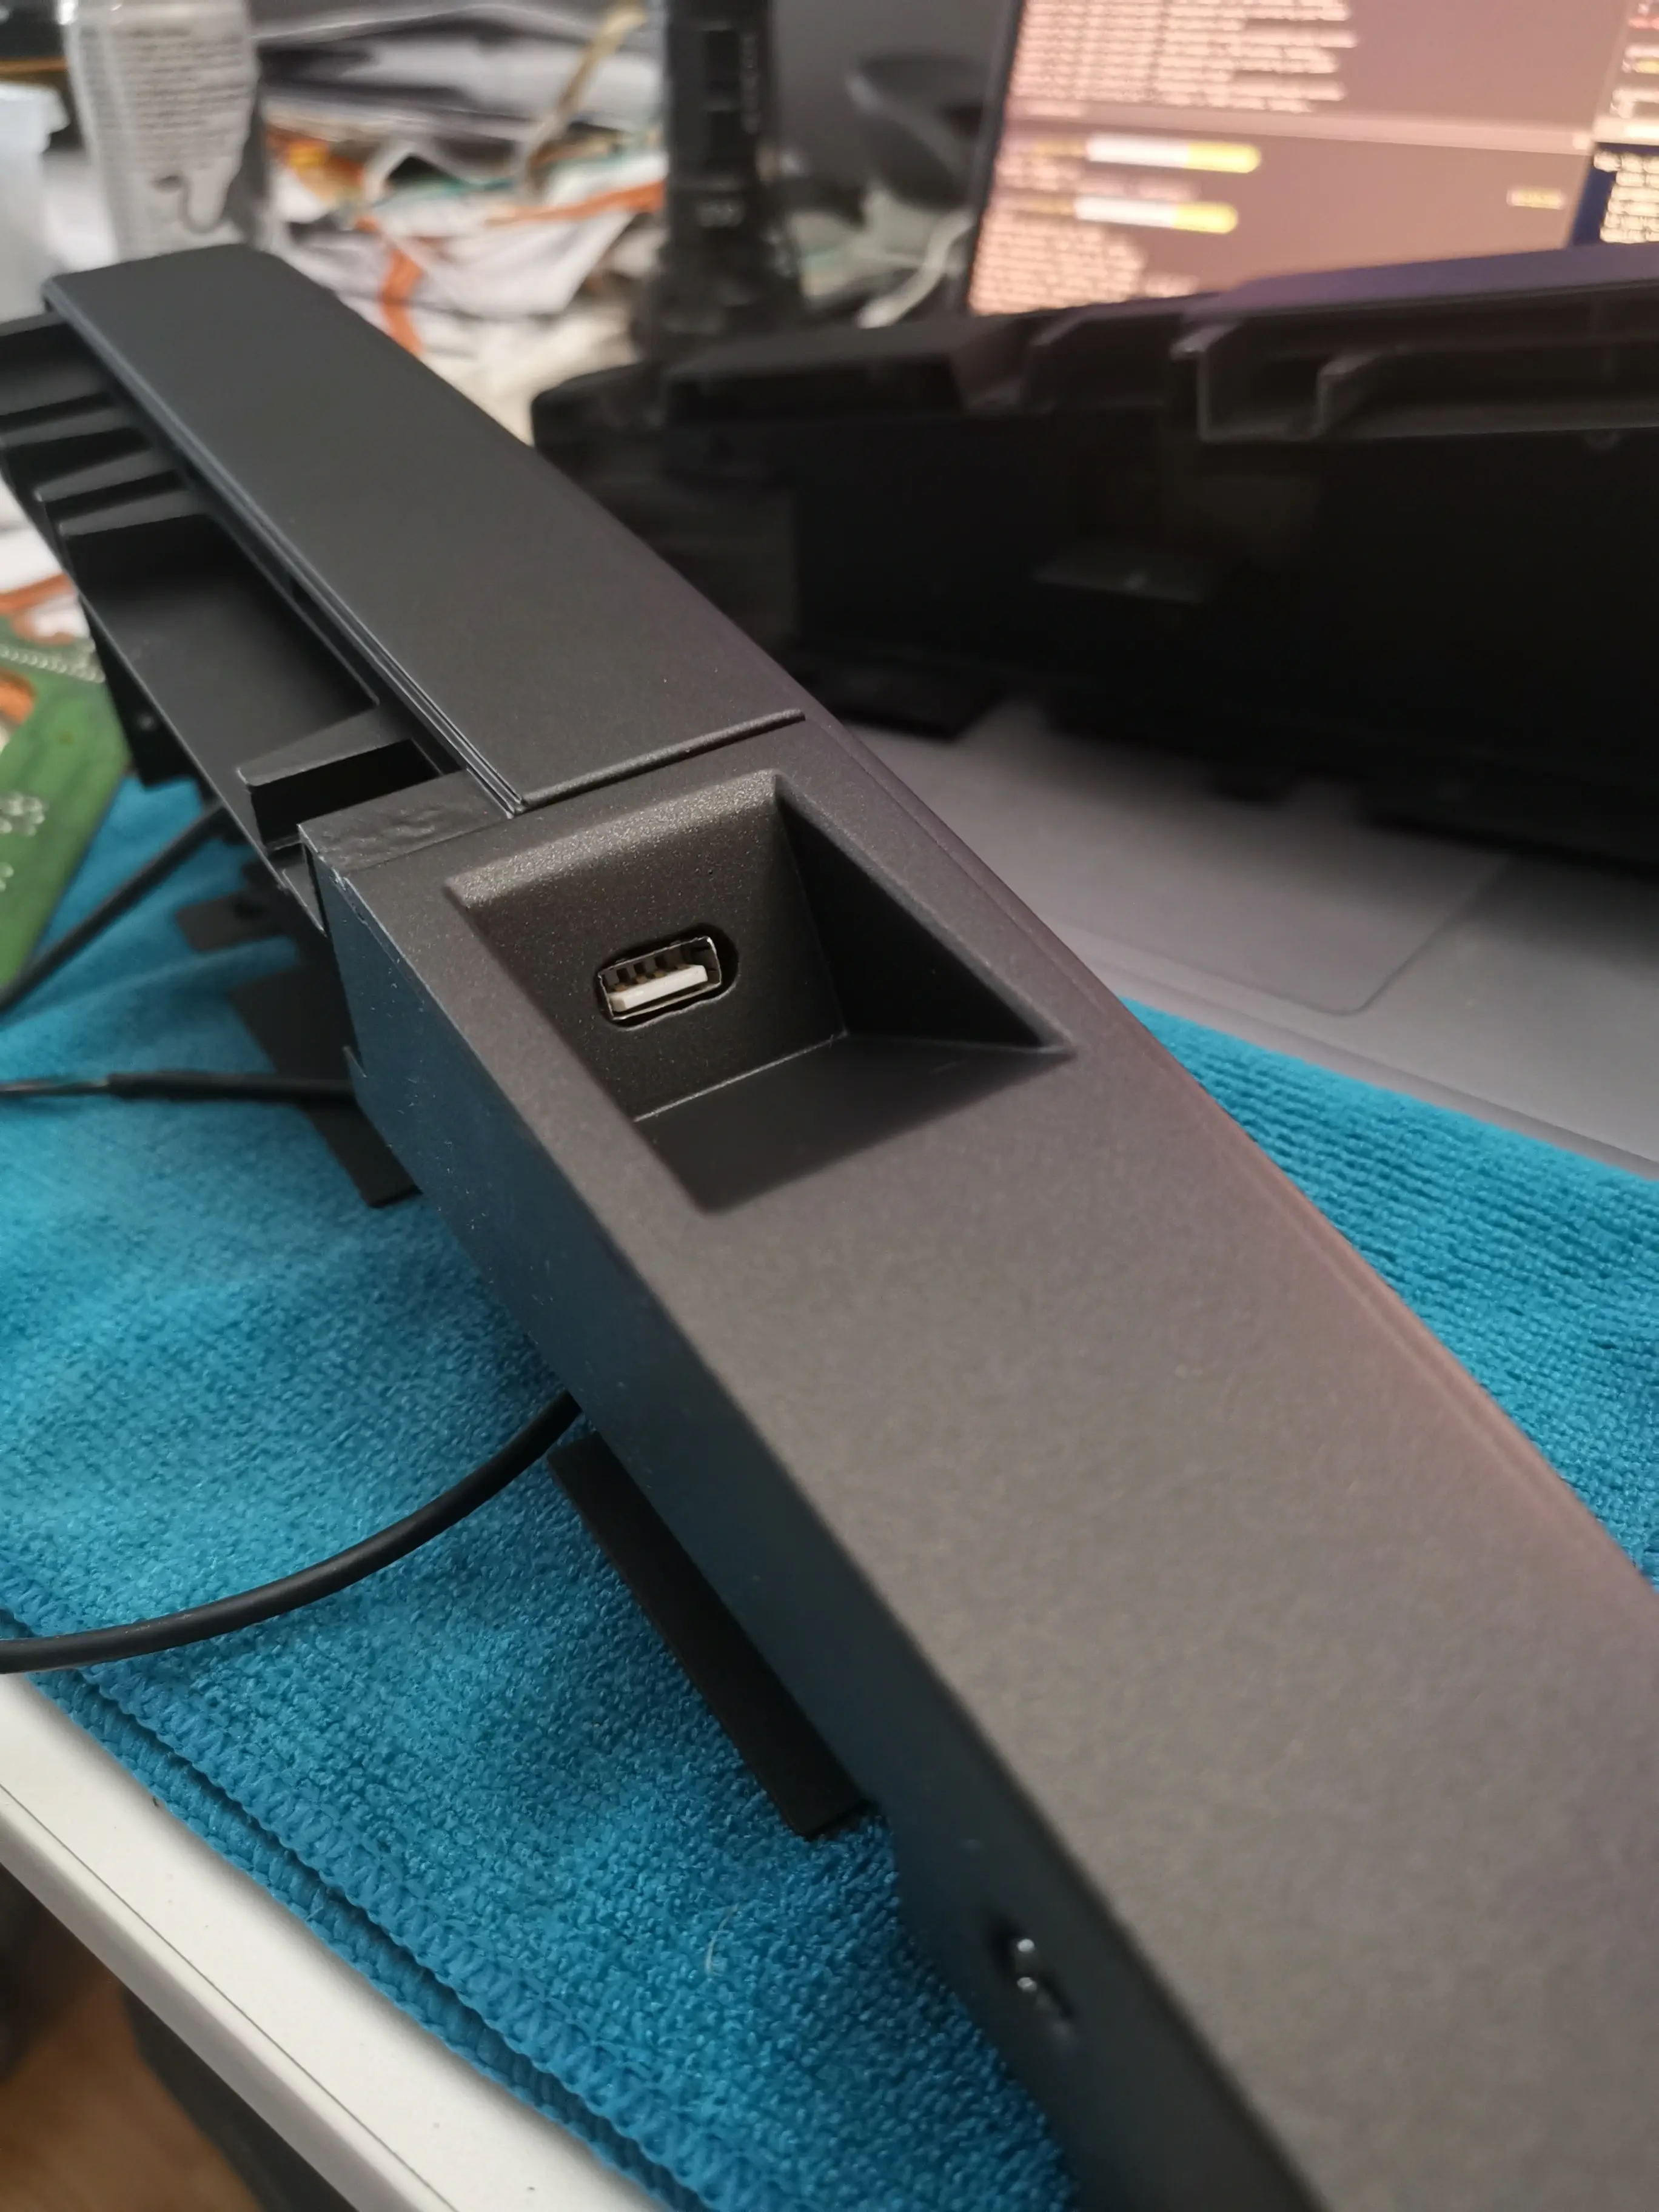
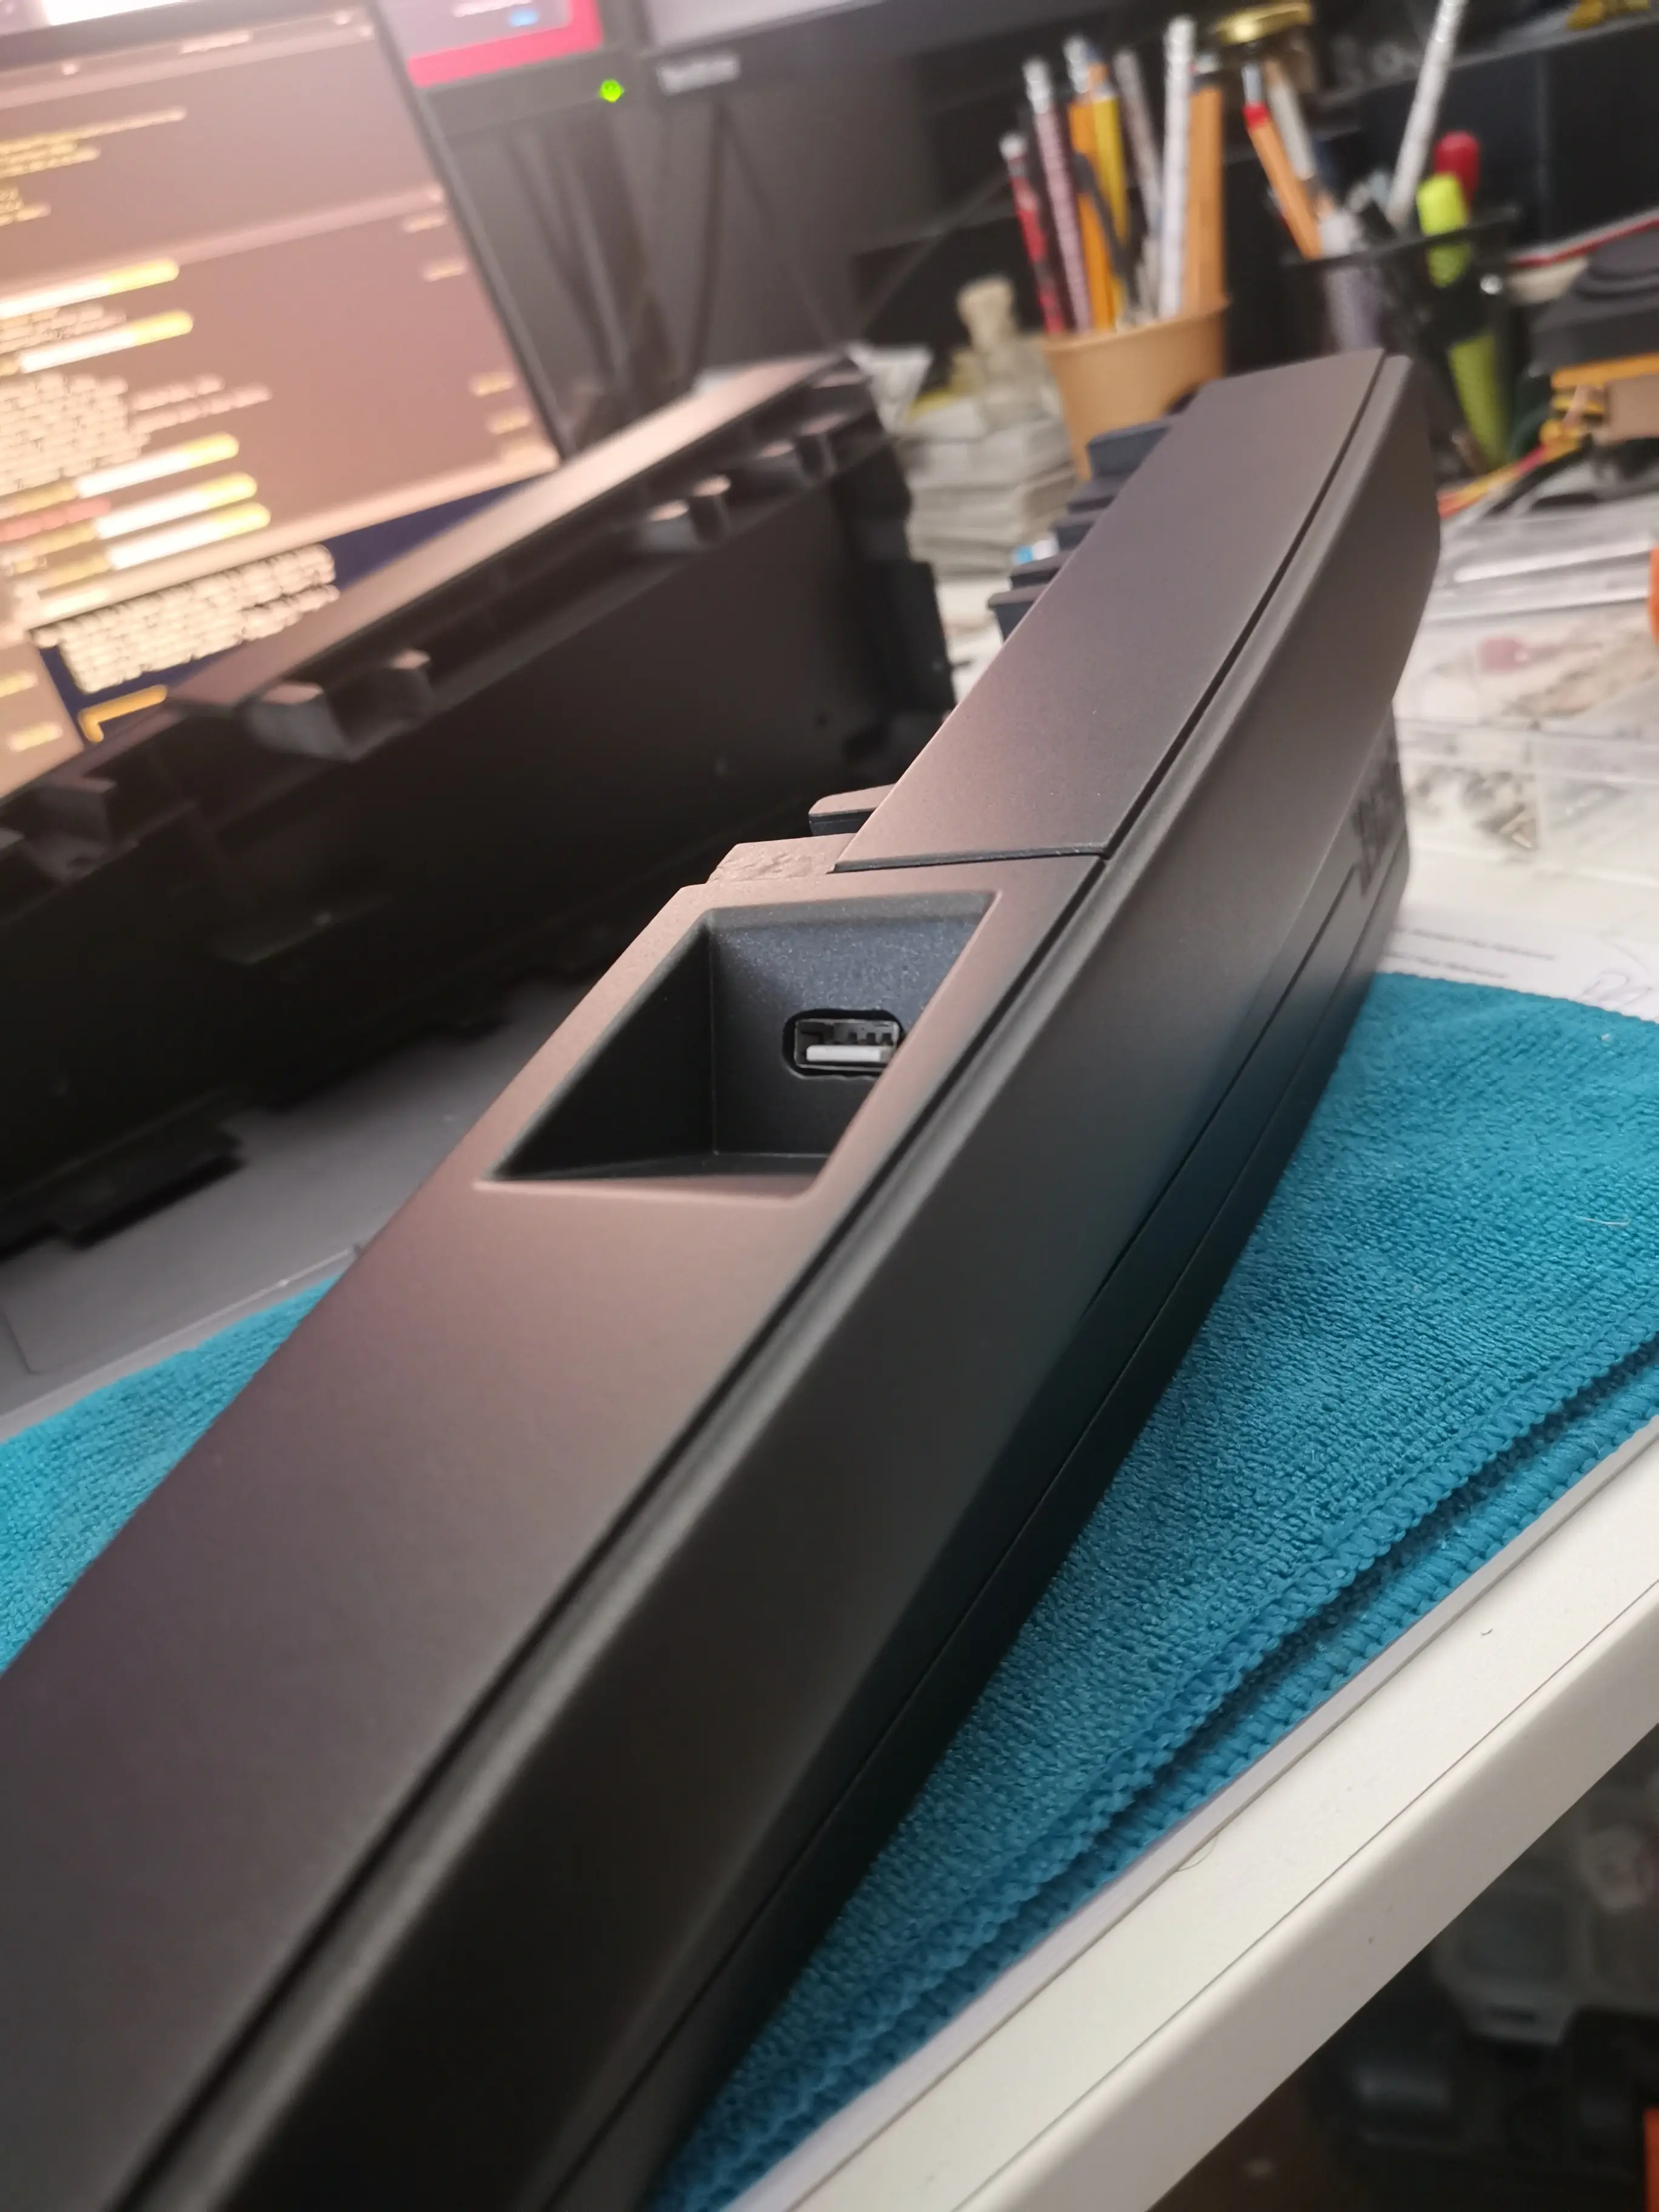
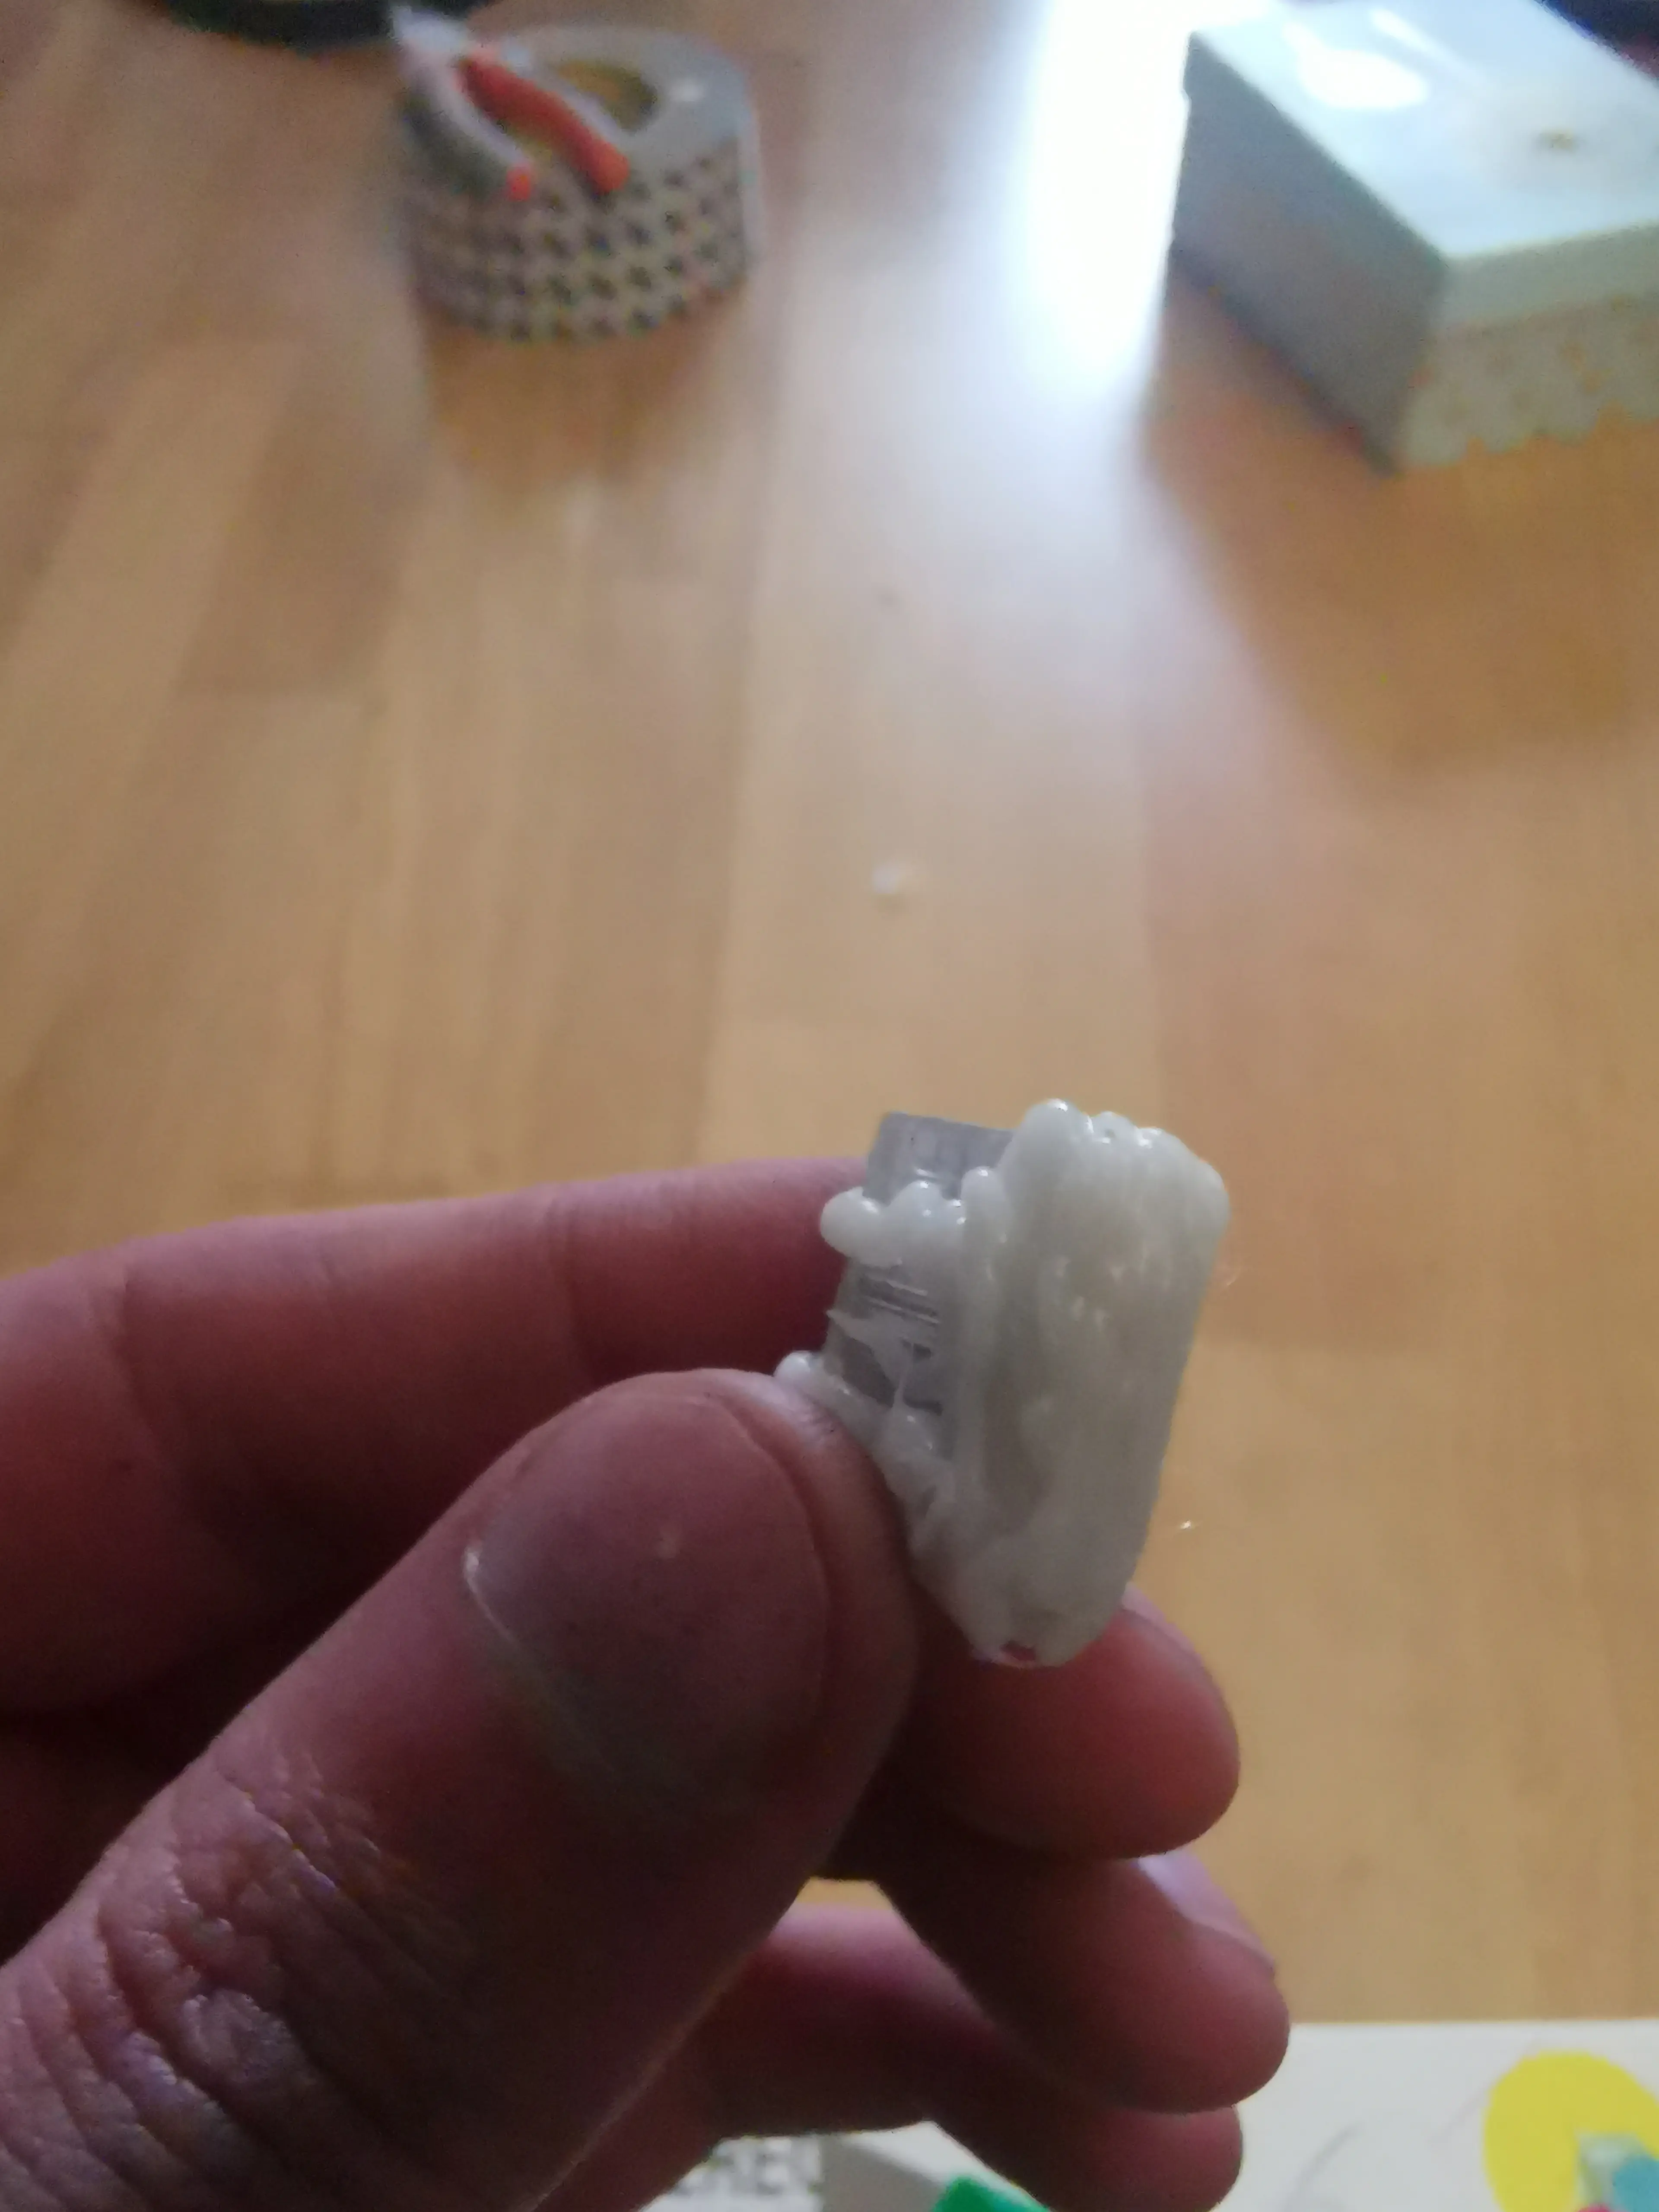
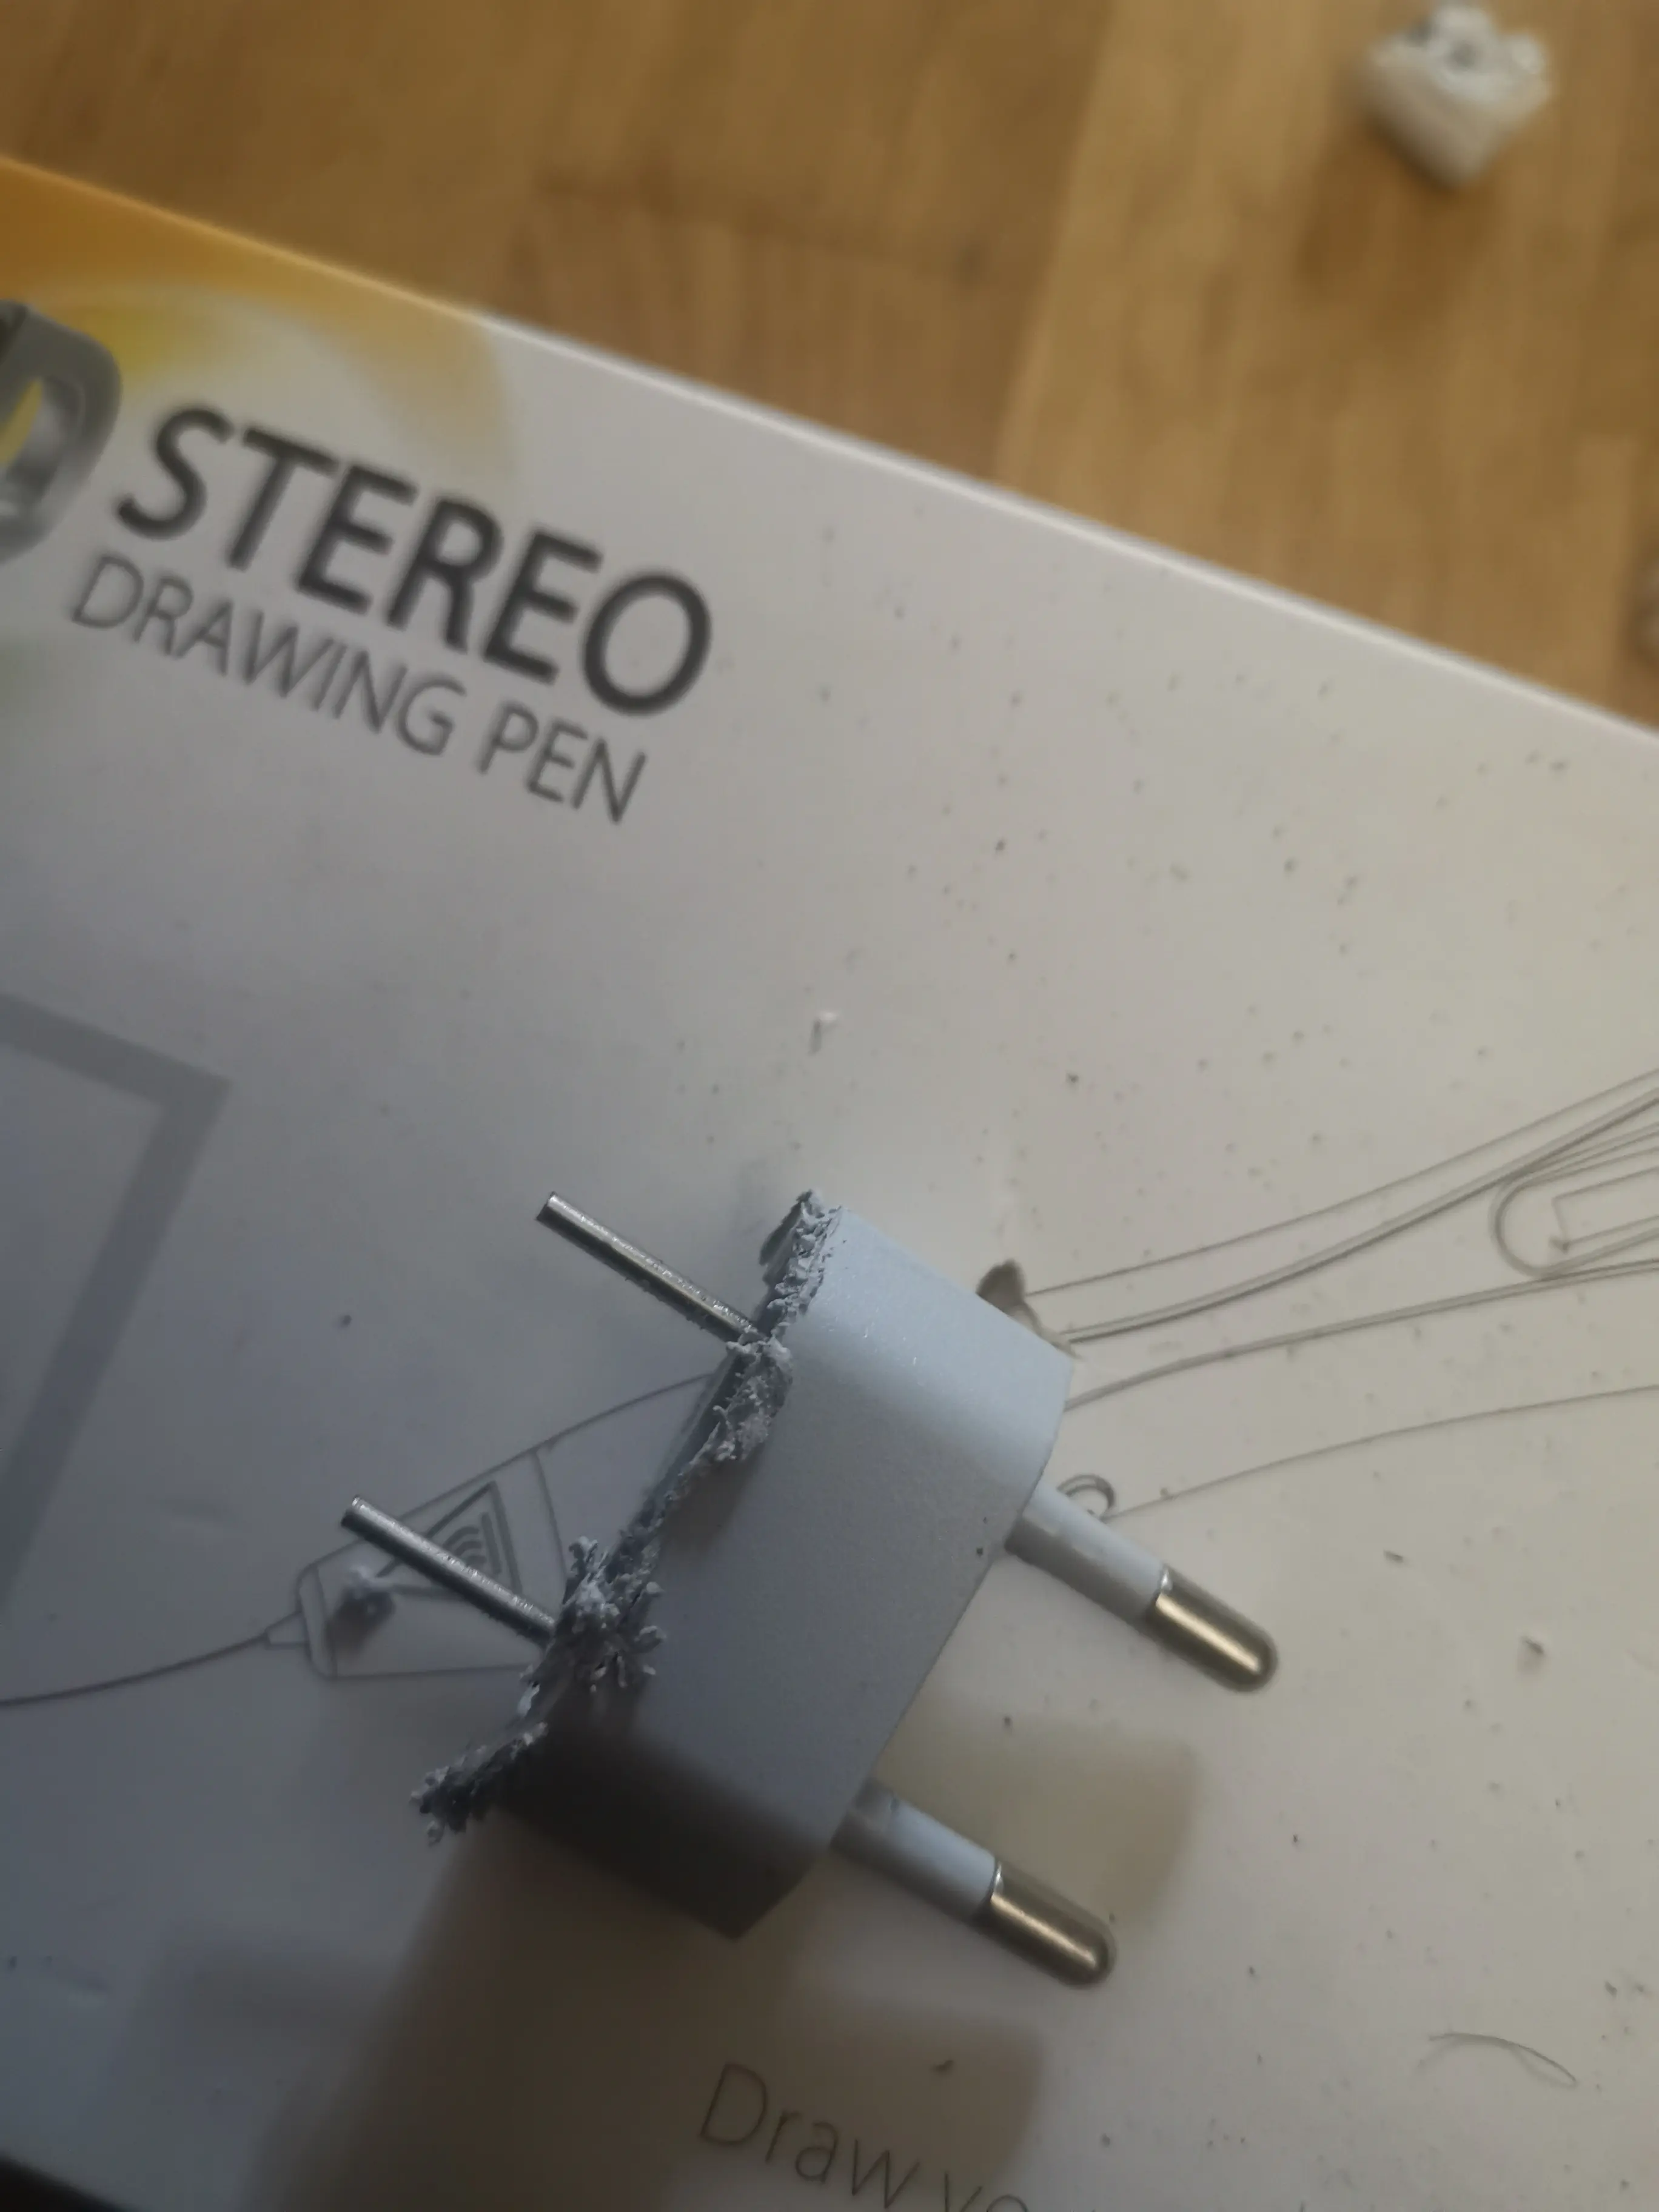
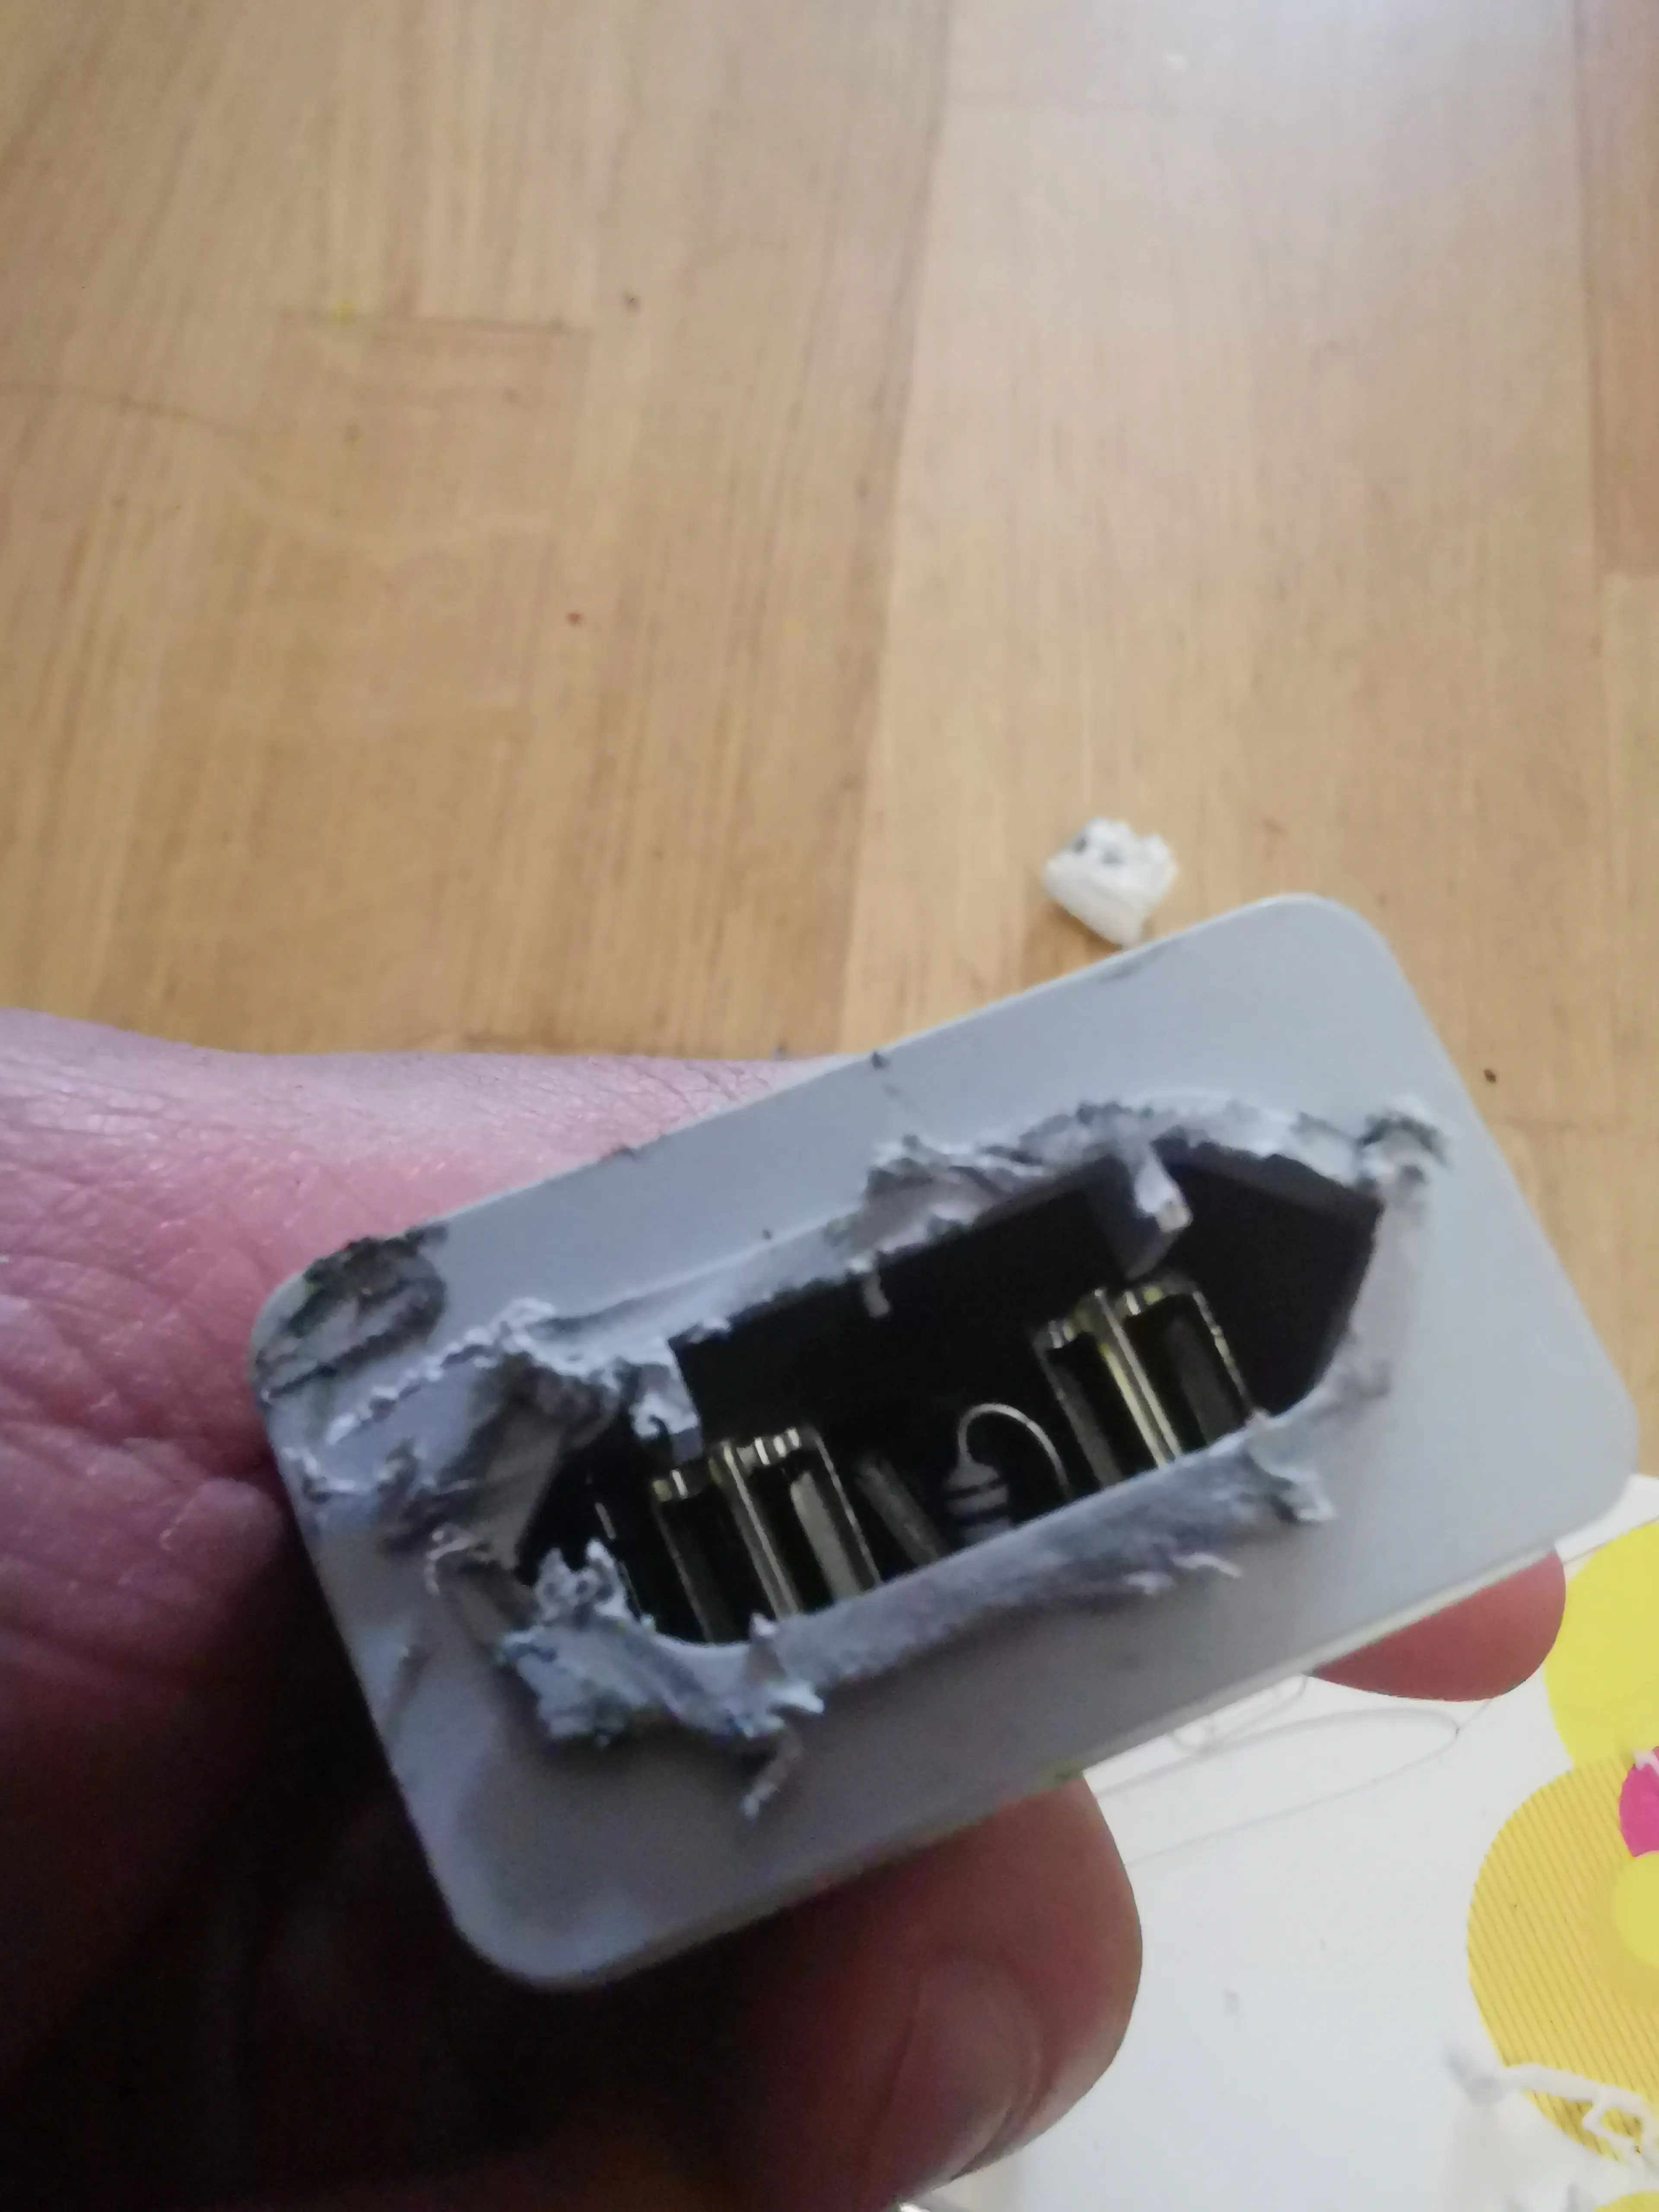
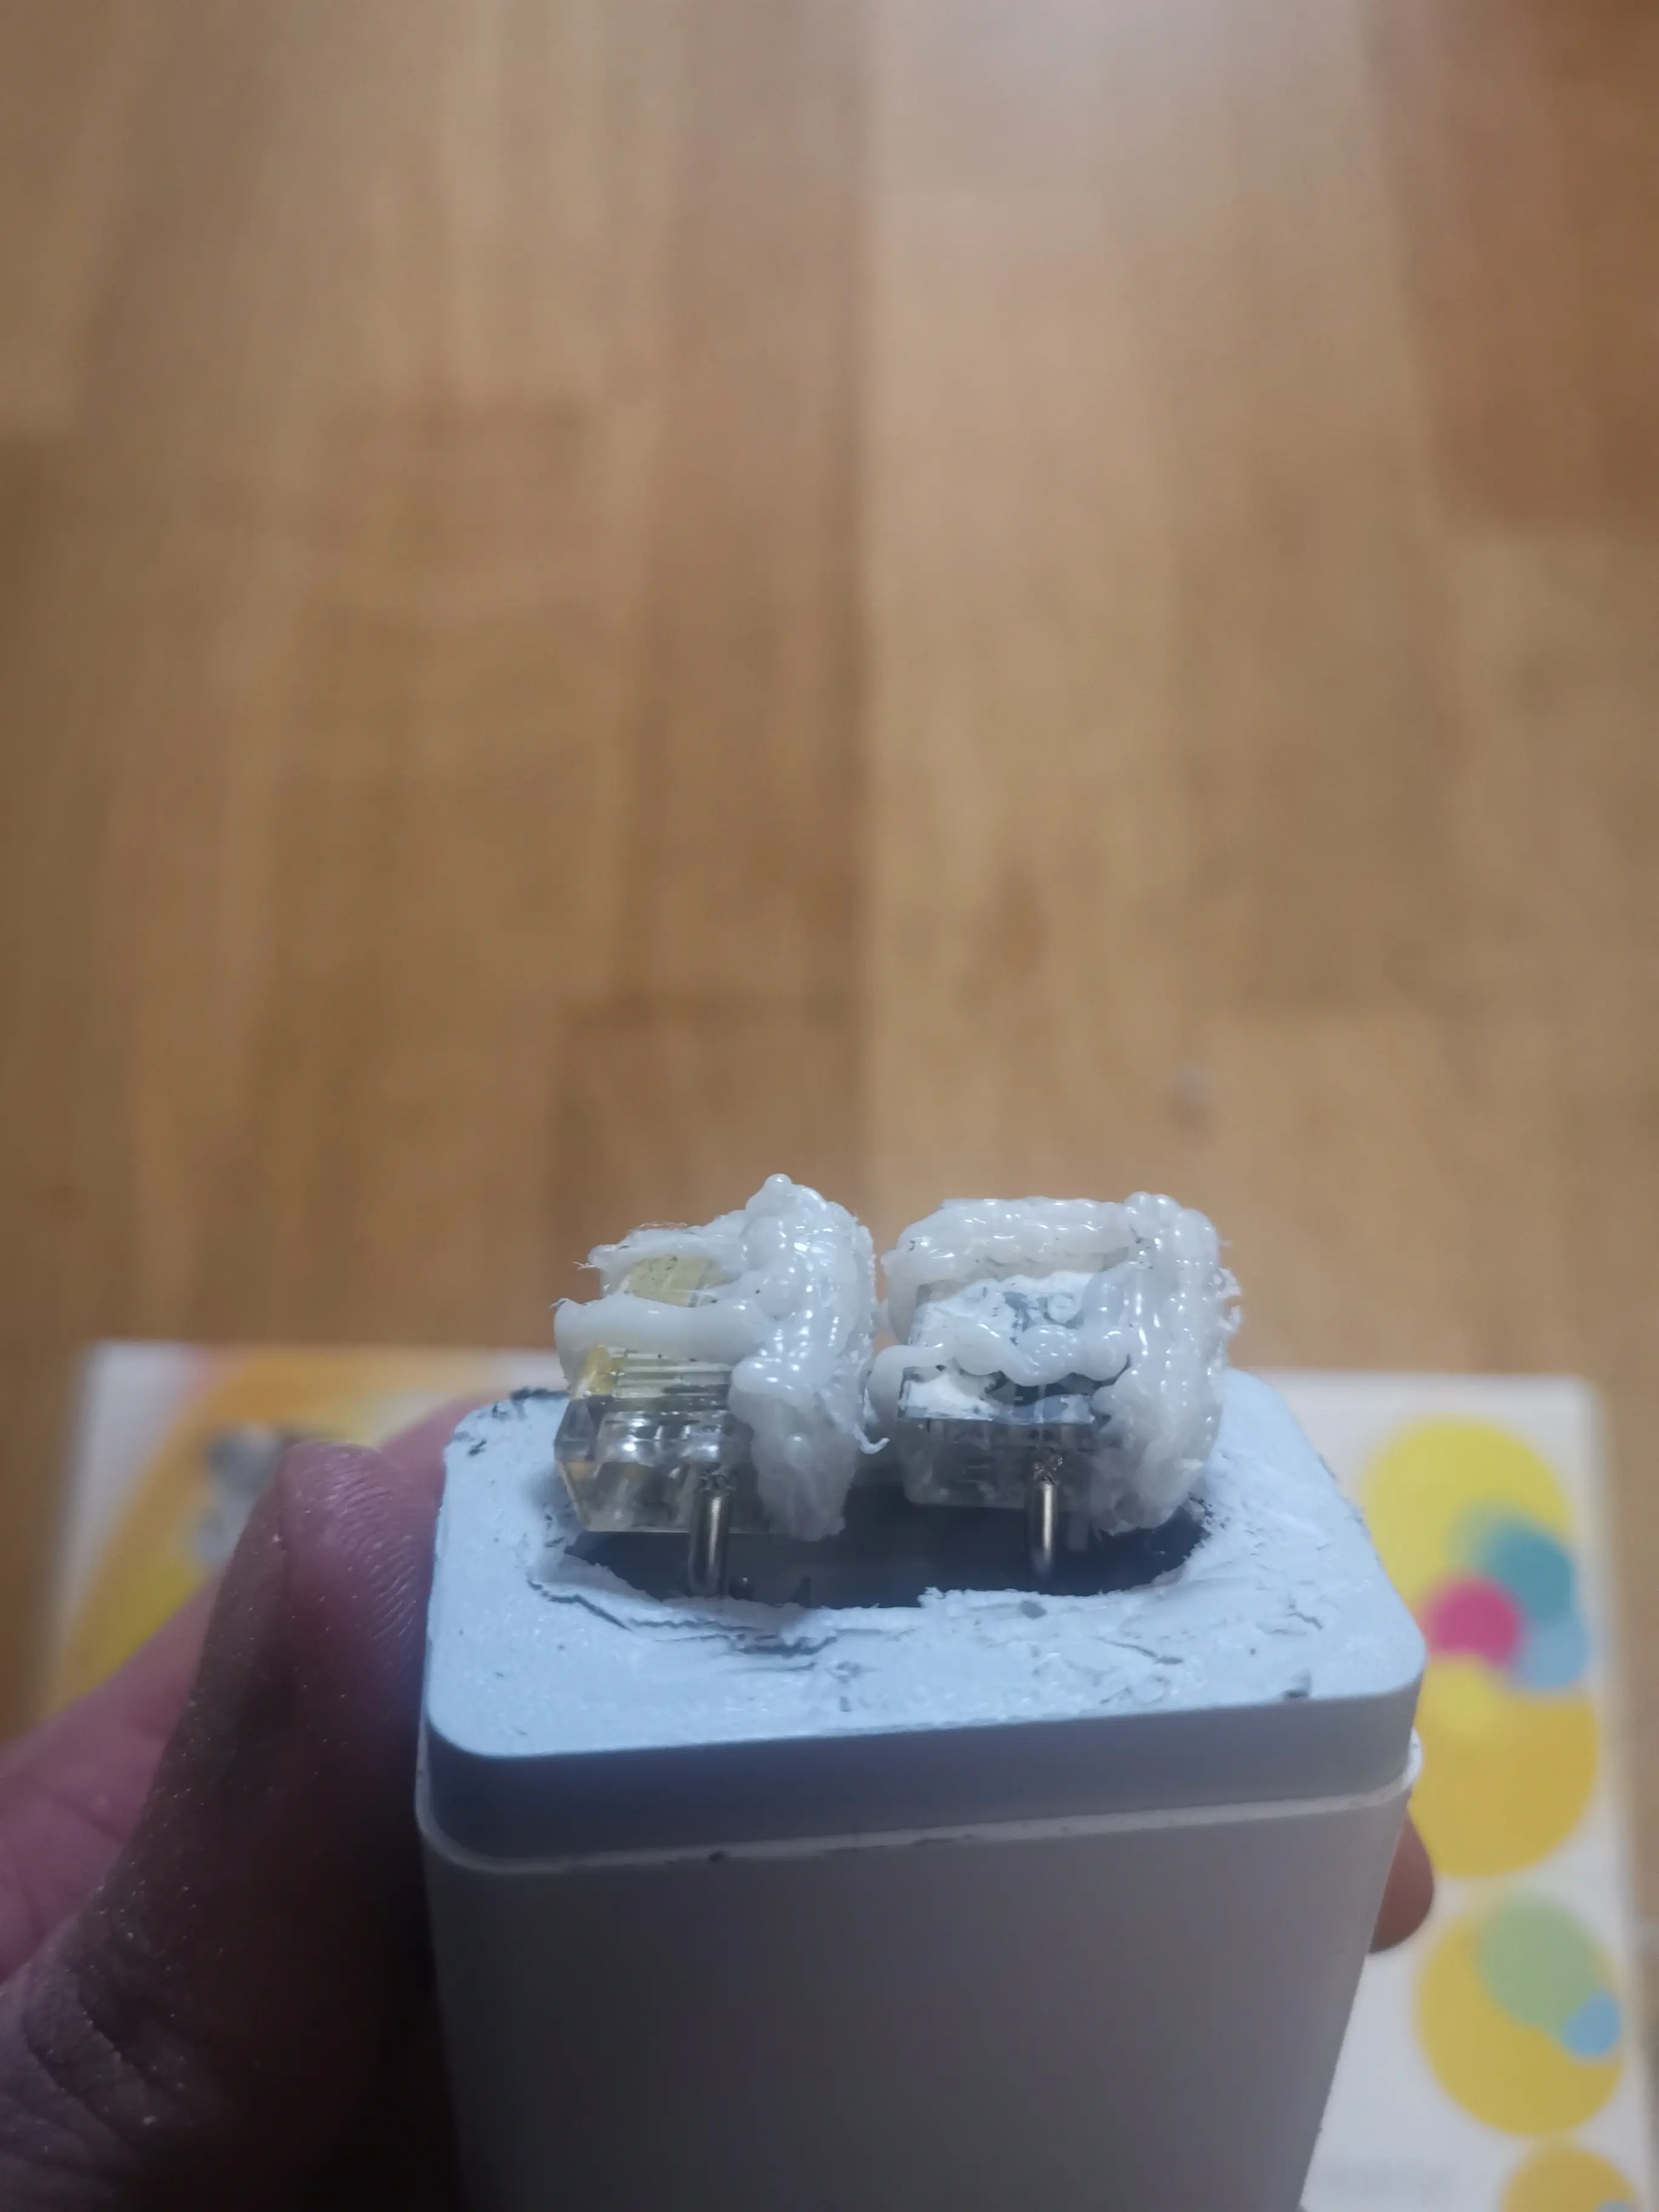
A USB port in the end cap

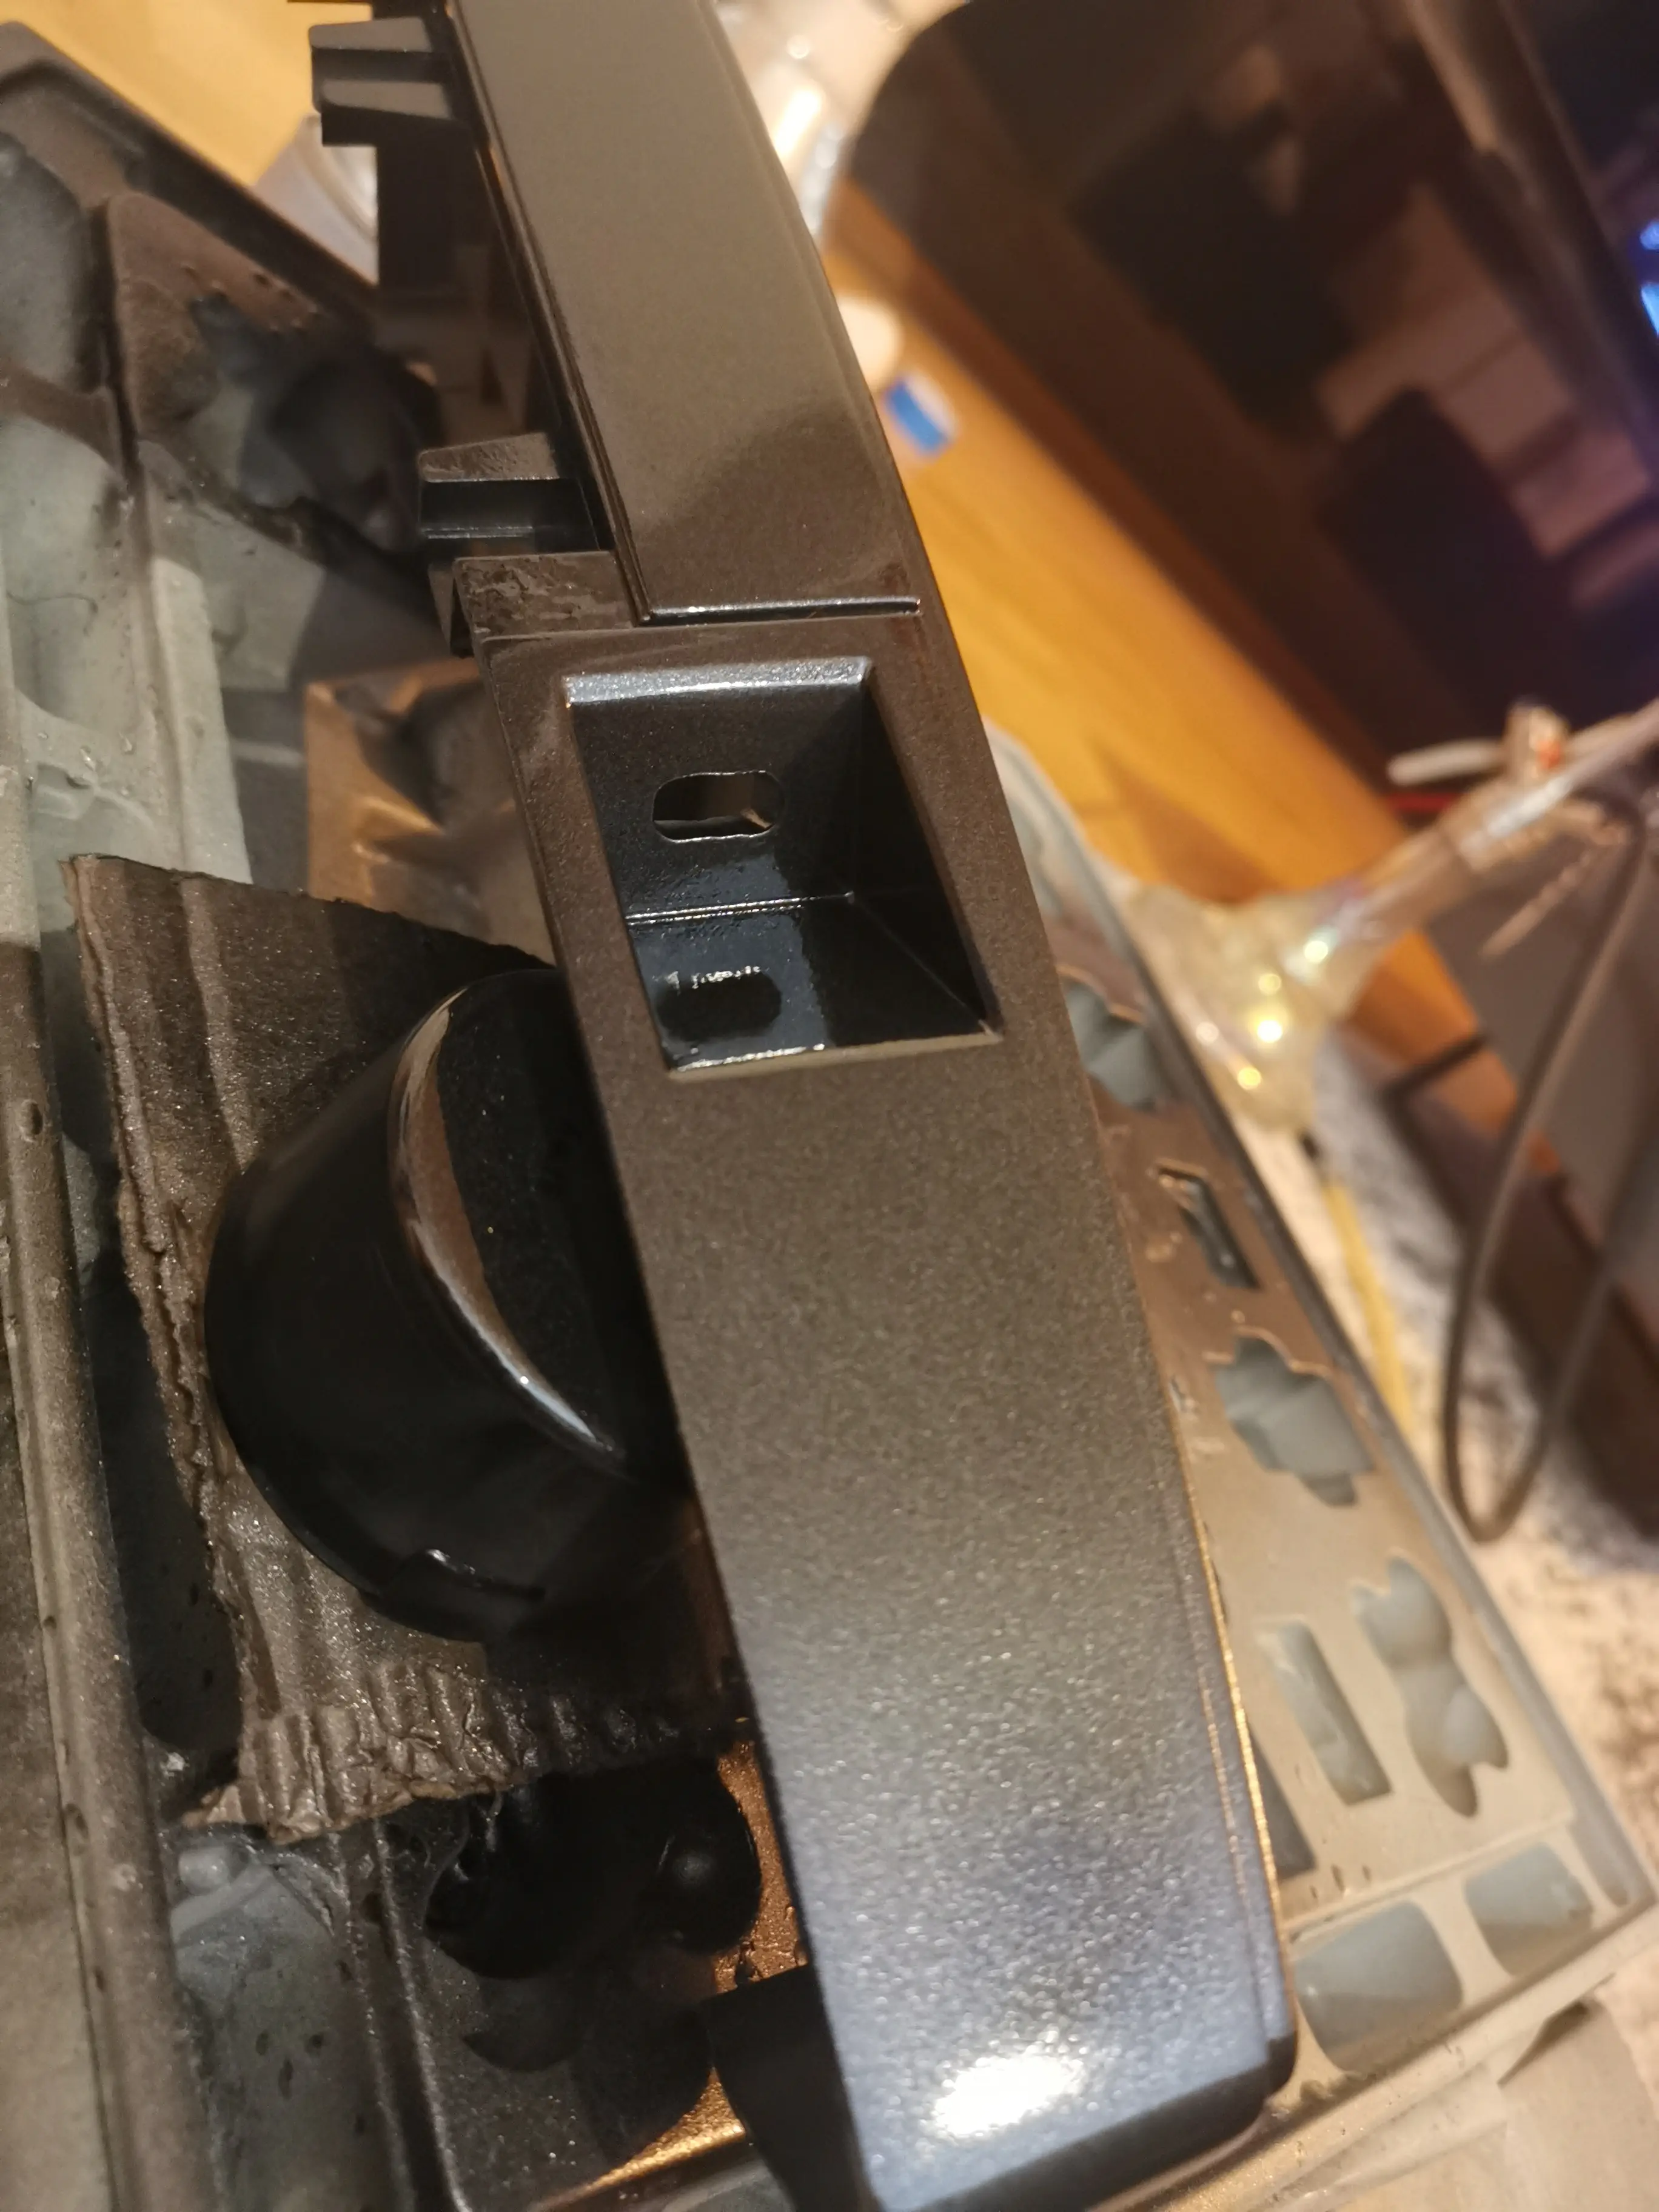
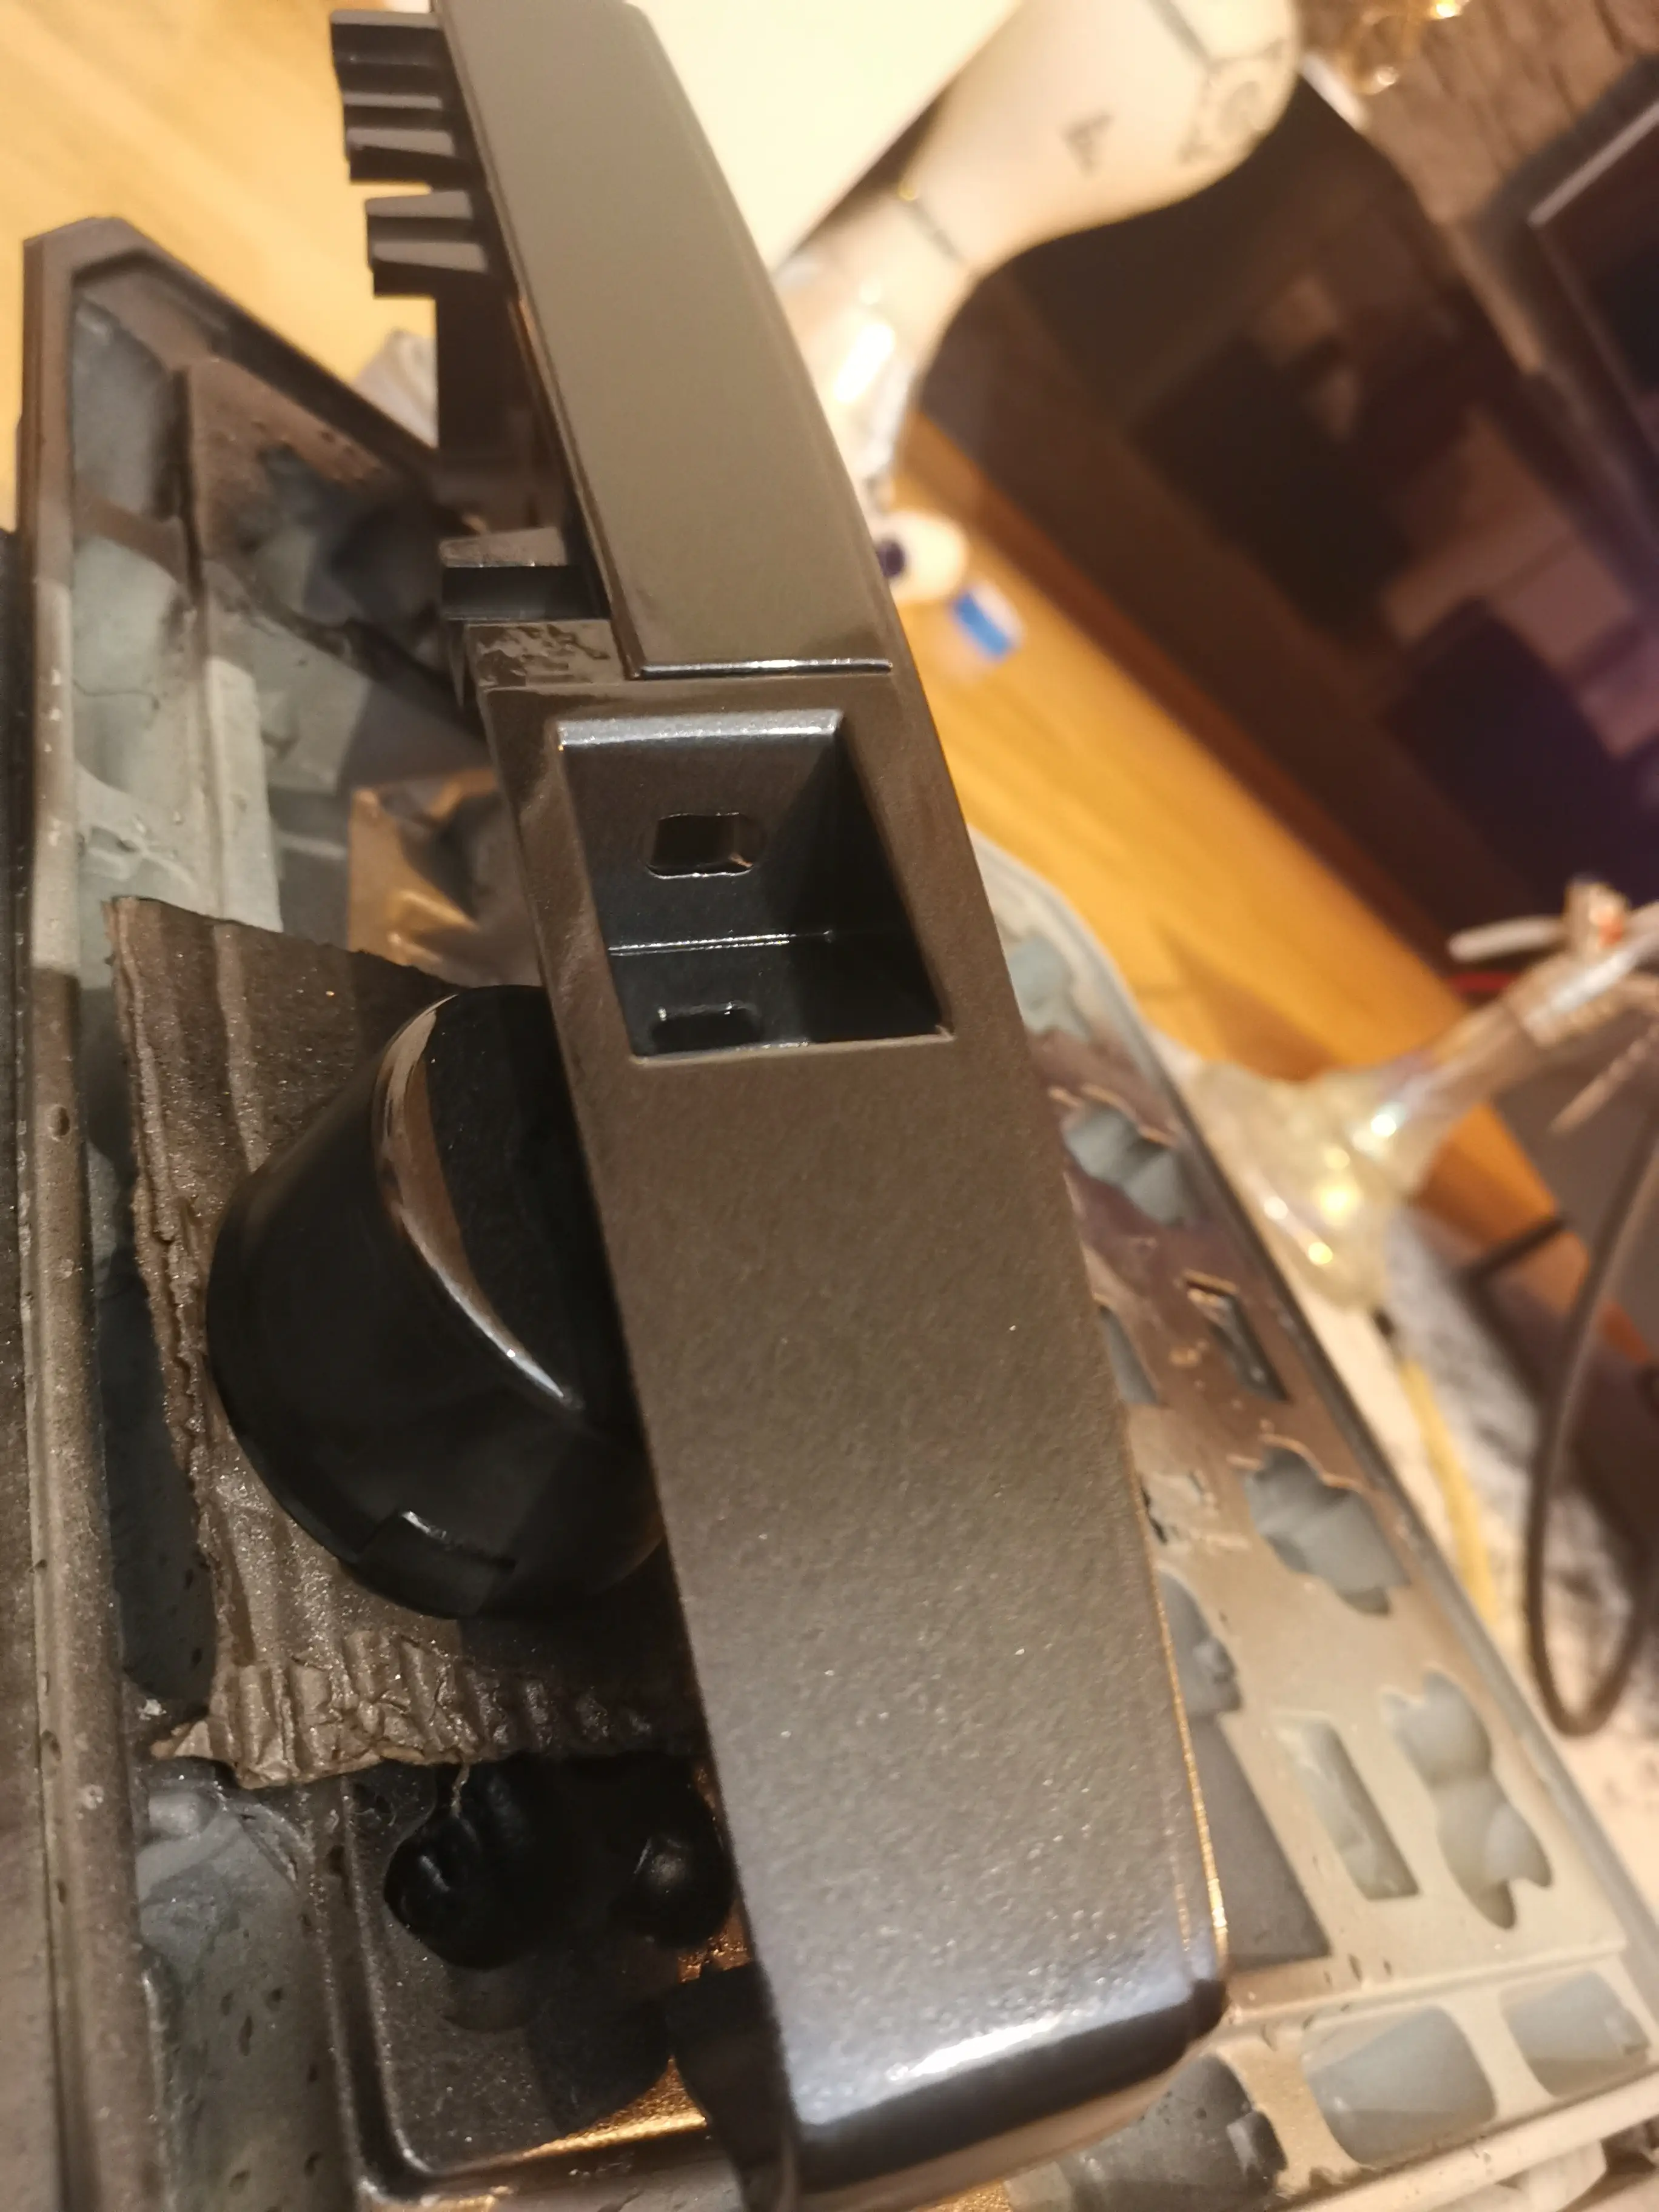
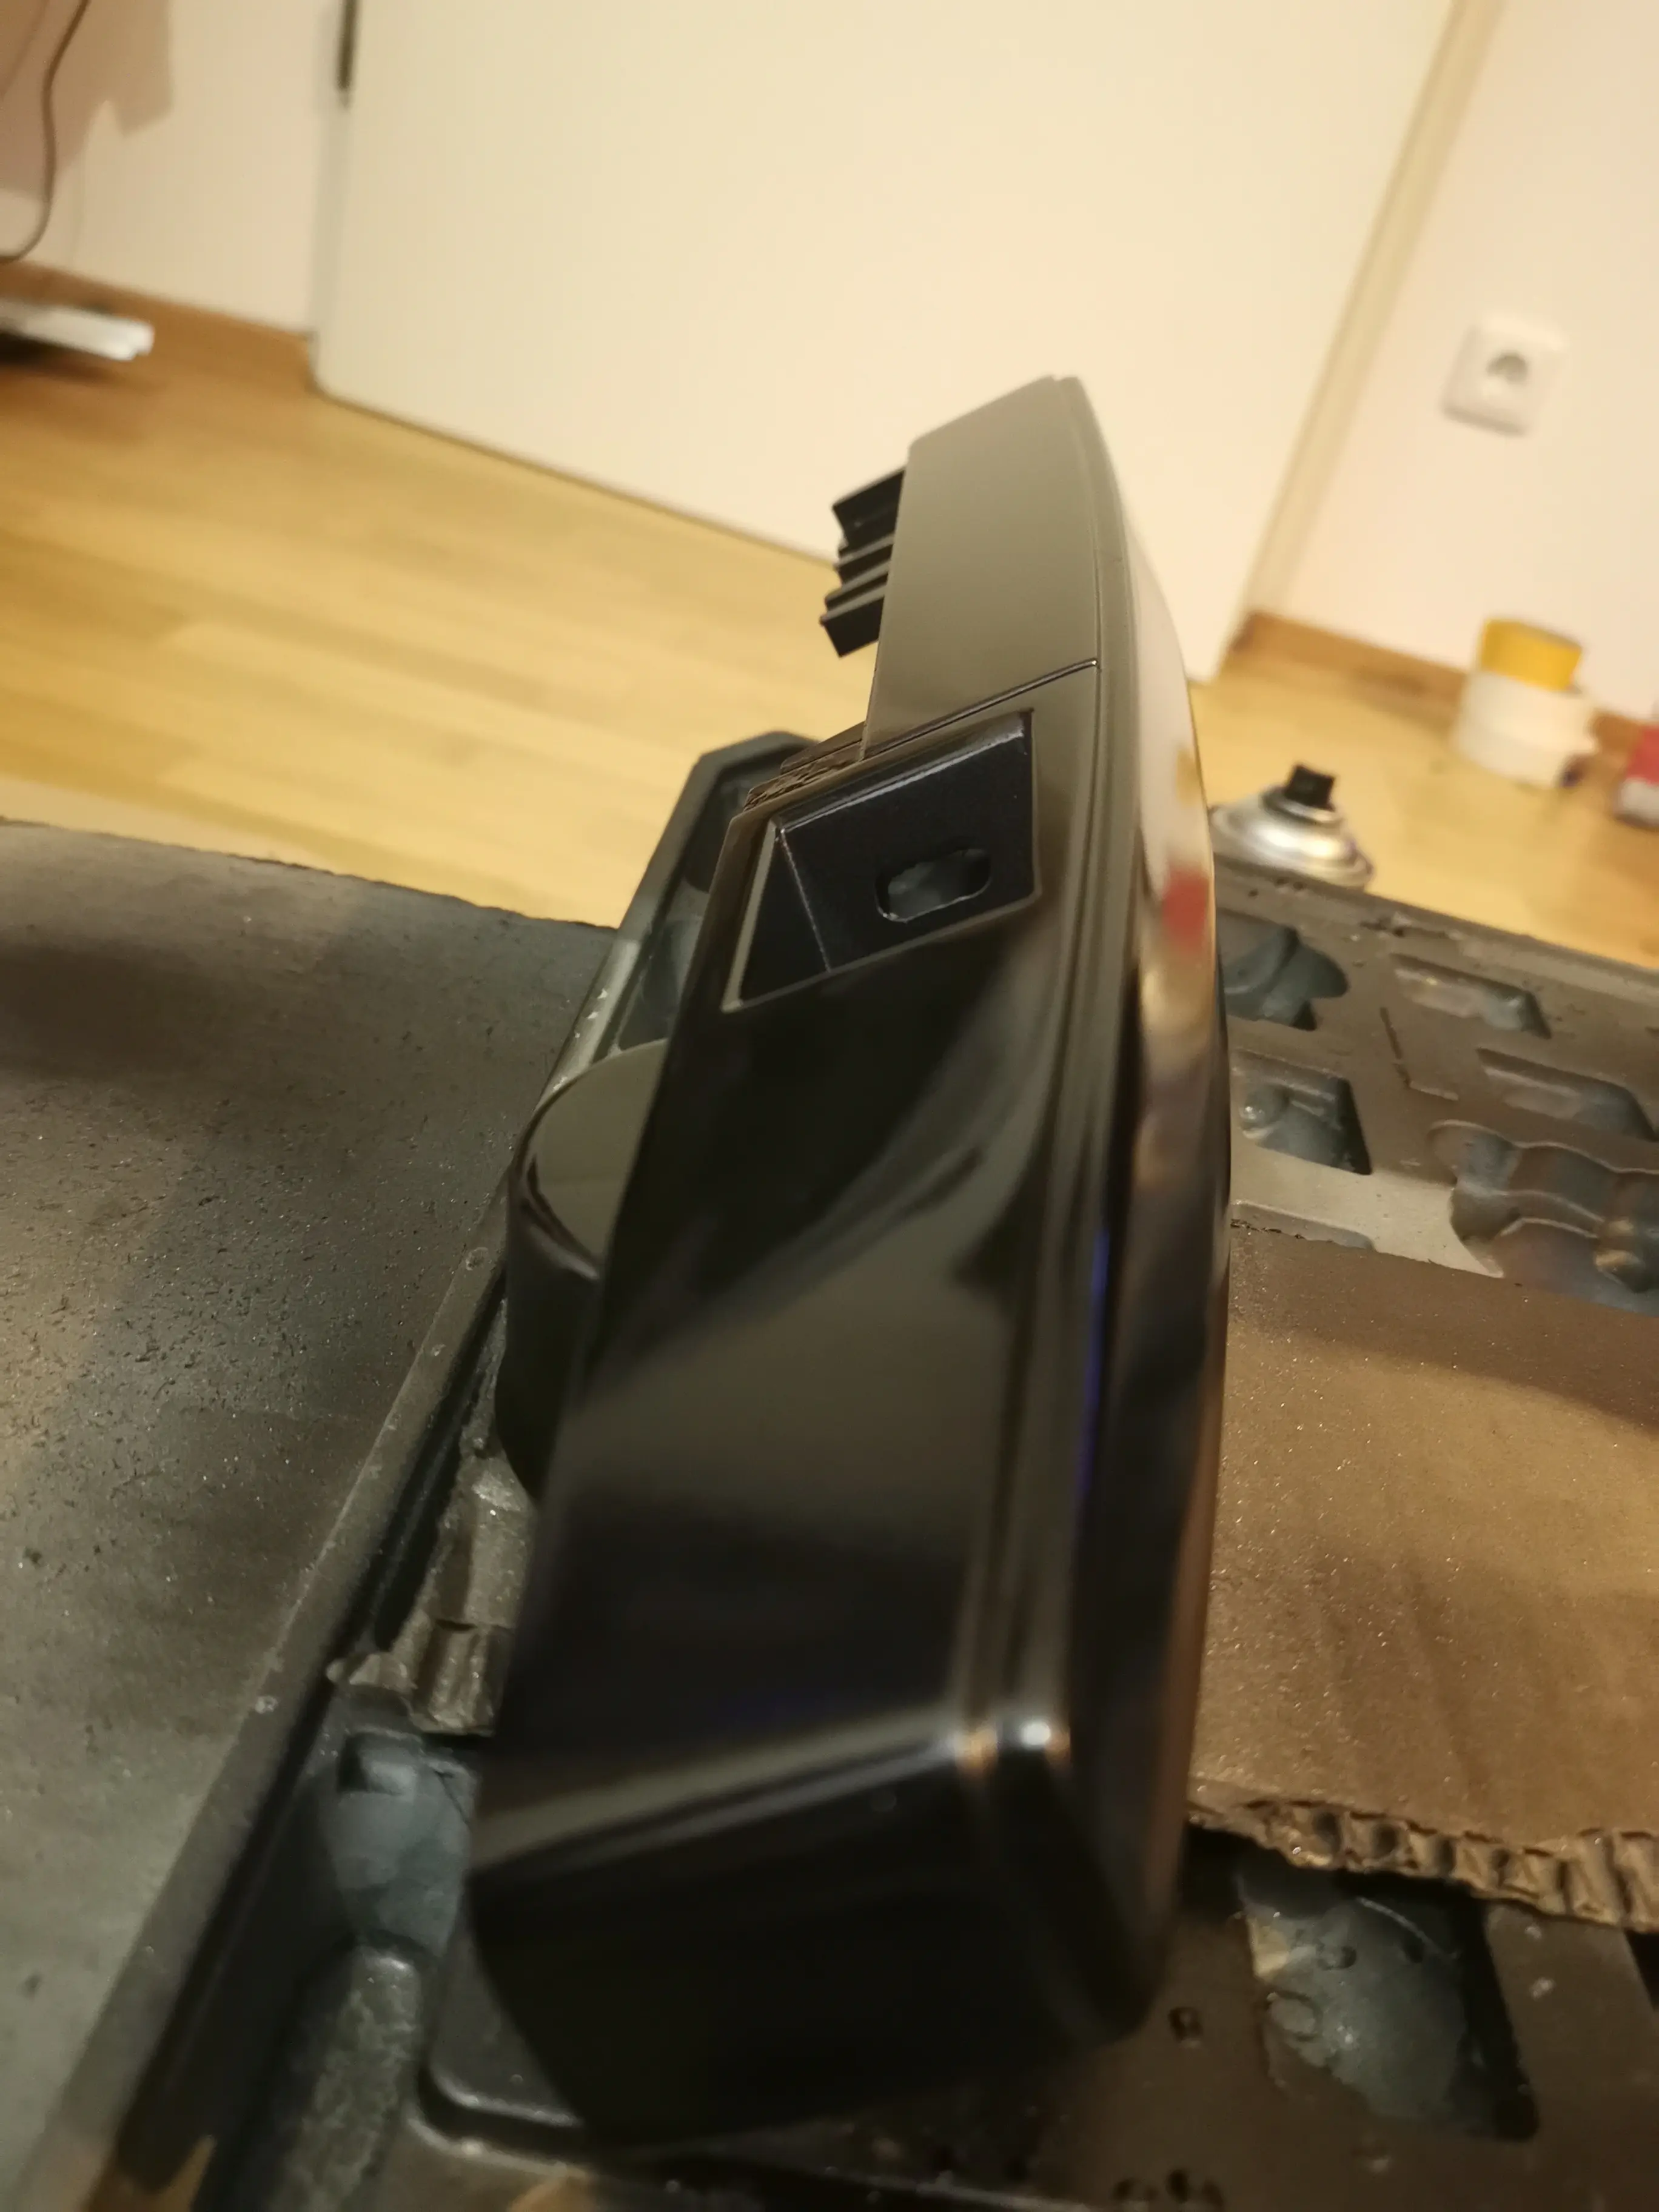
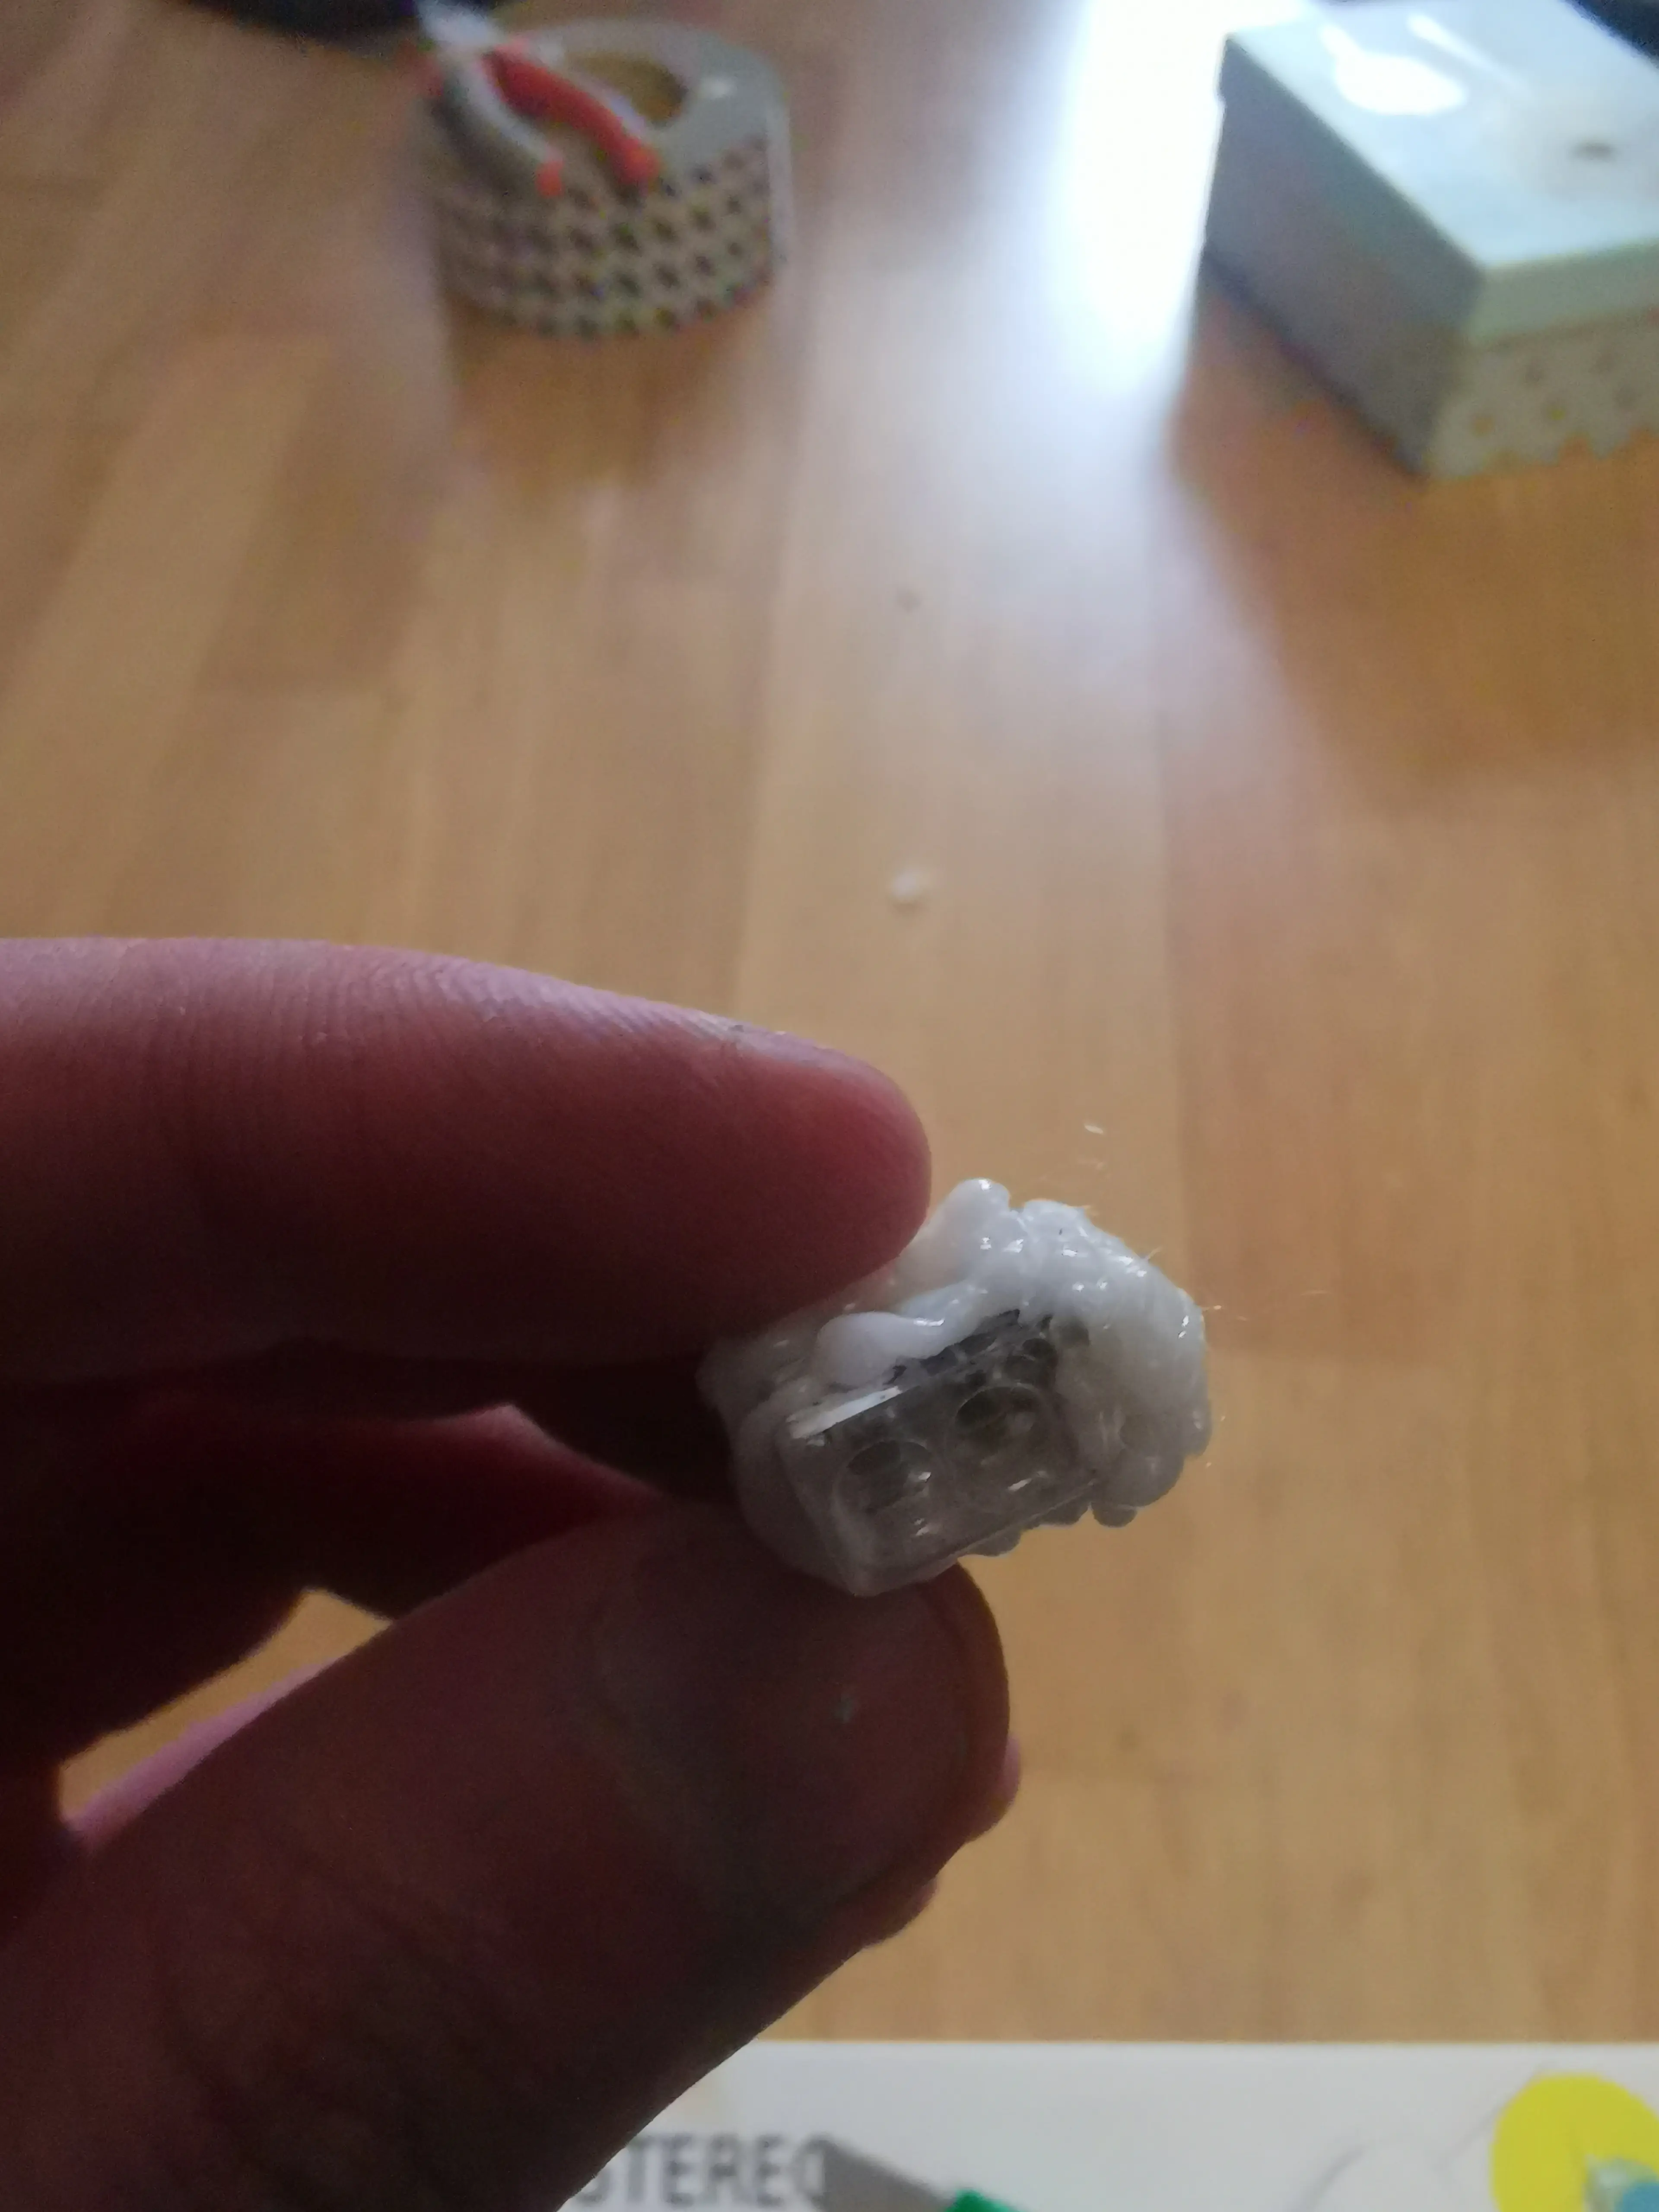
A 3D printed housing brings a USB port into the left end cap, glued in, filled and primed.
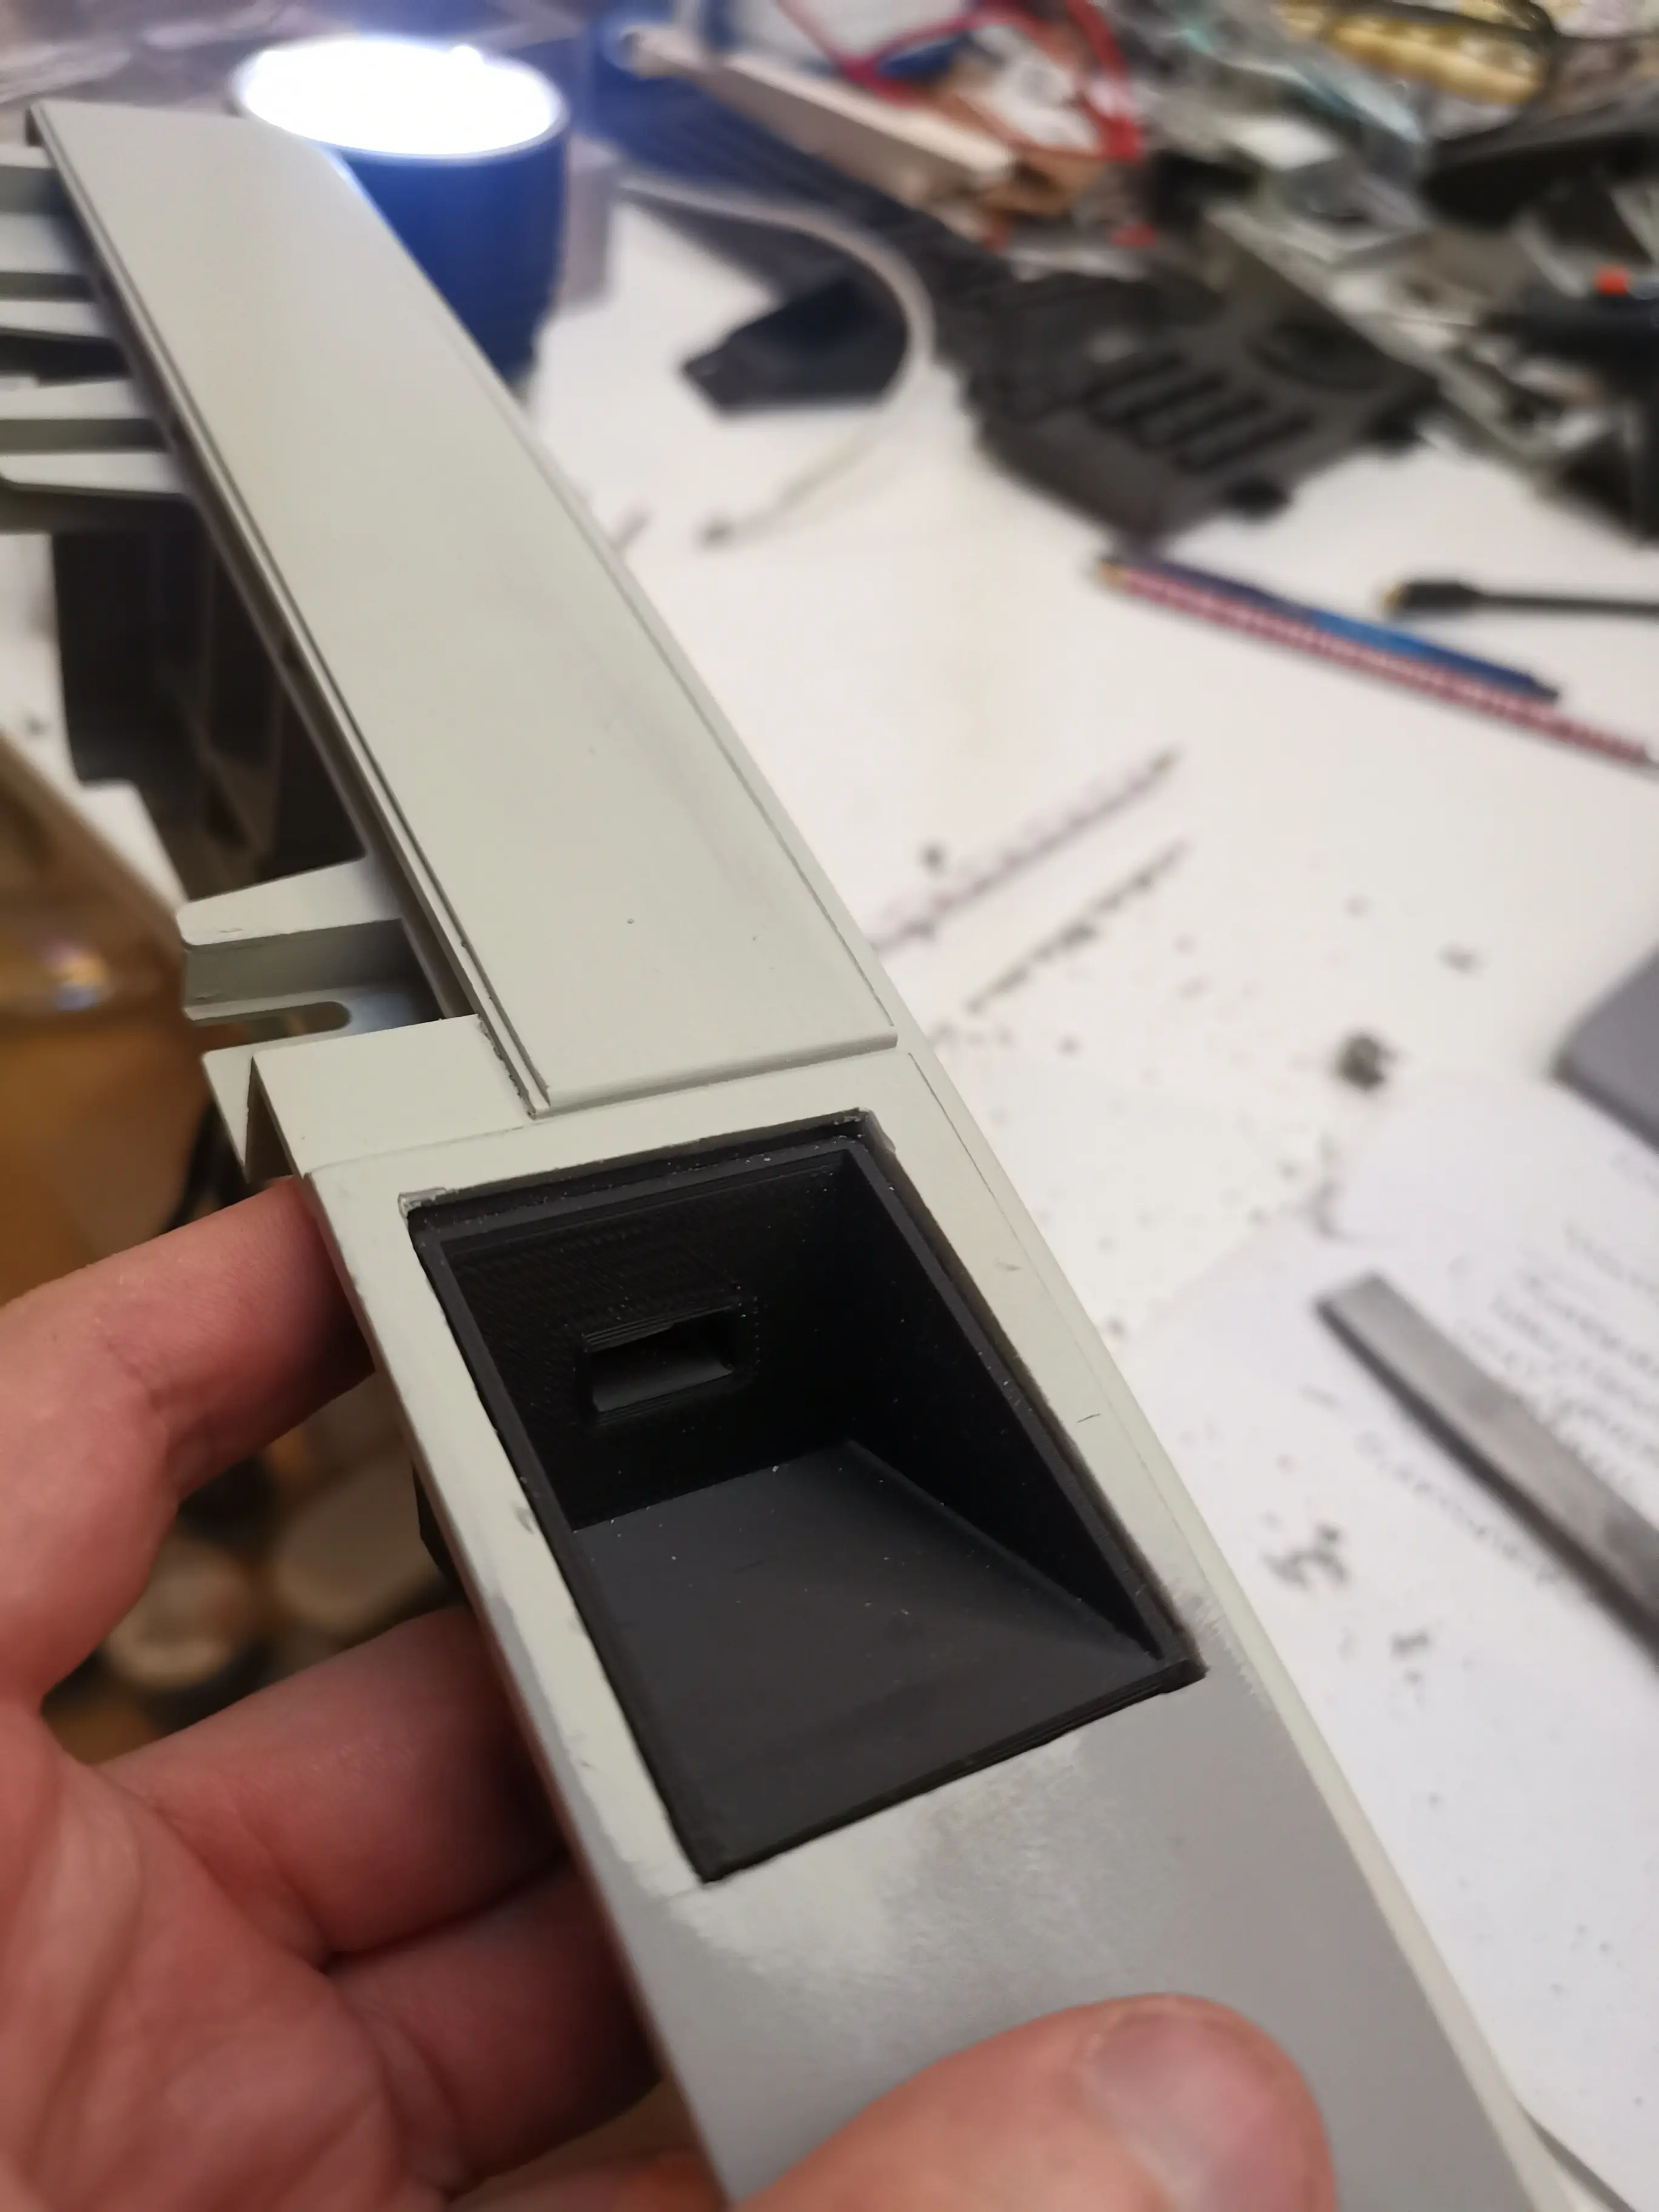
Building the USB port into the end cap Building the USB port into the end cap Building the USB port into the end cap Building the USB port into the end cap Building the USB port into the end cap Building the USB port into the end cap Building the USB port into the end cap Building the USB port into the end cap Building the USB port into the end cap Building the USB port into the end cap Building the USB port into the end cap Building the USB port into the end cap Building the USB port into the end cap Building the USB port into the end cap Building the USB port into the end cap Building the USB port into the end cap Building the USB port into the end cap Building the USB port into the end cap

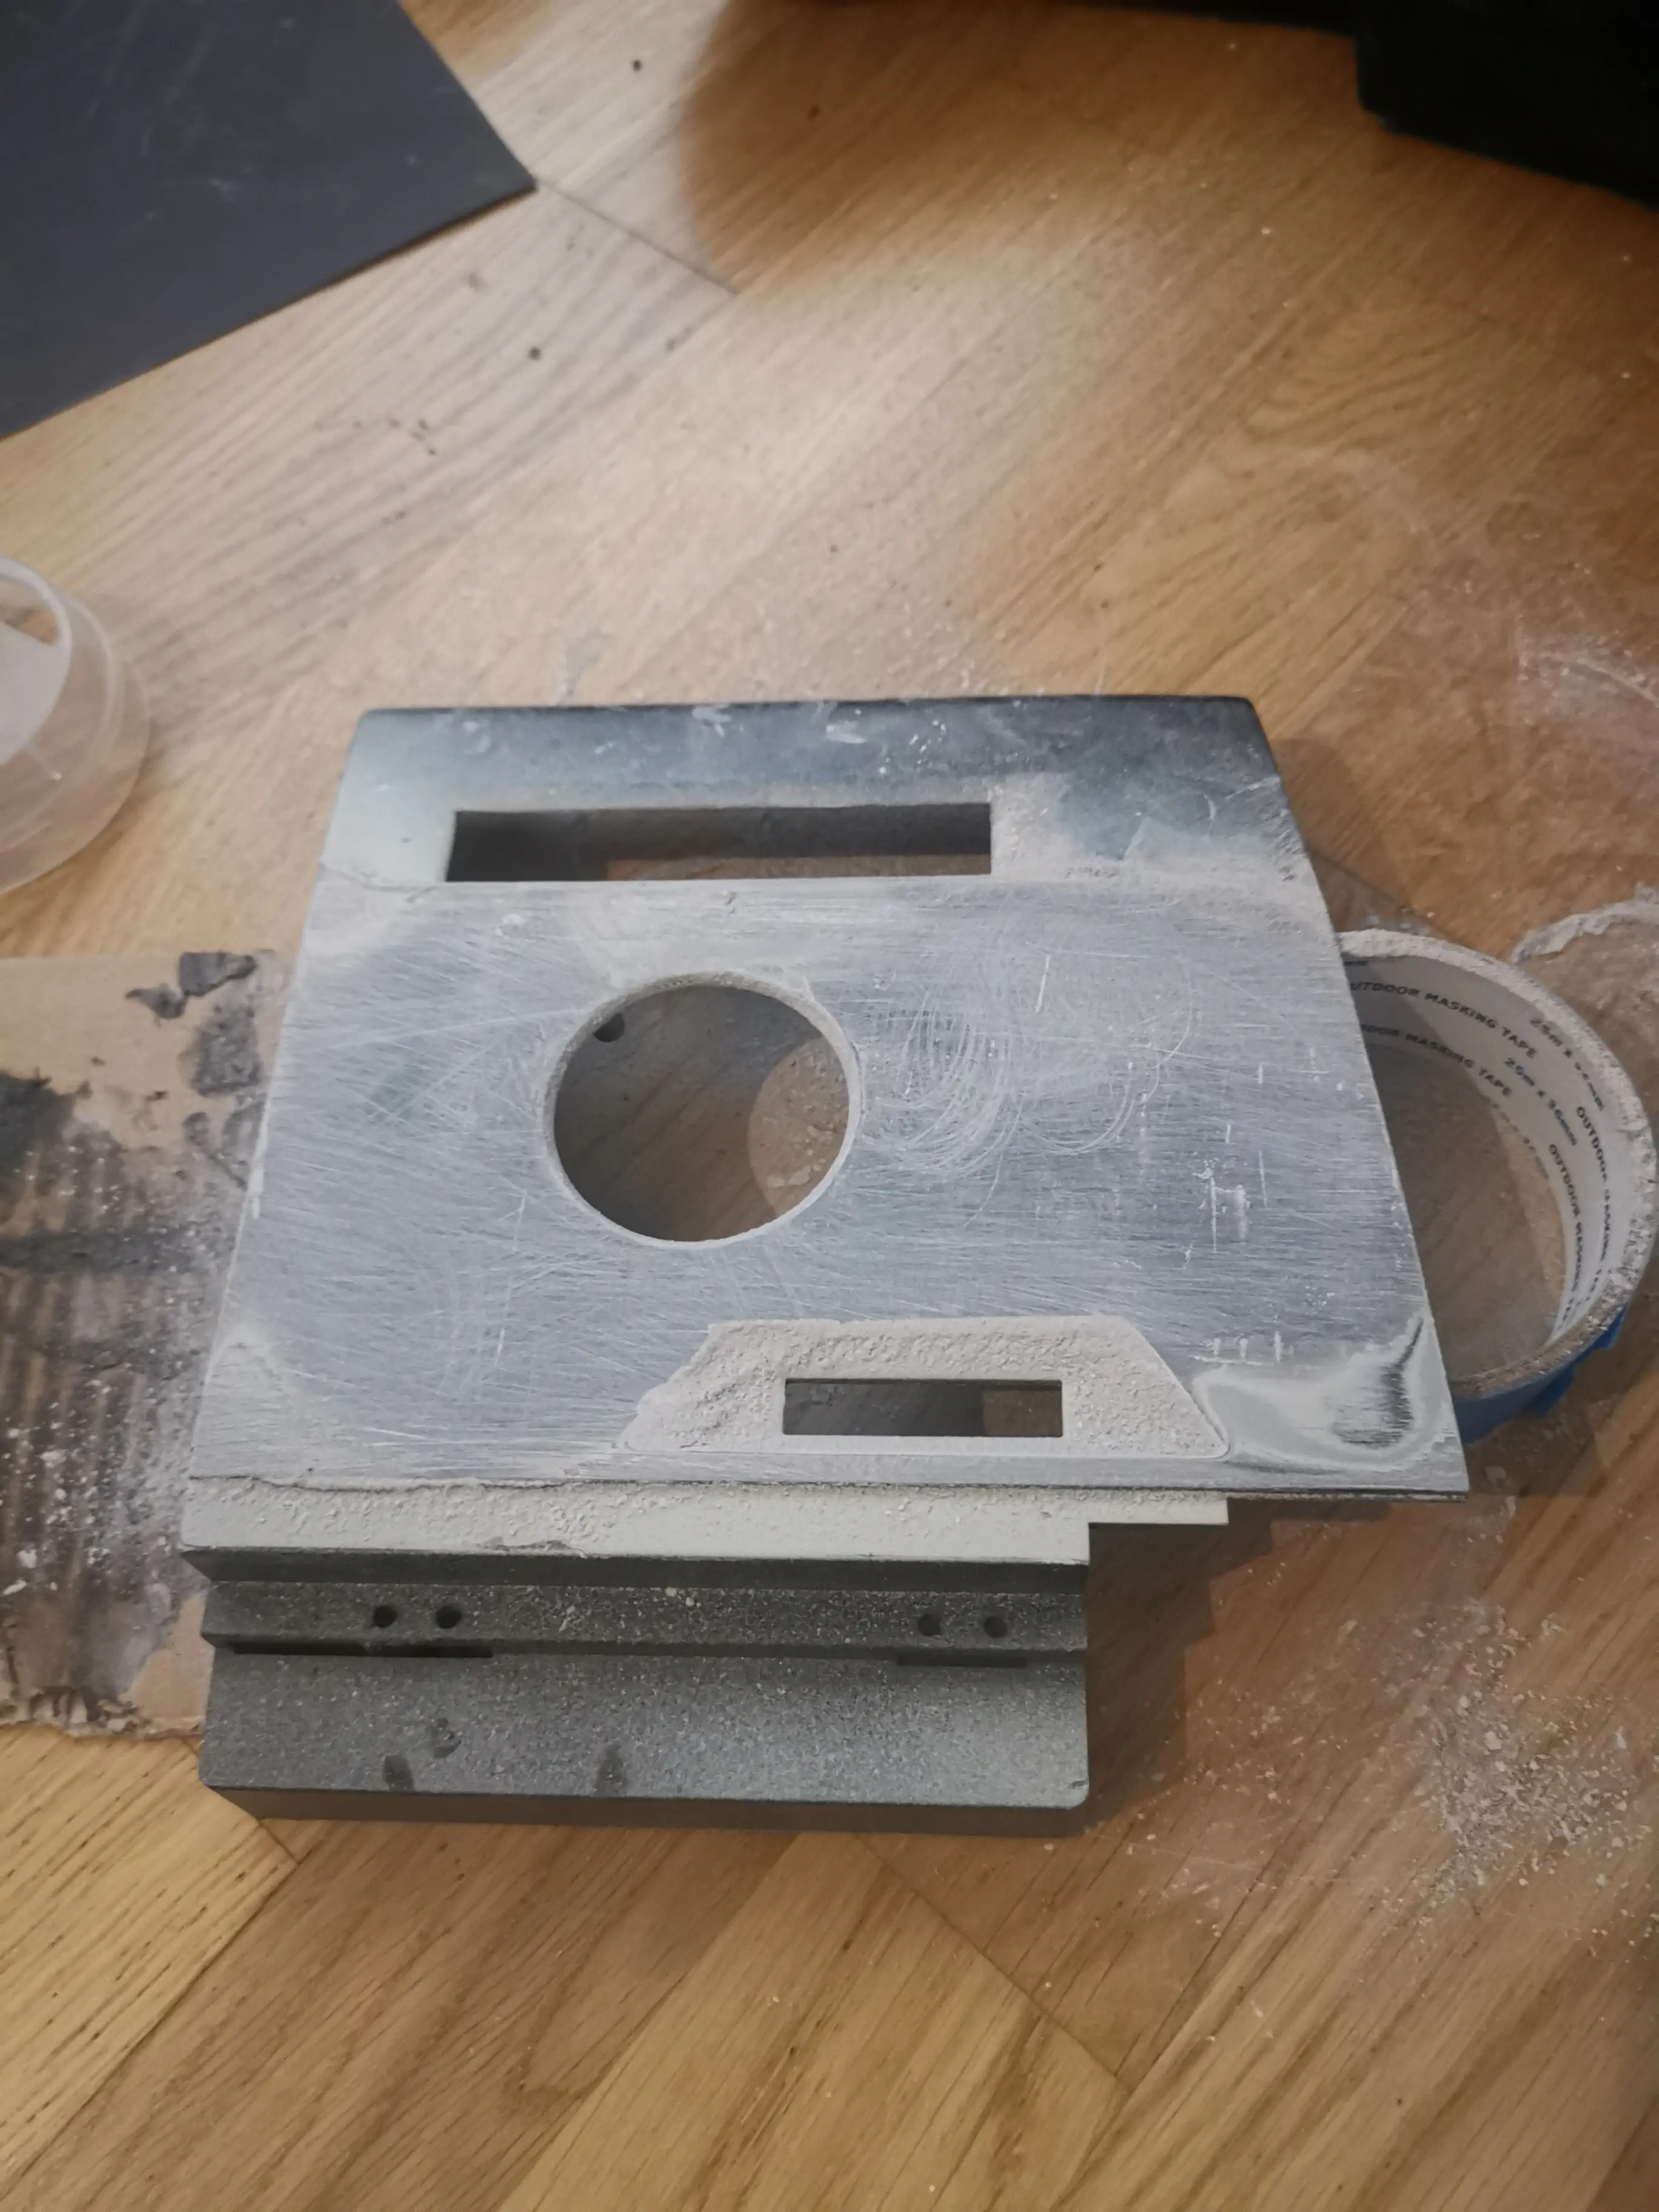
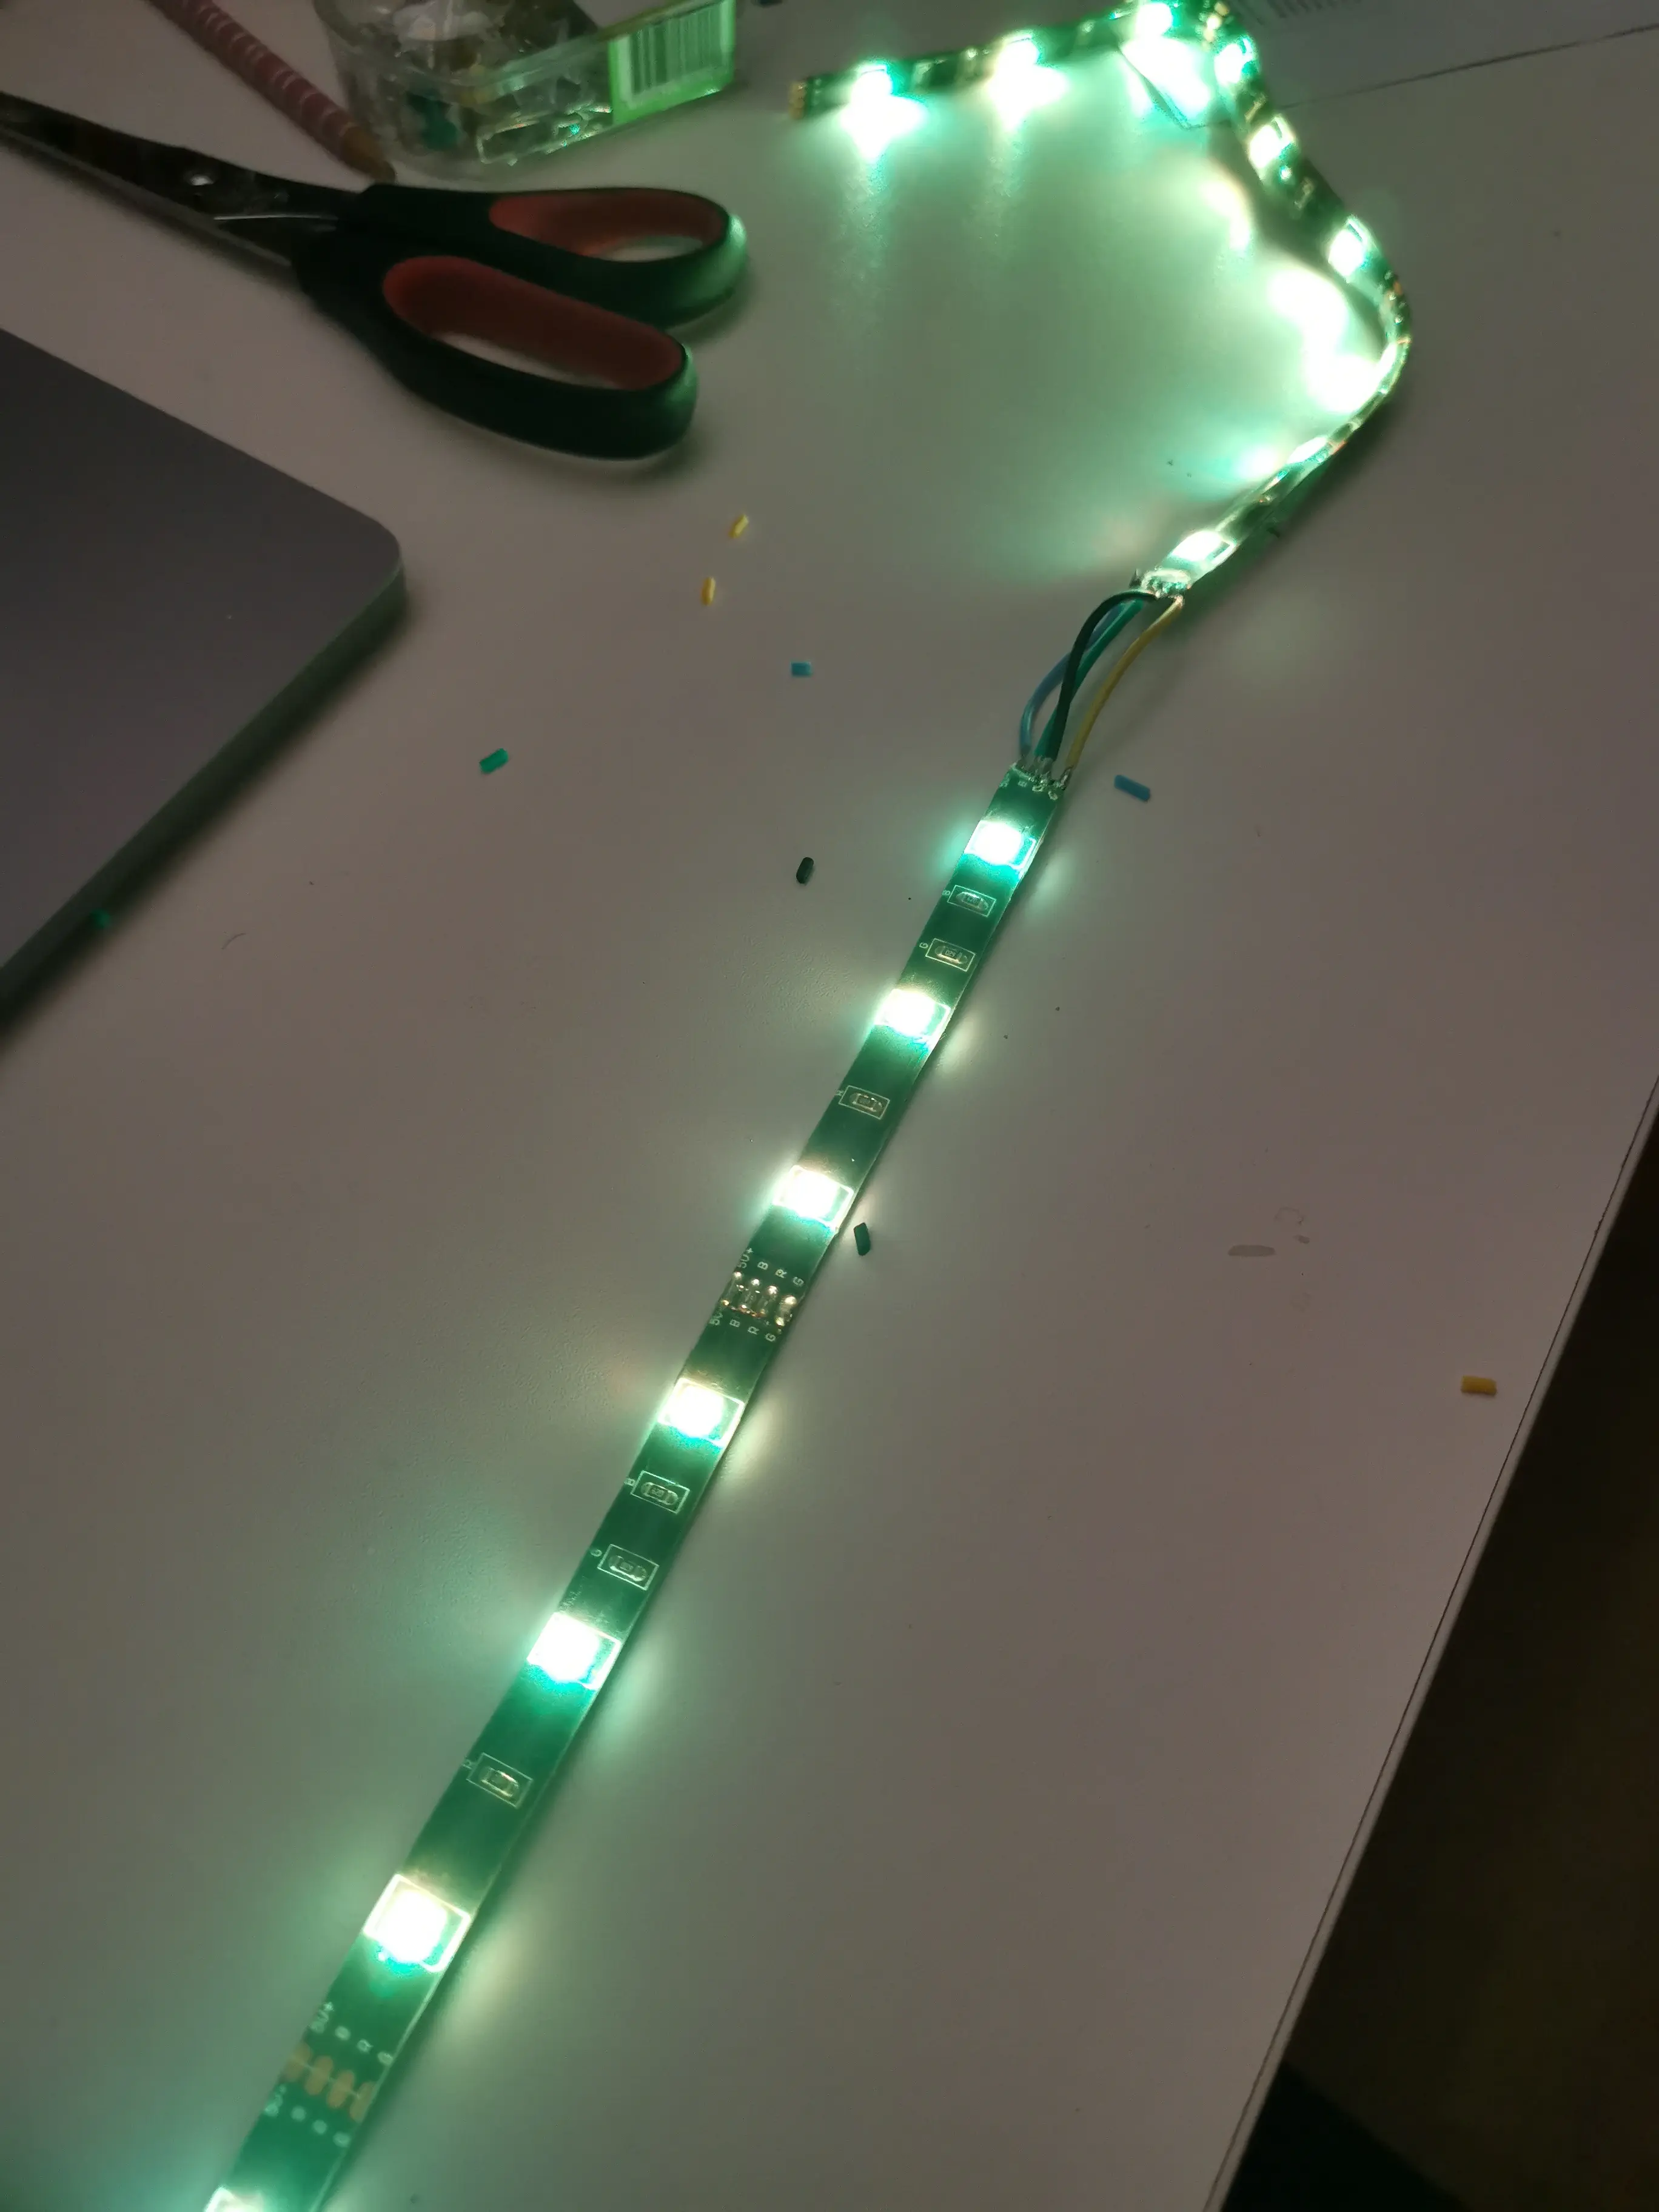
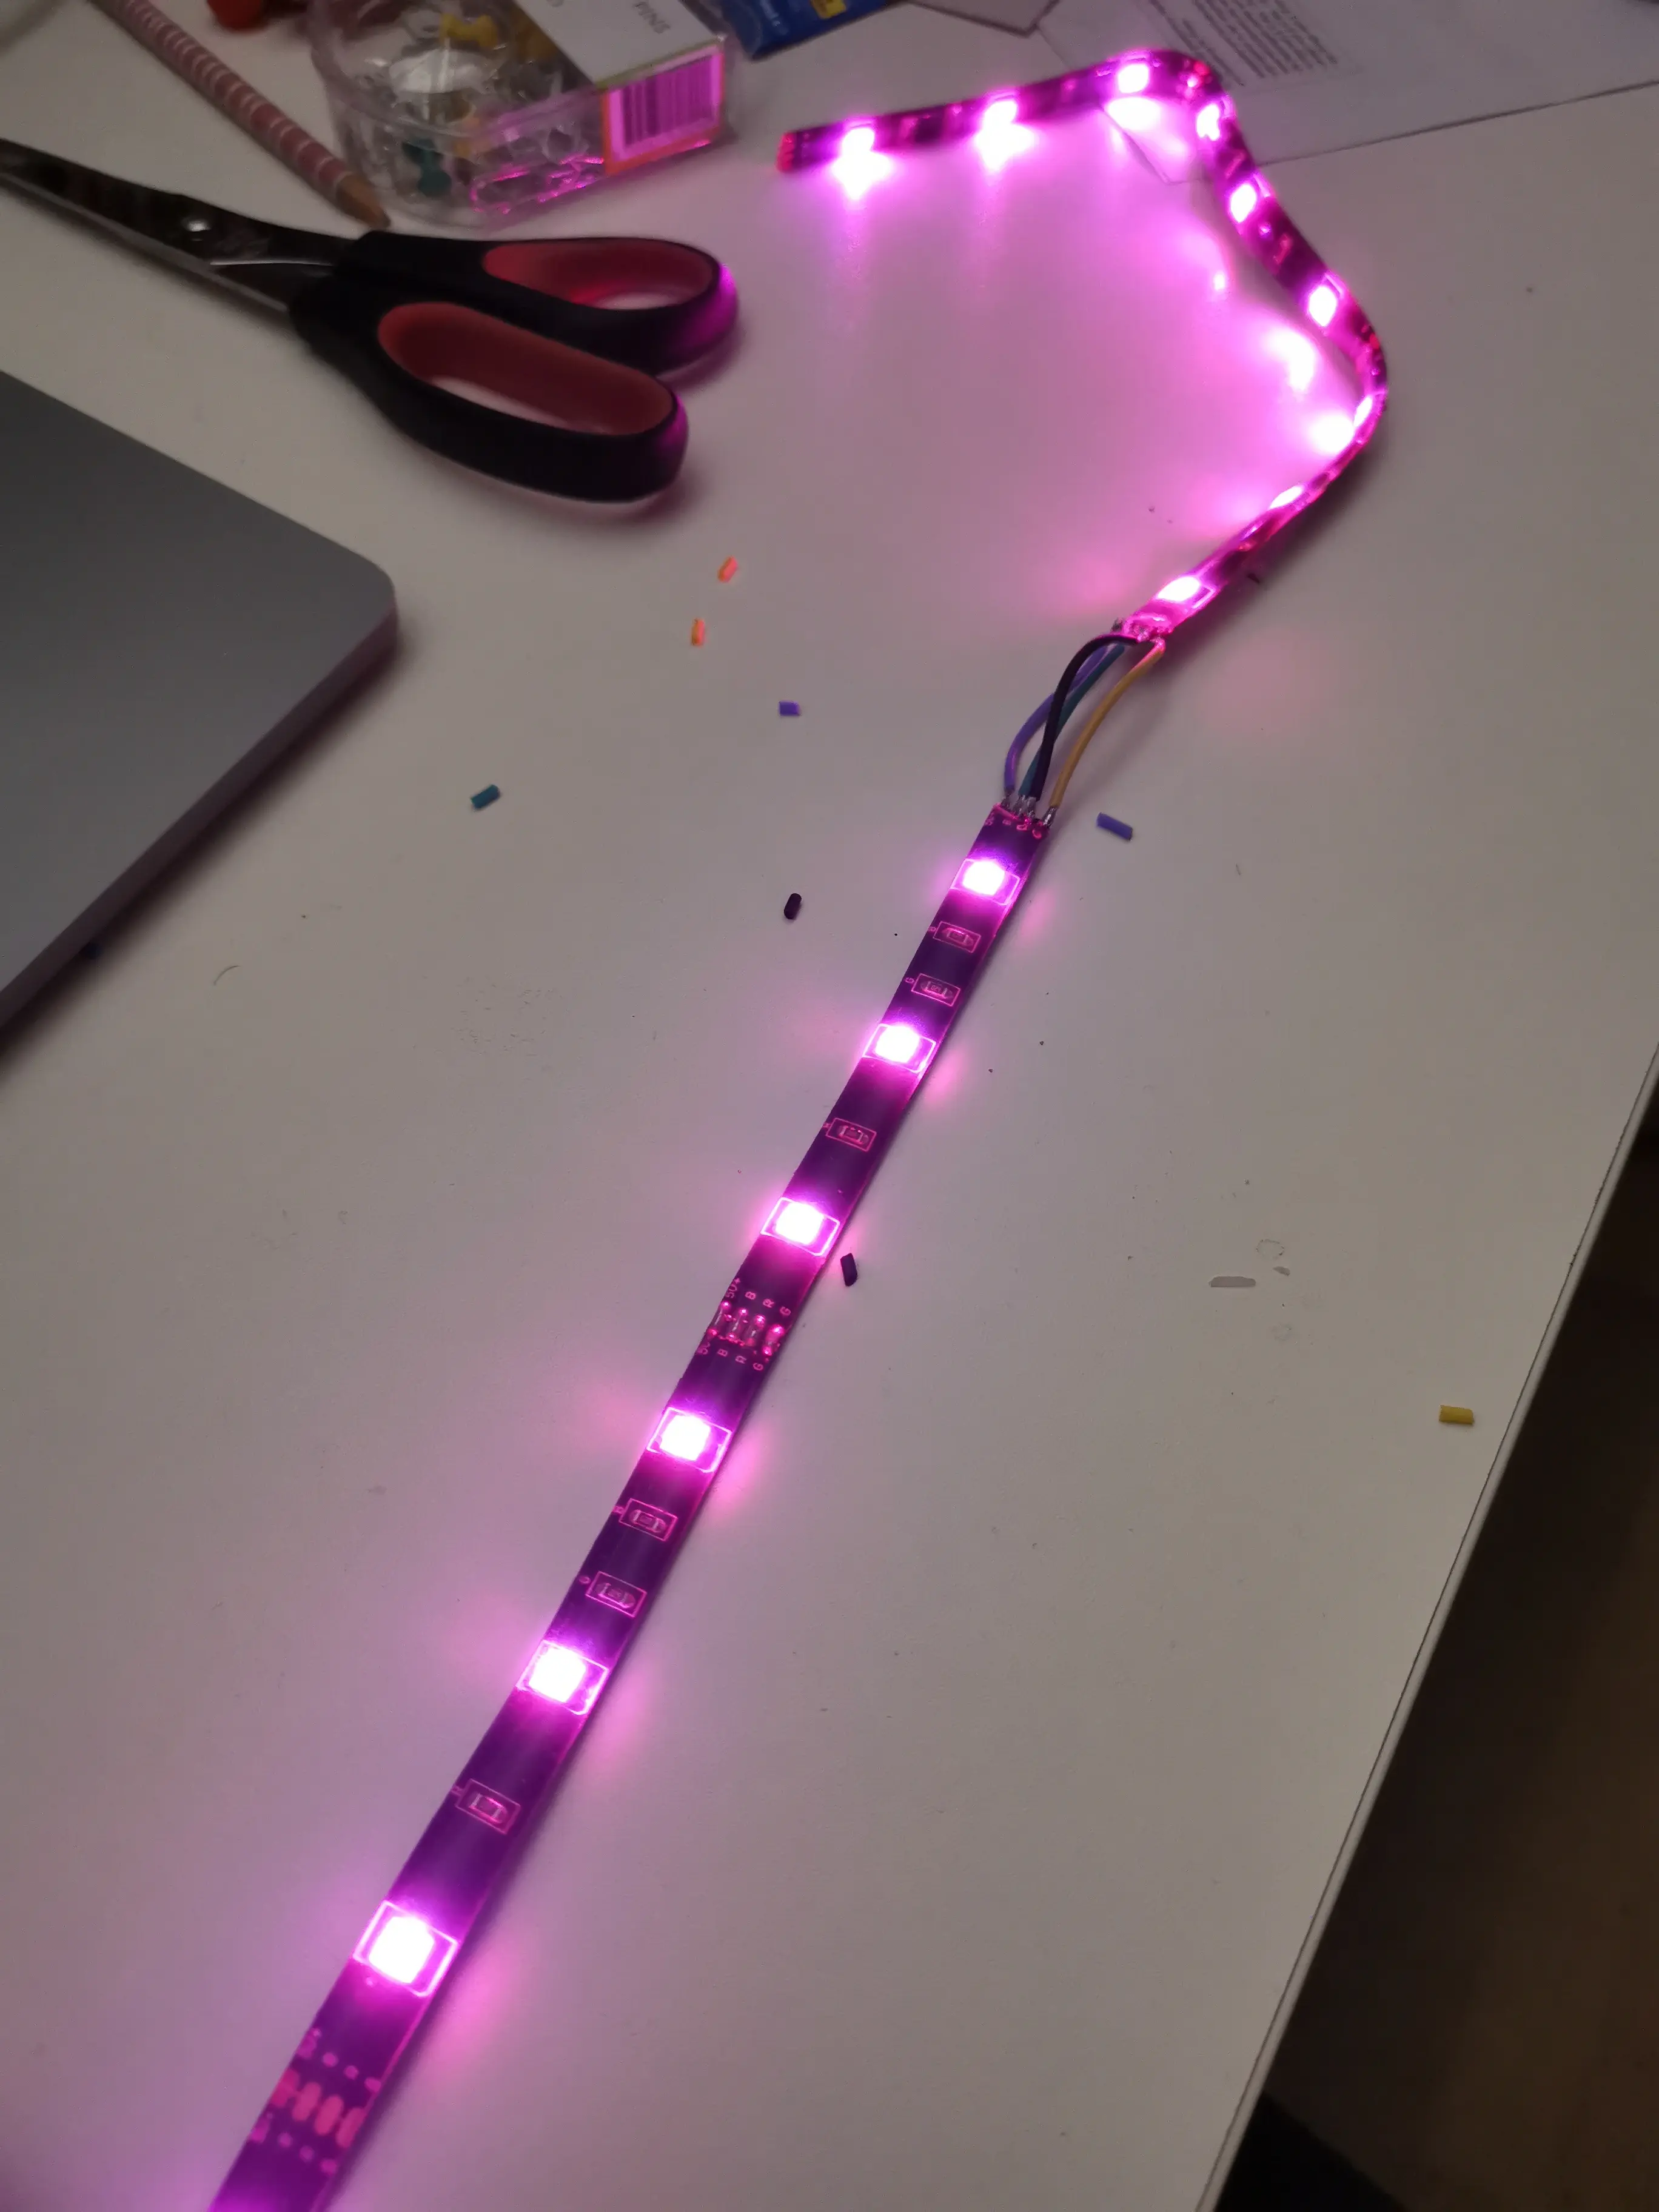
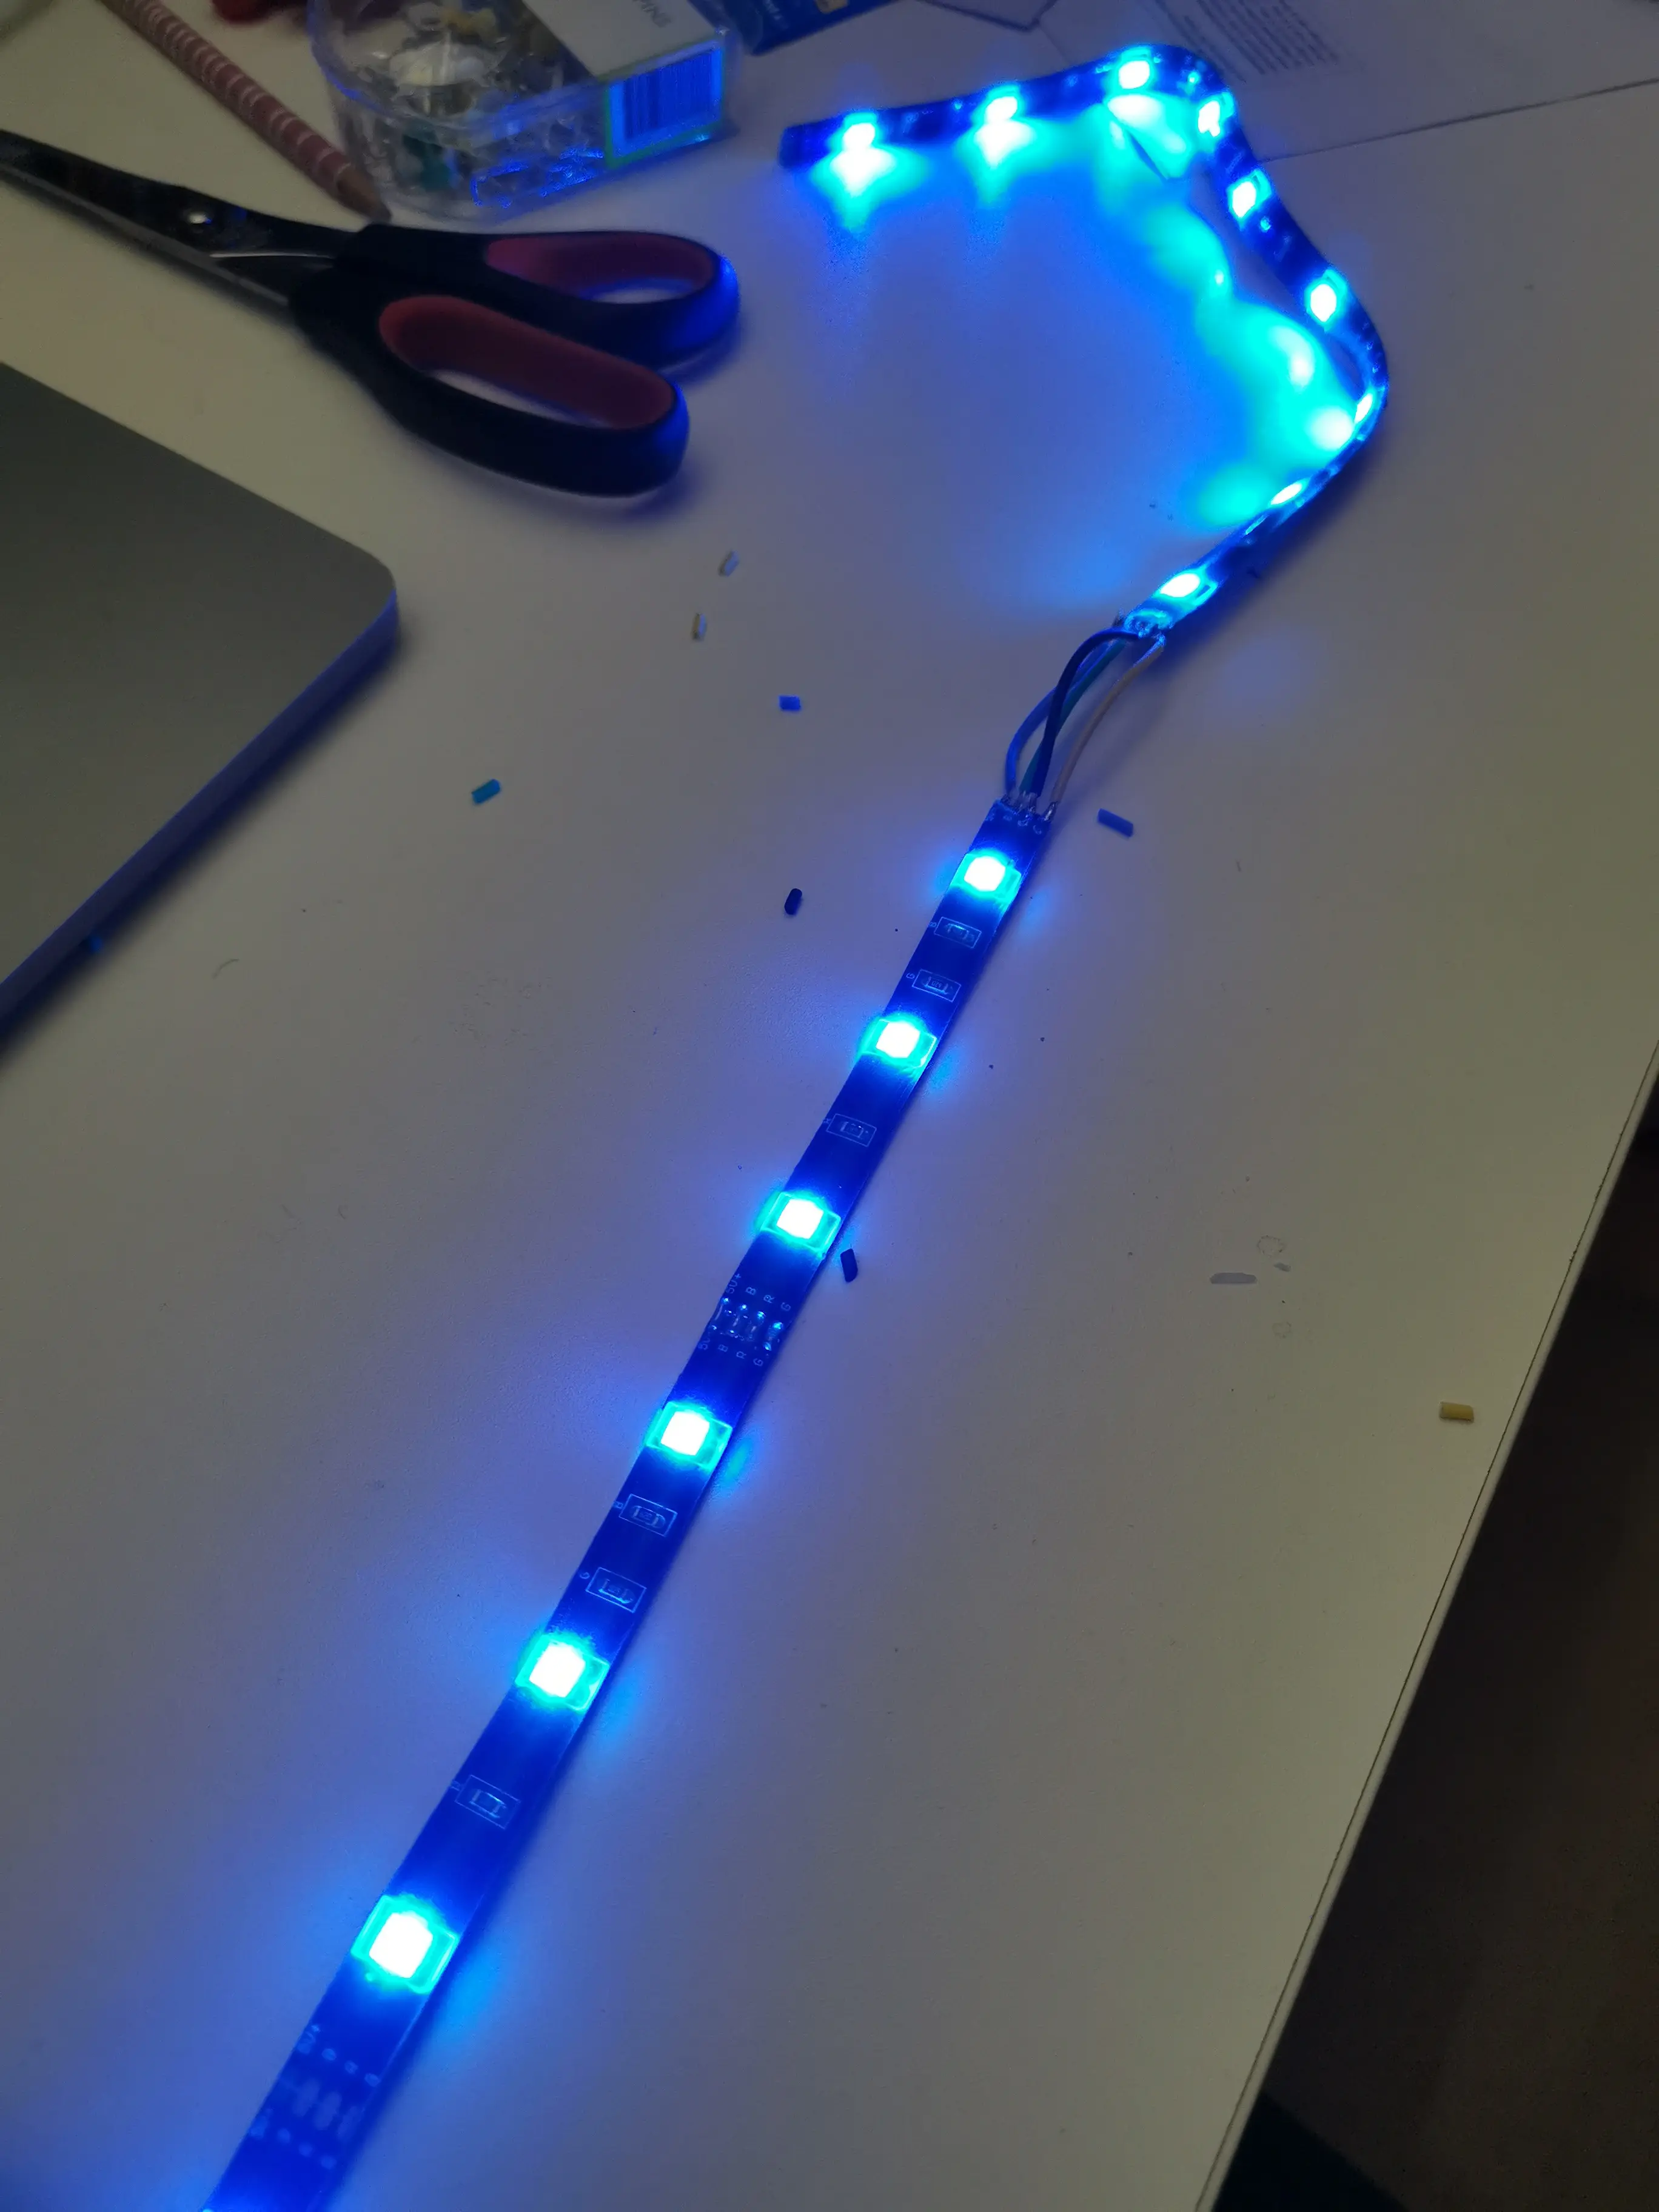
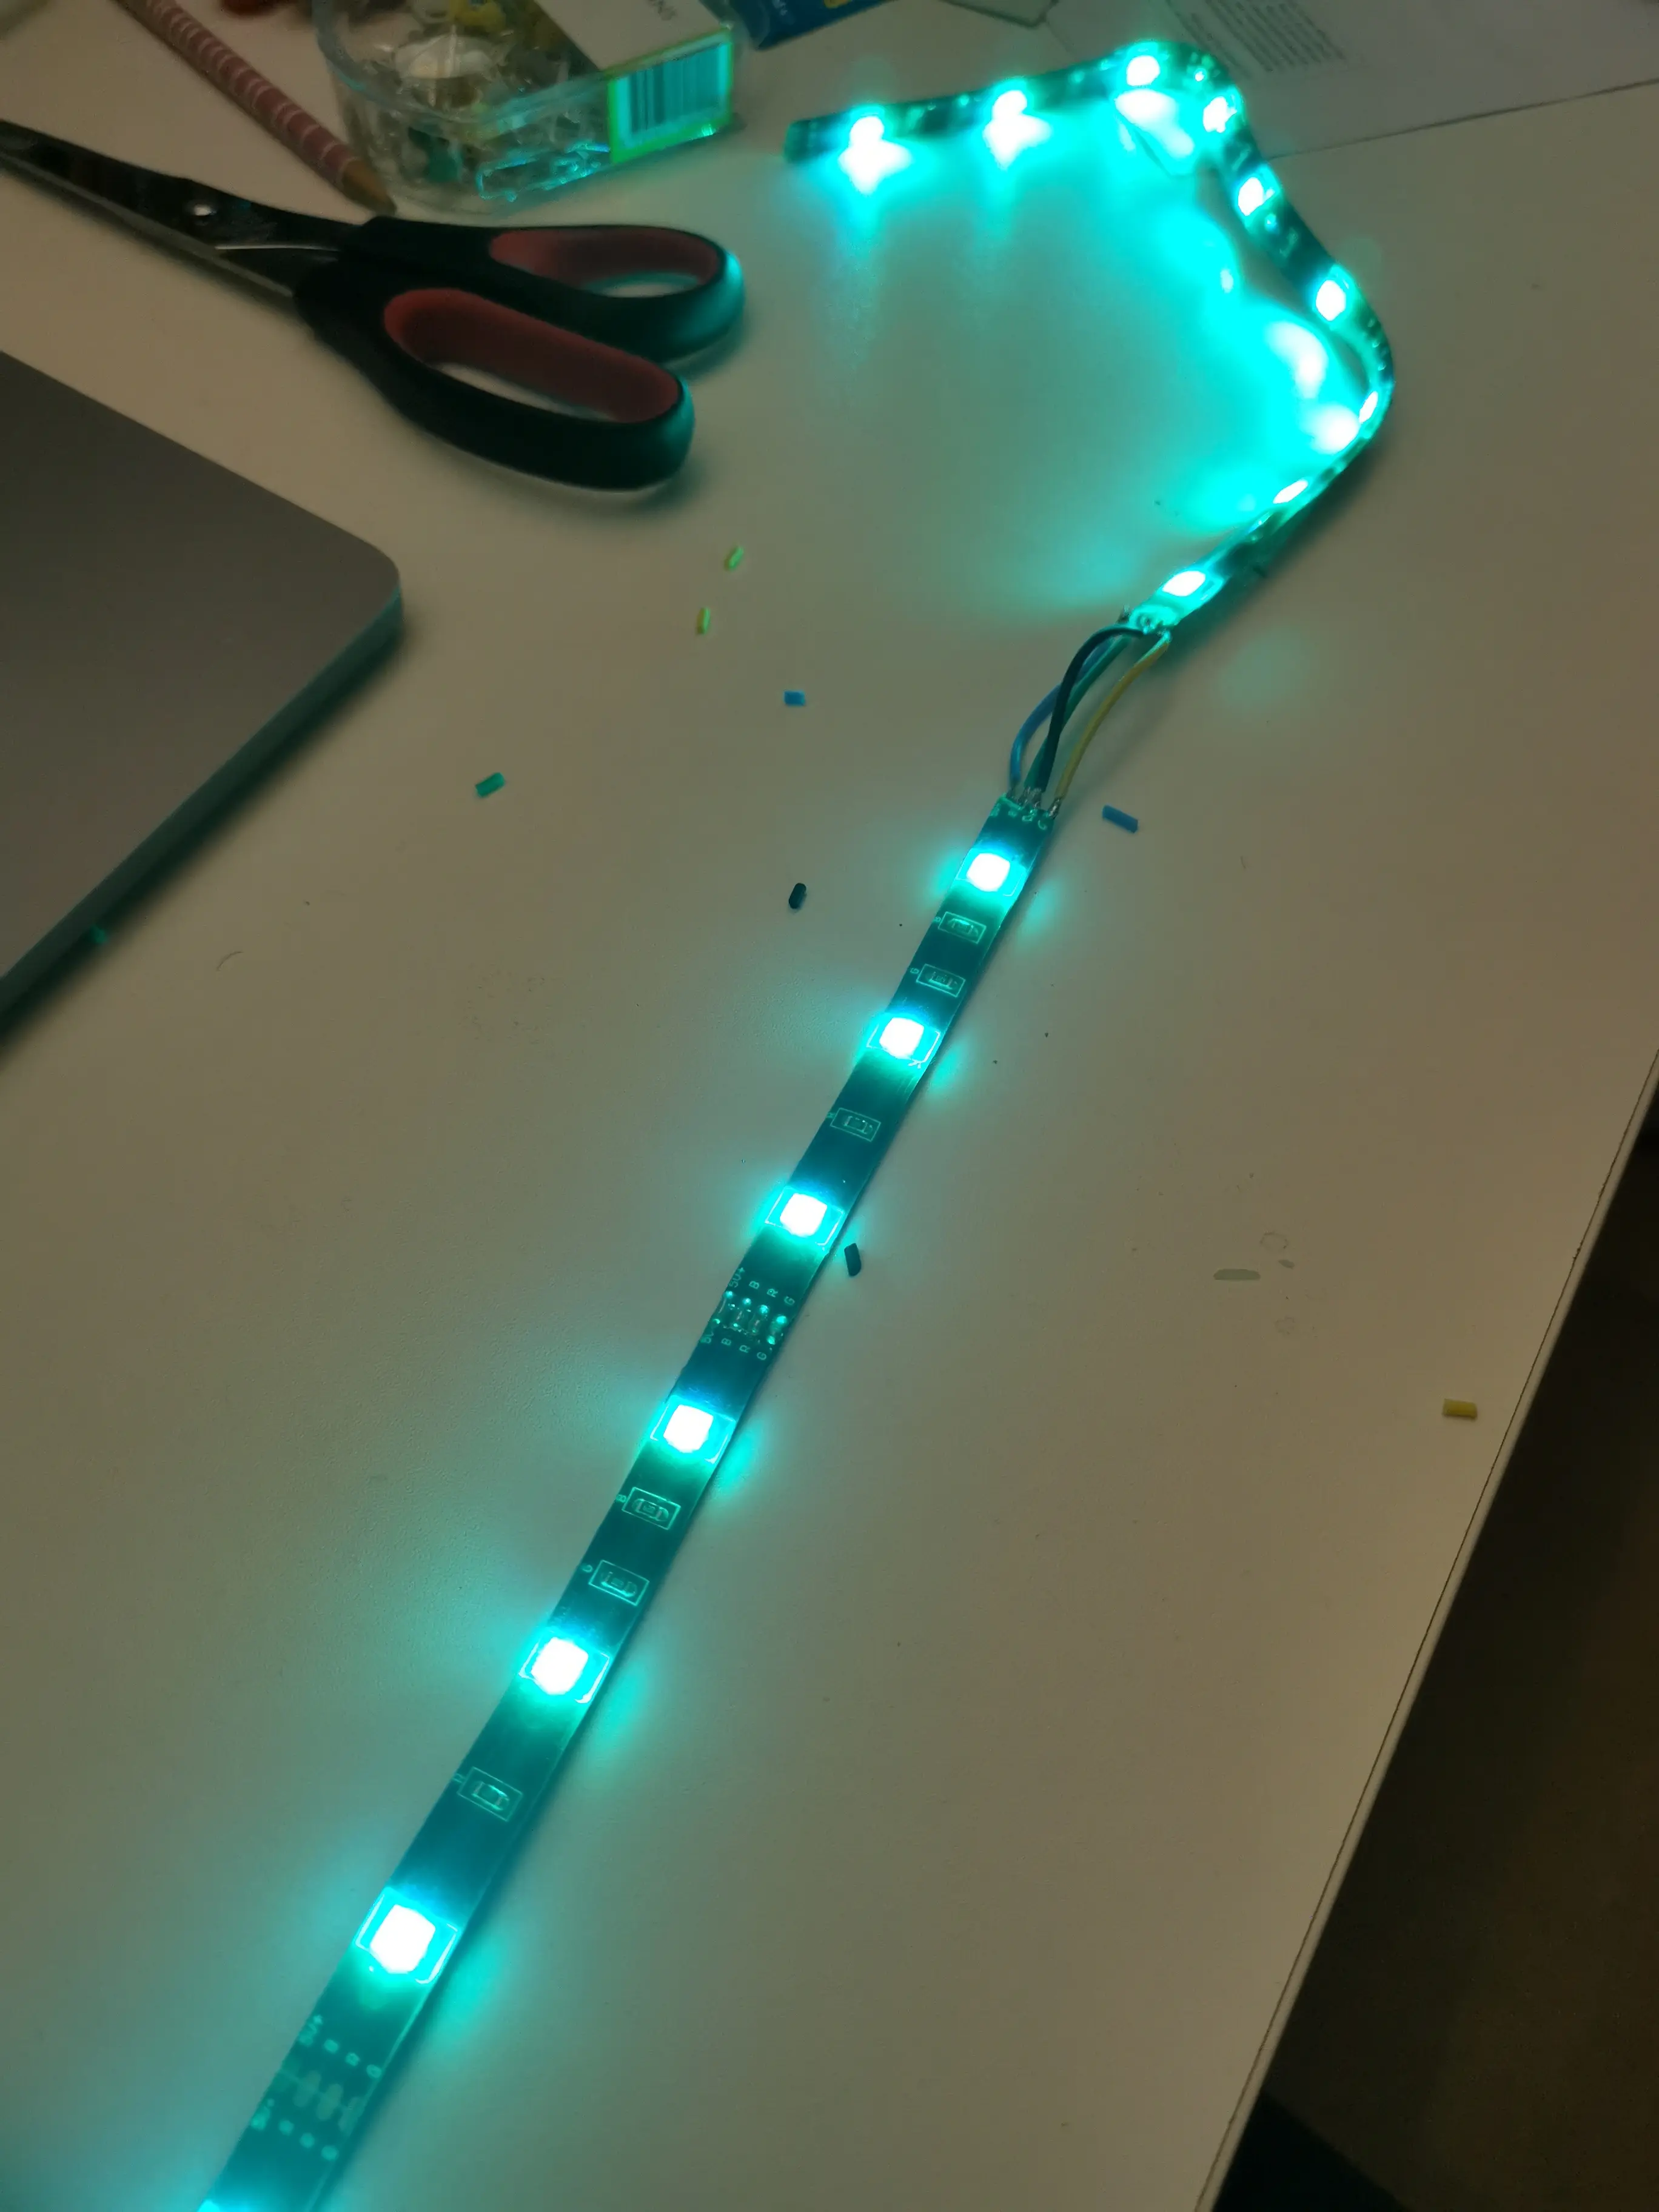
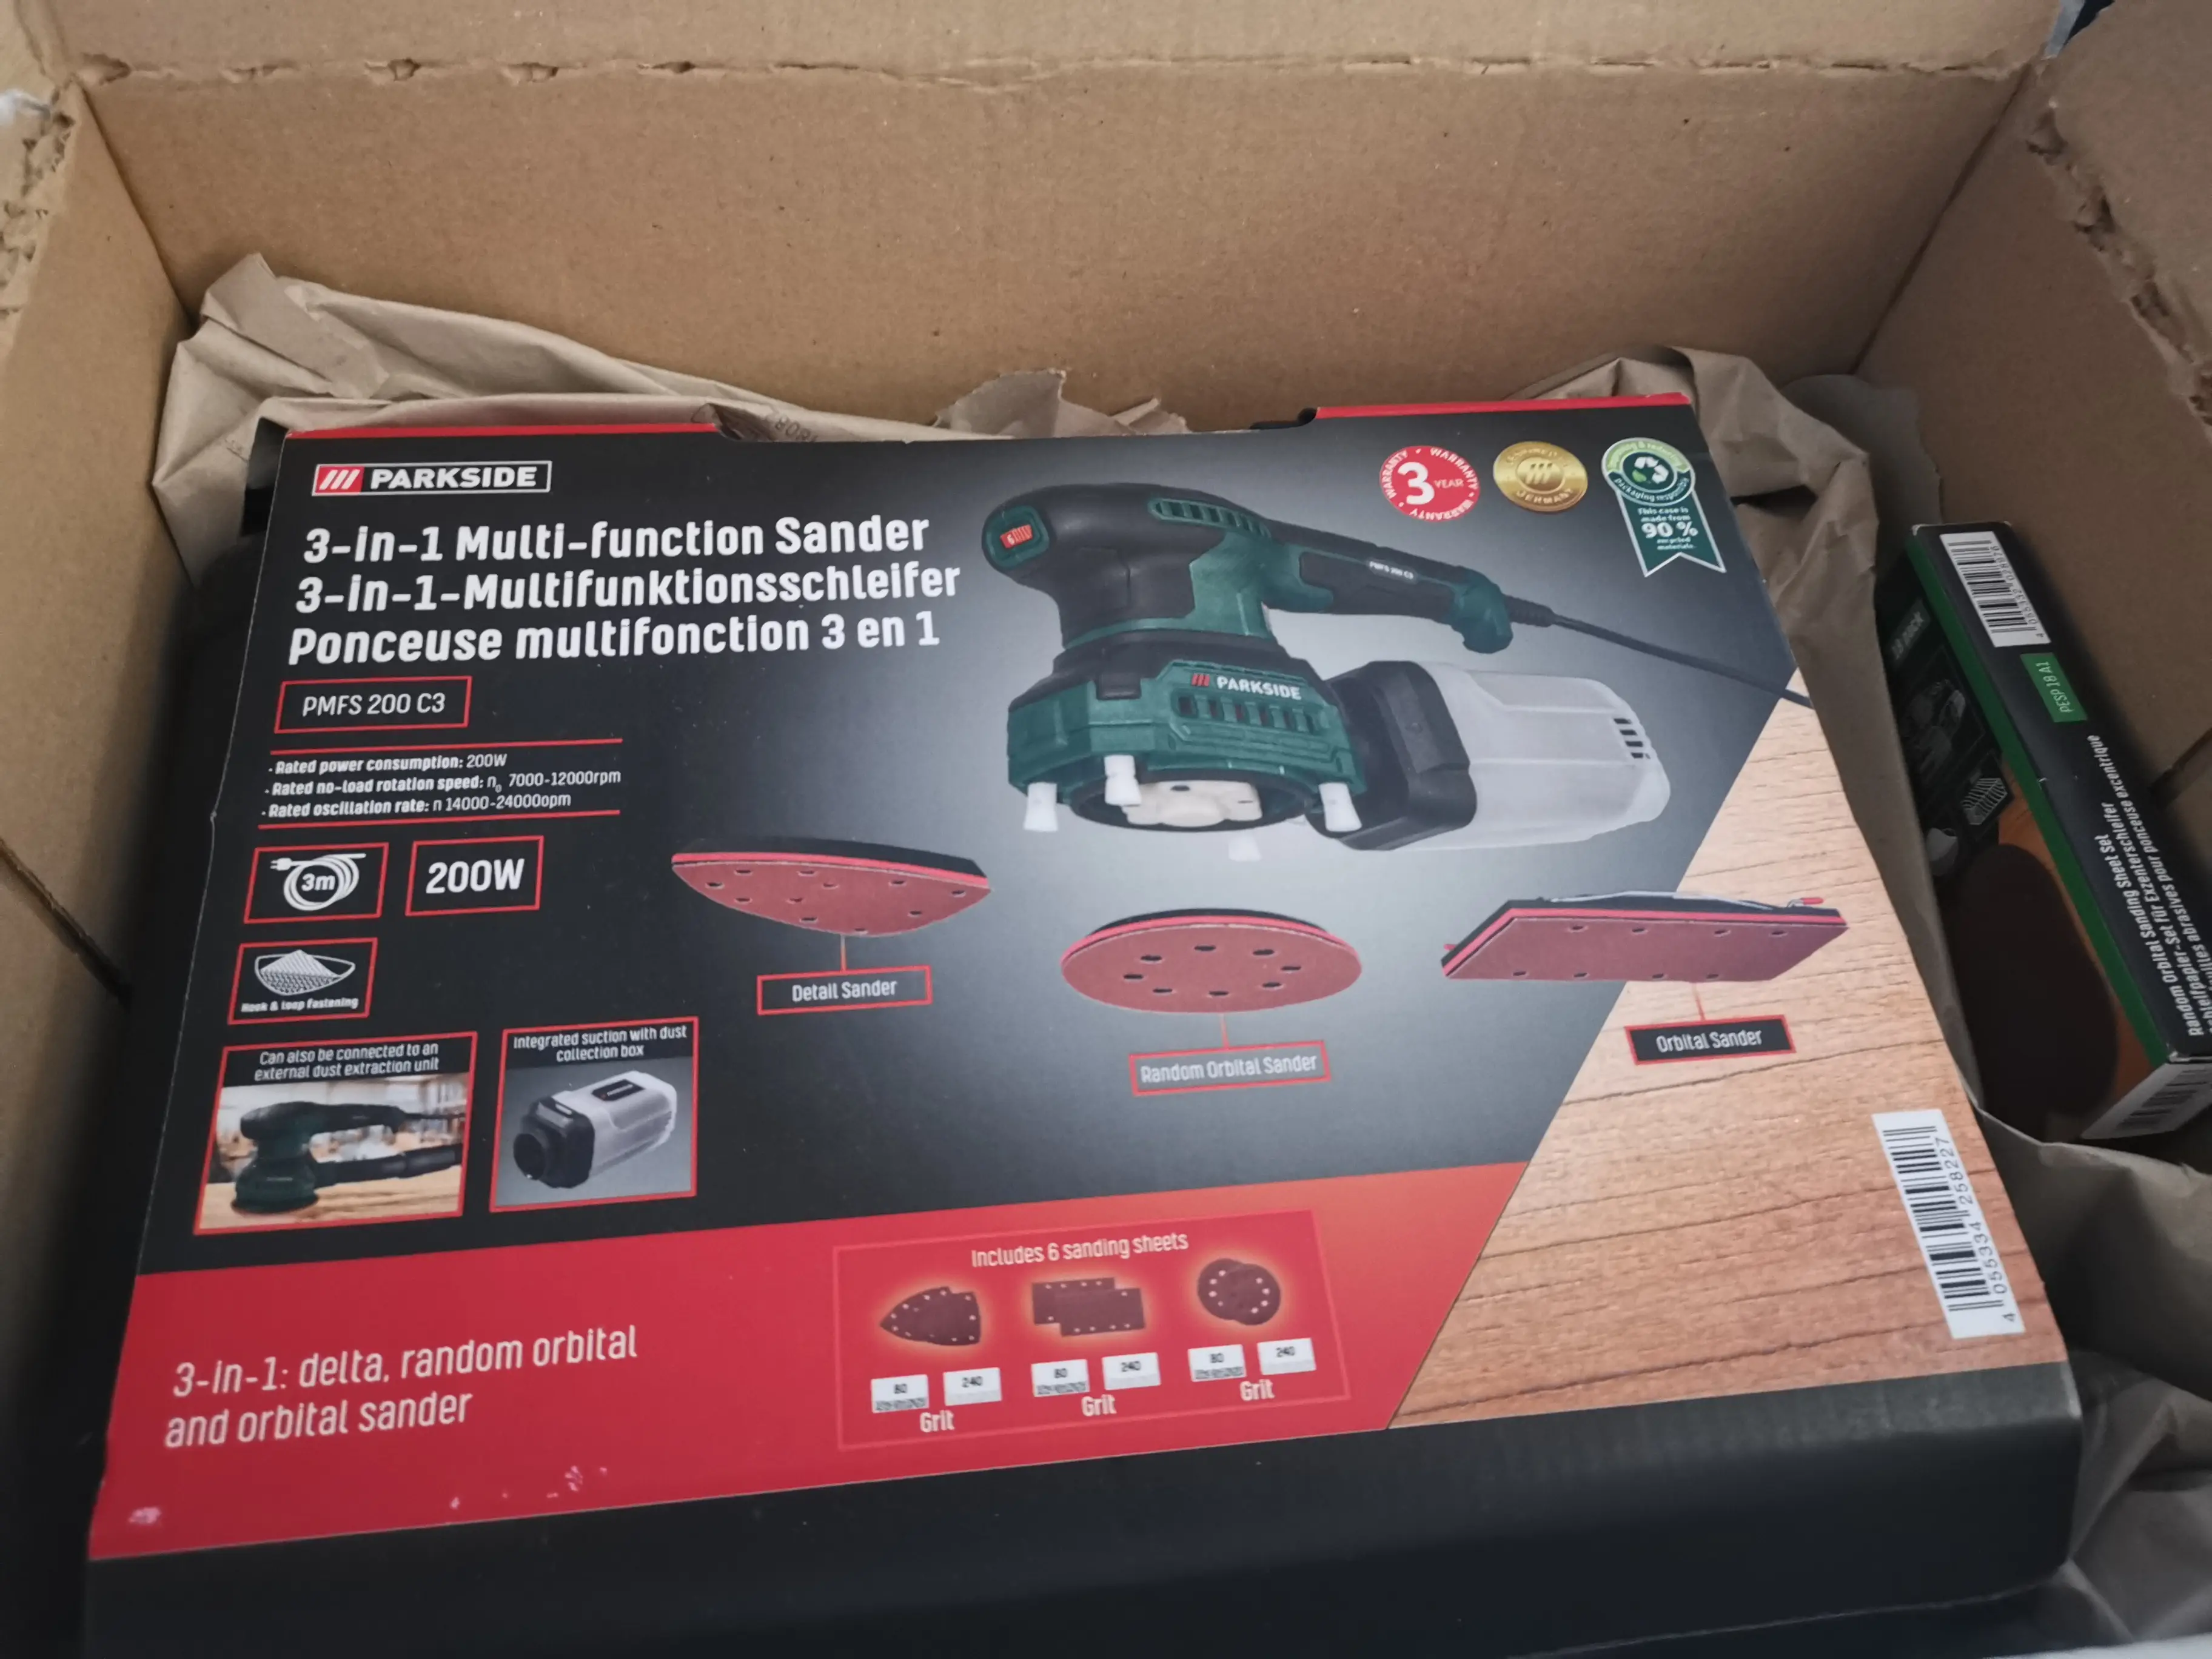
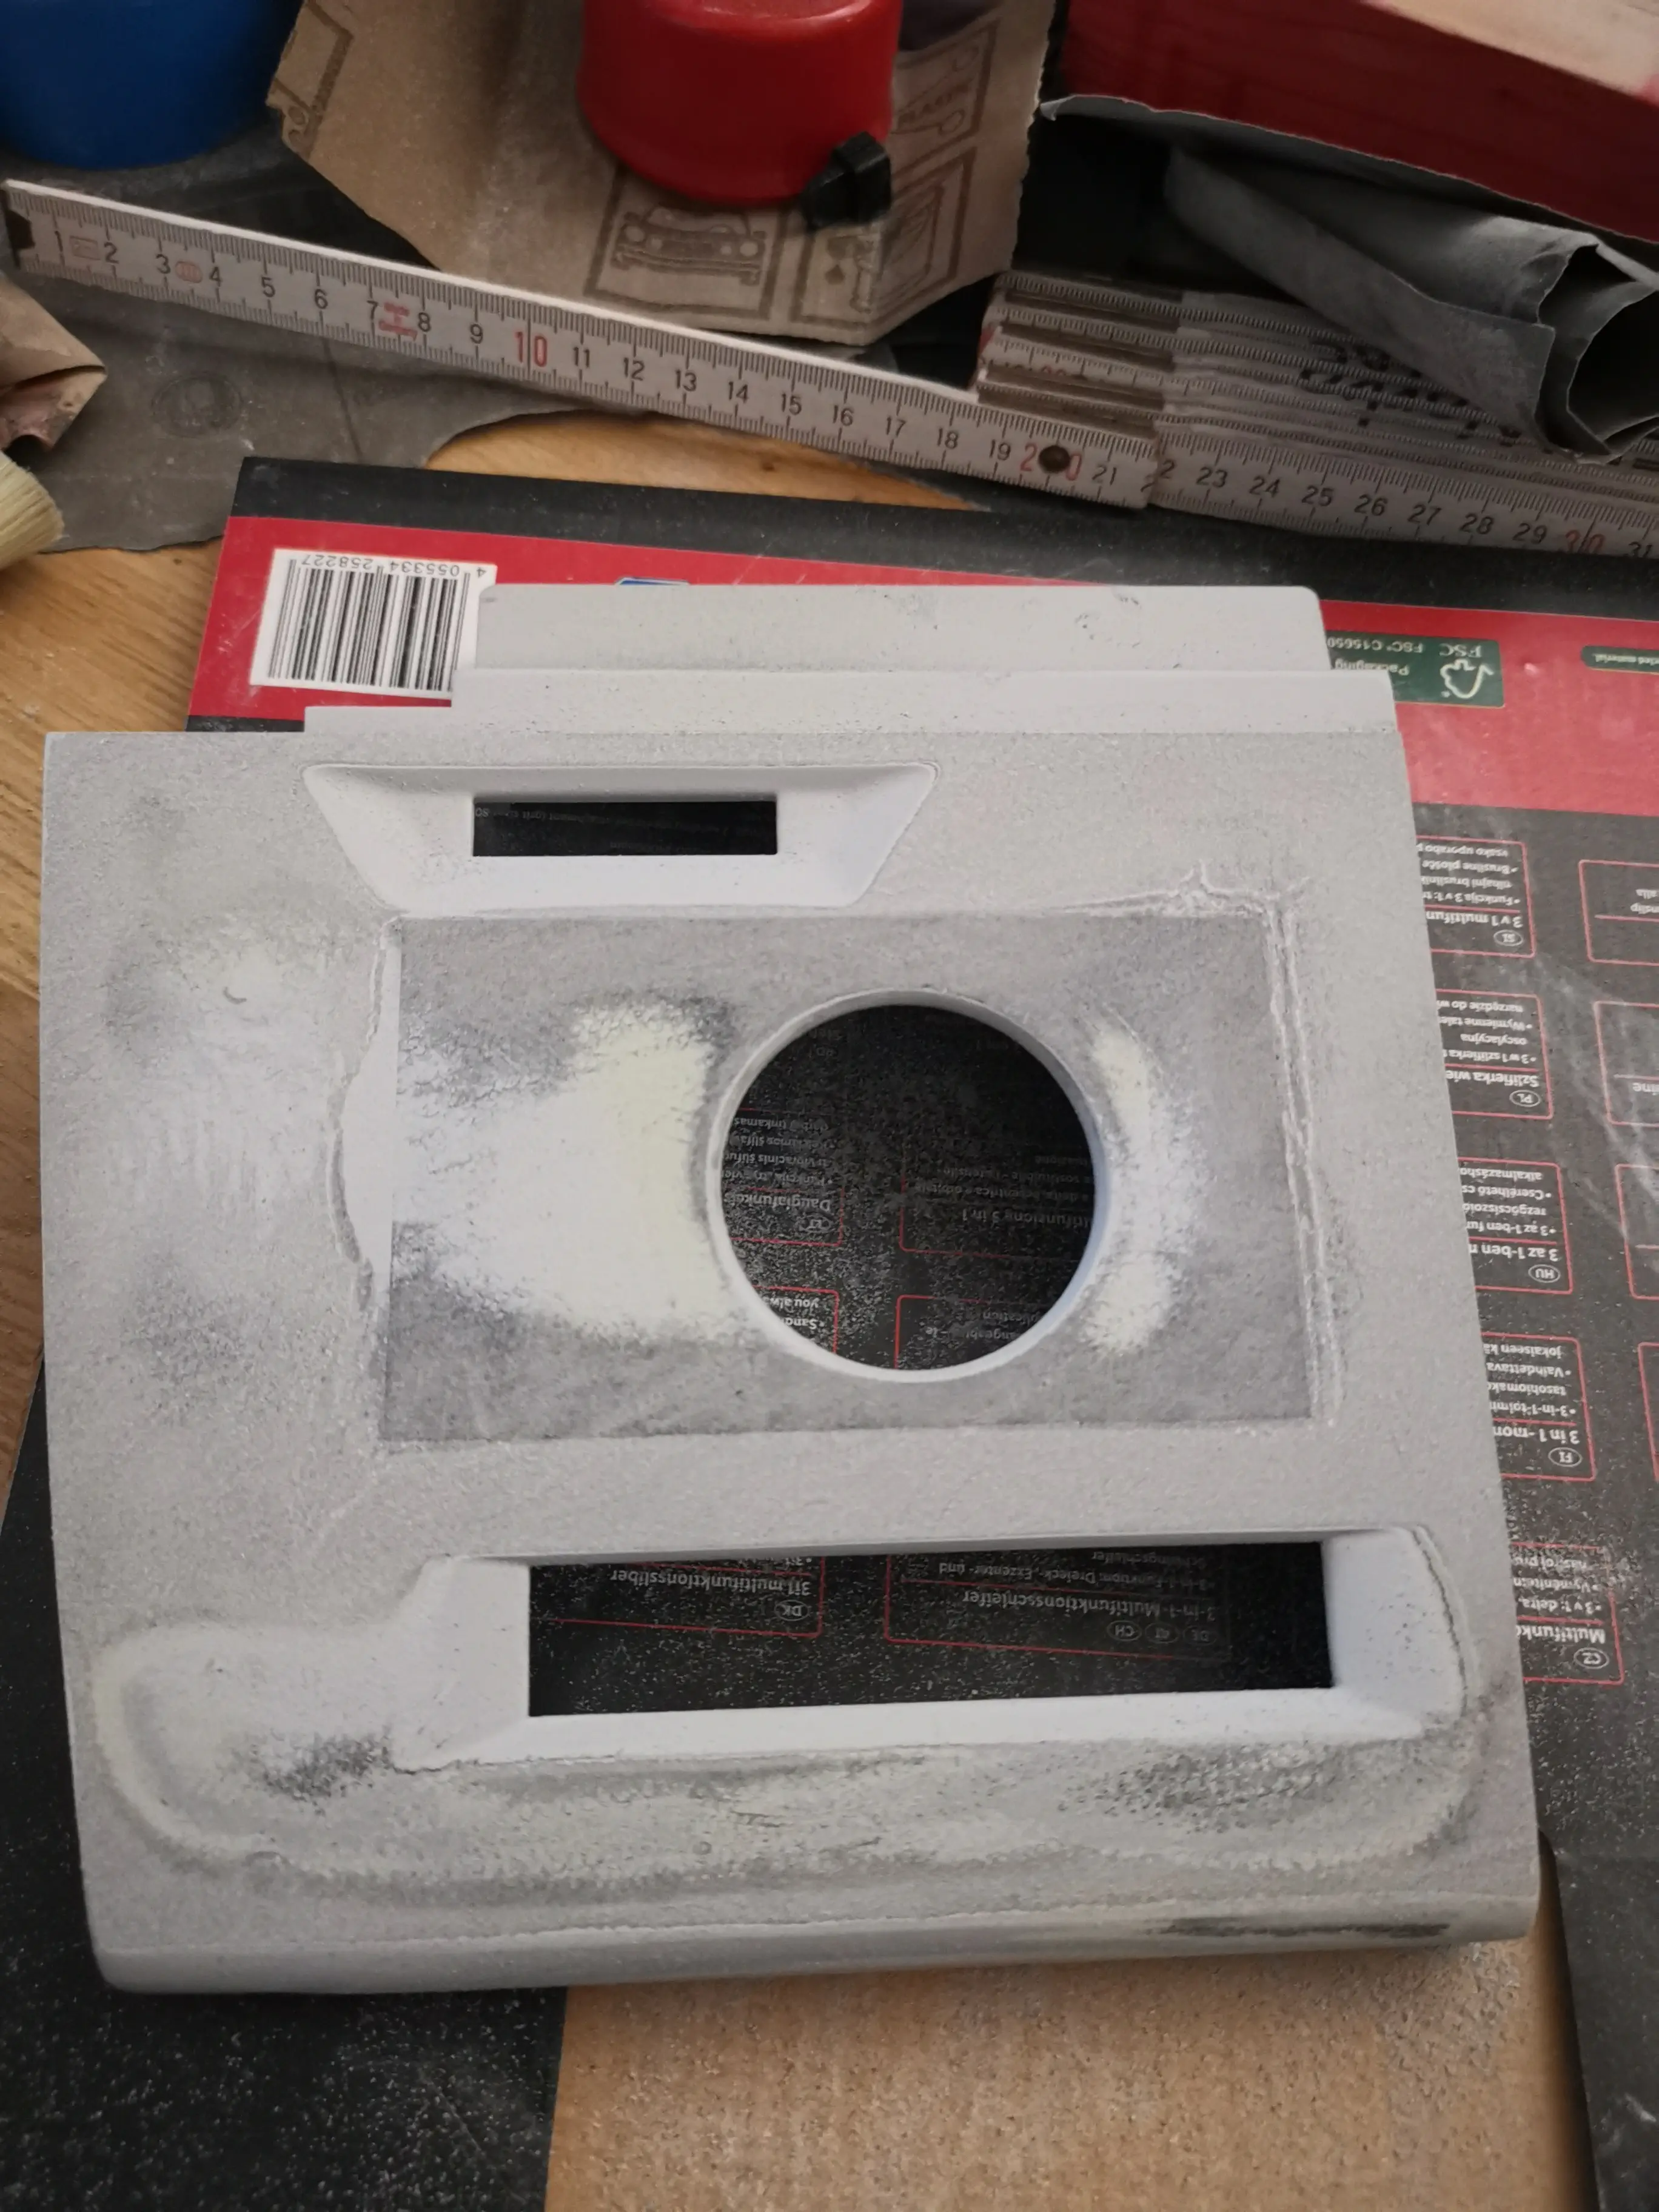
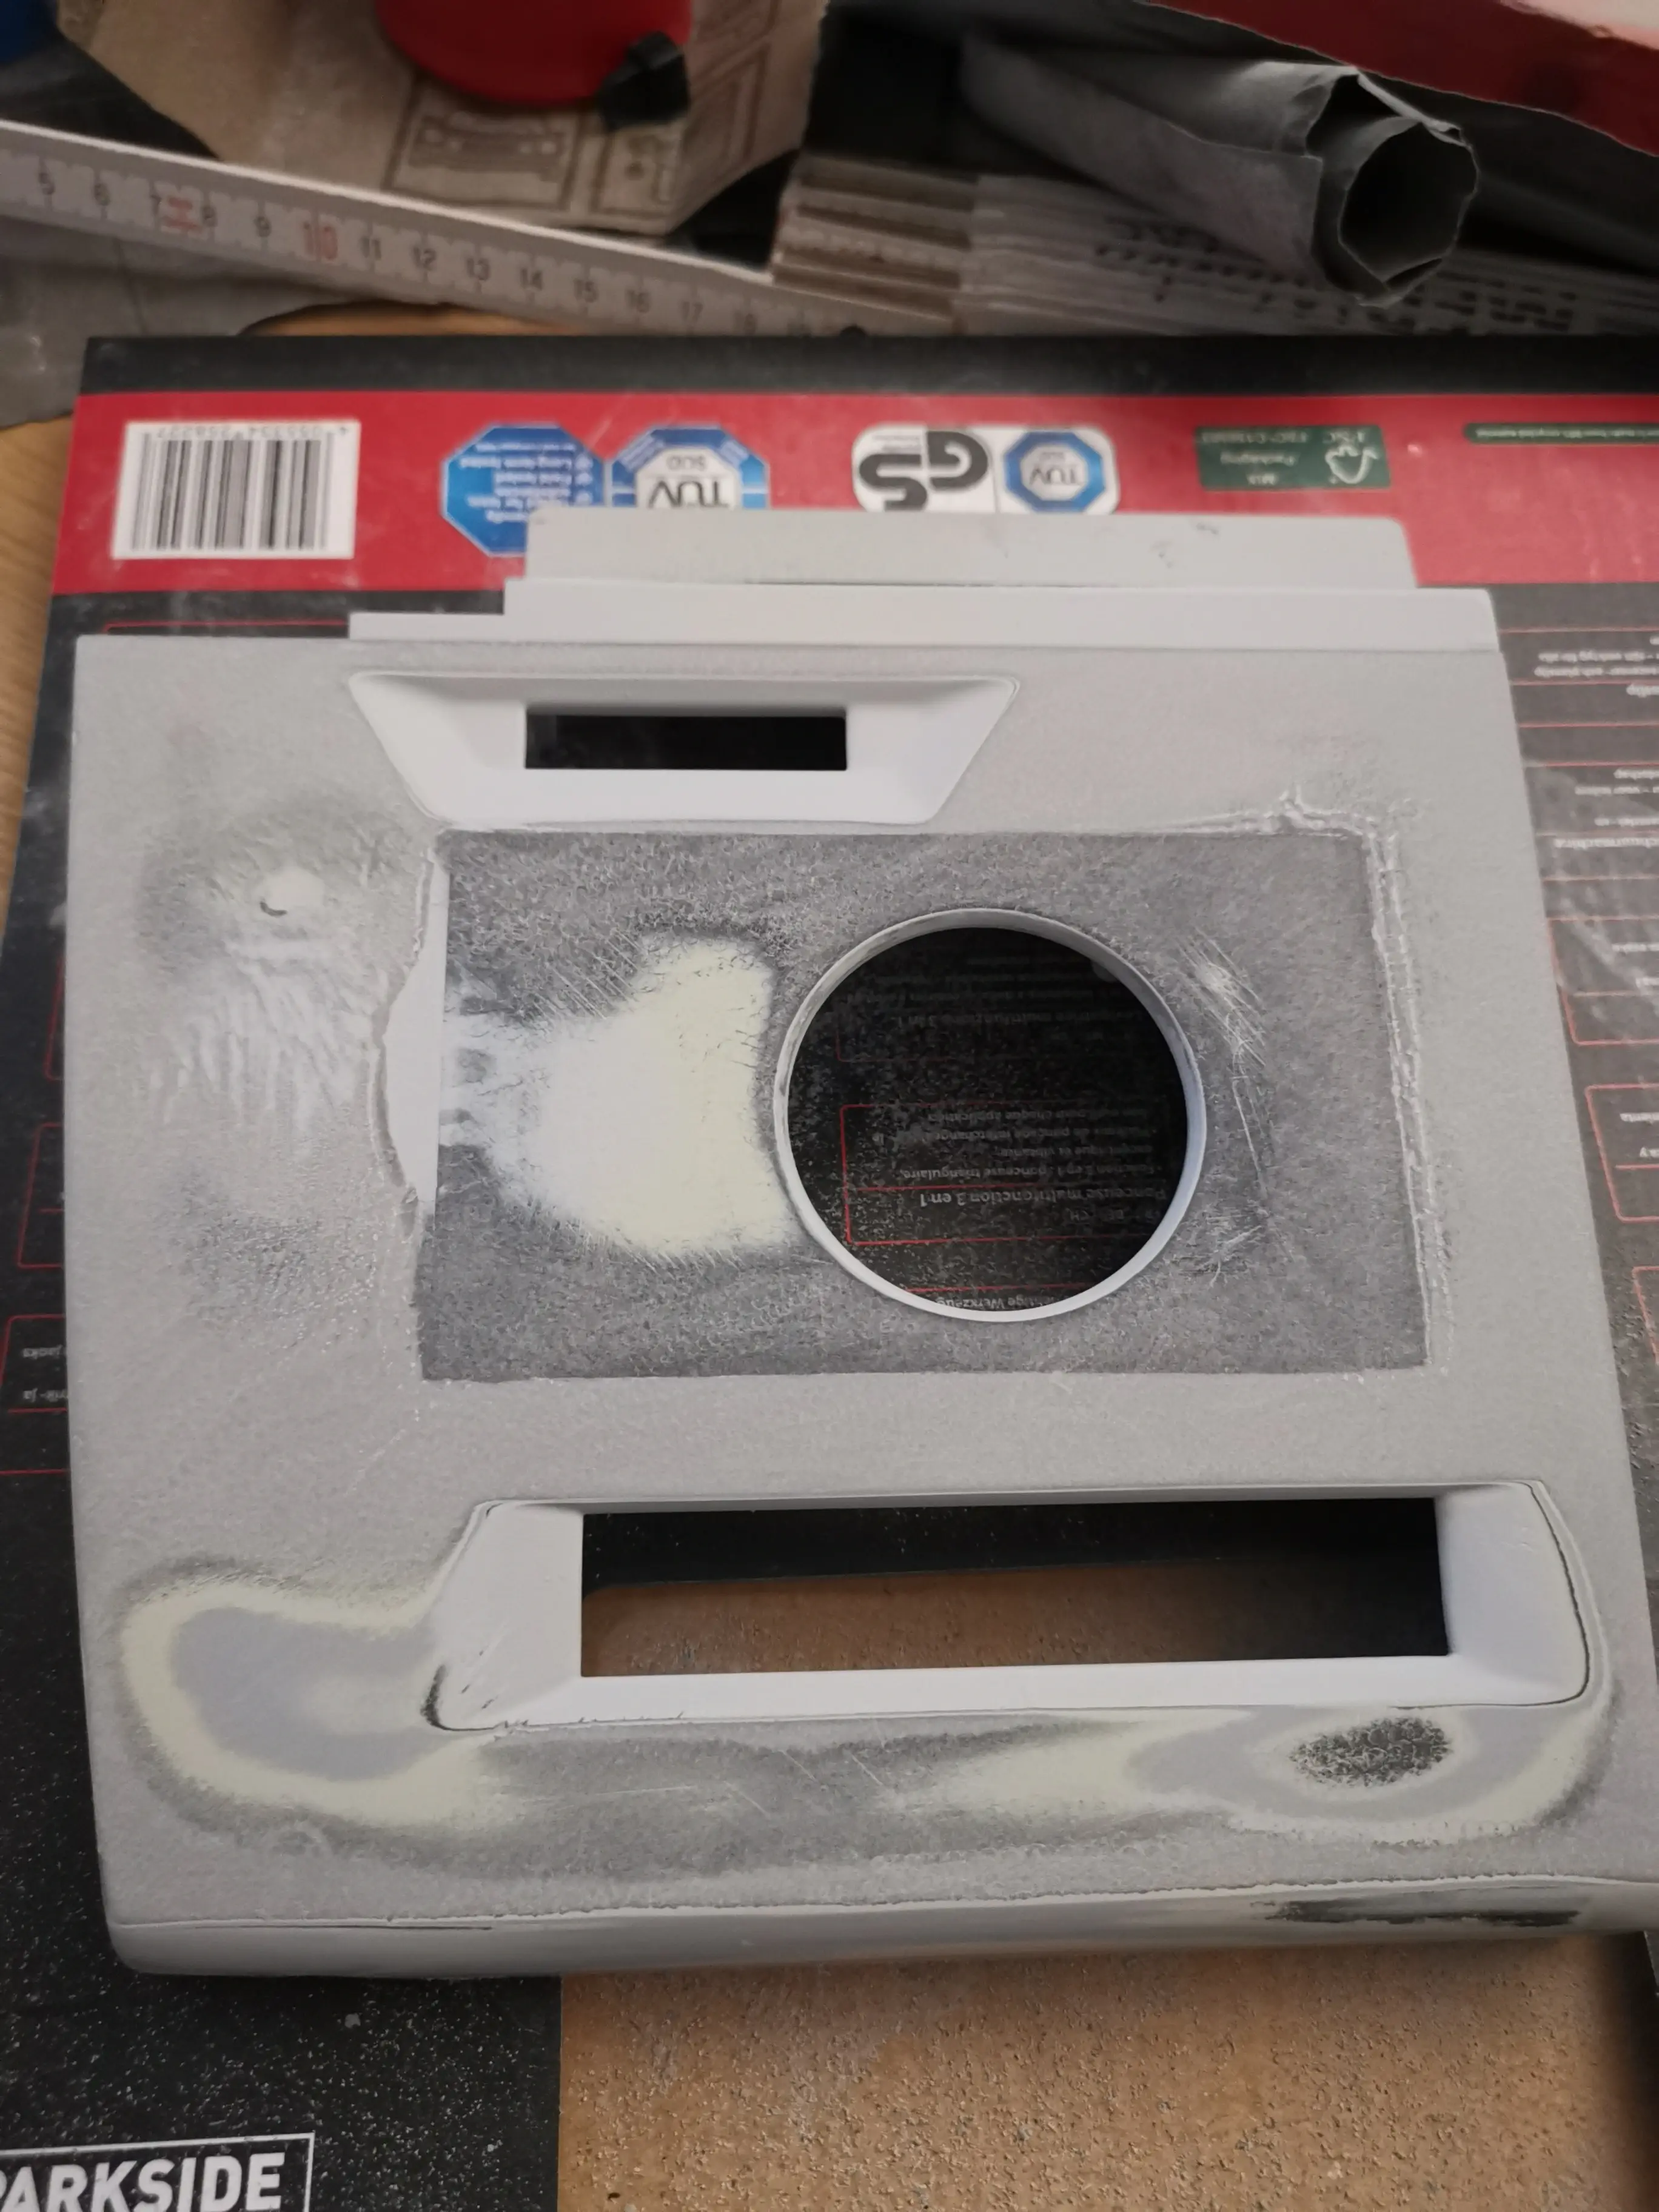
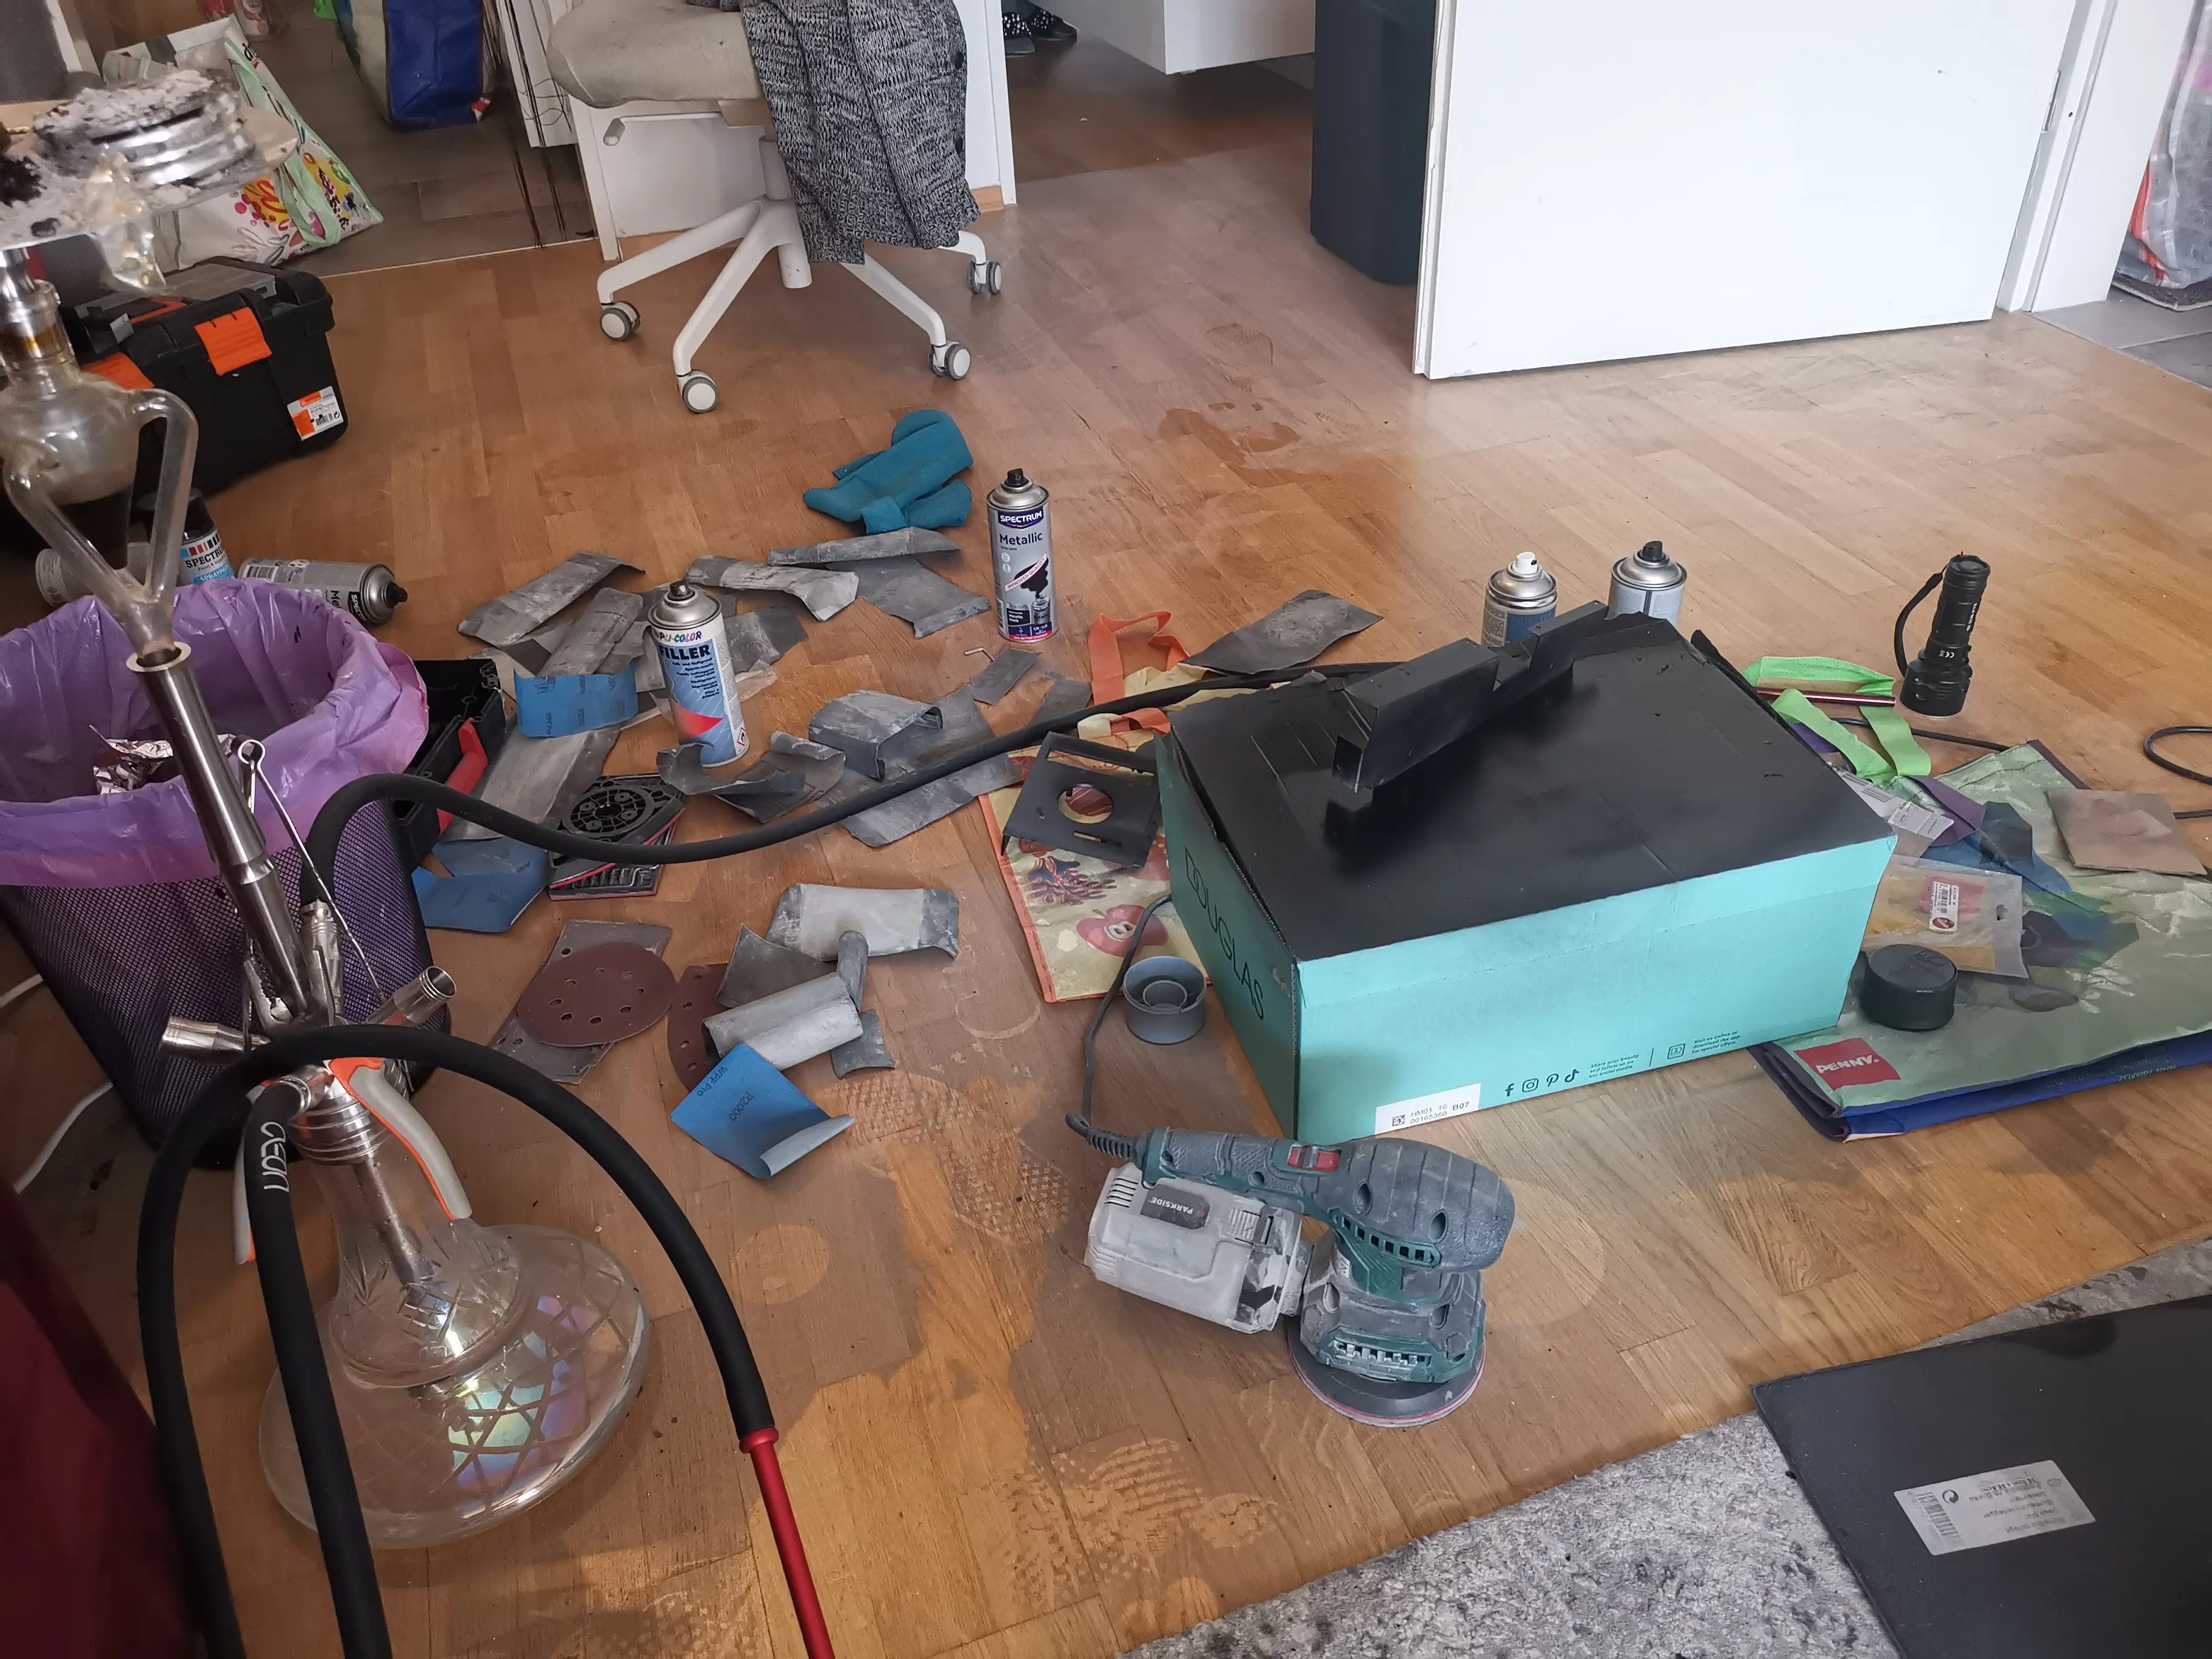
Sanding, filler and an LED test
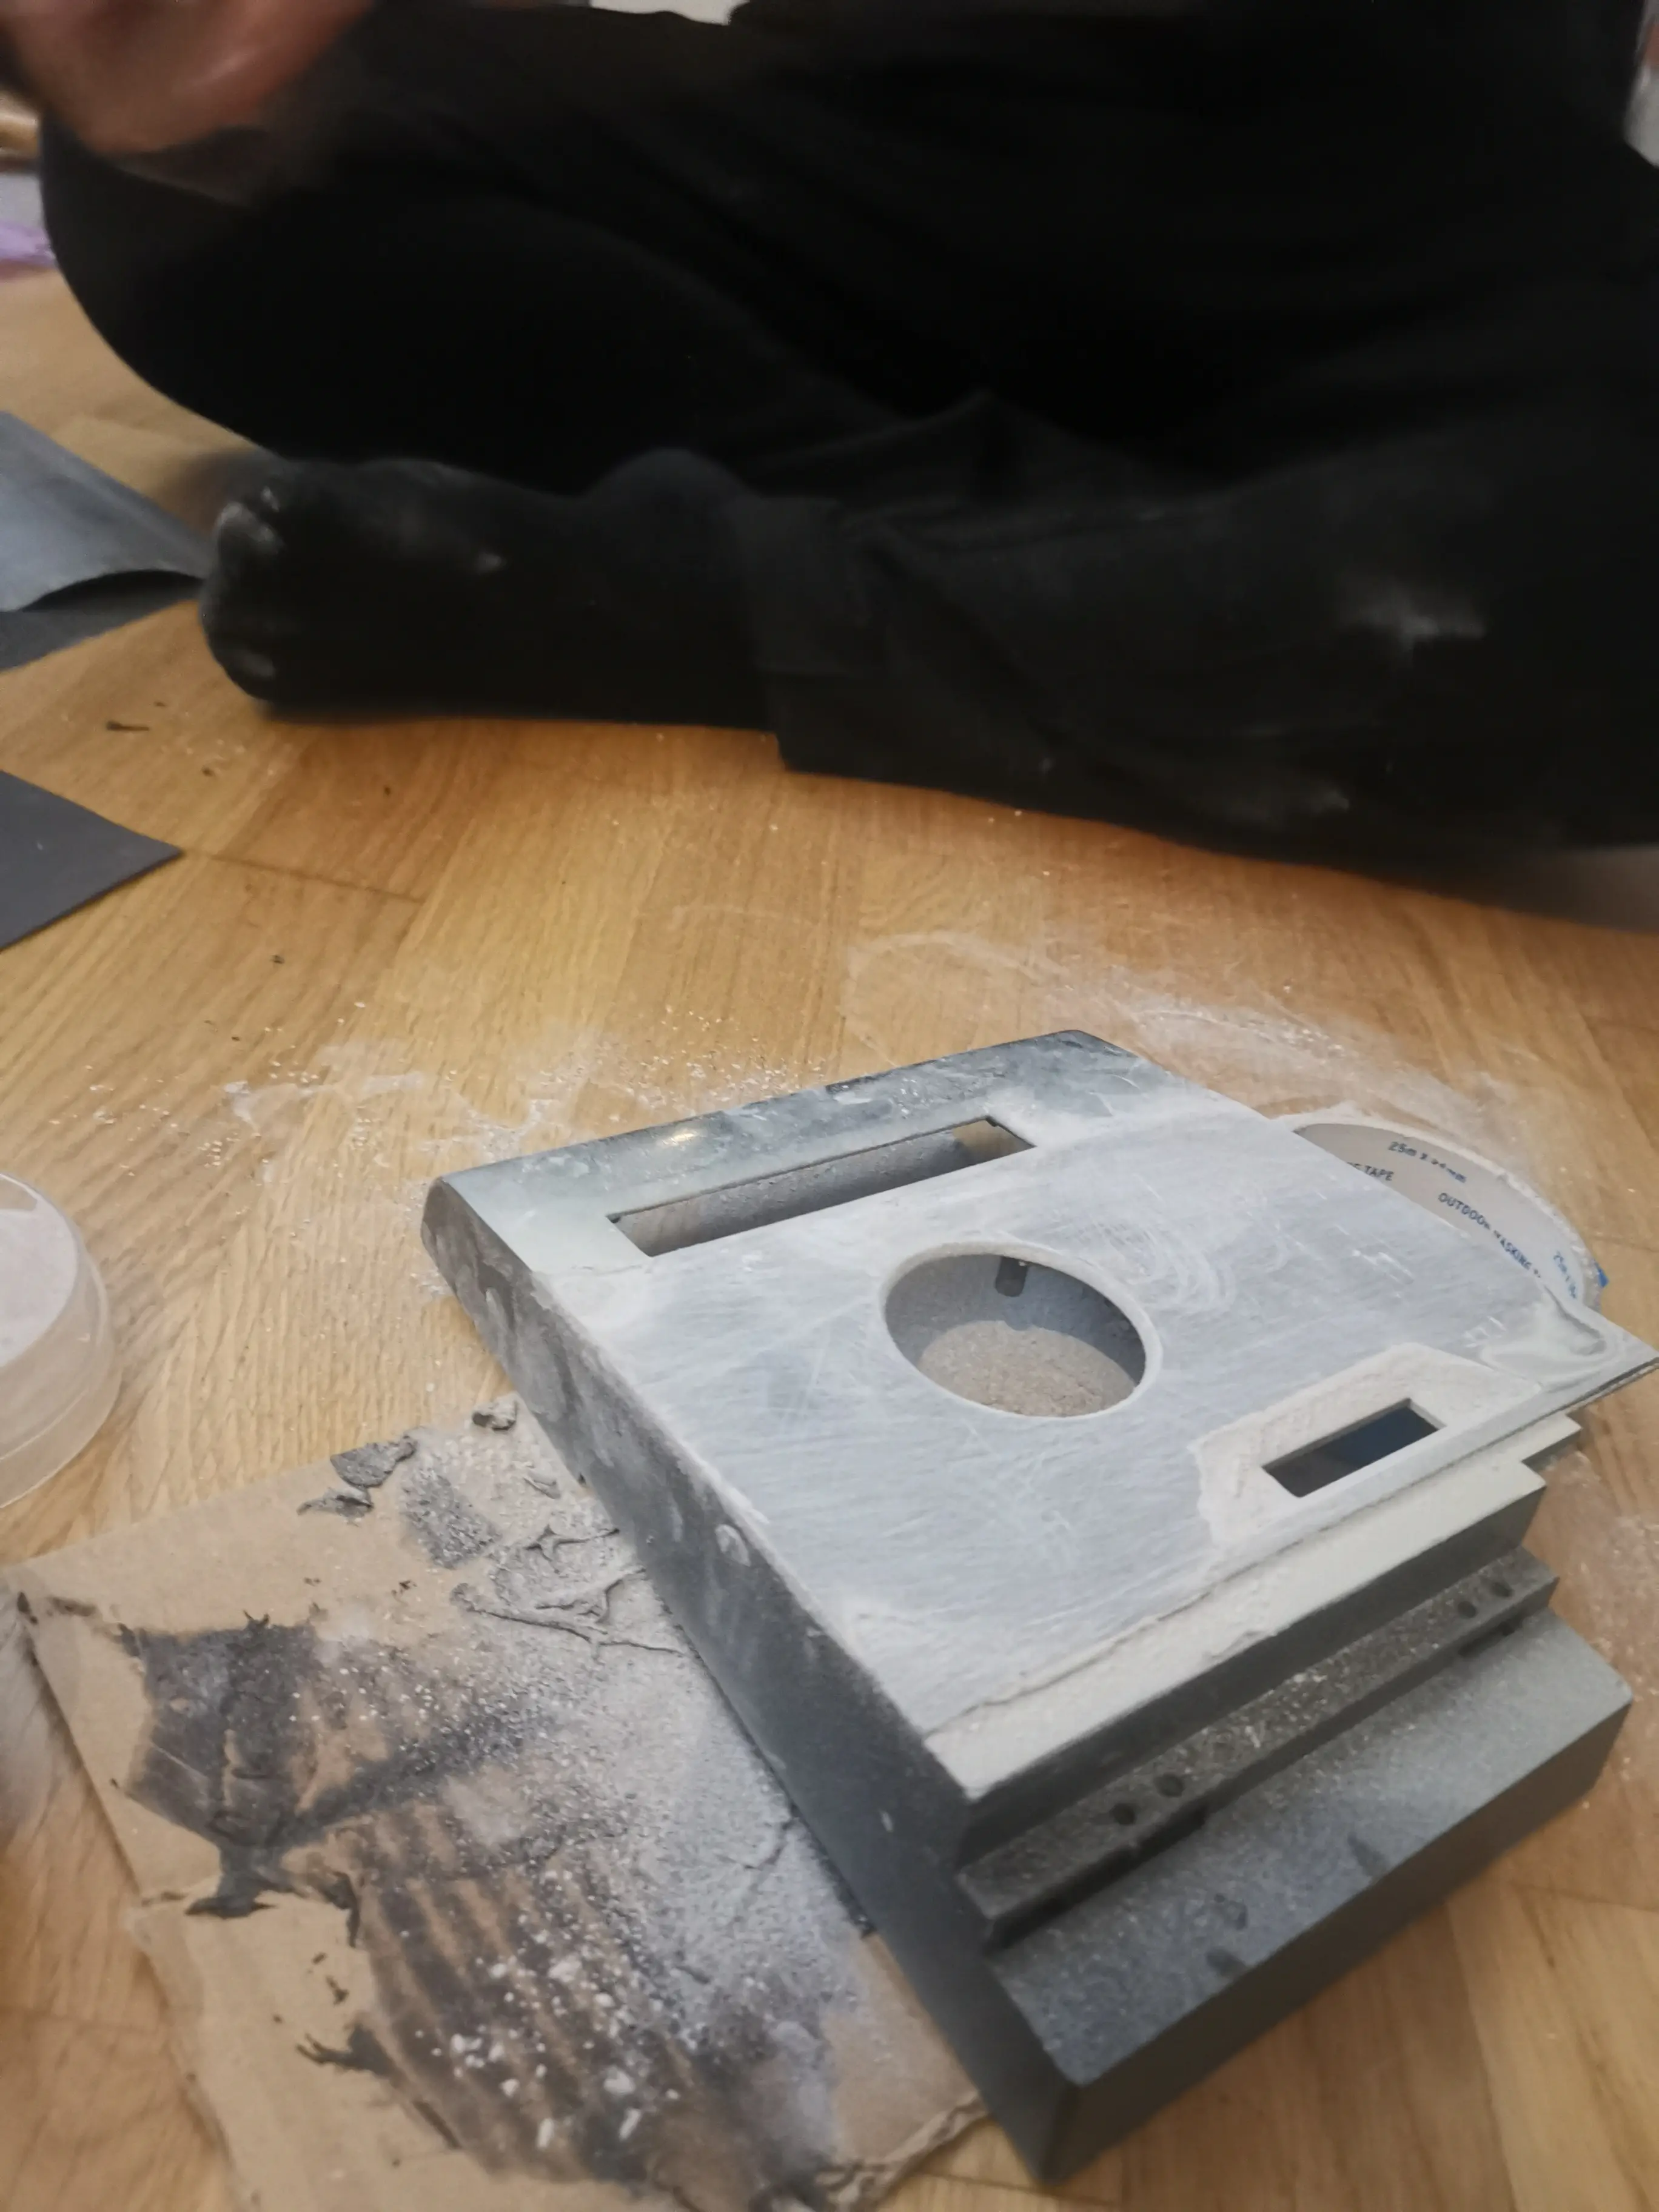
Sanding, filler and LED strip test Sanding, filler and LED strip test Sanding, filler and LED strip test Sanding, filler and LED strip test Sanding, filler and LED strip test Sanding, filler and LED strip test Sanding, filler and LED strip test Sanding, filler and LED strip test Sanding, filler and LED strip test Sanding, filler and LED strip test Sanding, filler and LED strip test Sanding, filler and LED strip test

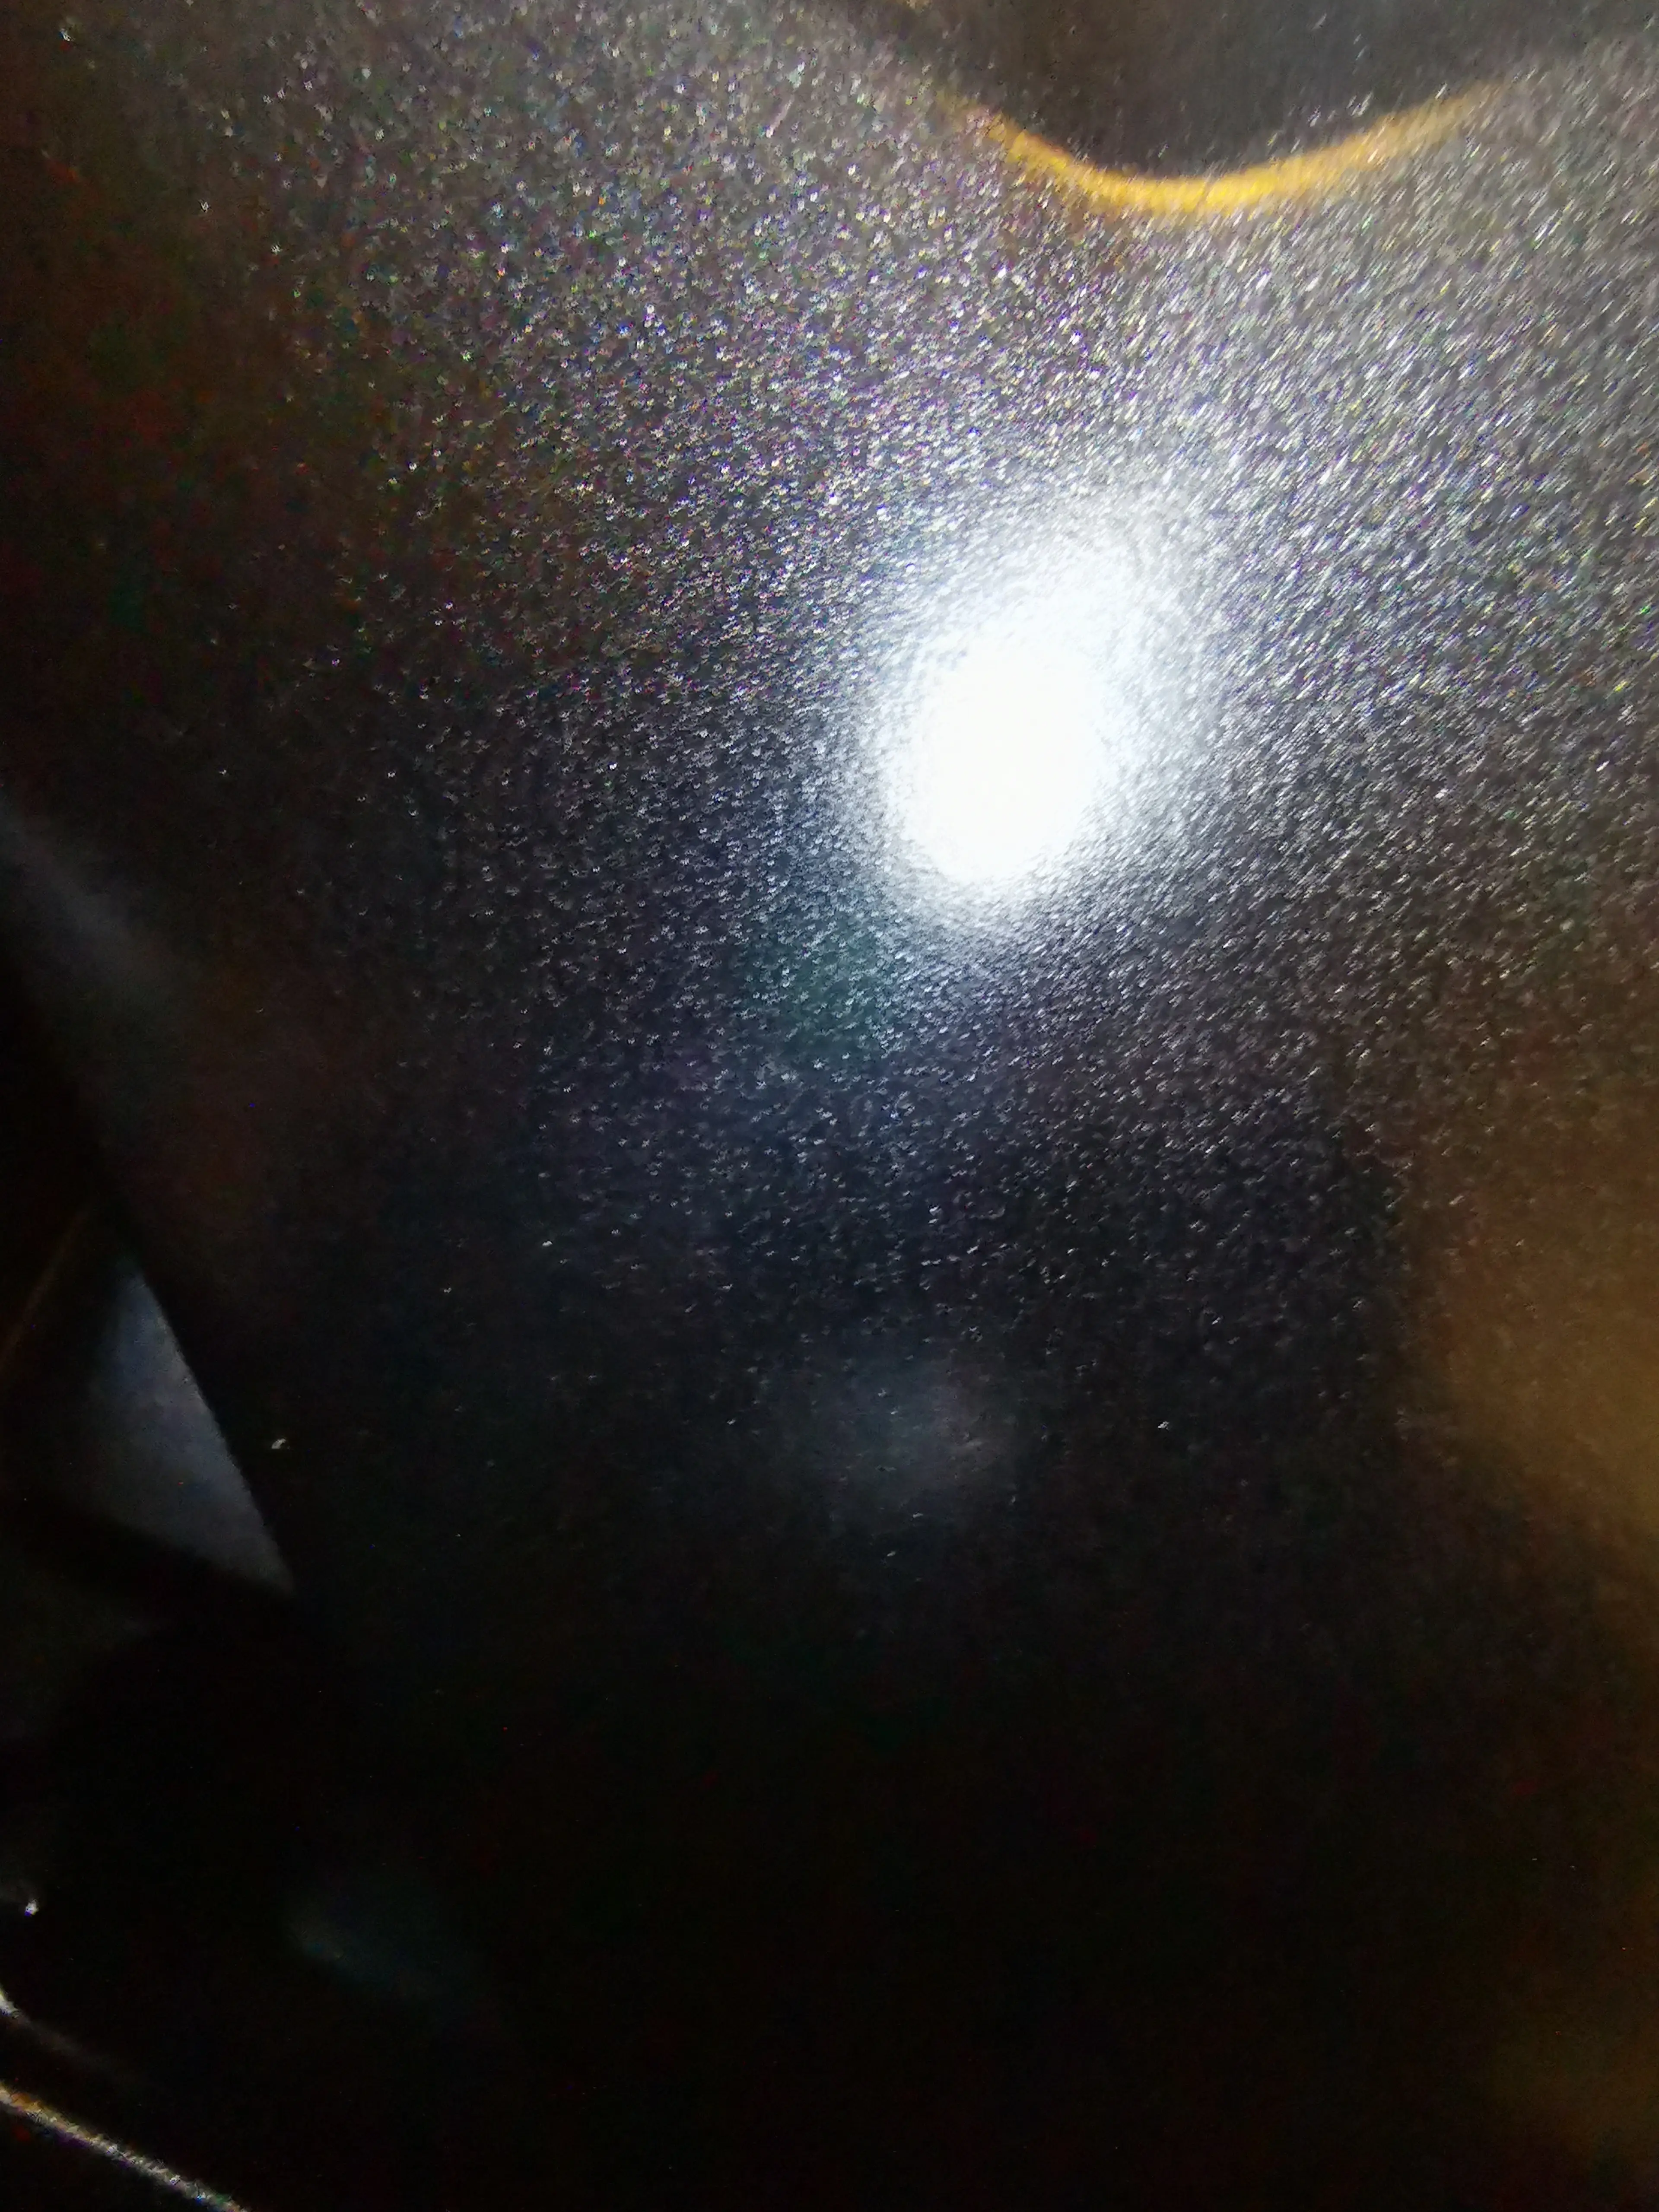
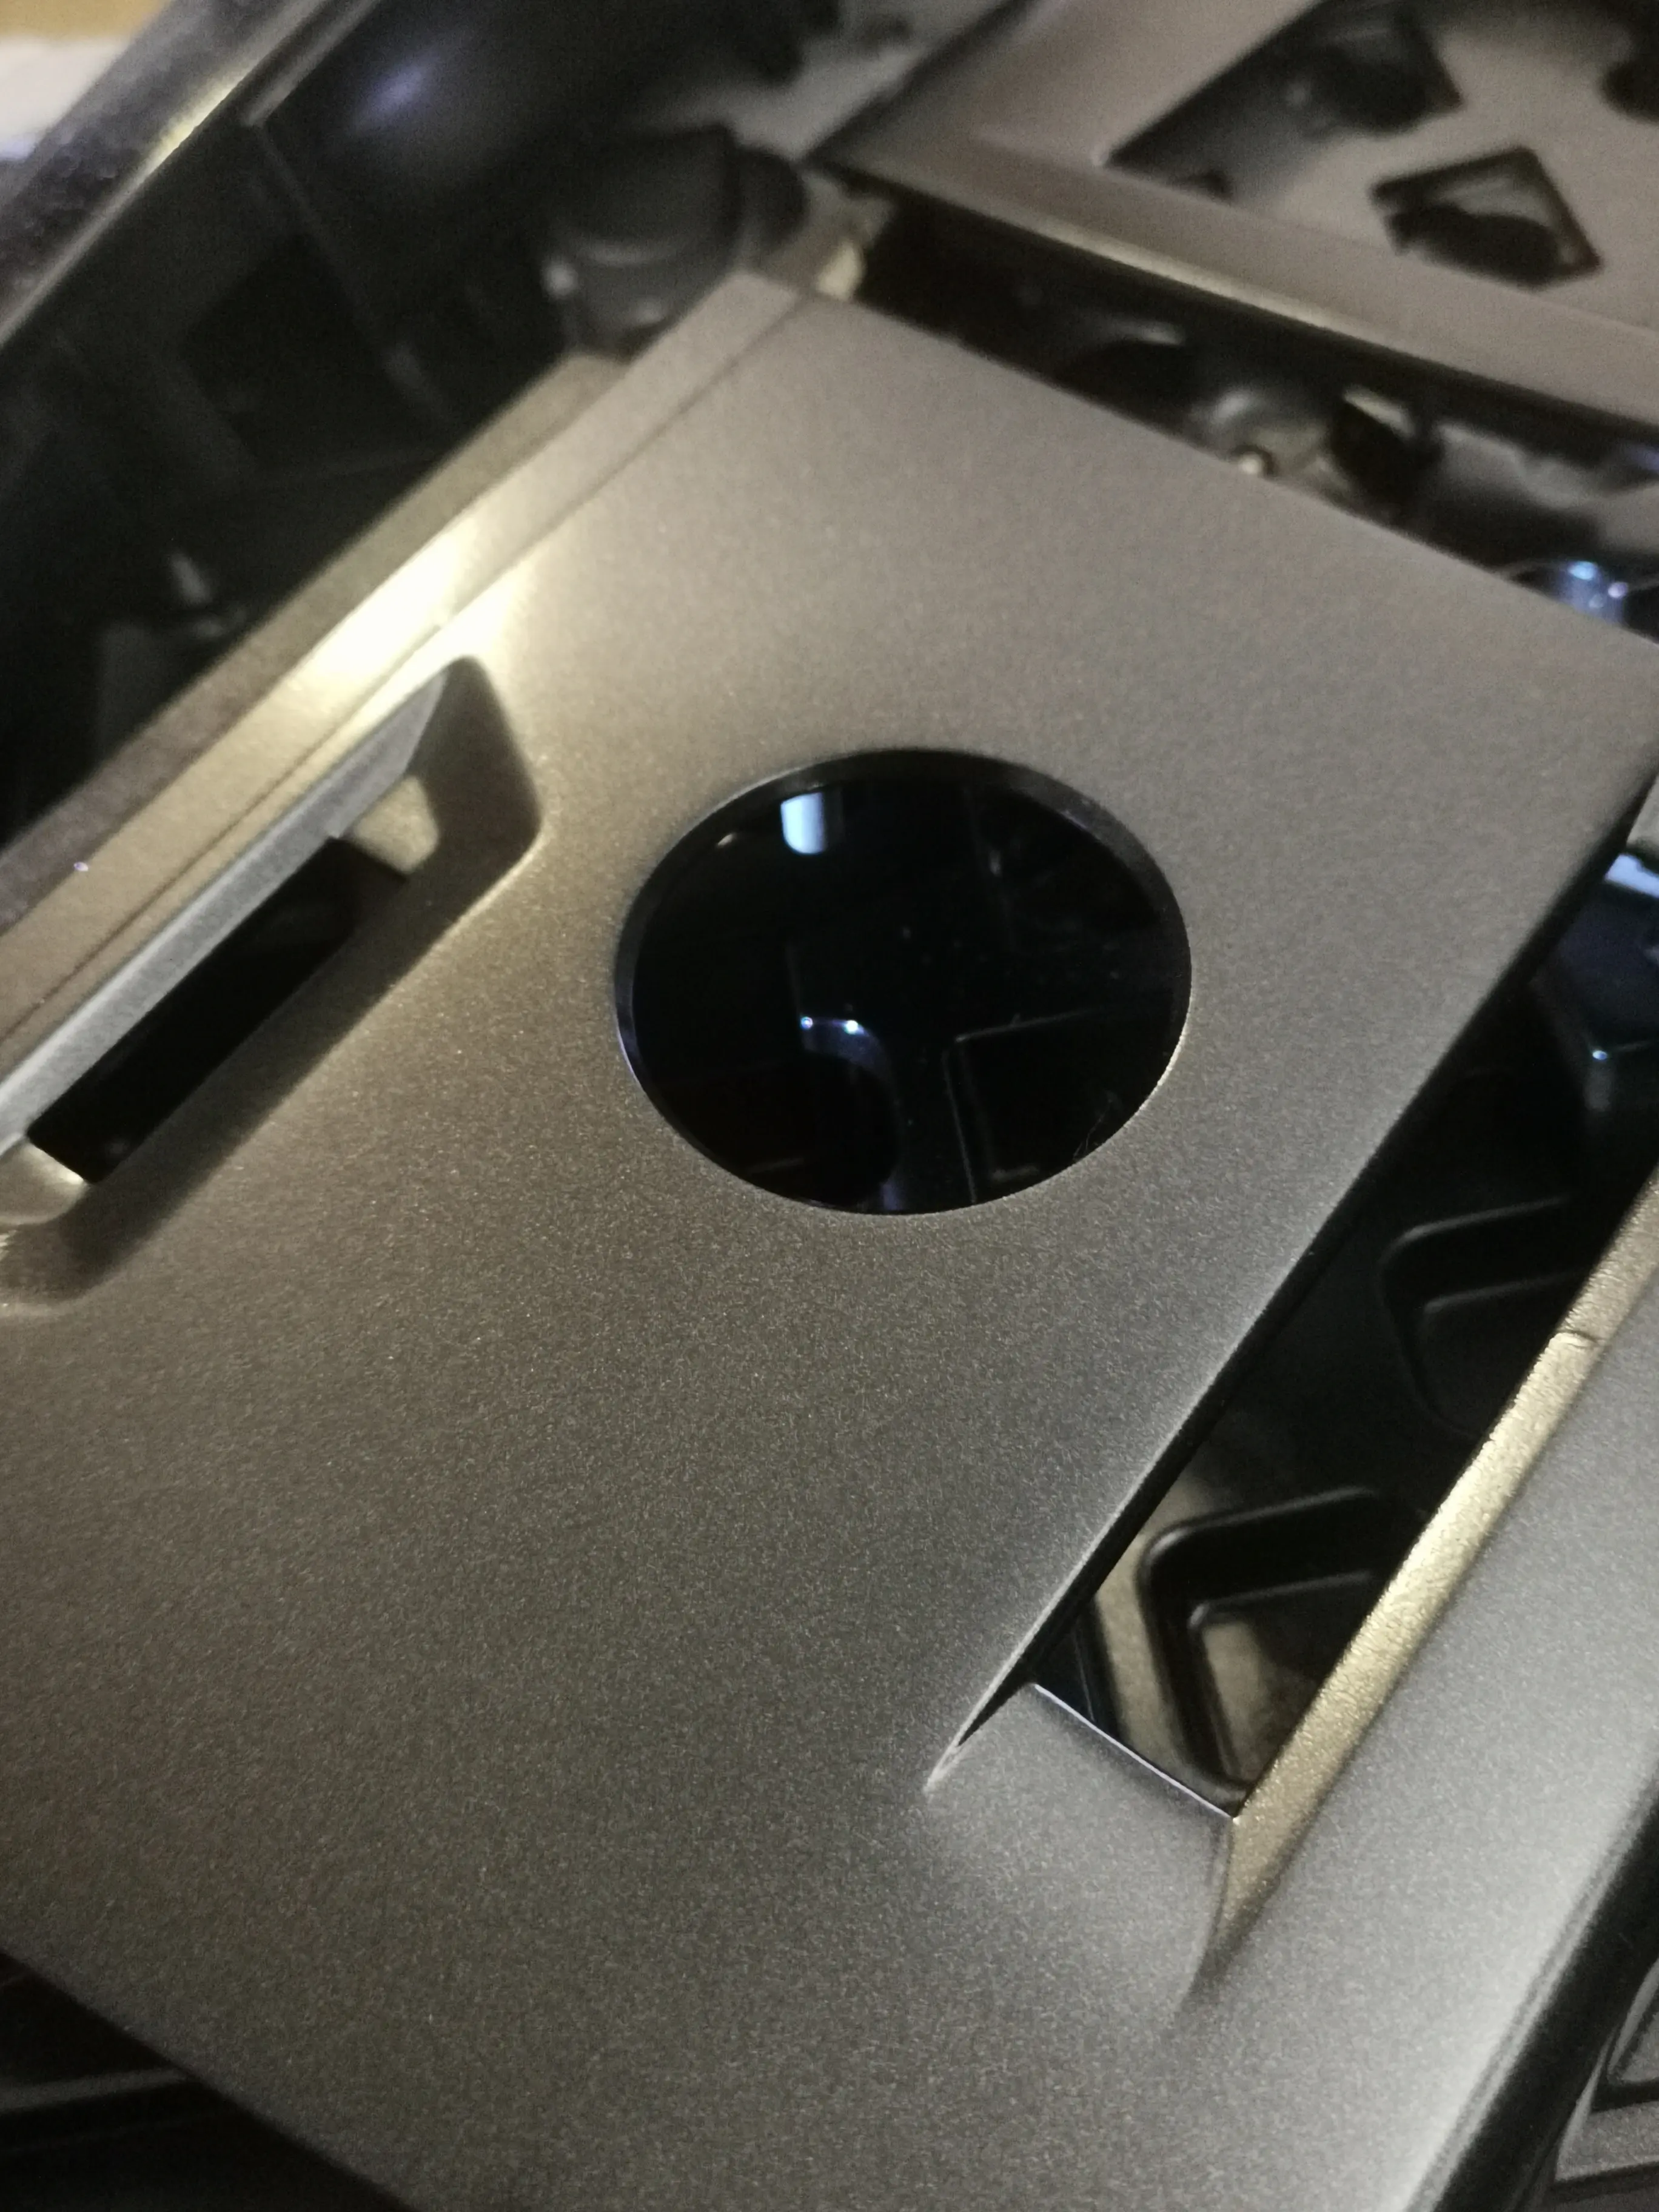
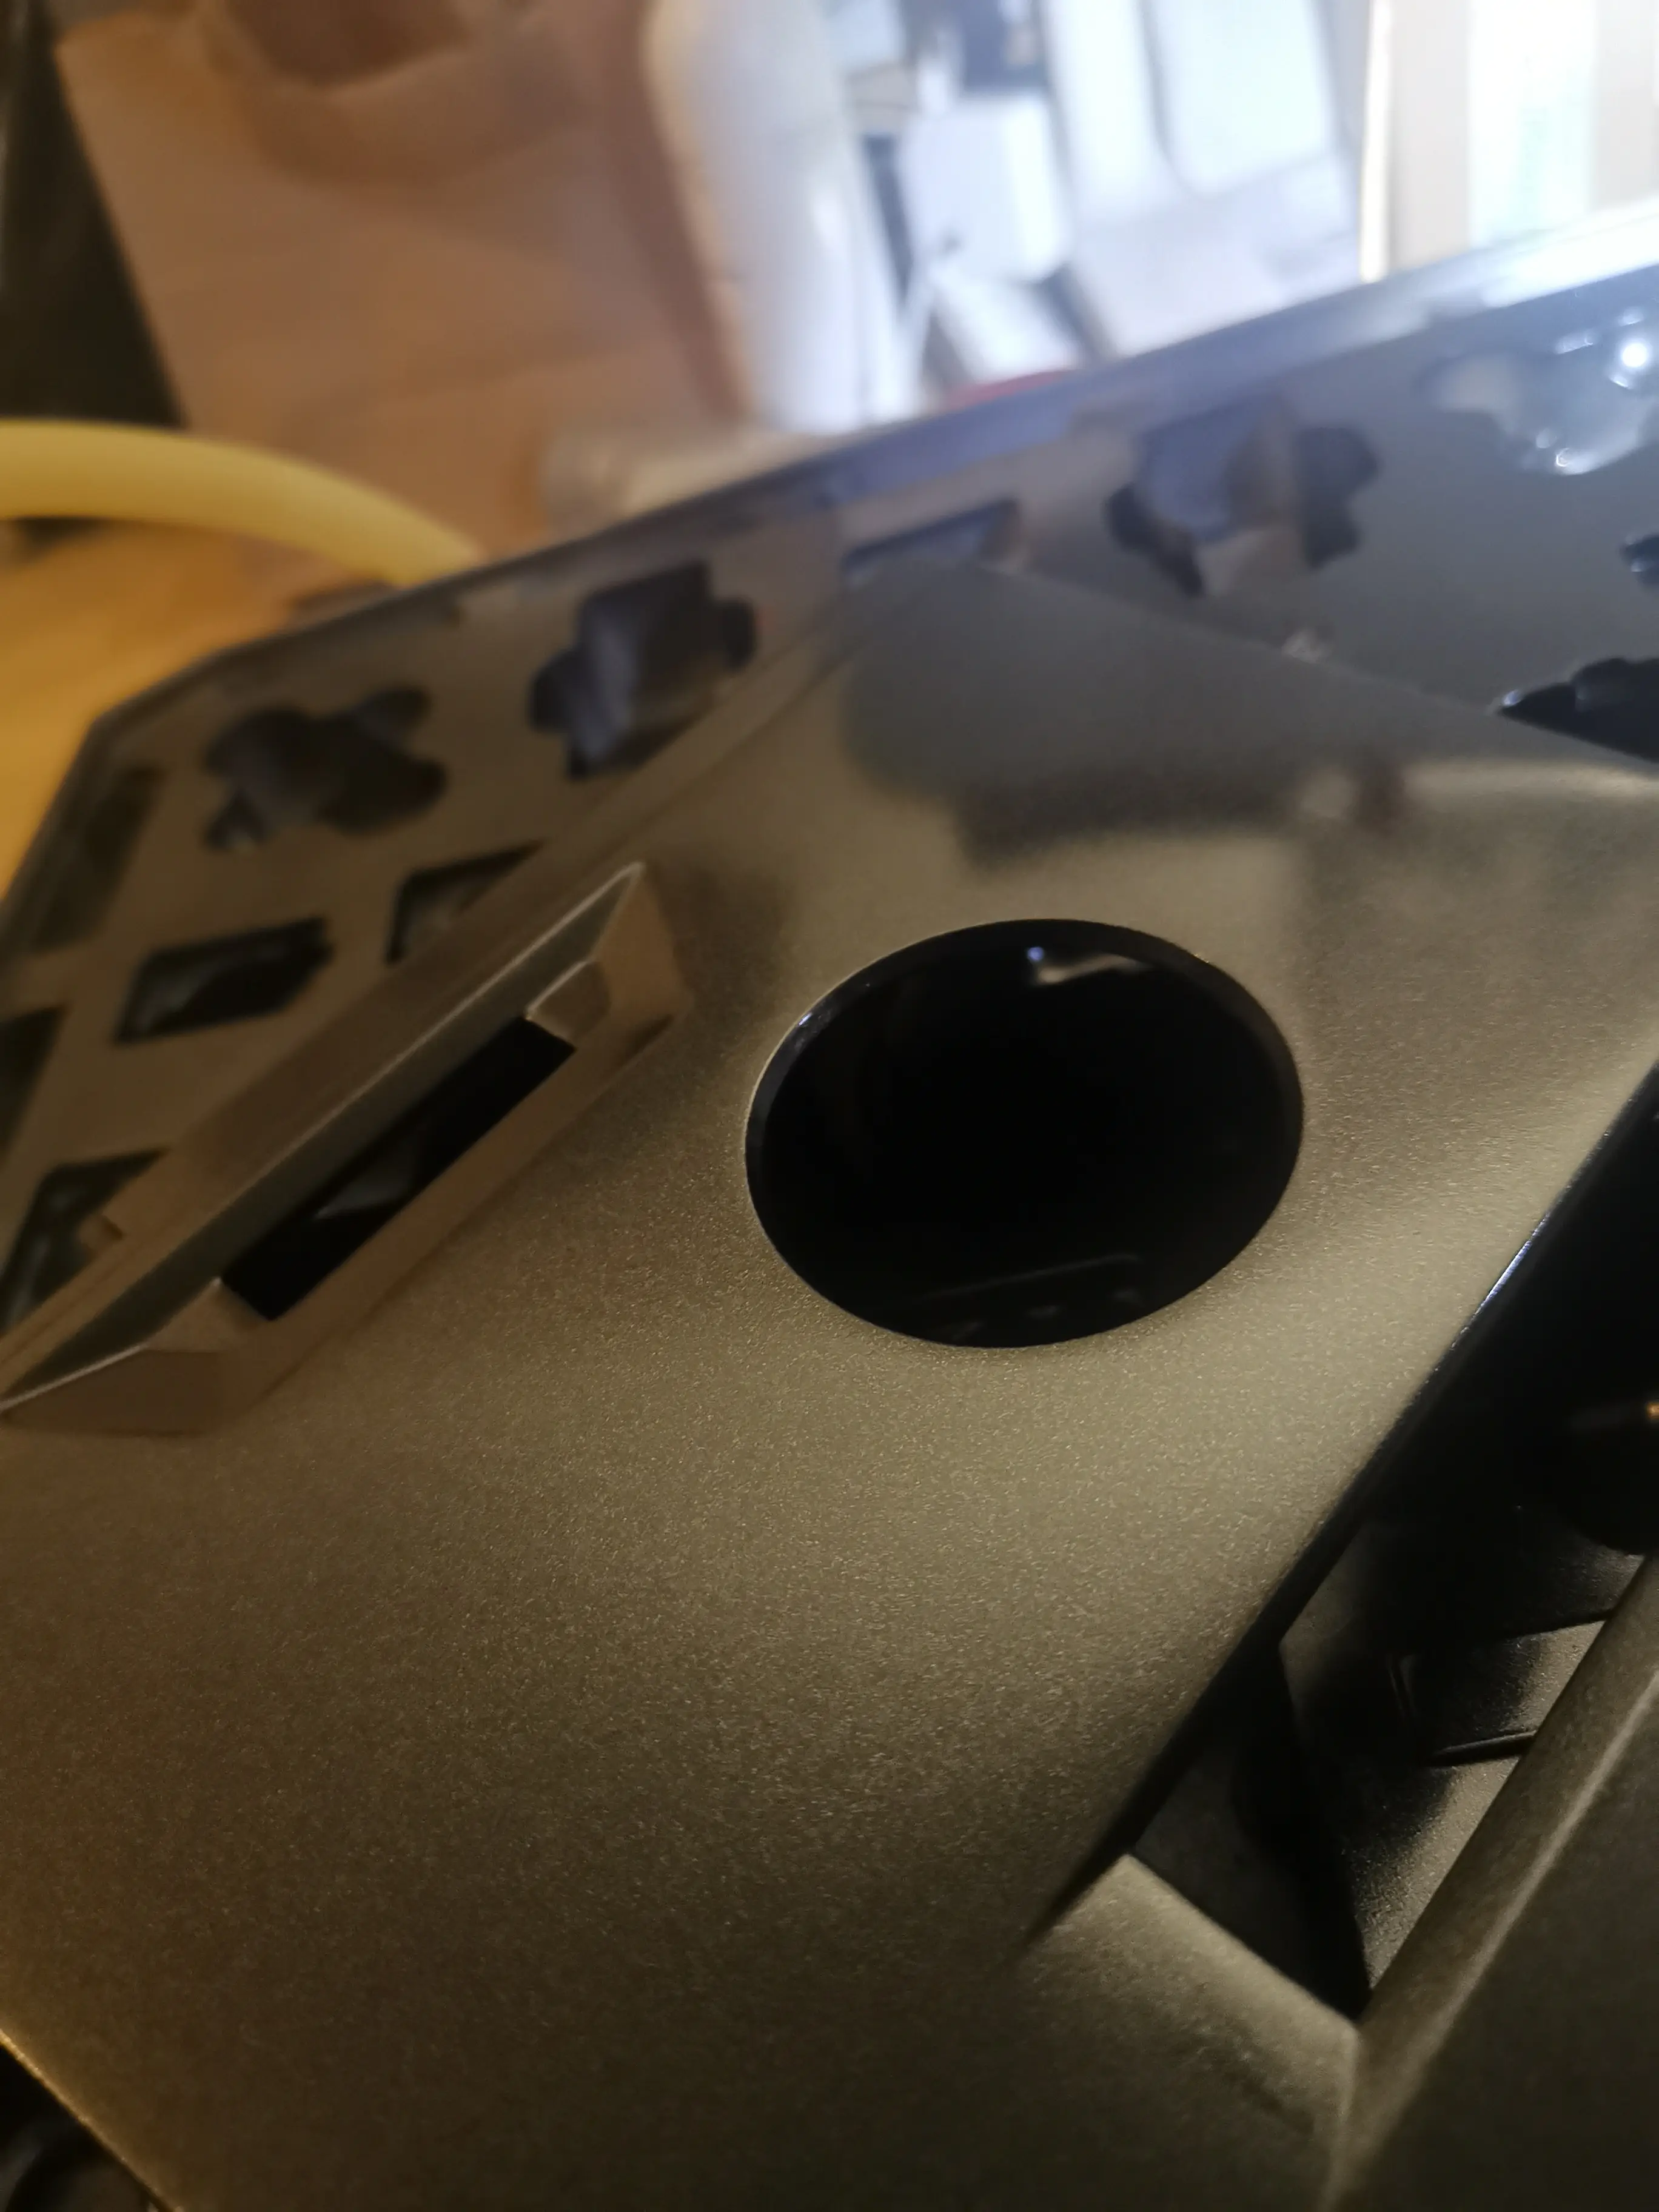
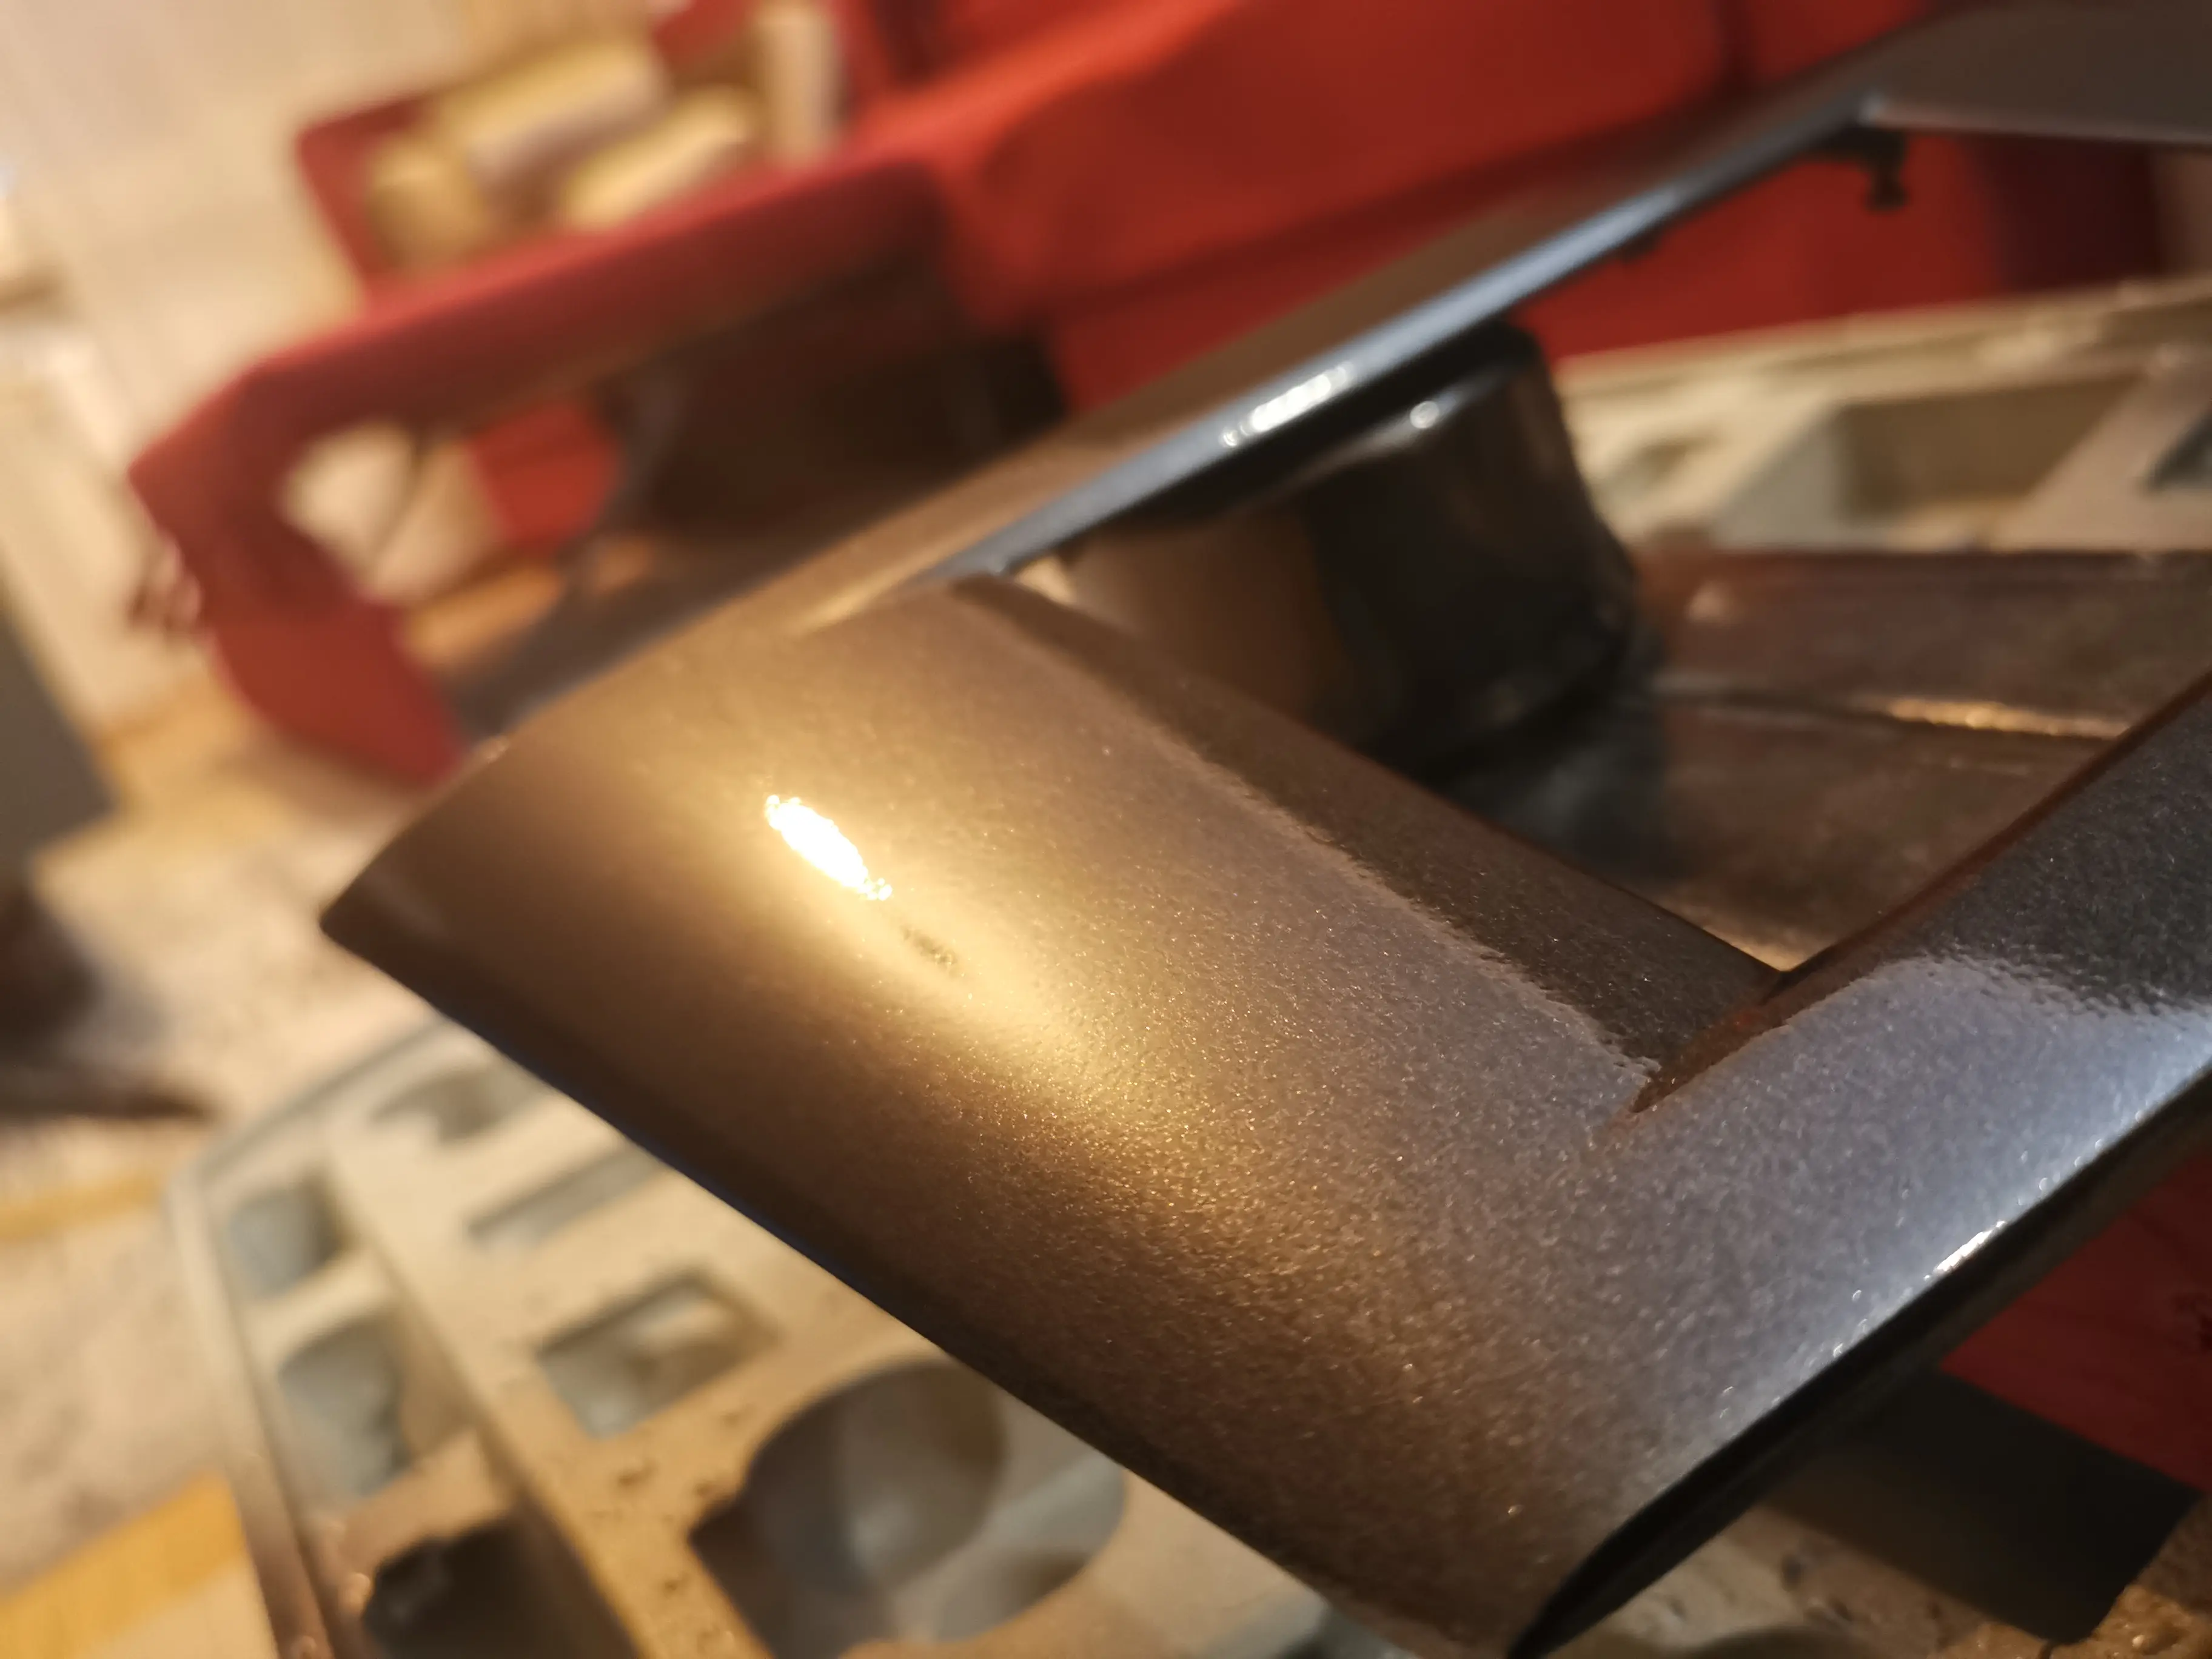
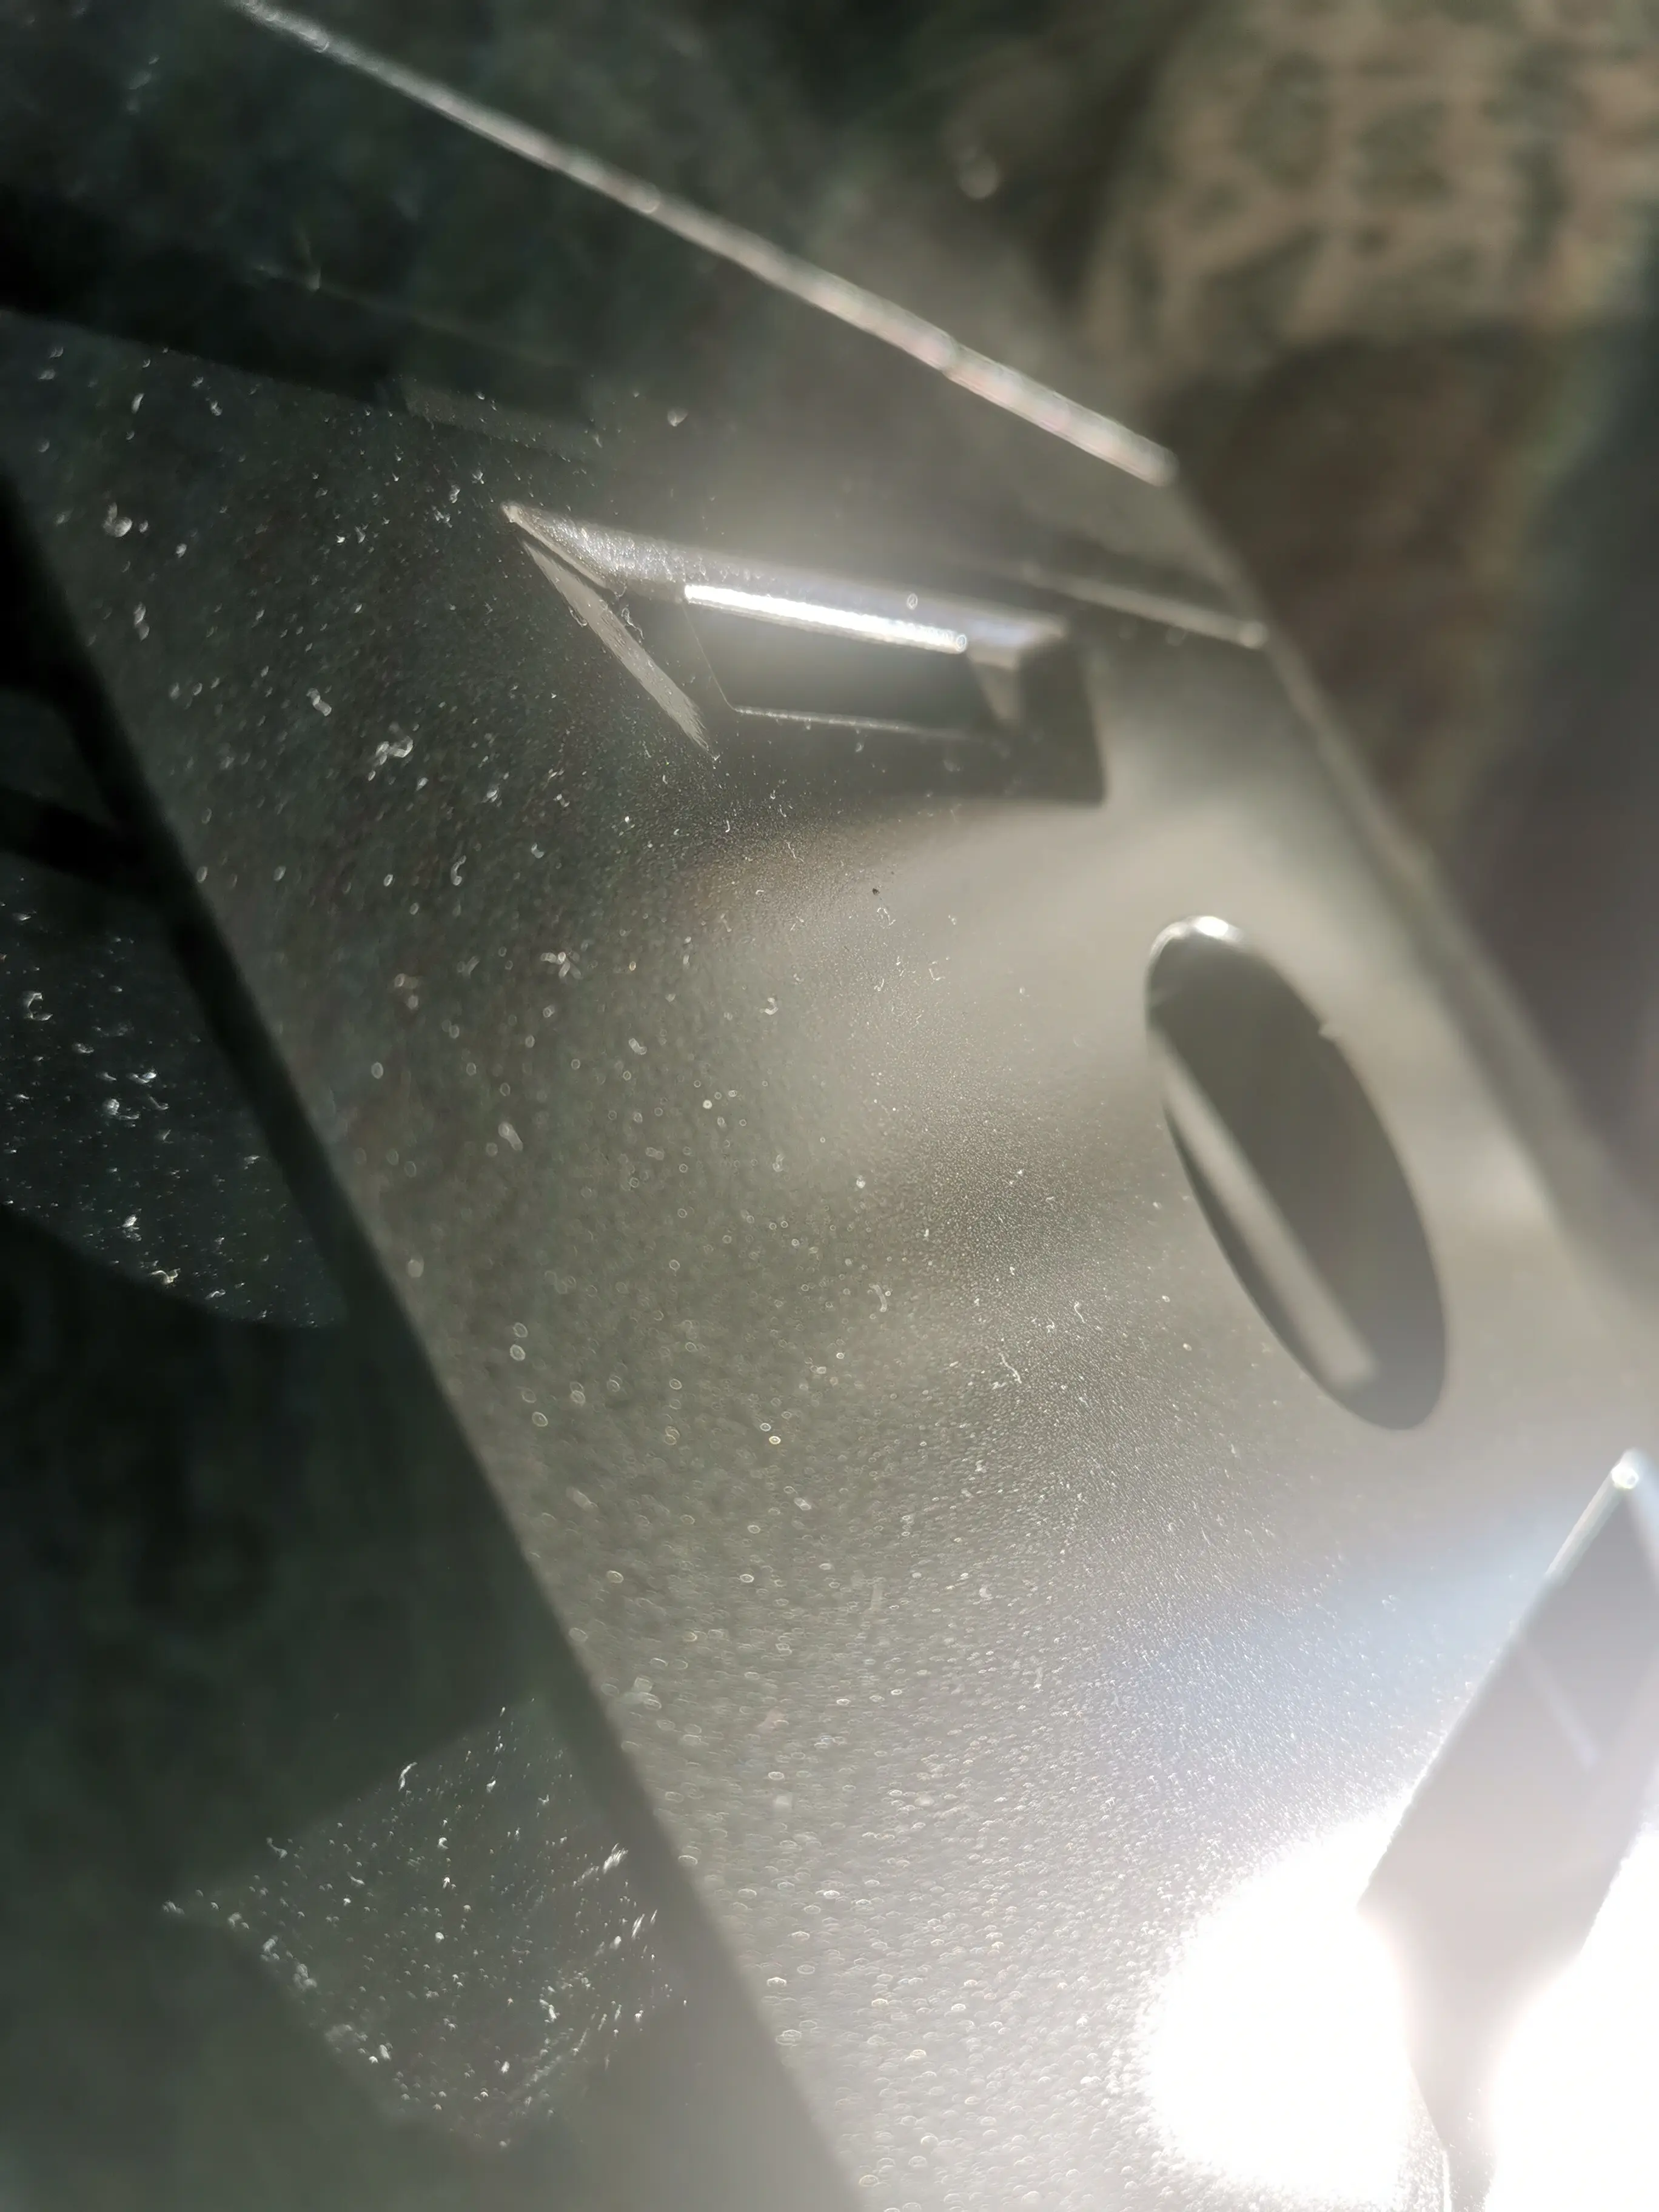
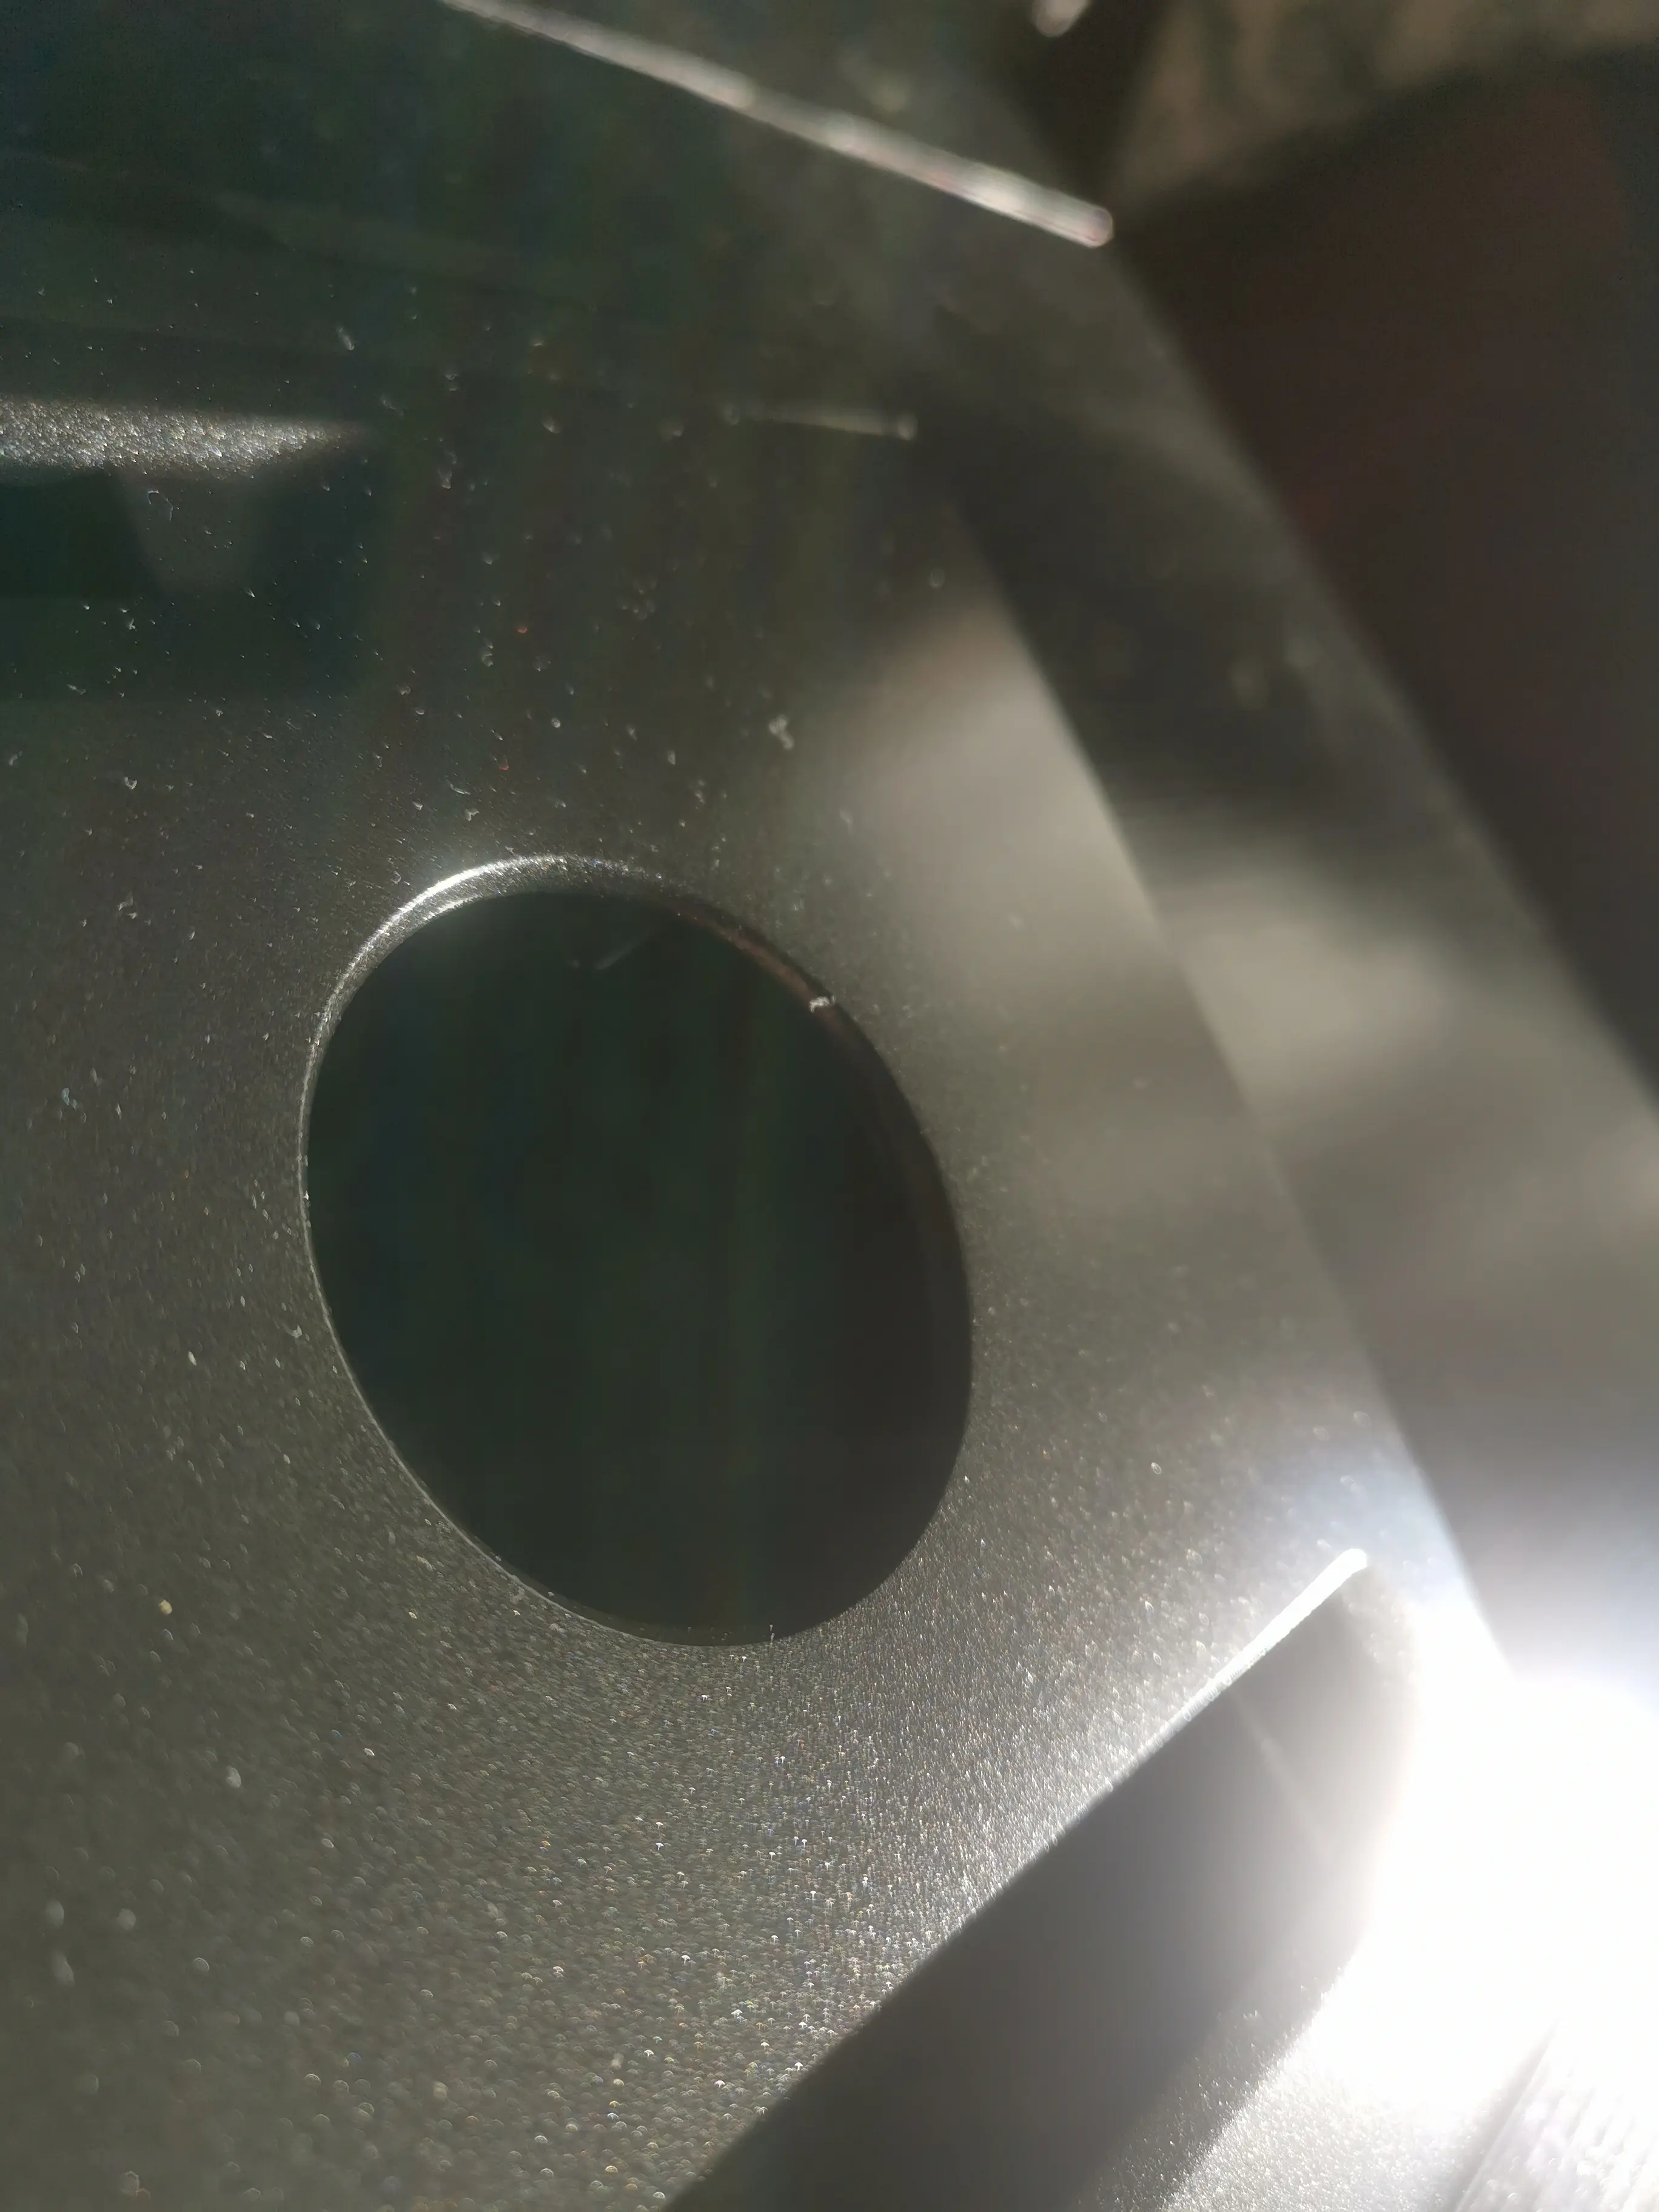
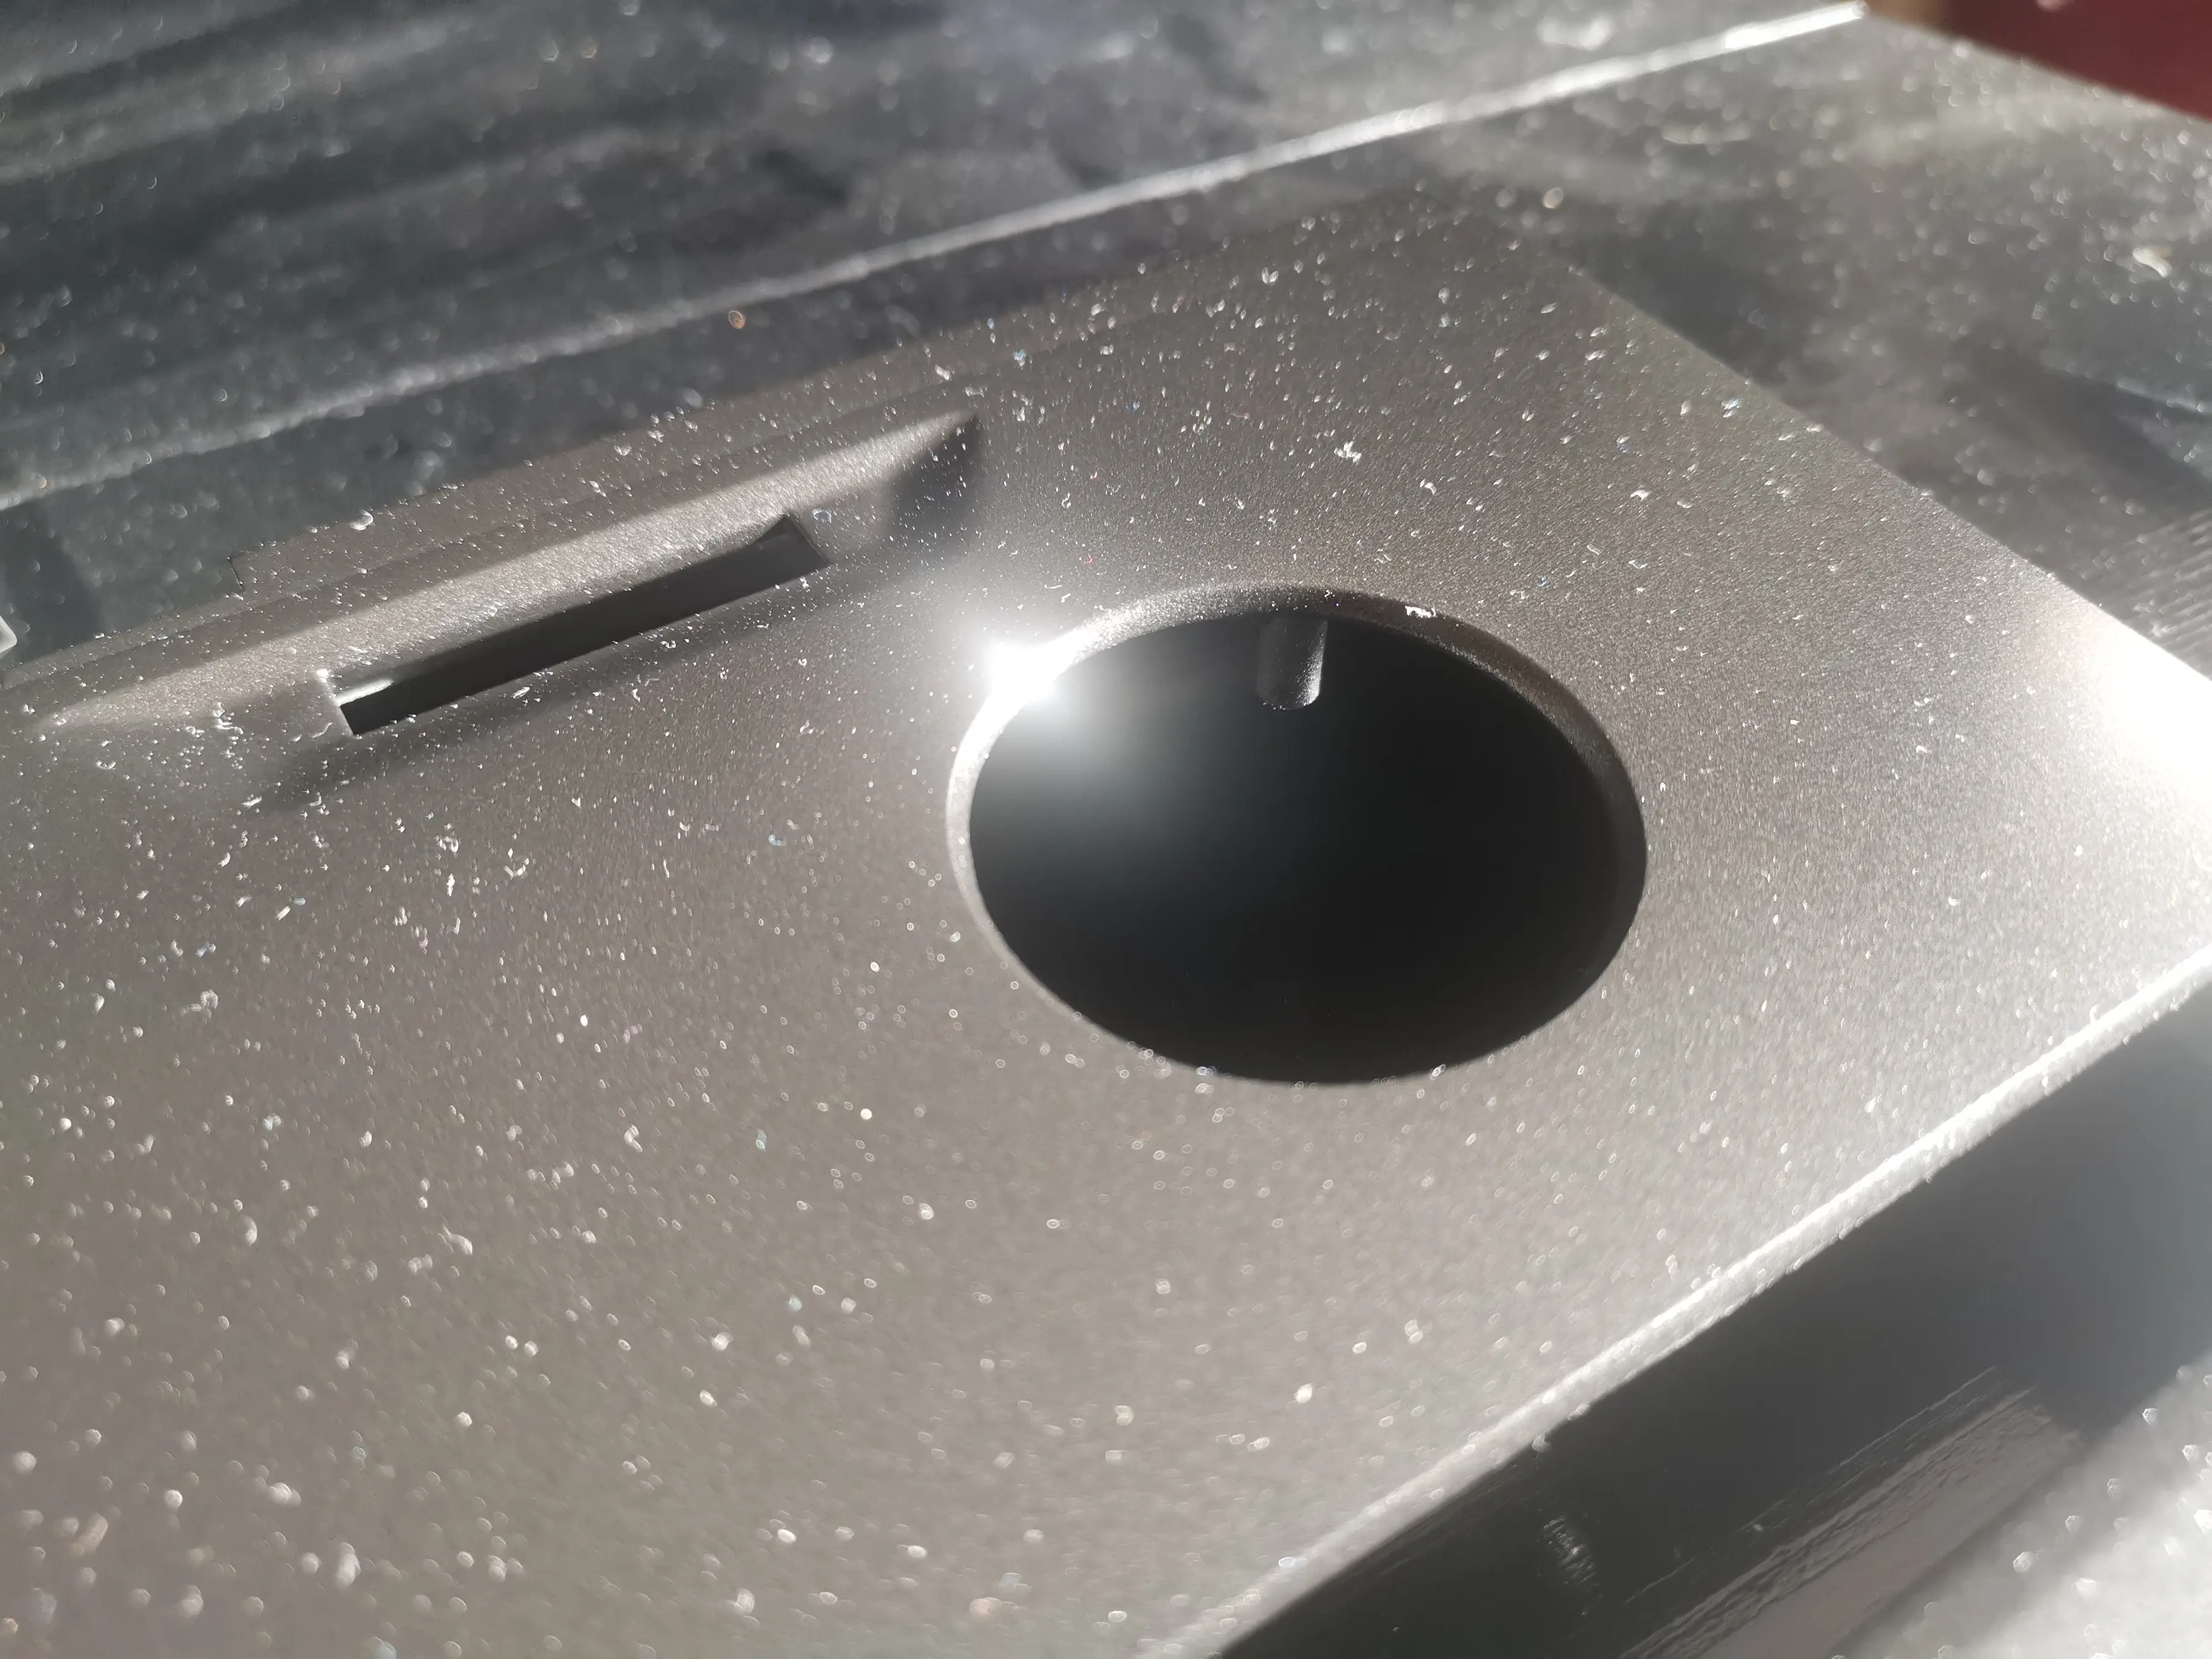
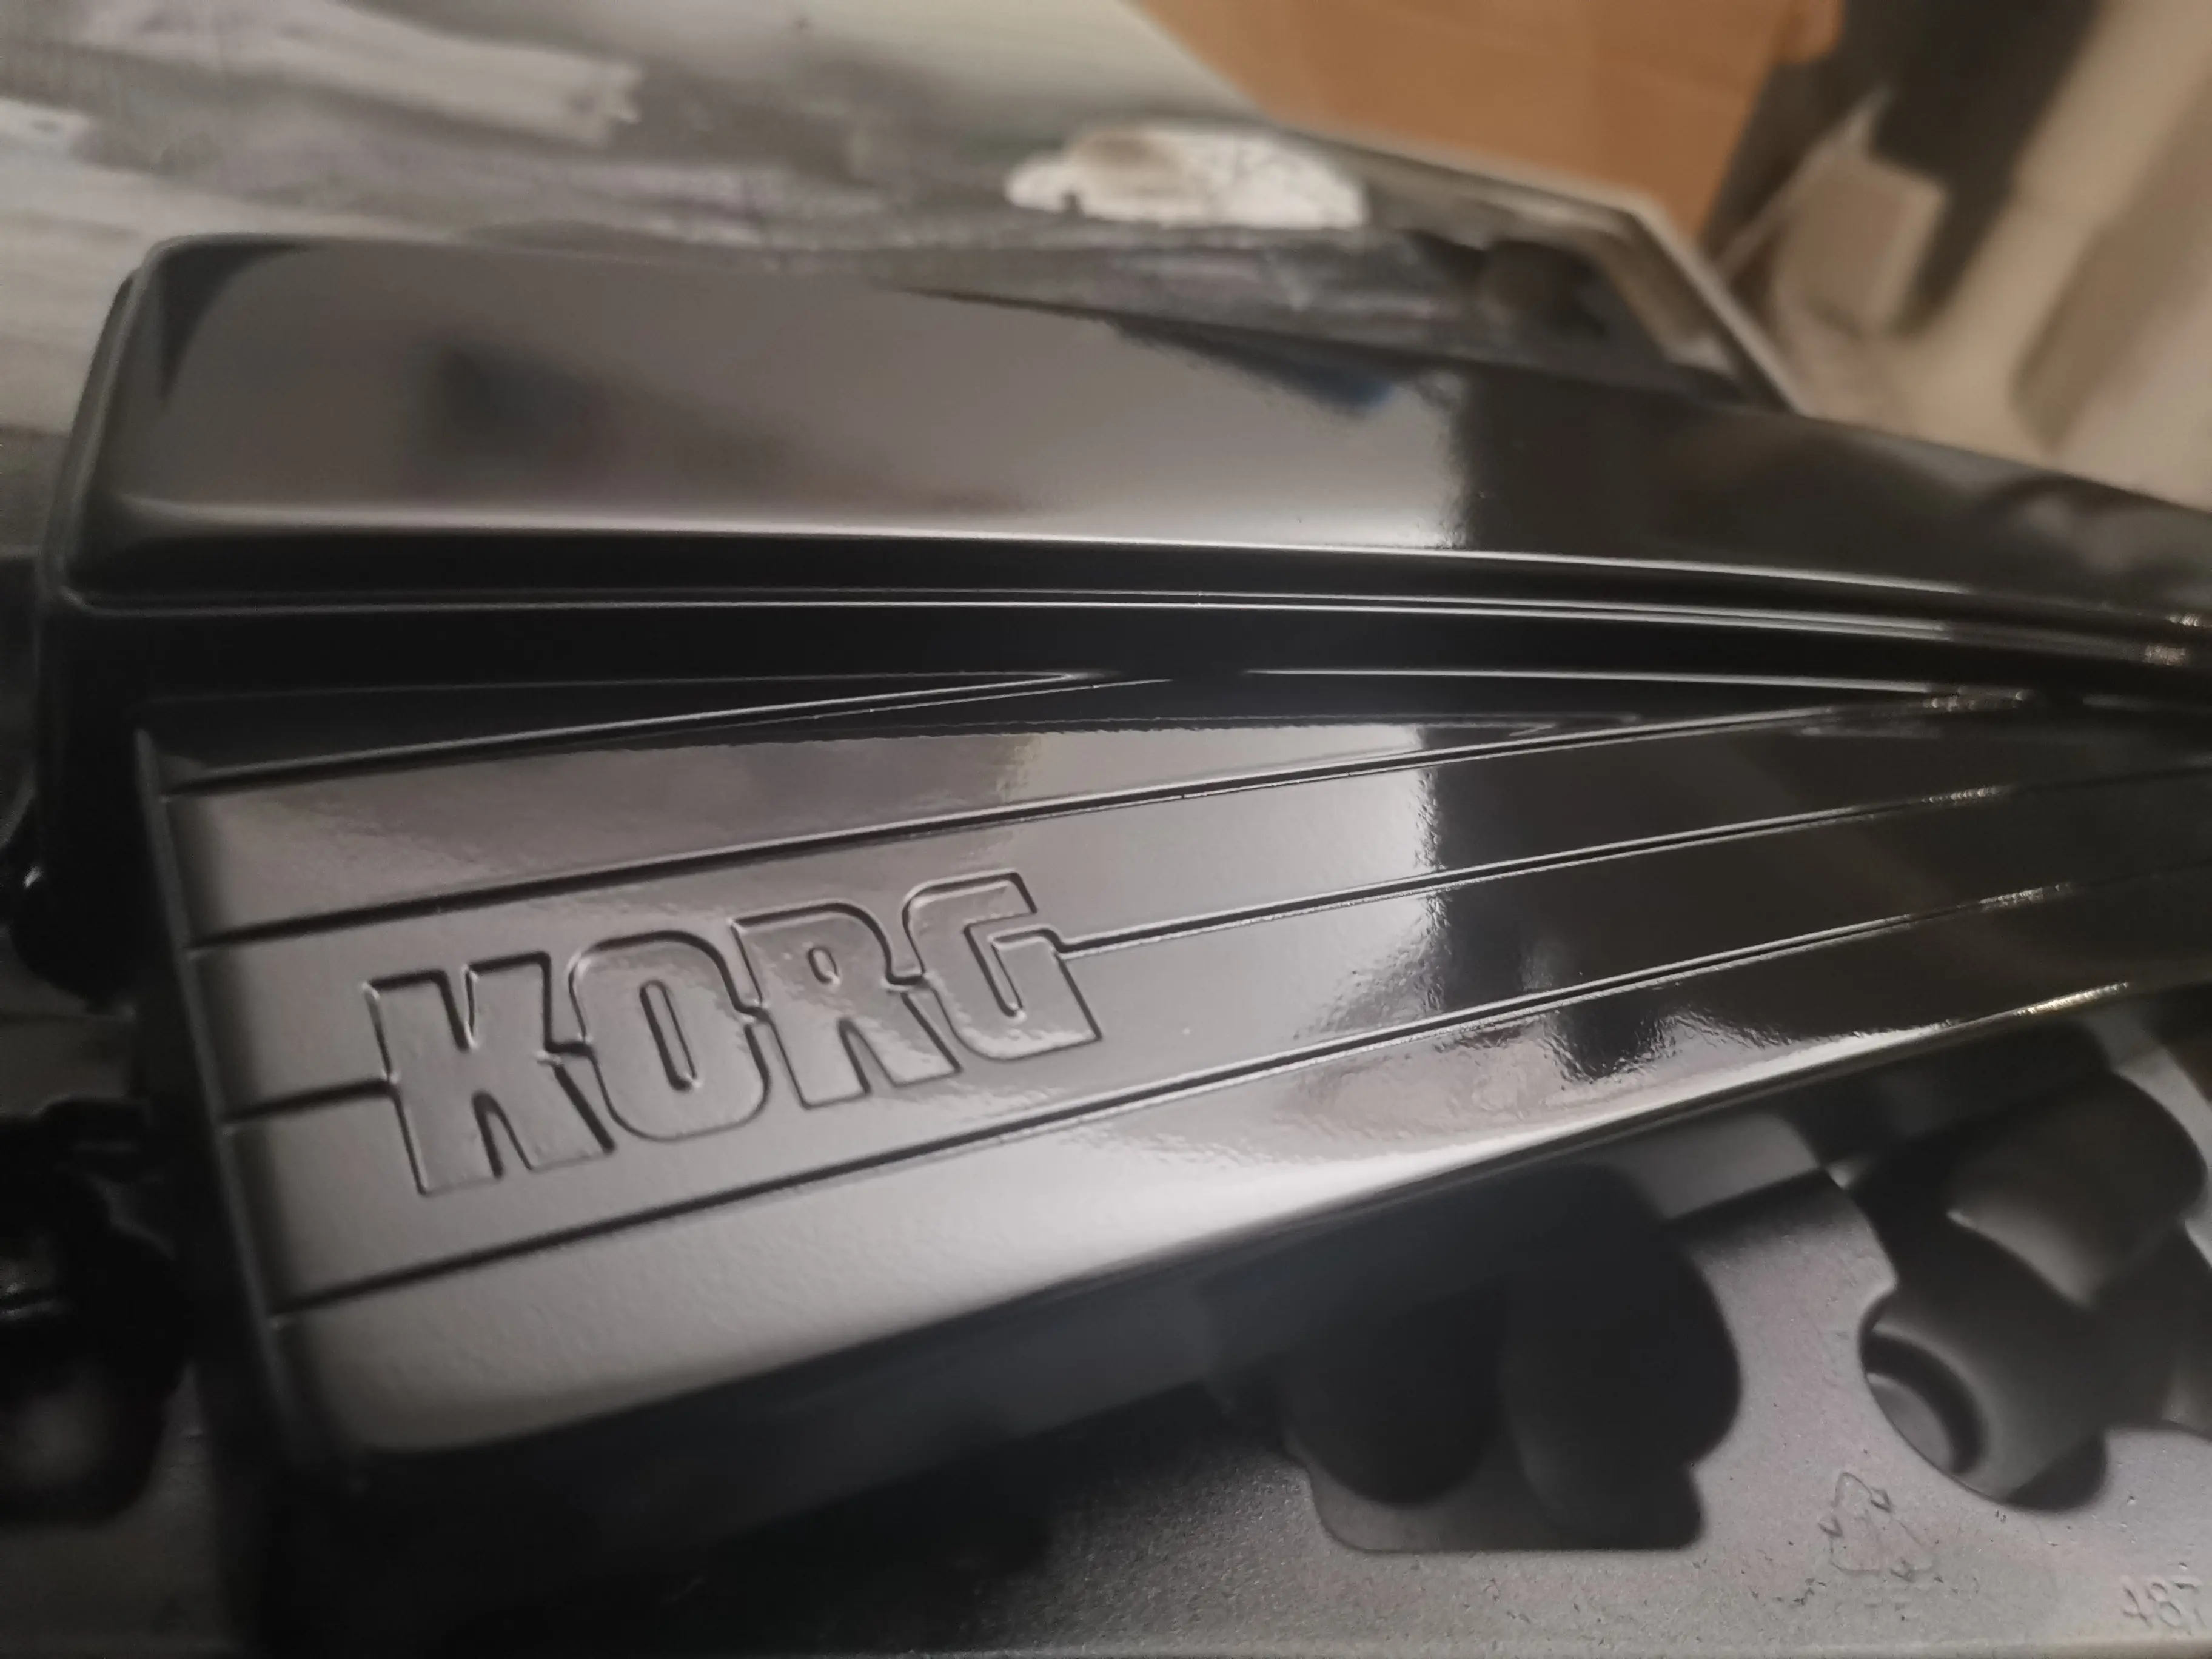
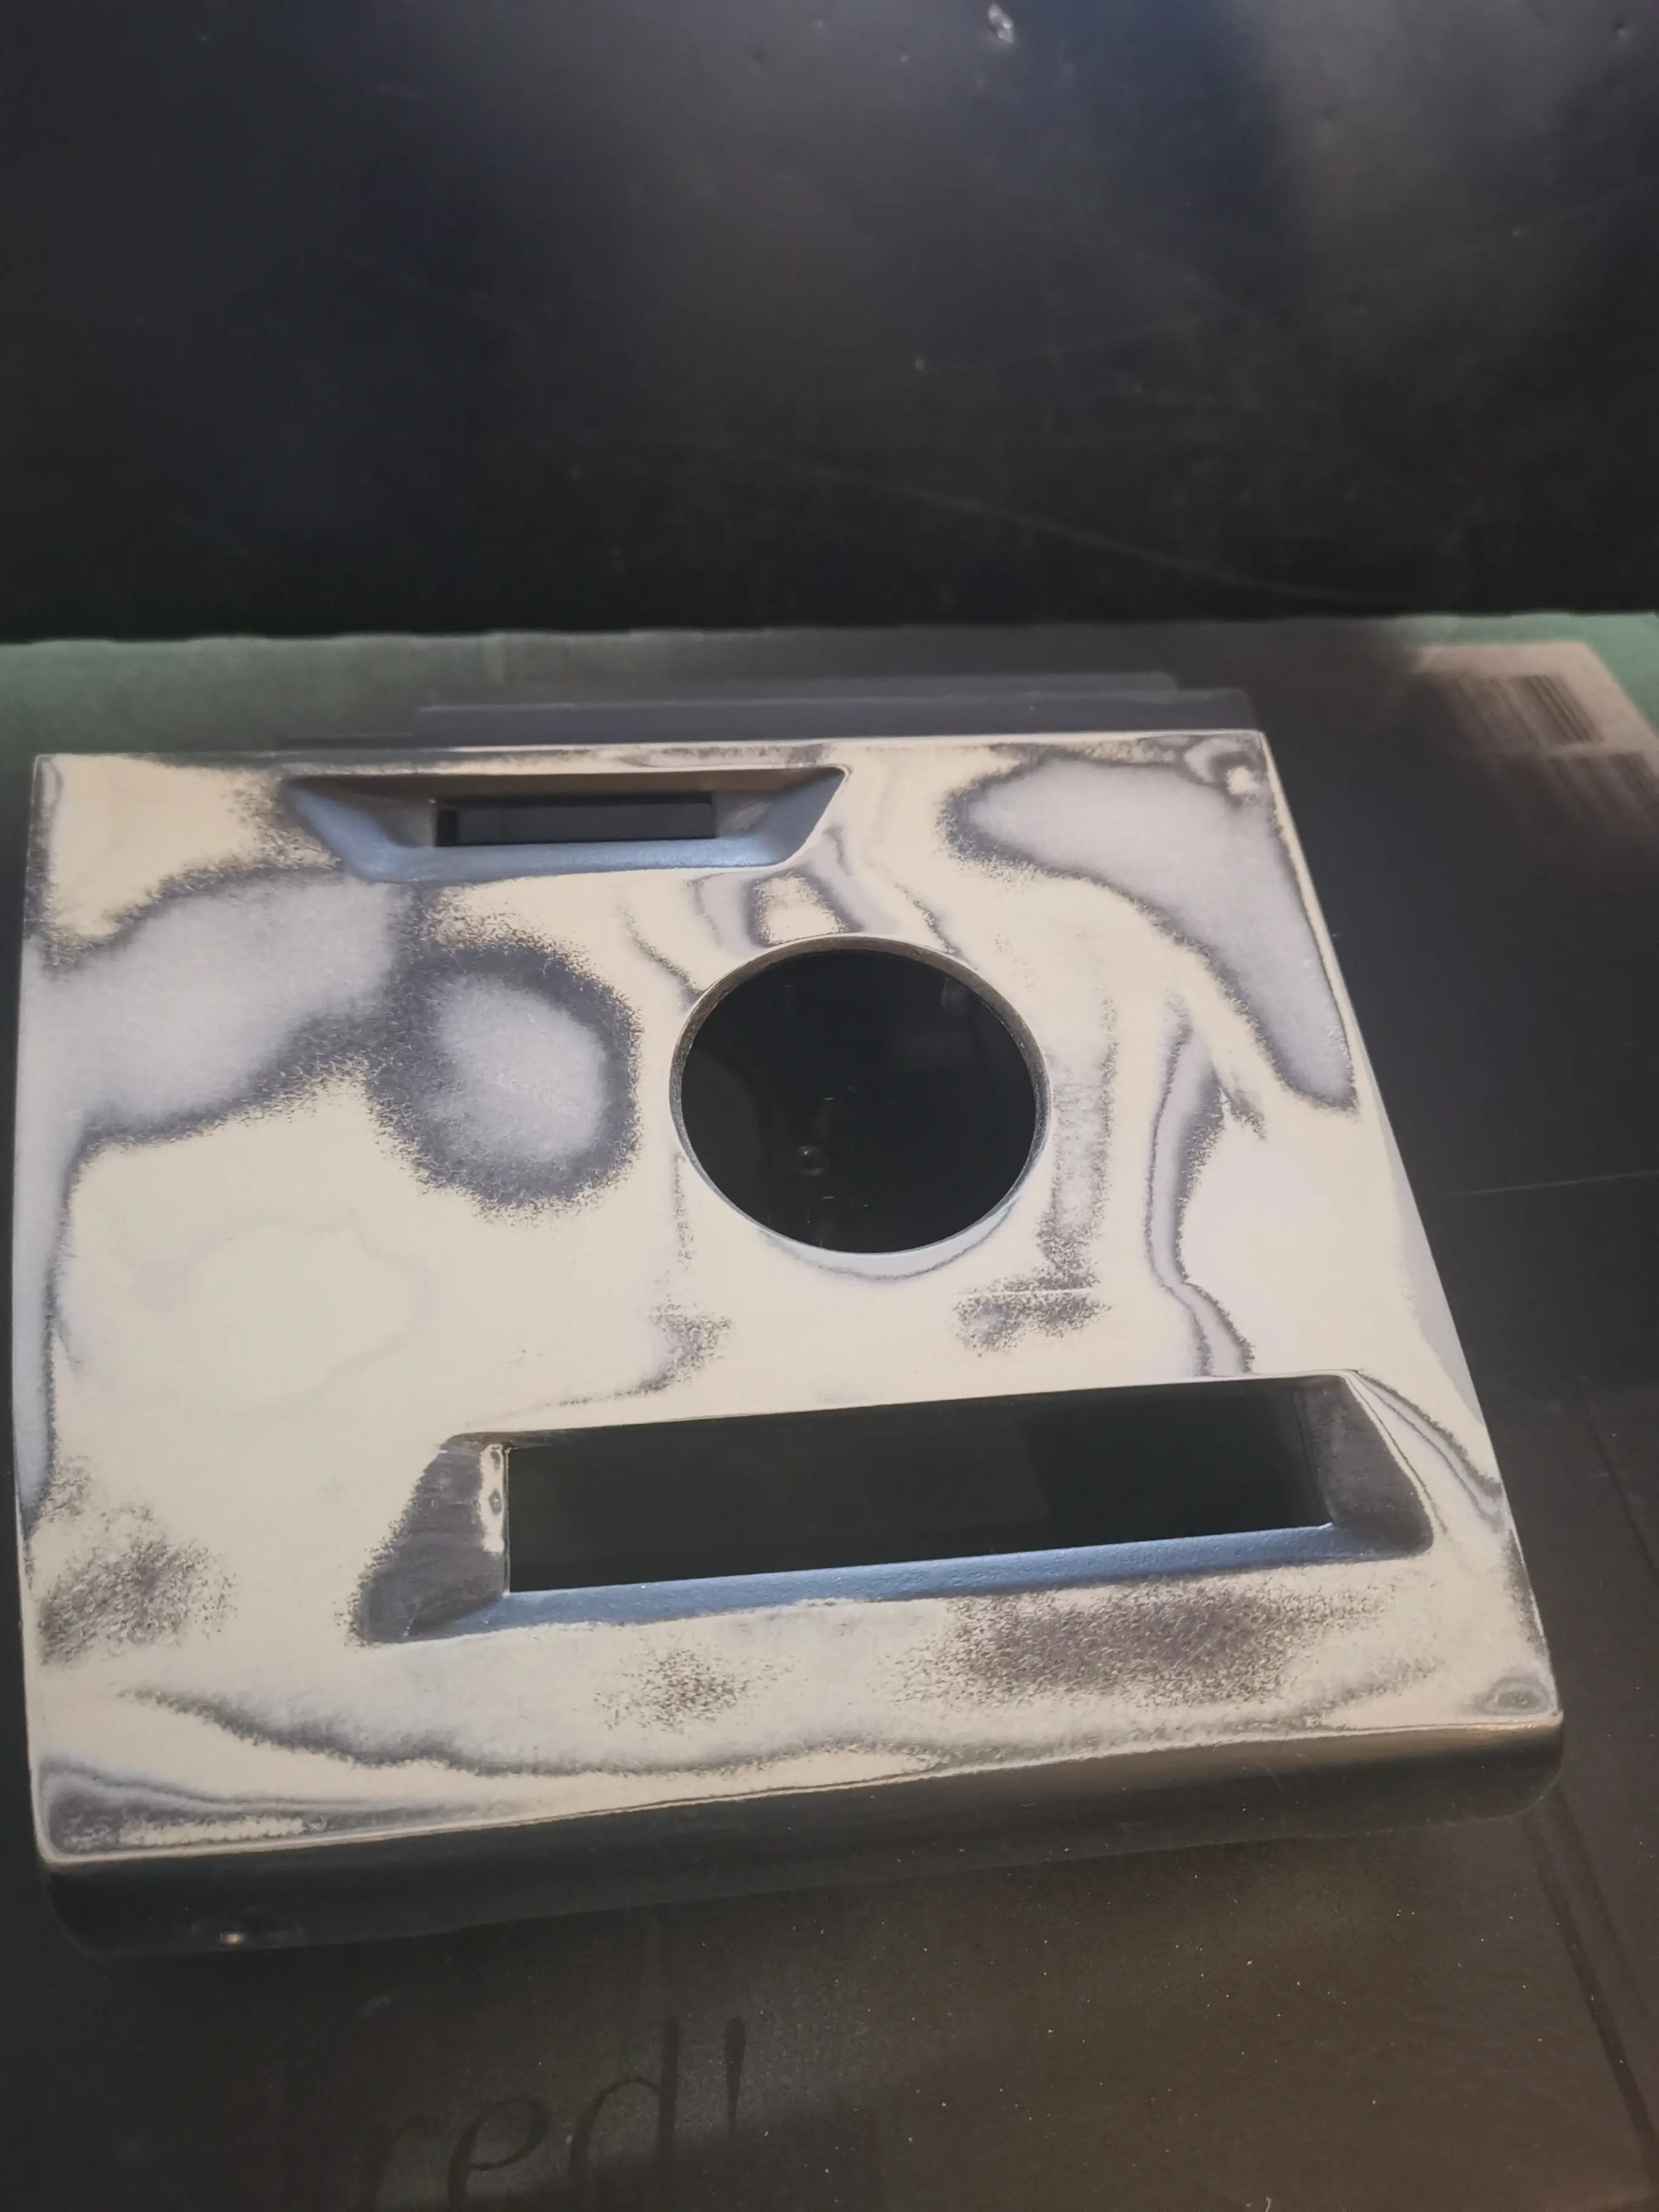
Primer and metallic paint

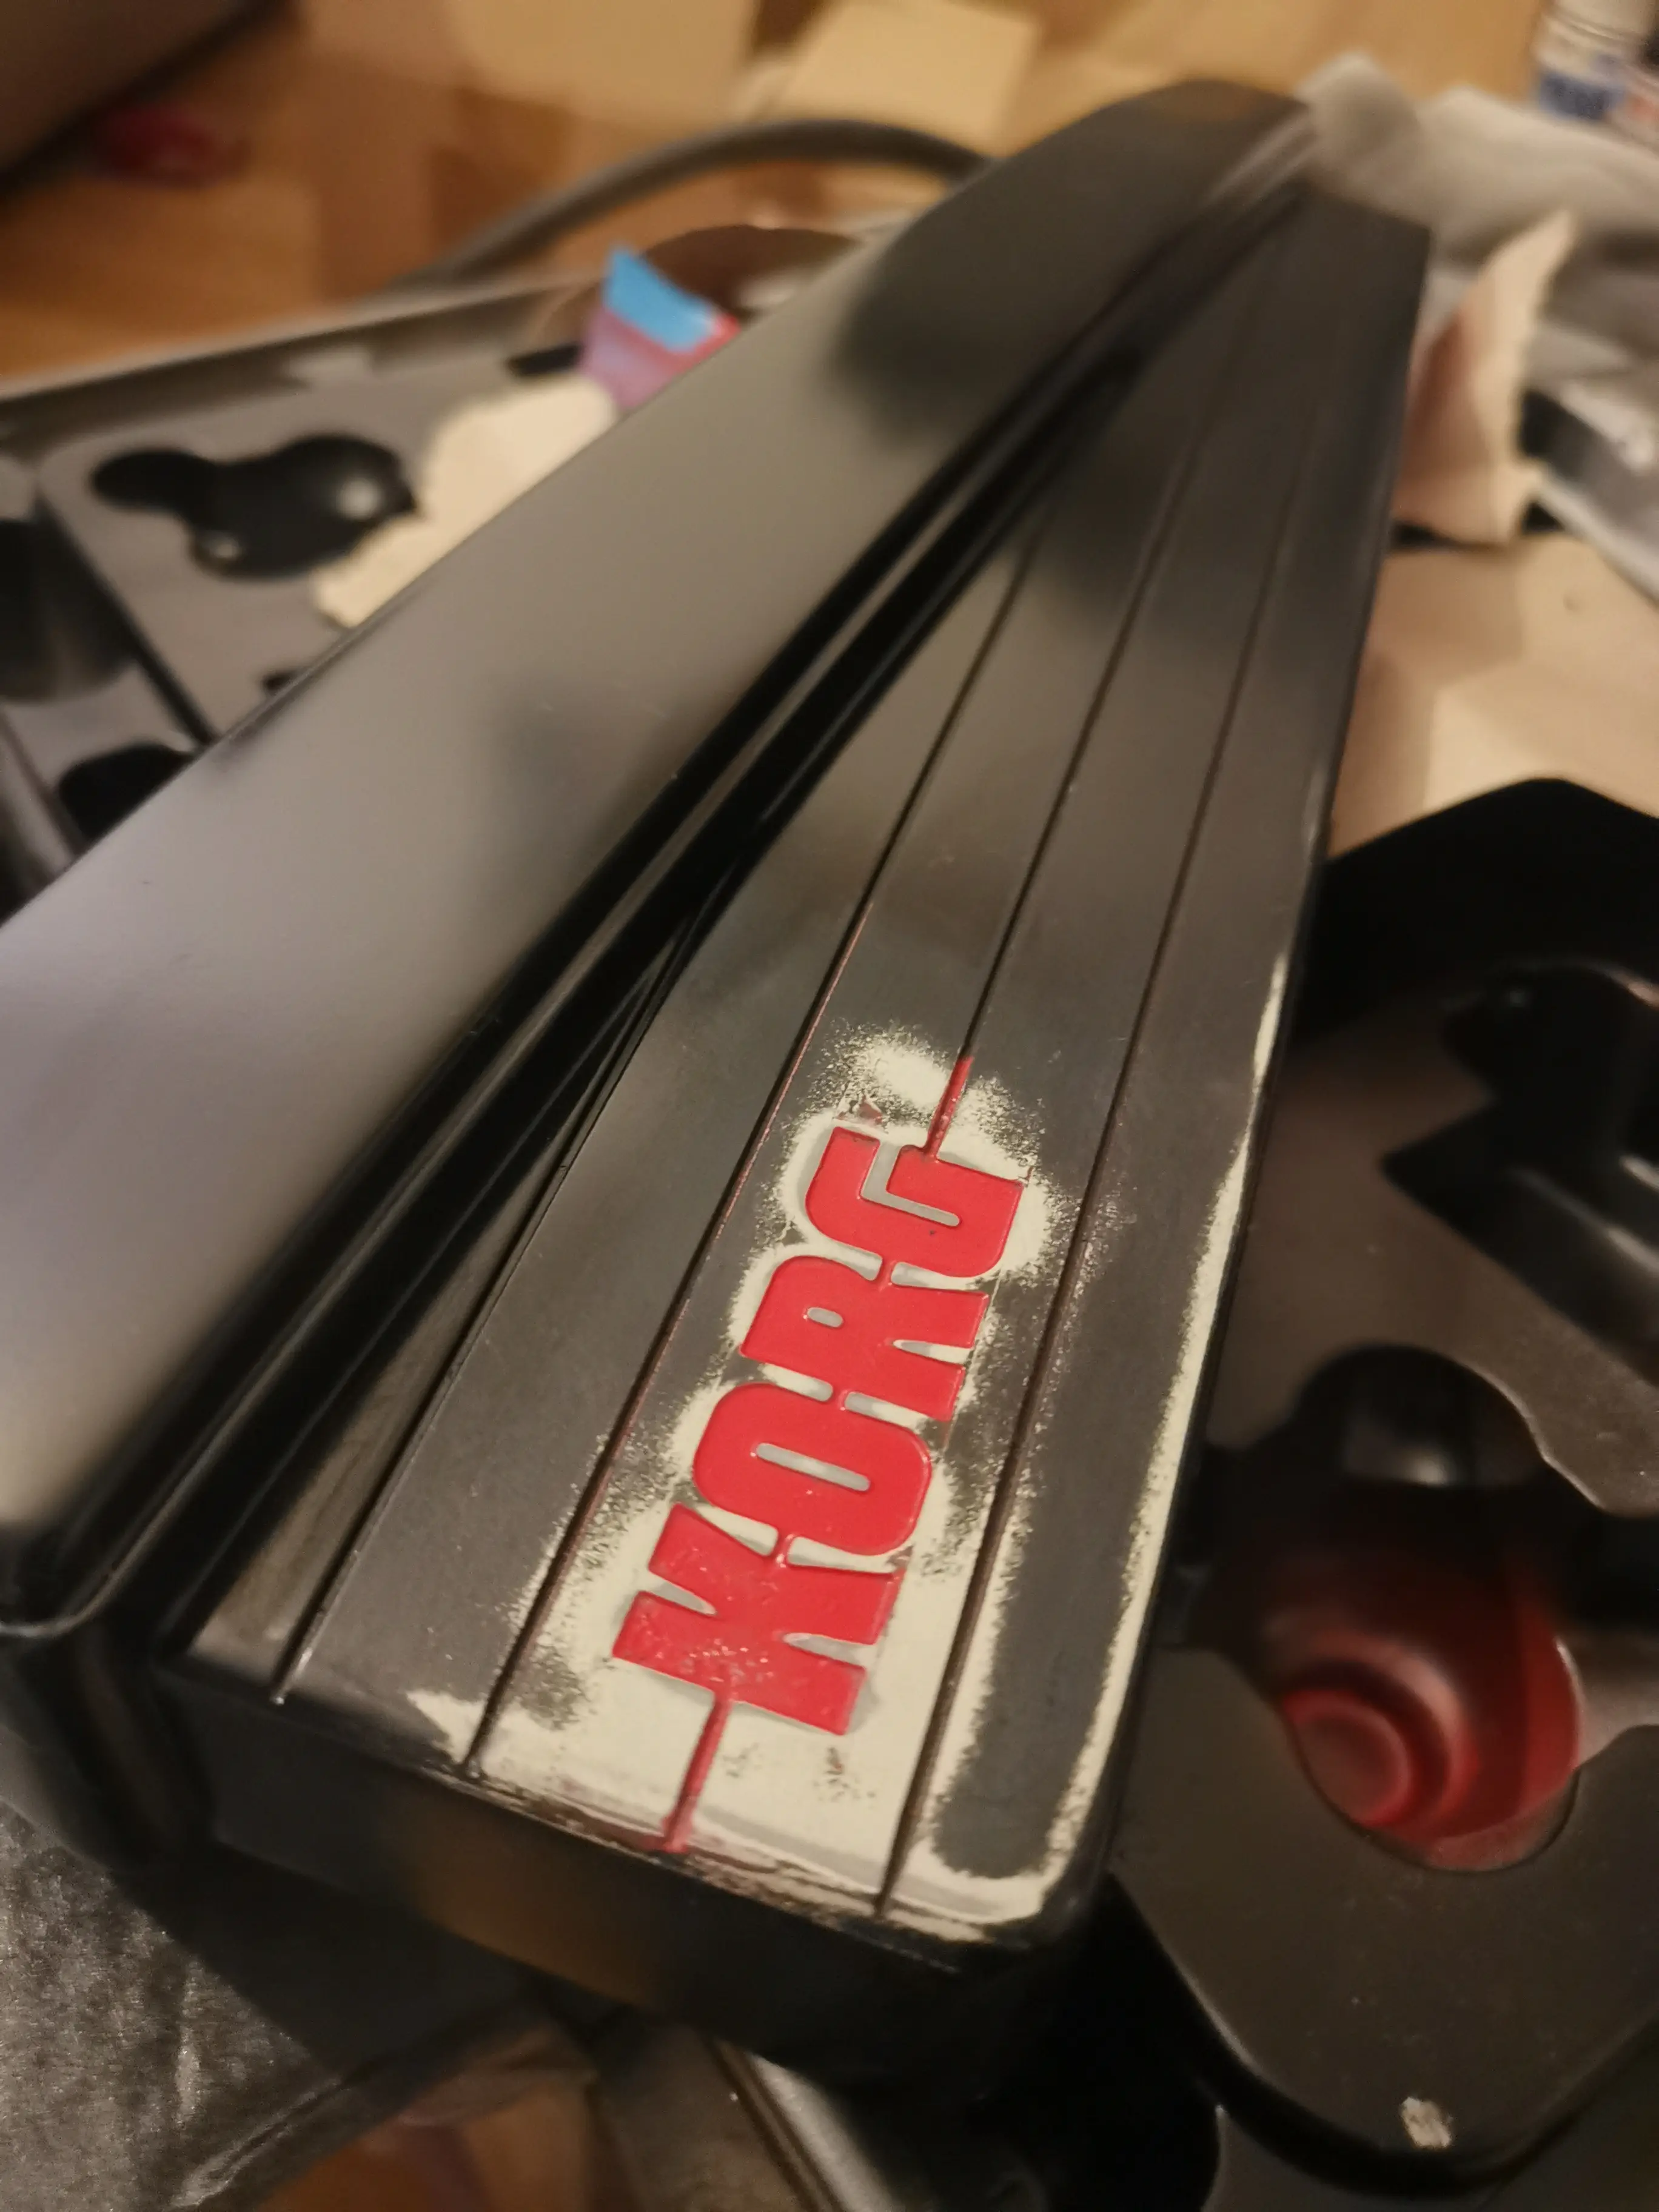
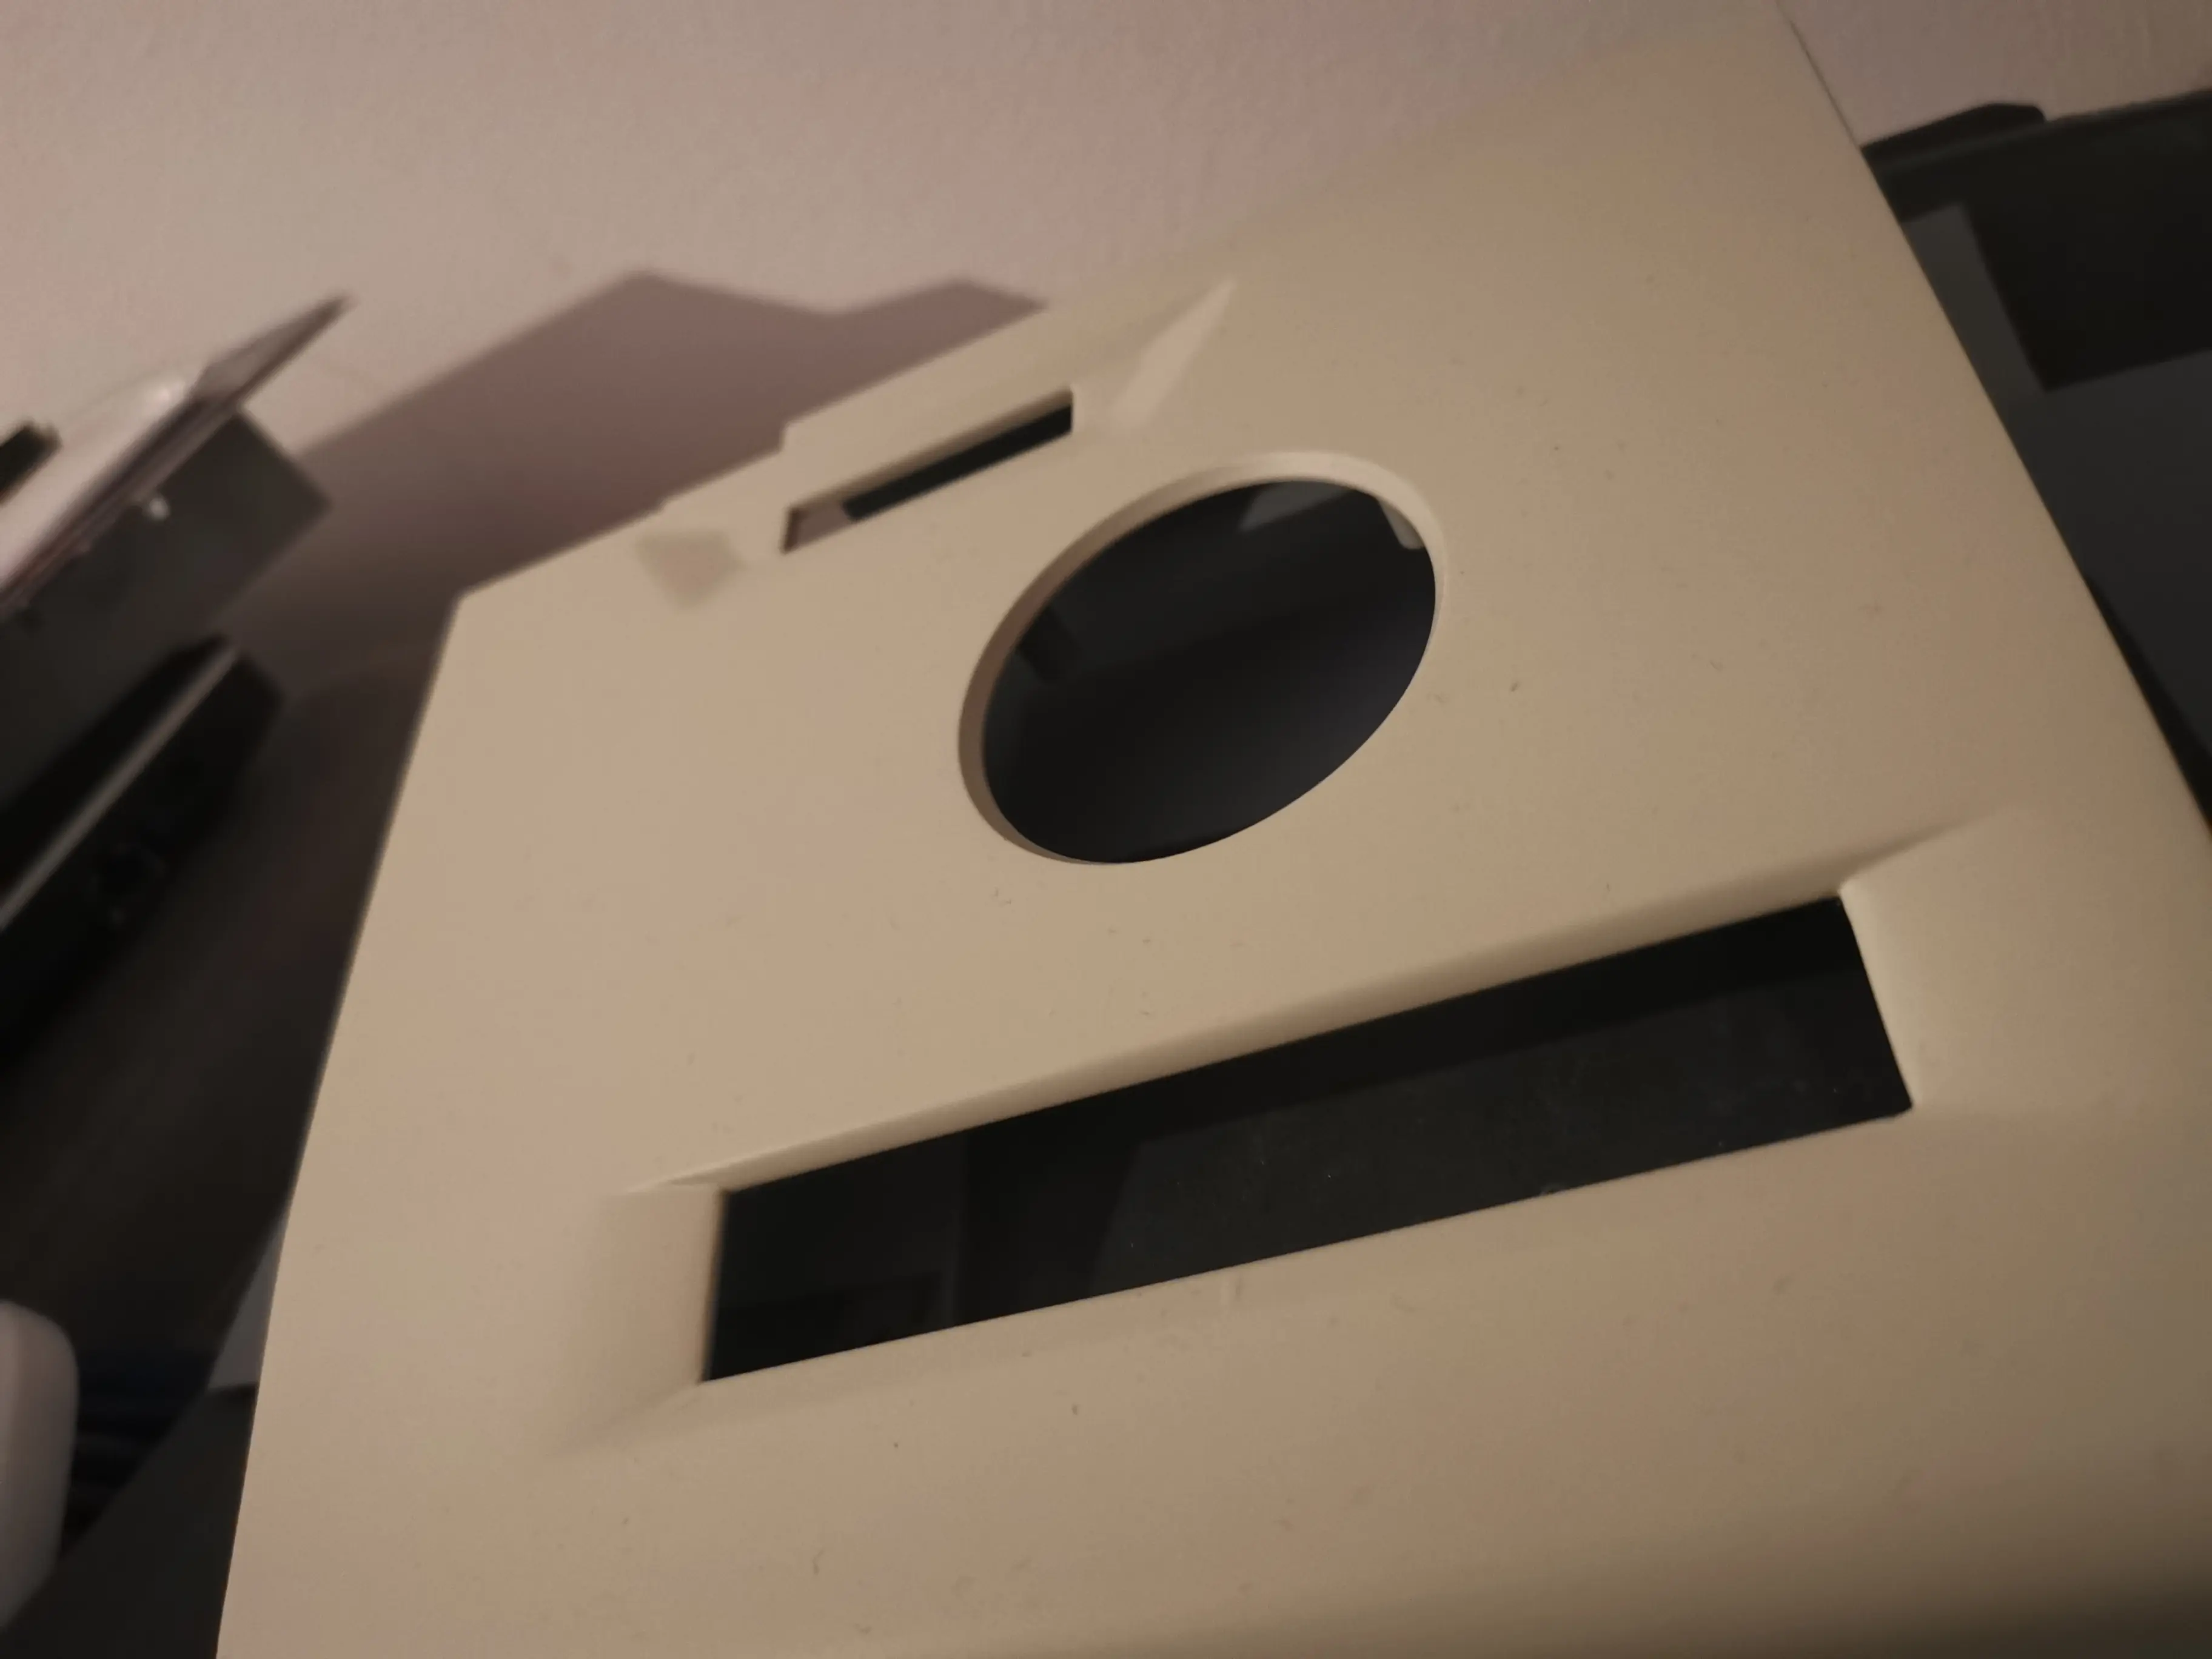
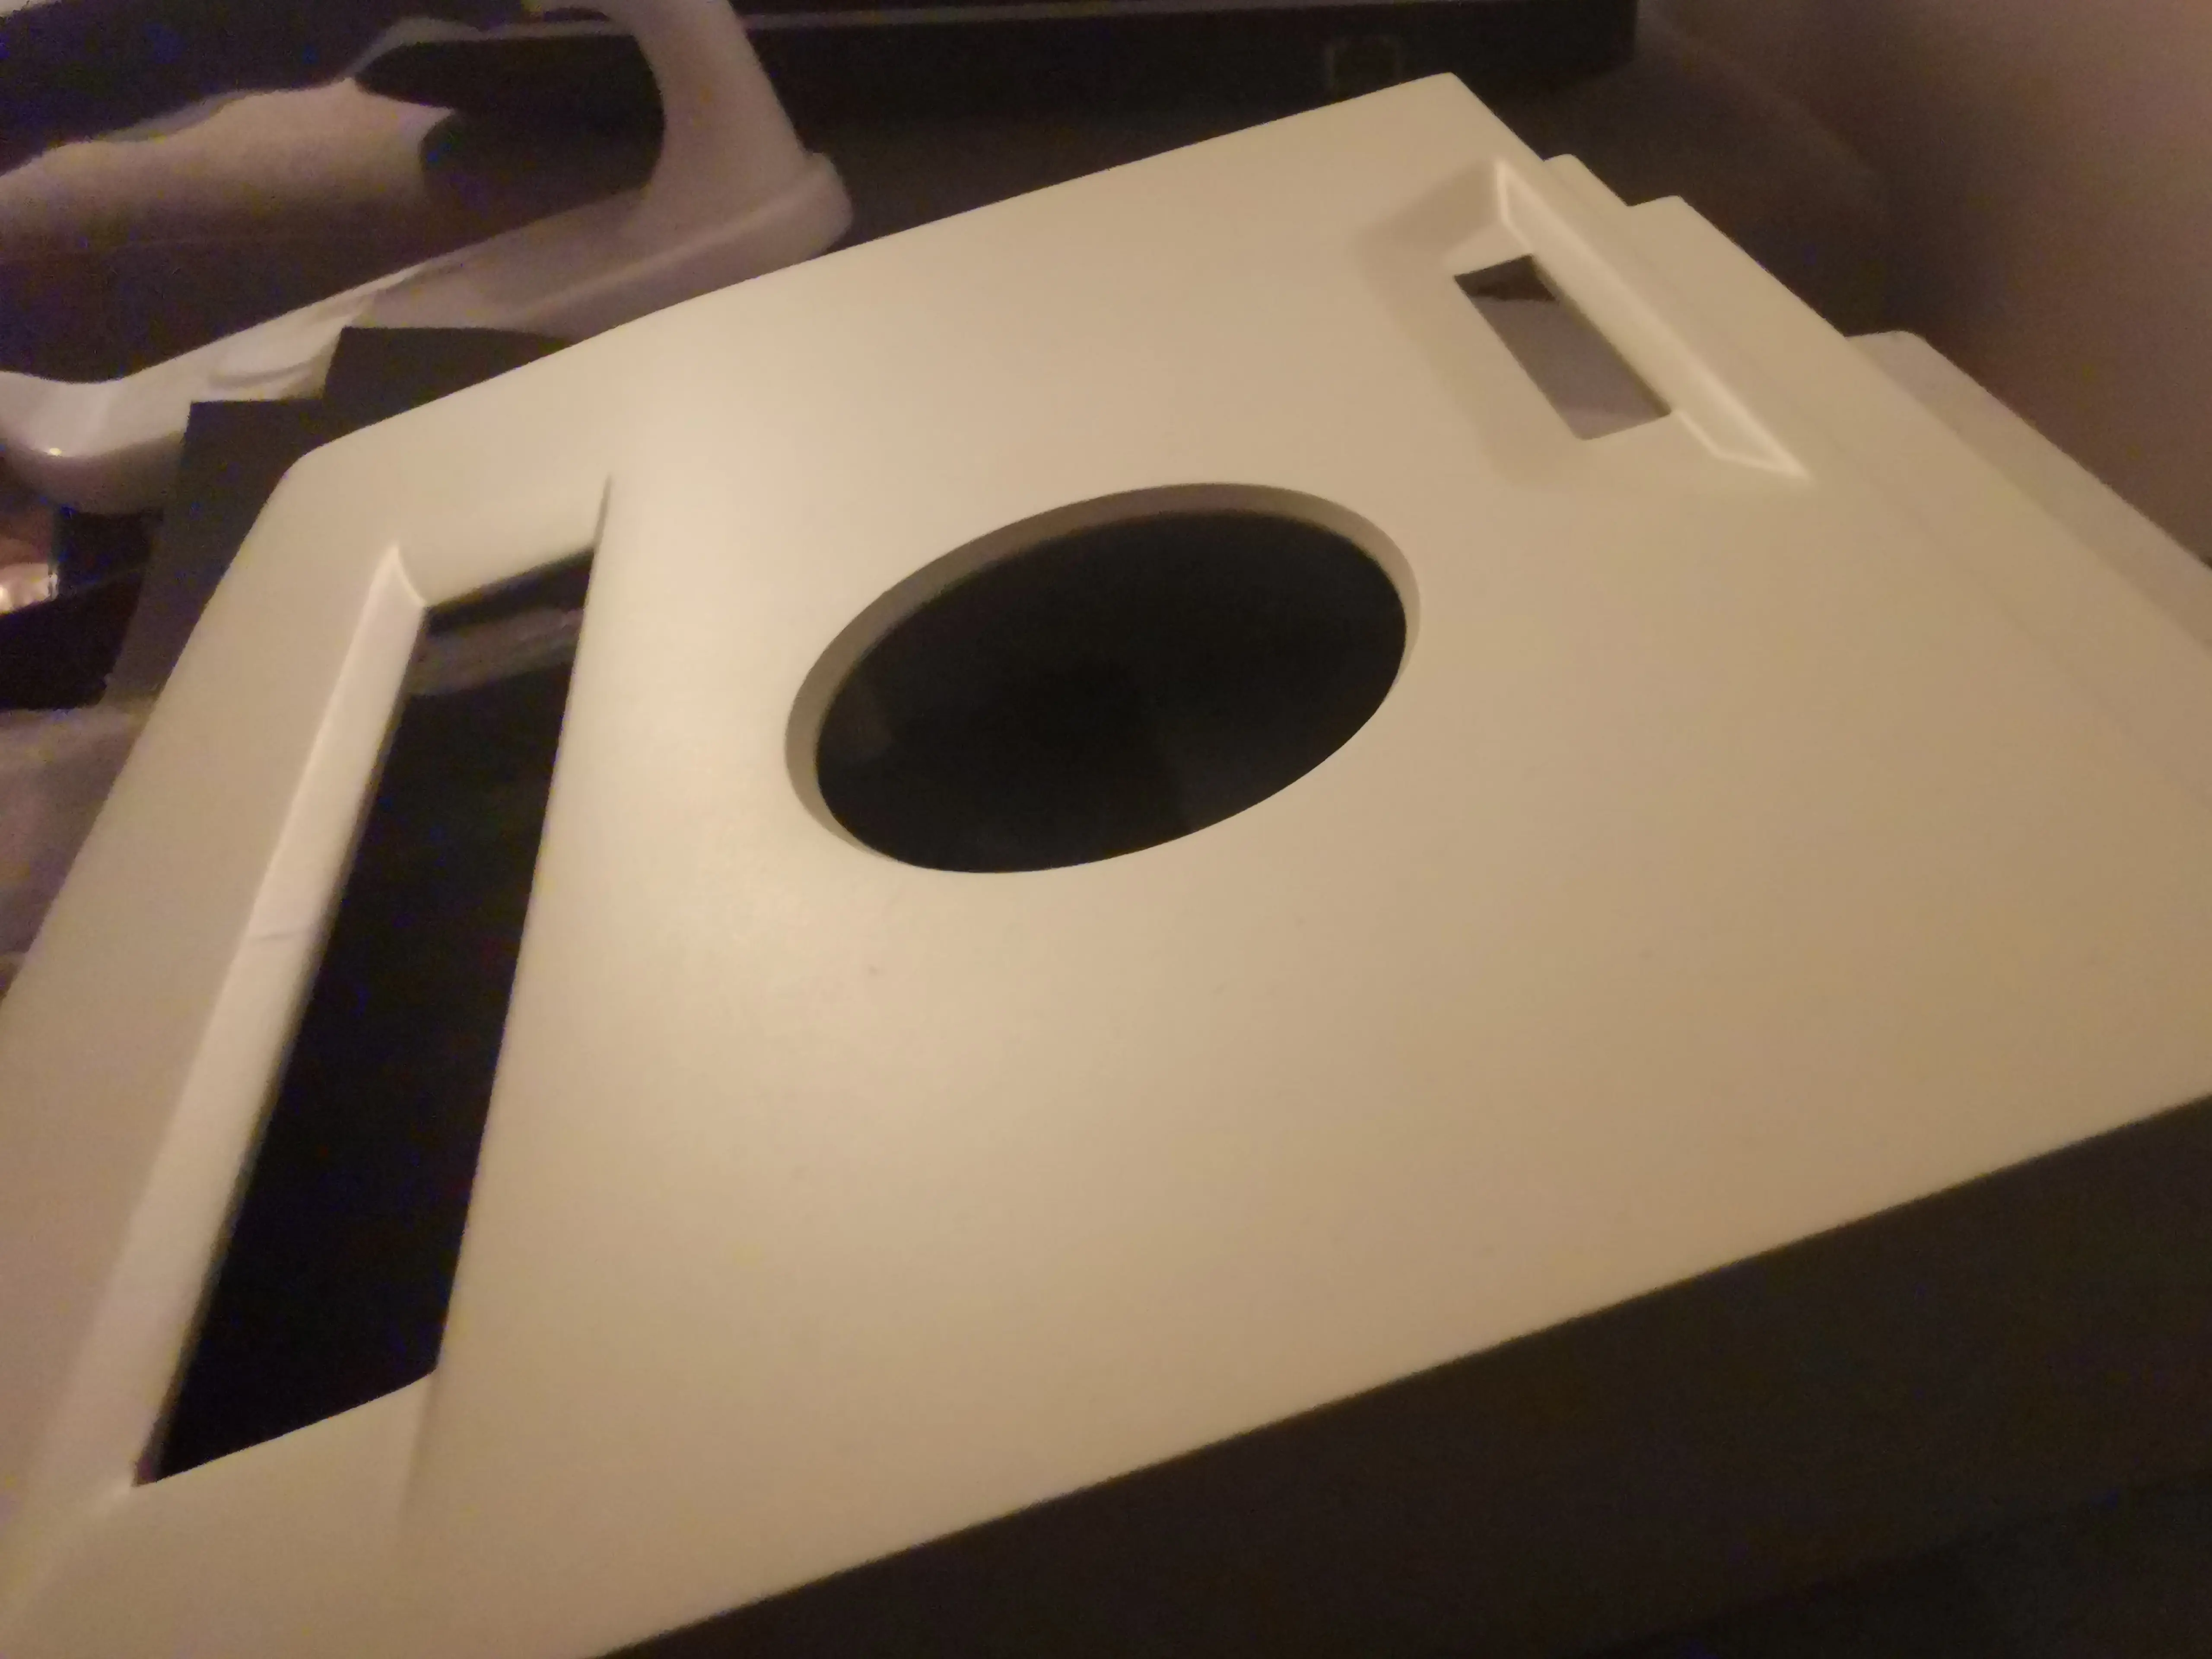
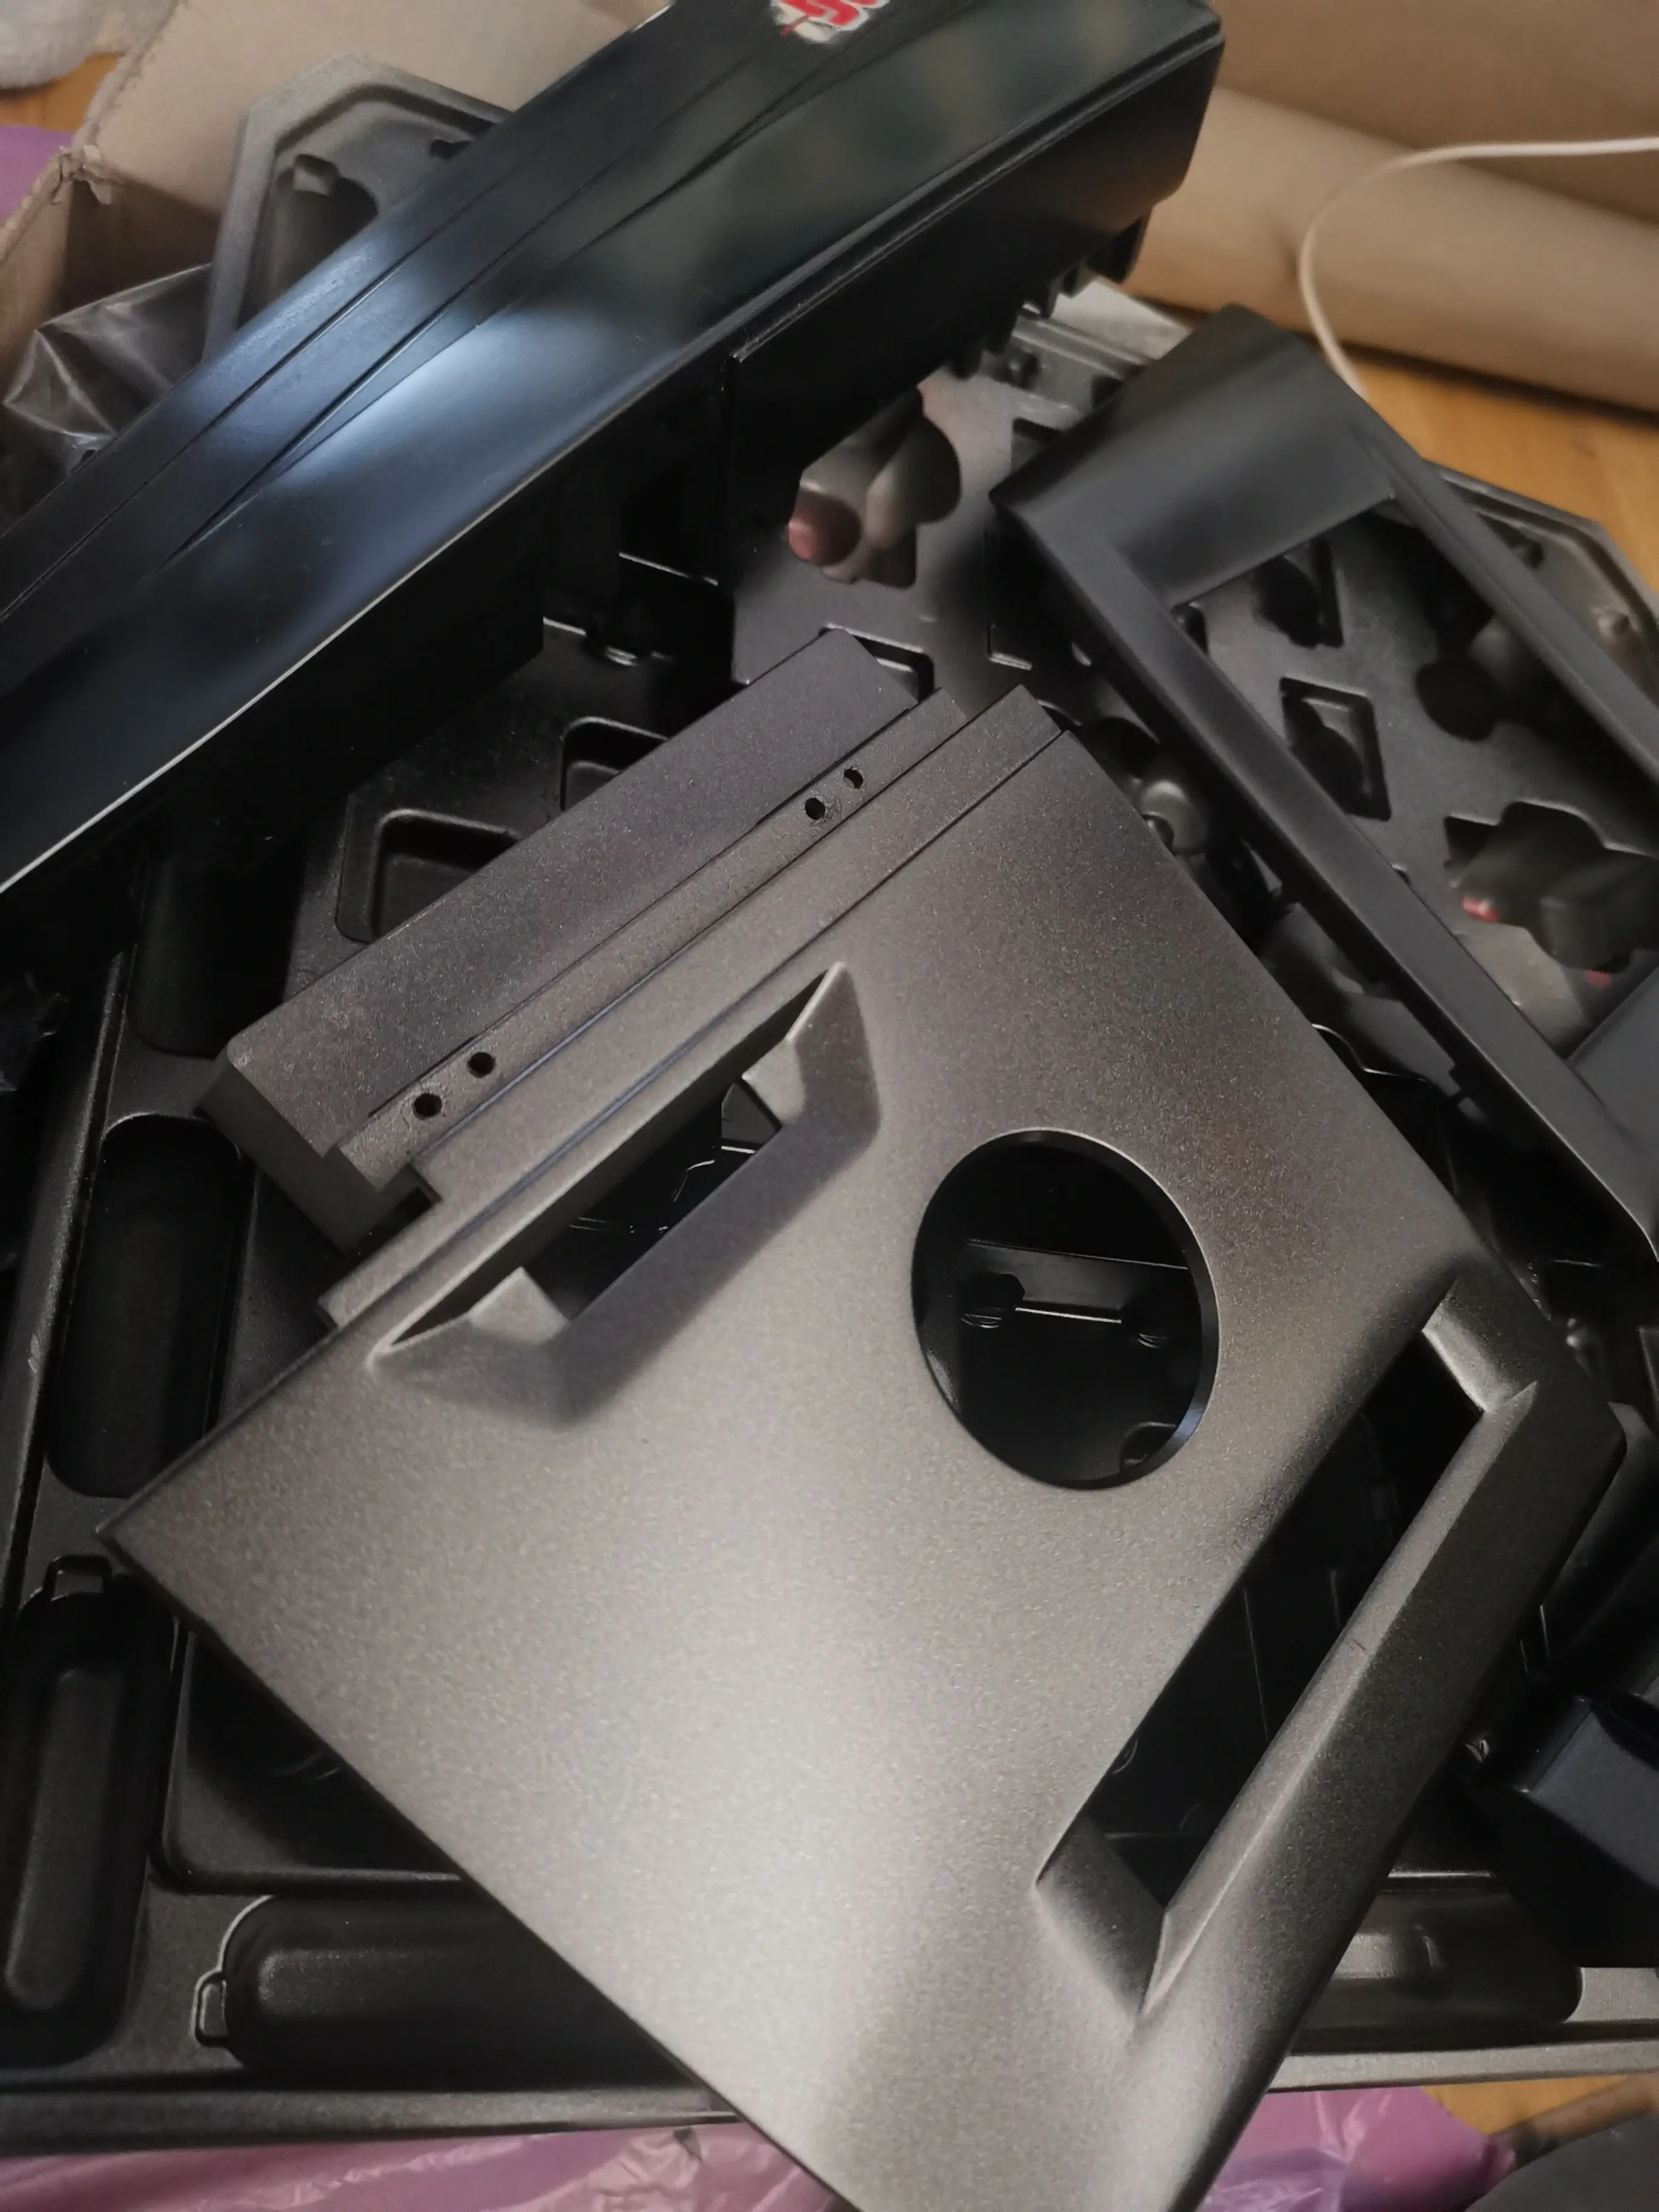
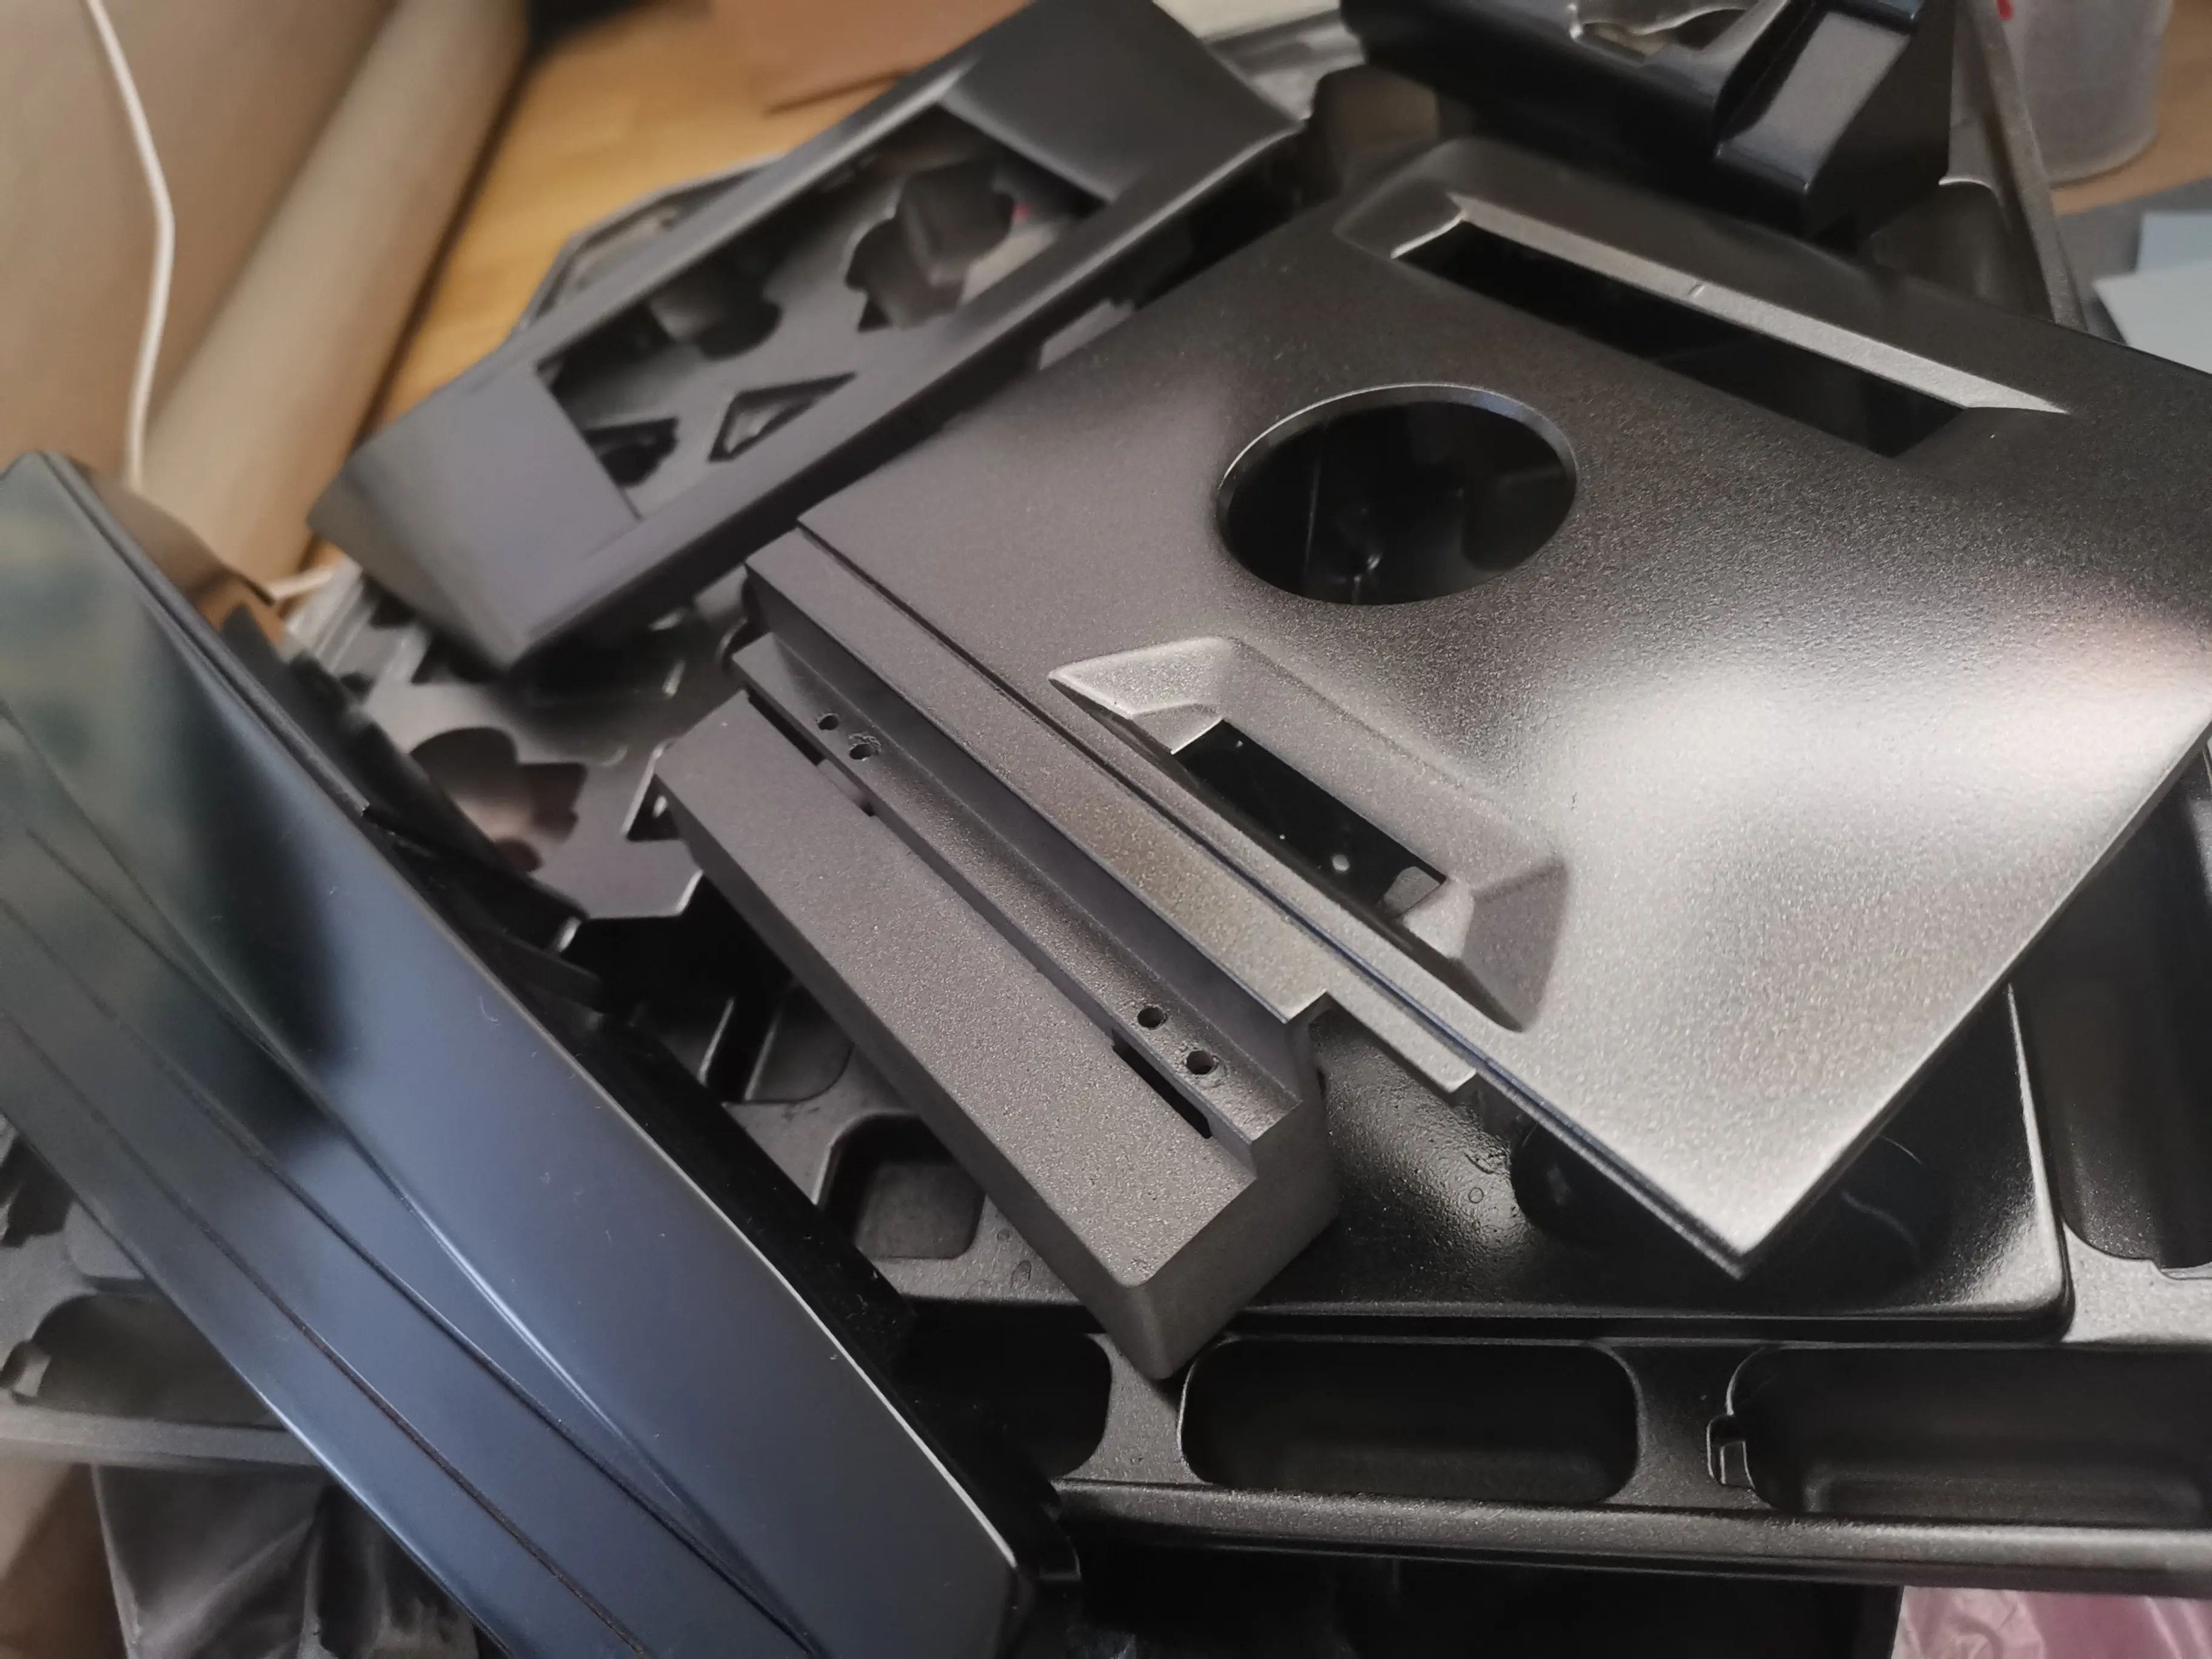
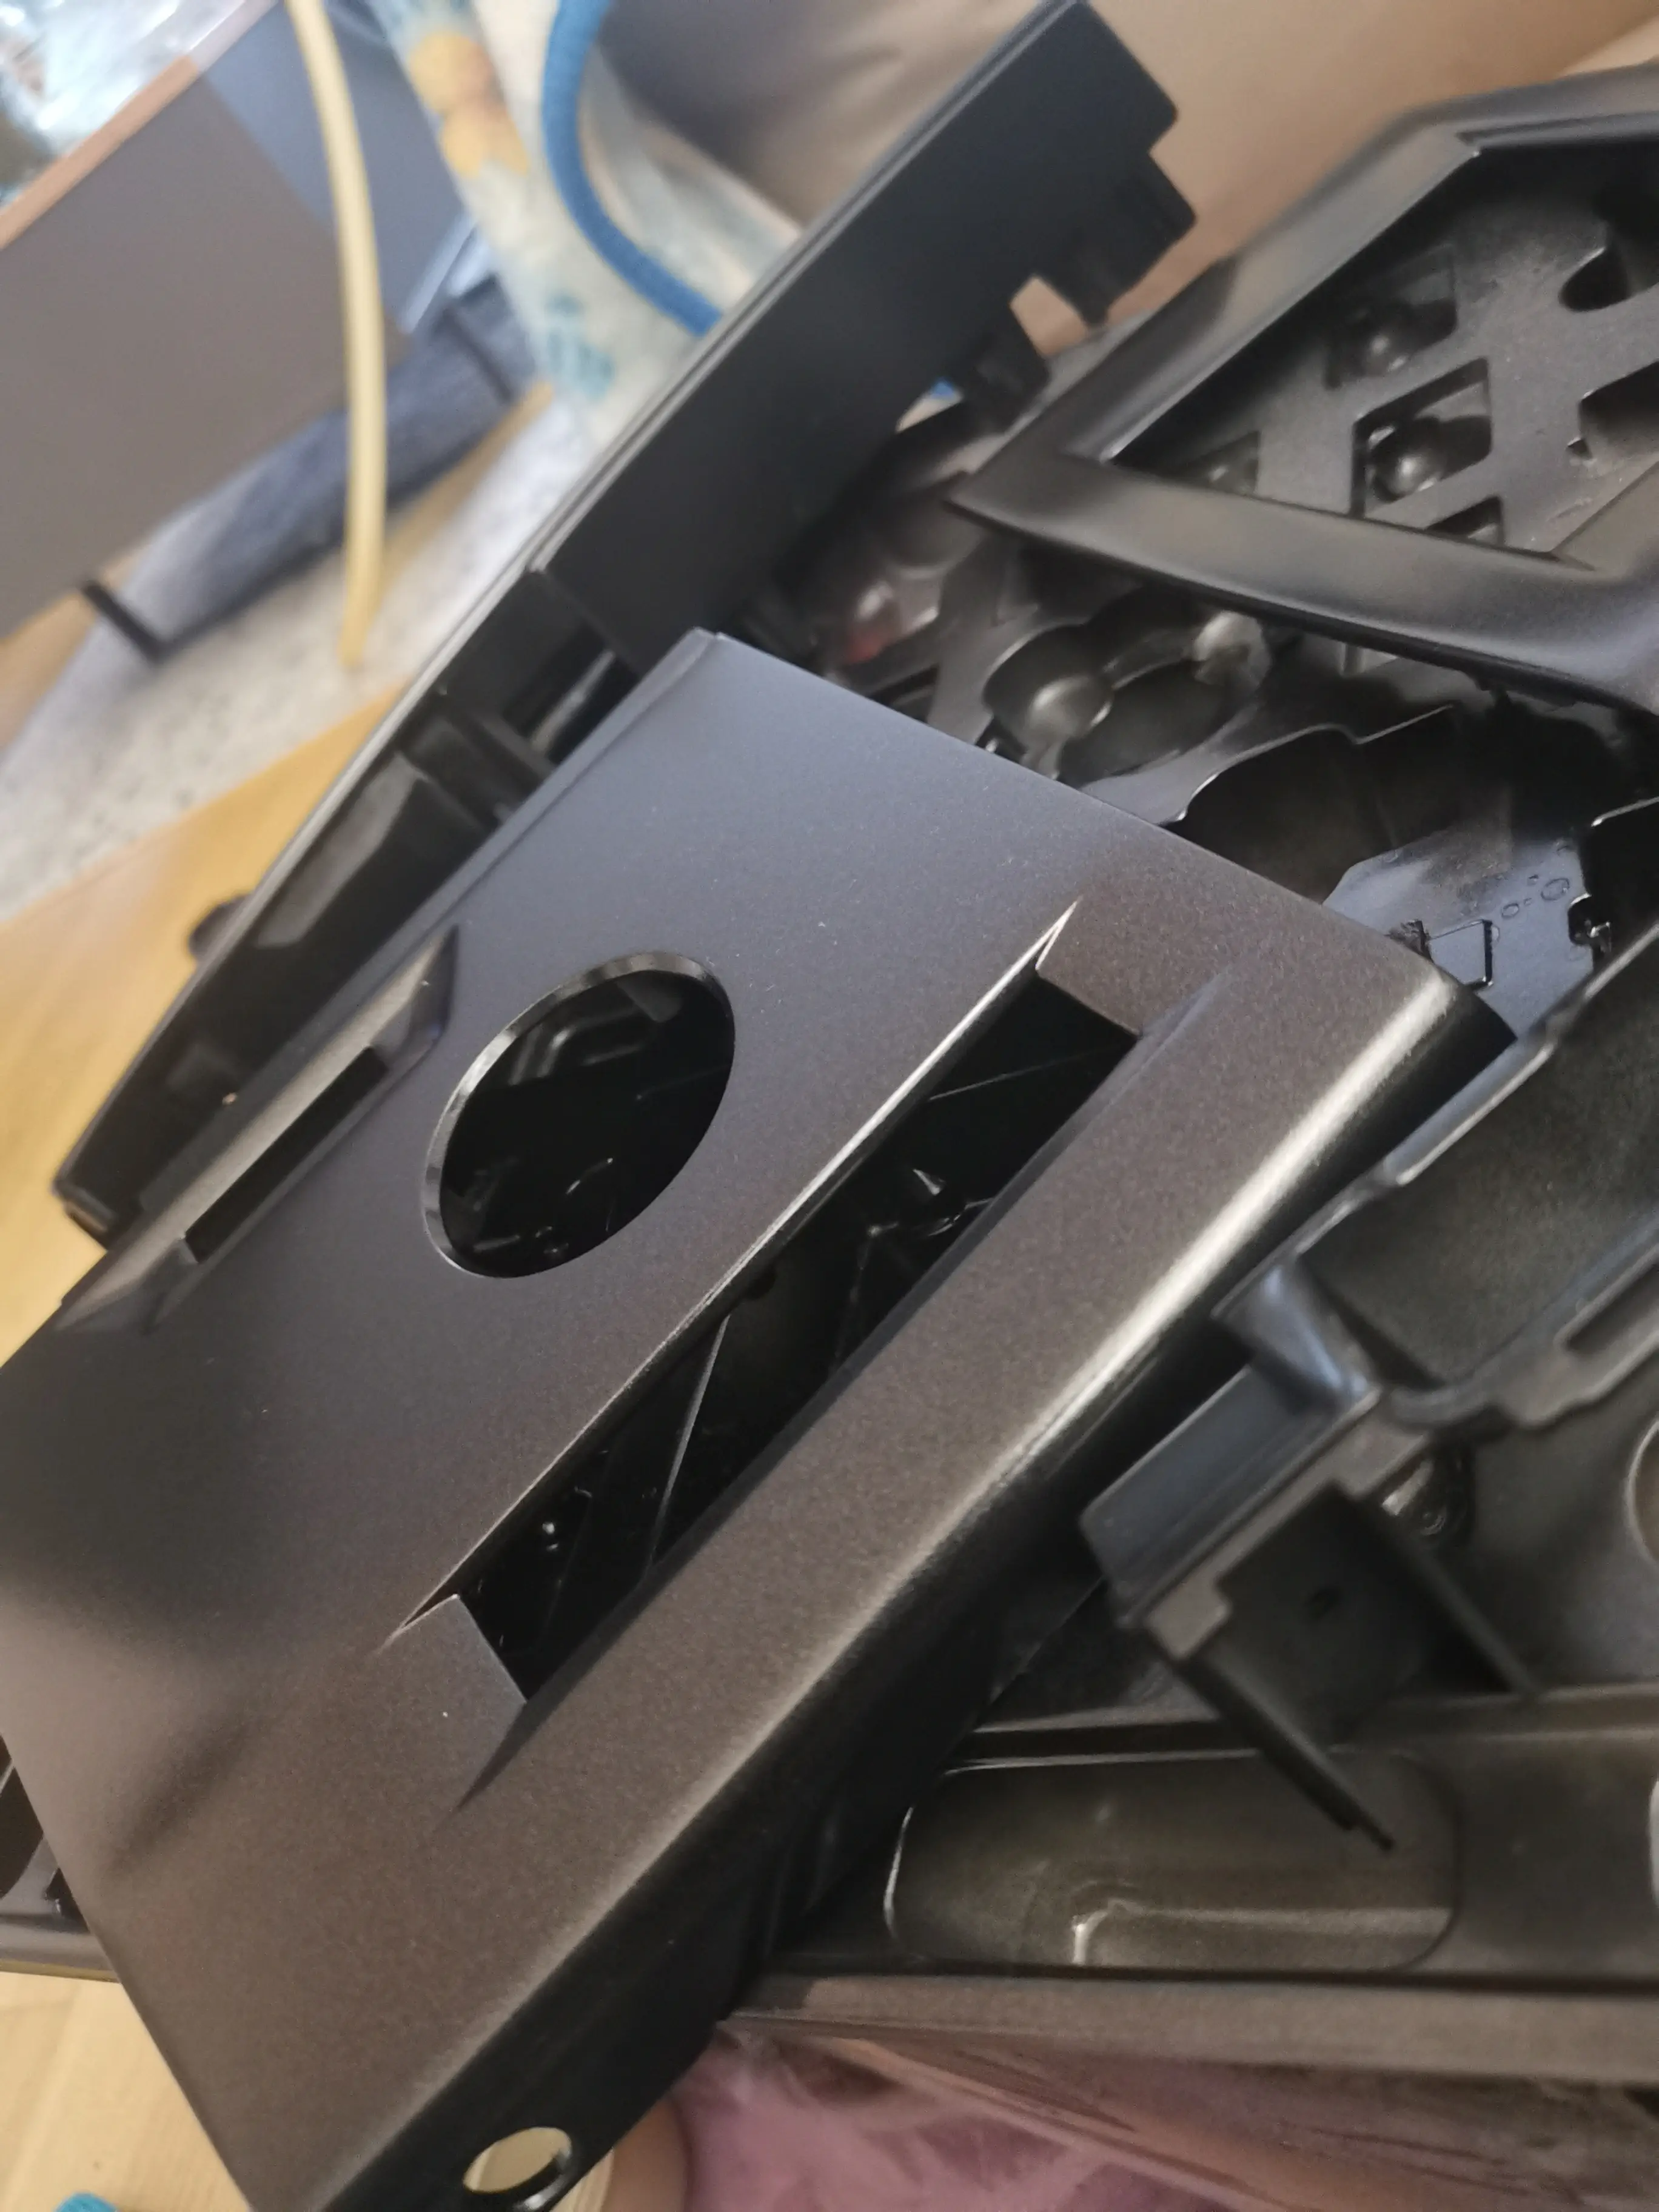
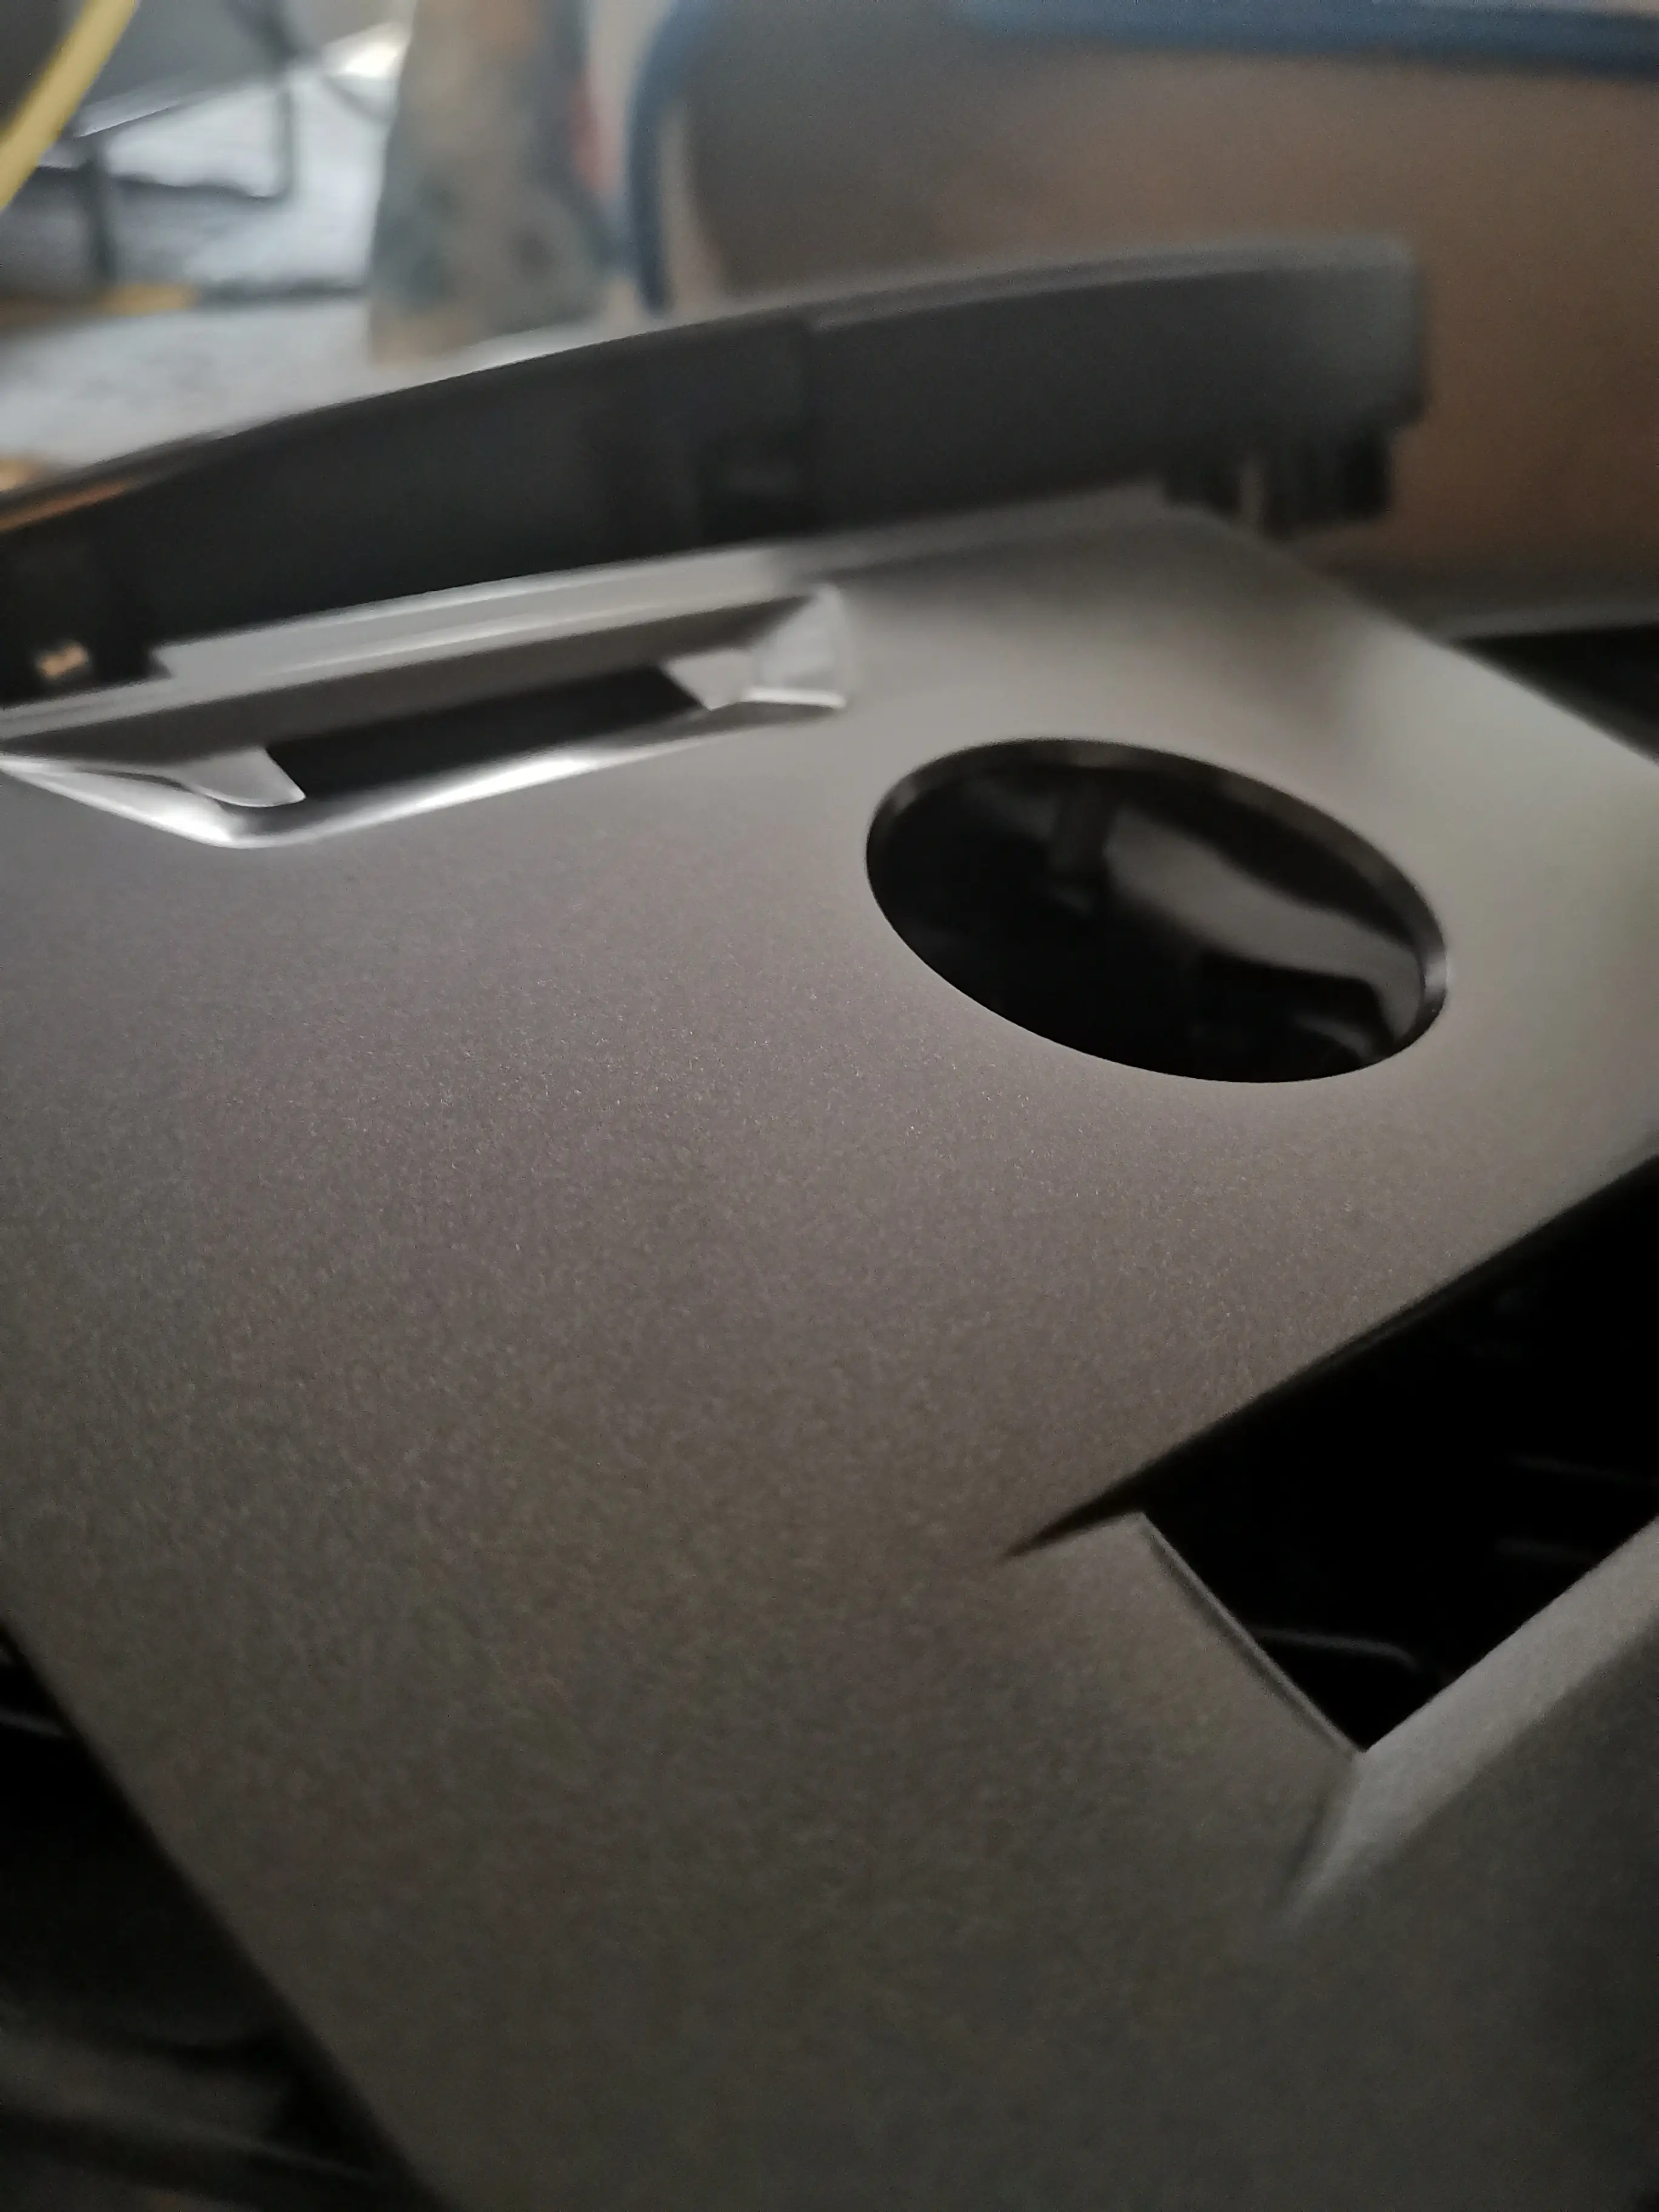
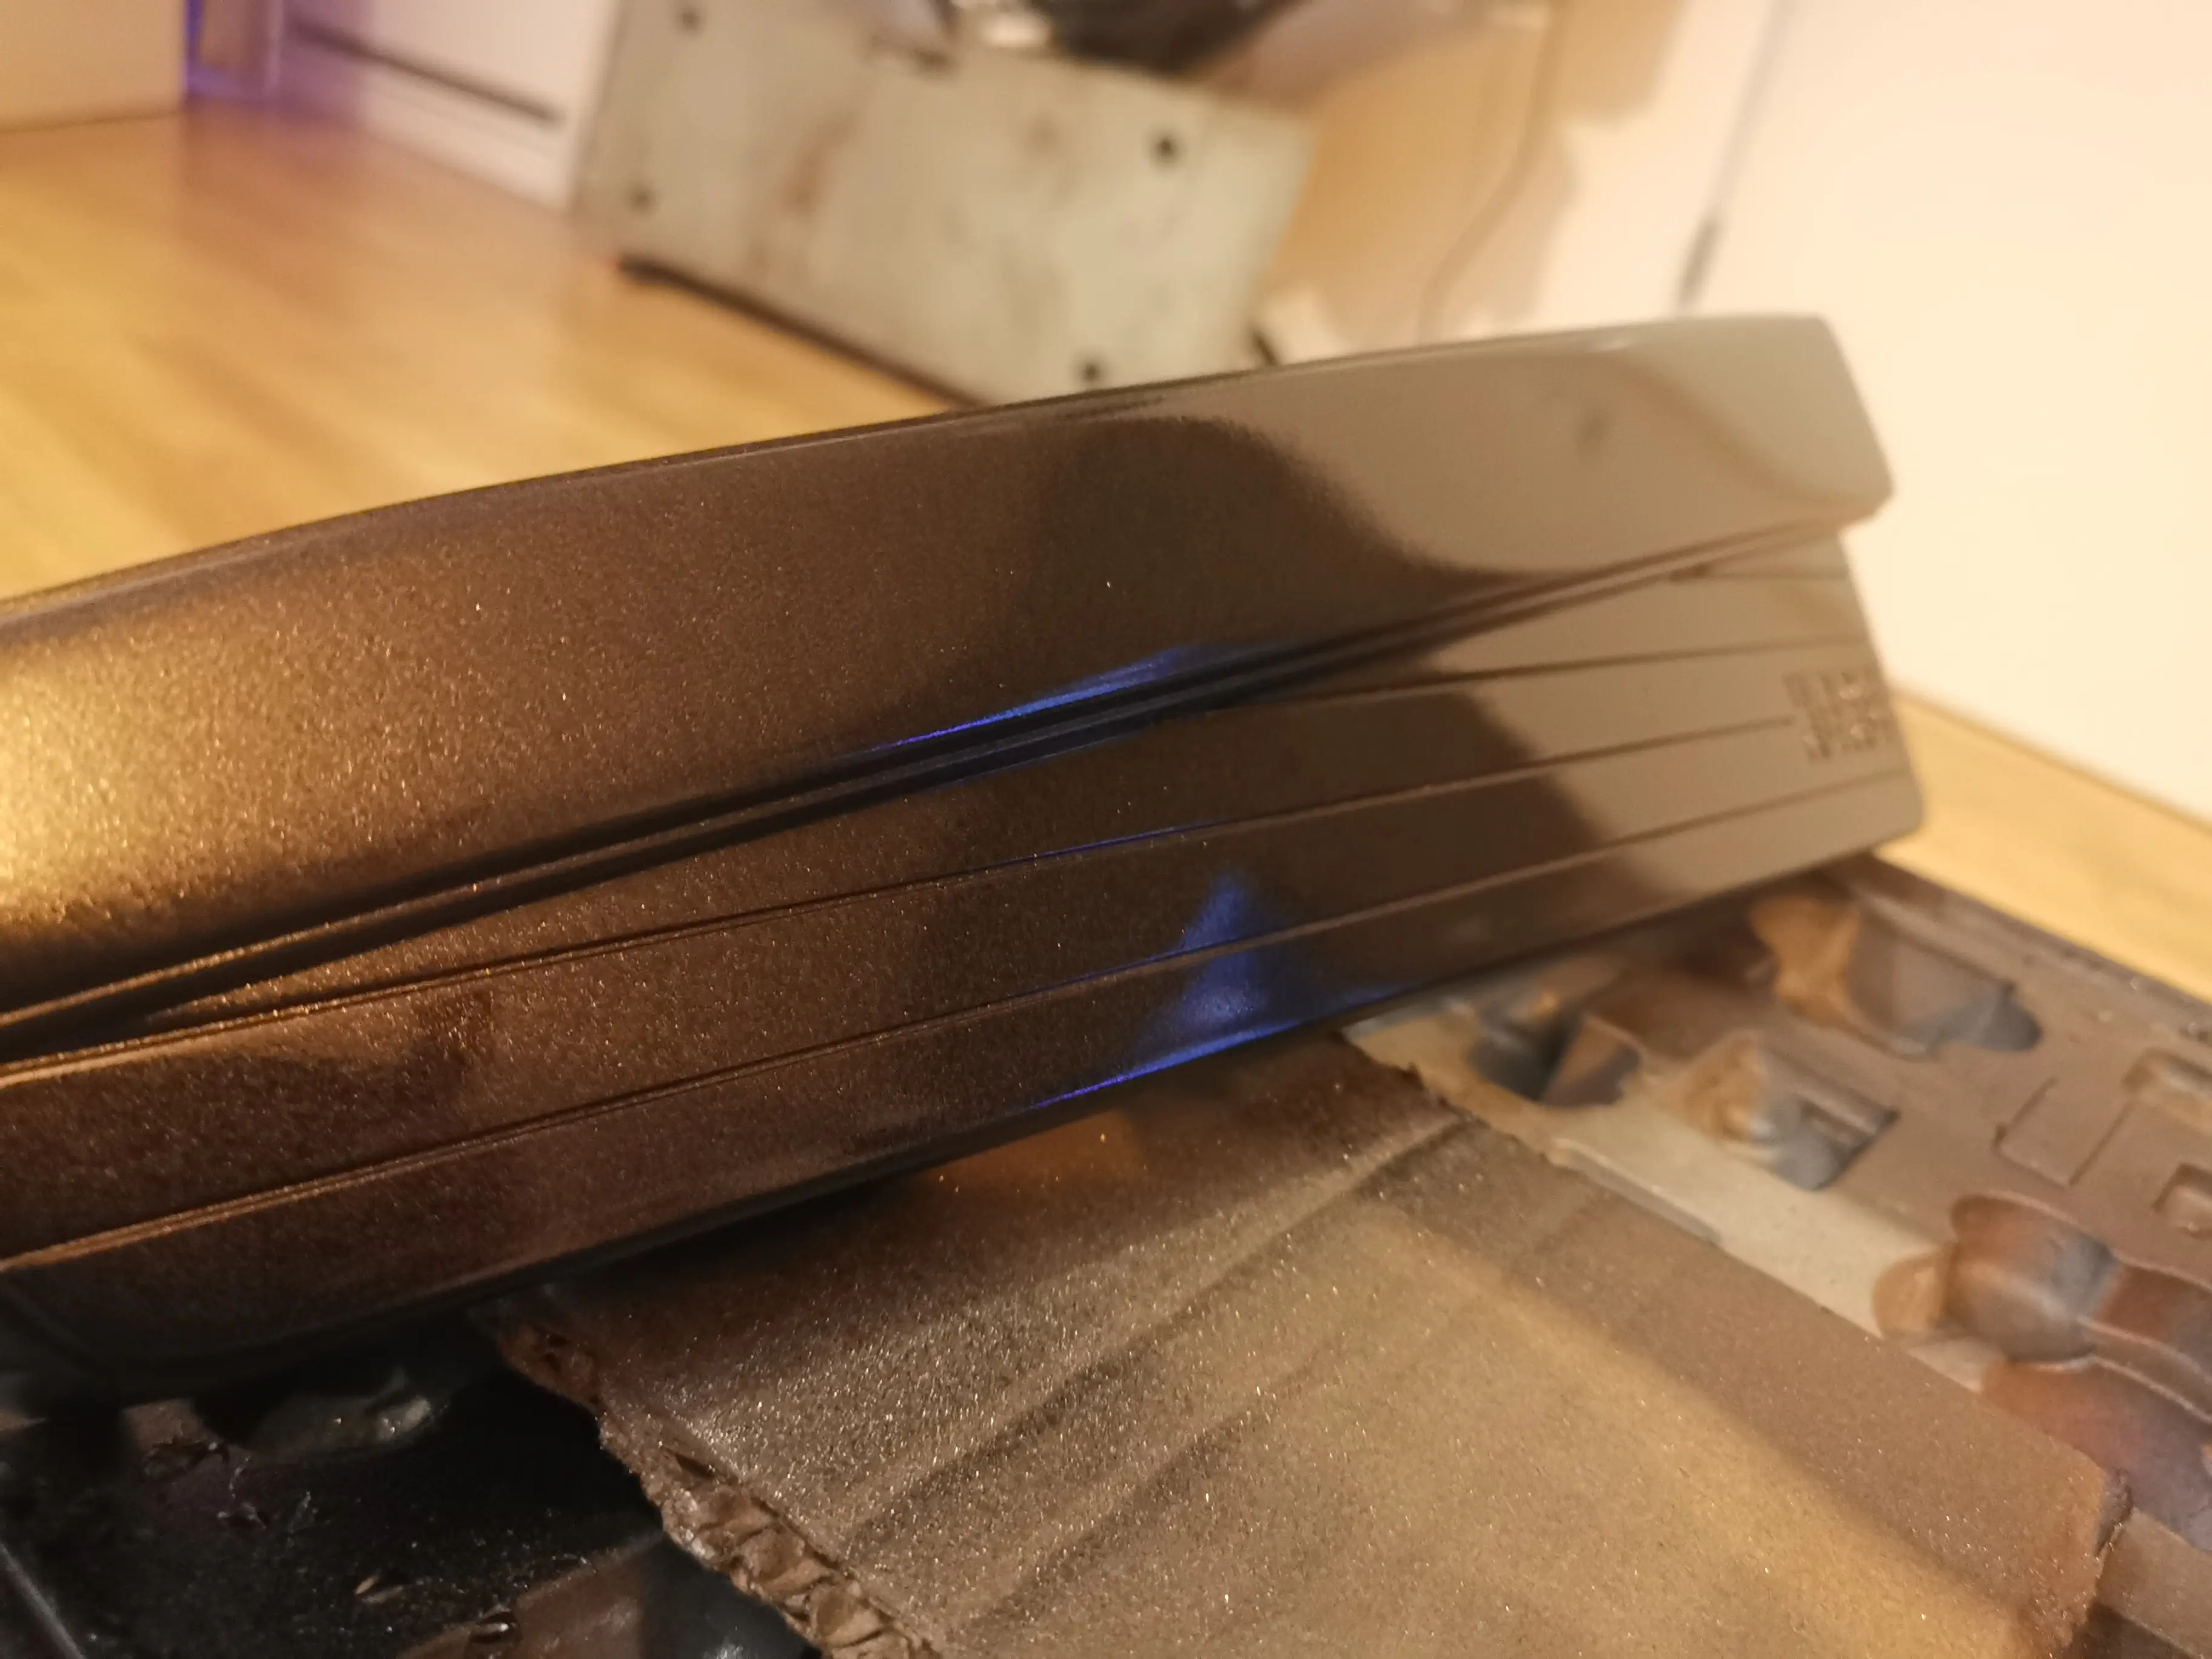
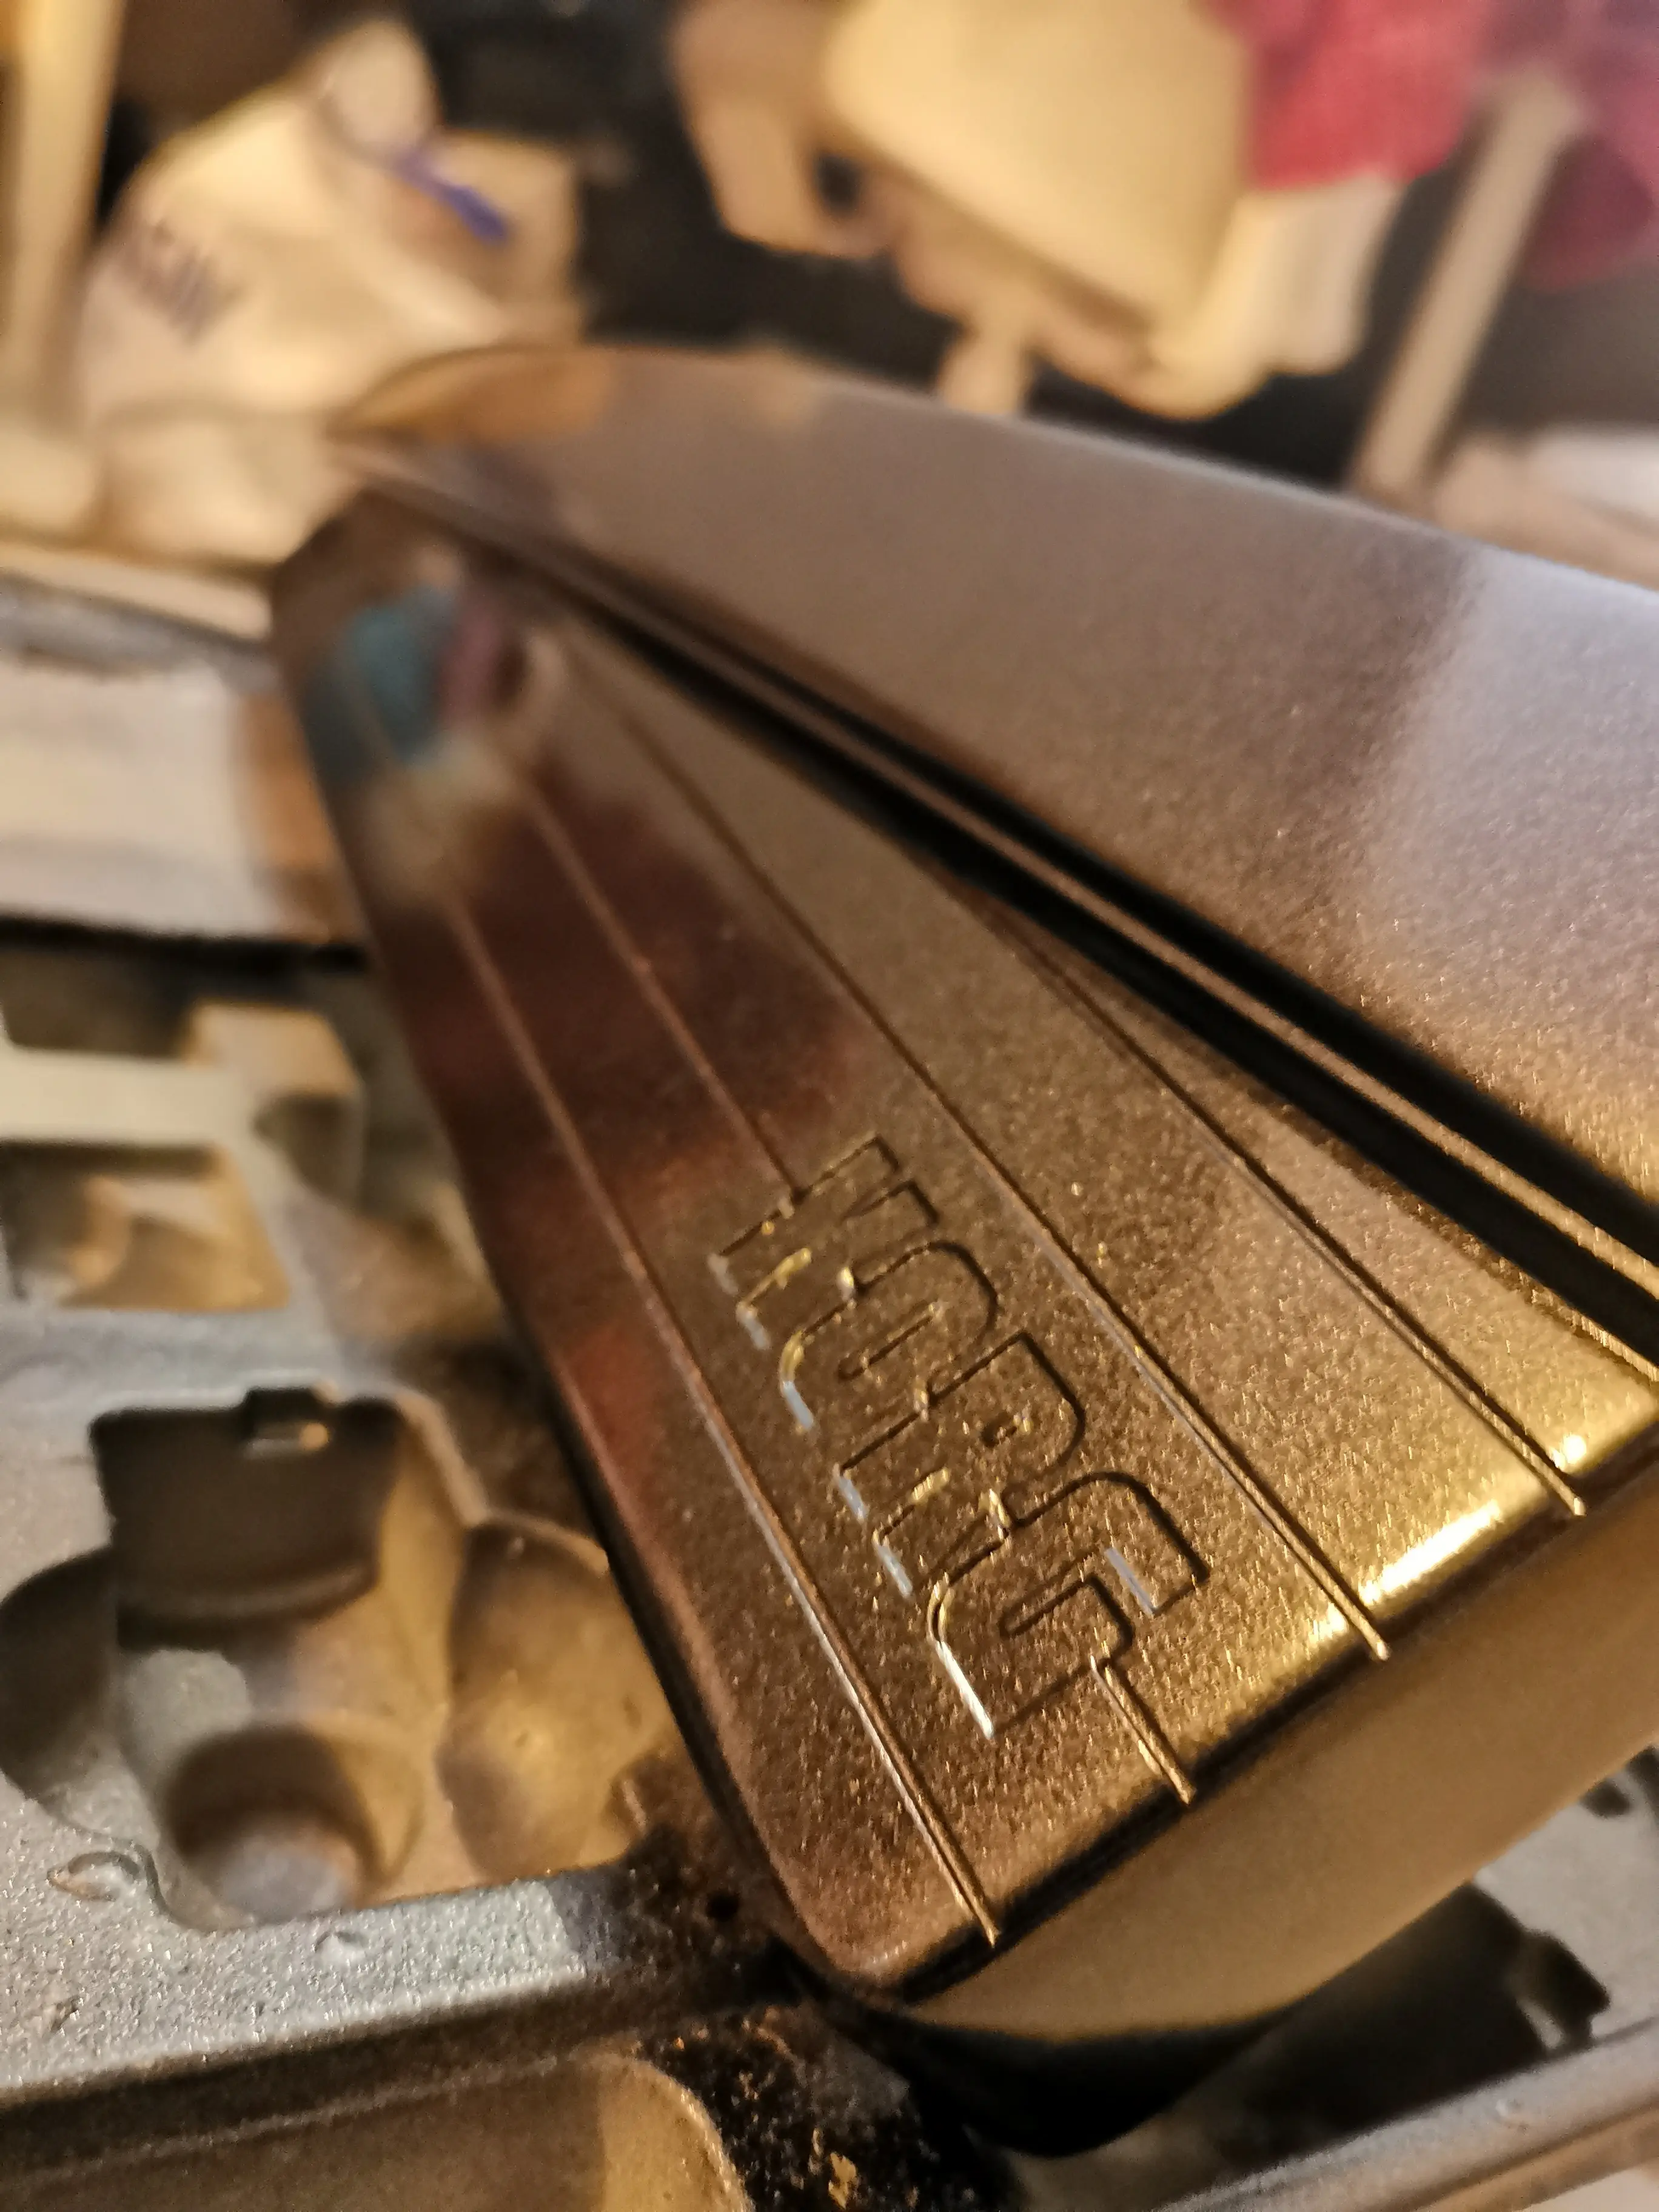
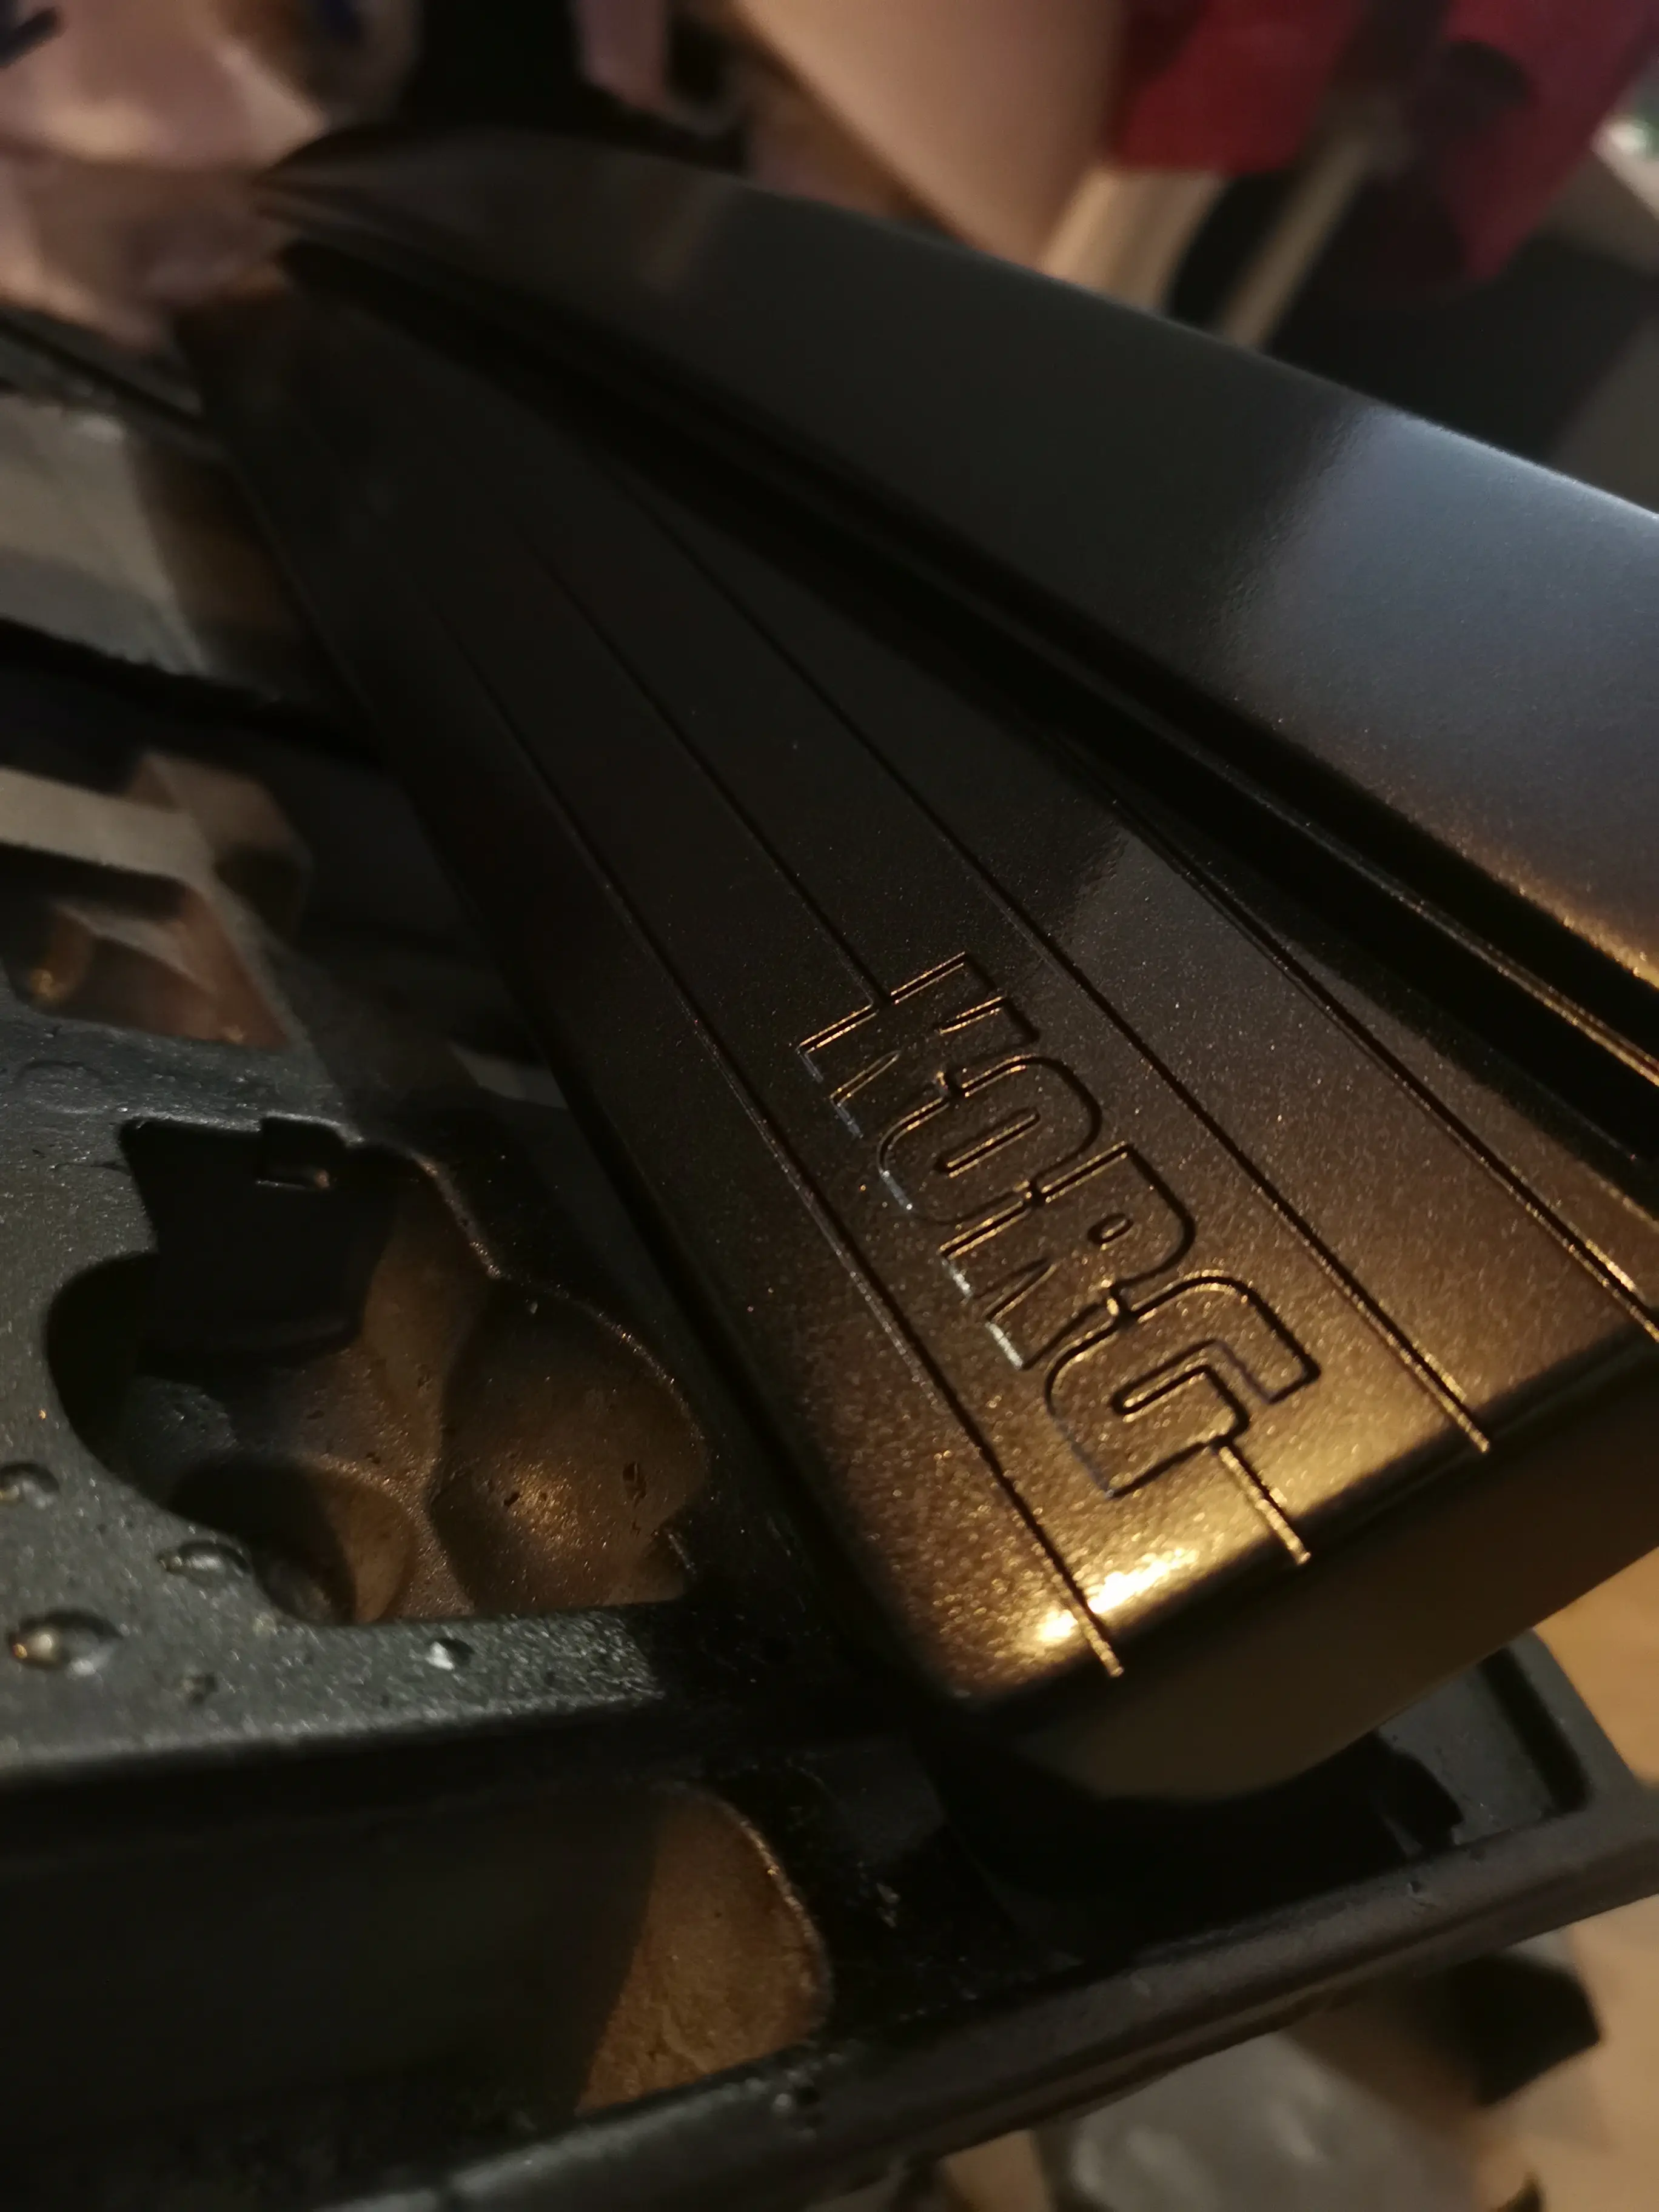
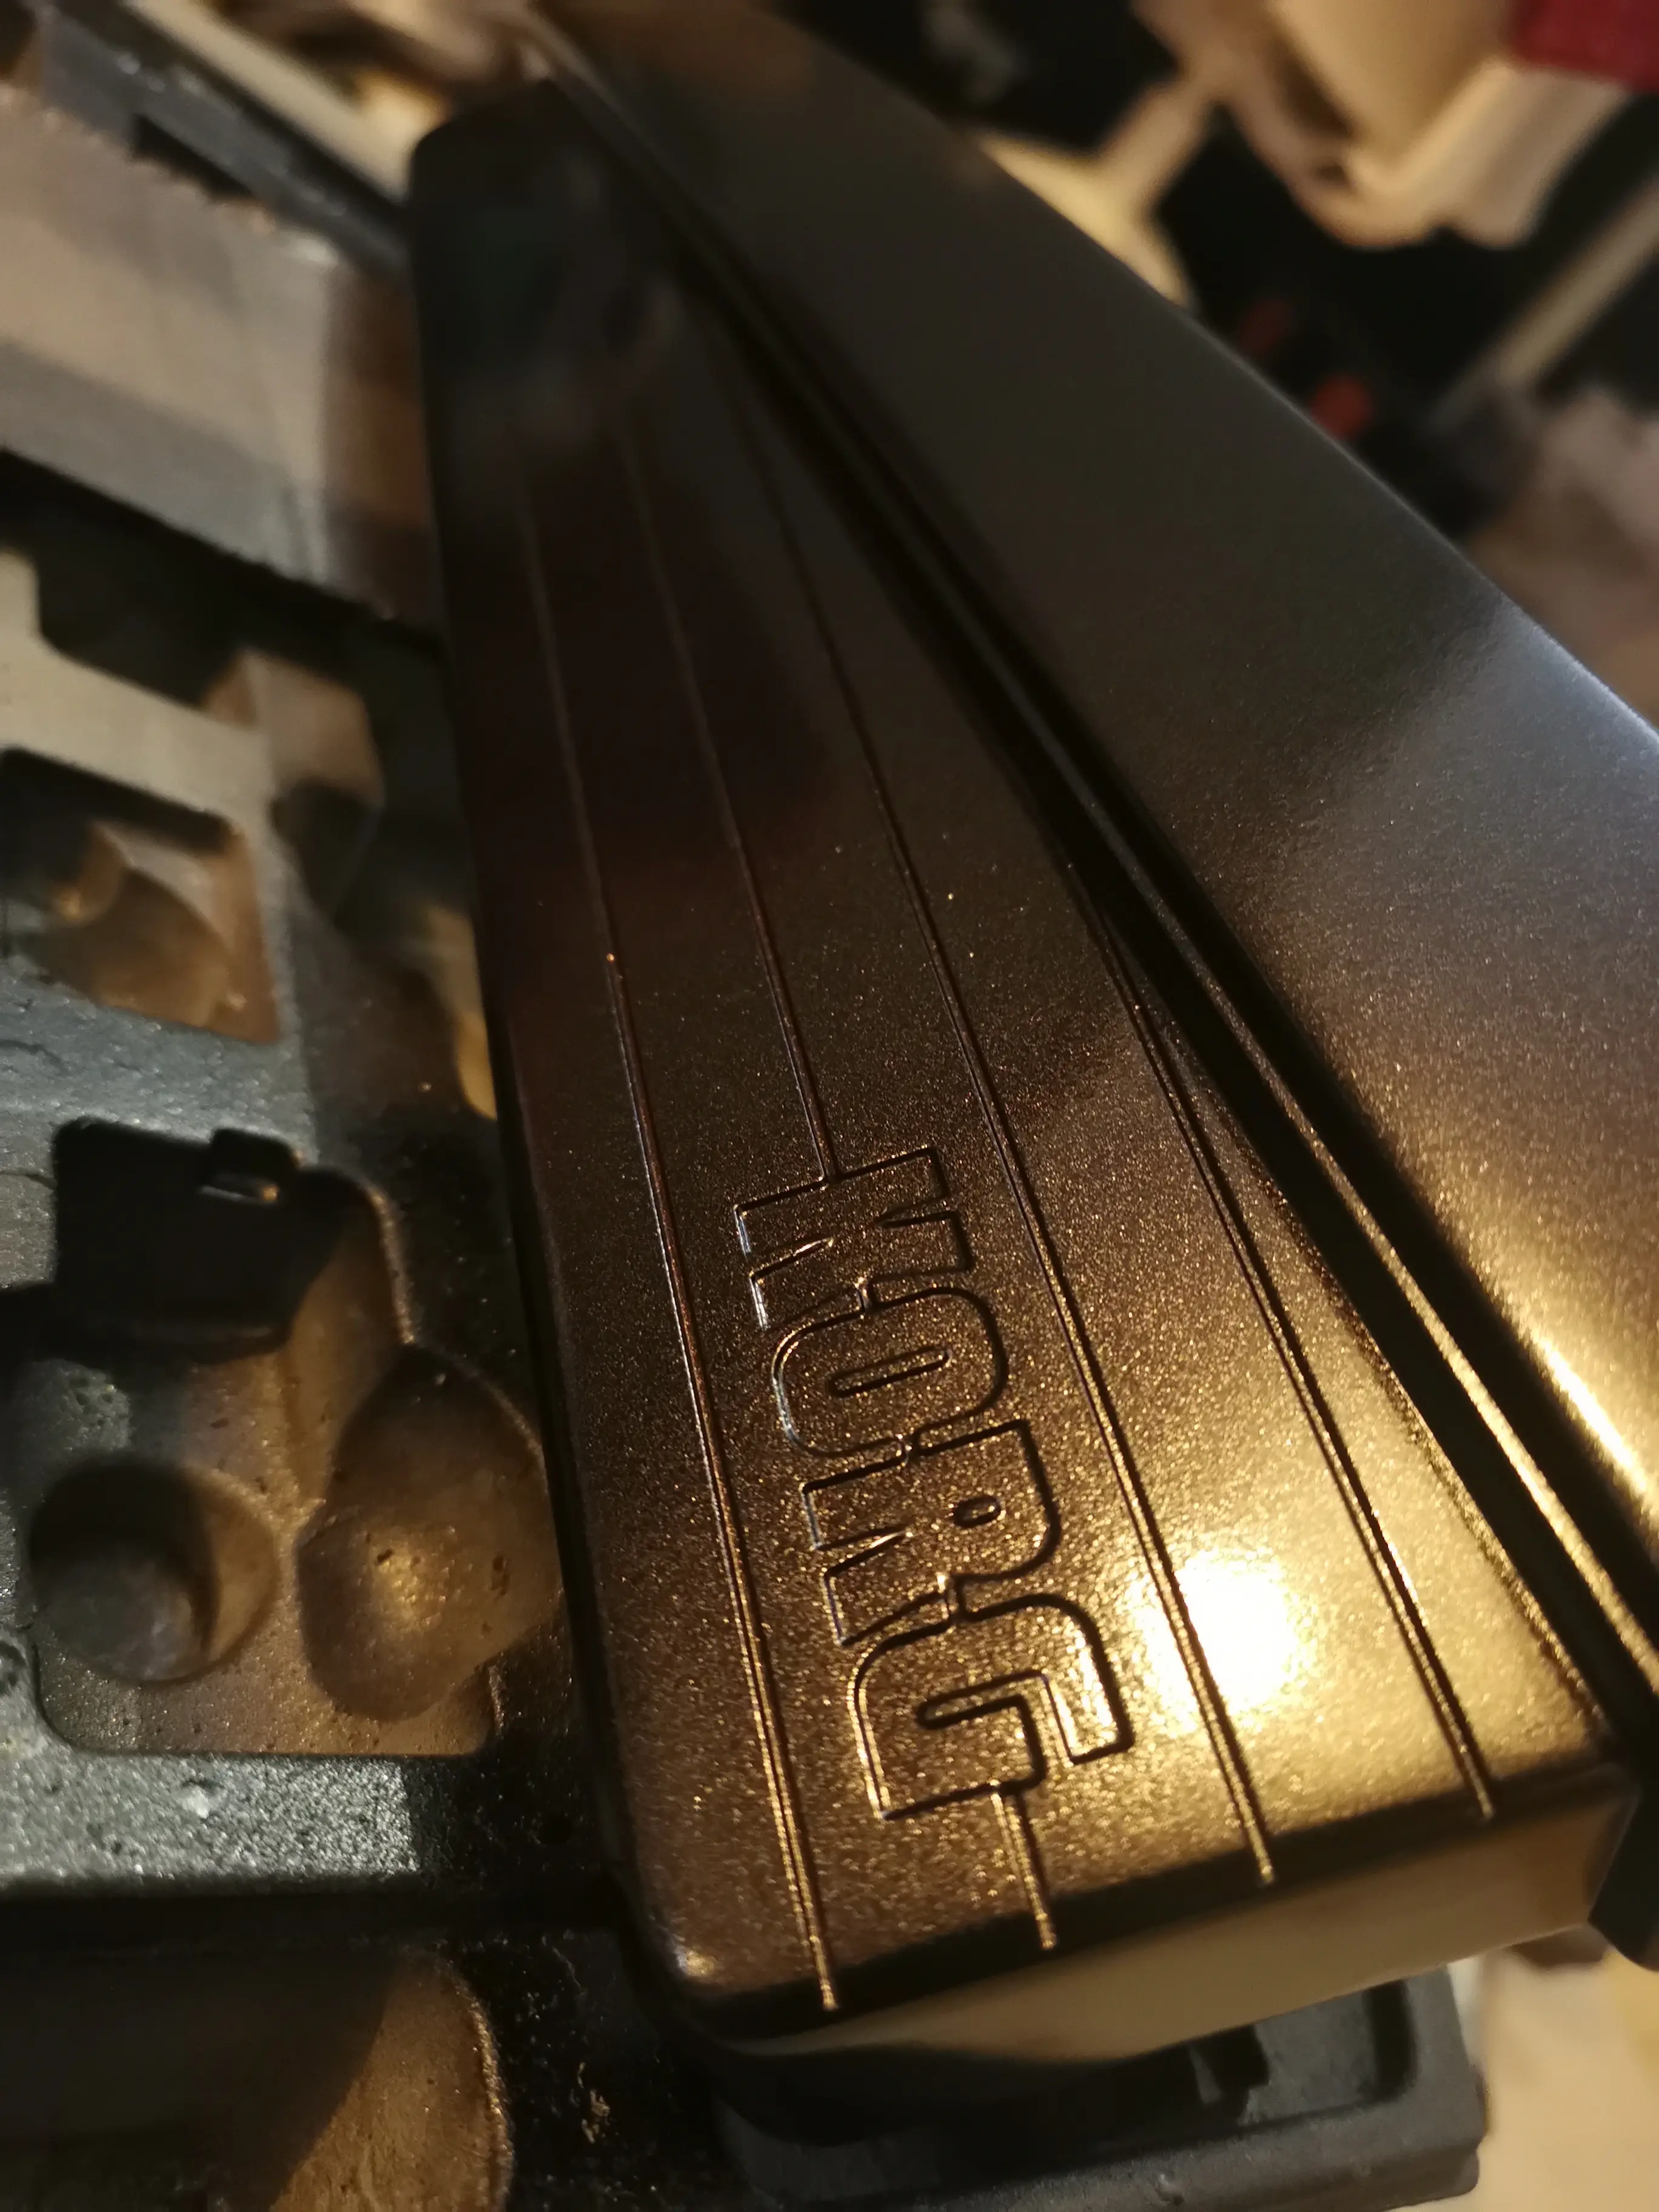
Primer first, then the metallic paint on the end caps and the joystick panel.
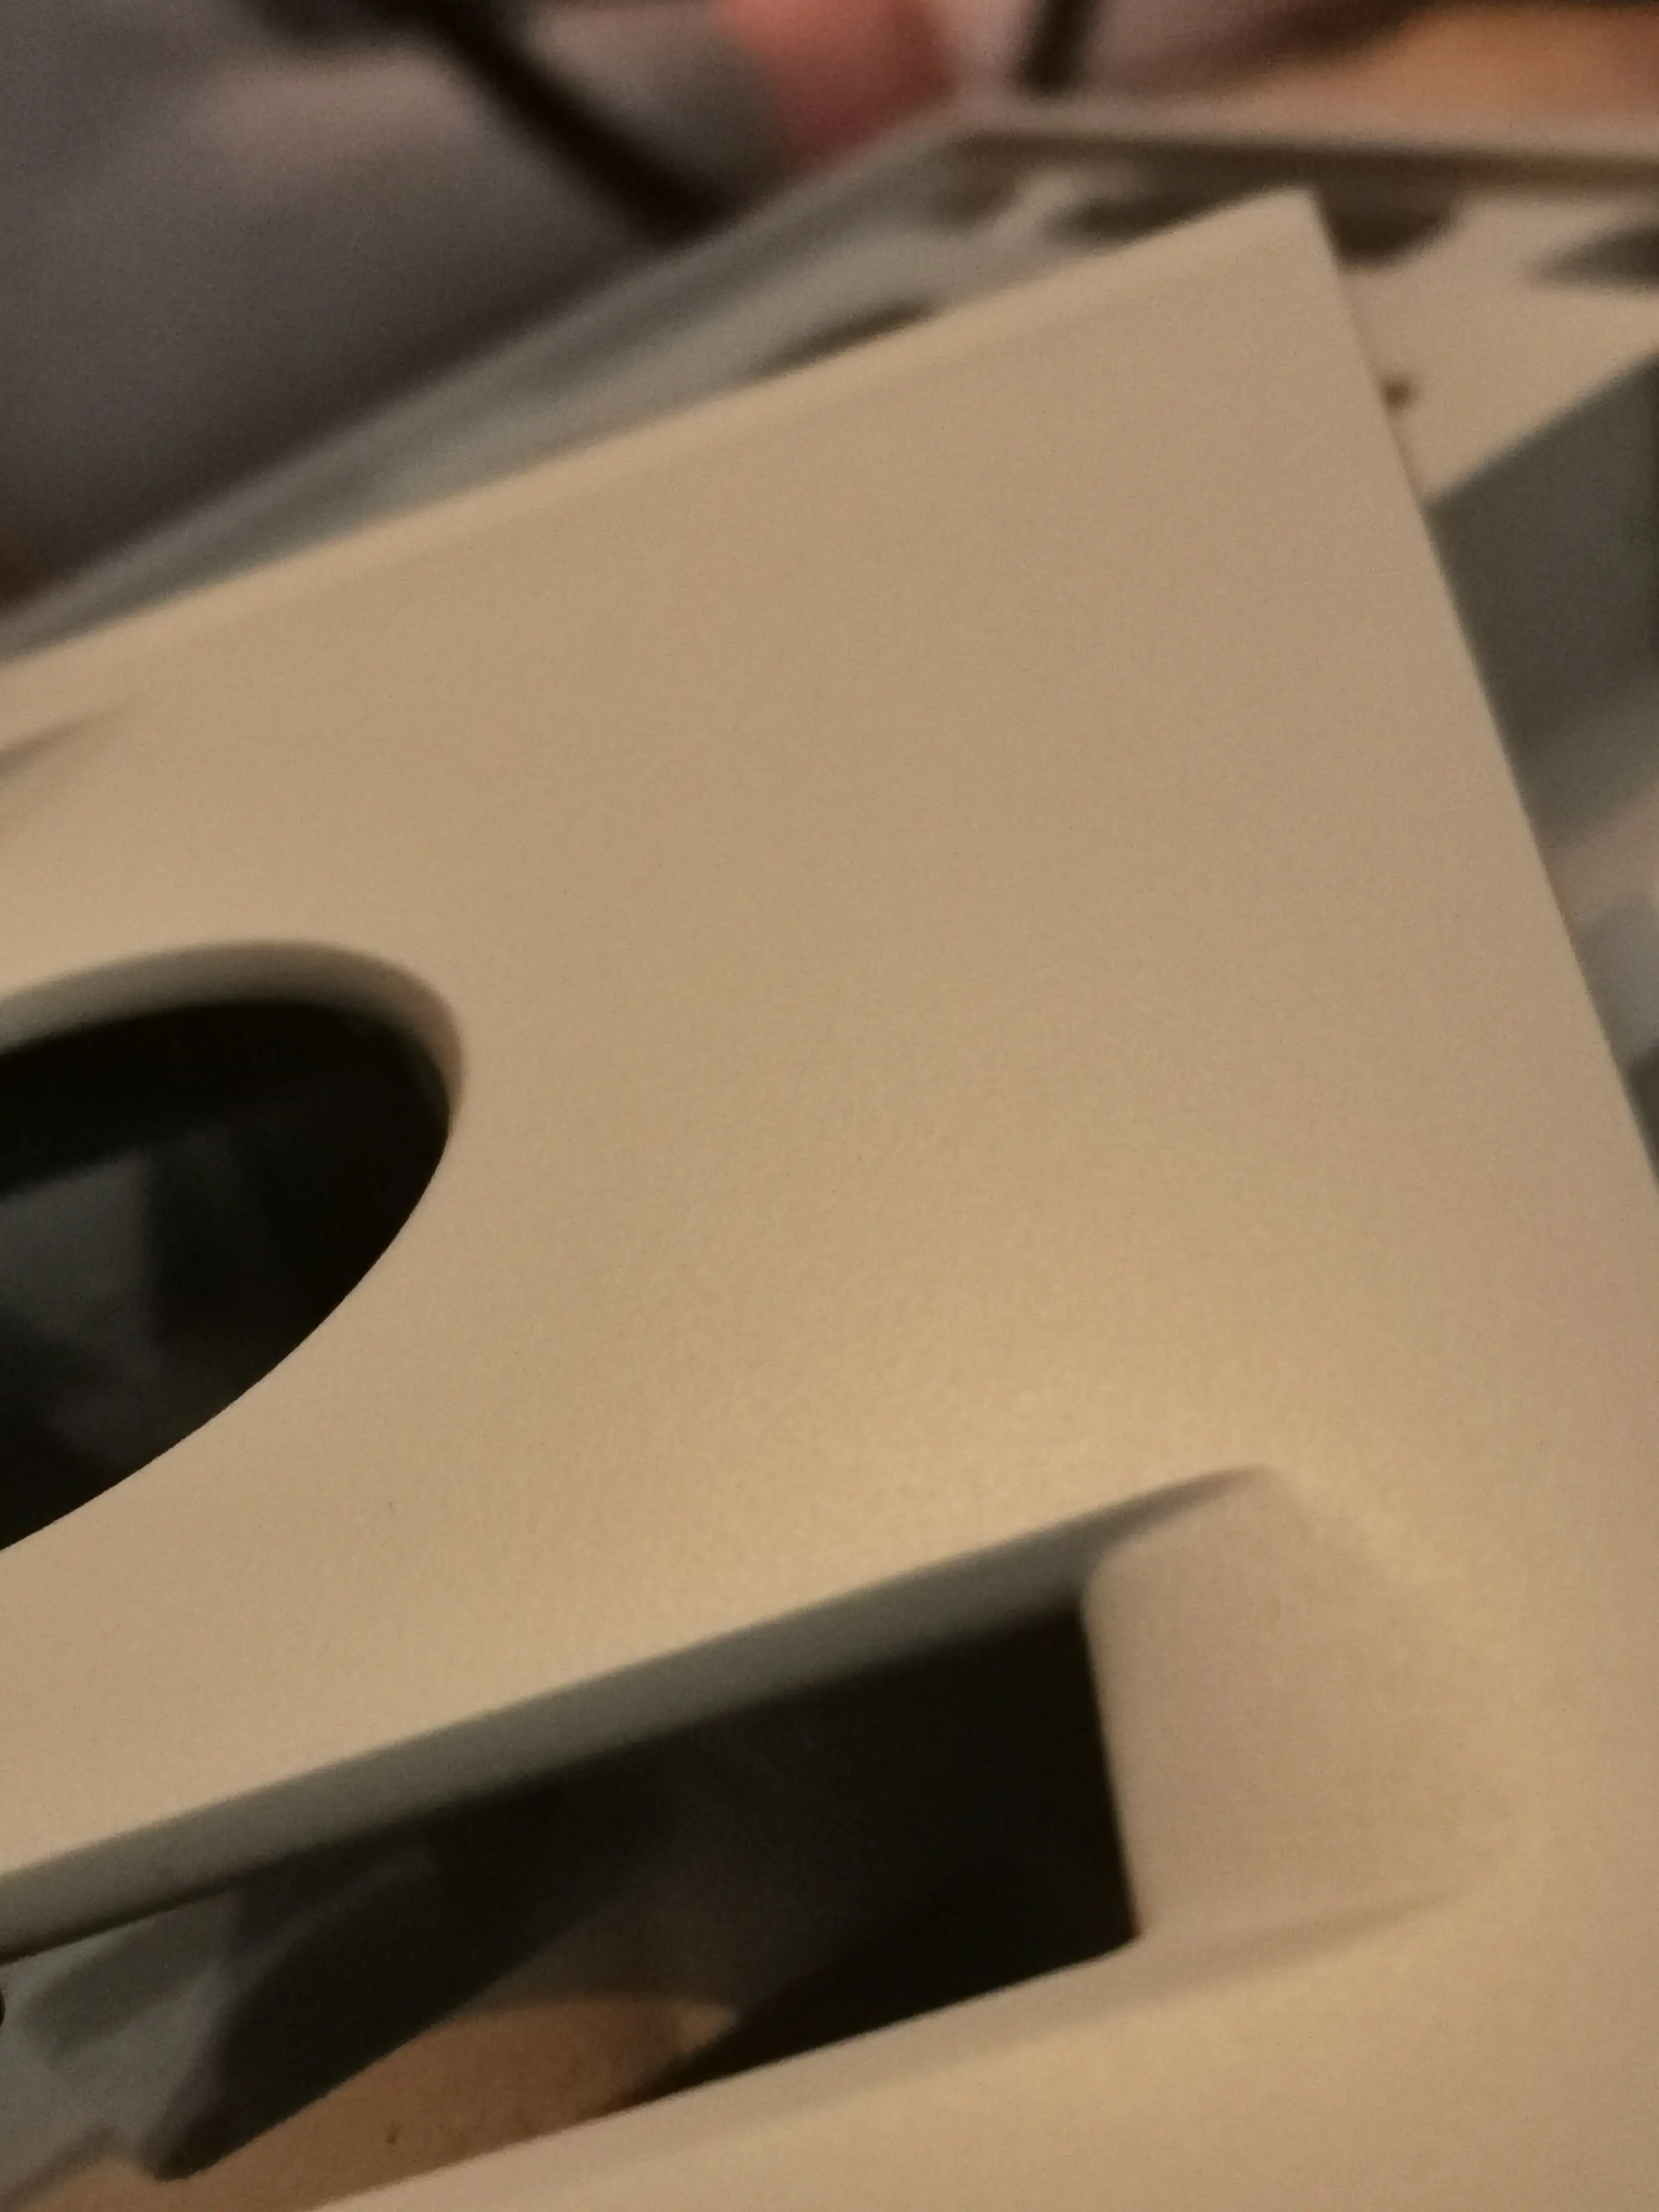
End caps and joystick panel in metallic paint End caps and joystick panel in metallic paint End caps and joystick panel in metallic paint End caps and joystick panel in metallic paint End caps and joystick panel in metallic paint End caps and joystick panel in metallic paint End caps and joystick panel in metallic paint End caps and joystick panel in metallic paint End caps and joystick panel in metallic paint End caps and joystick panel in metallic paint End caps and joystick panel in metallic paint End caps and joystick panel in metallic paint End caps and joystick panel in metallic paint End caps and joystick panel in metallic paint End caps and joystick panel in metallic paint End caps and joystick panel in metallic paint End caps and joystick panel in metallic paint

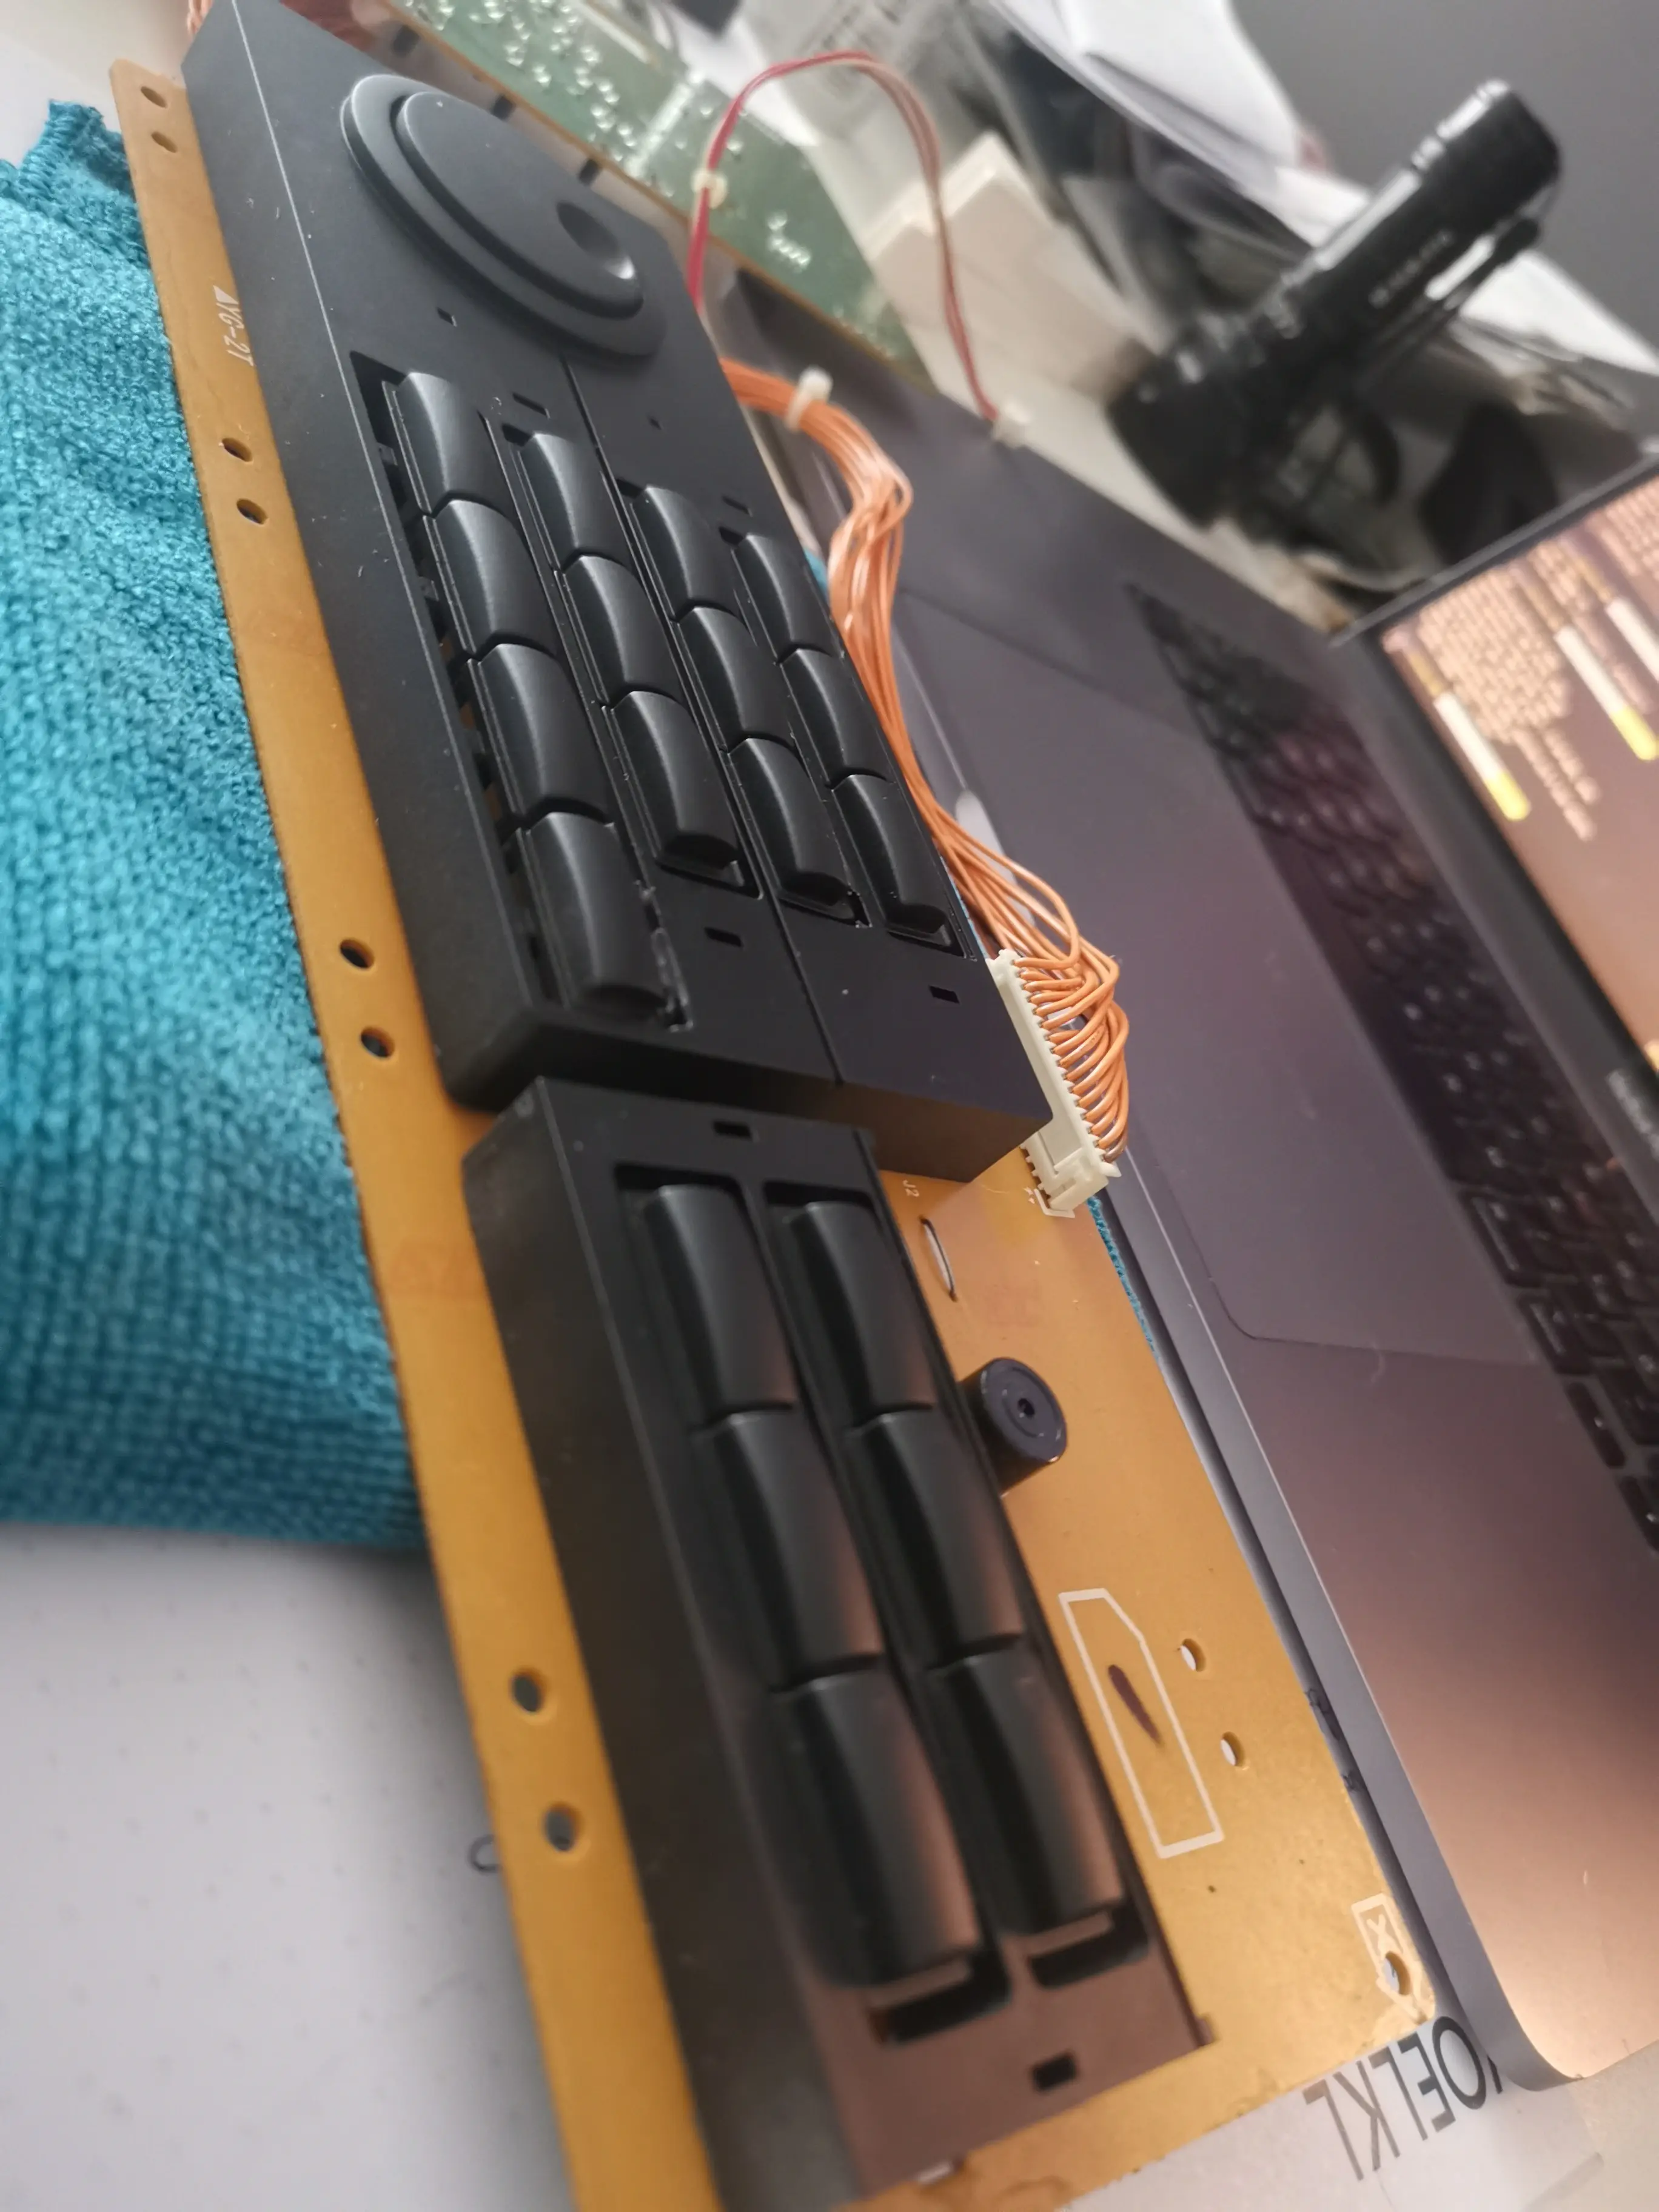
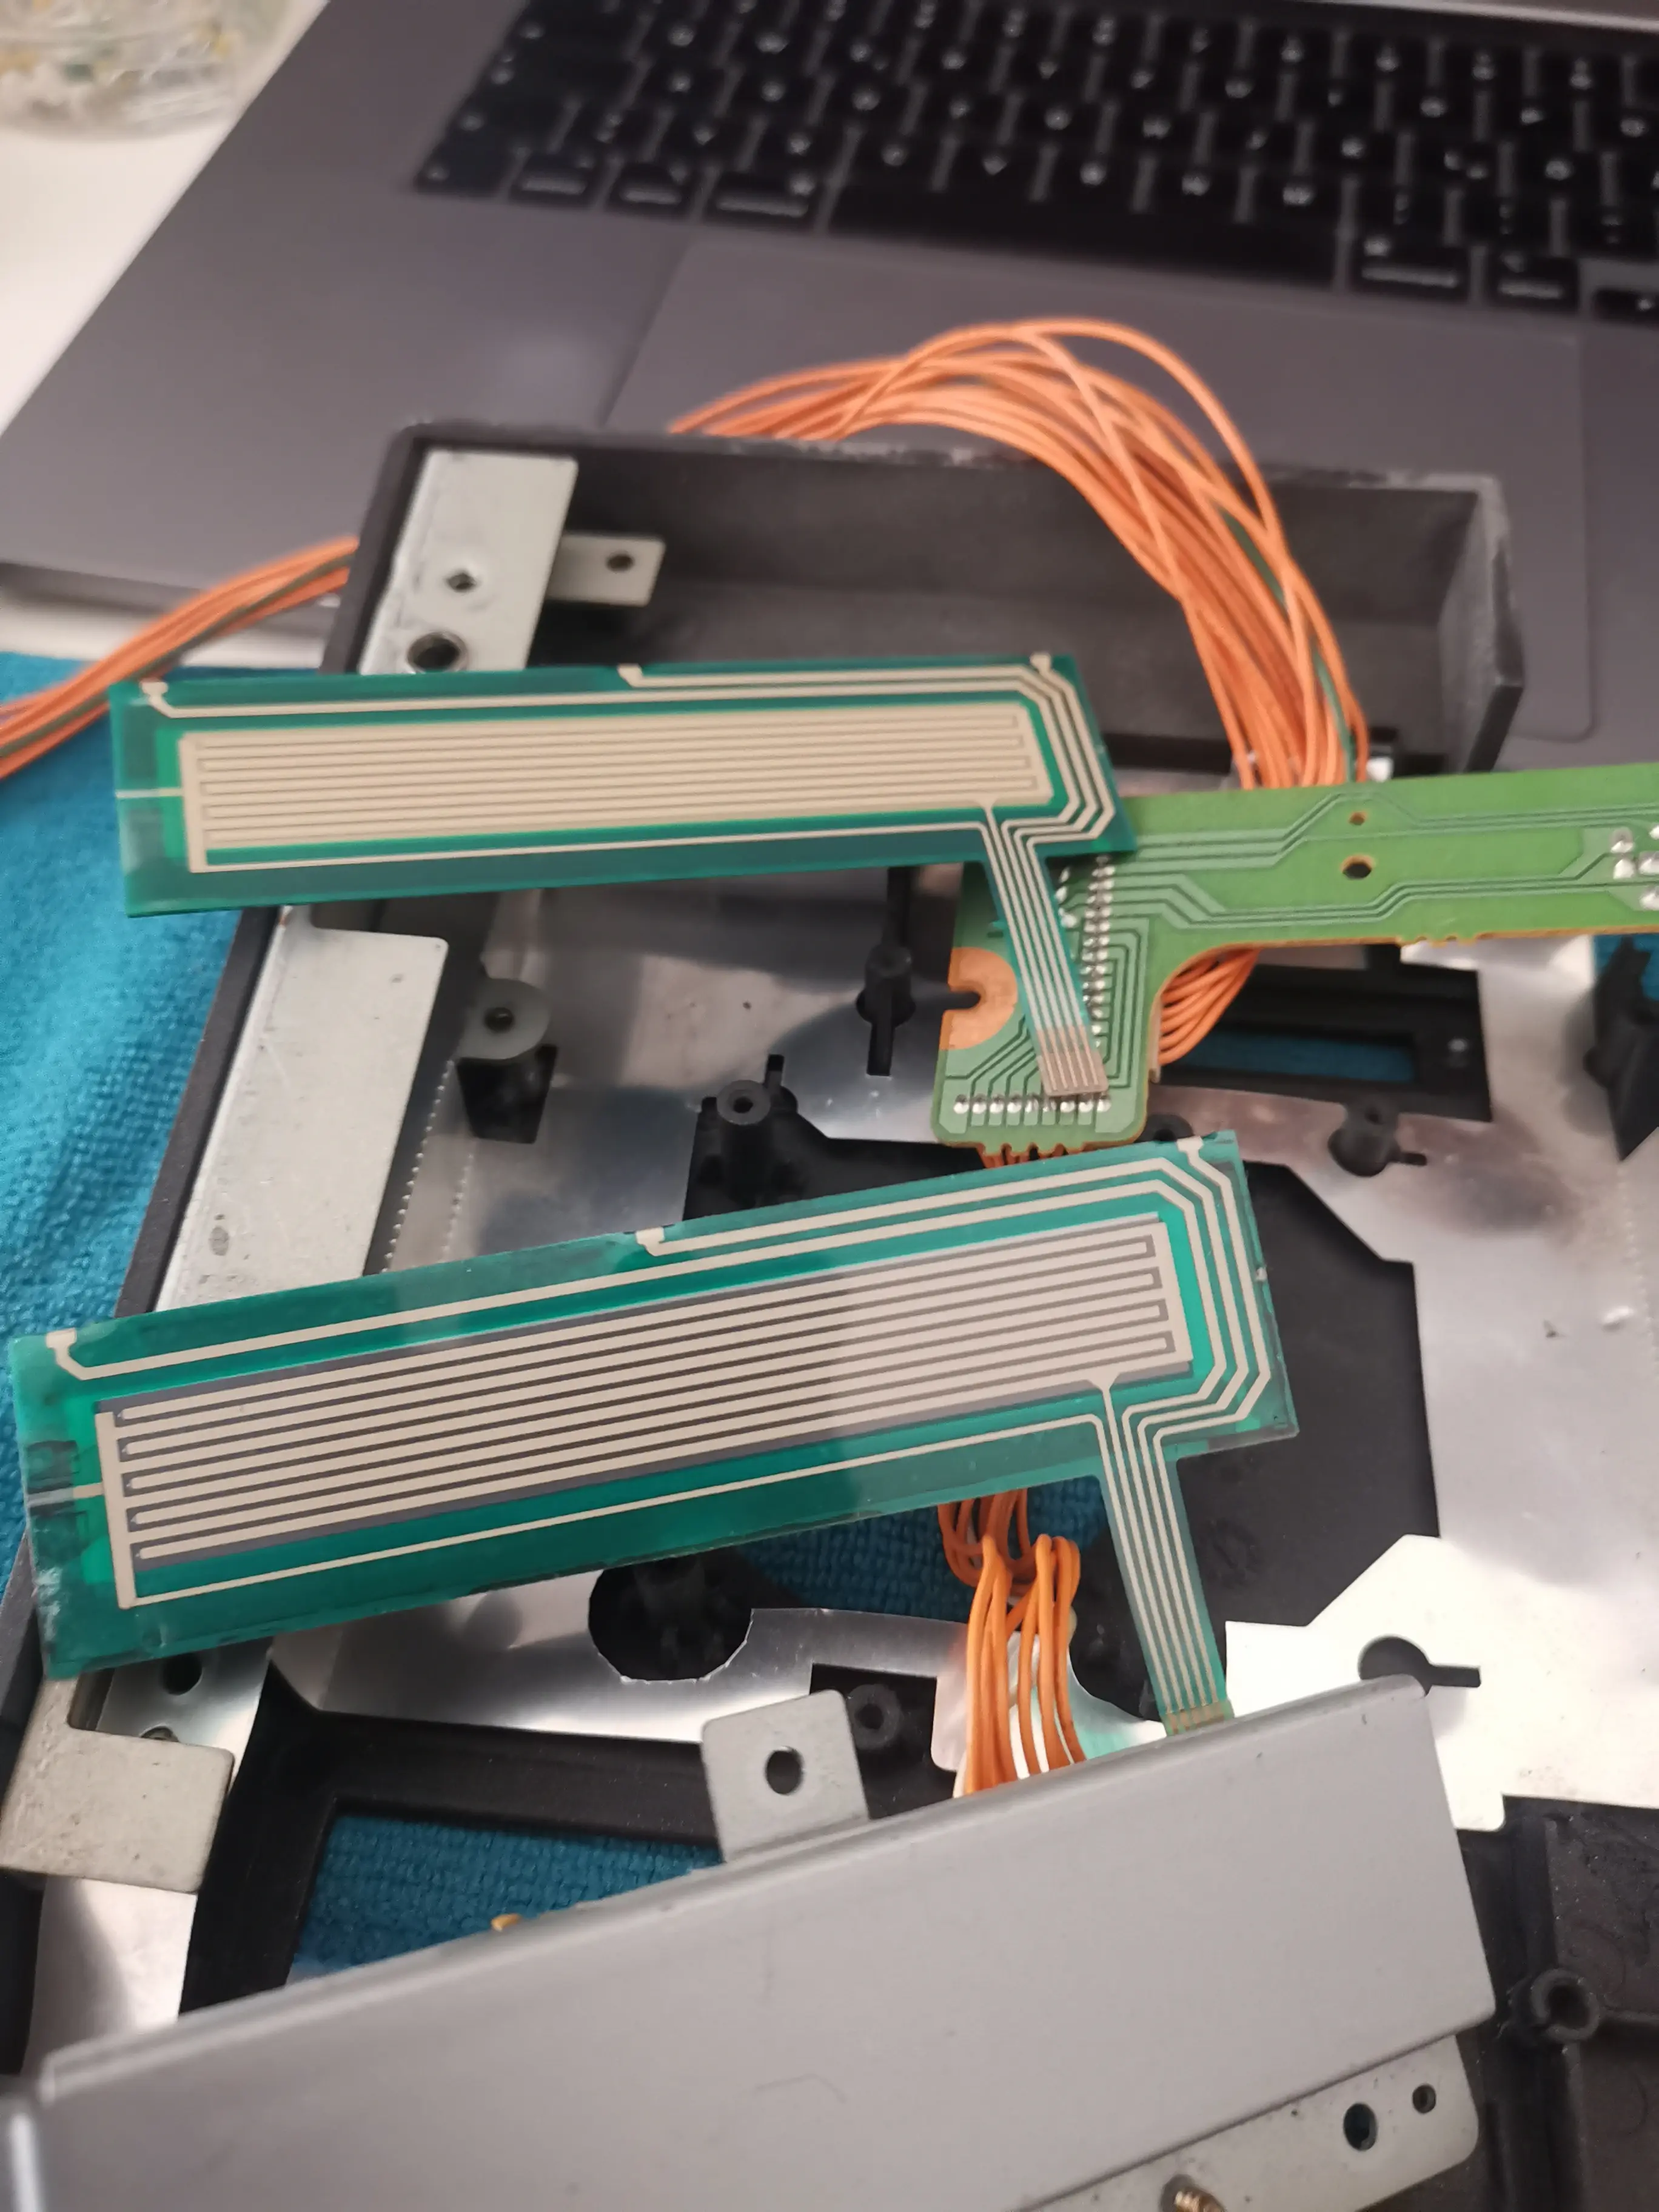
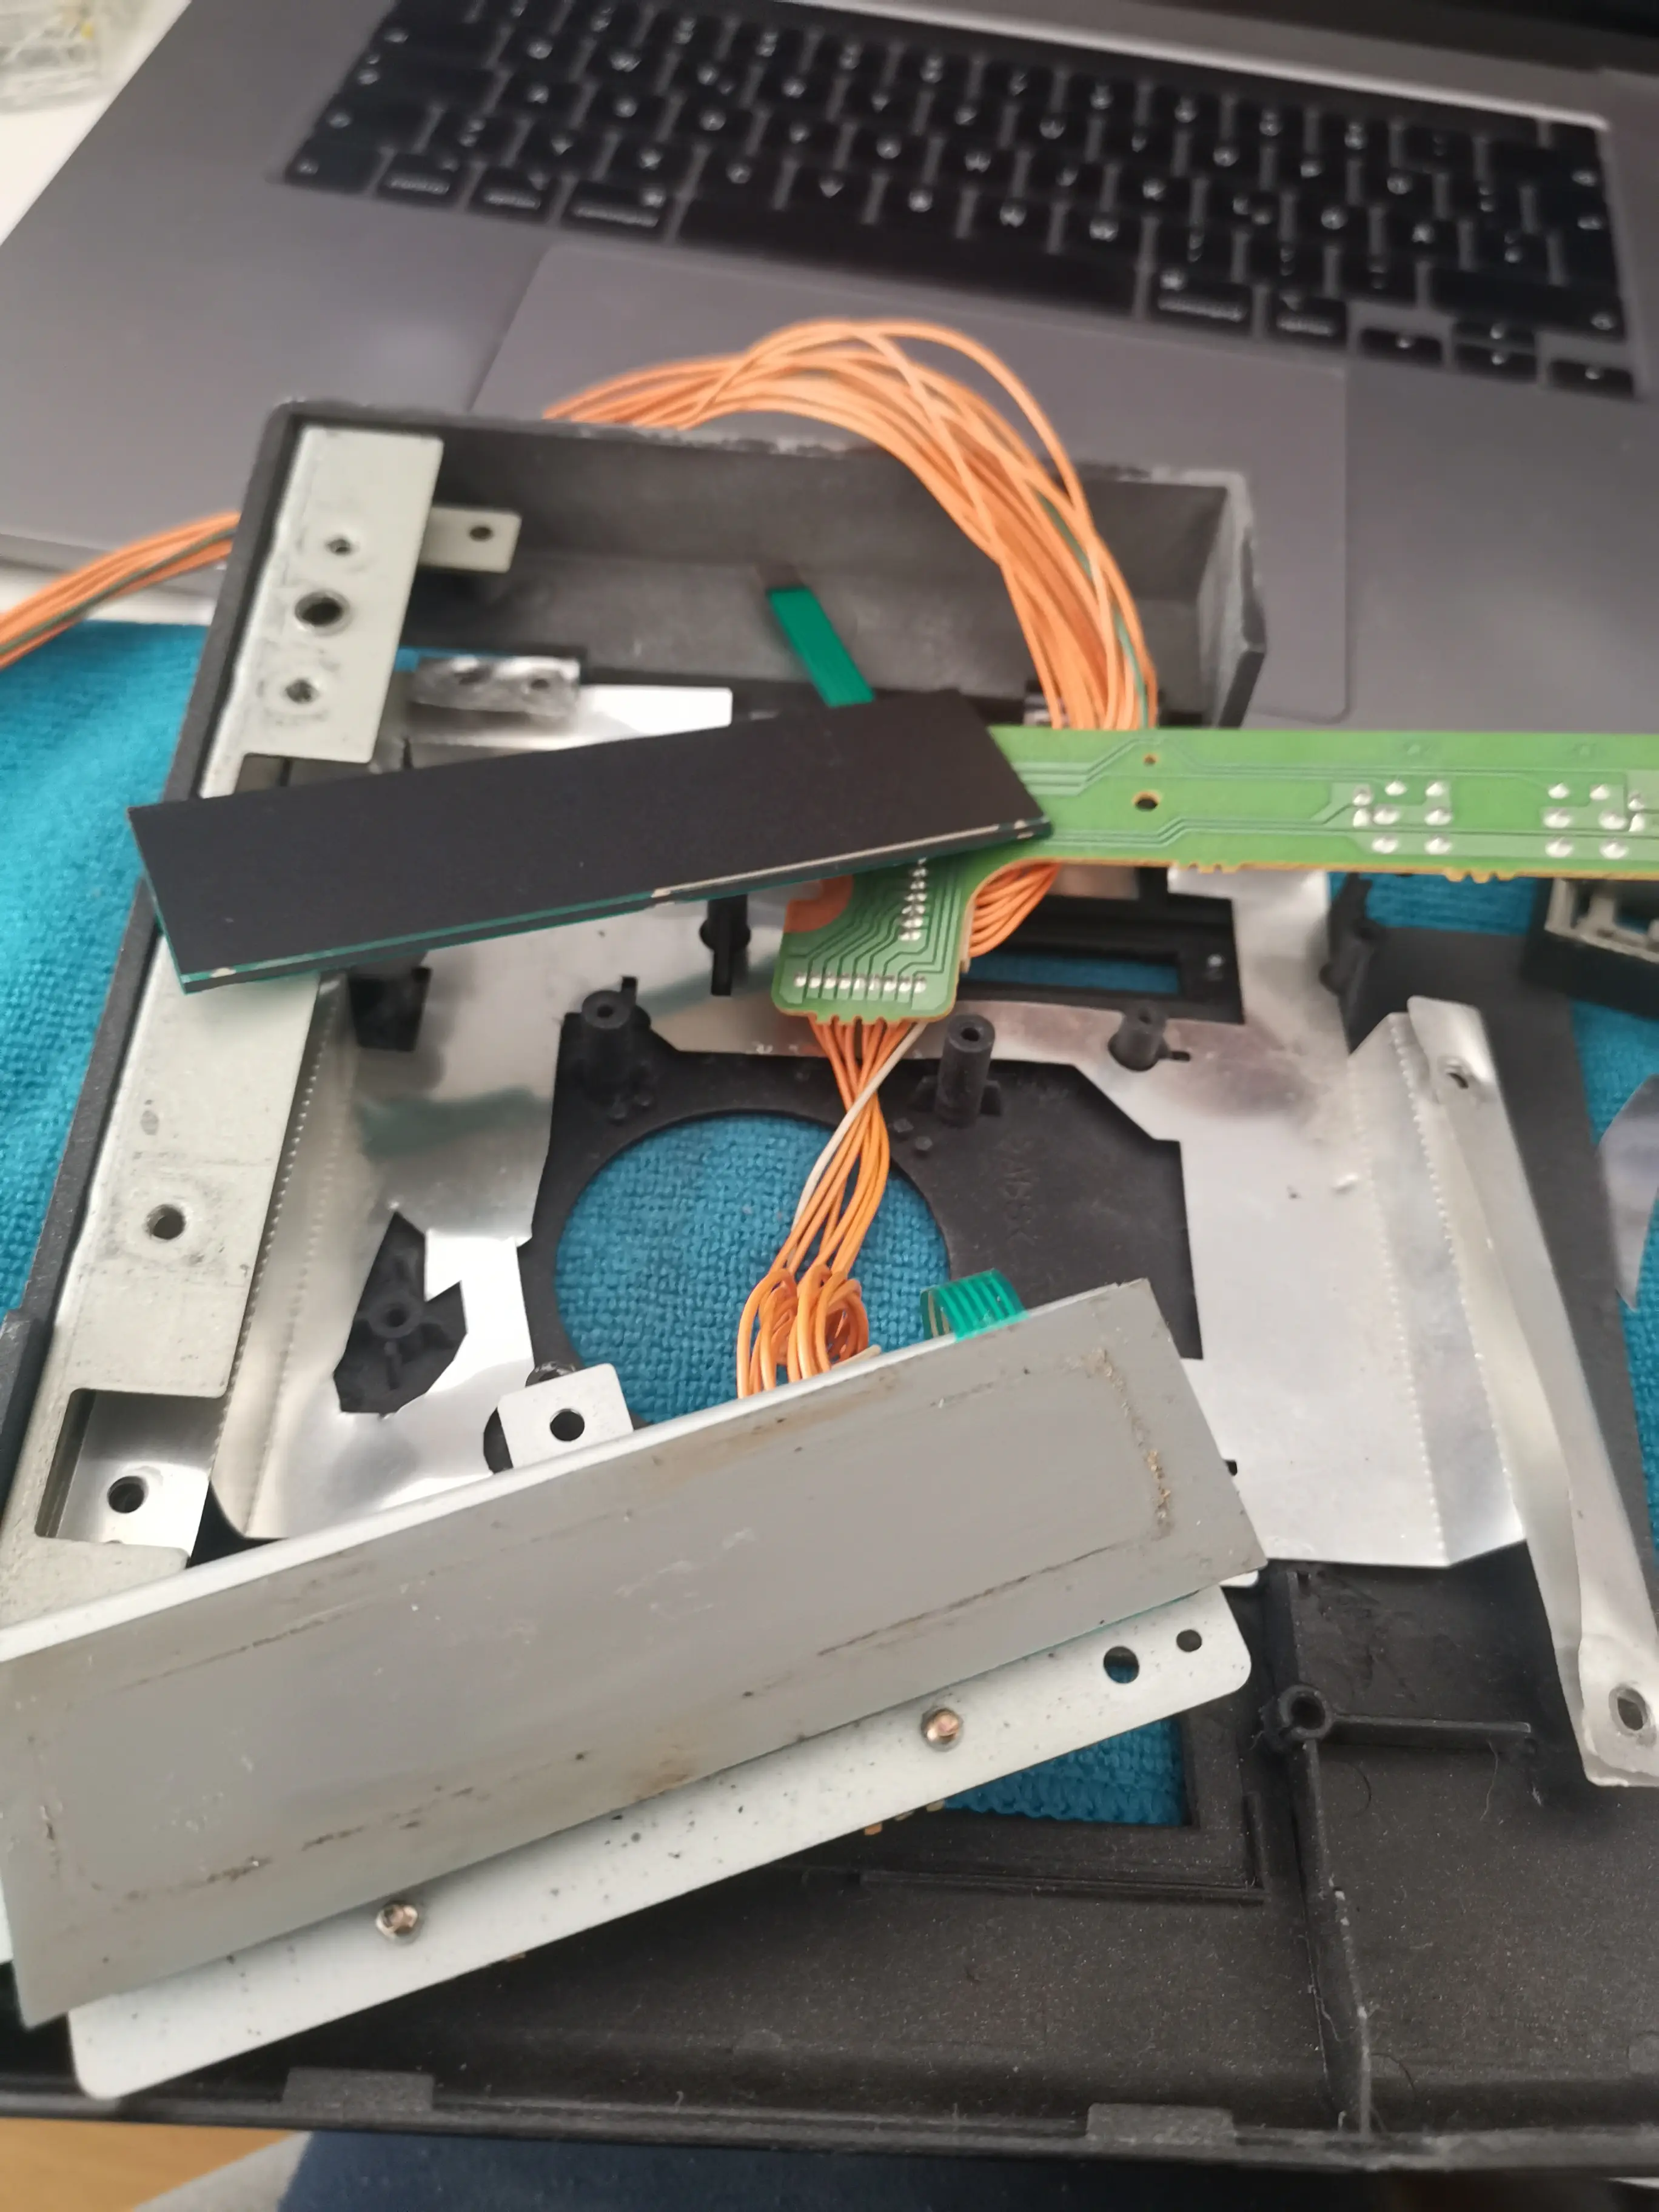
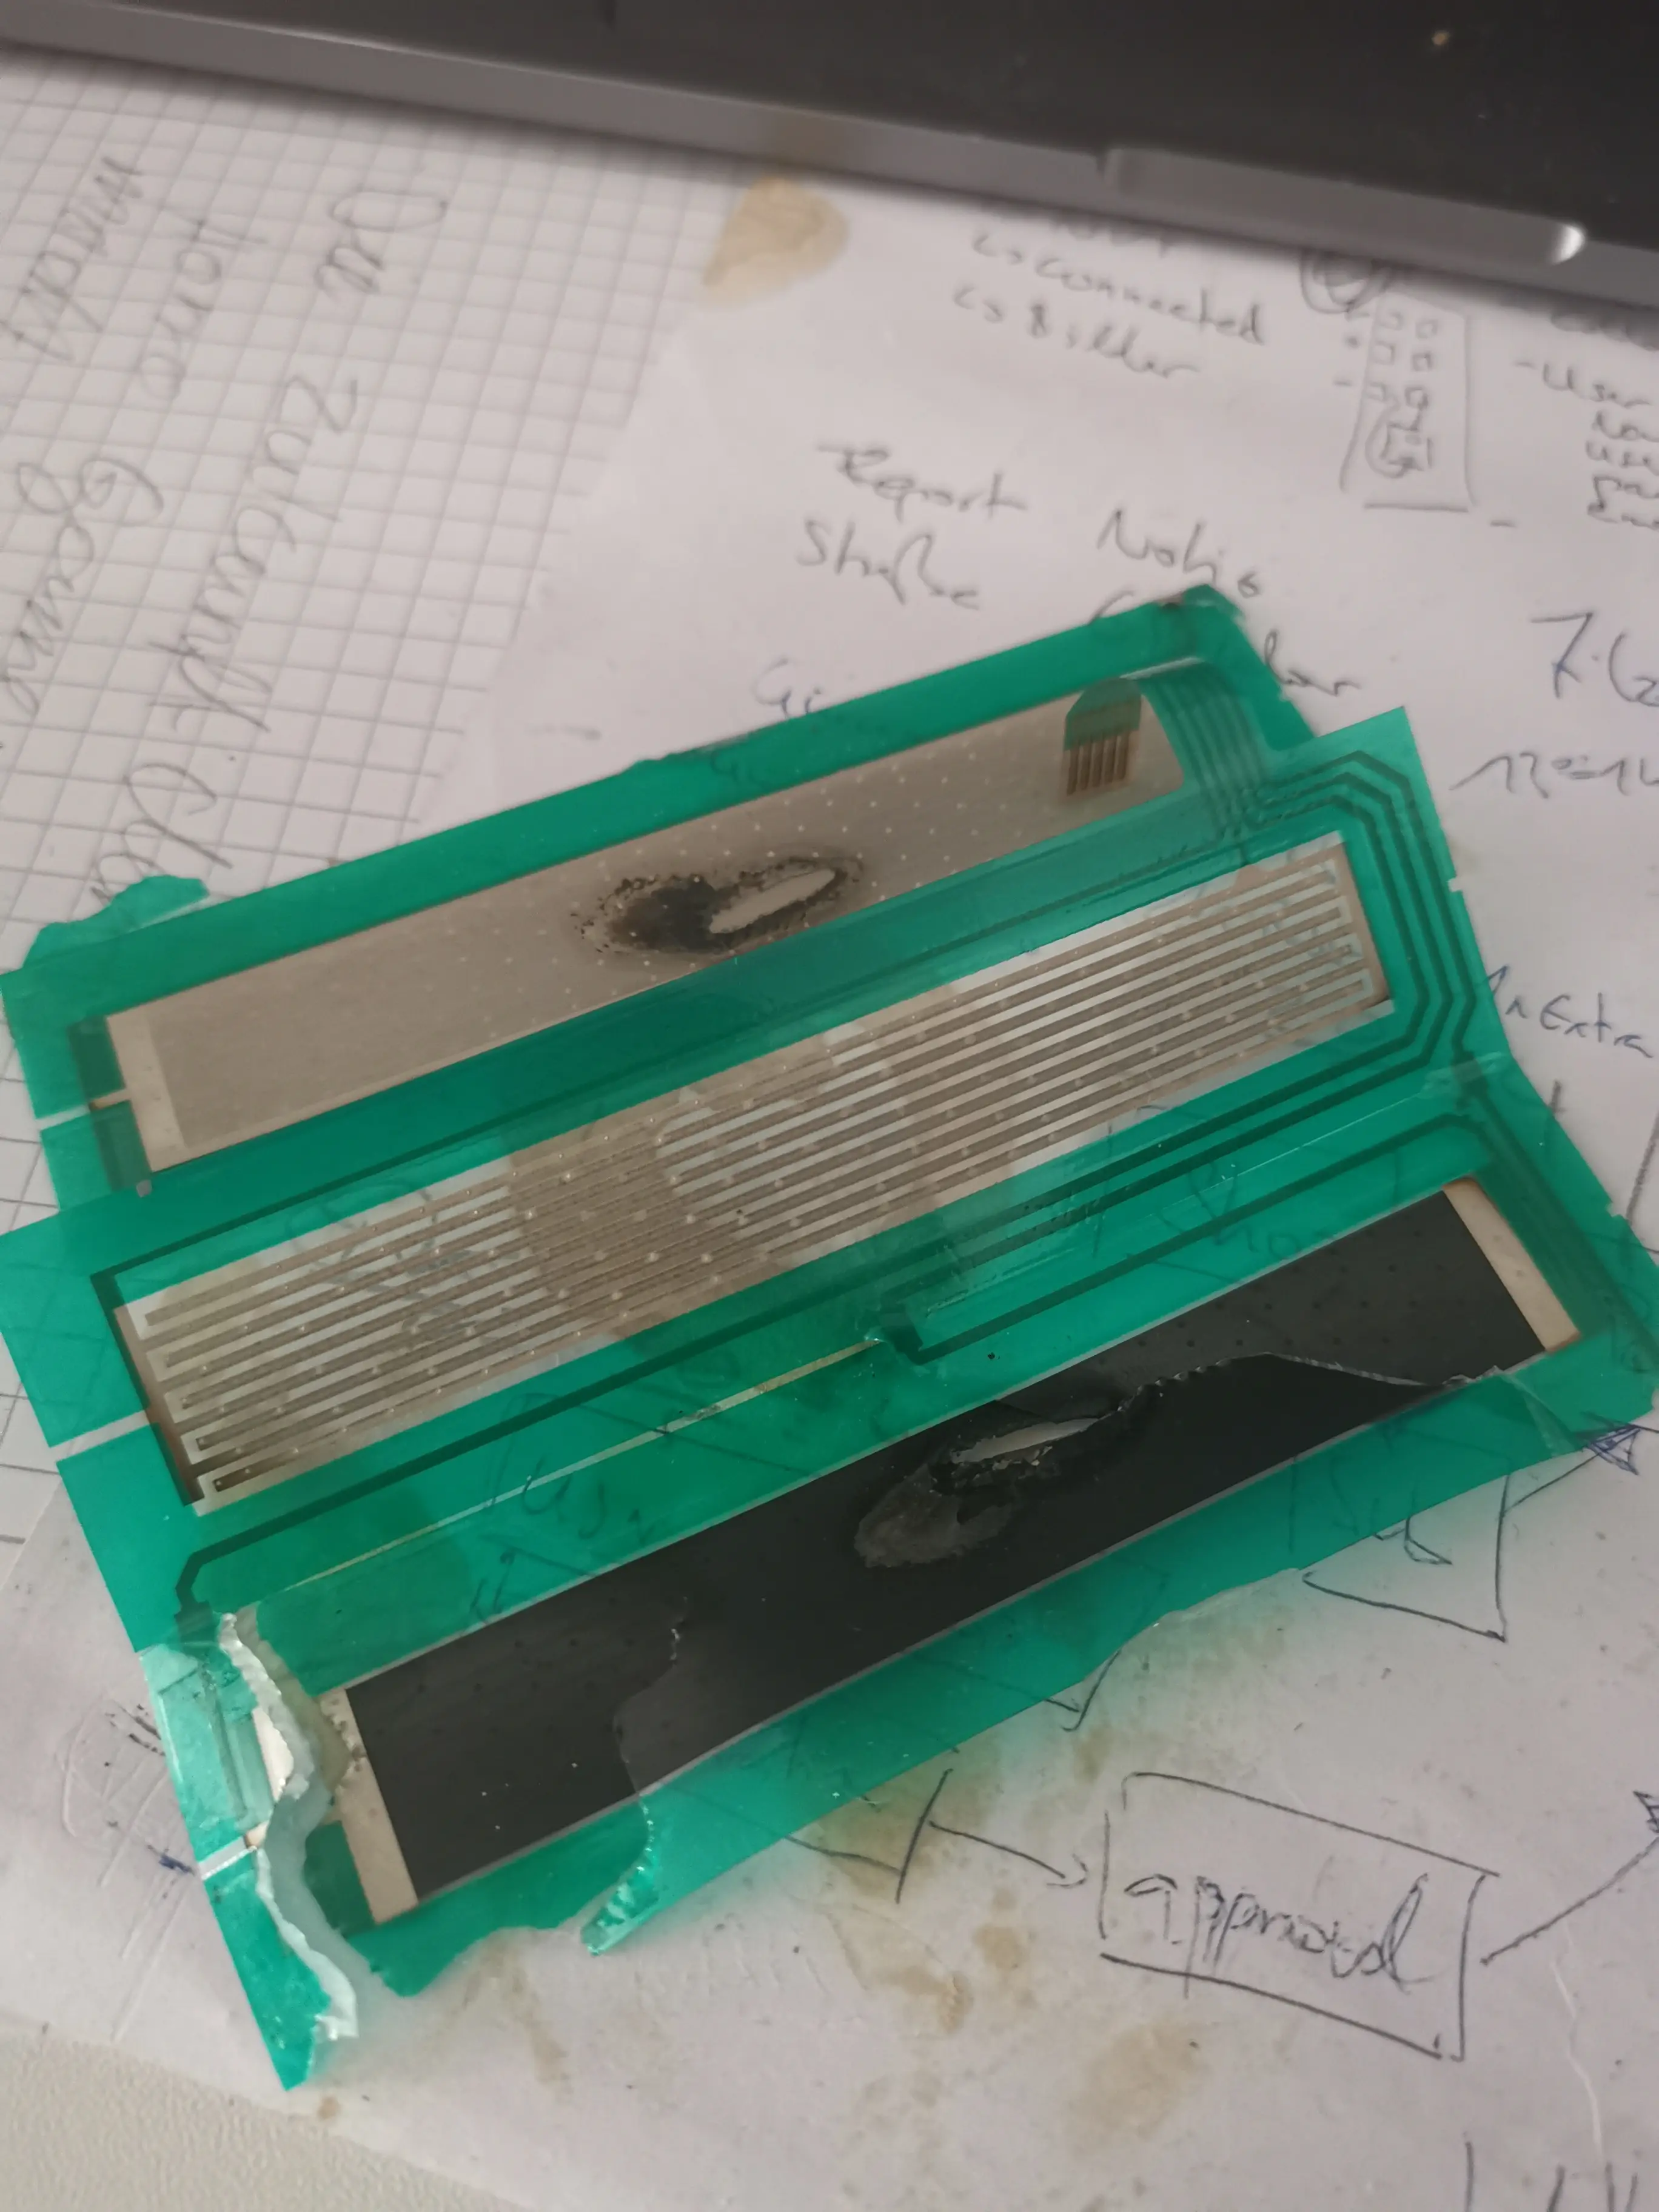
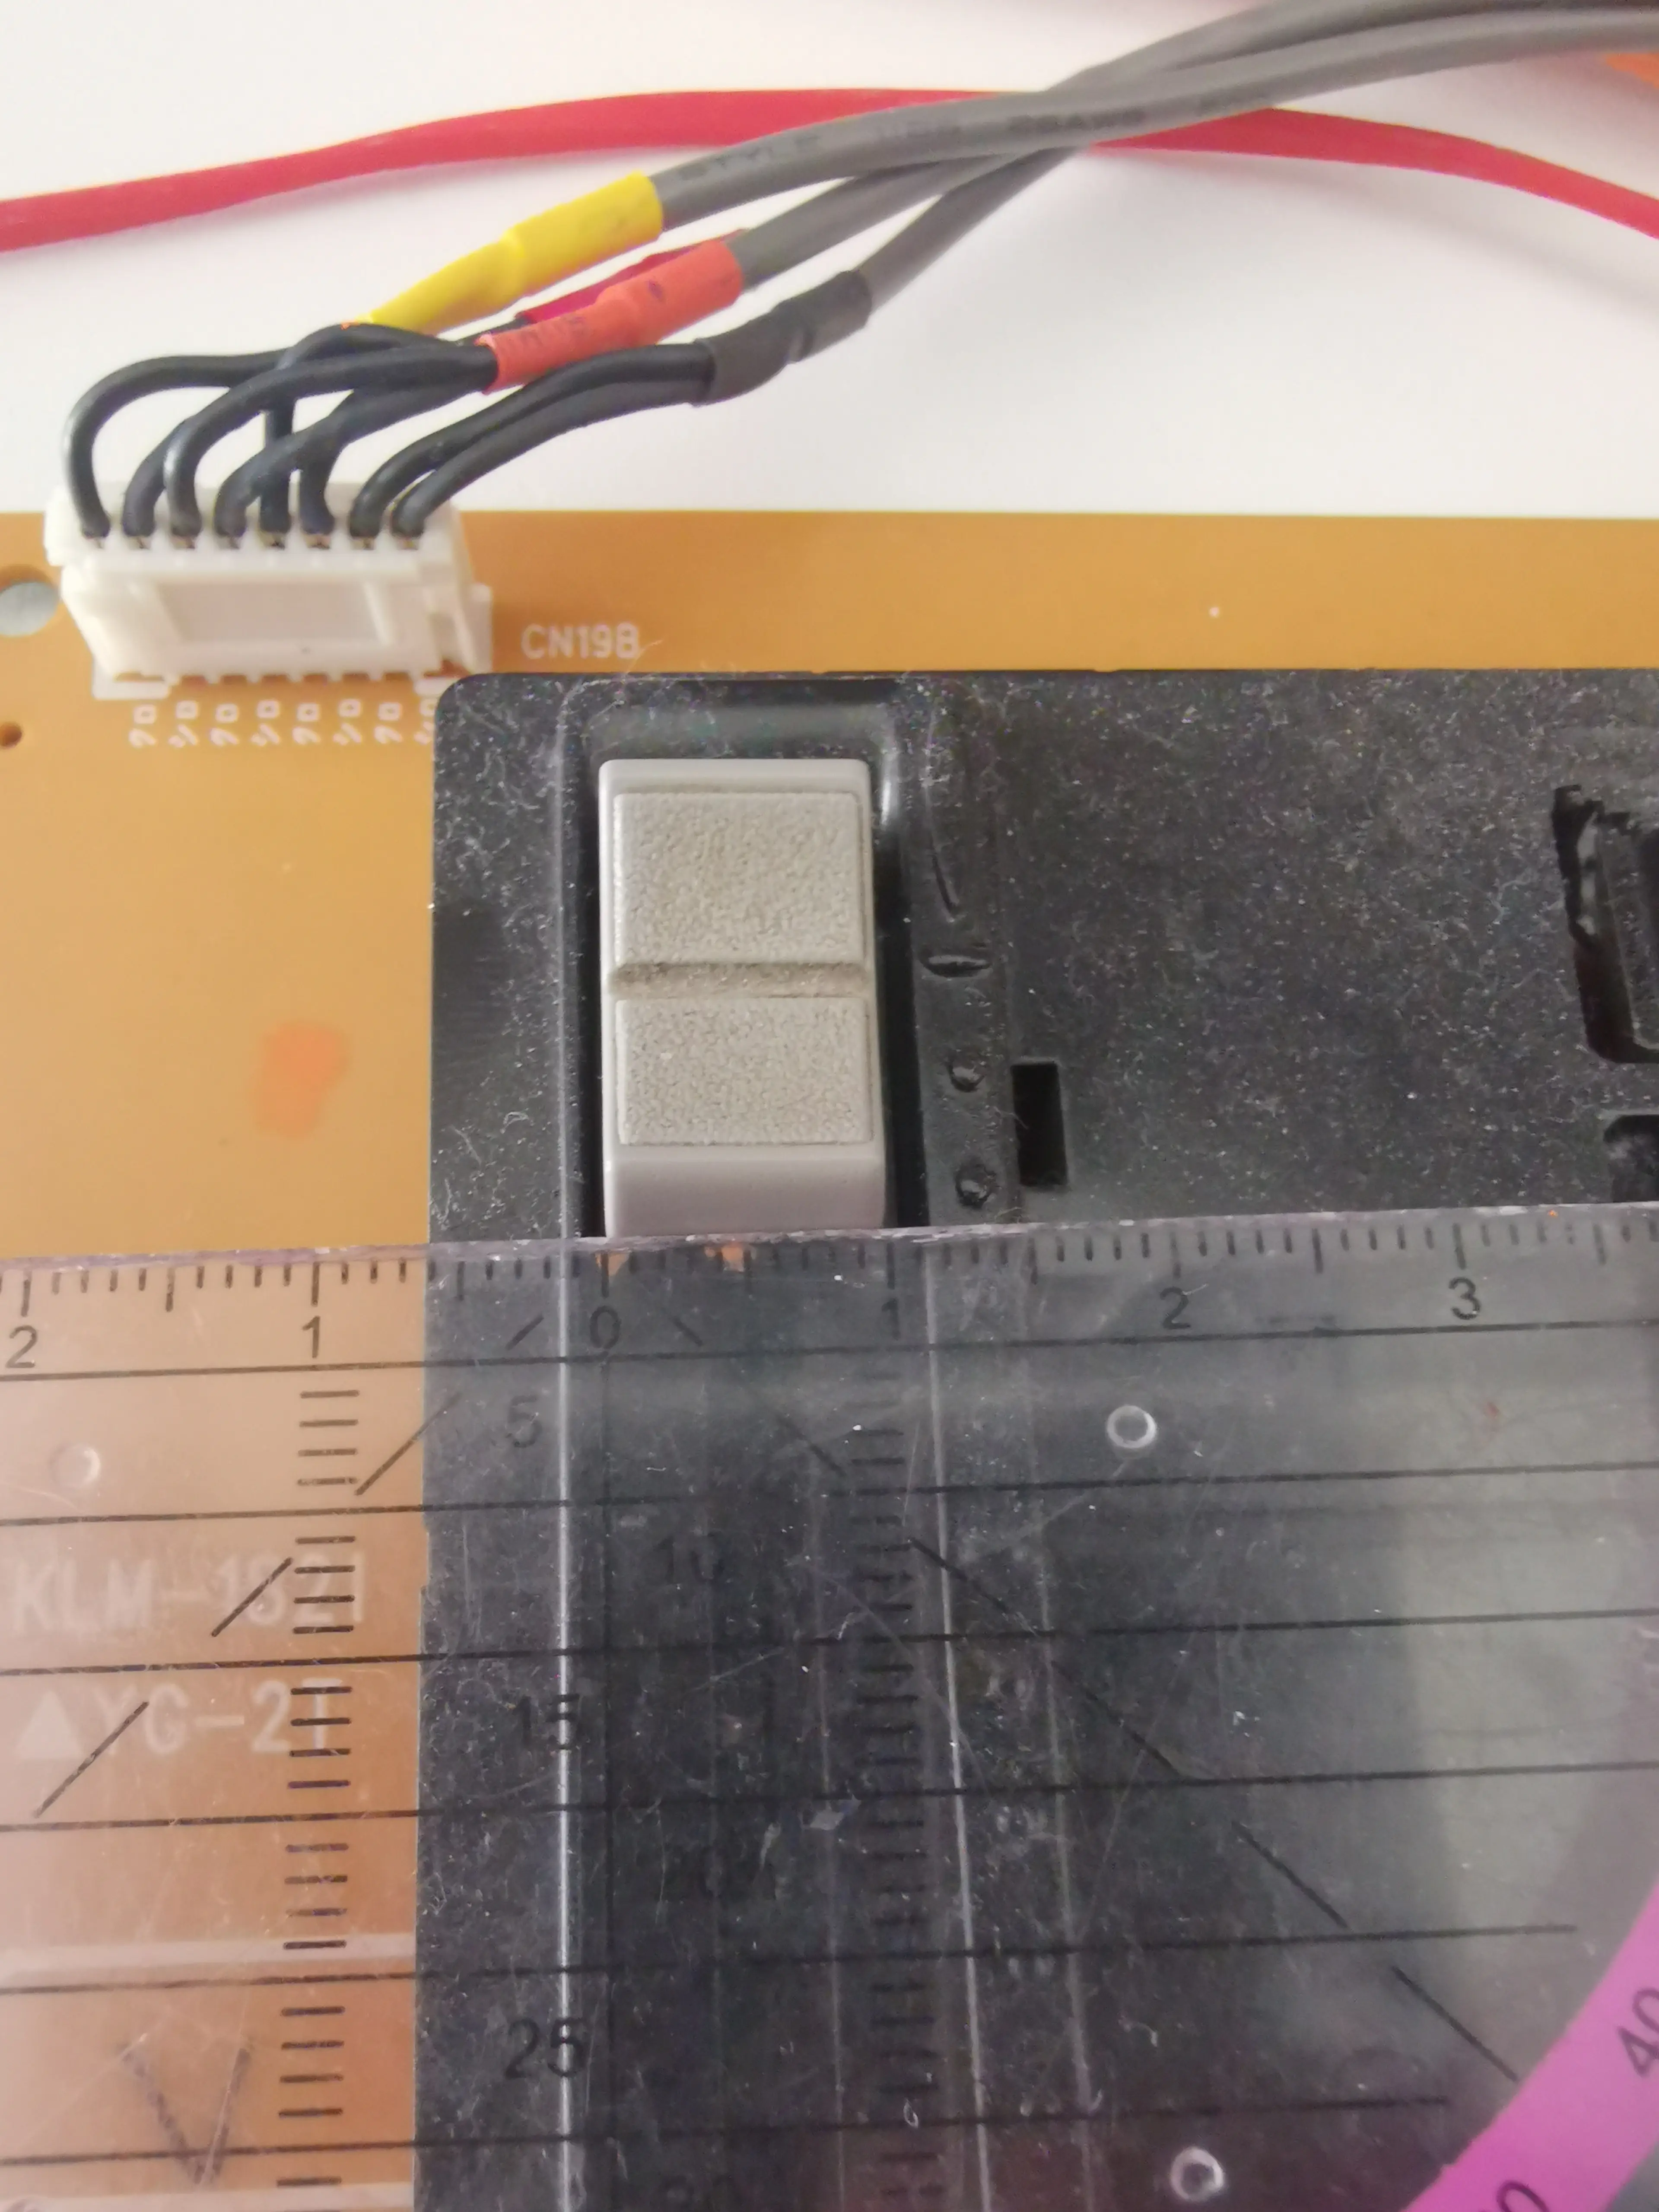
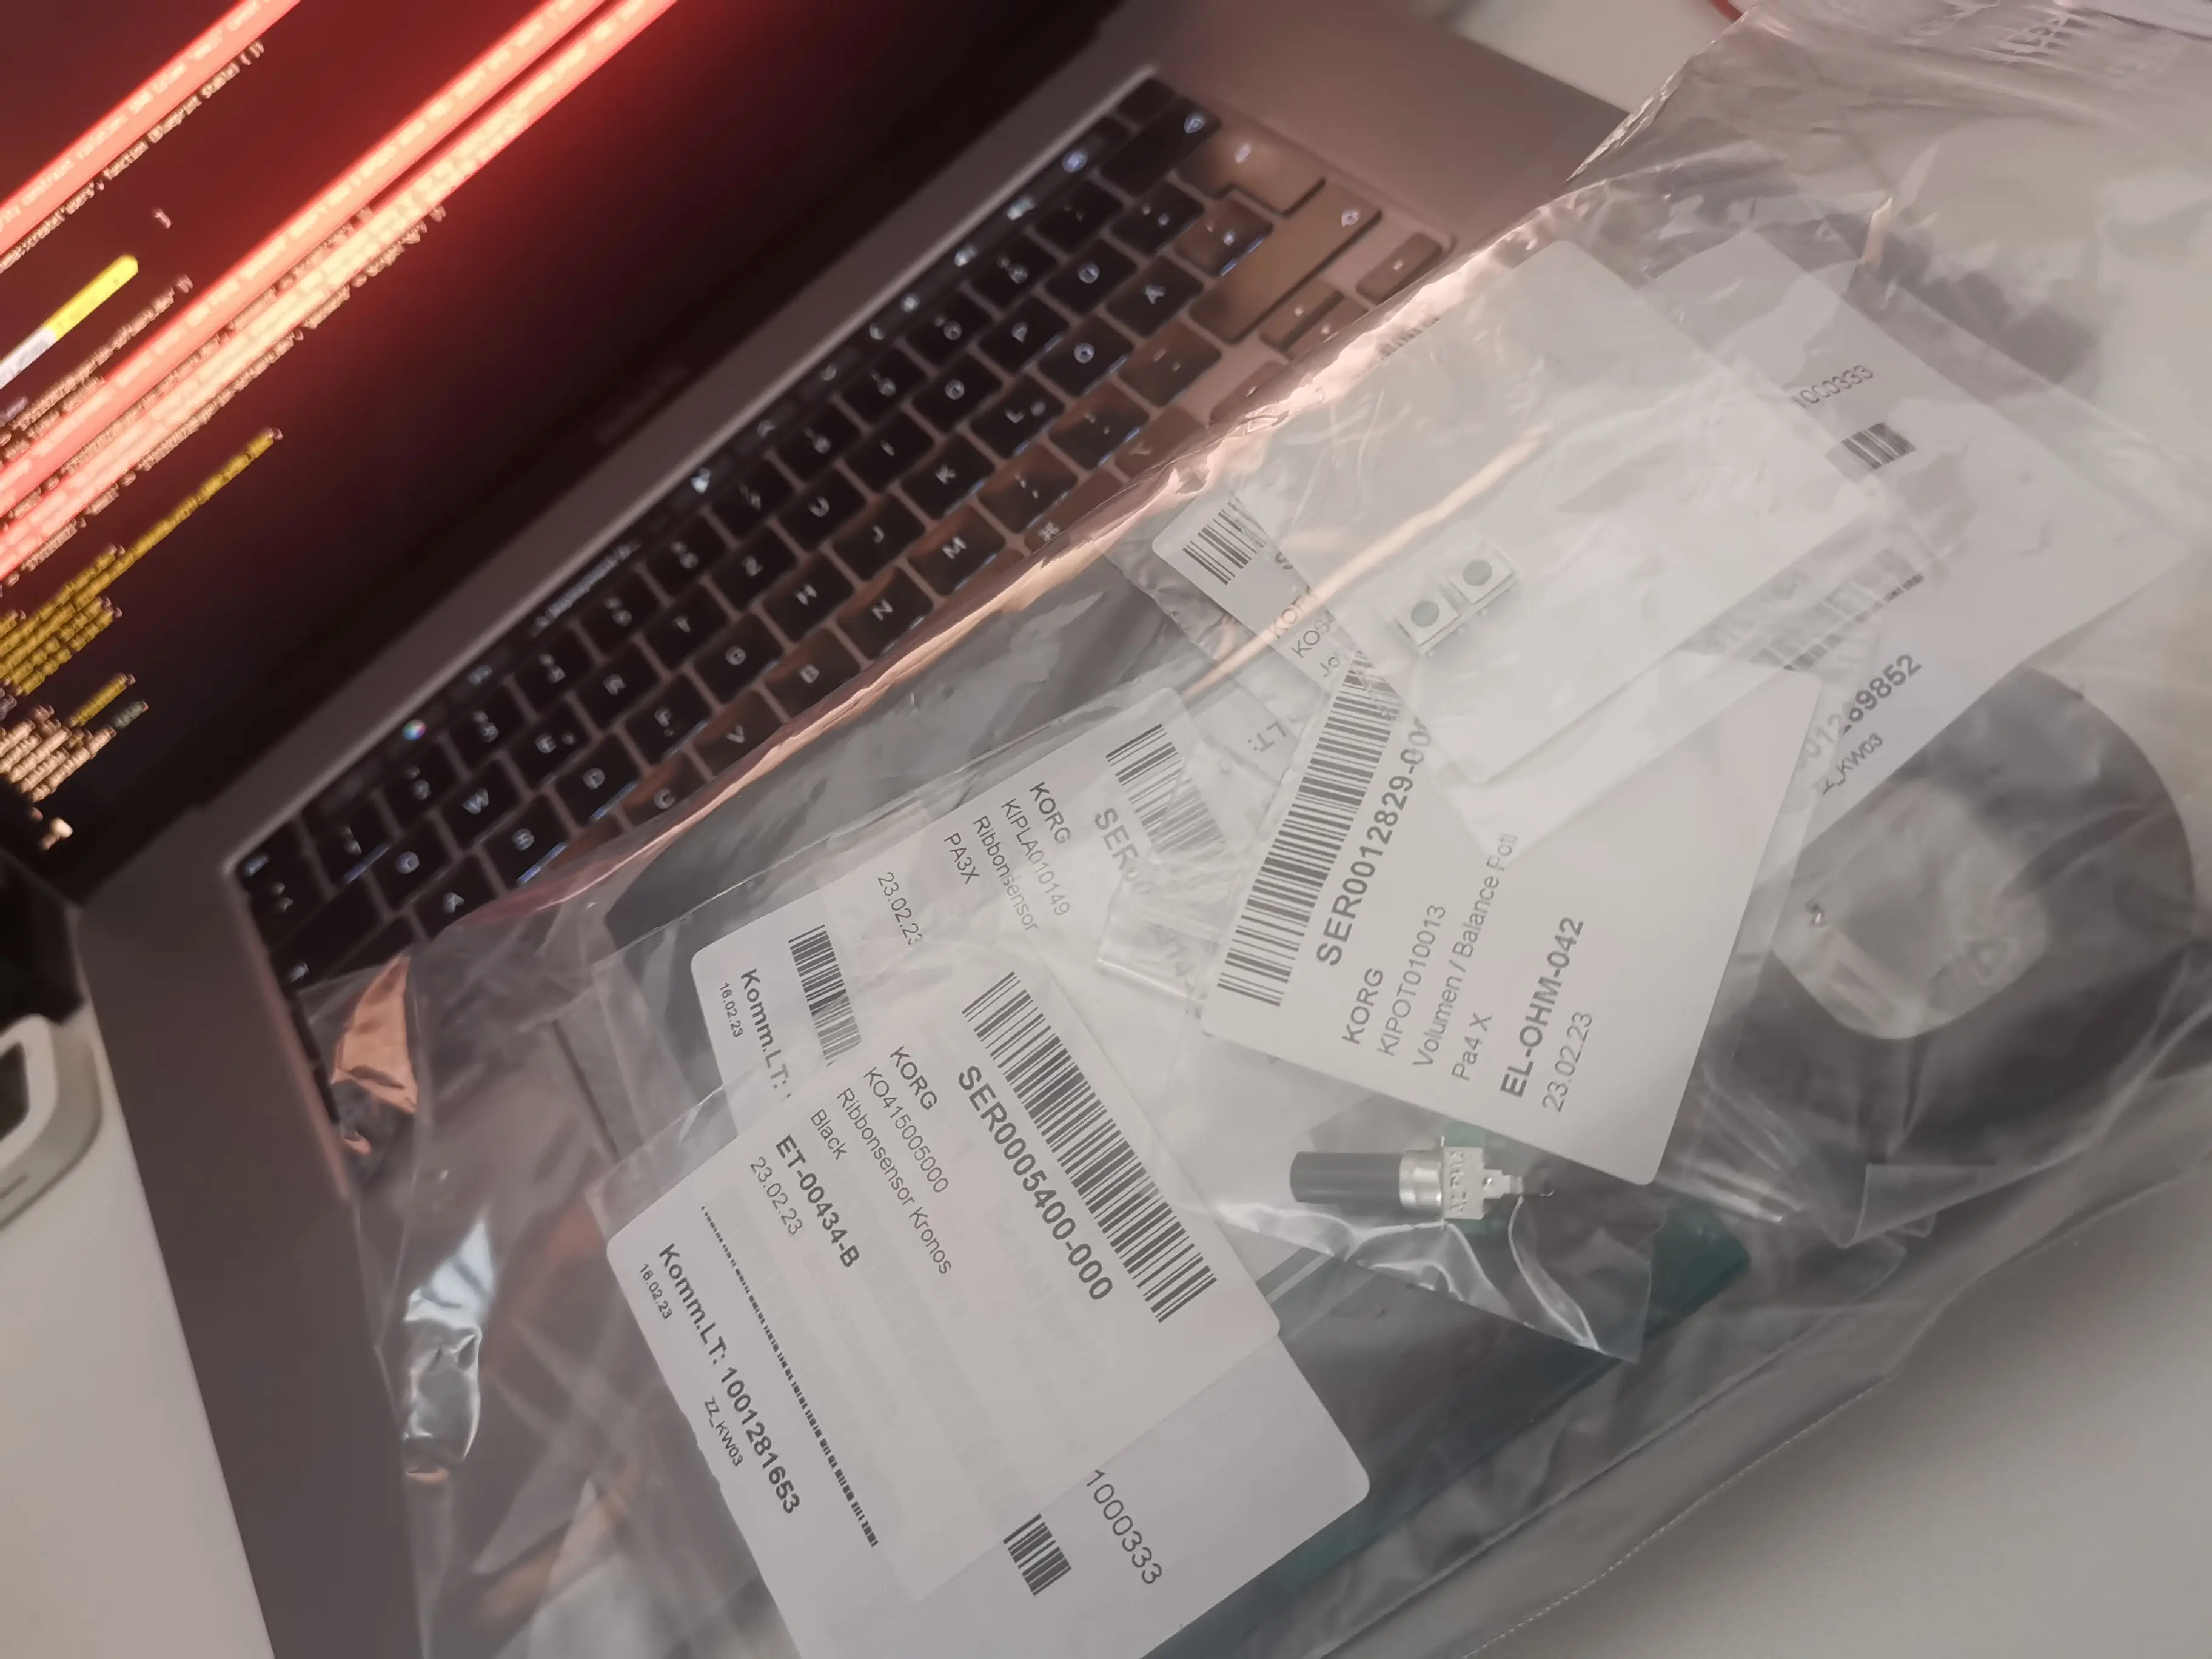
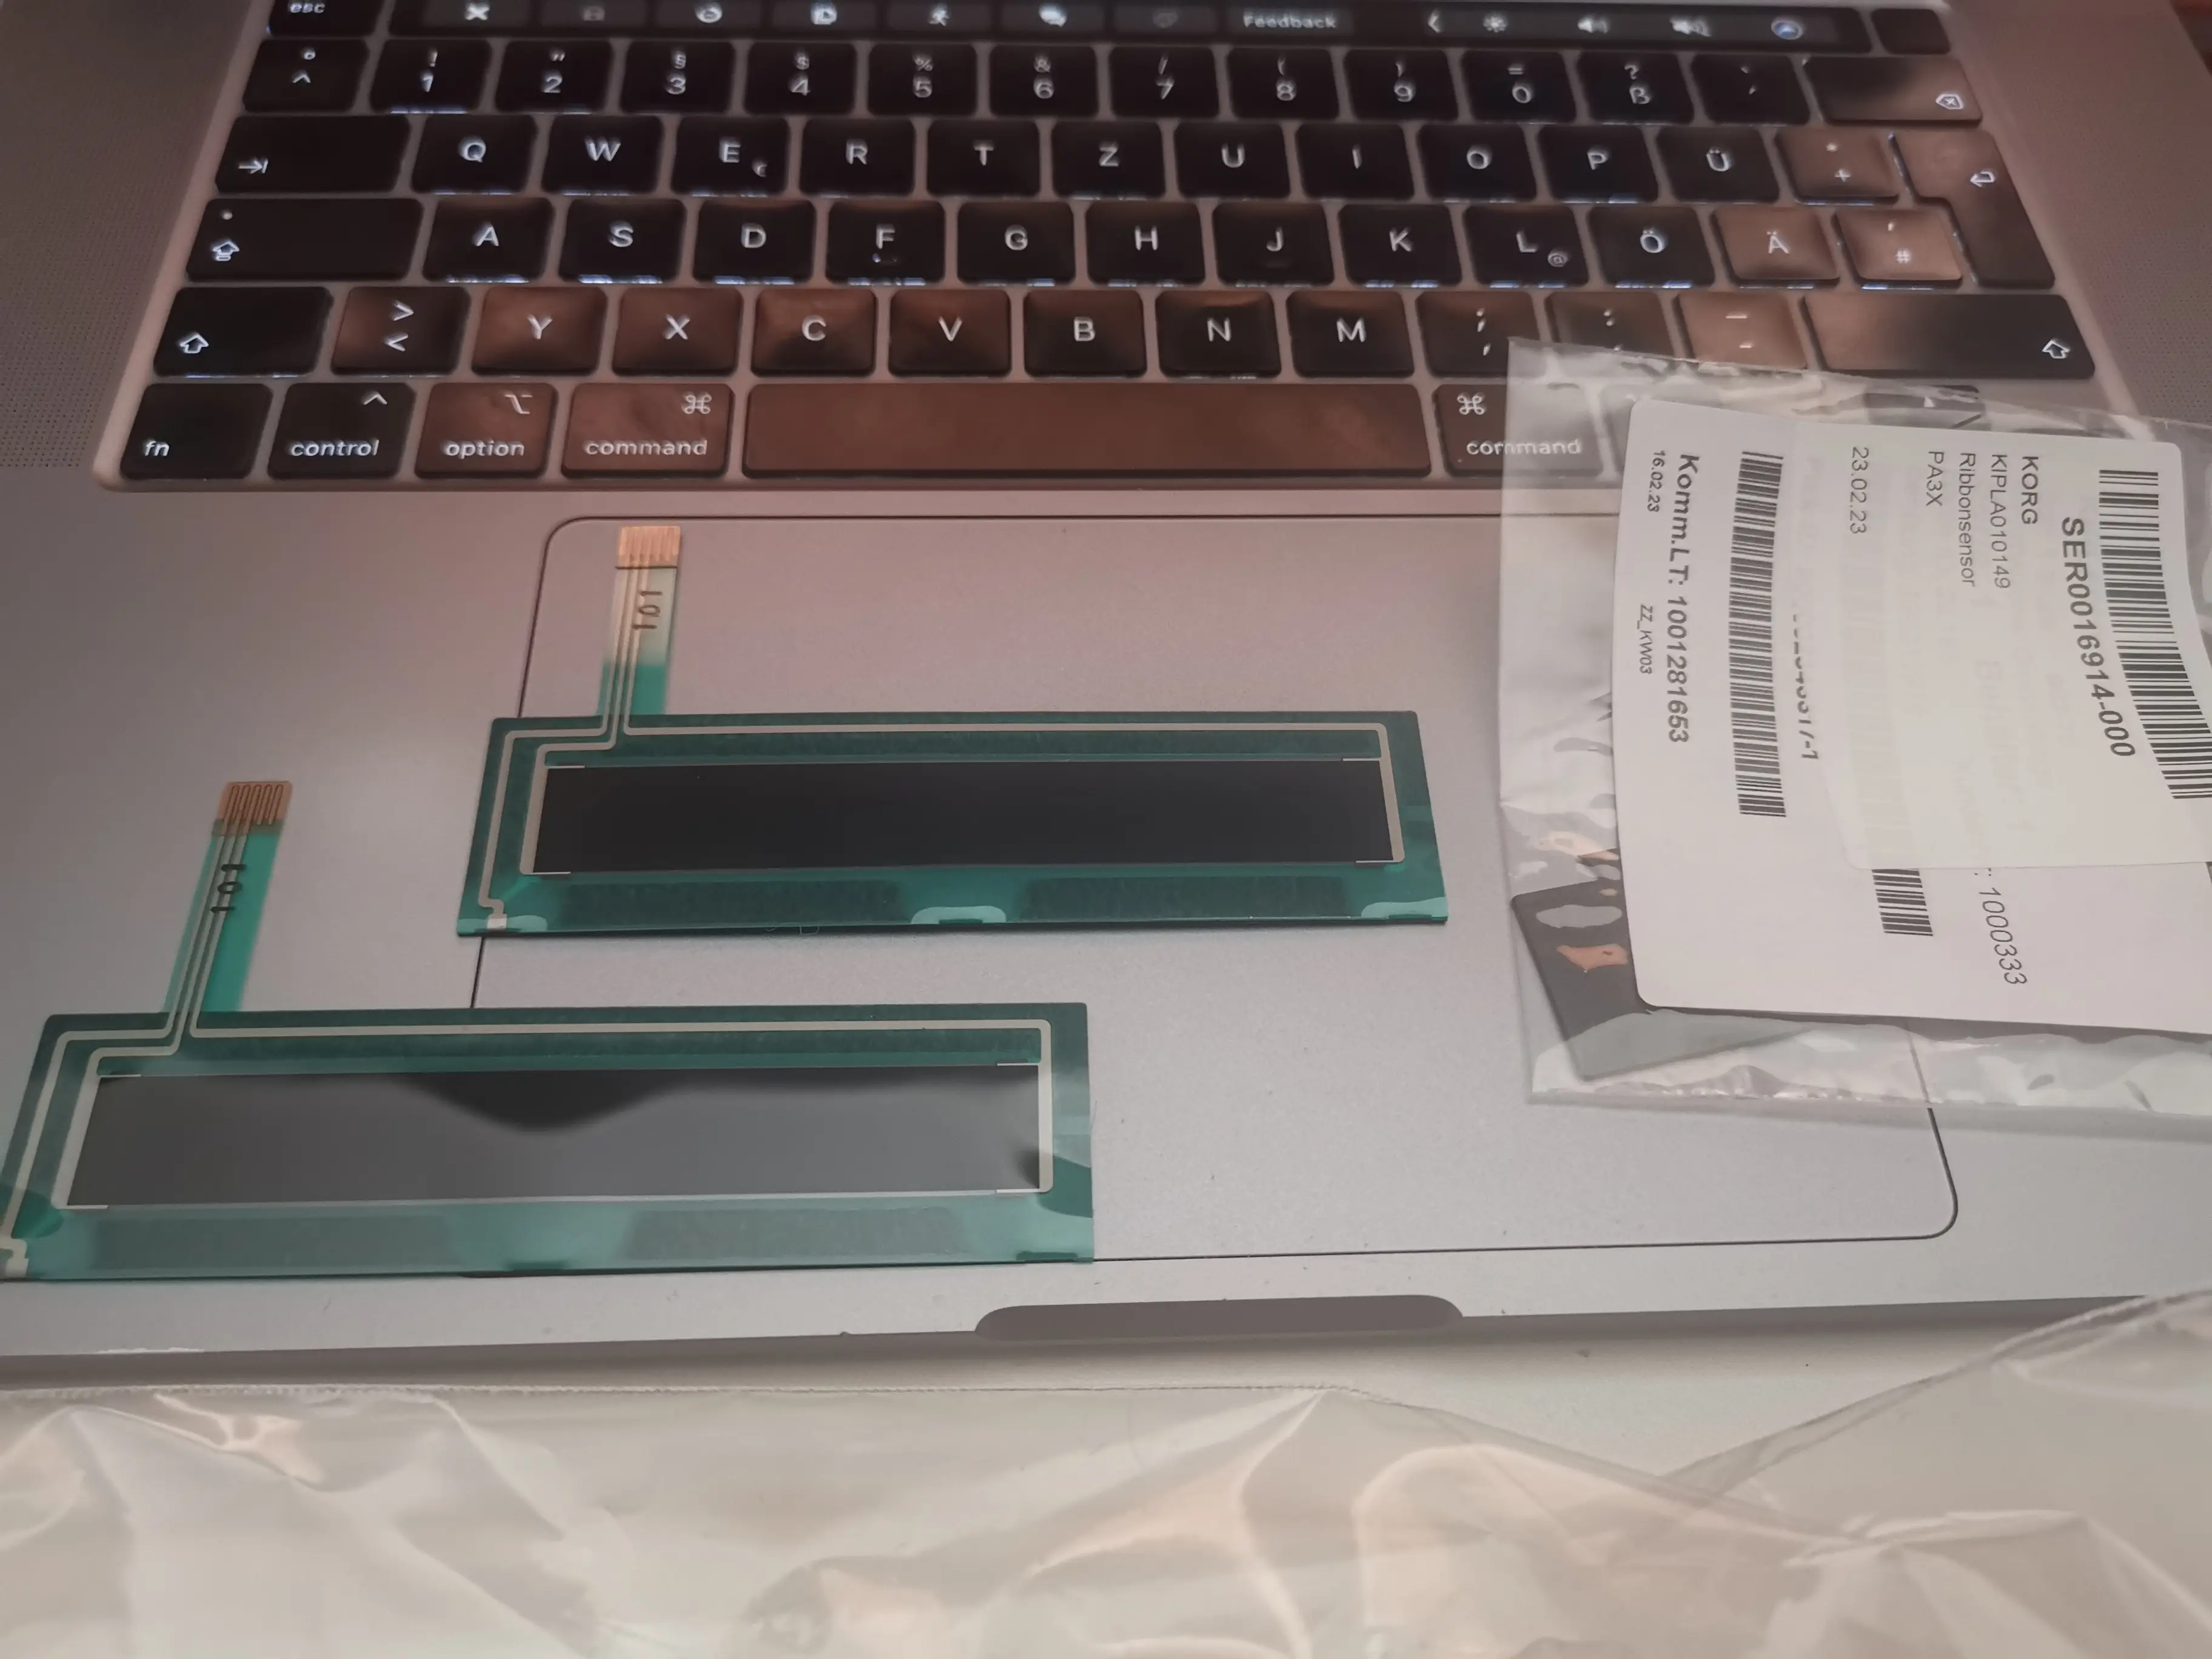
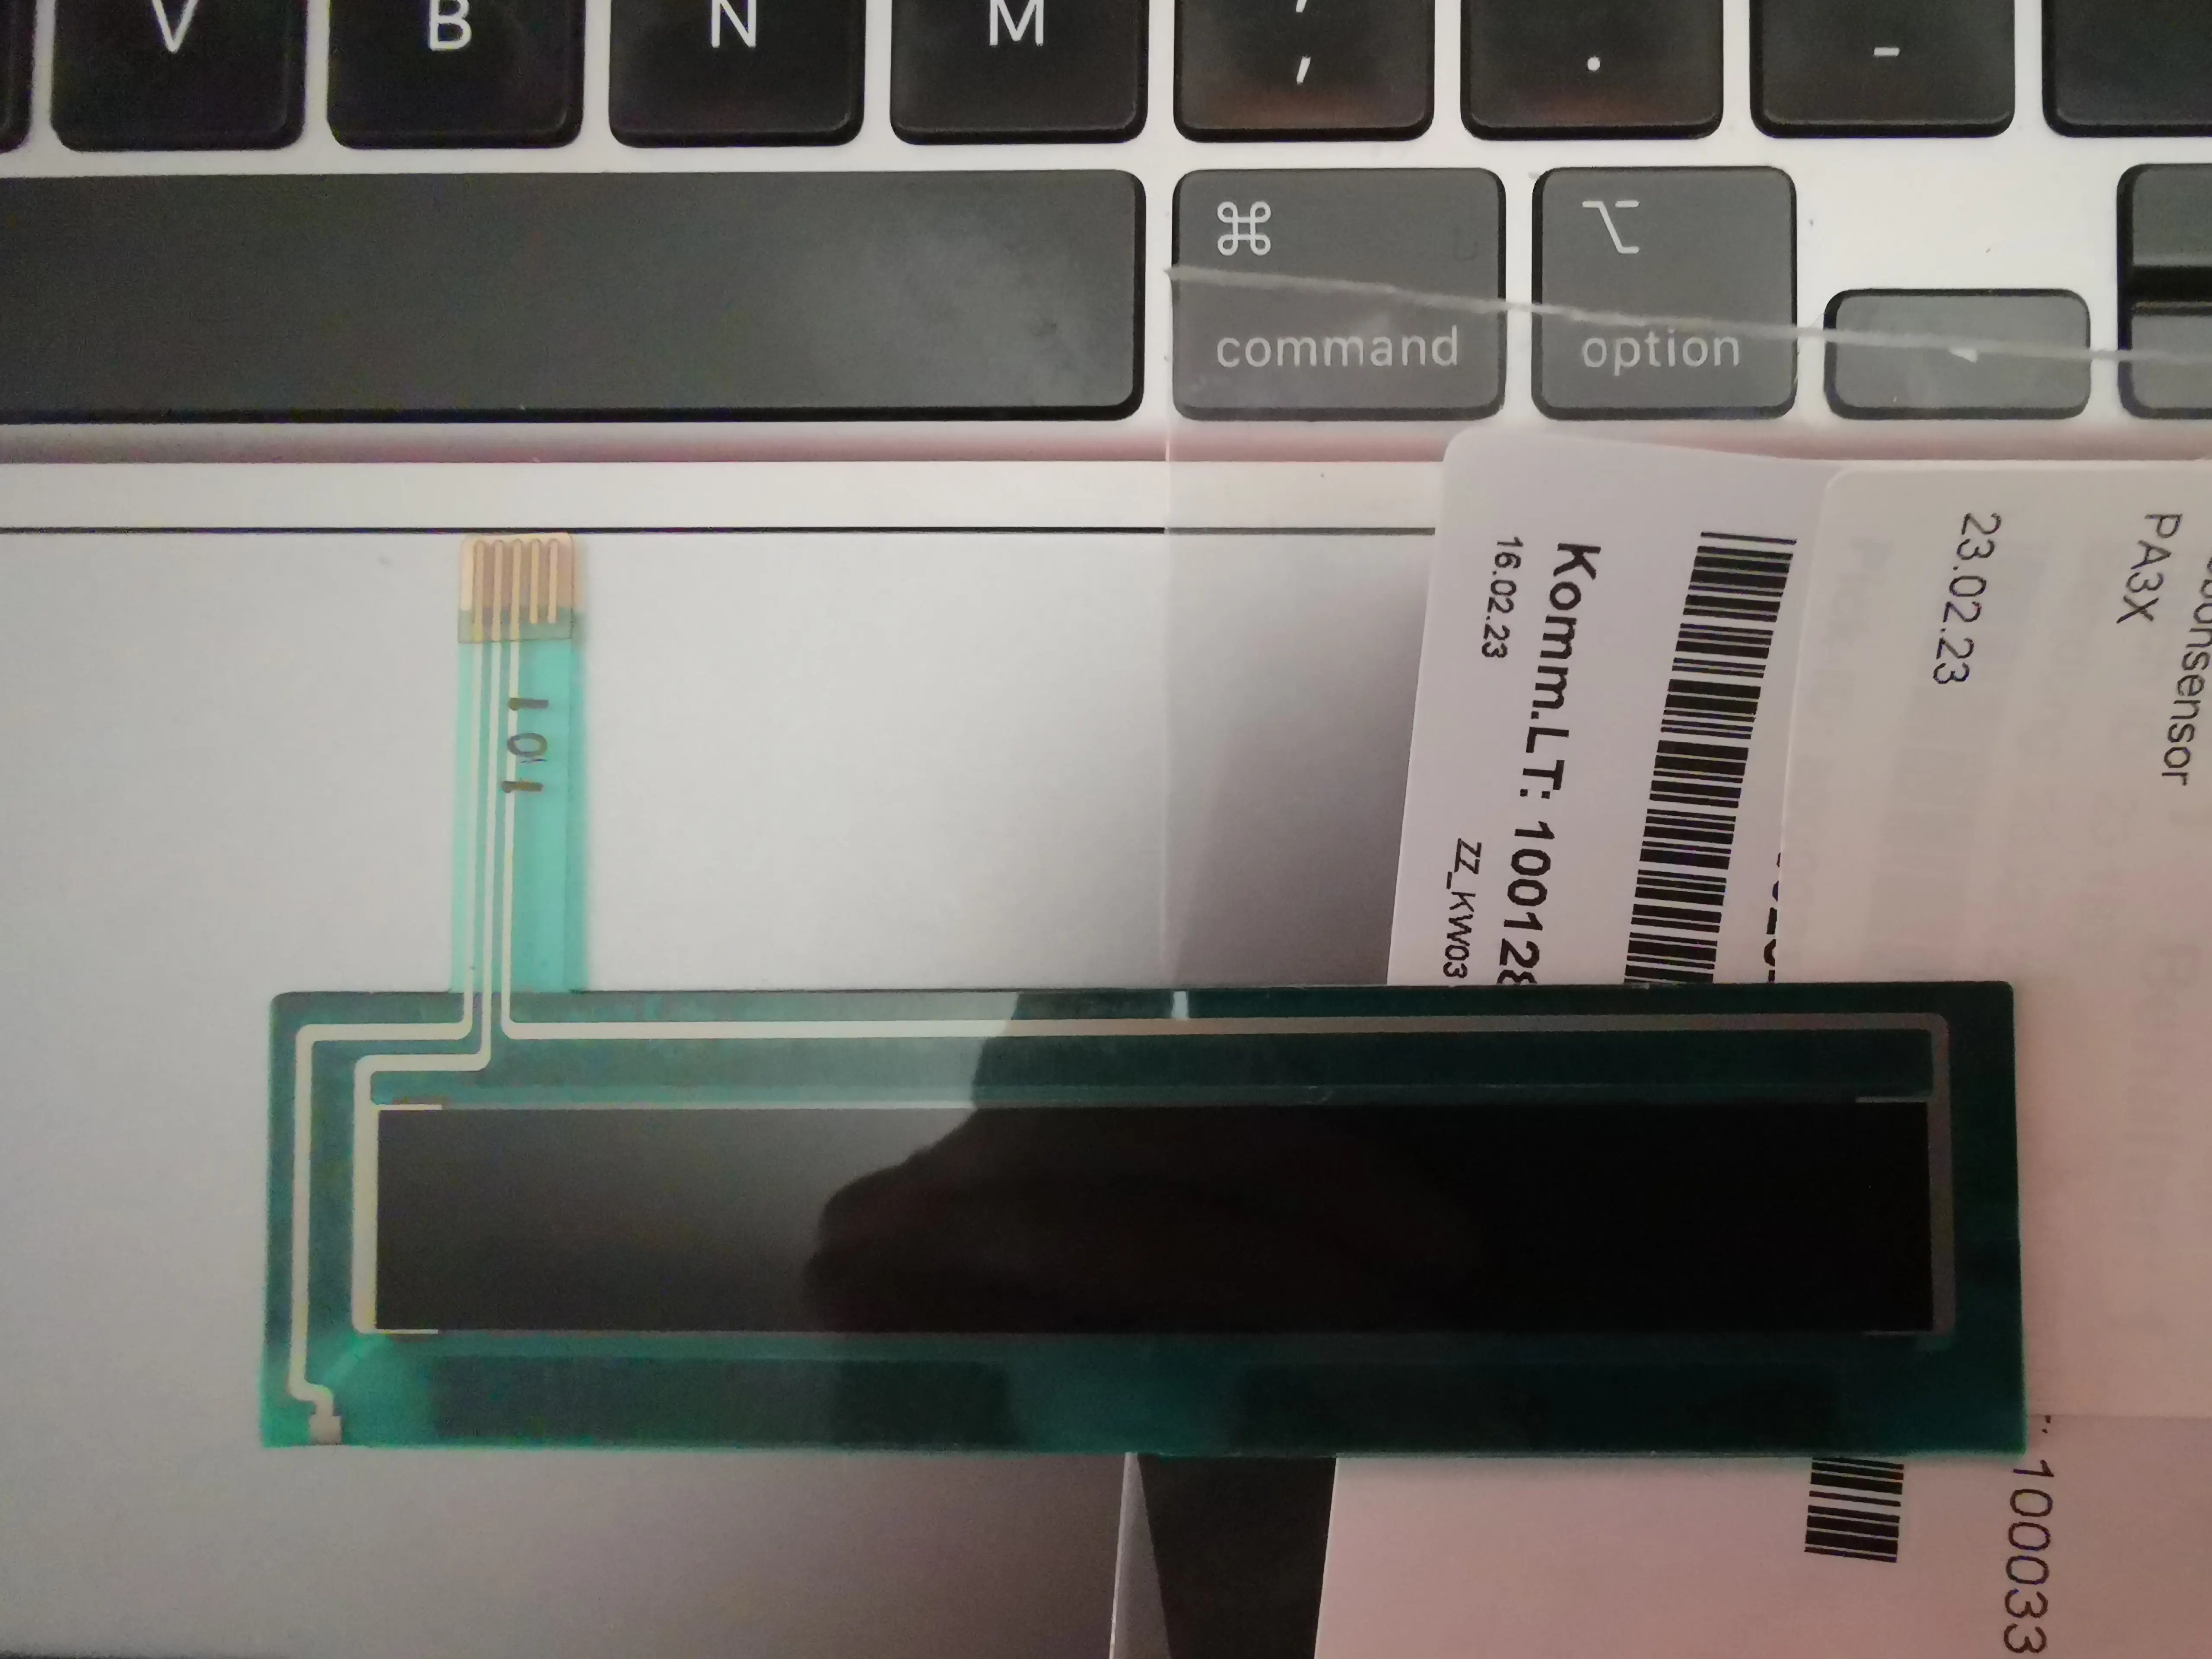
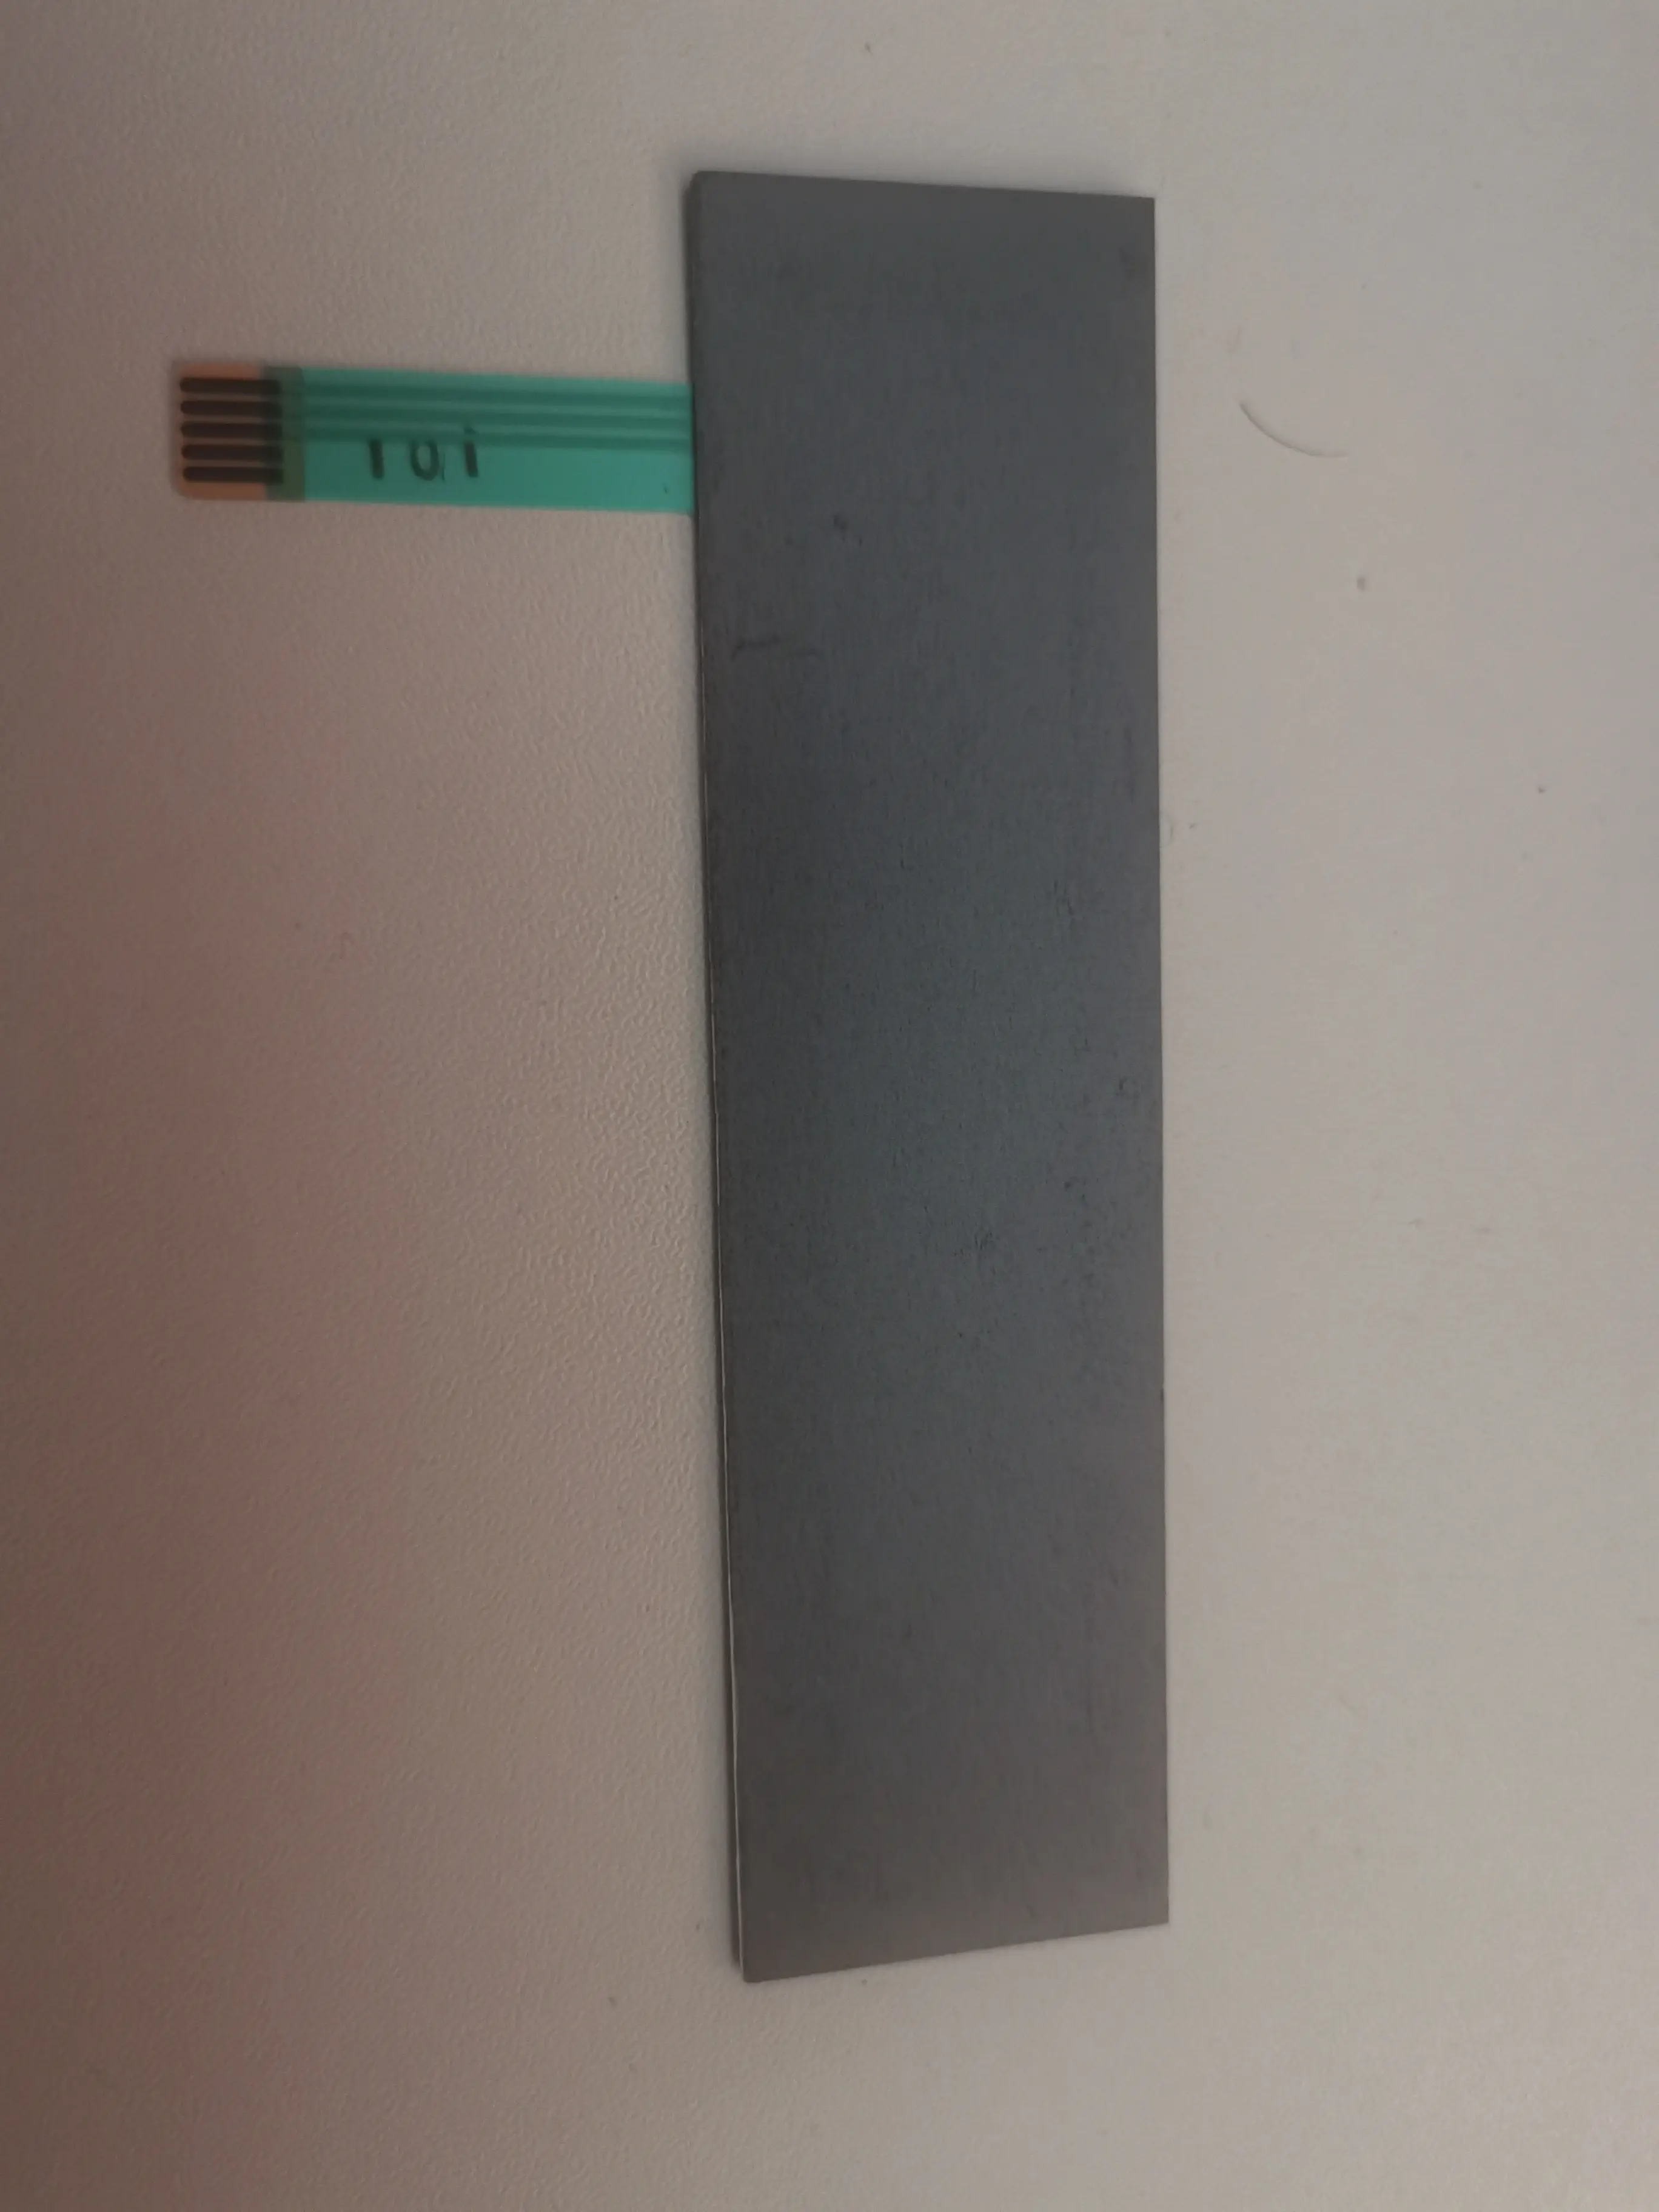
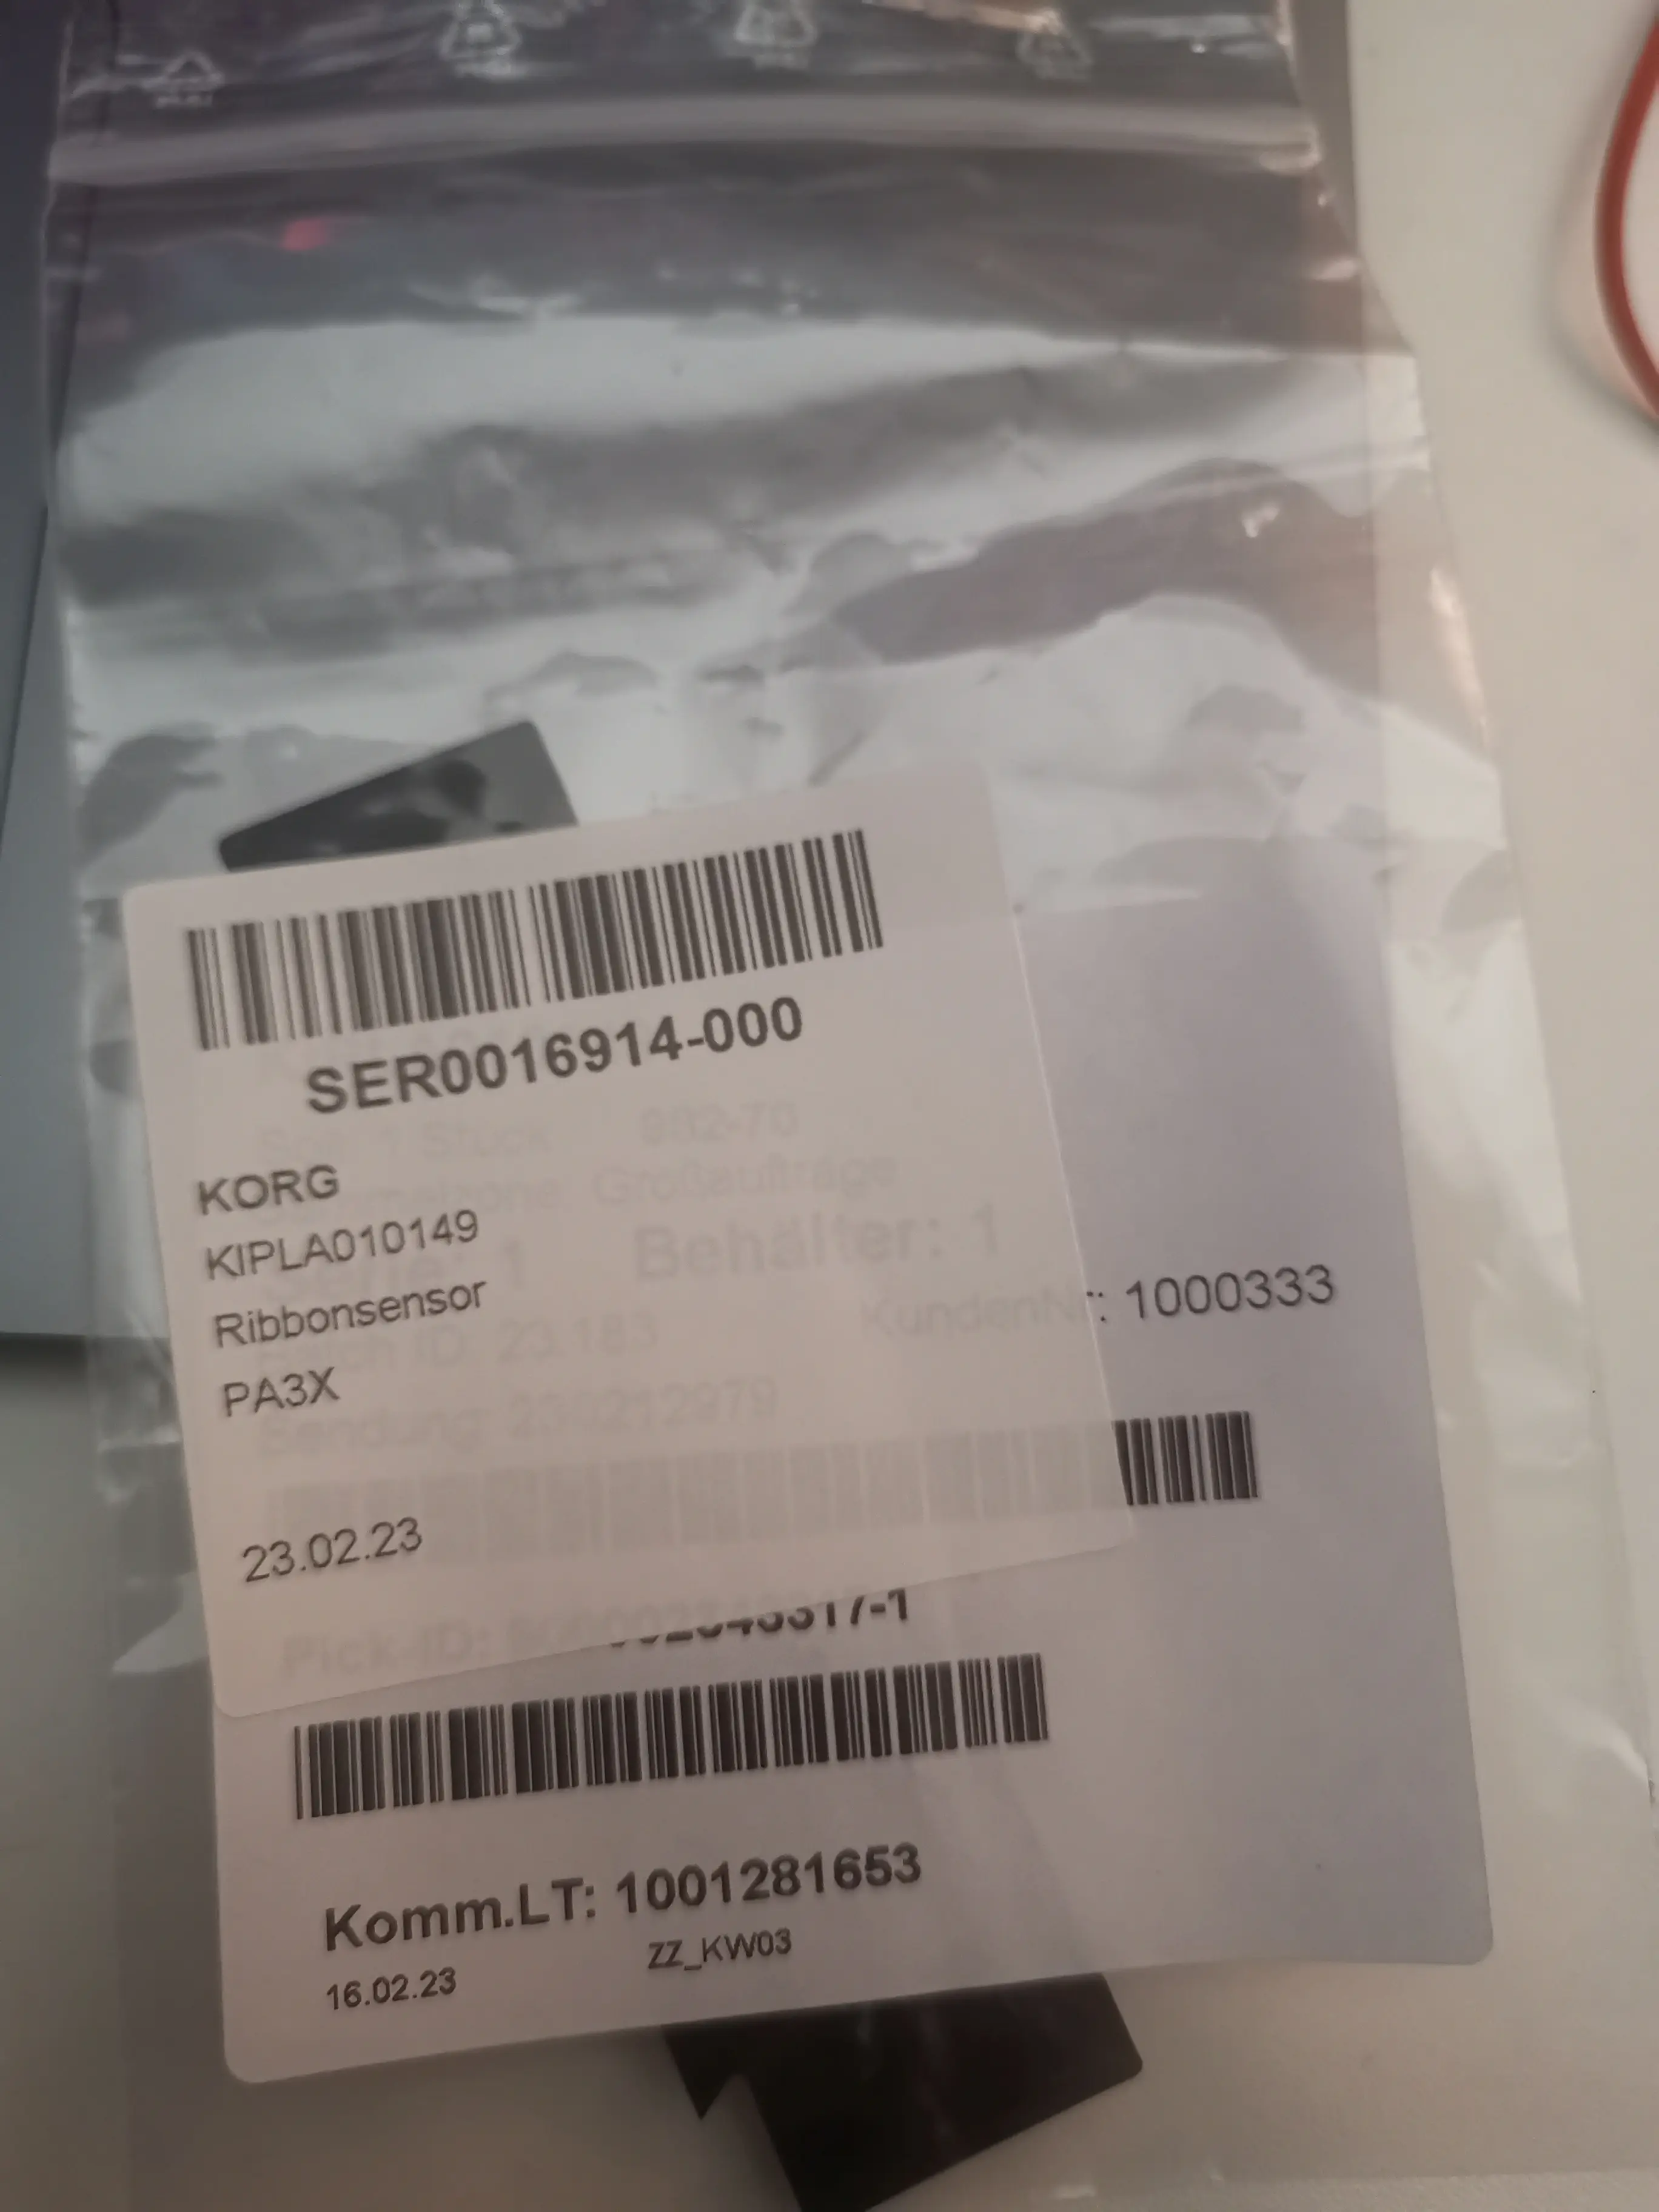
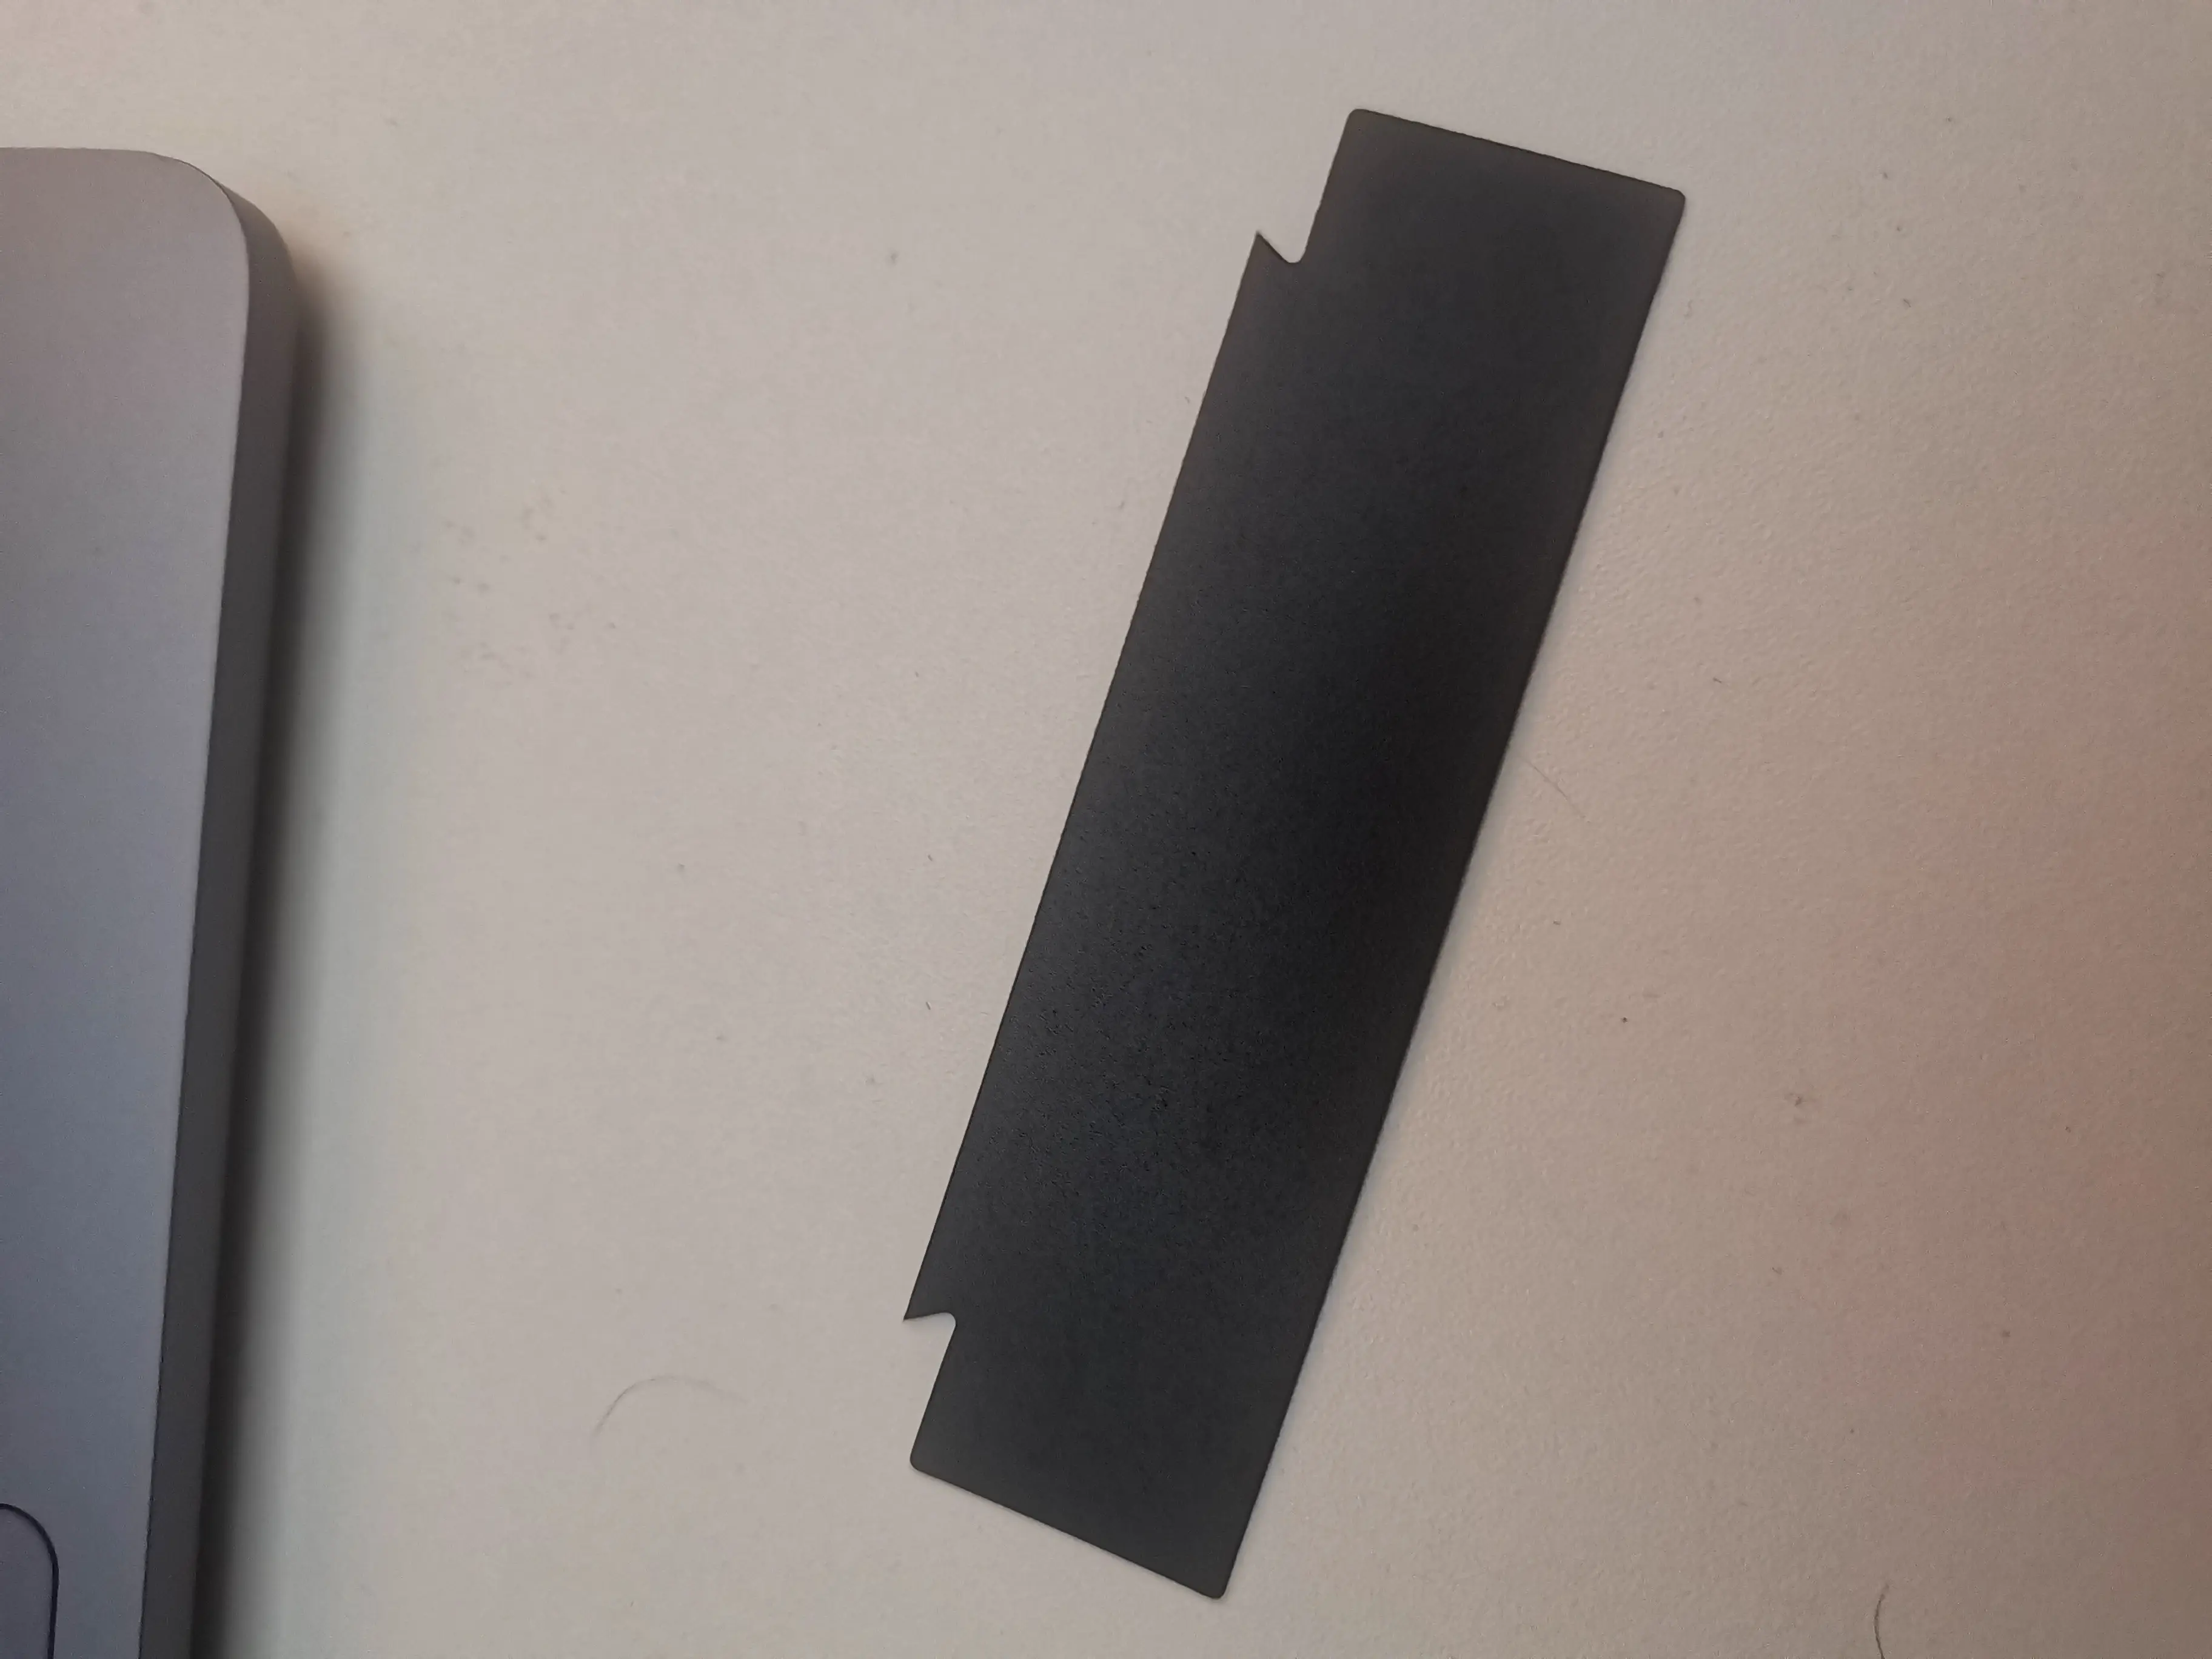
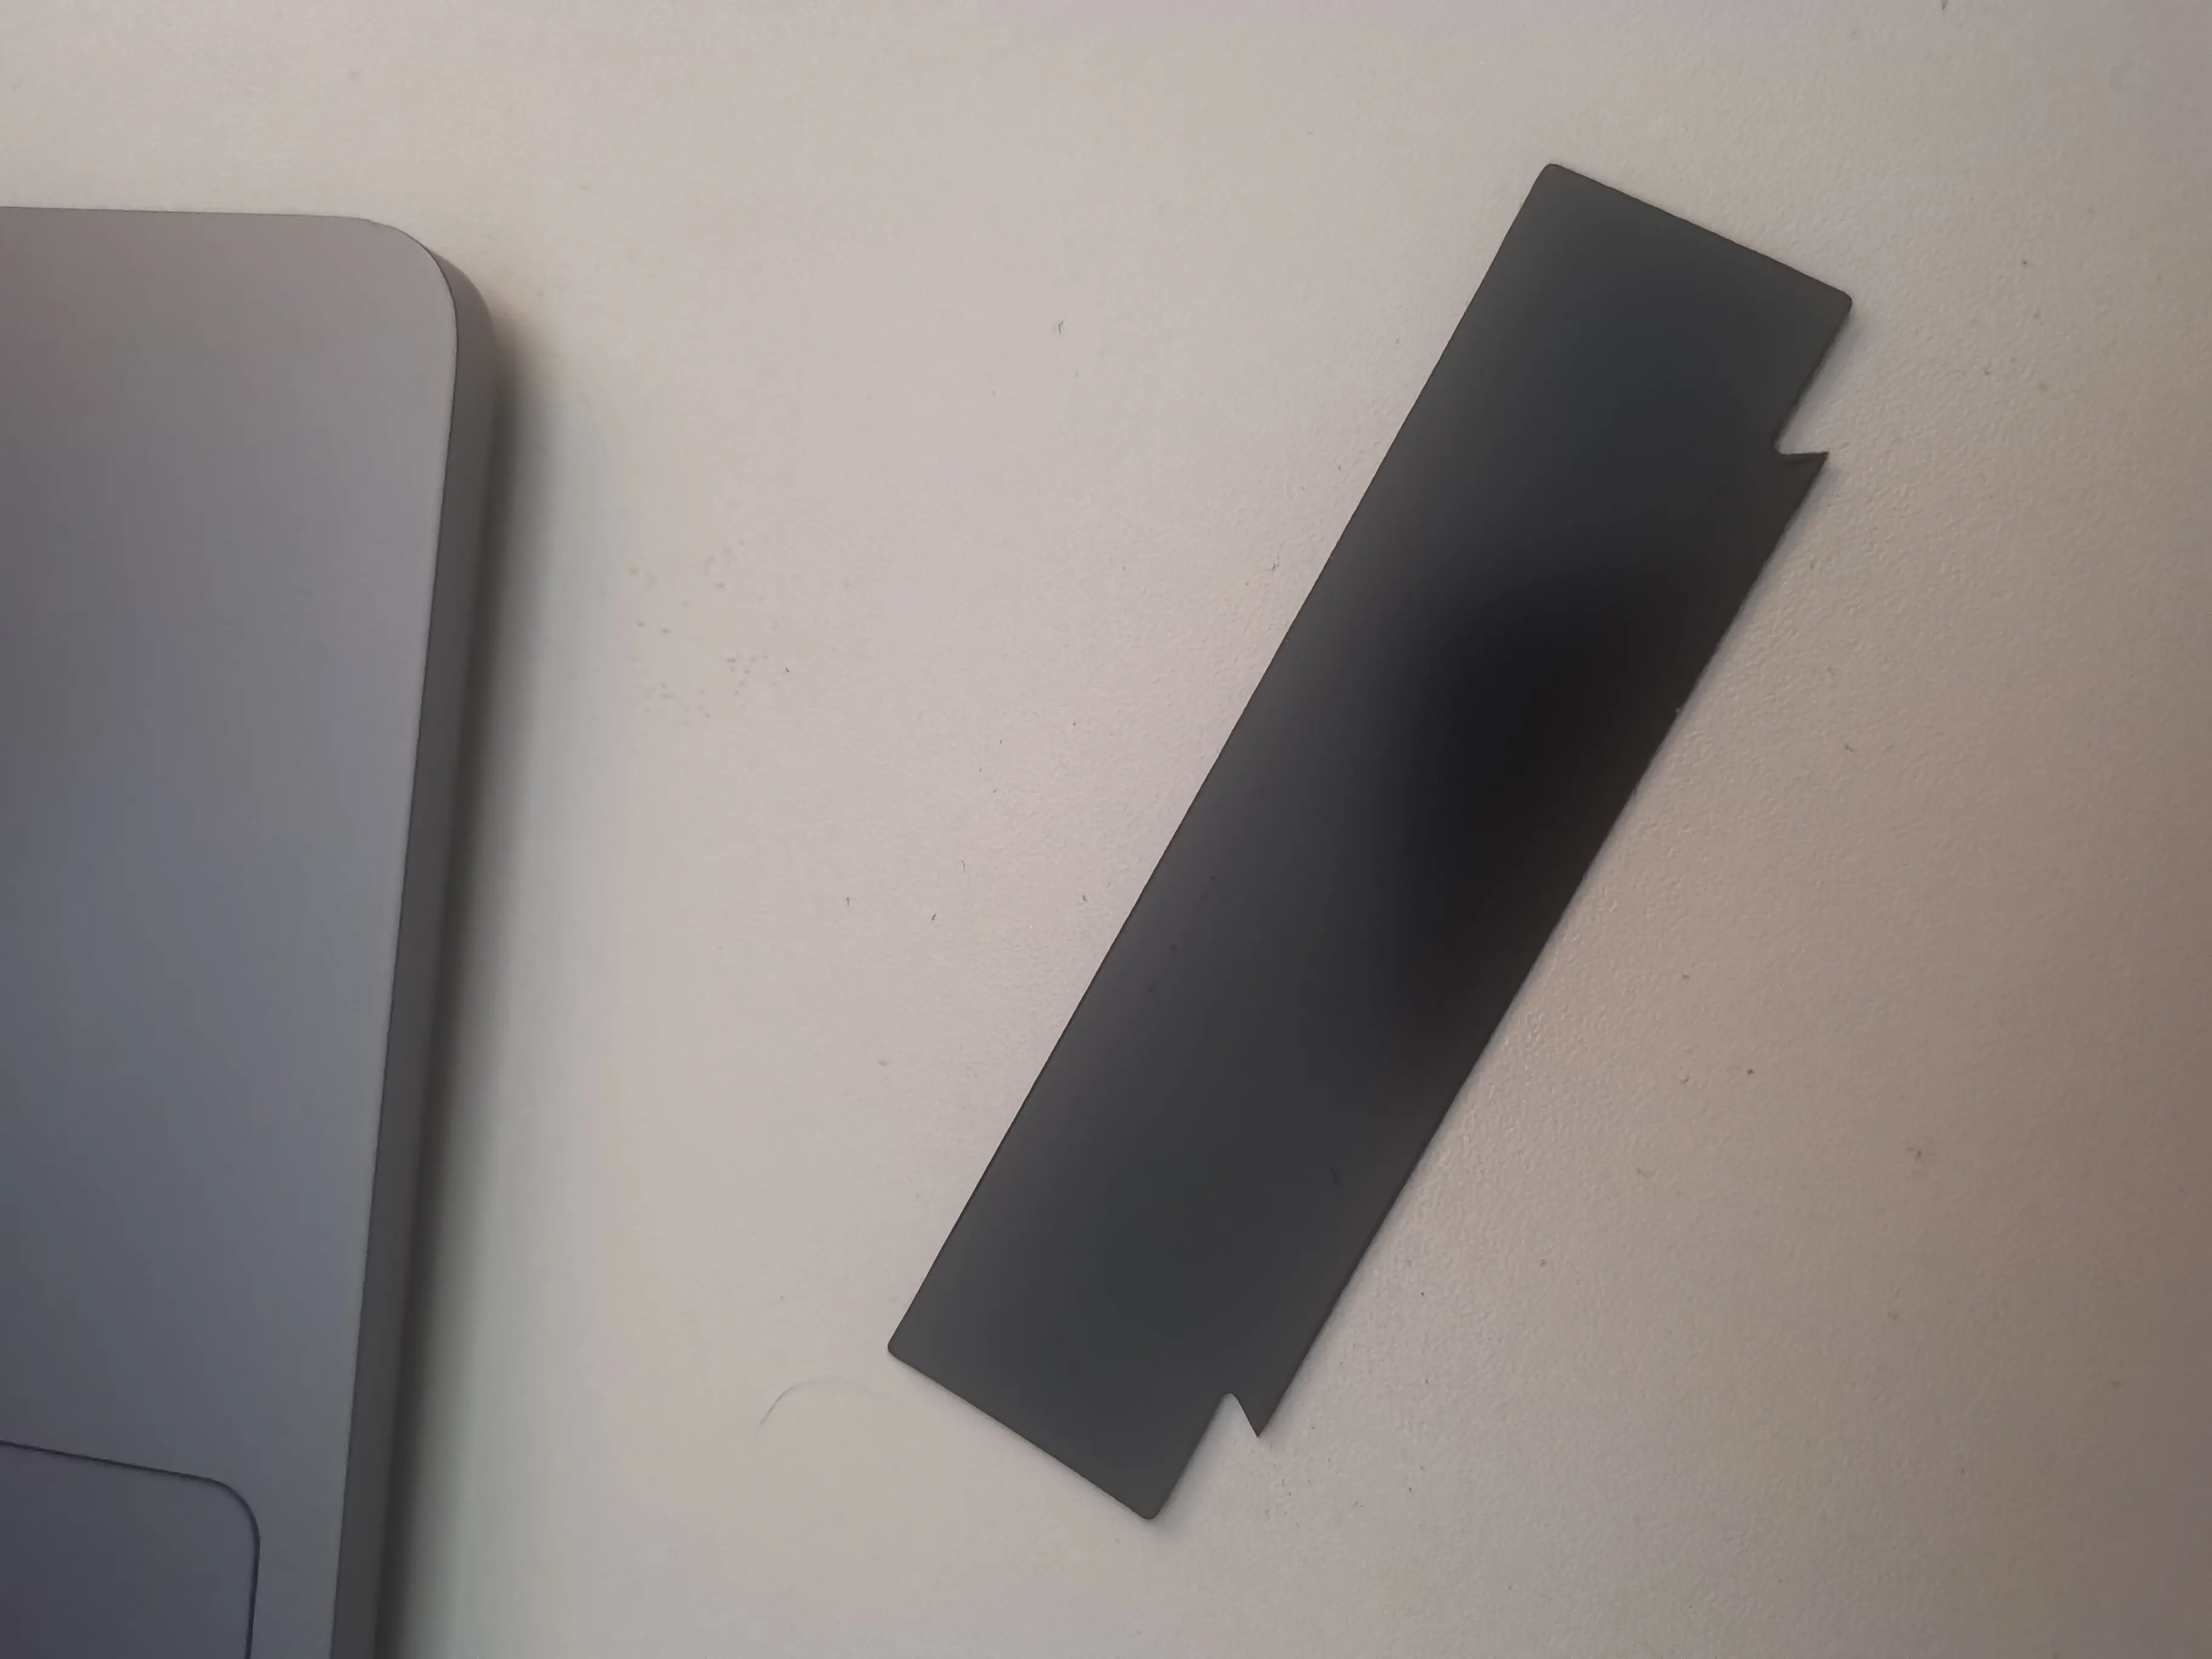
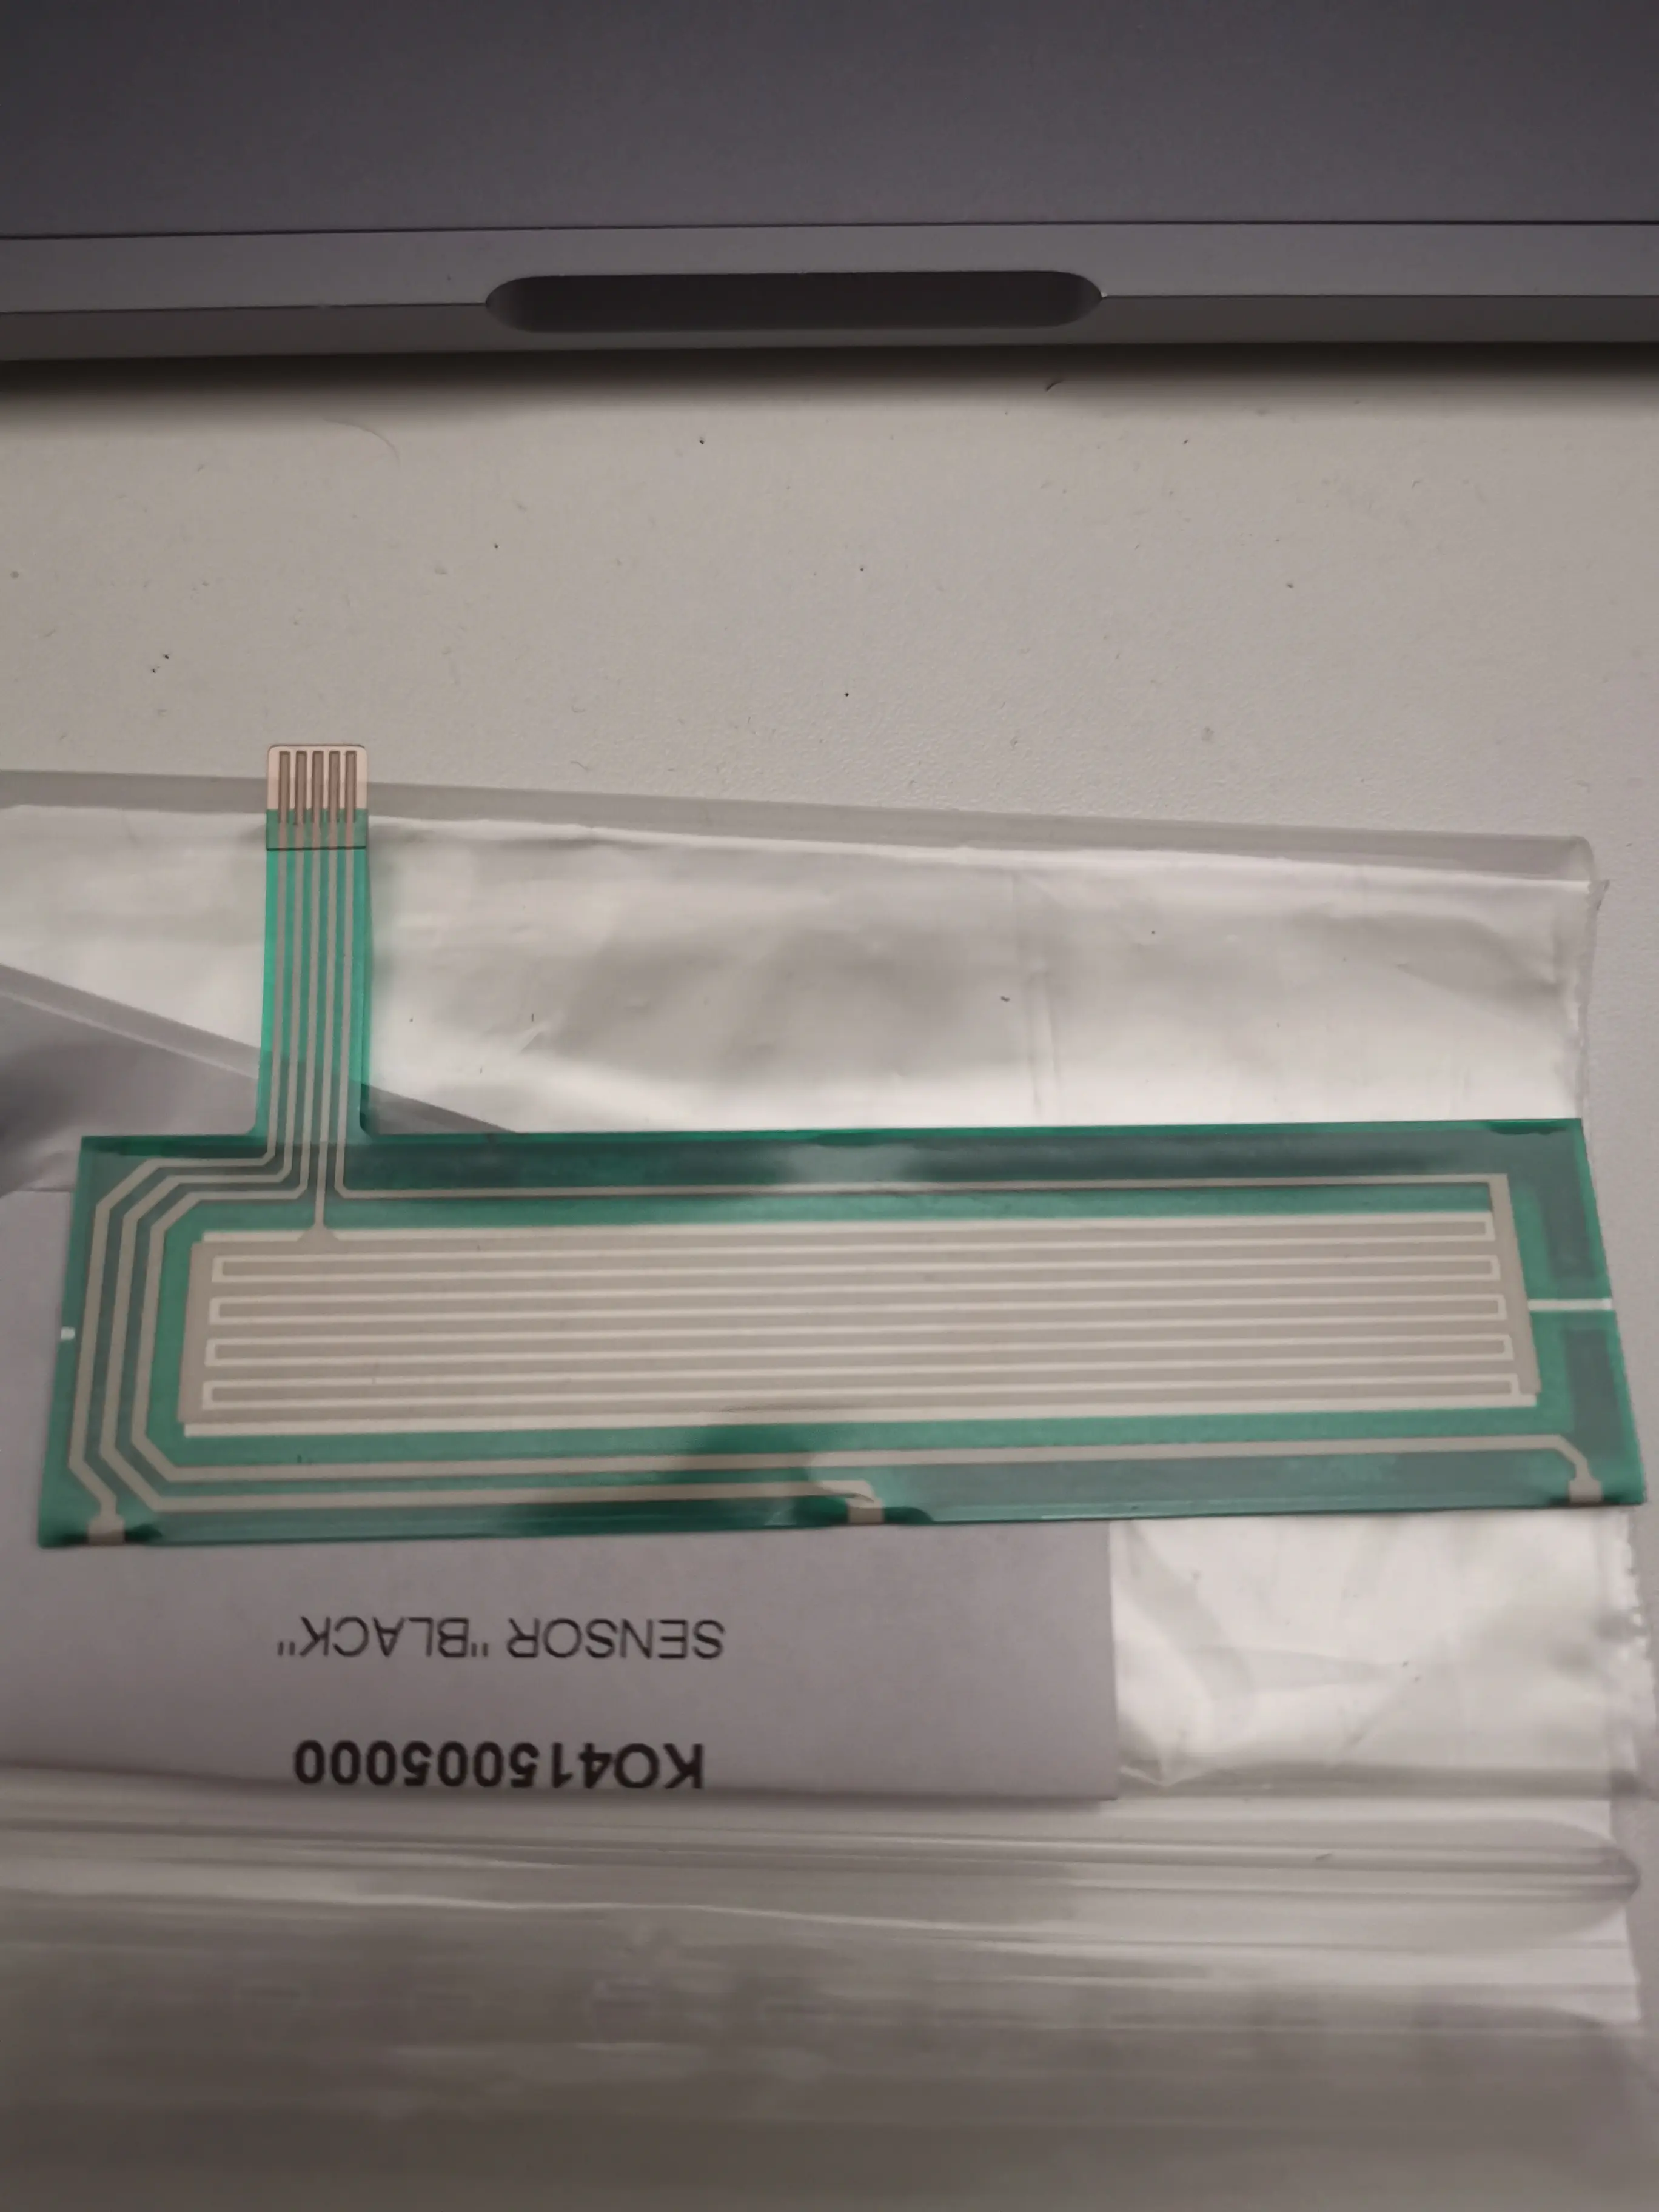
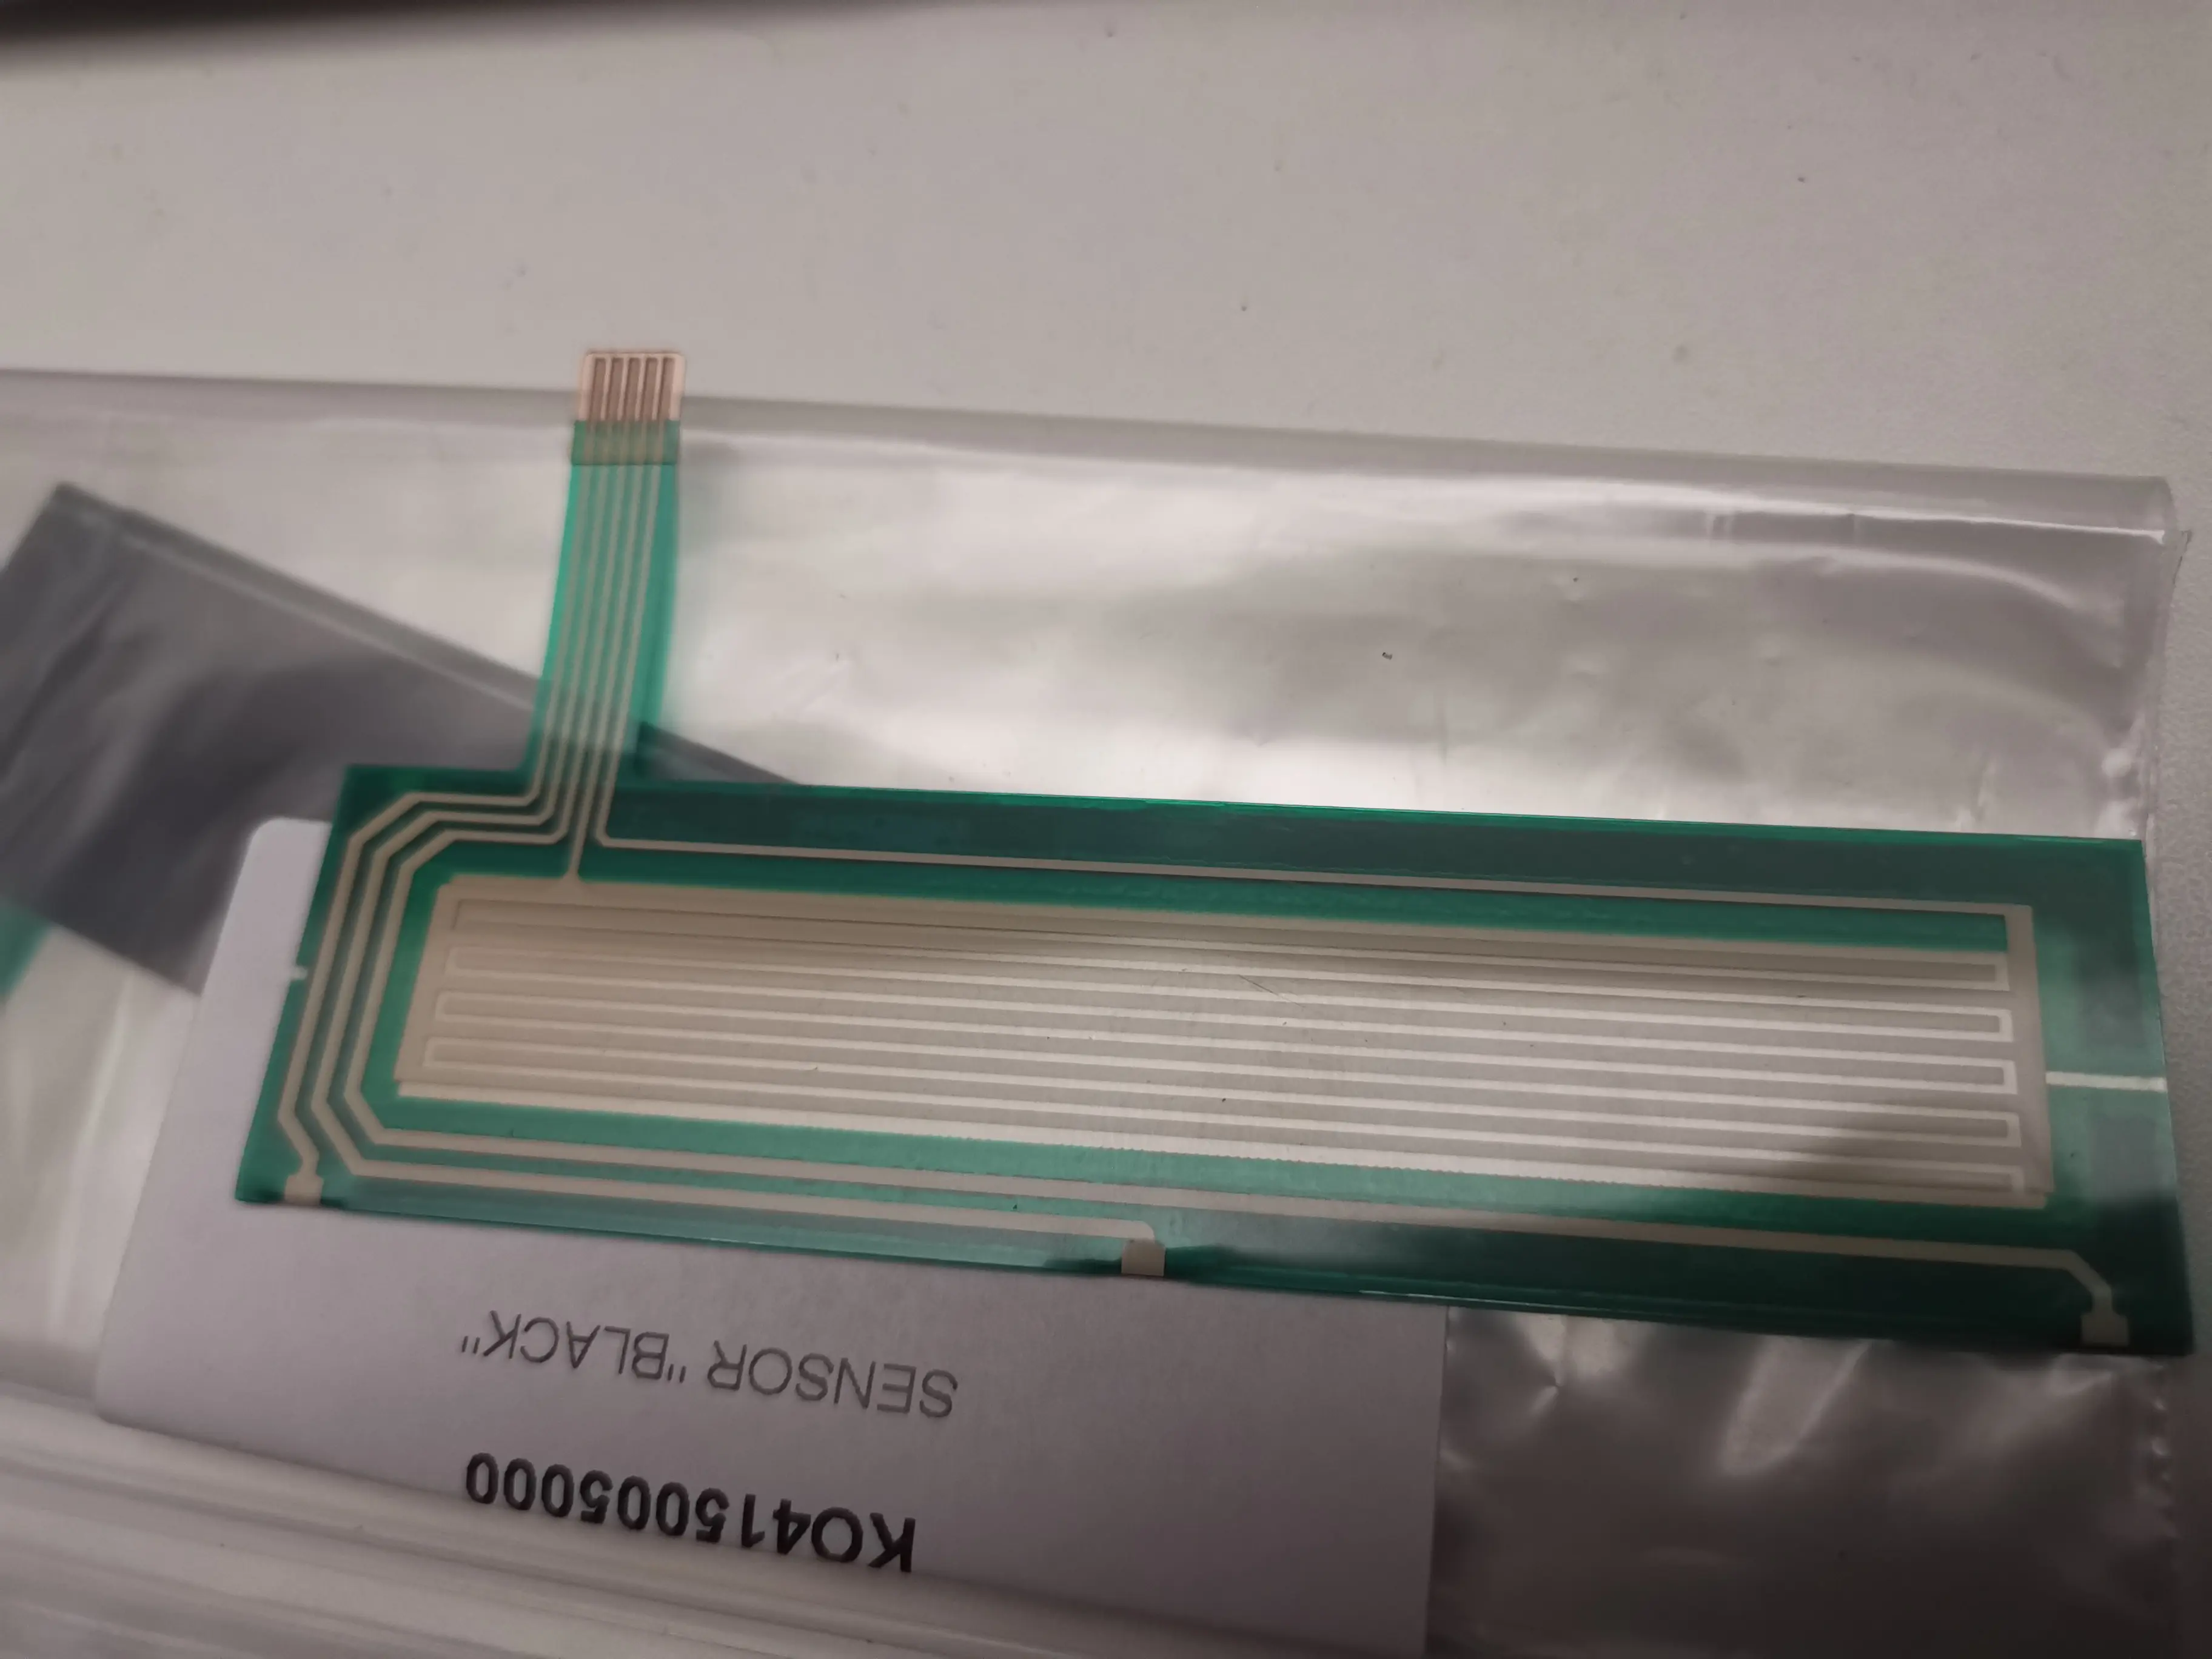
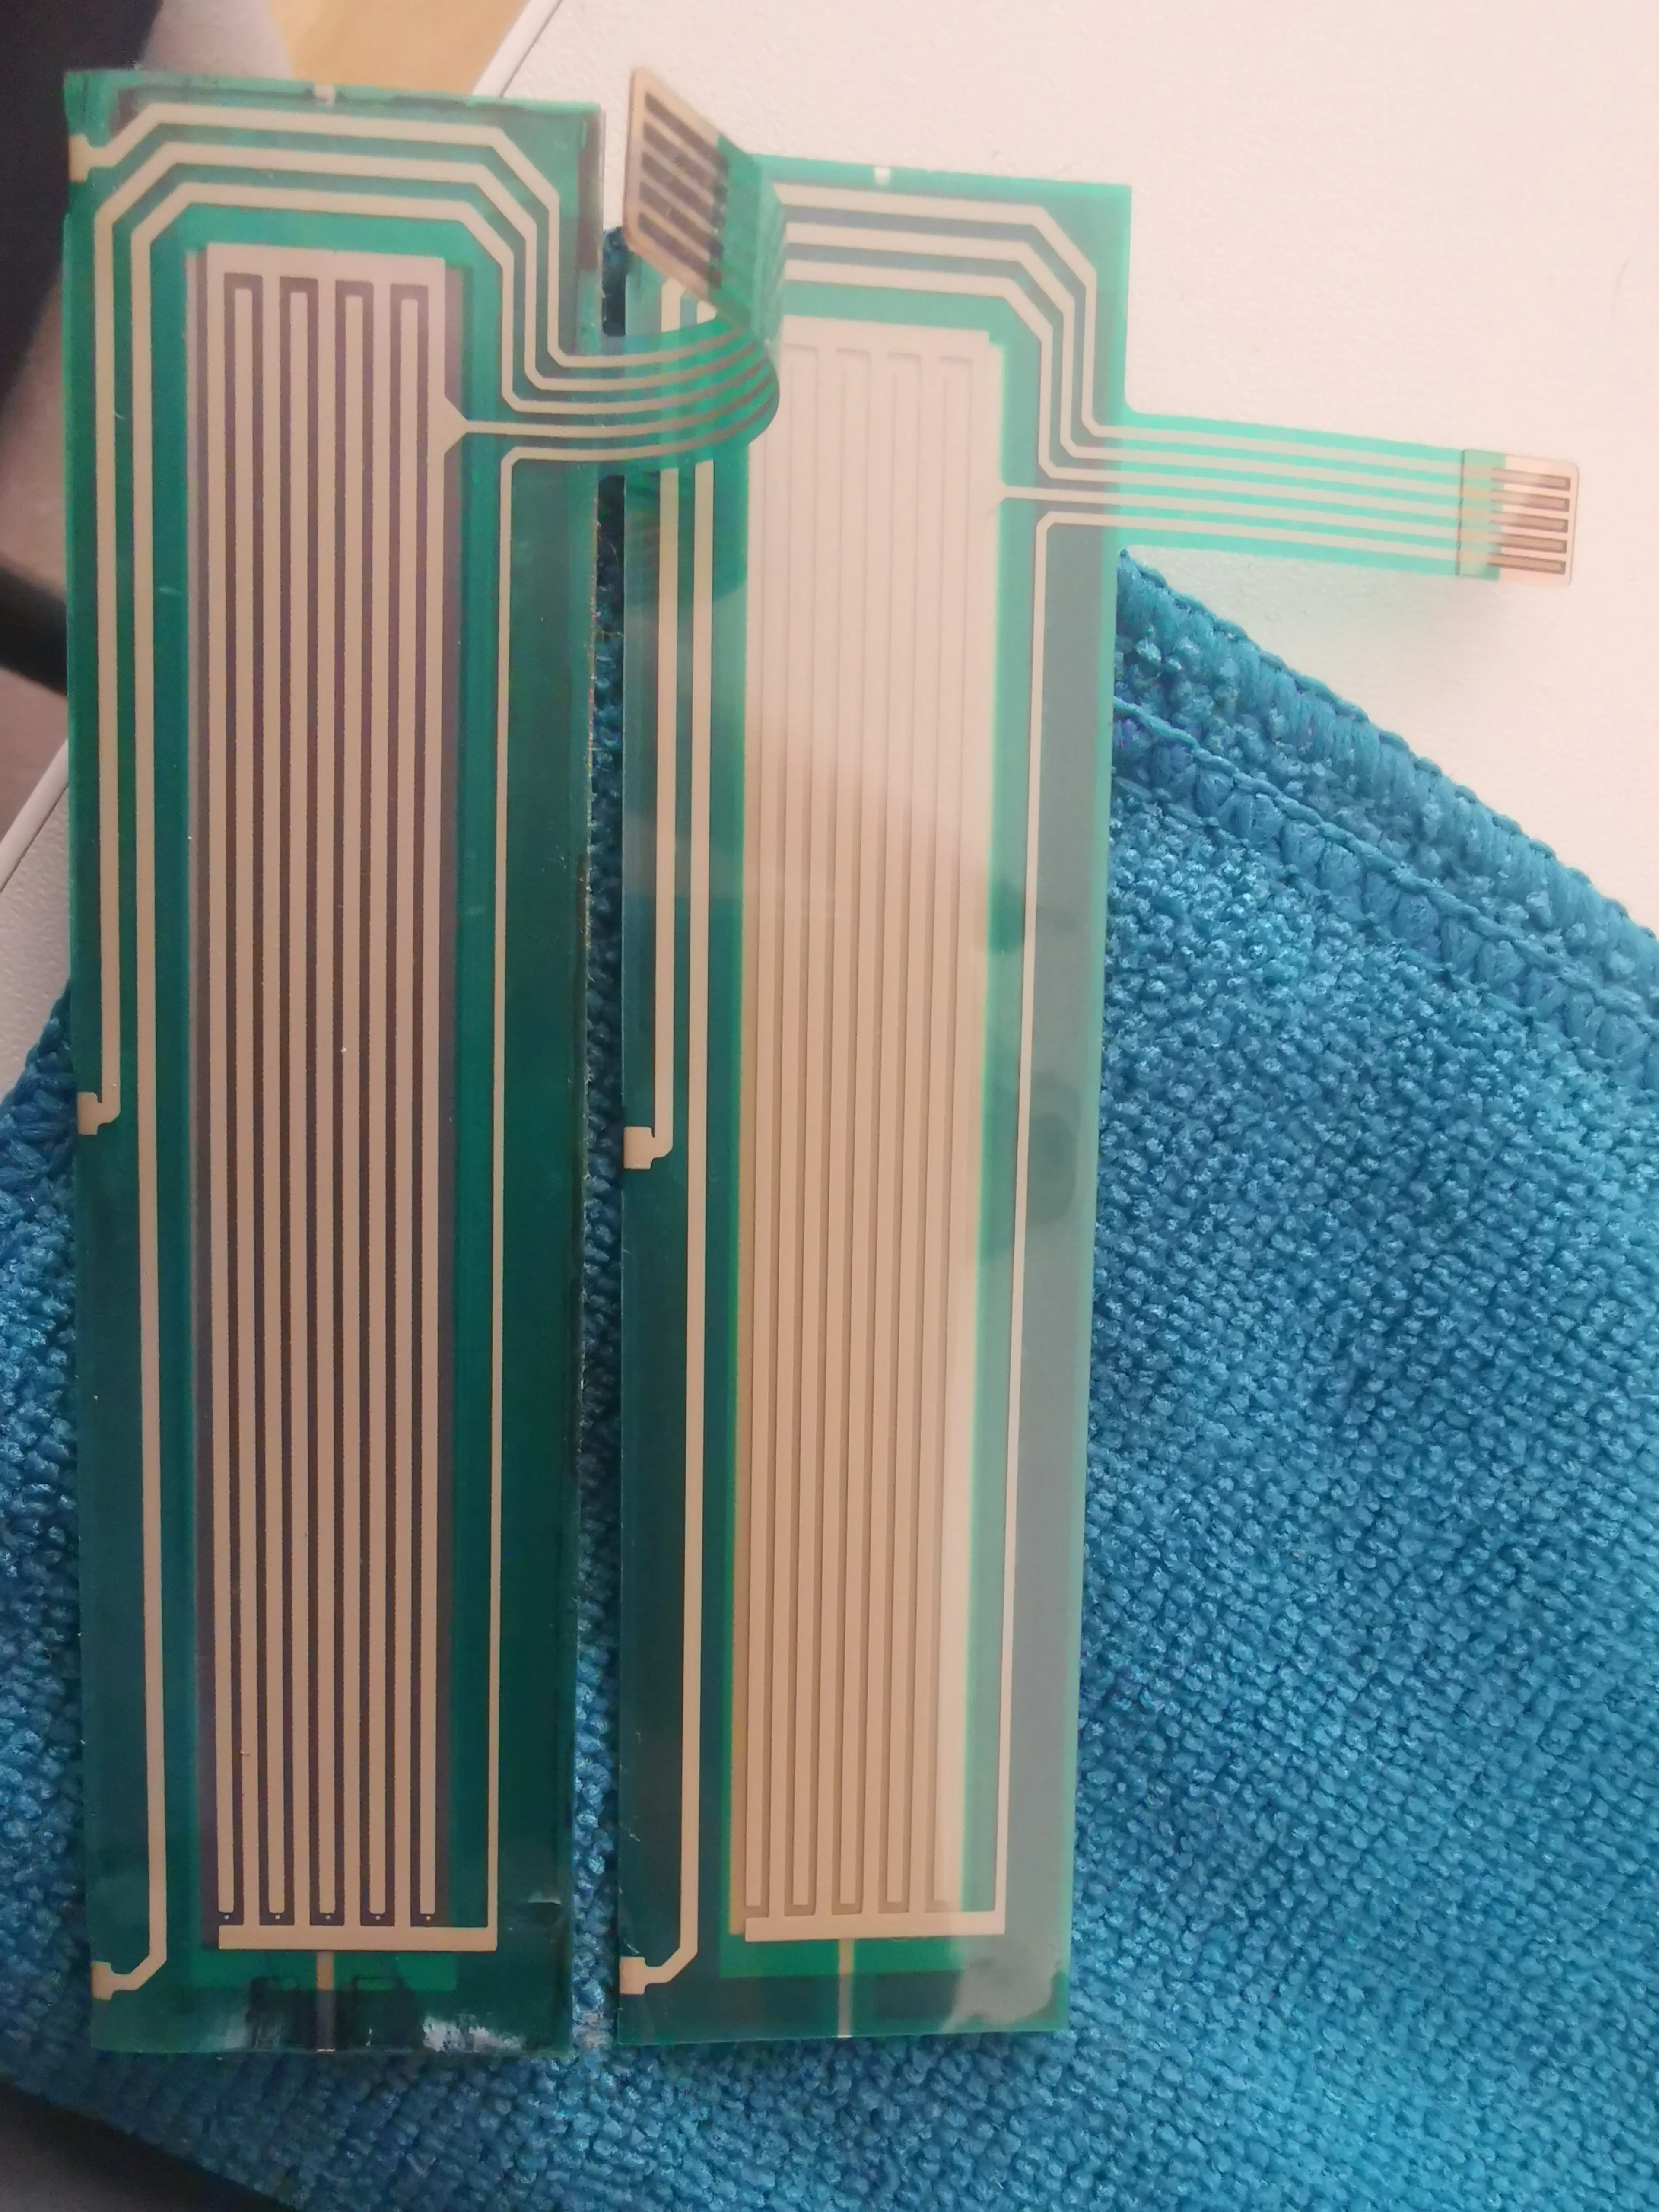
Ribbon sensors and new parts
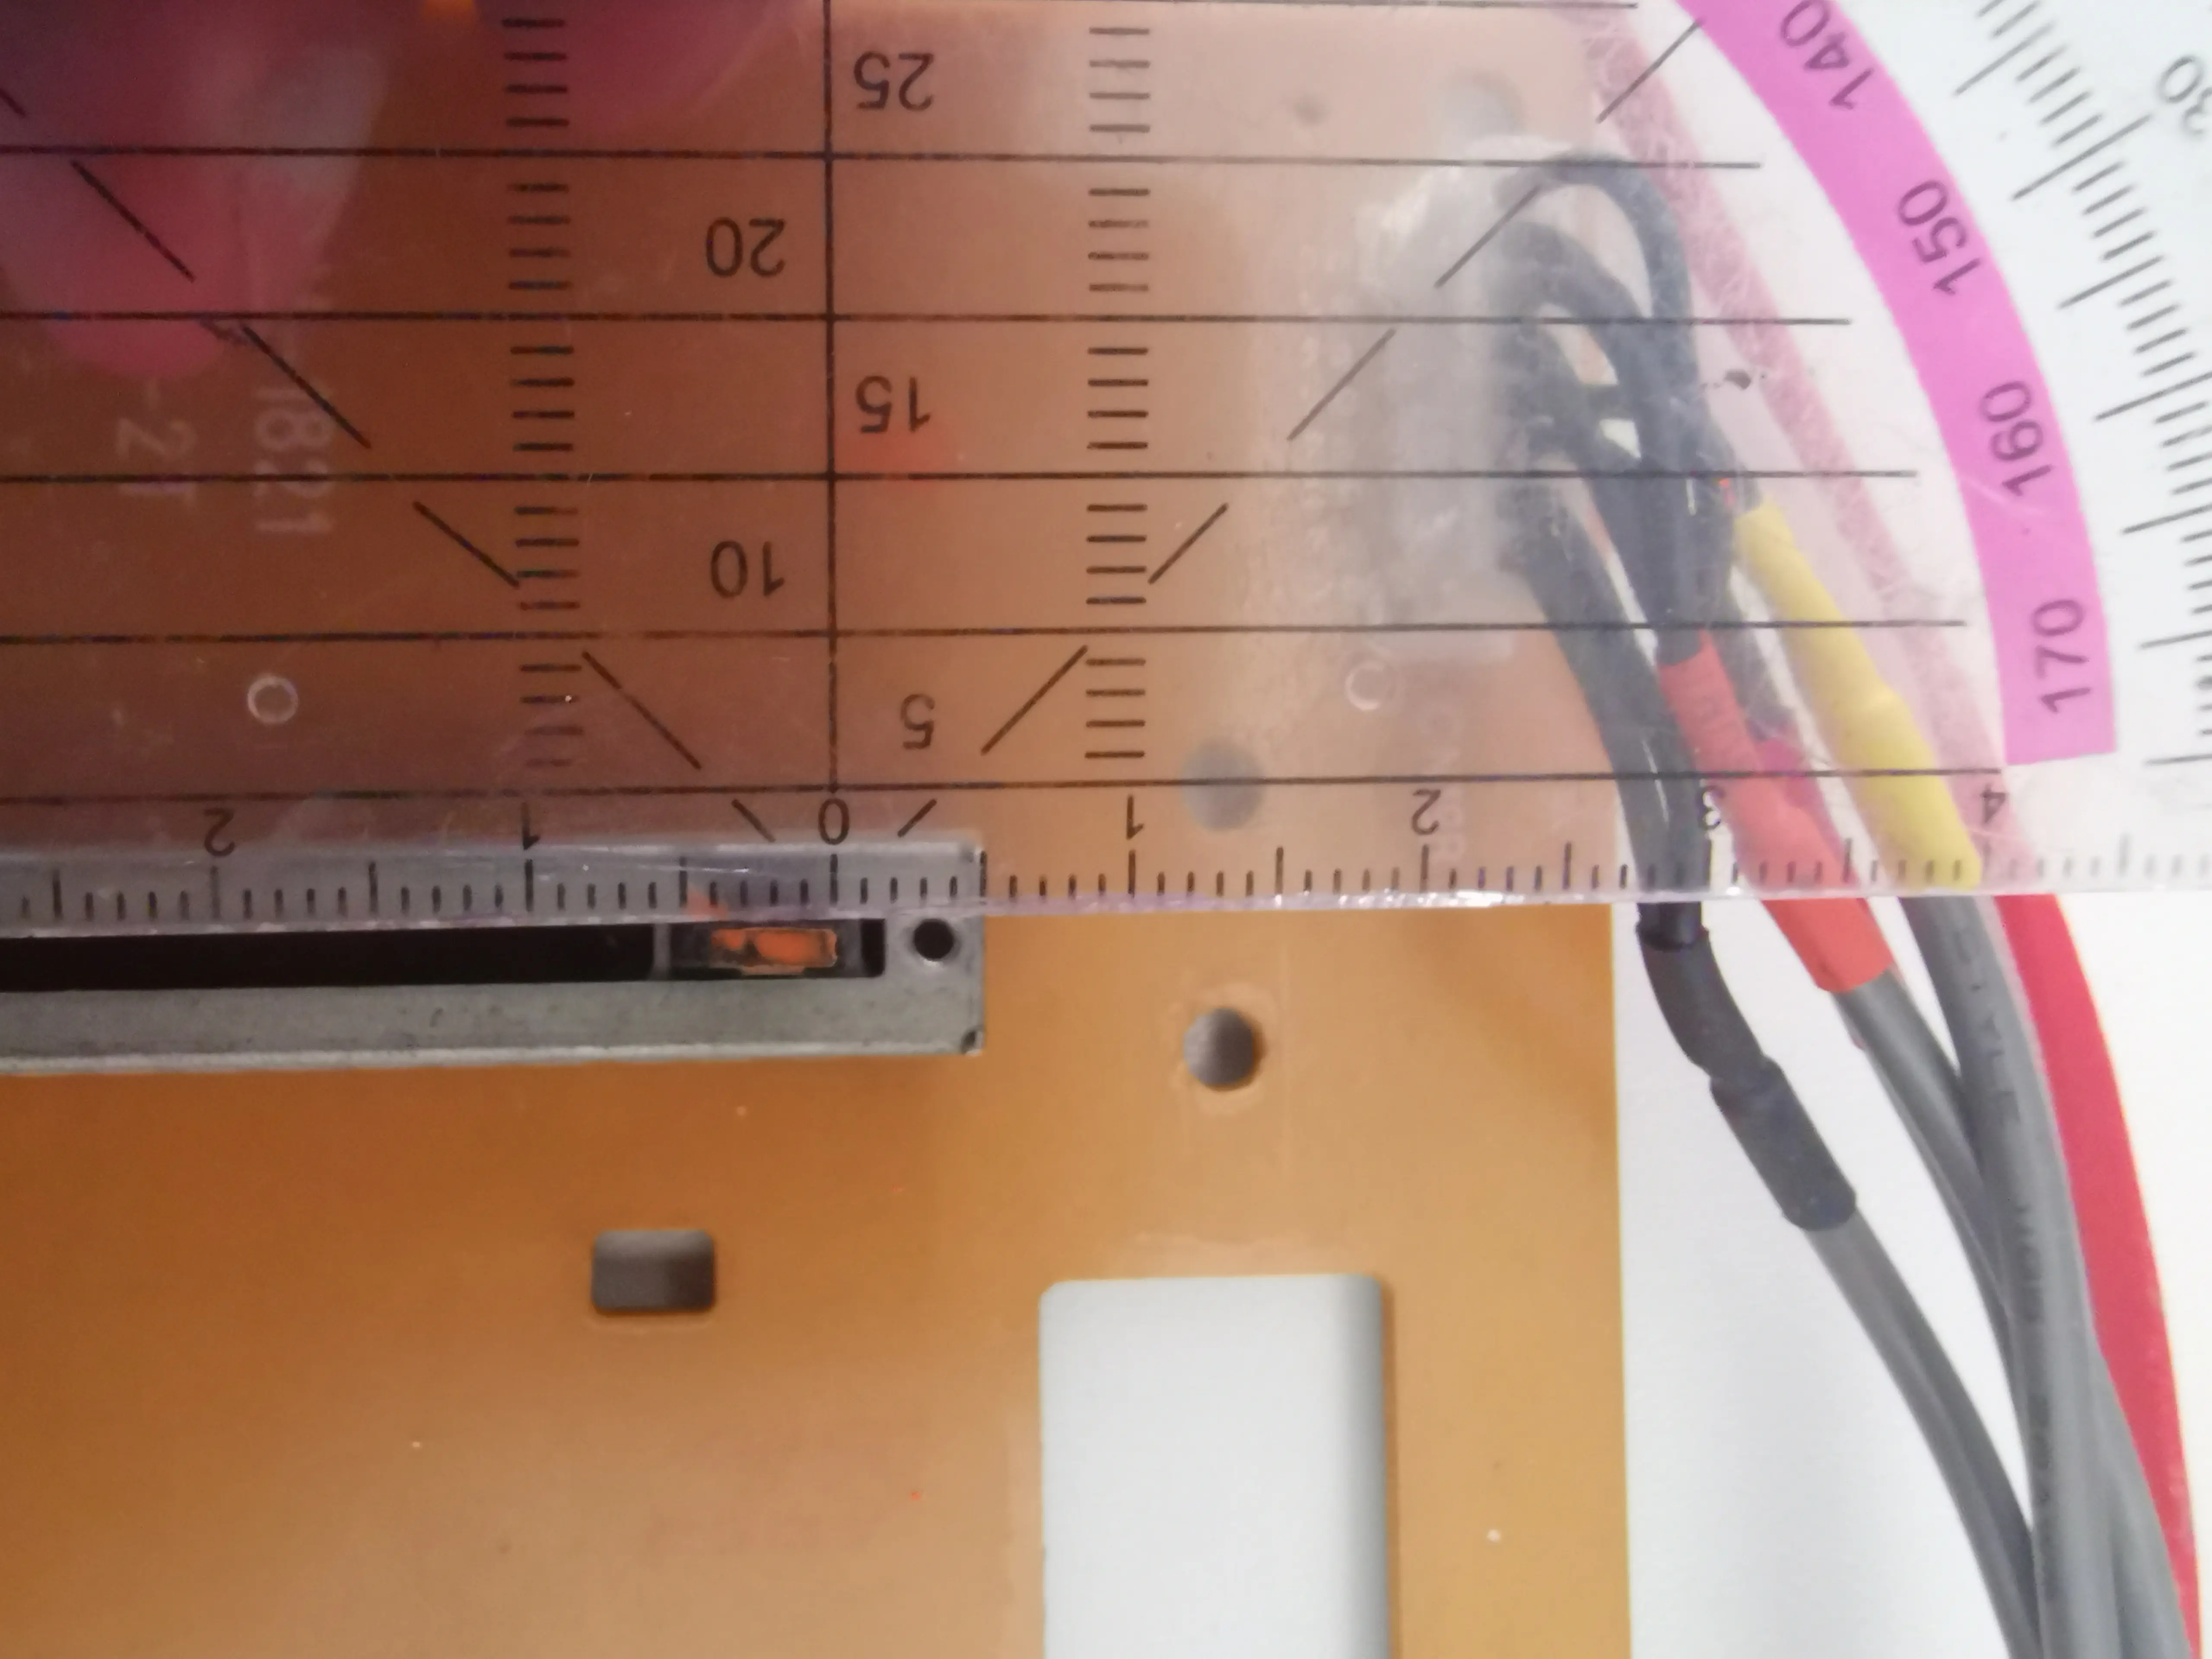
Ribbon sensors and new parts Ribbon sensors and new parts Ribbon sensors and new parts Ribbon sensors and new parts Ribbon sensors and new parts Ribbon sensors and new parts Ribbon sensors and new parts Ribbon sensors and new parts Ribbon sensors and new parts Ribbon sensors and new parts Ribbon sensors and new parts Ribbon sensors and new parts Ribbon sensors and new parts Ribbon sensors and new parts Ribbon sensors and new parts Ribbon sensors and new parts
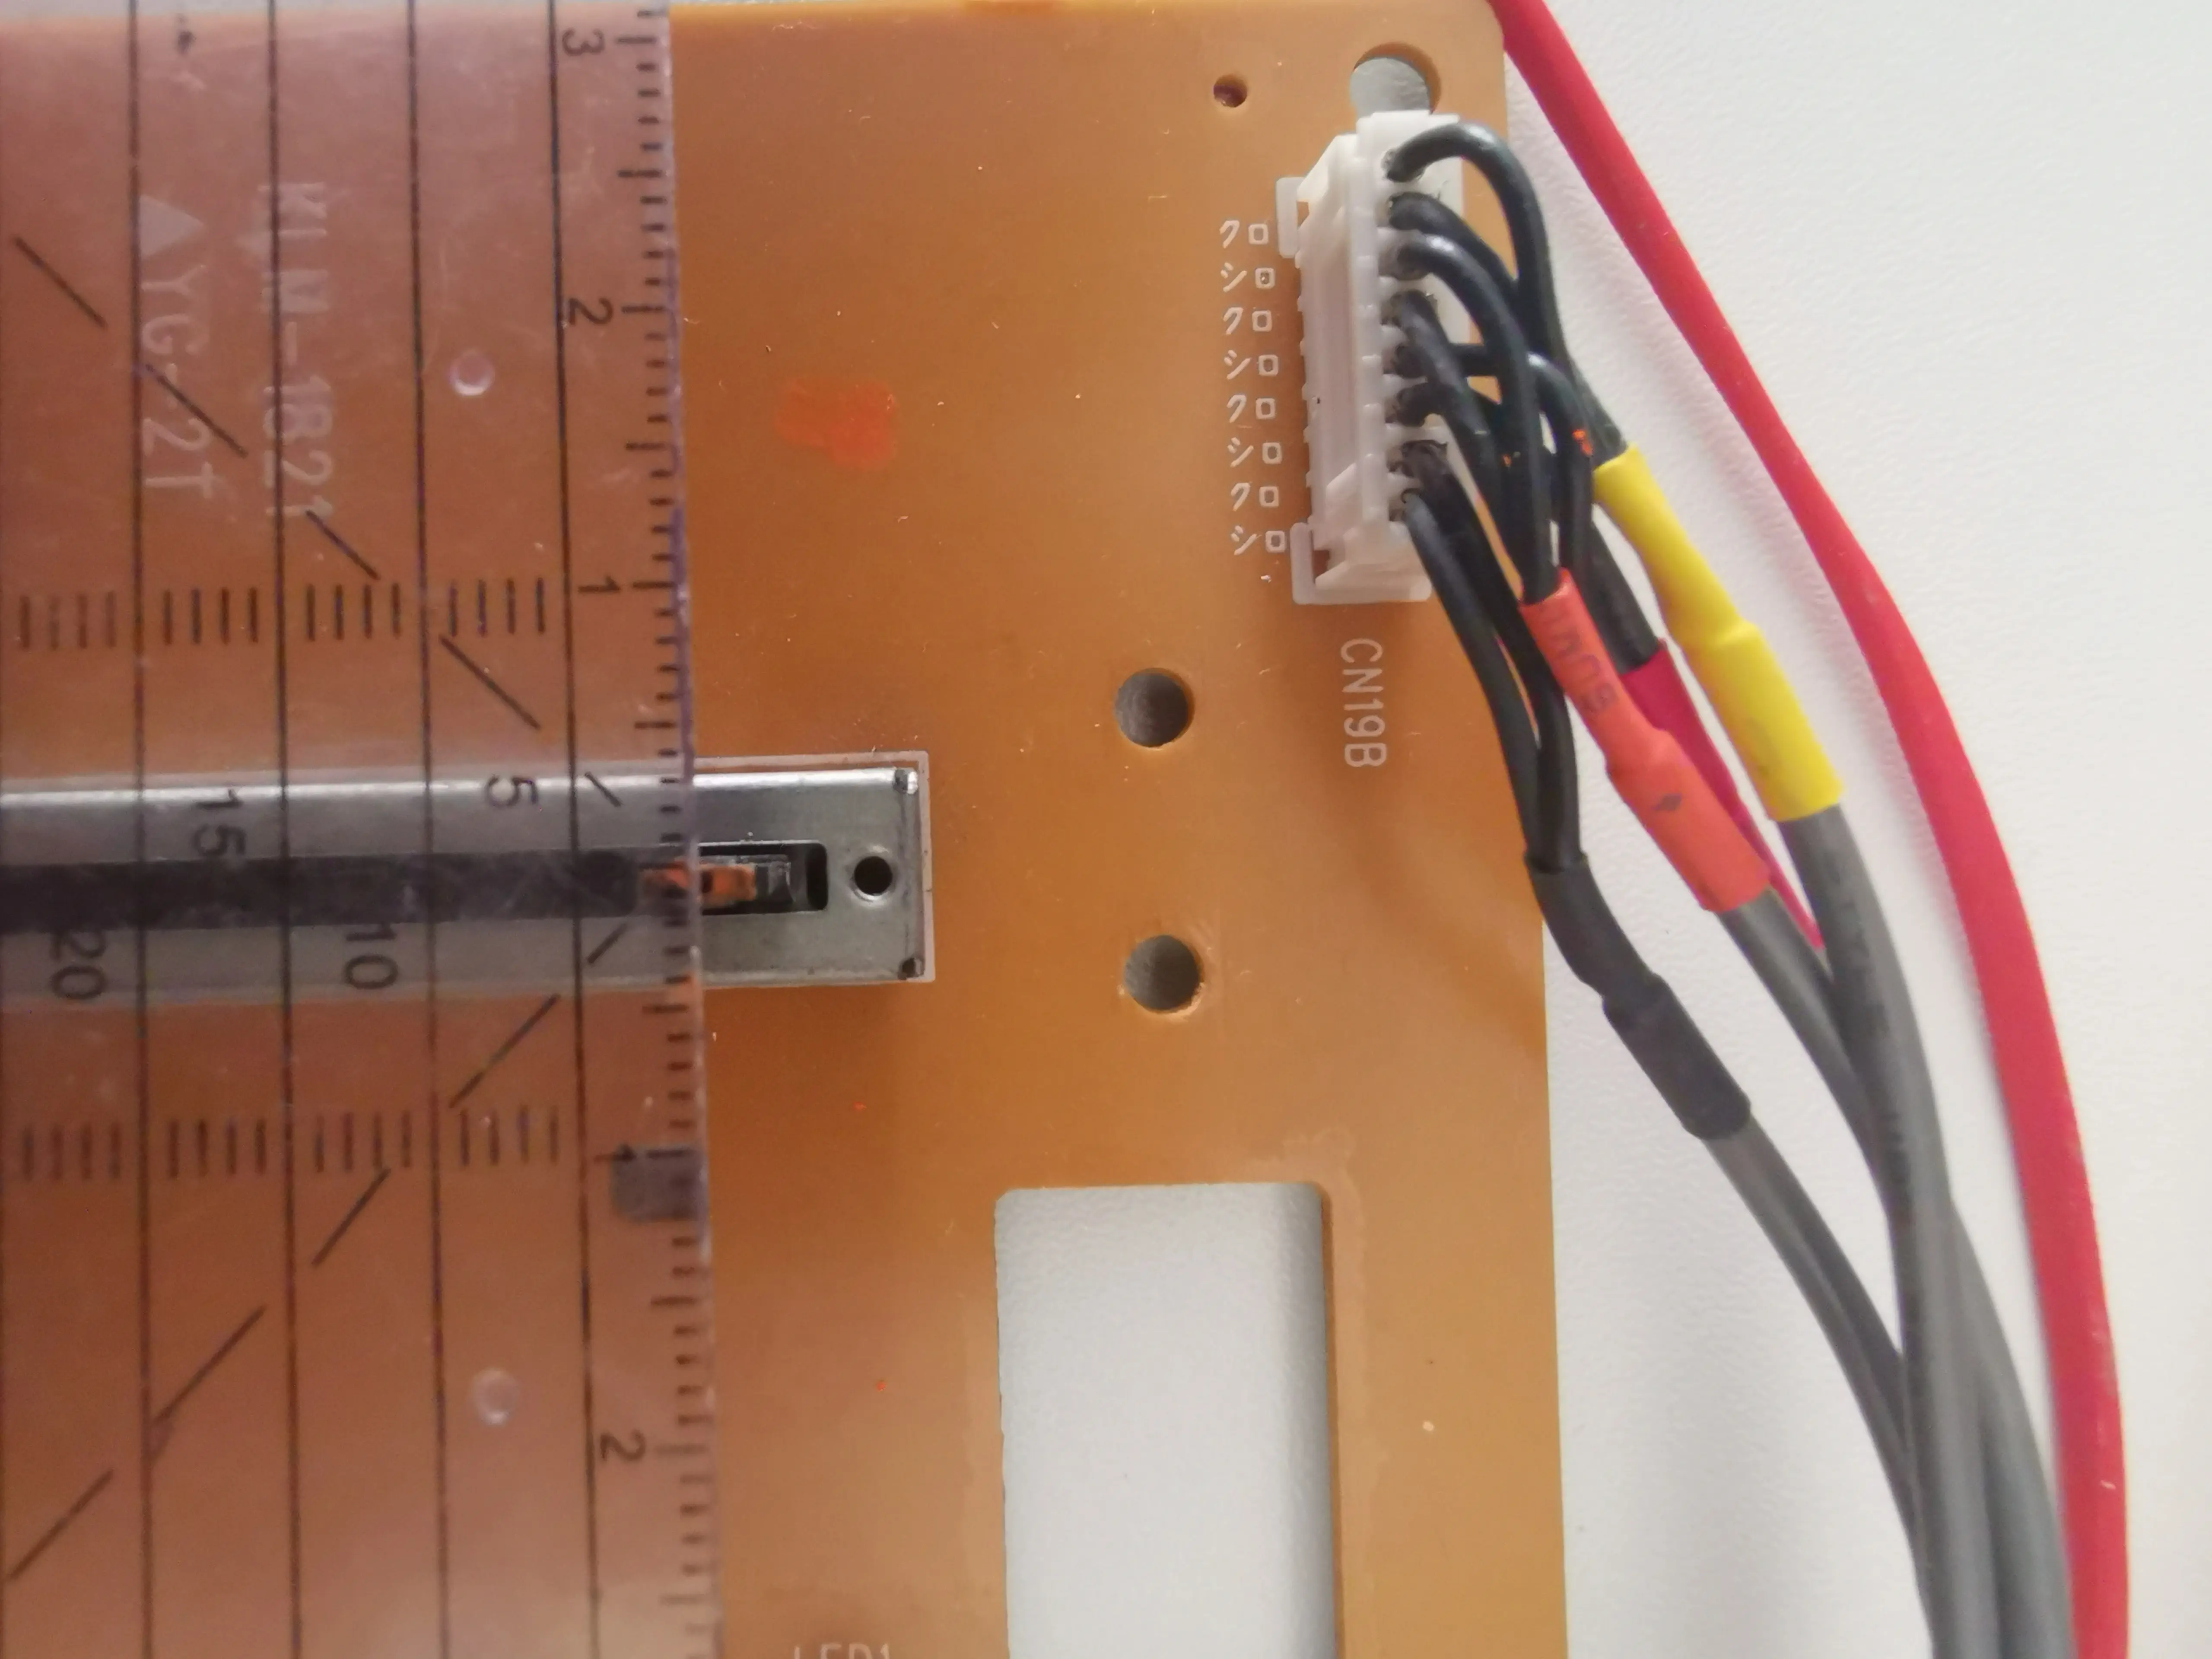
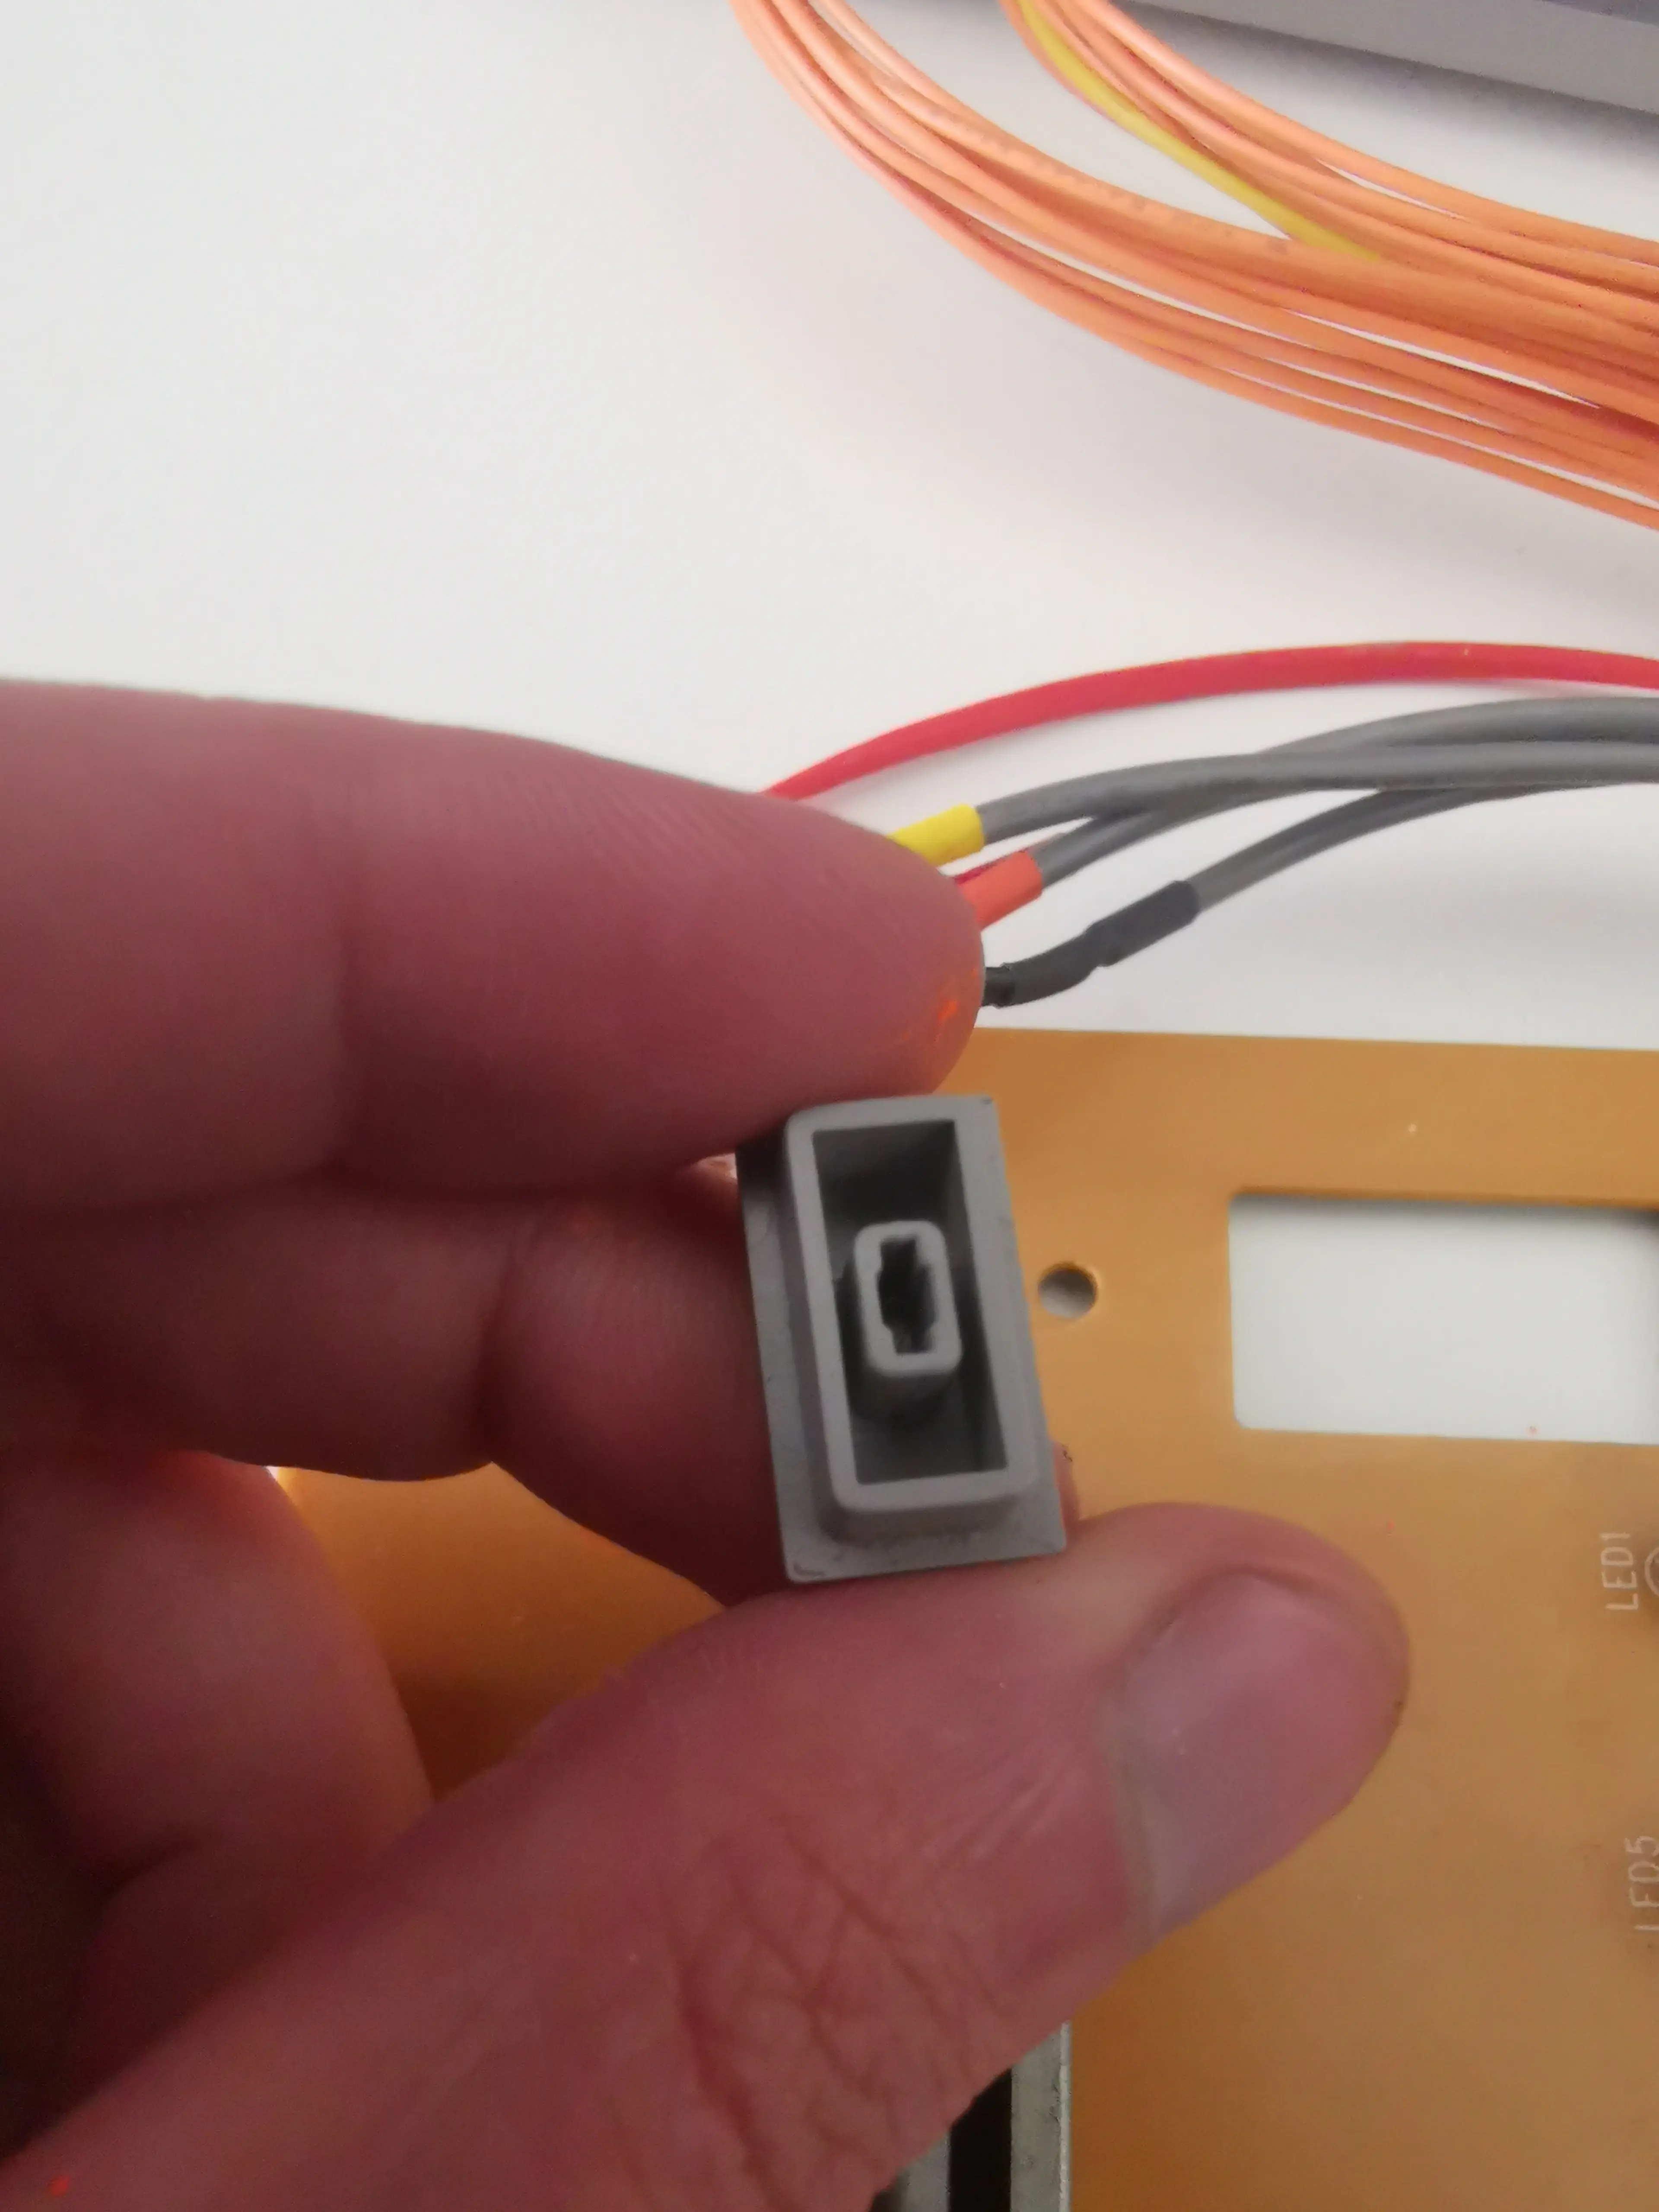
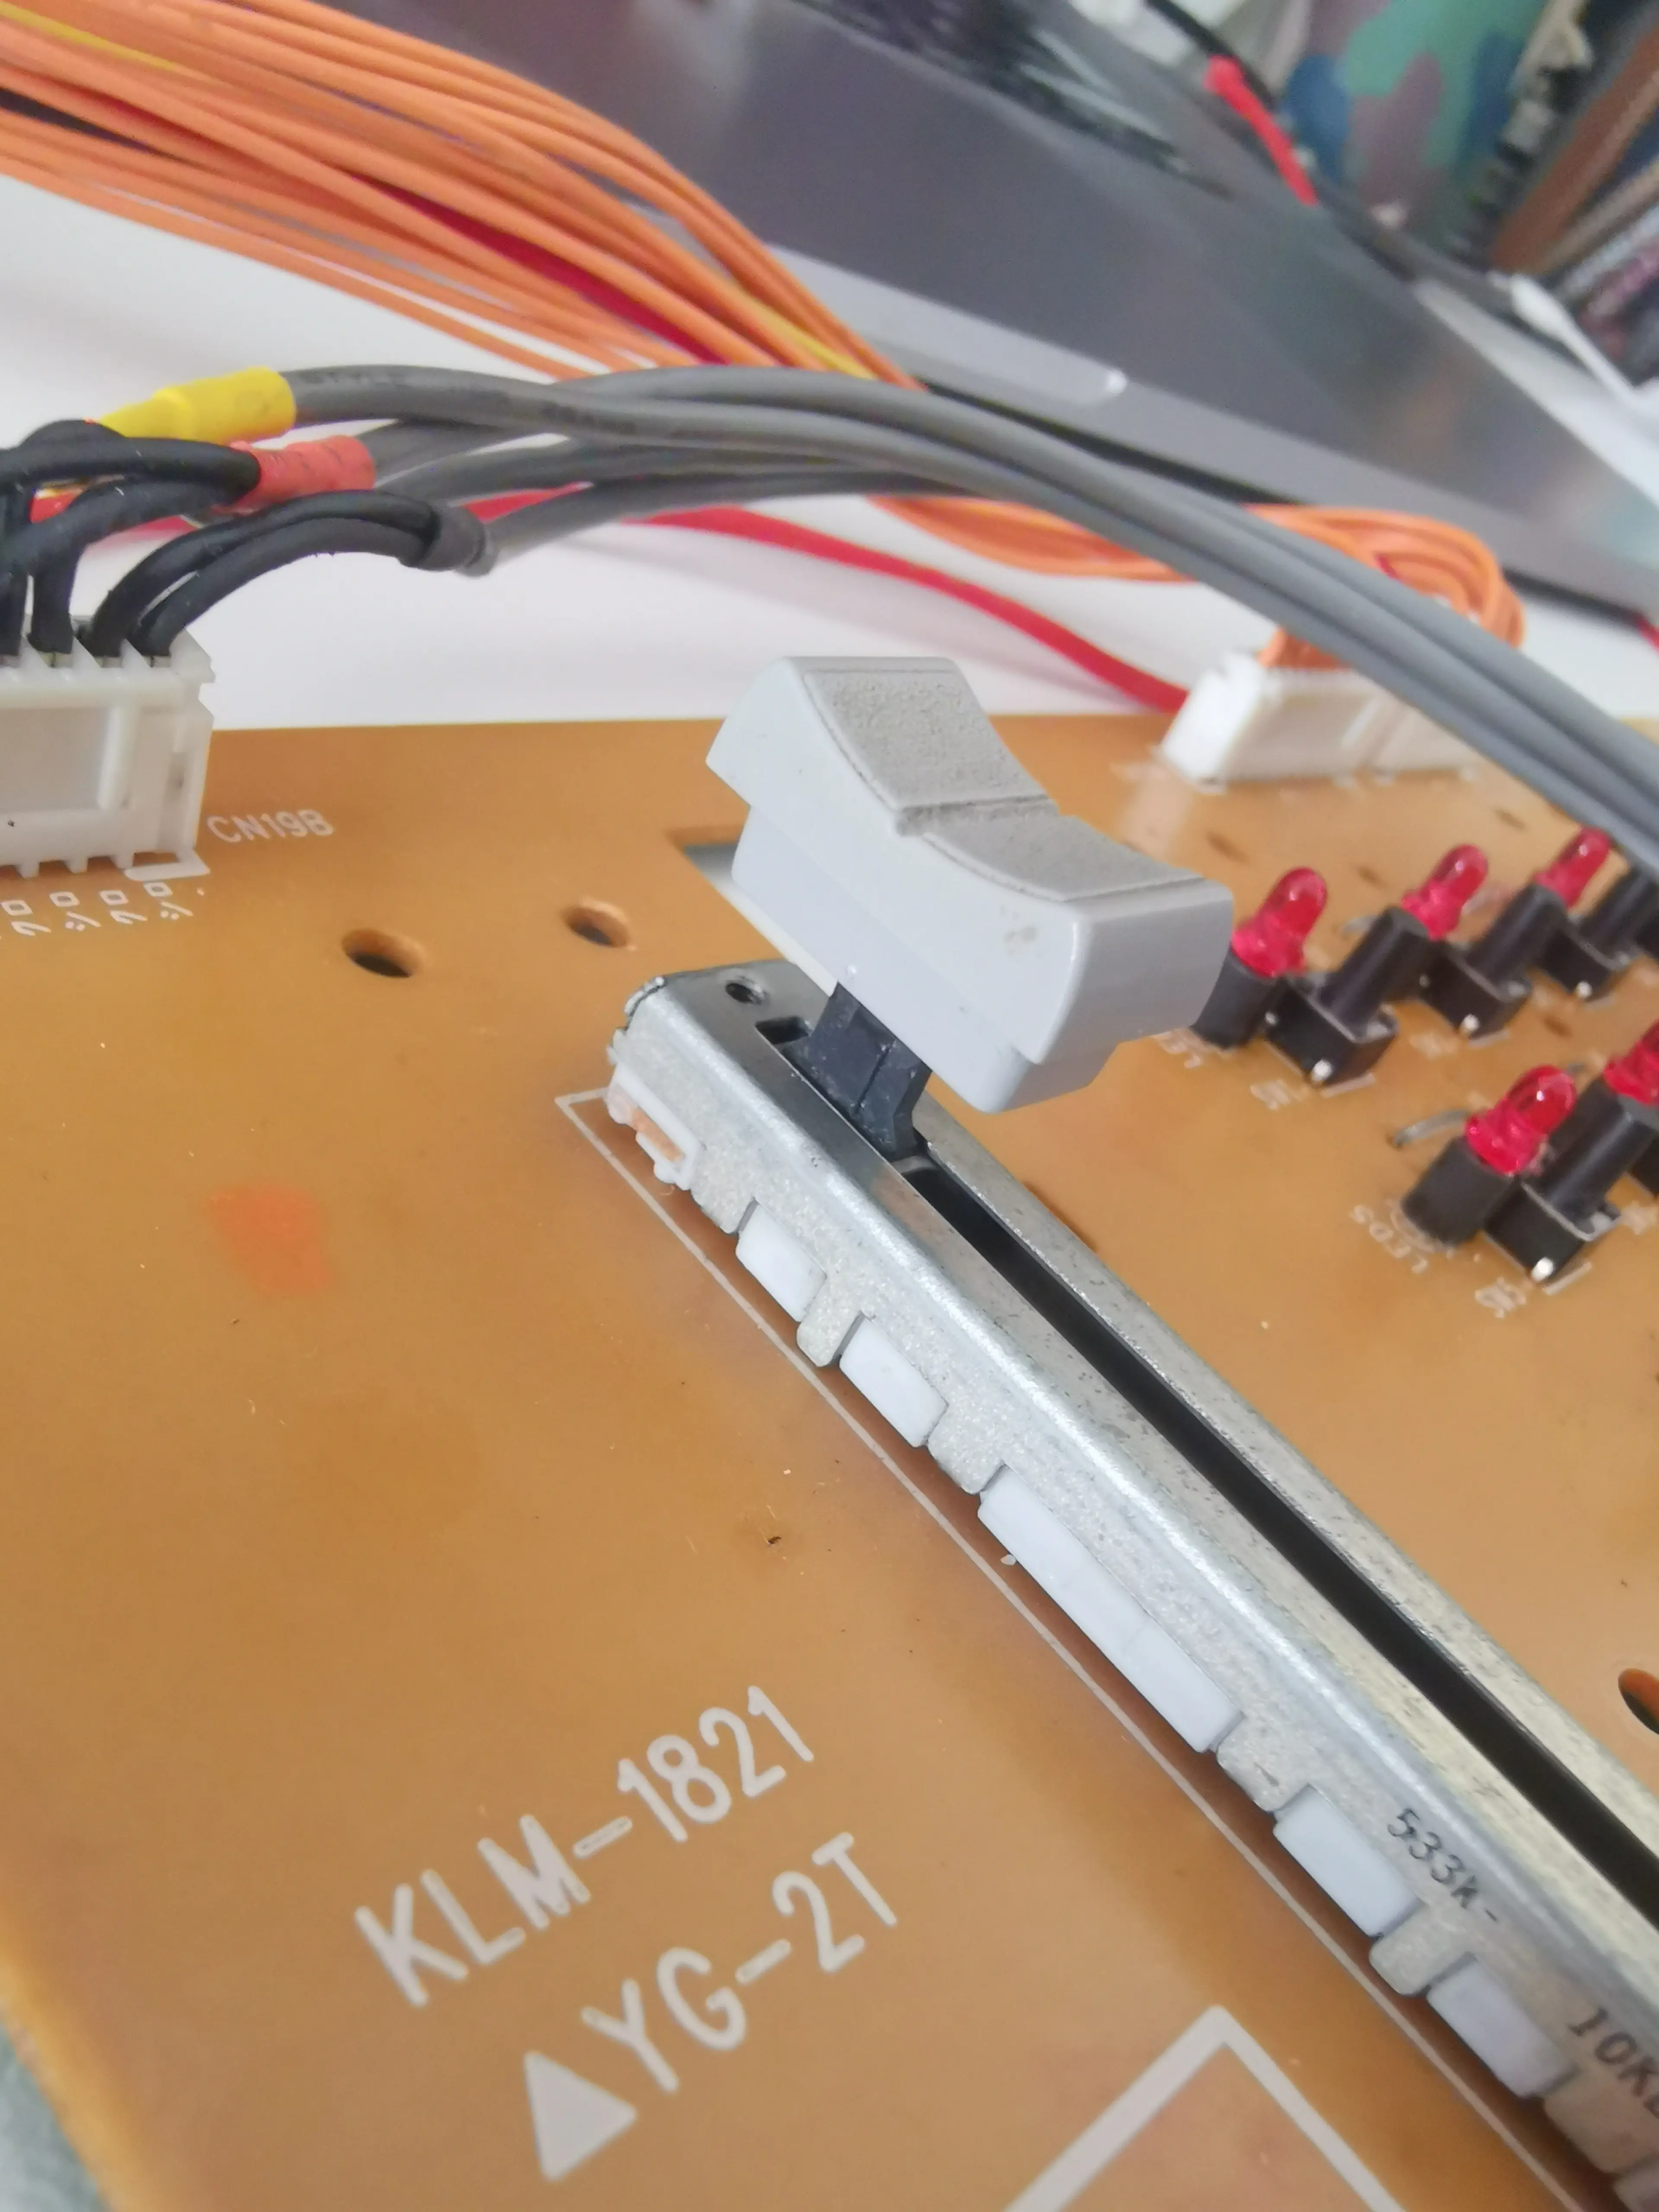
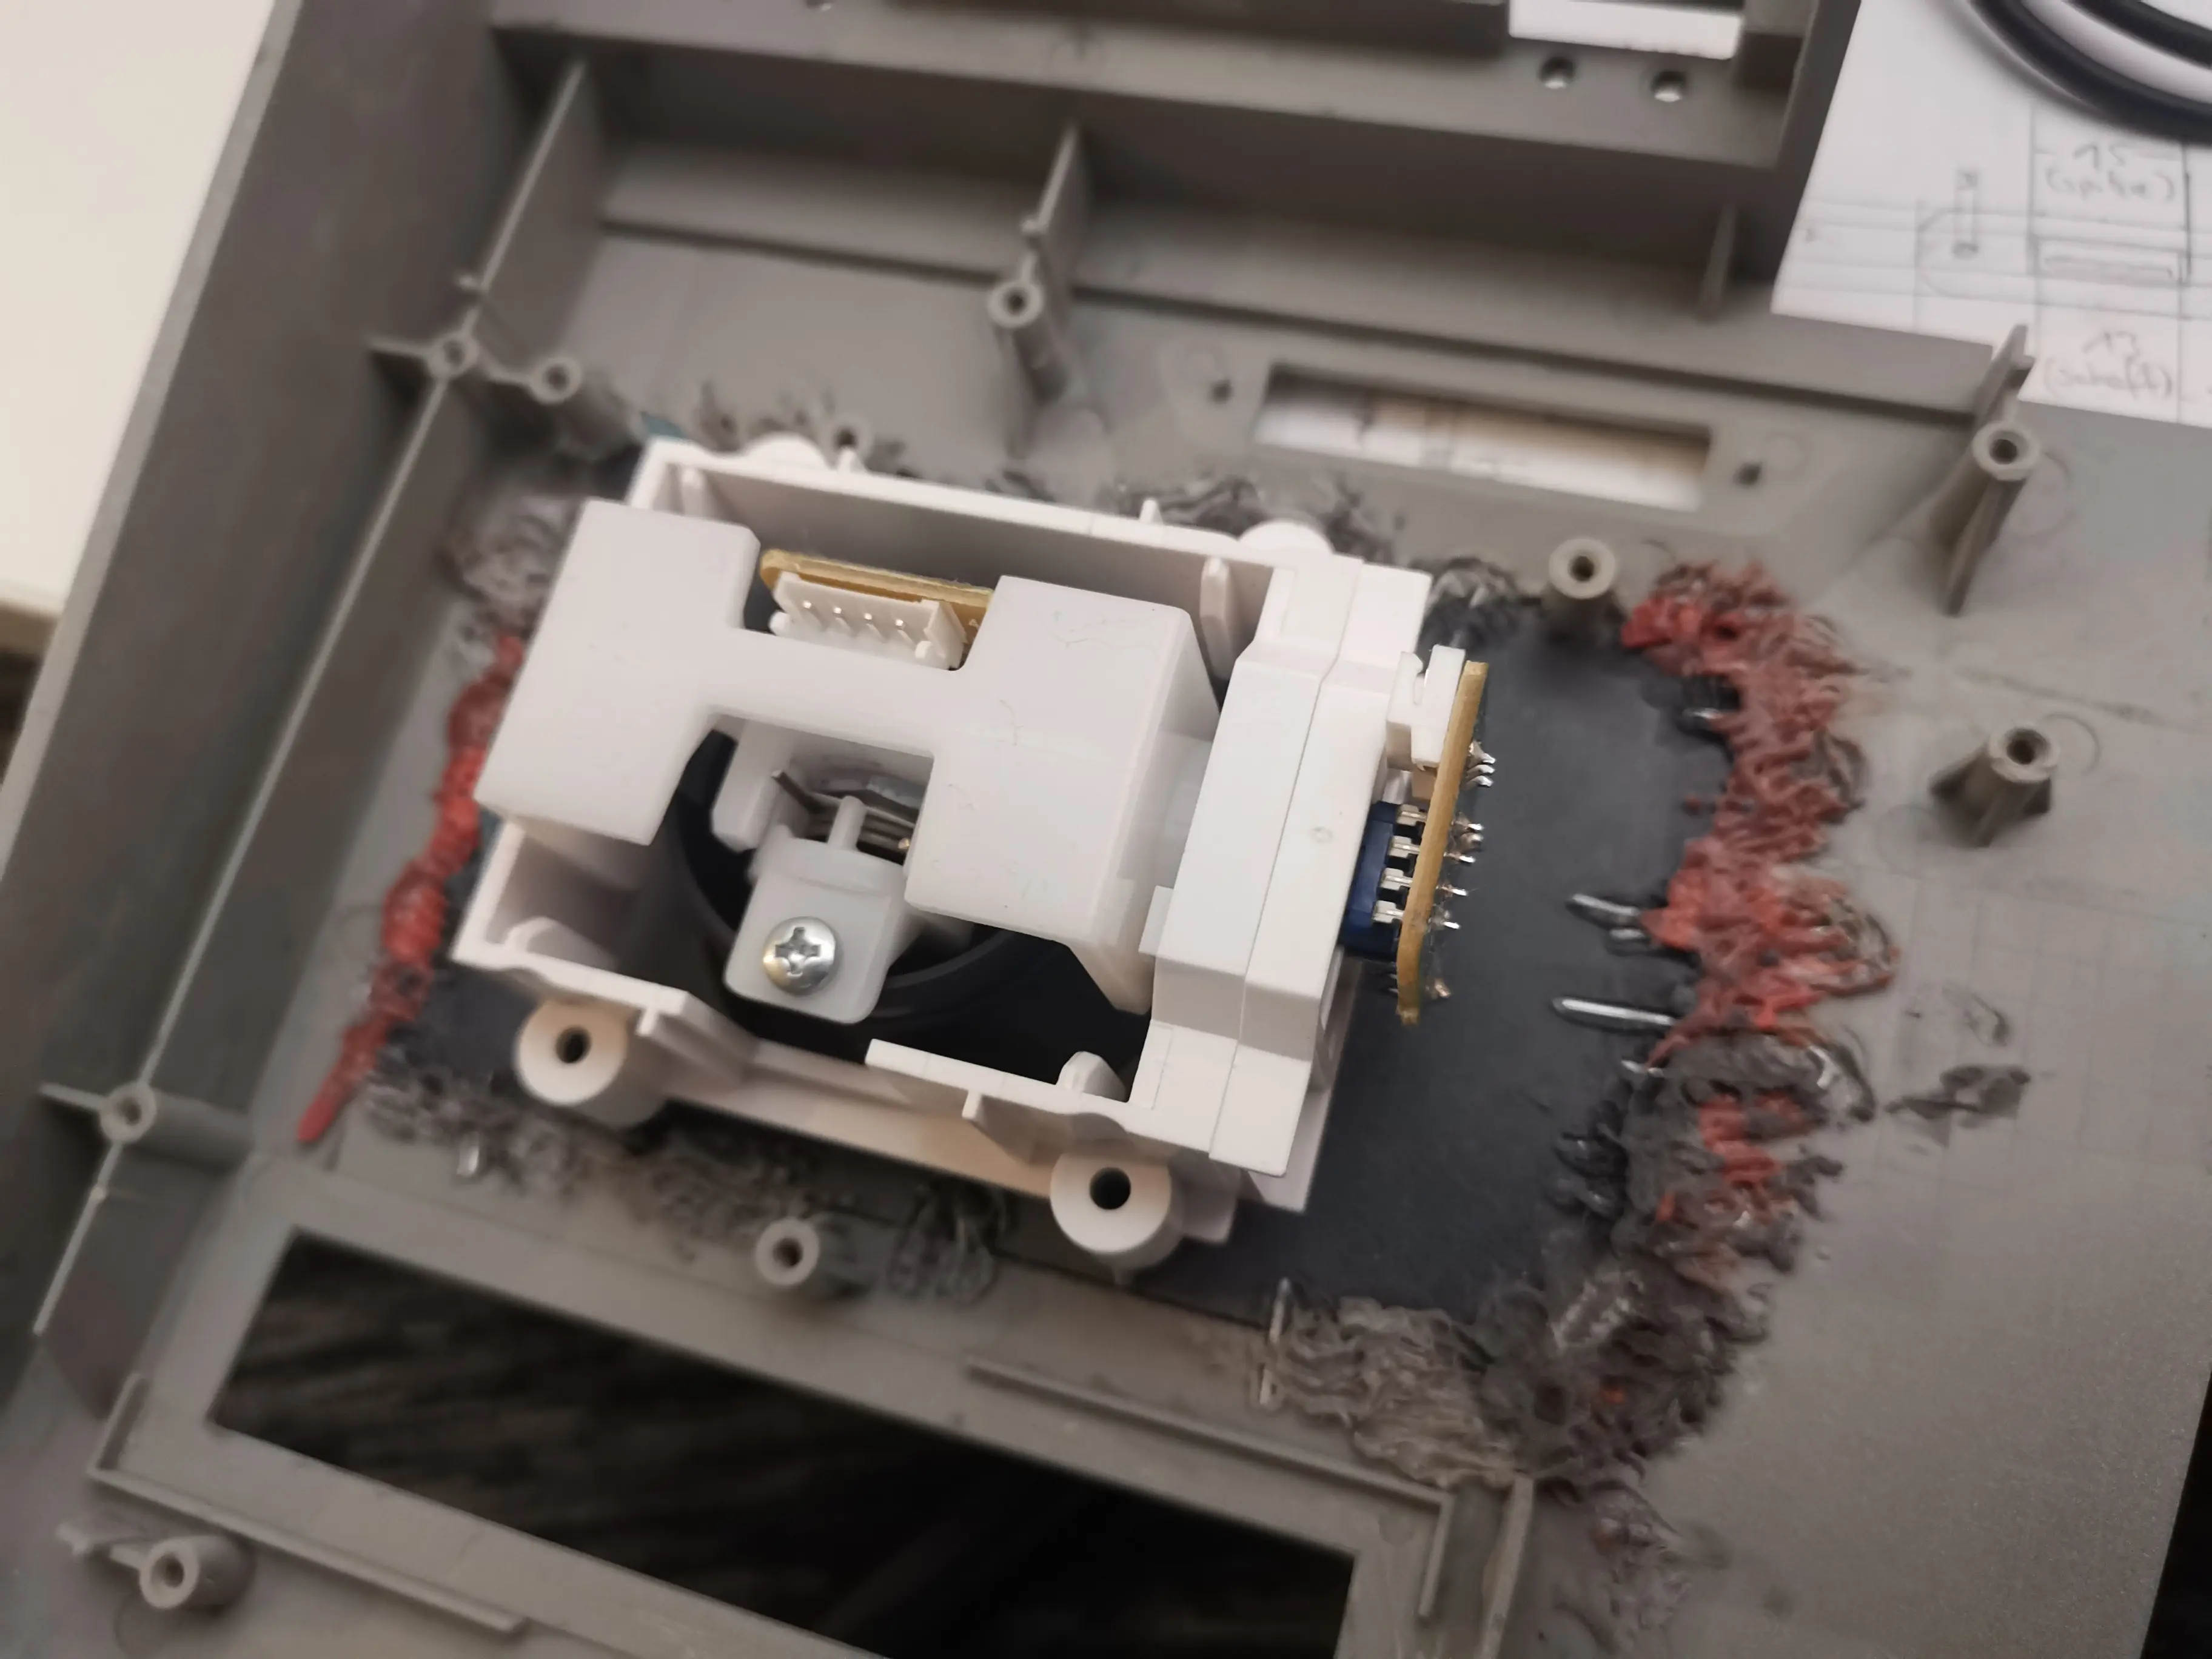
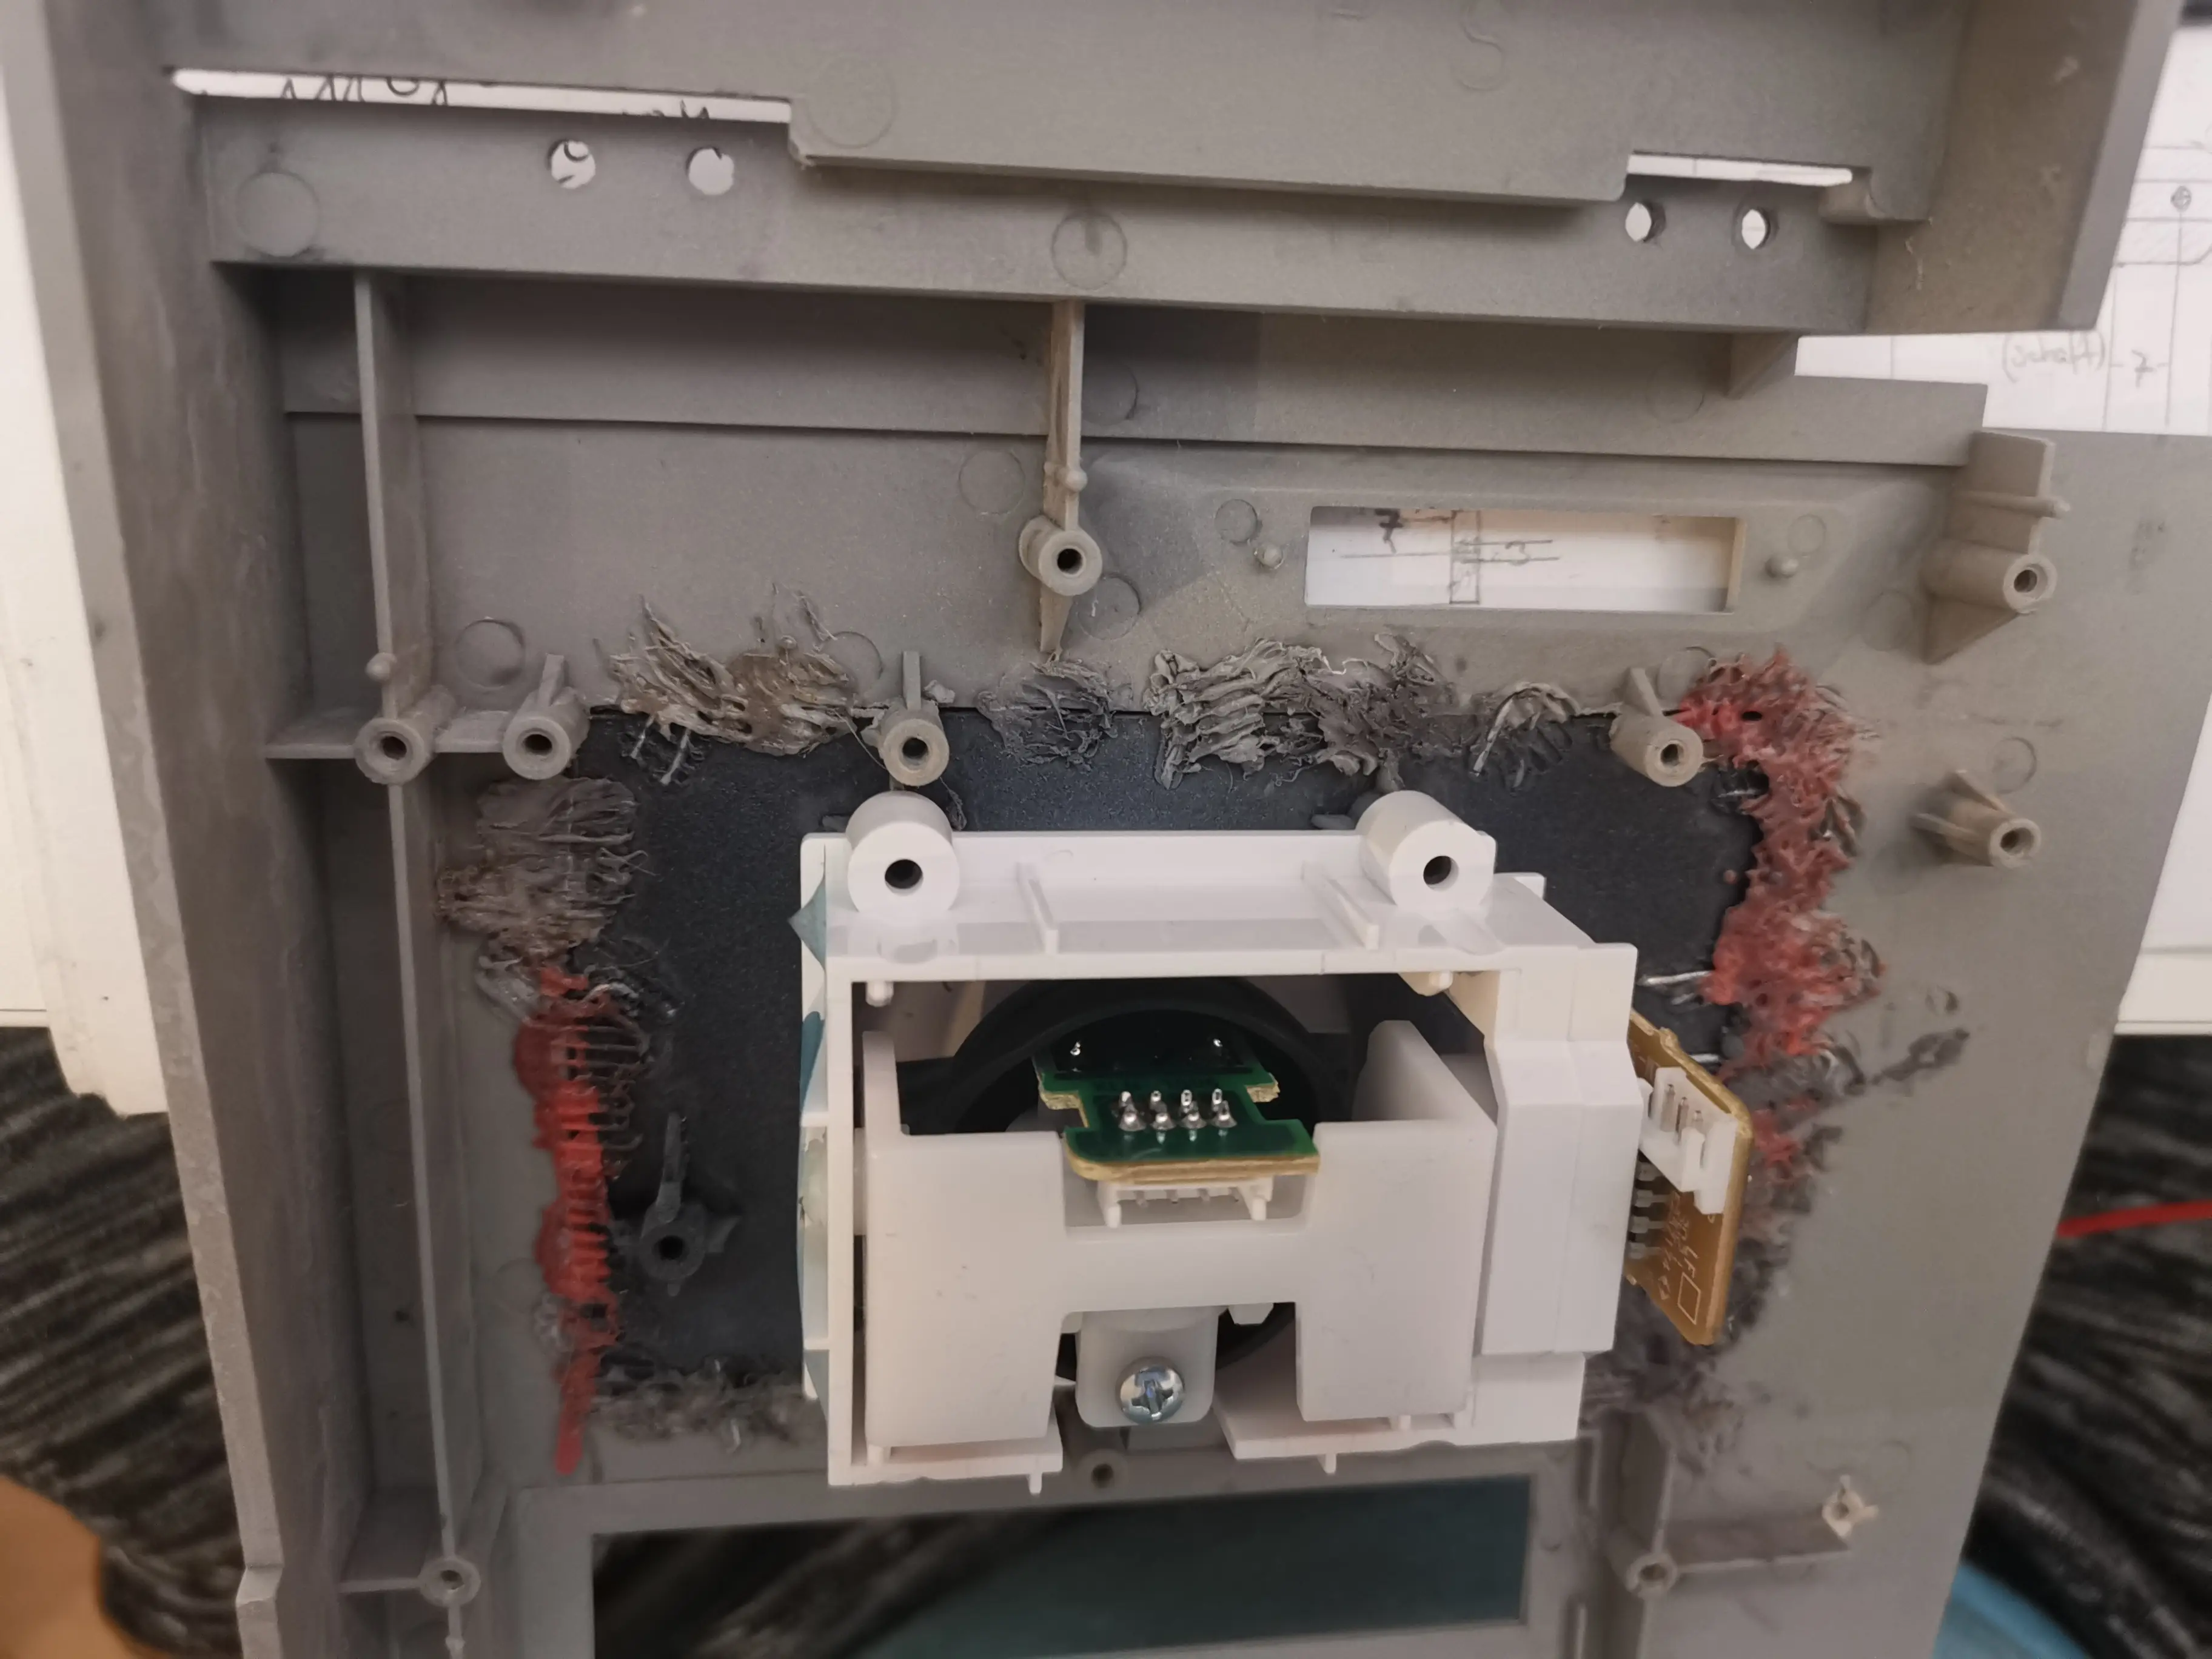
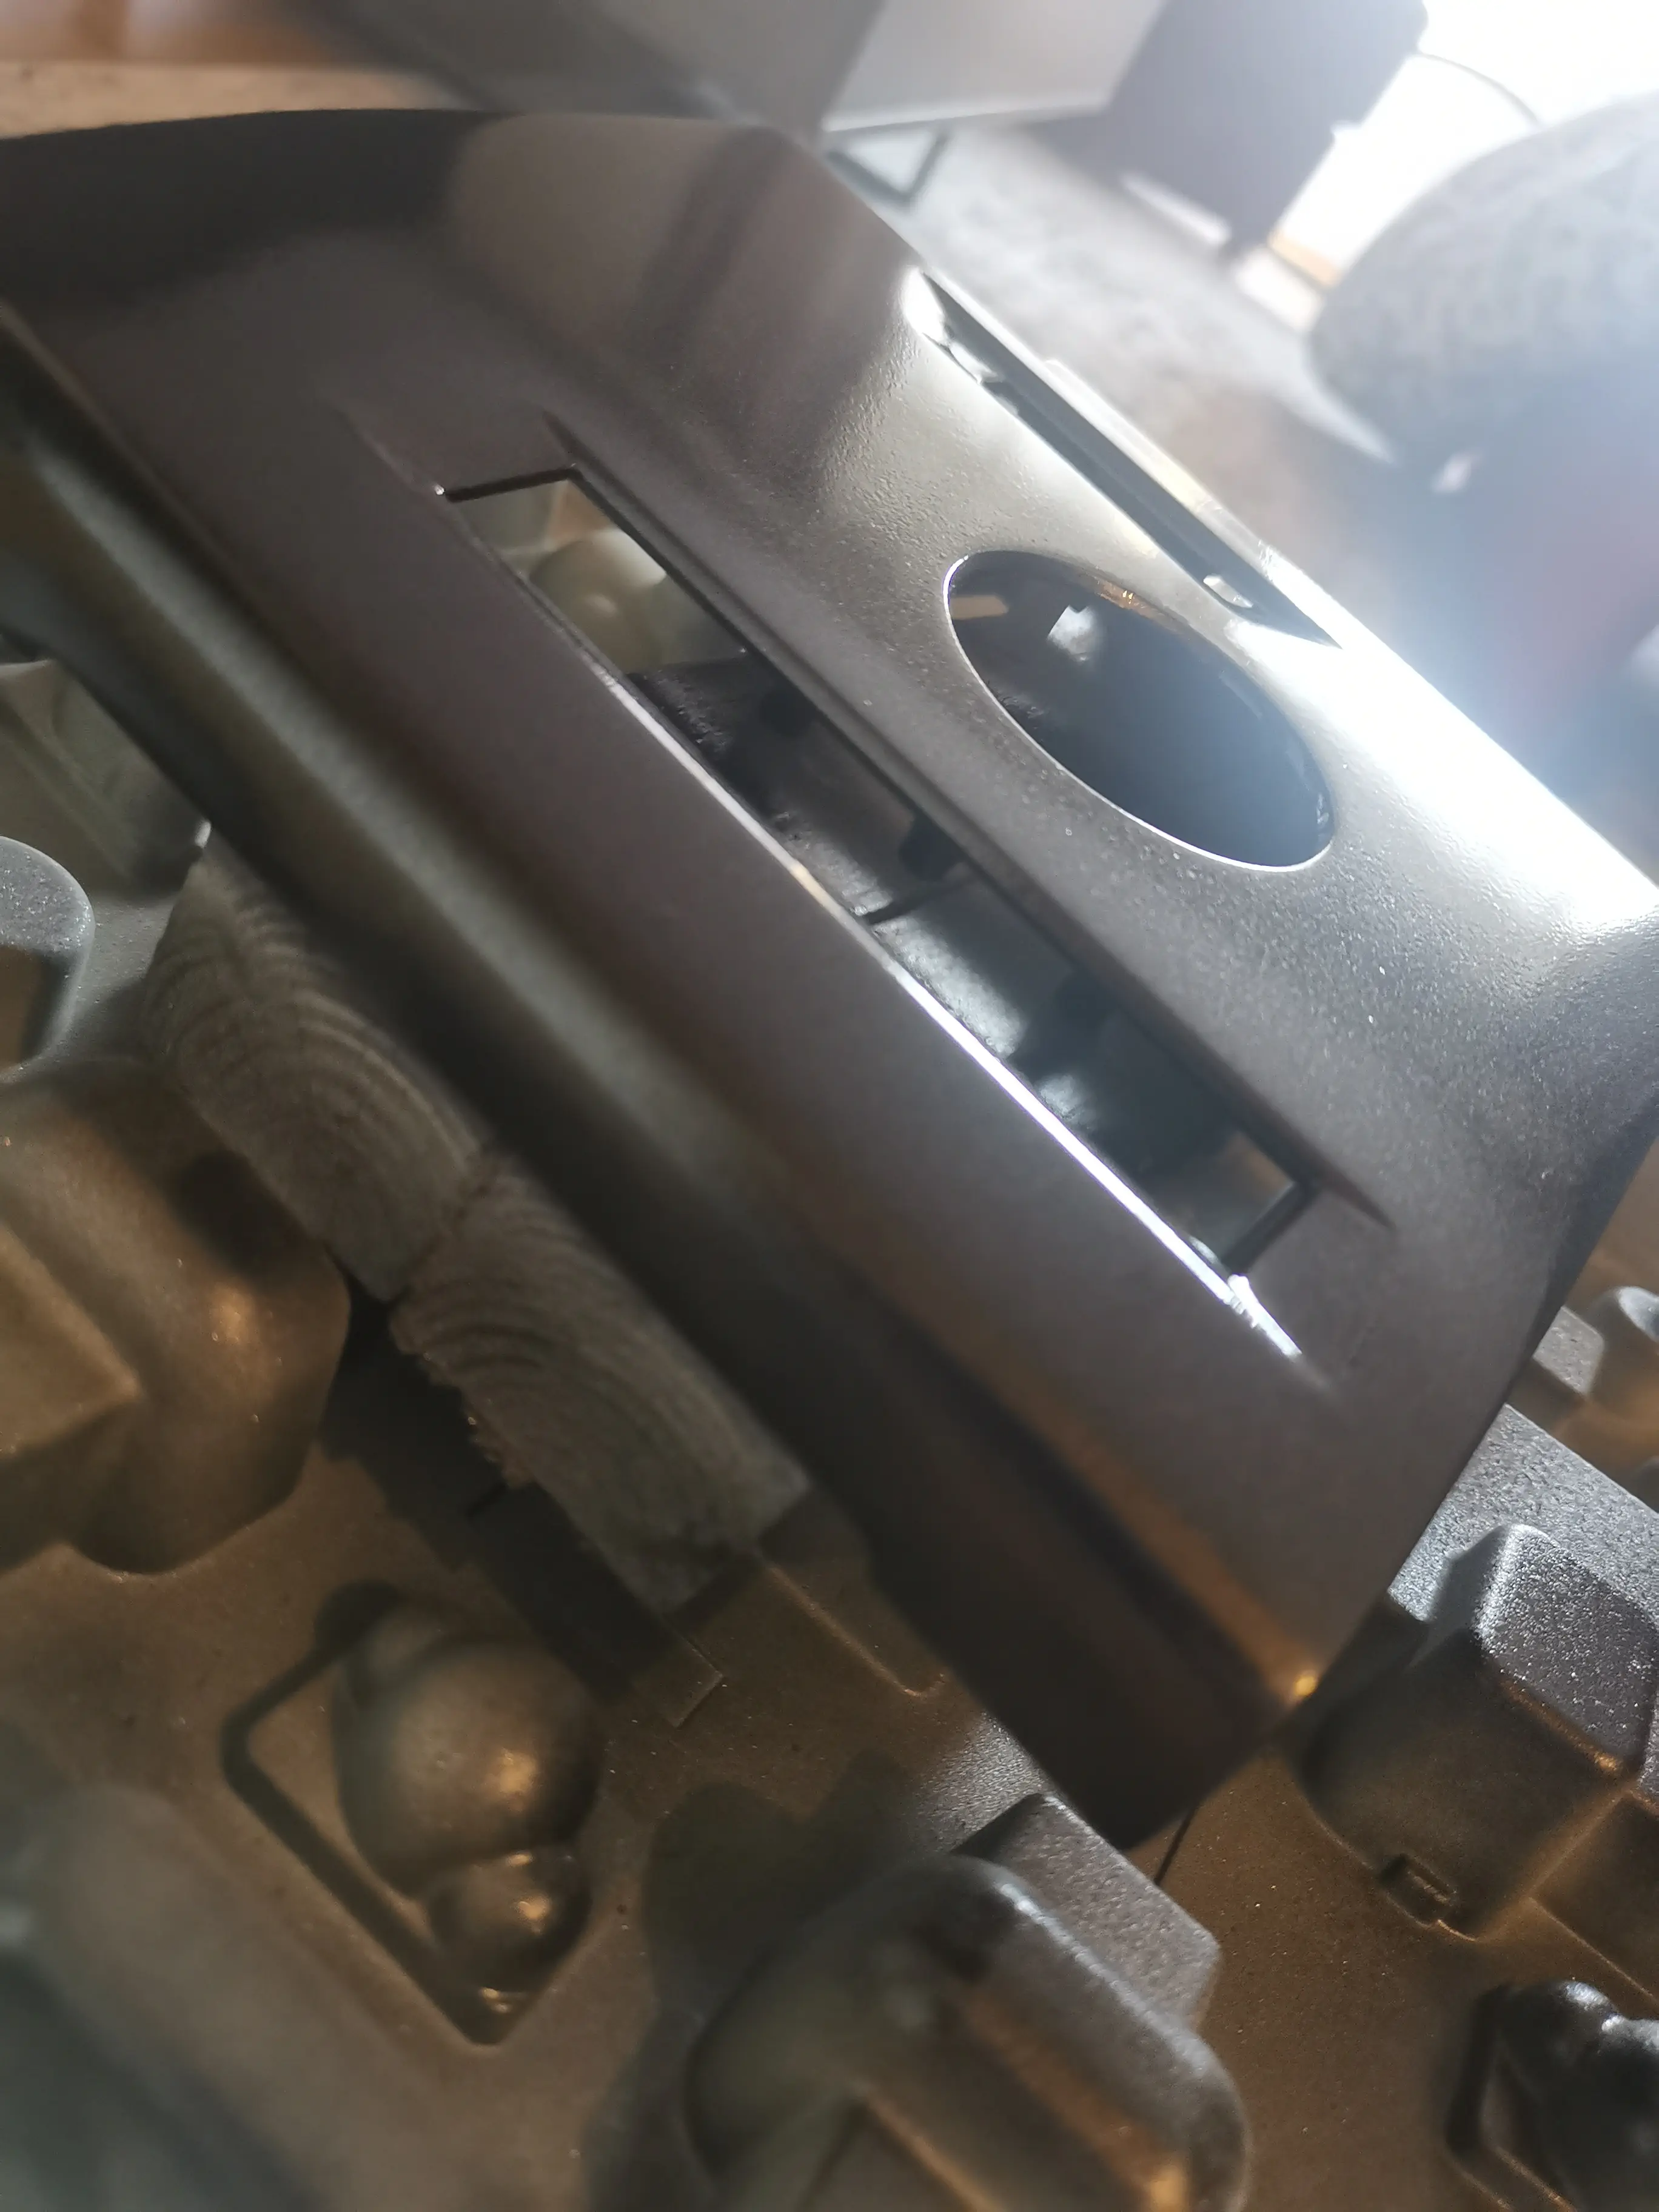
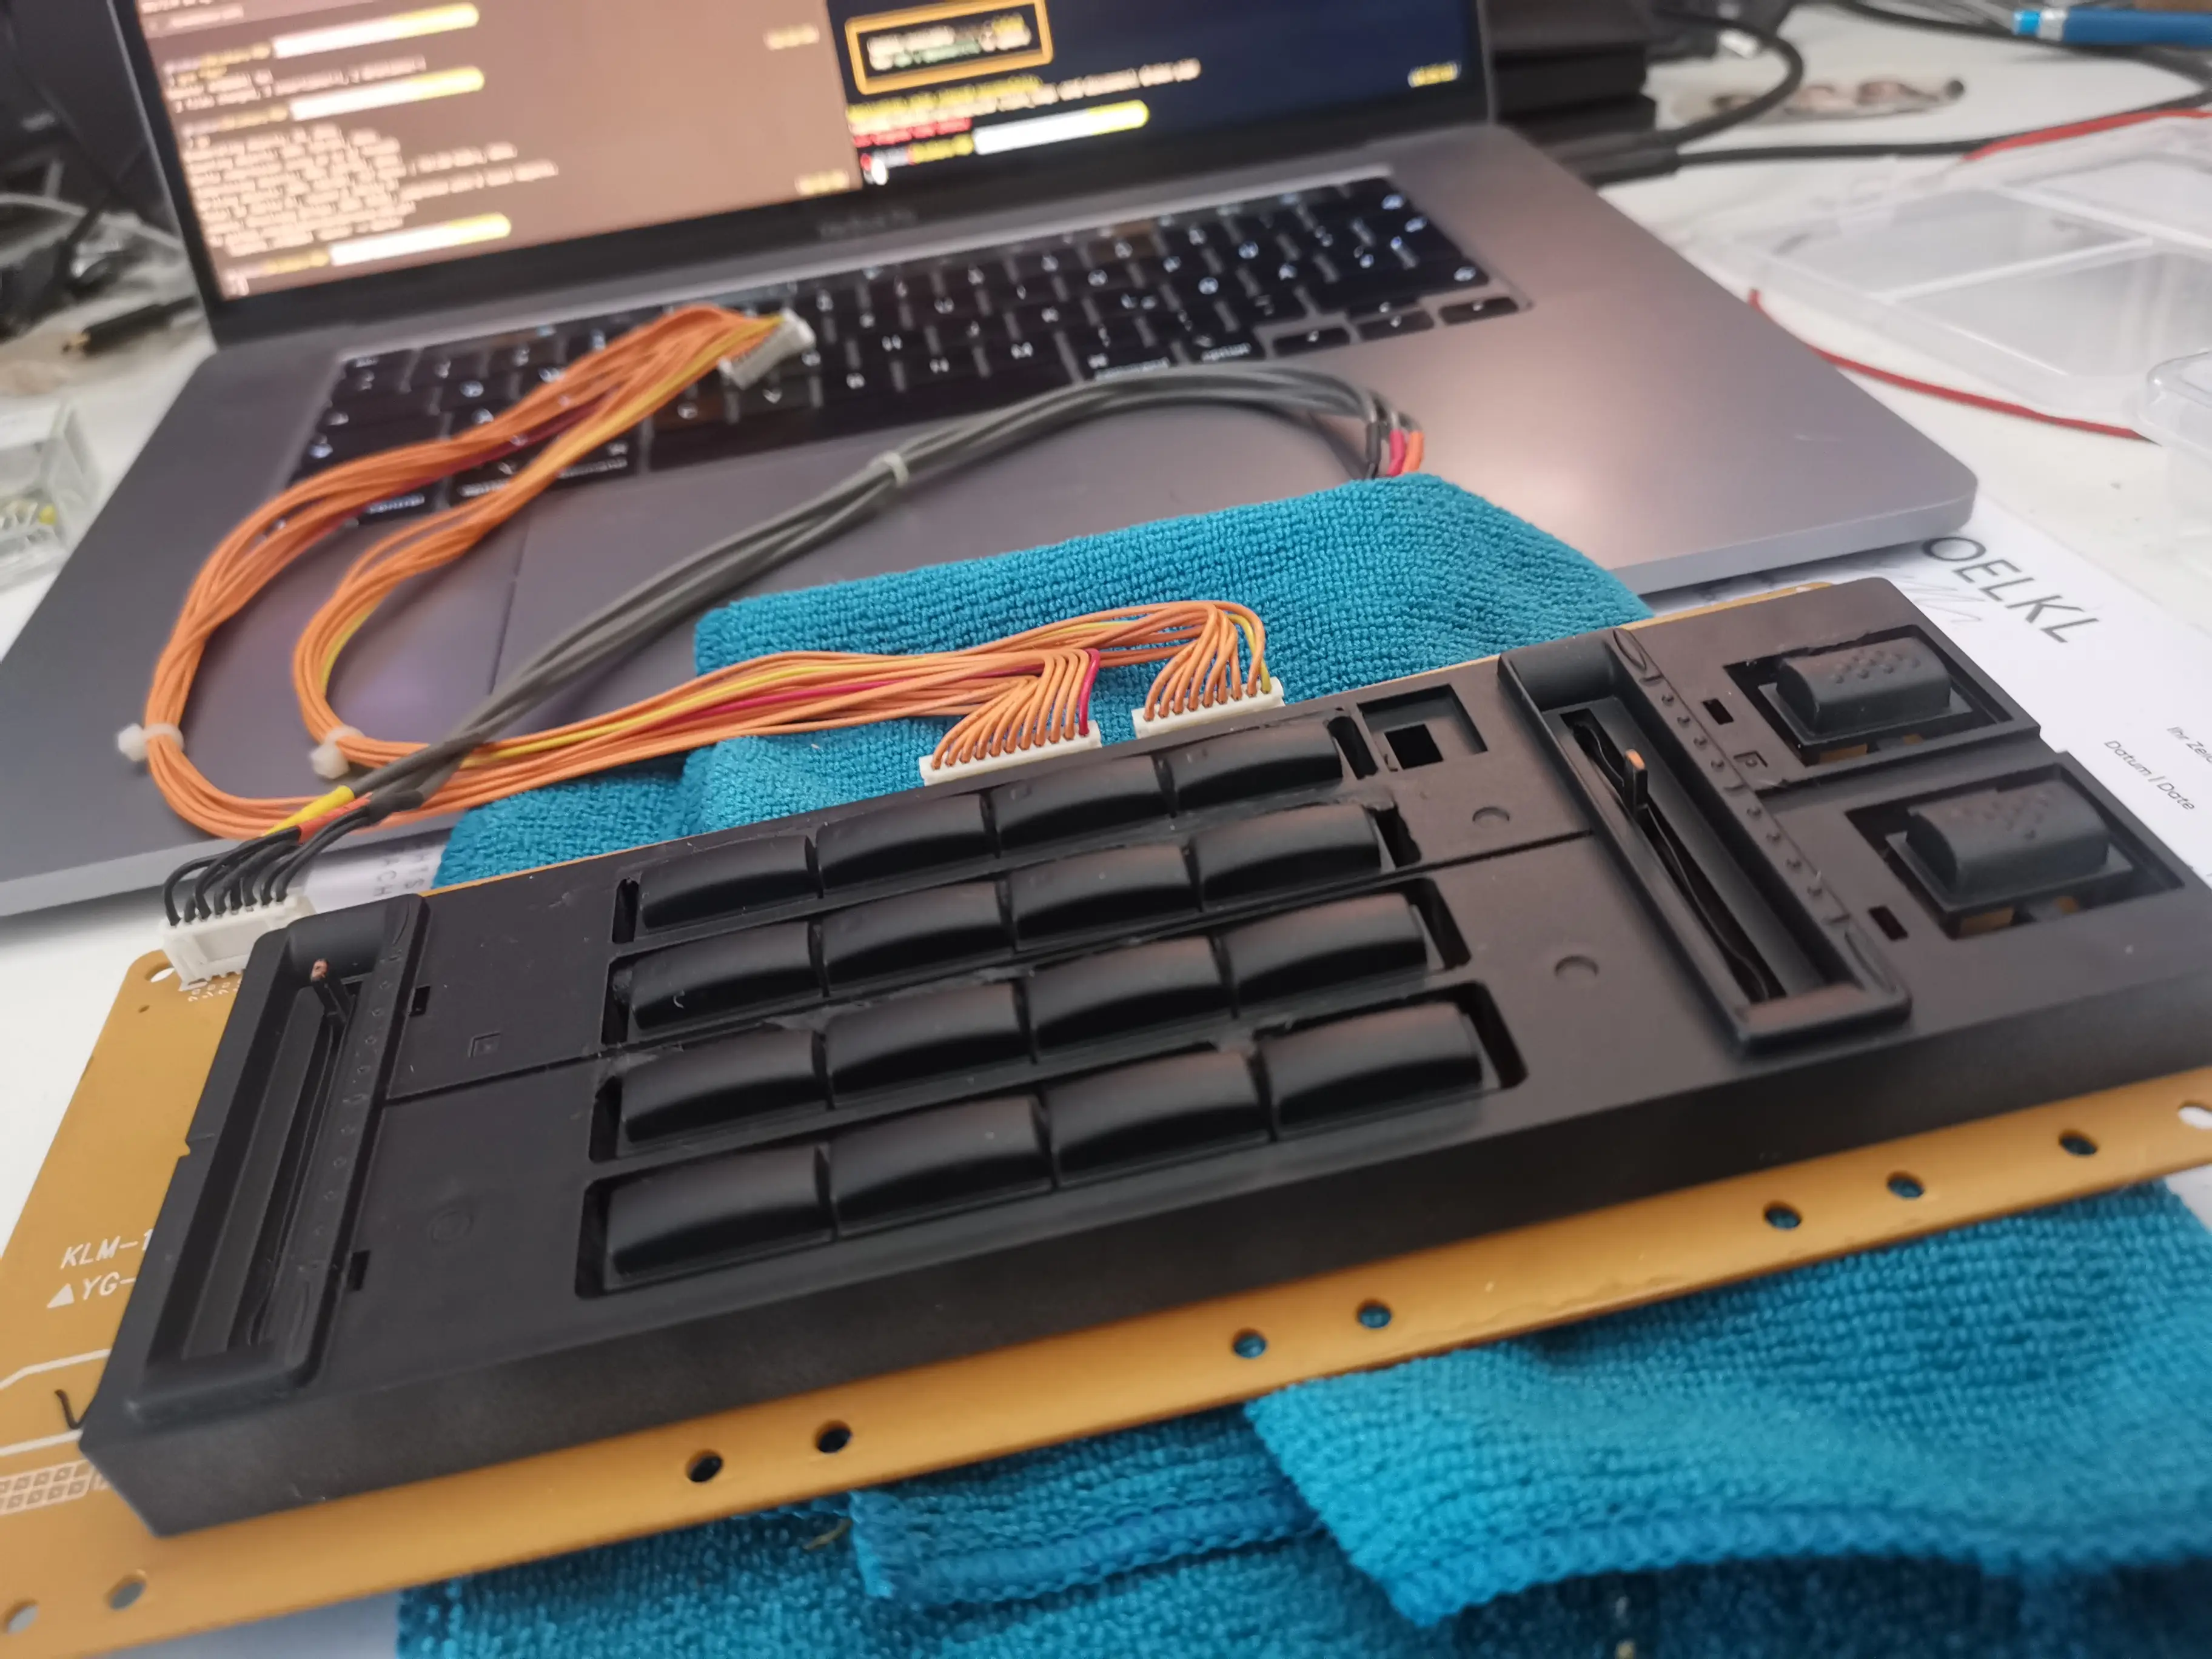
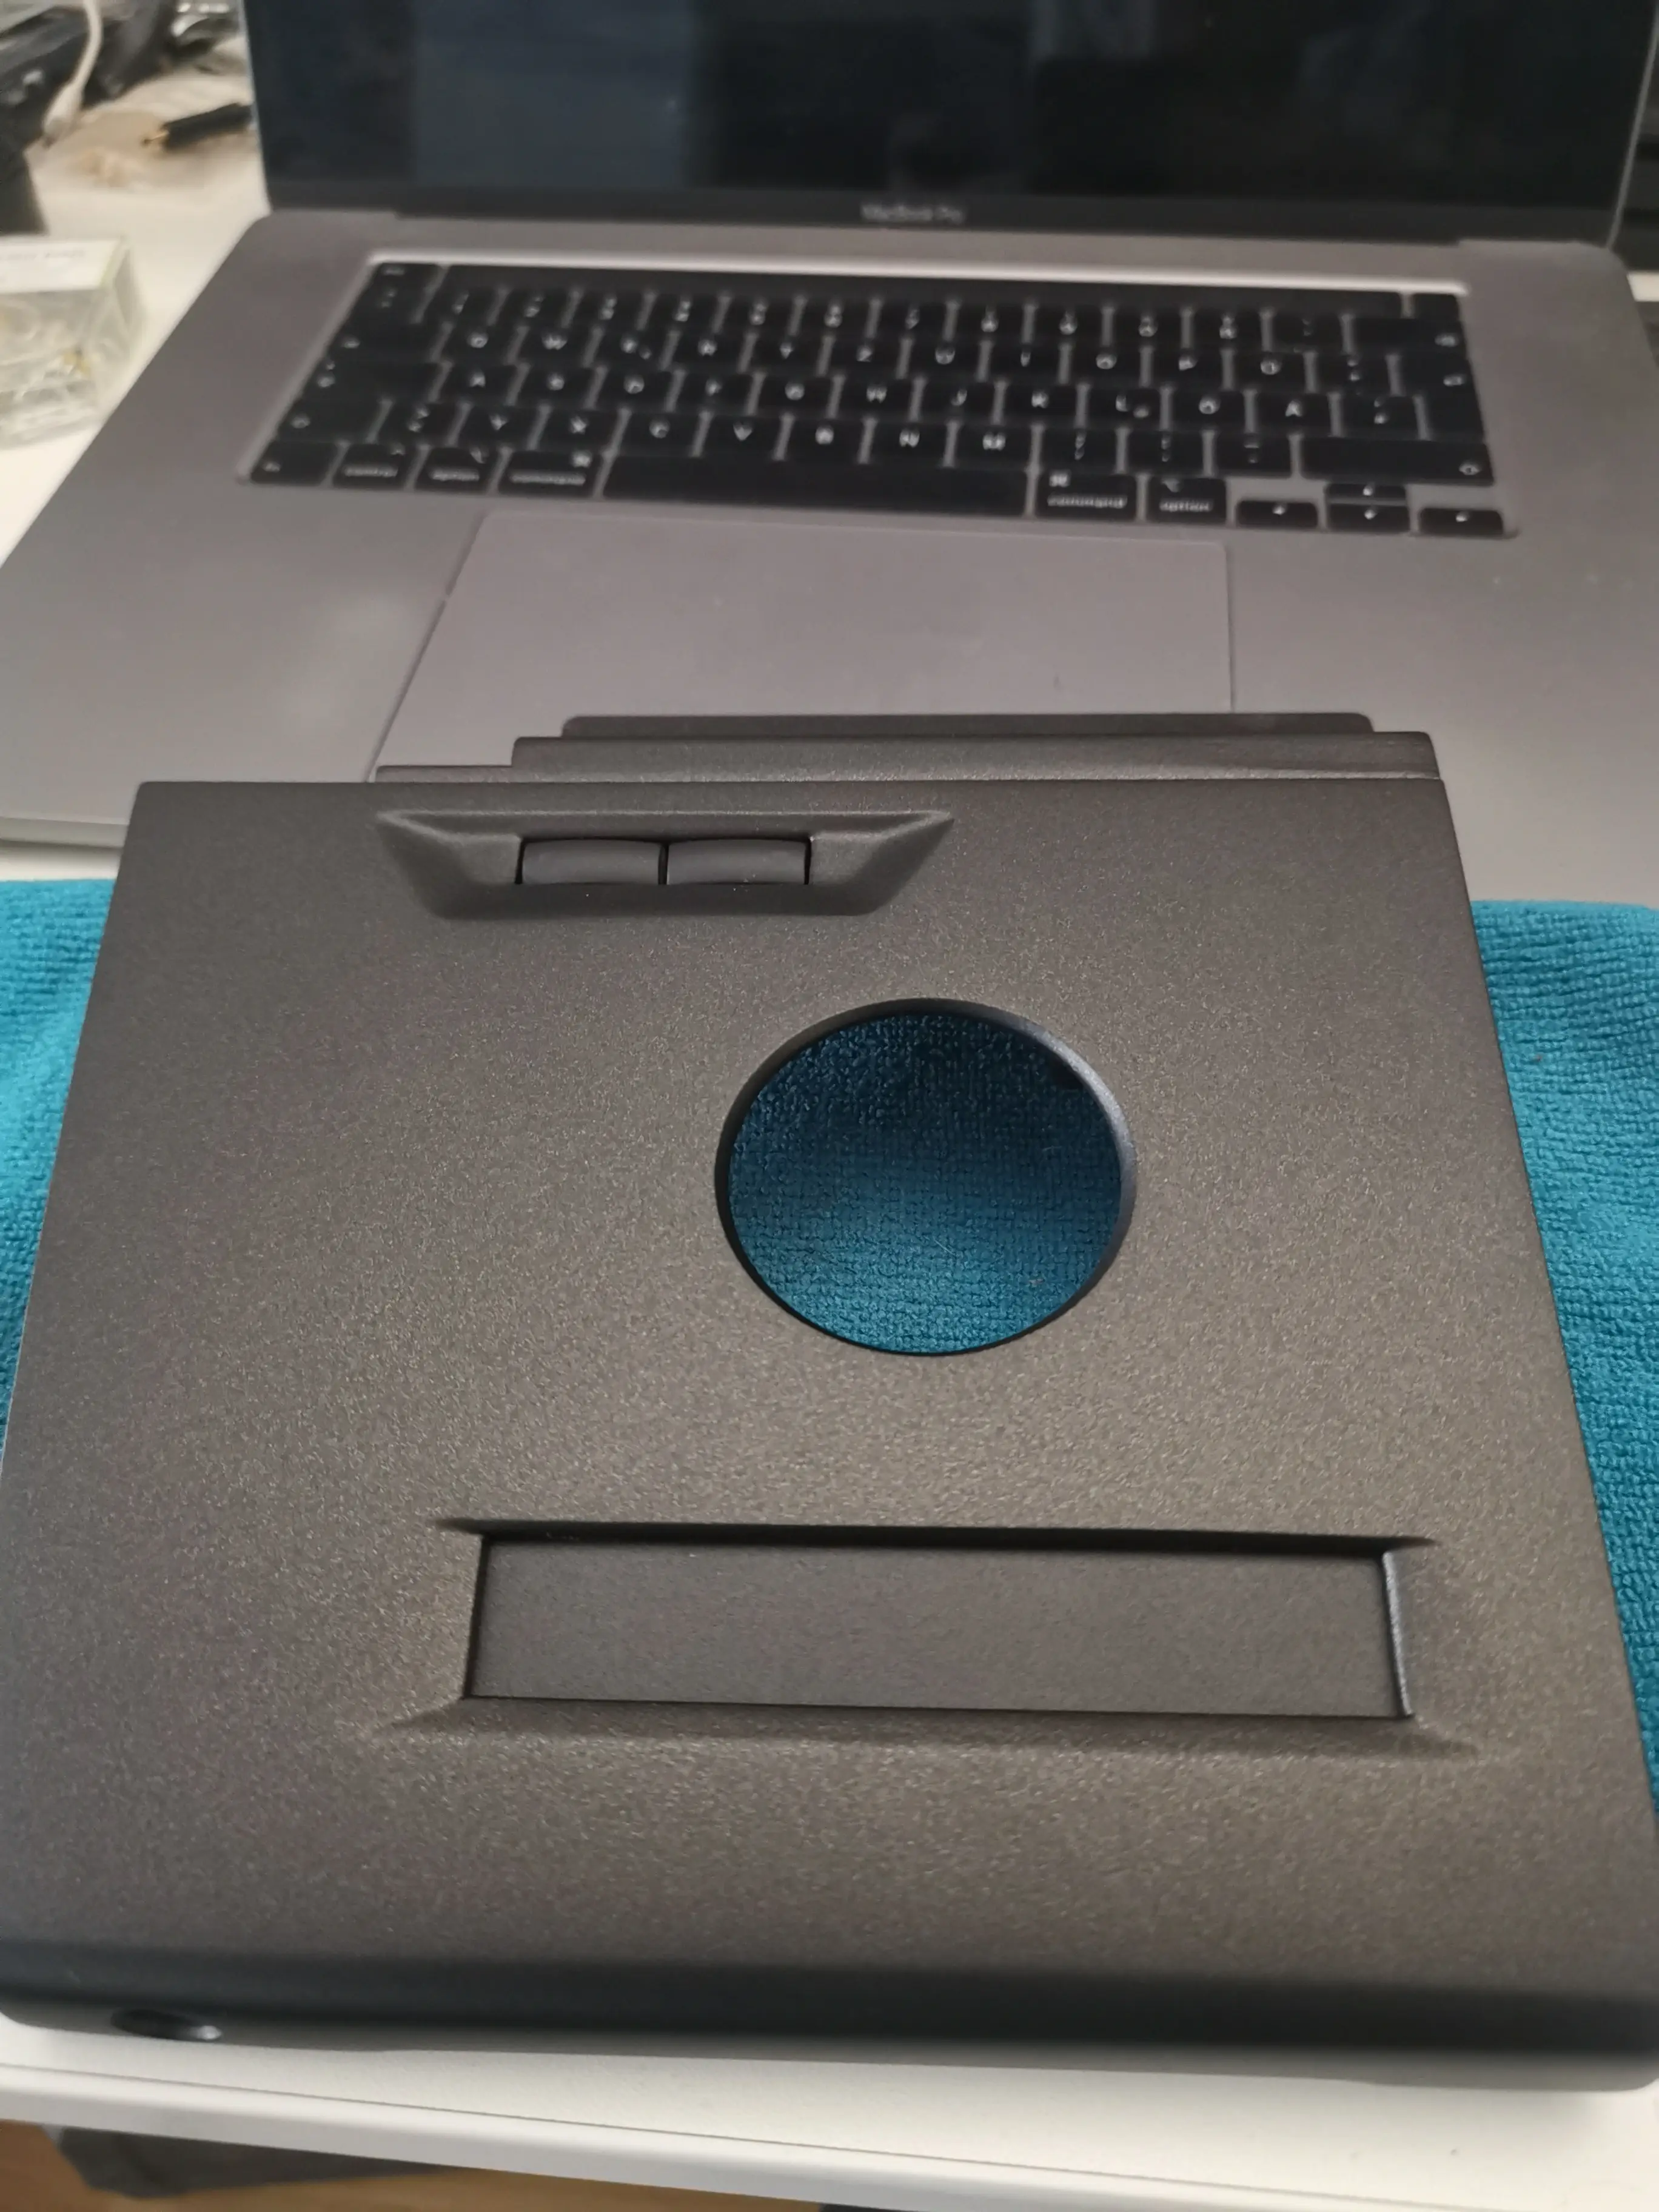
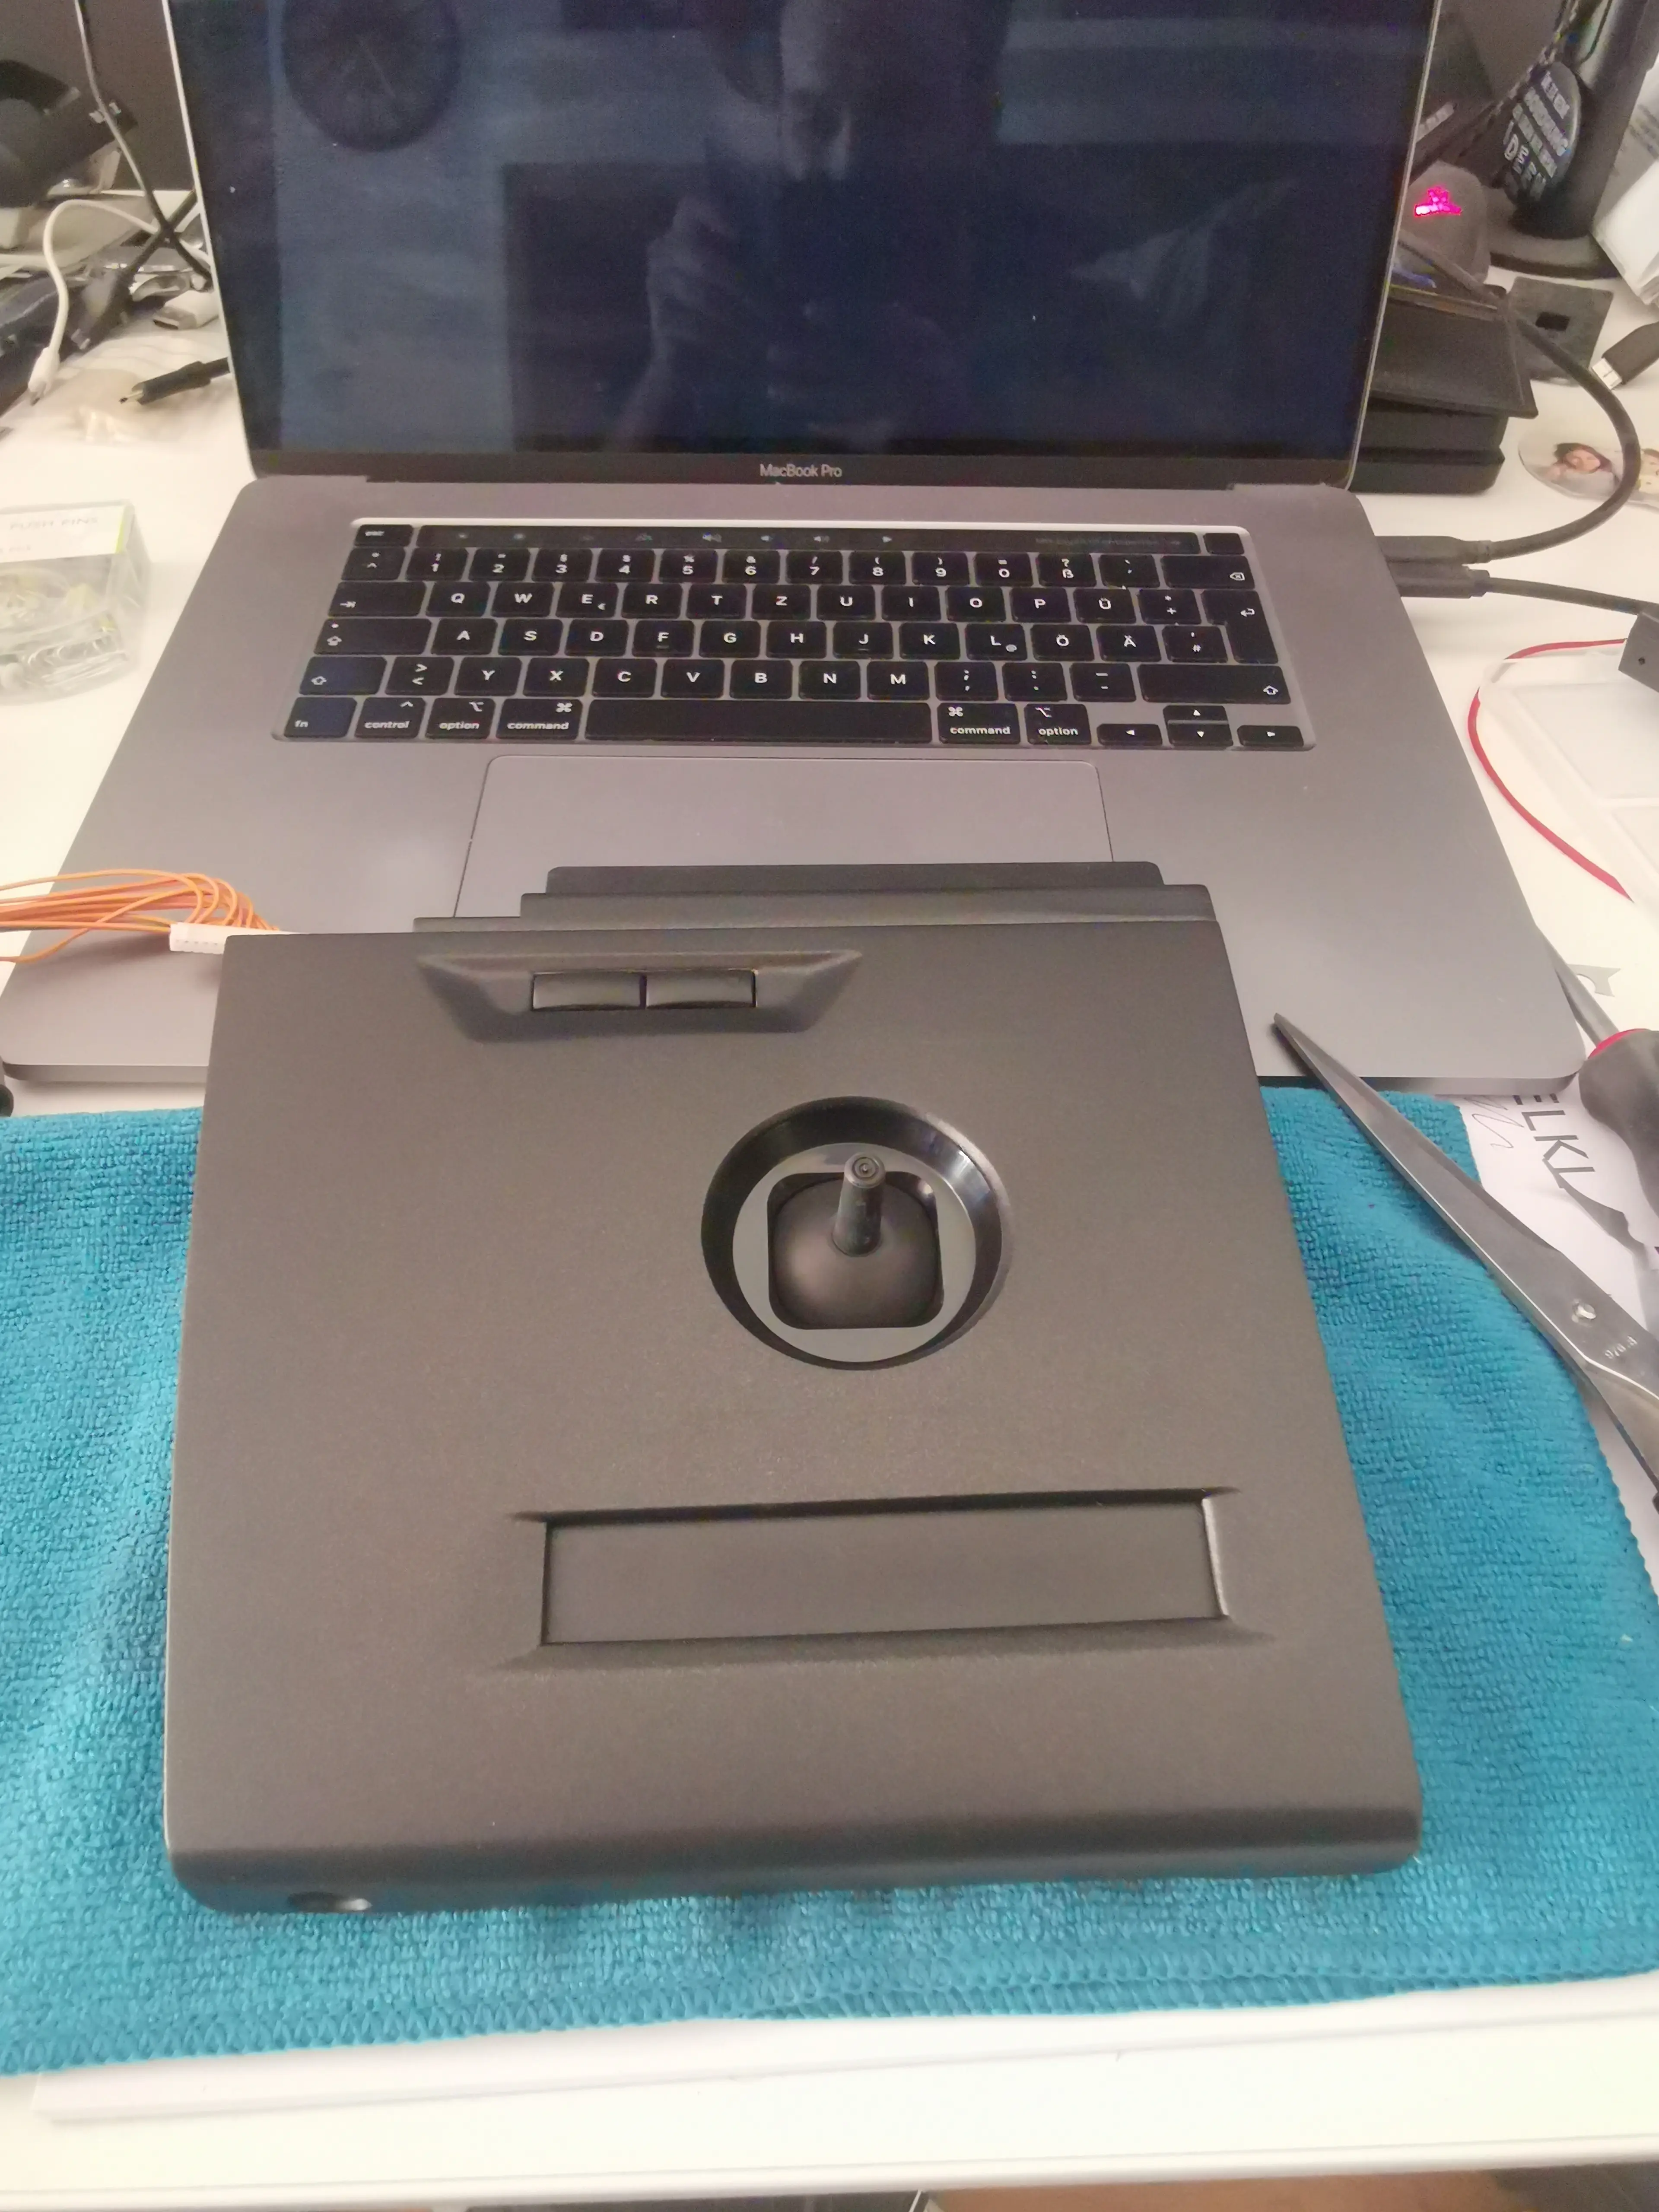
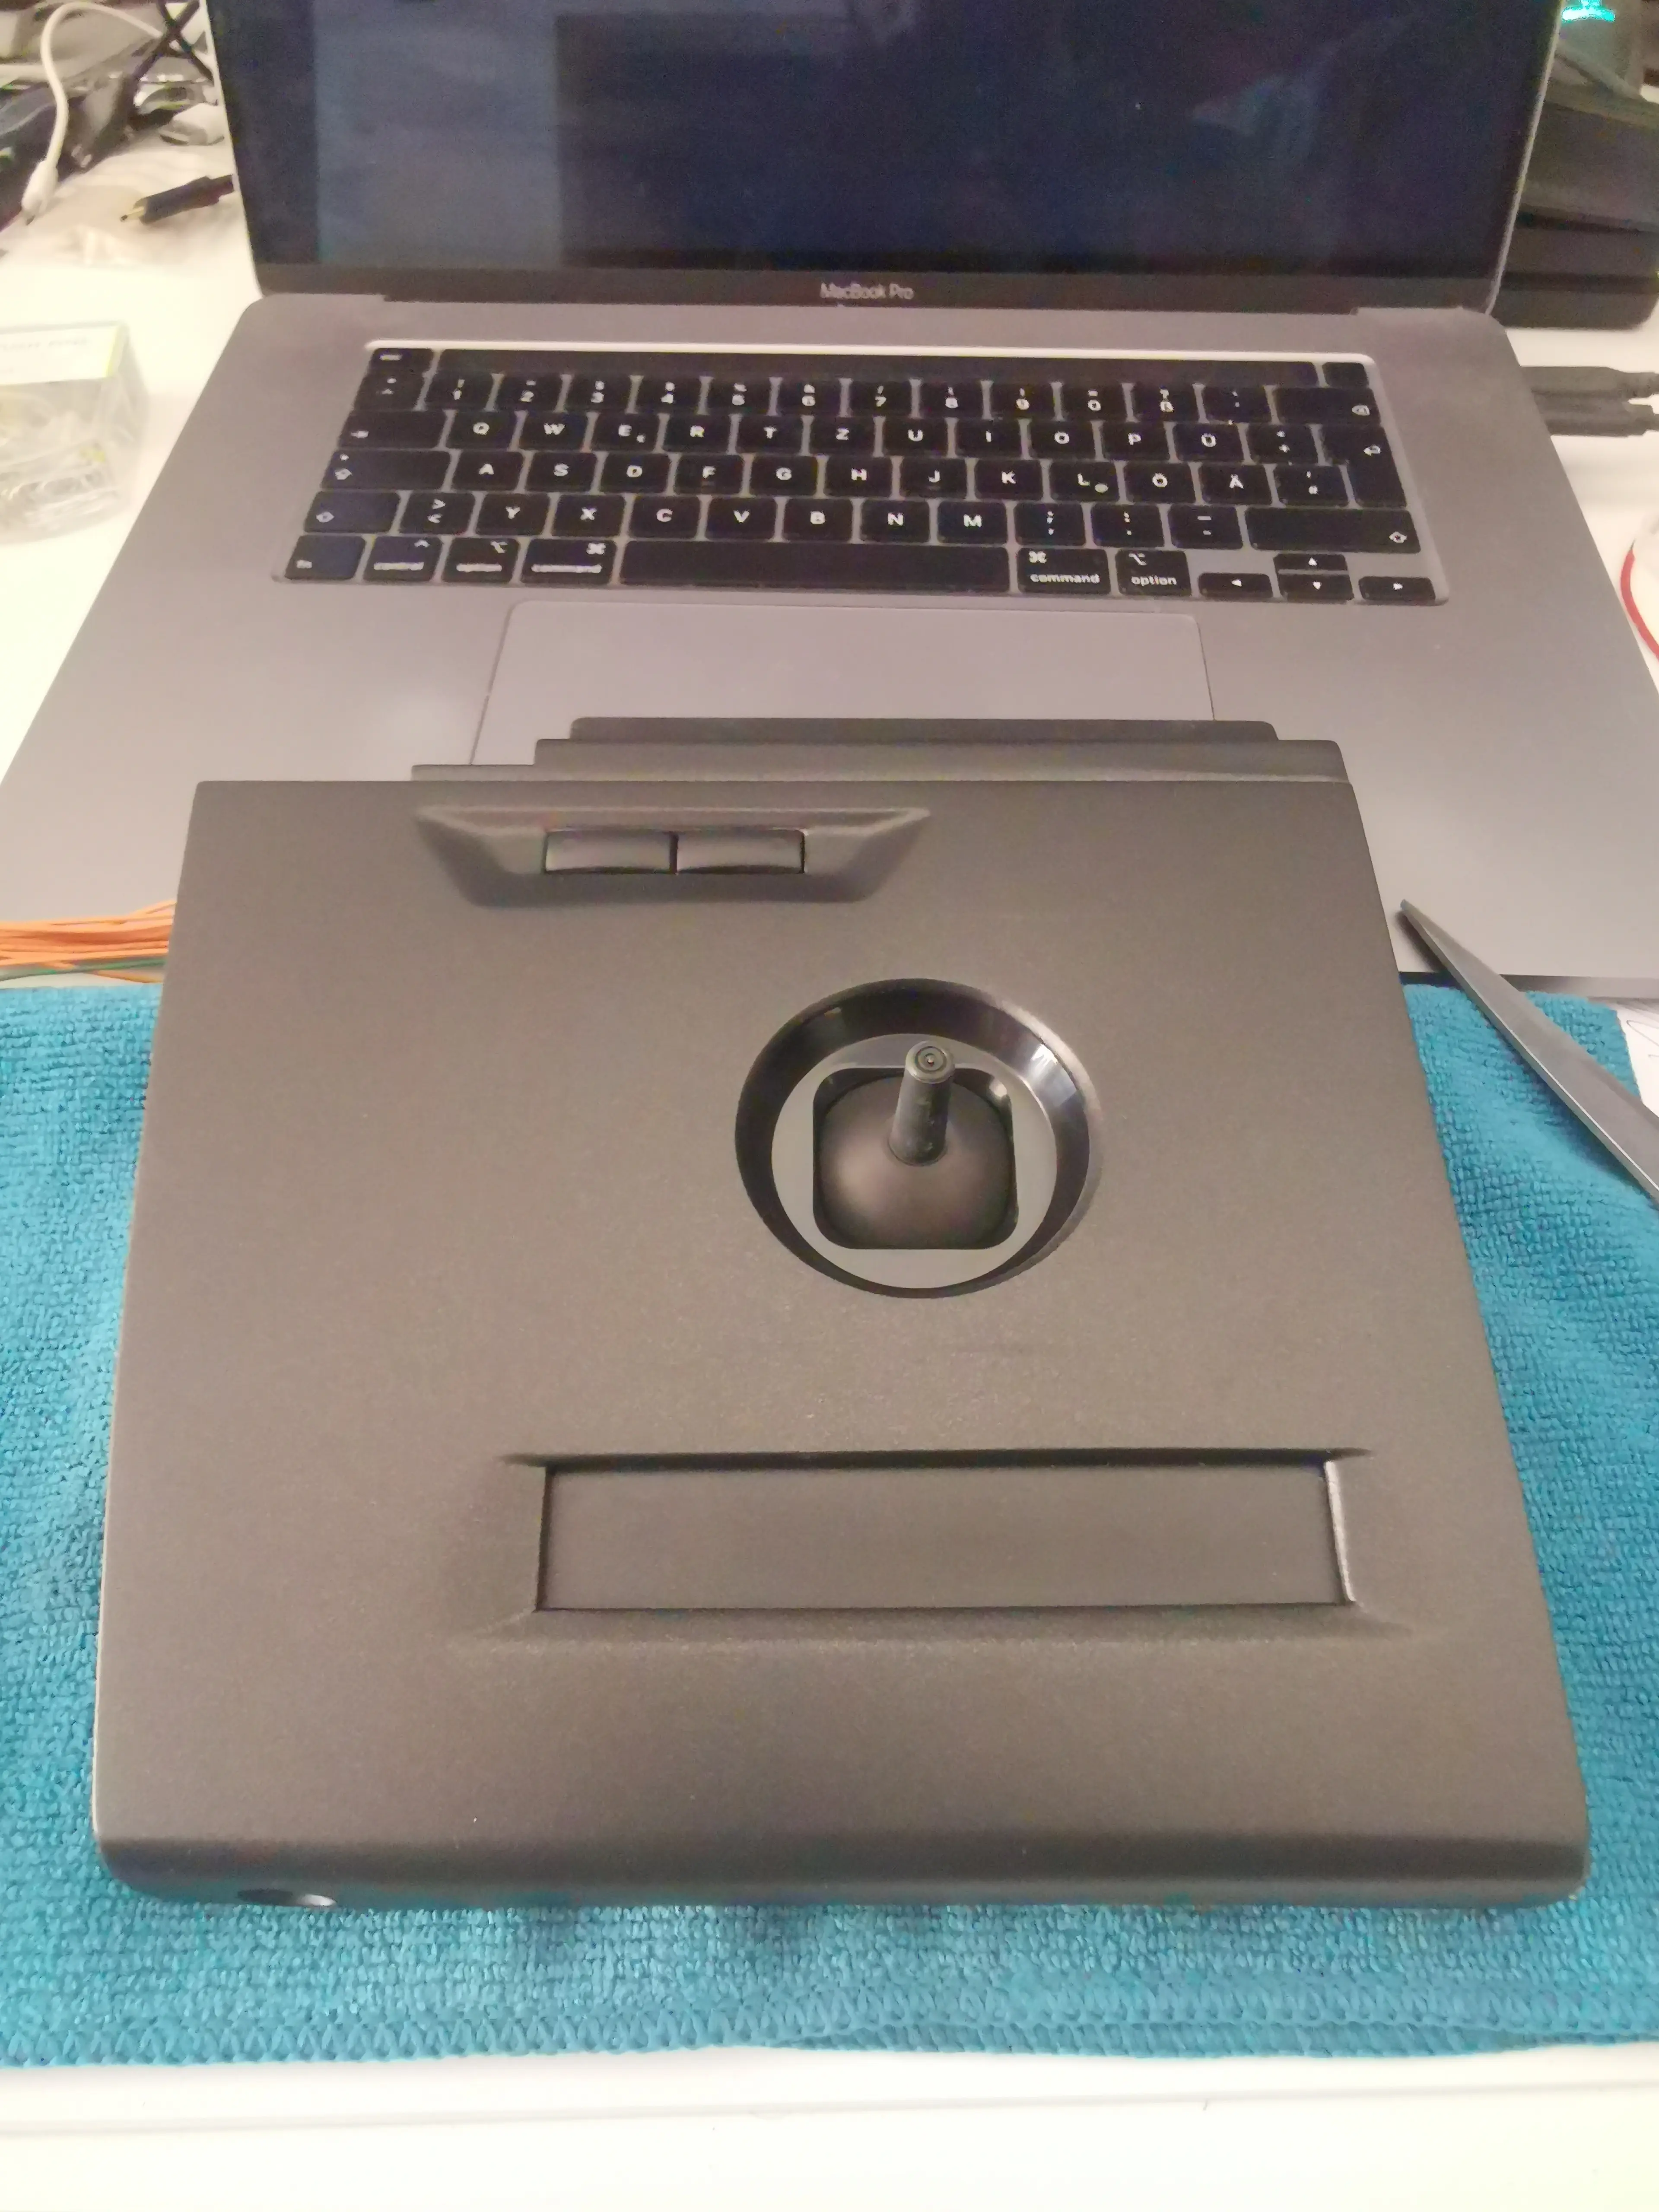
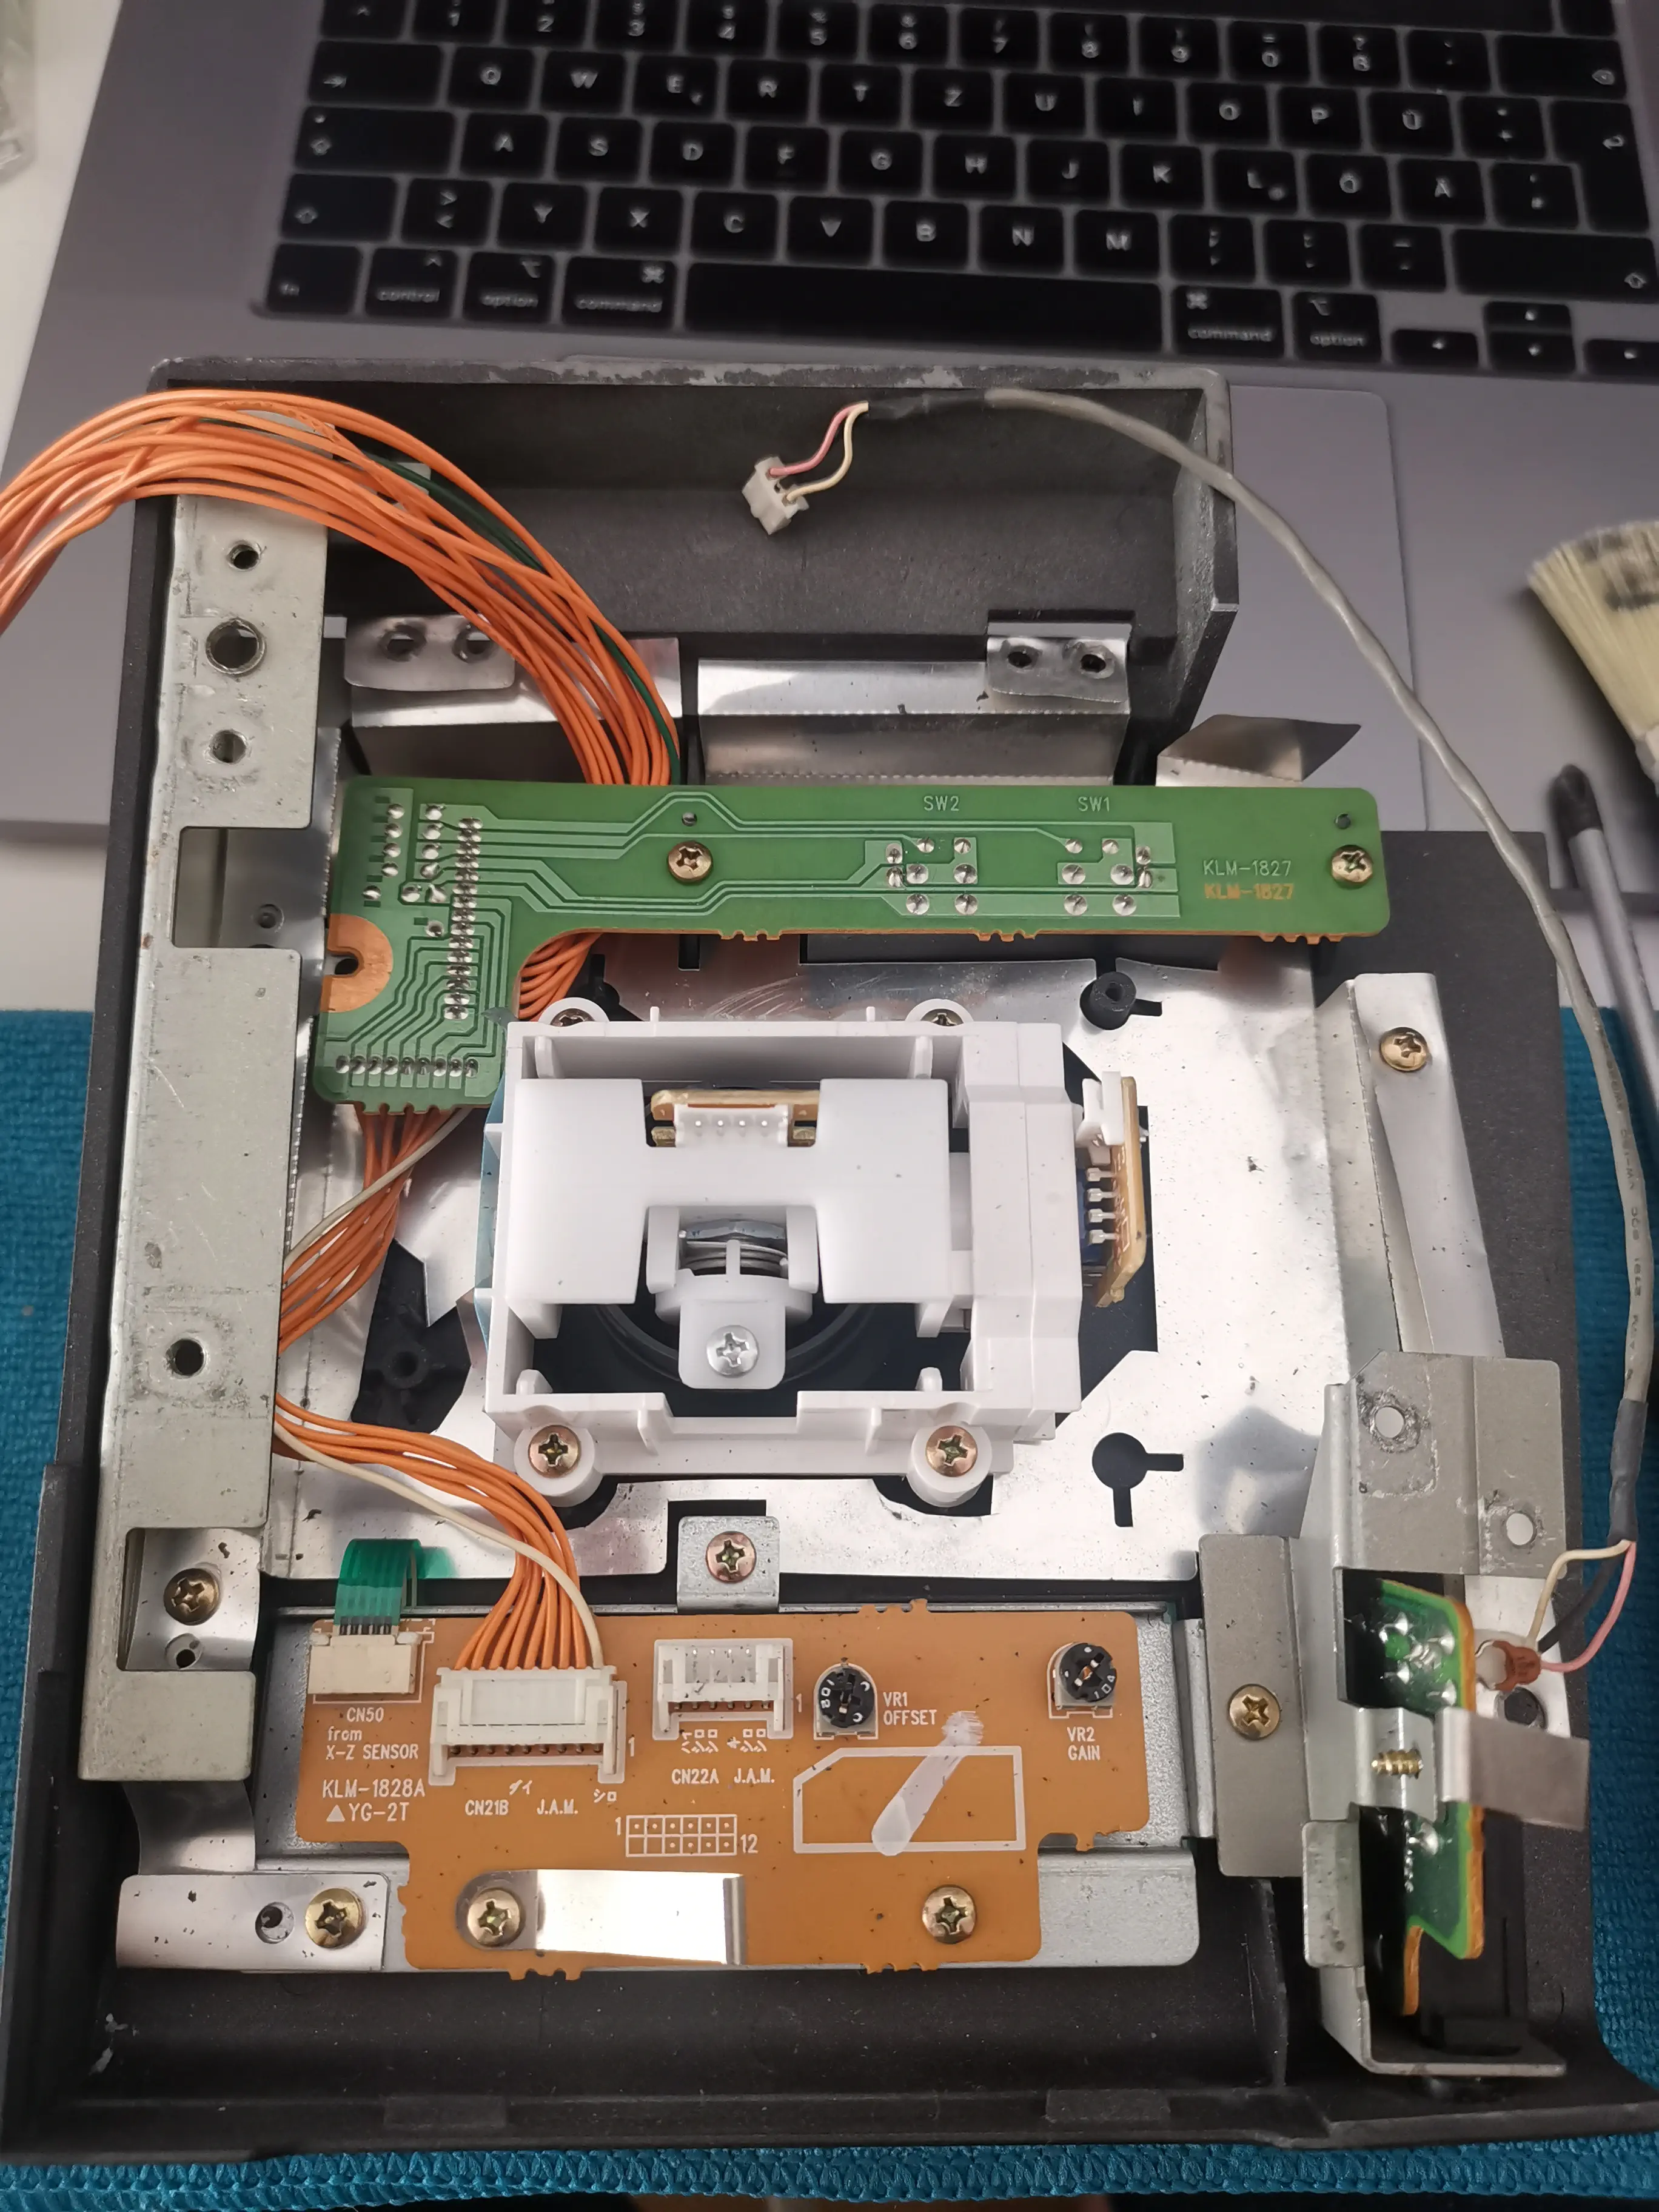
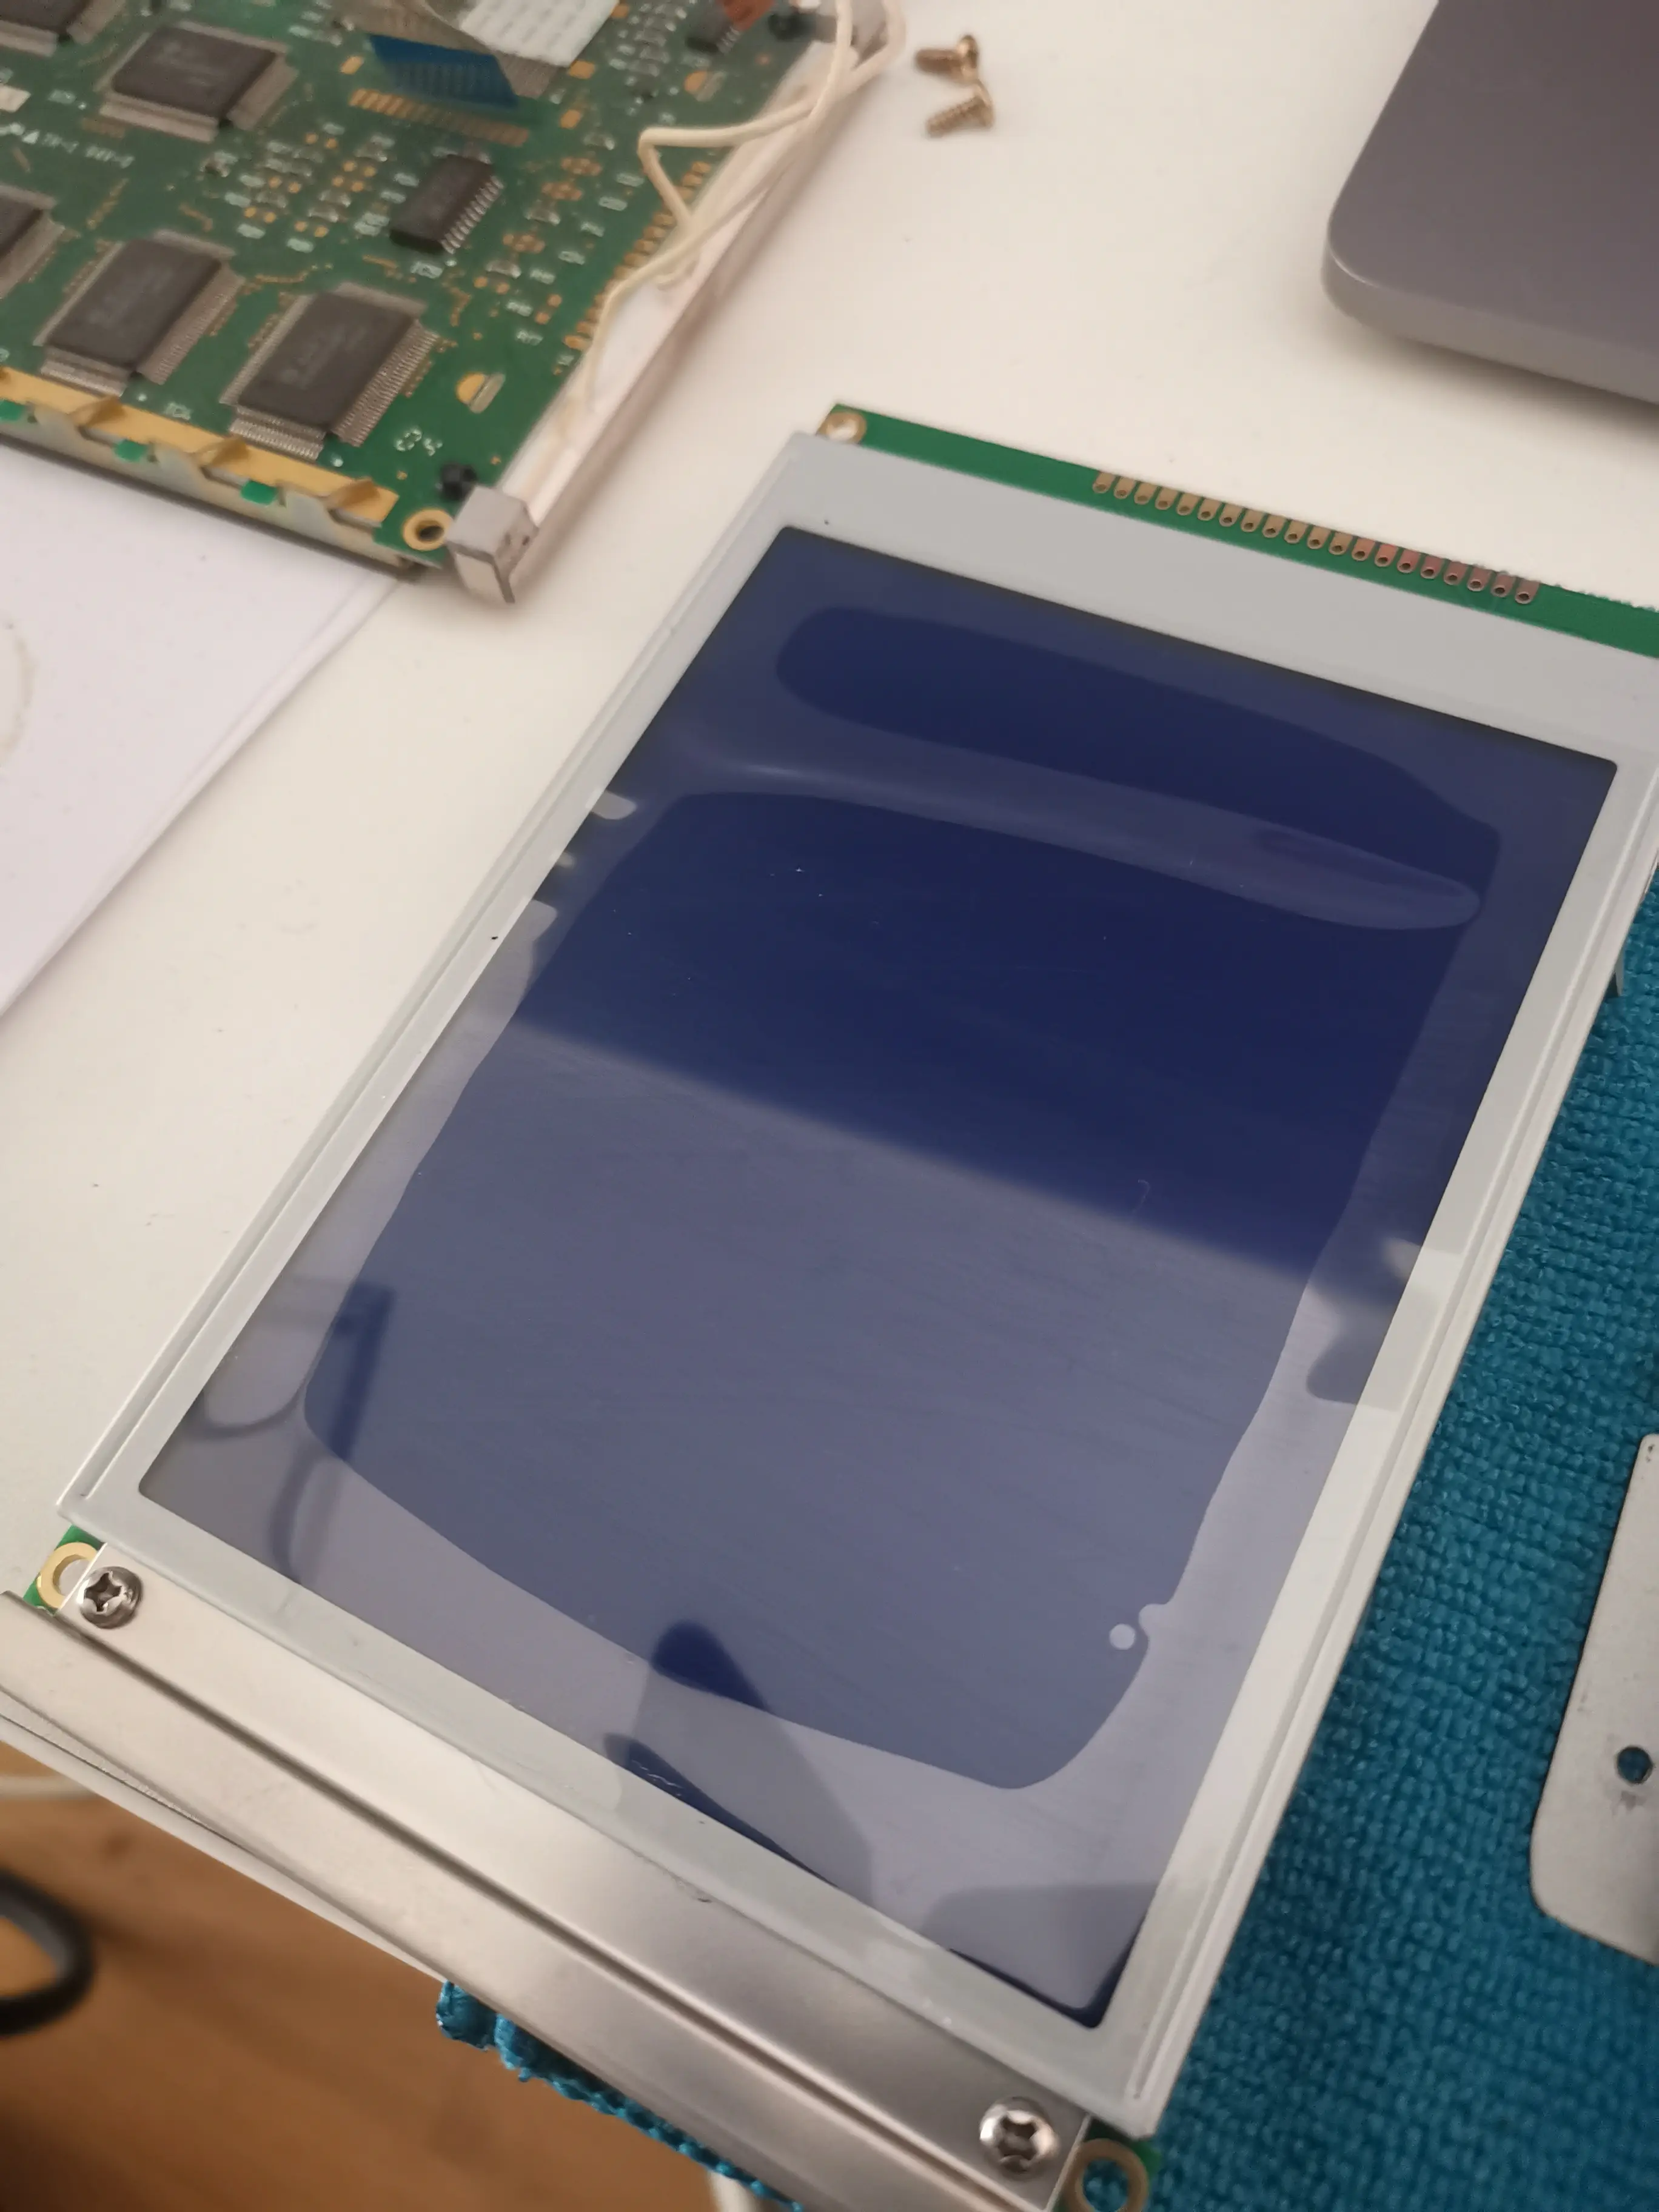
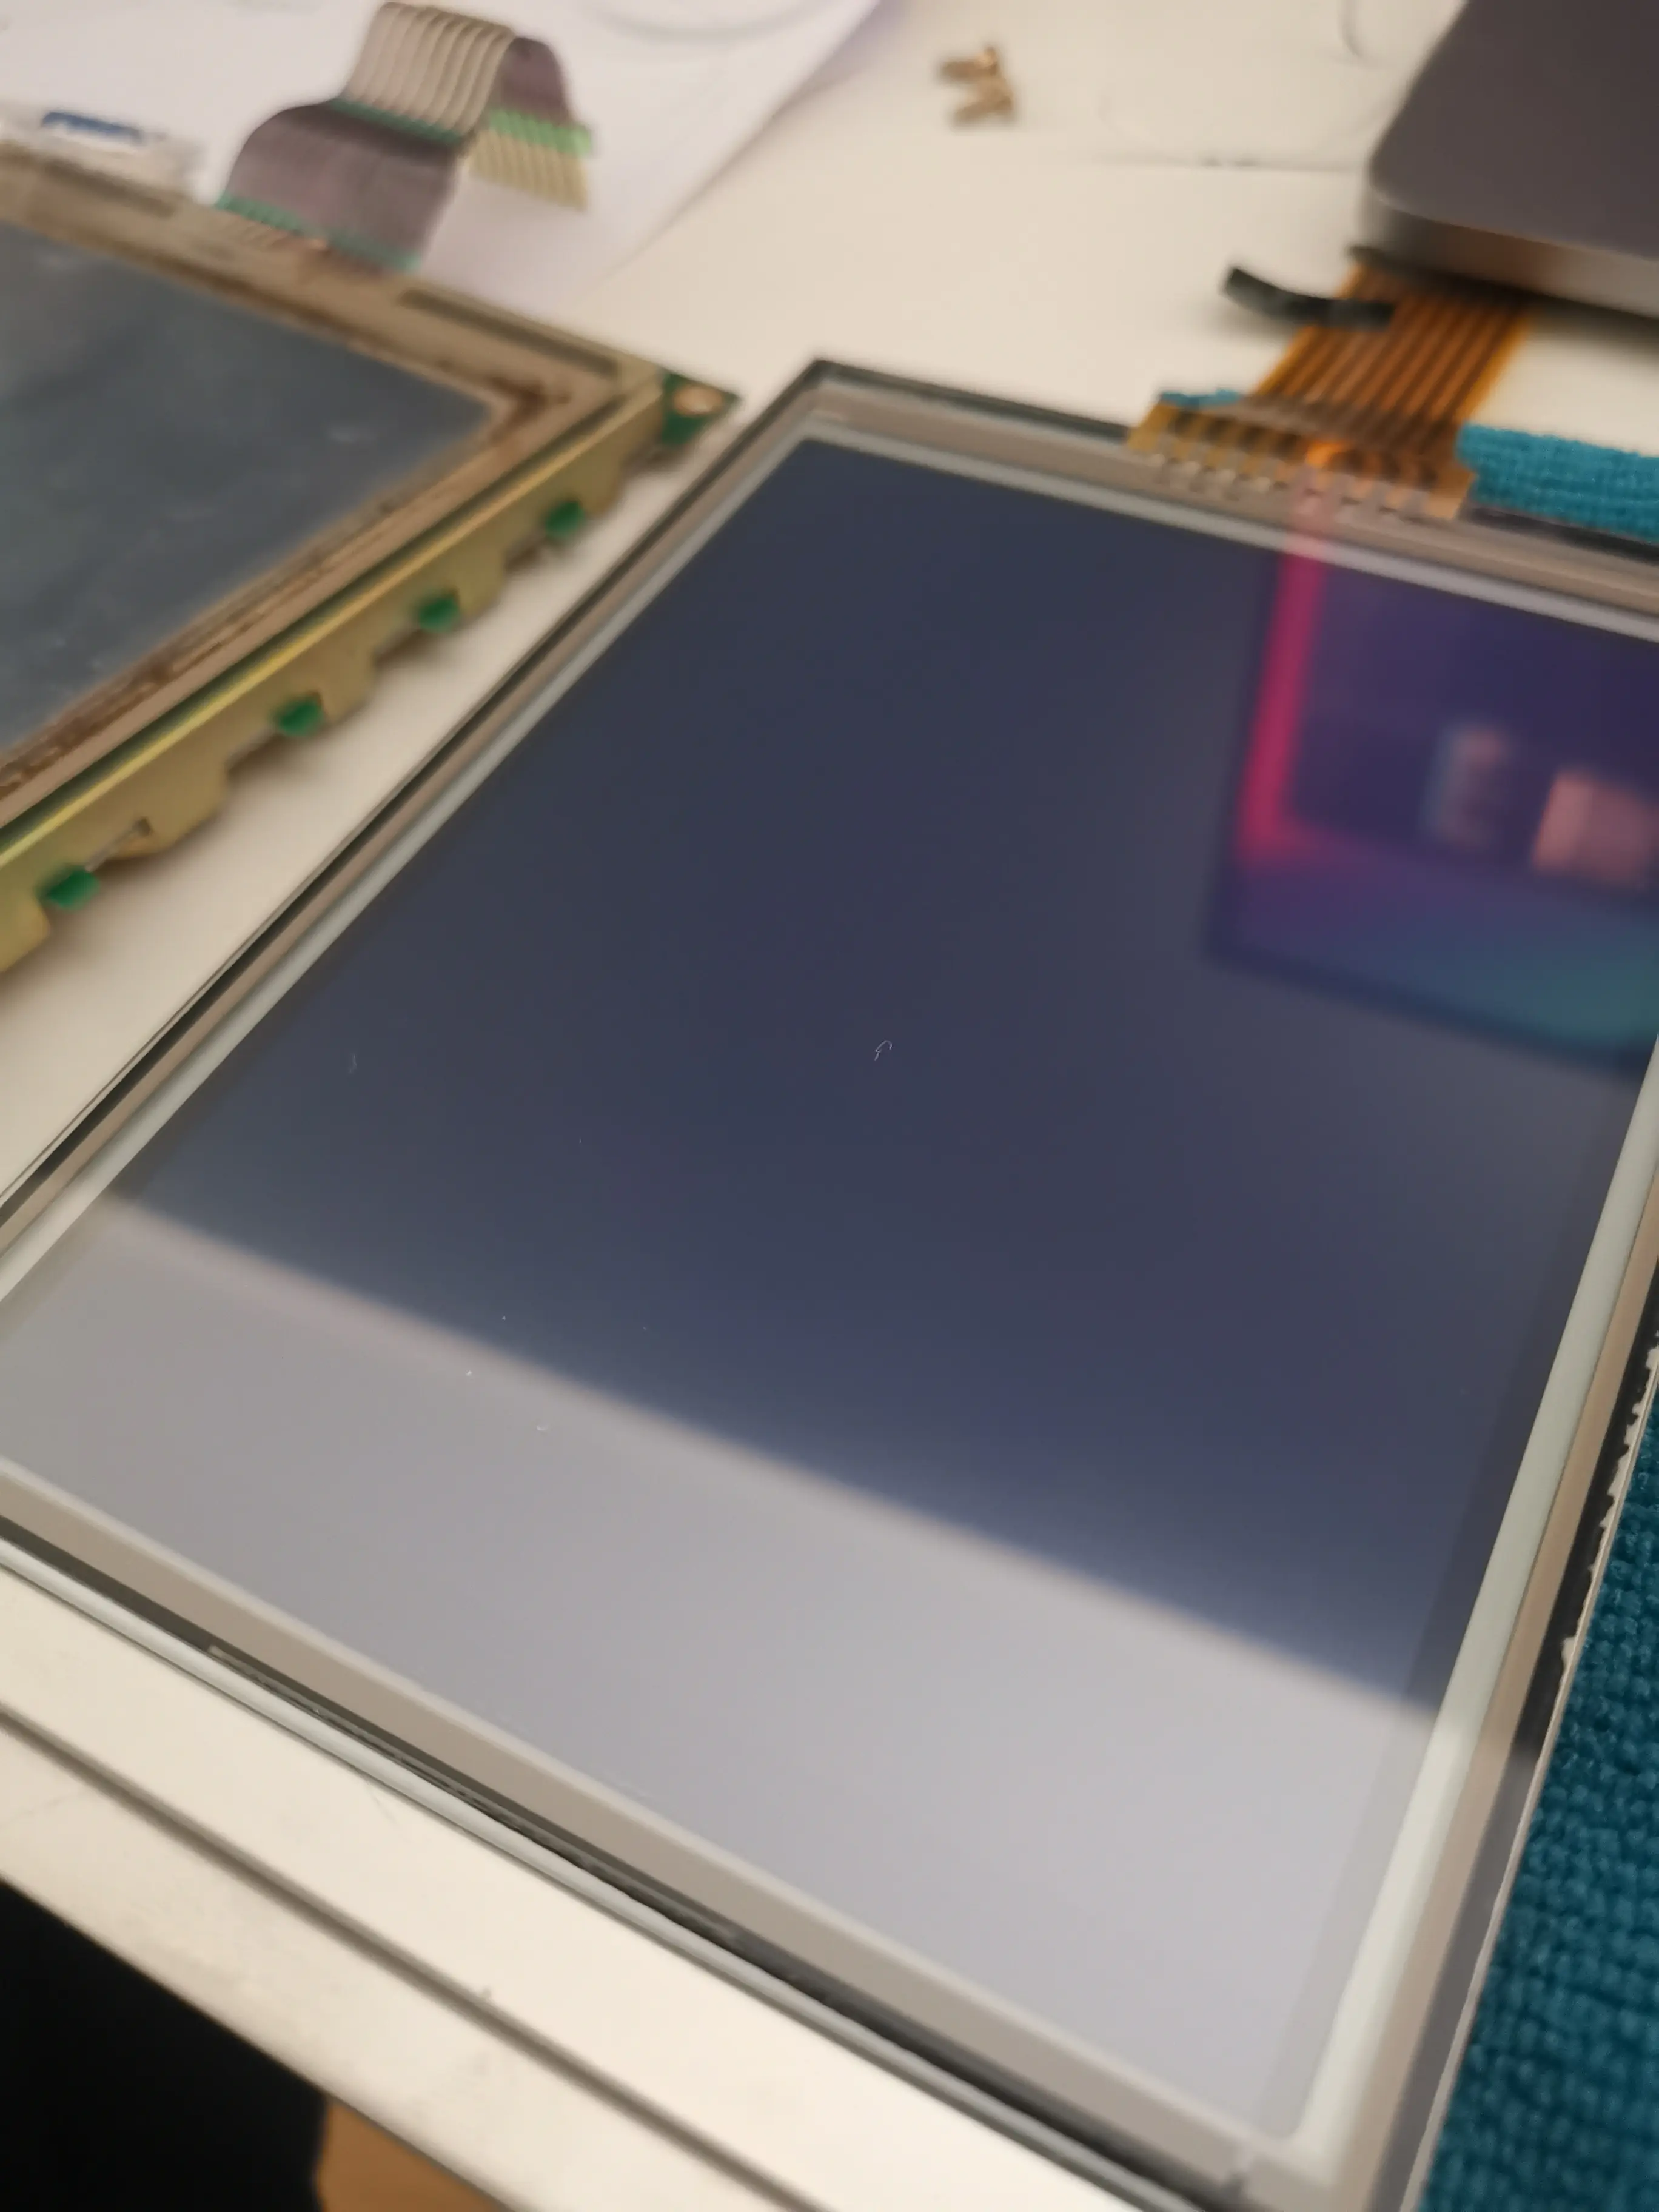
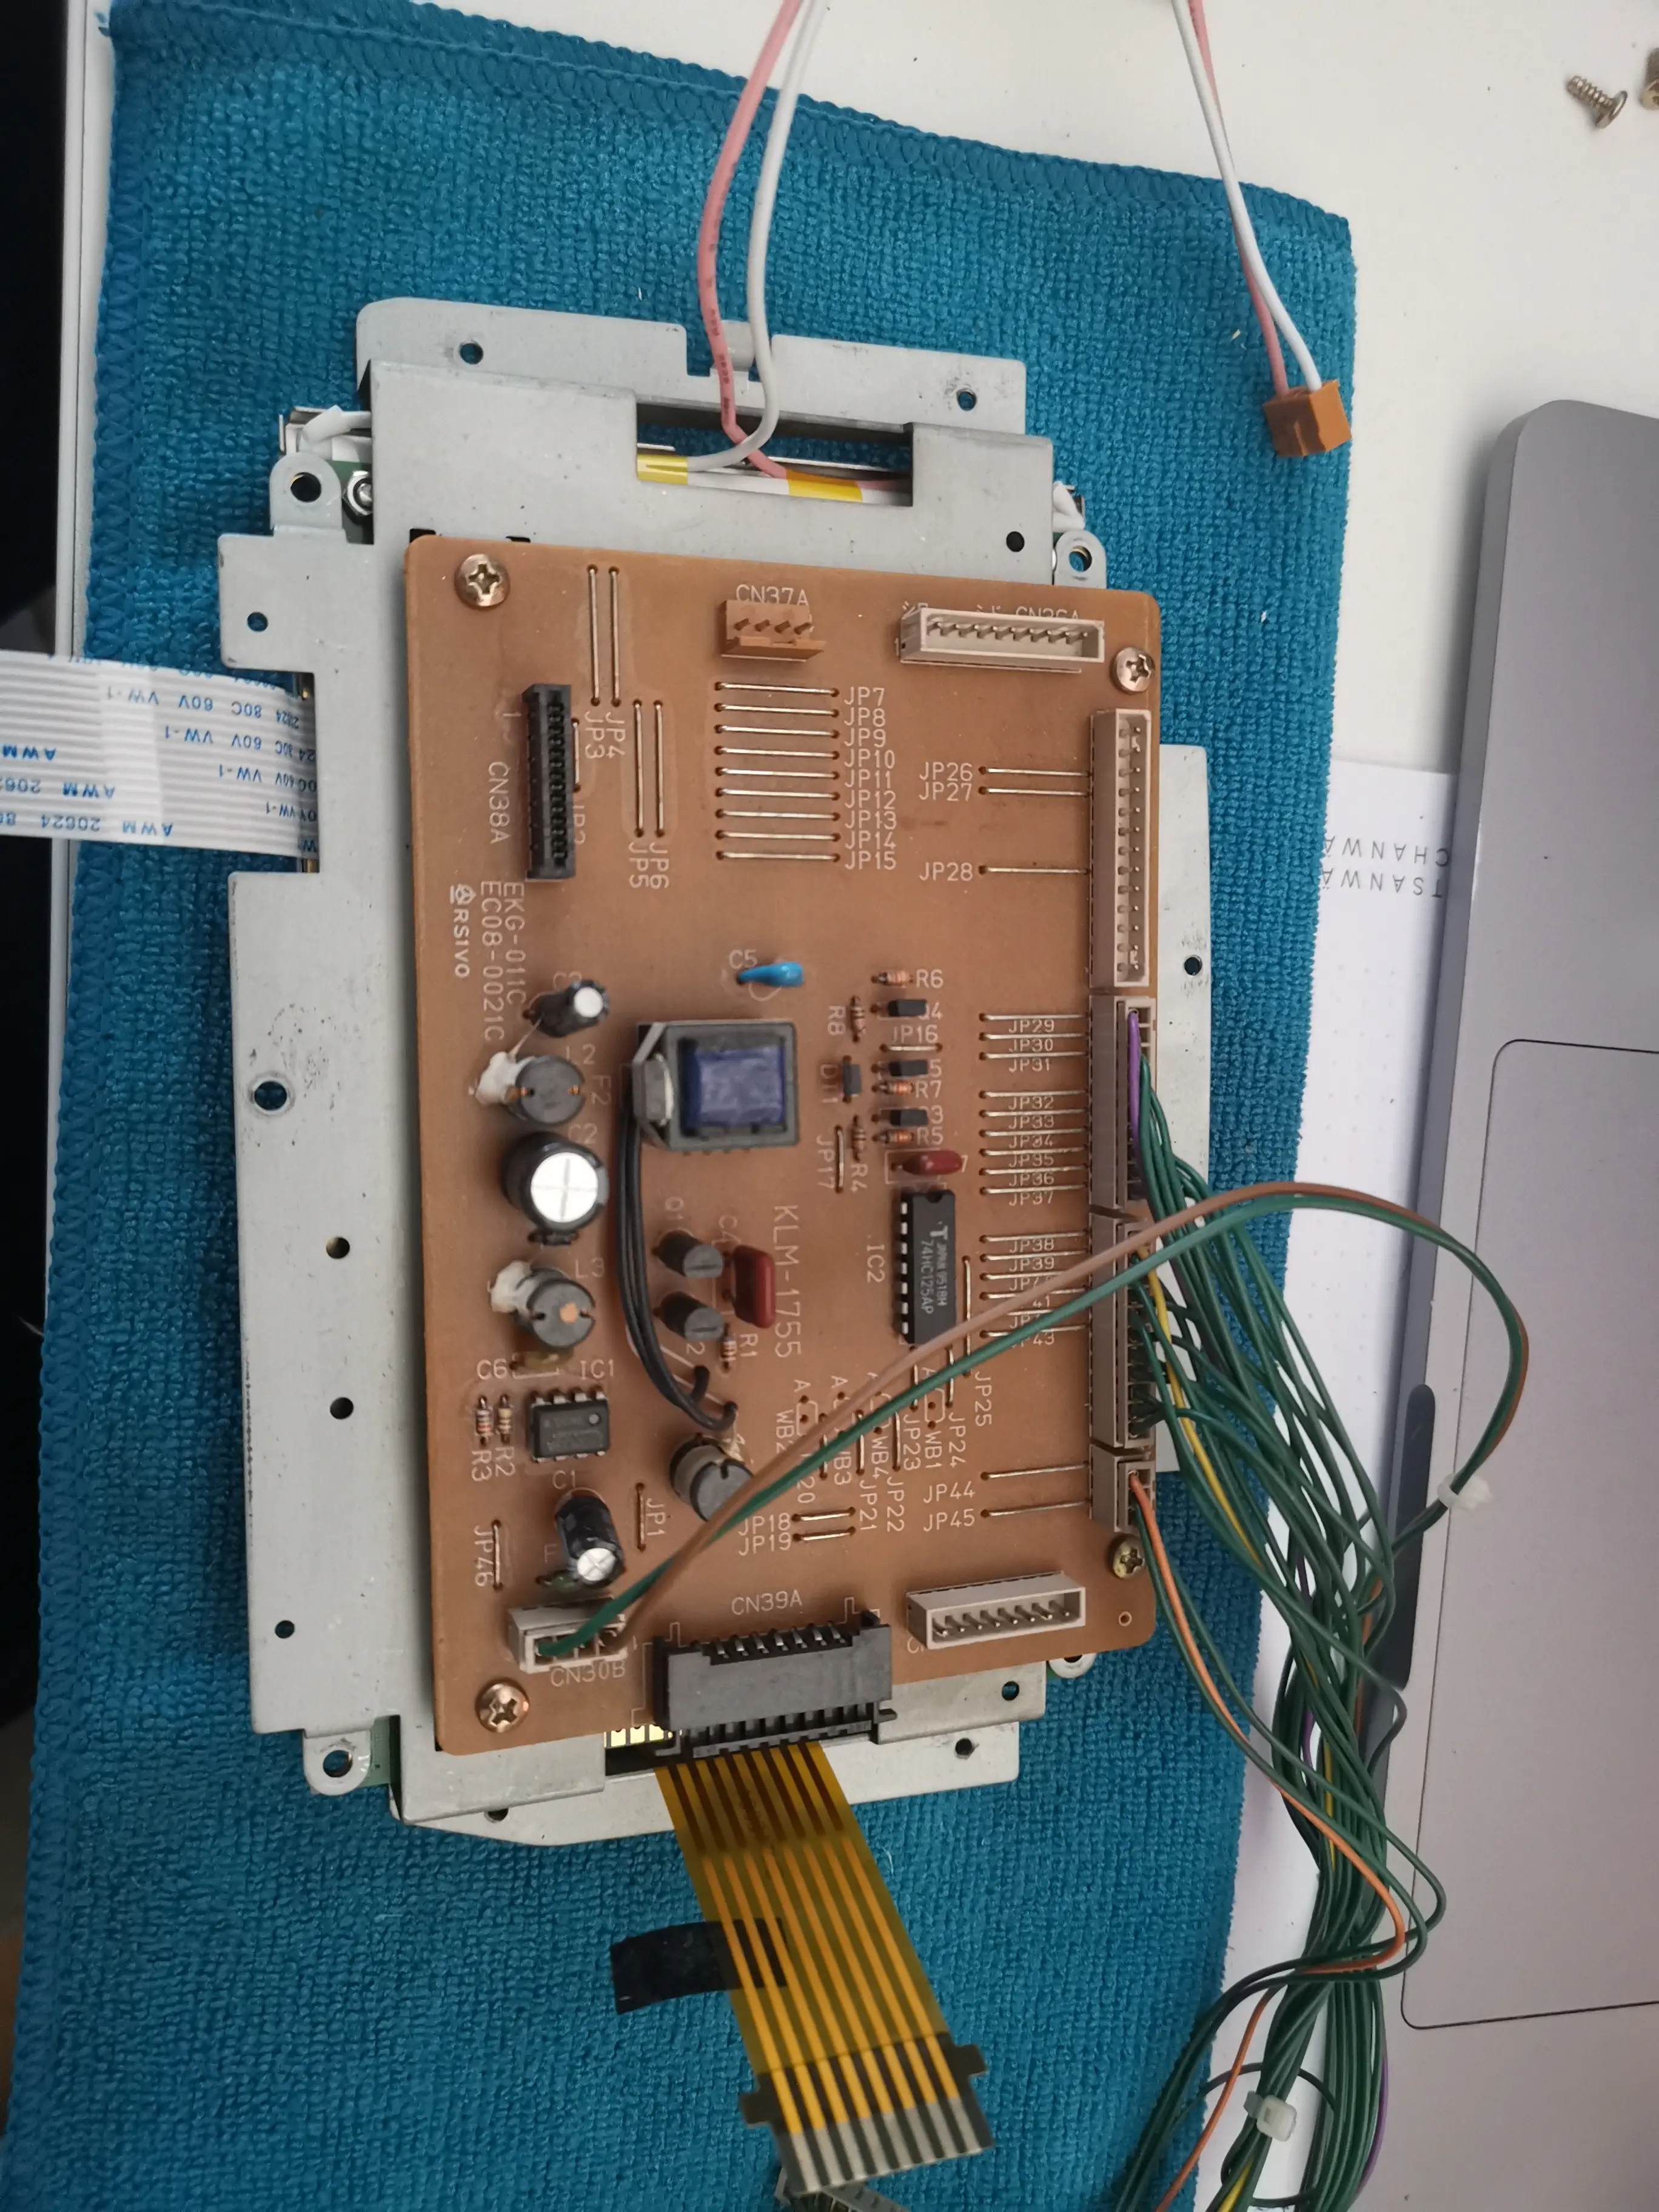
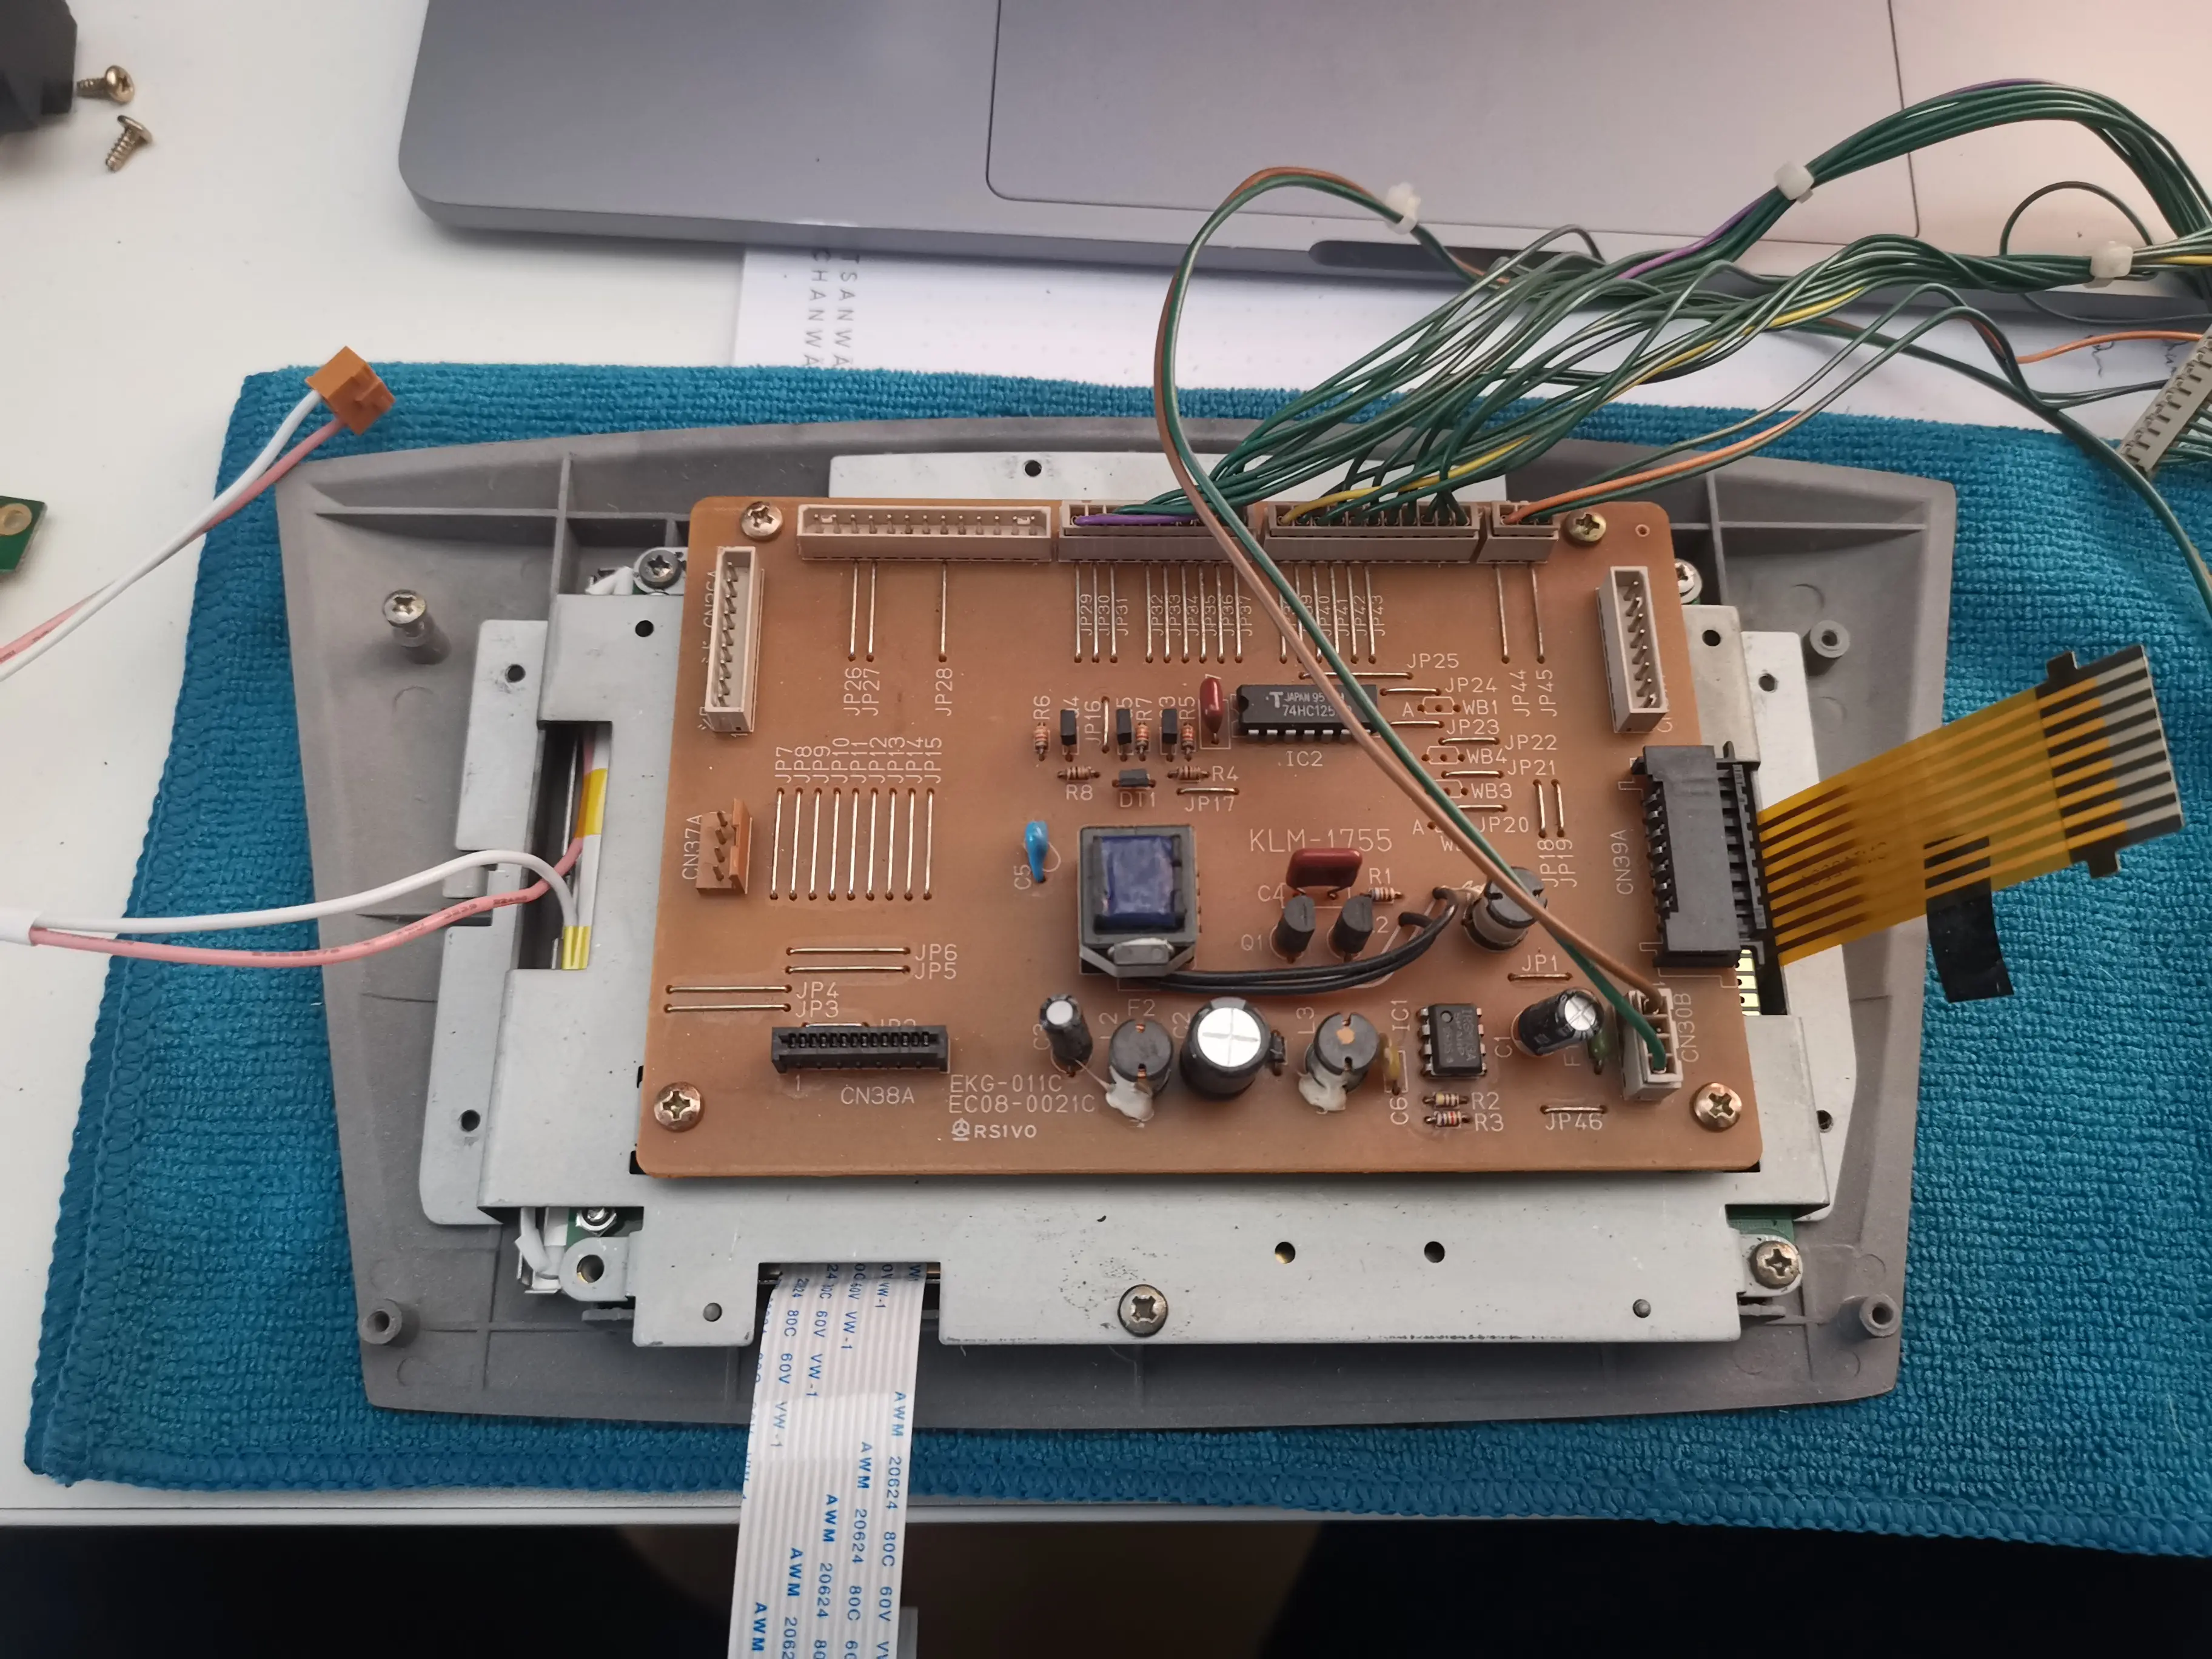
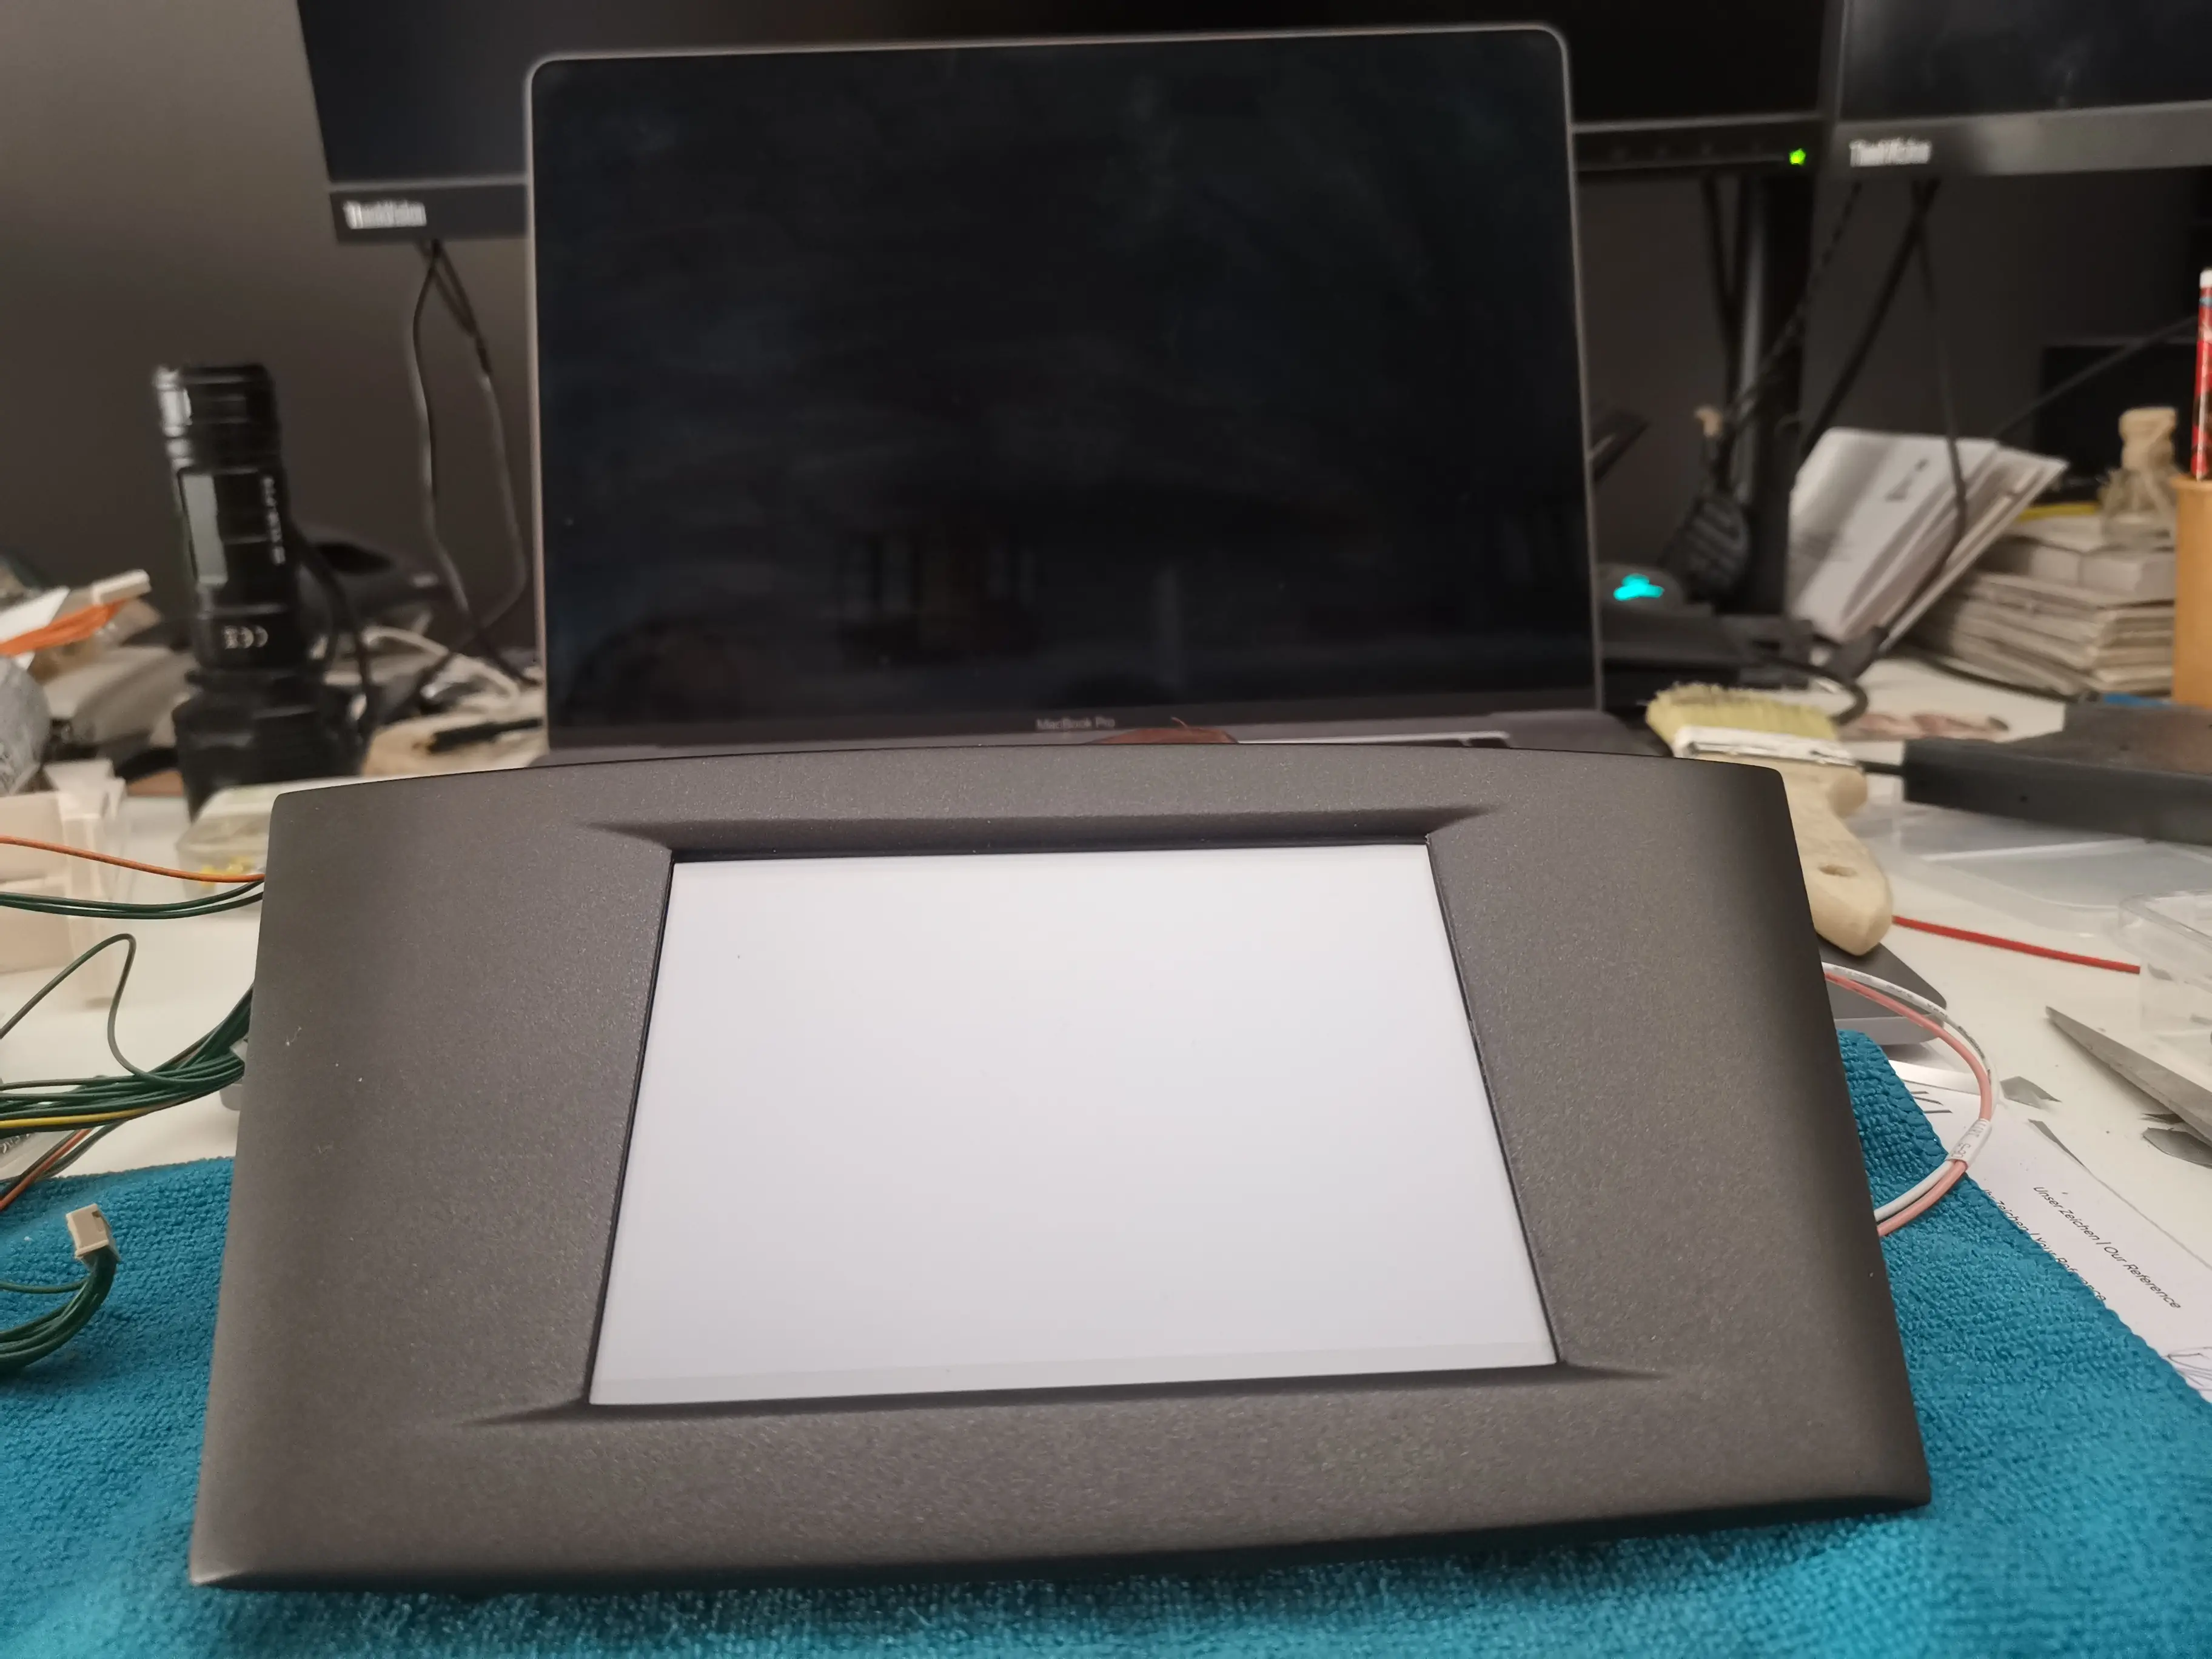
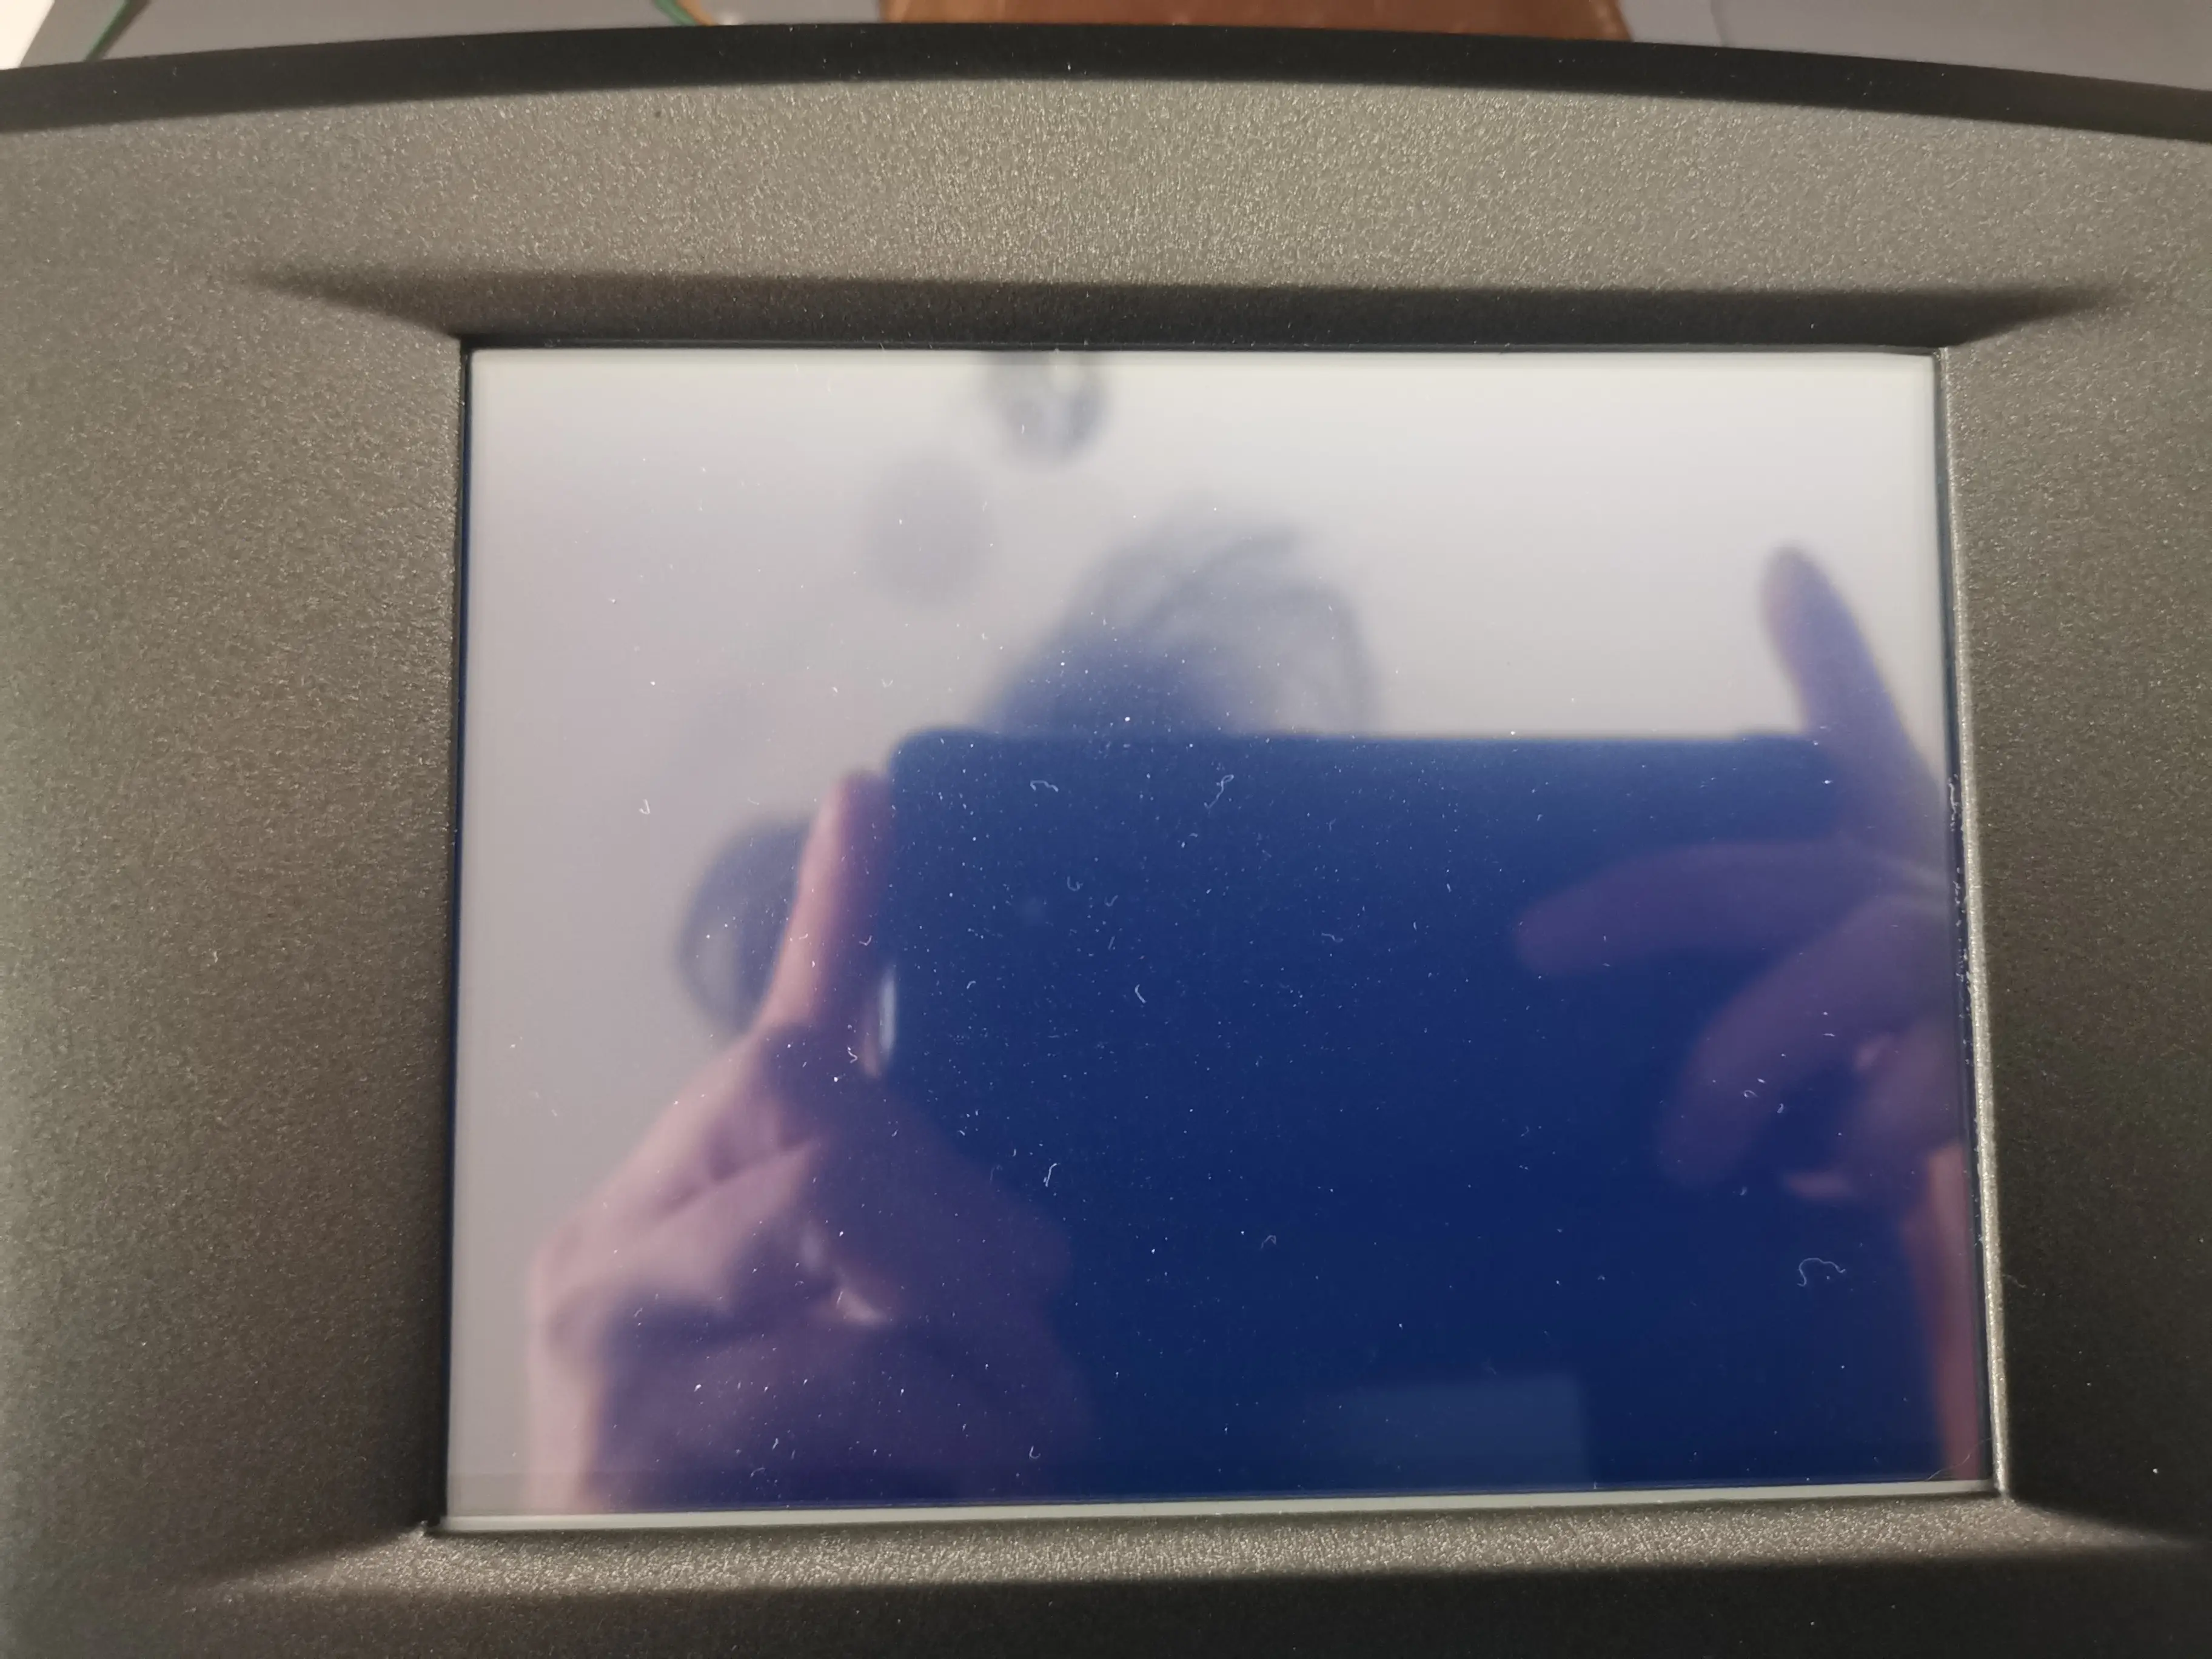
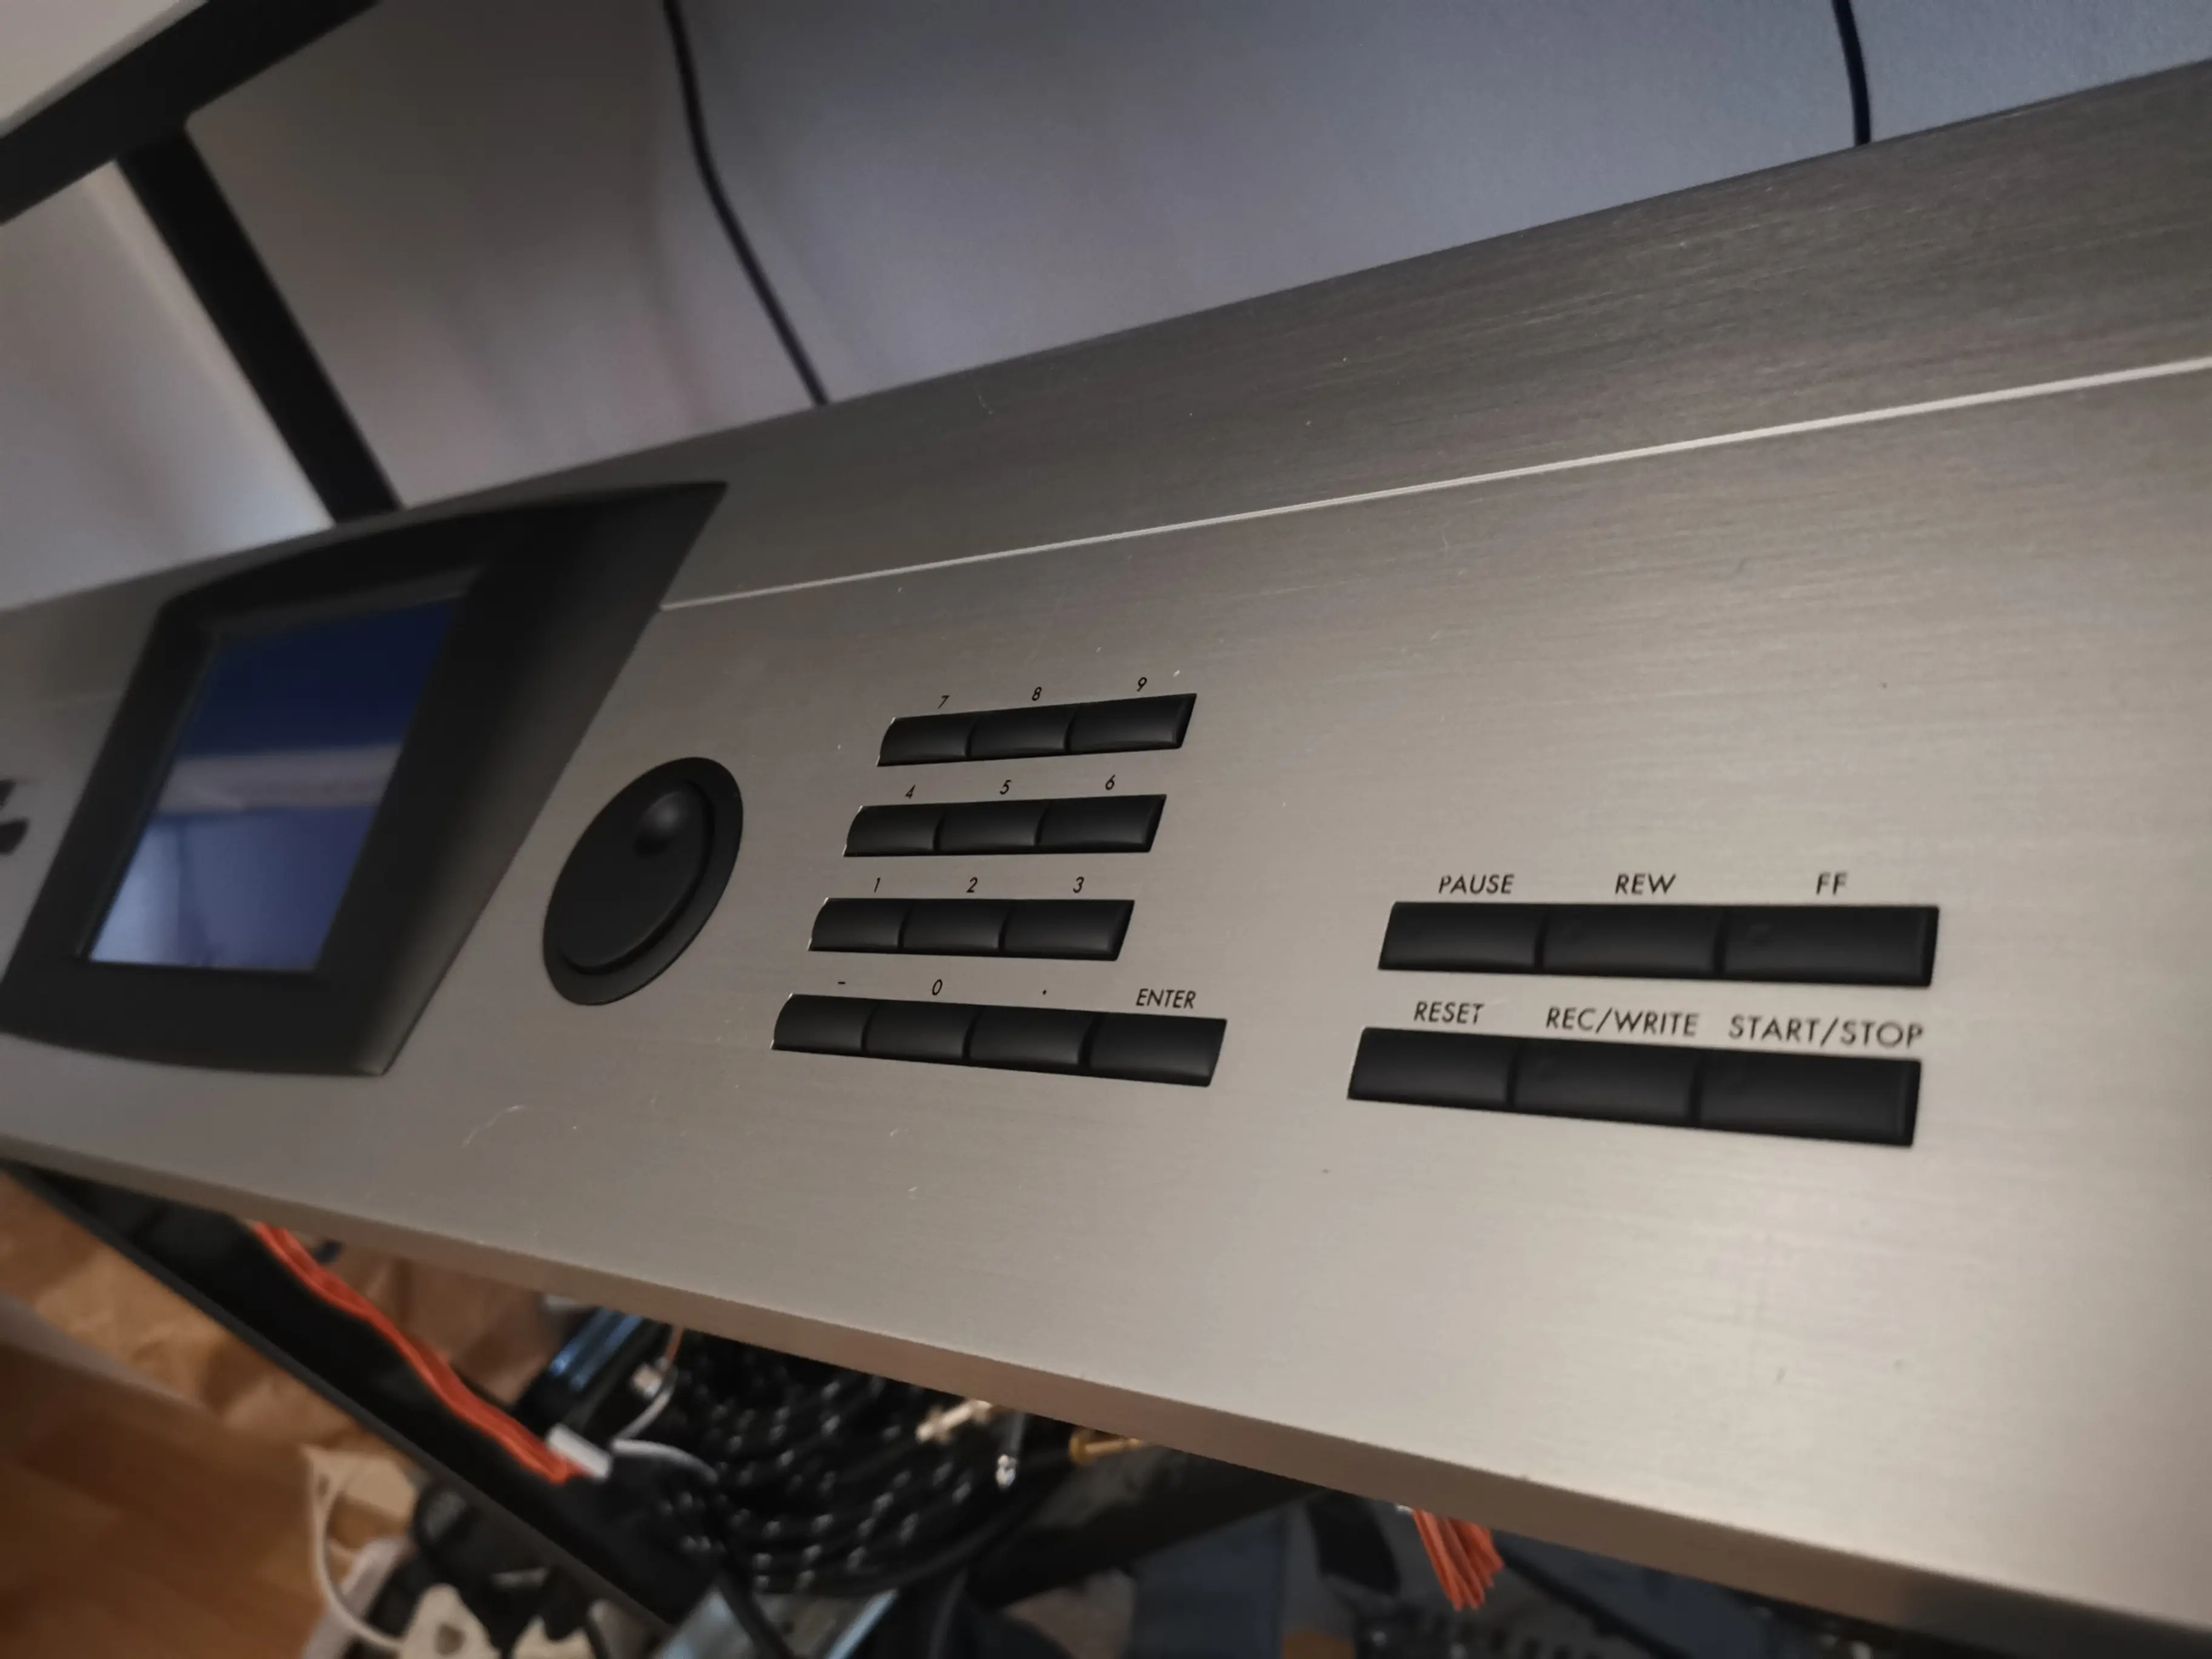
Assembly: panels, joystick and display
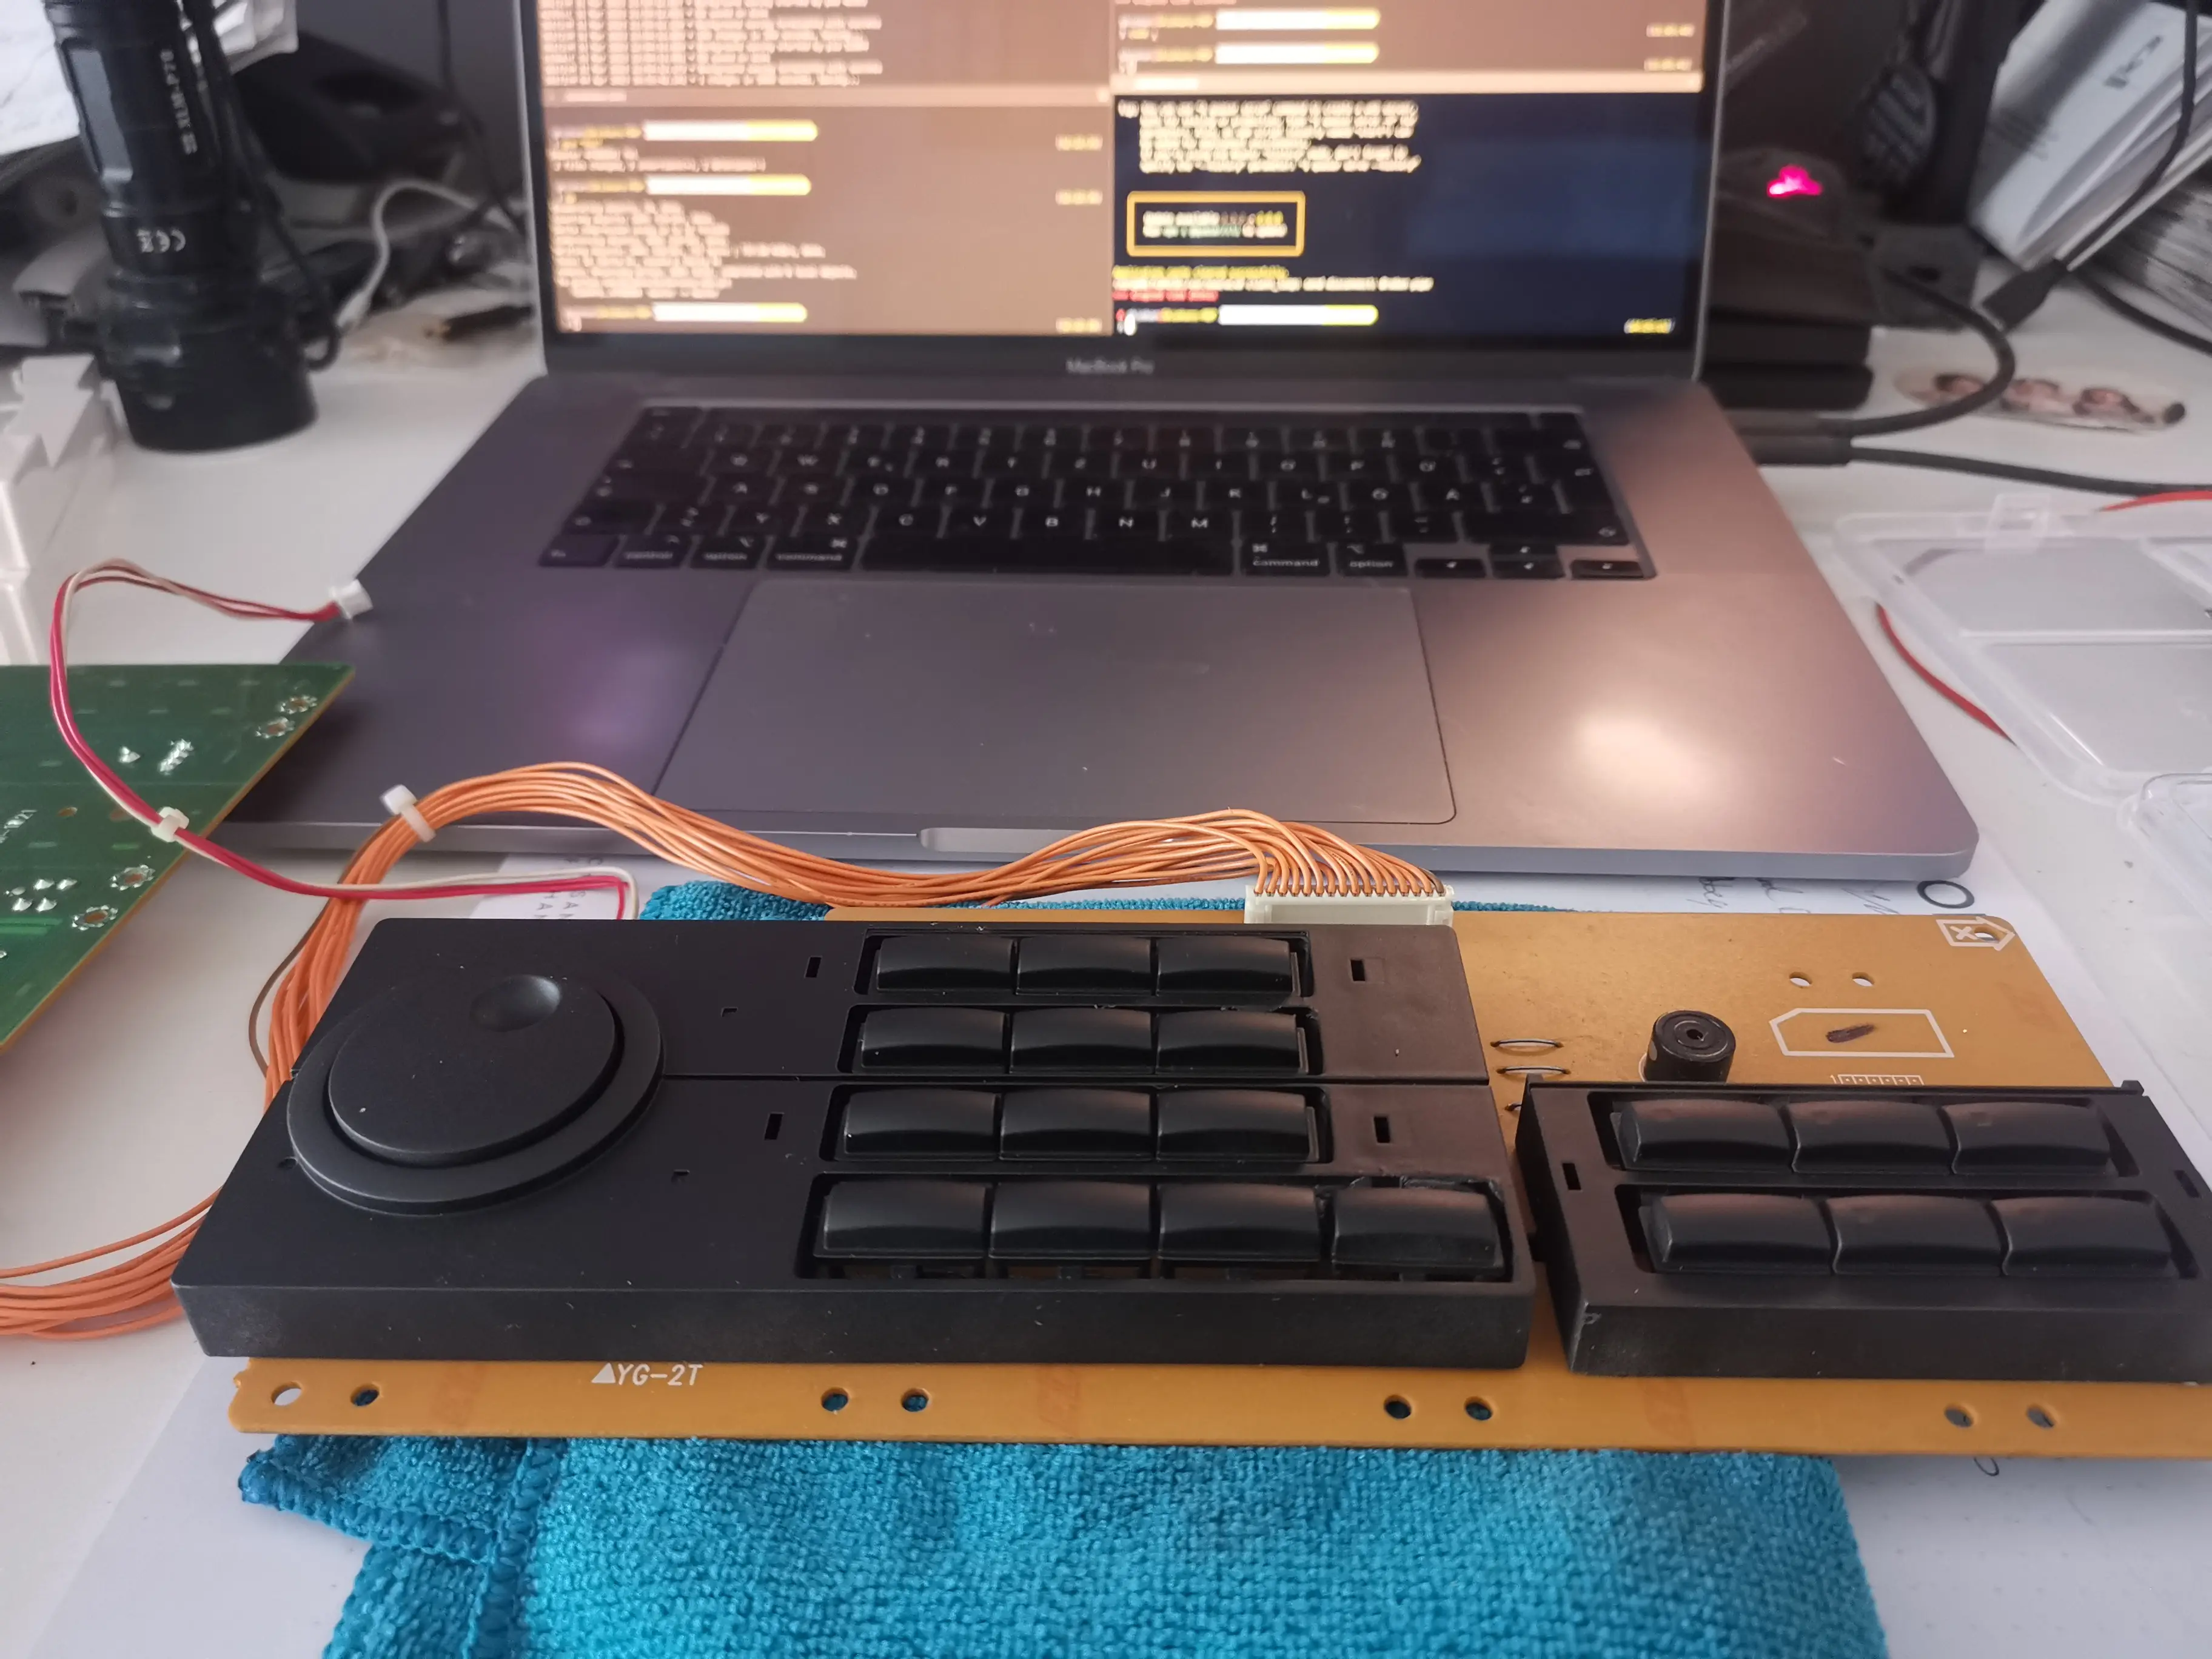
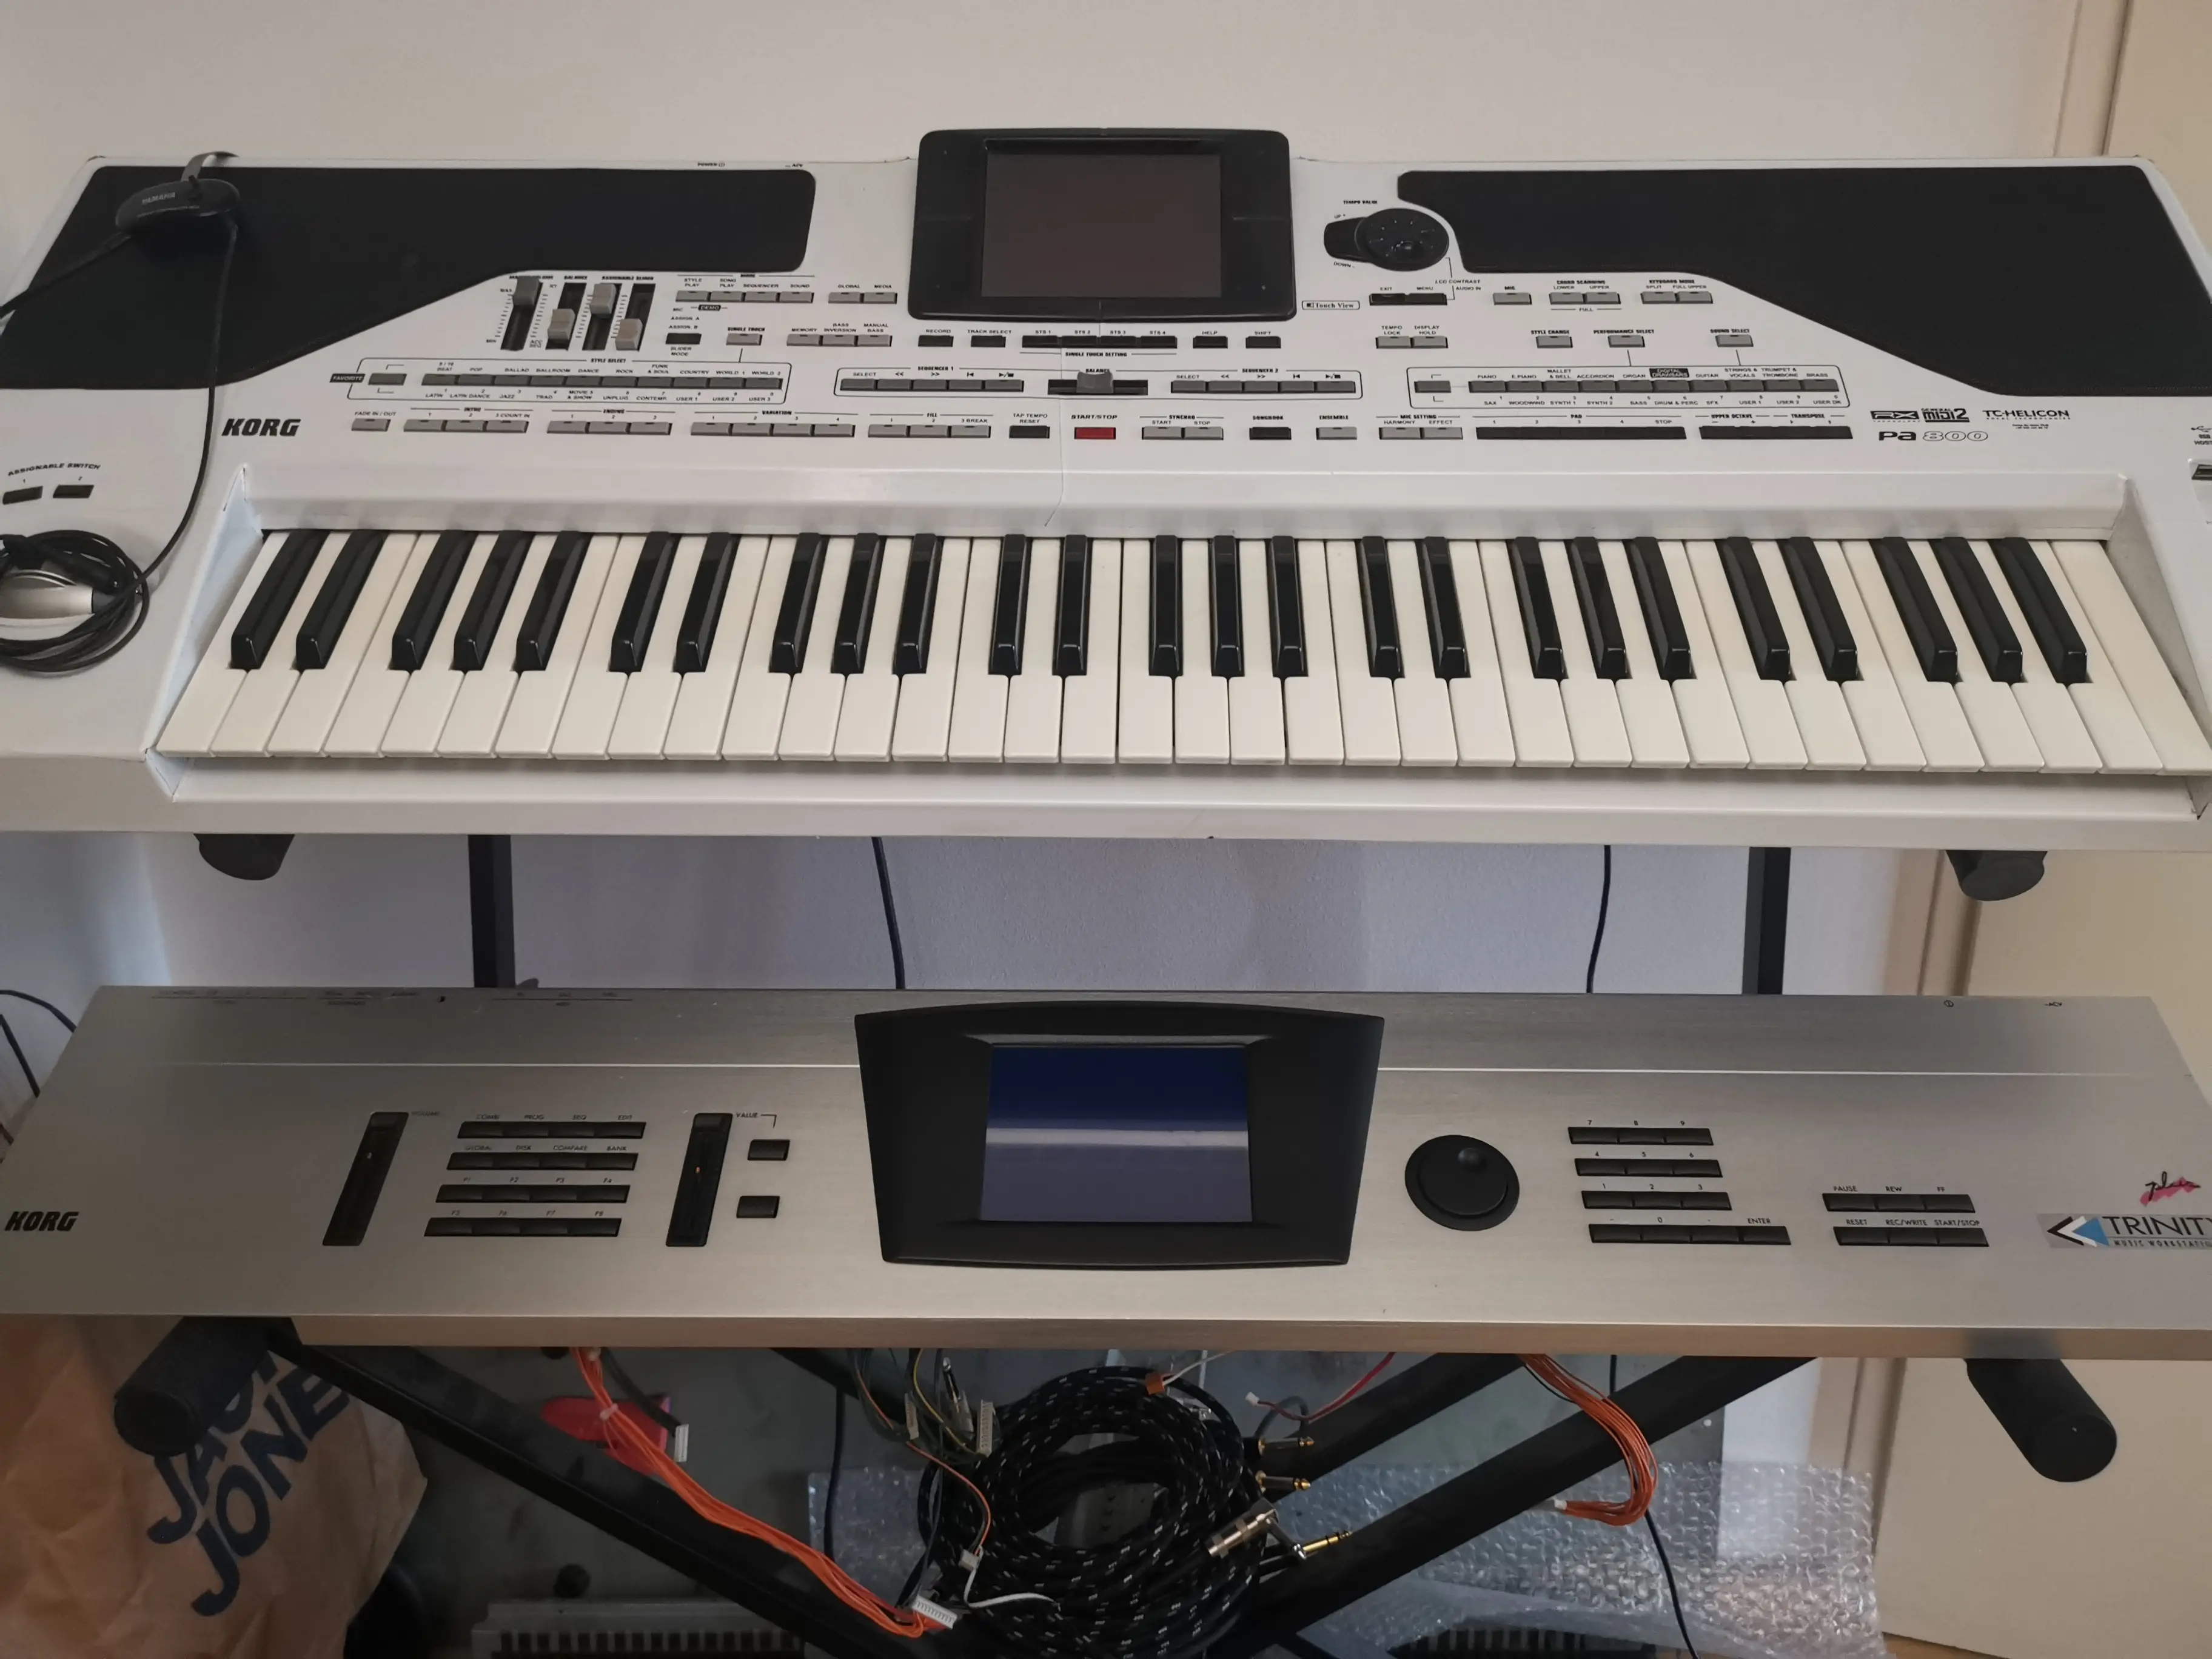
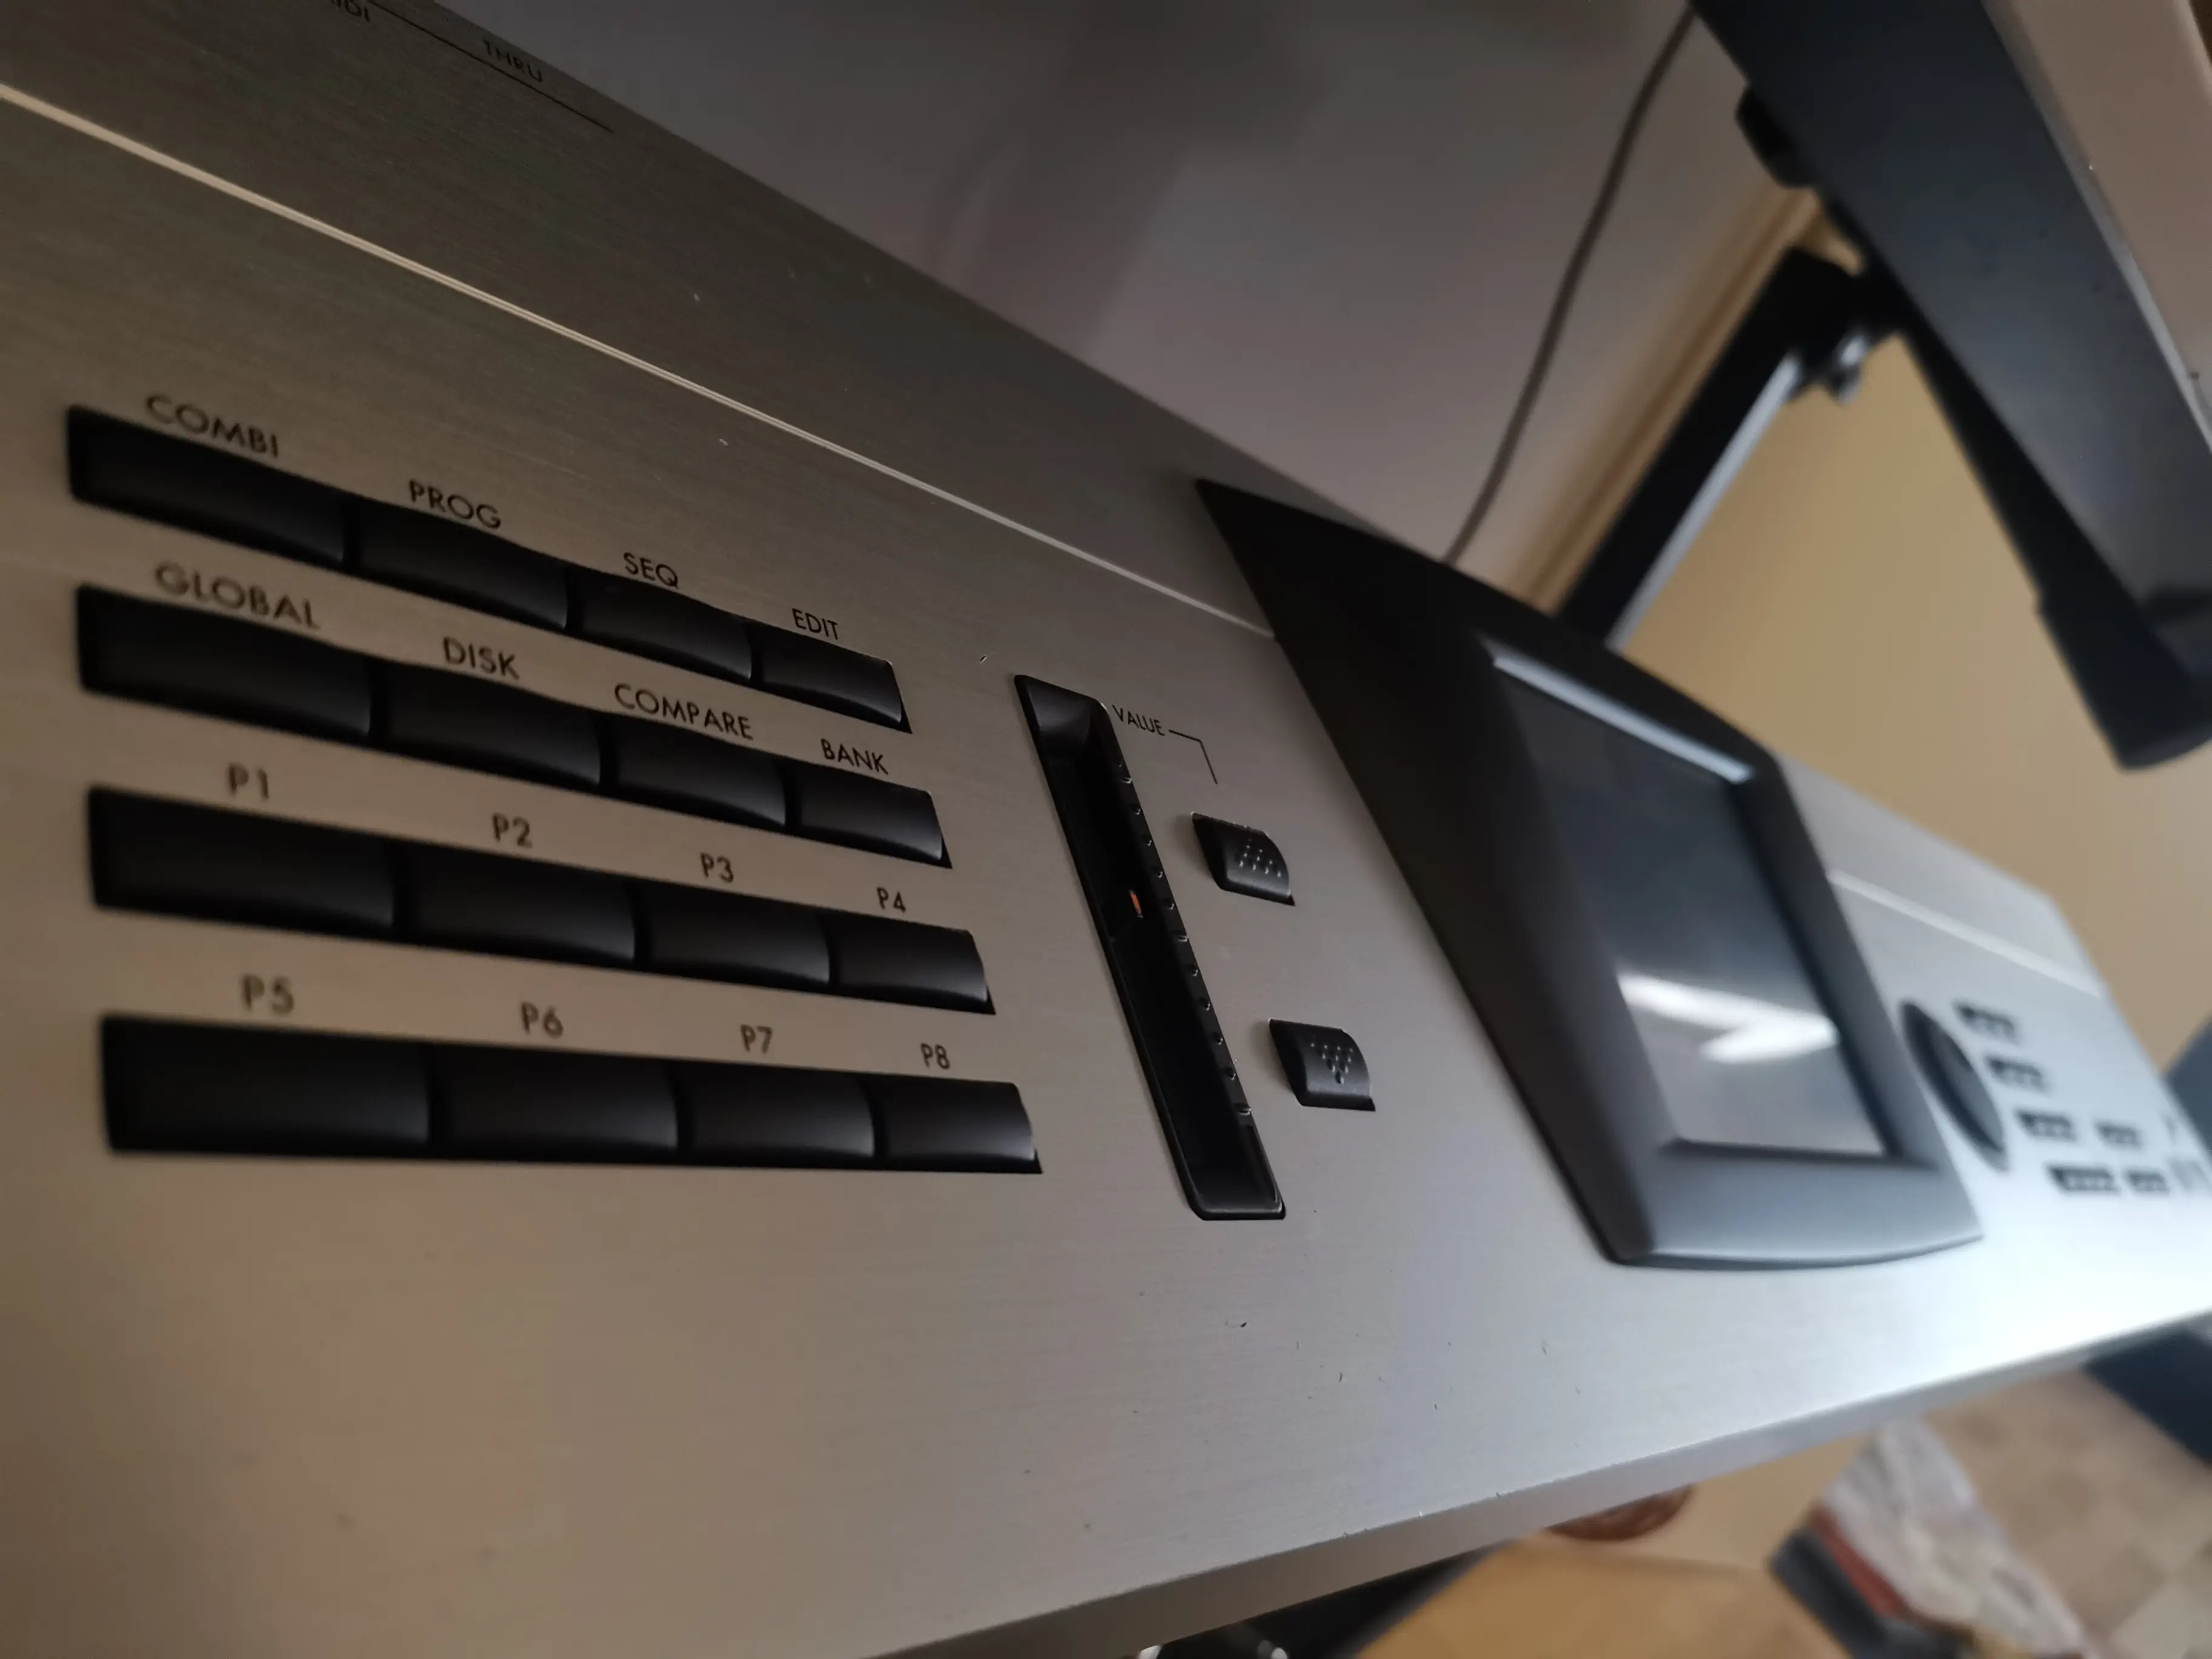
Assembling panels, joystick and display Assembling panels, joystick and display Assembling panels, joystick and display Assembling panels, joystick and display Assembling panels, joystick and display Assembling panels, joystick and display Assembling panels, joystick and display Assembling panels, joystick and display Assembling panels, joystick and display Assembling panels, joystick and display Assembling panels, joystick and display Assembling panels, joystick and display Assembling panels, joystick and display Assembling panels, joystick and display Assembling panels, joystick and display Assembling panels, joystick and display Assembling panels, joystick and display Assembling panels, joystick and display Assembling panels, joystick and display Assembling panels, joystick and display Assembling panels, joystick and display Assembling panels, joystick and display Assembling panels, joystick and display Assembling panels, joystick and display Assembling panels, joystick and display Assembling panels, joystick and display Assembling panels, joystick and display Assembling panels, joystick and display Assembling panels, joystick and display Assembling panels, joystick and display Assembling panels, joystick and display Assembling panels, joystick and display Assembling panels, joystick and display Assembling panels, joystick and display
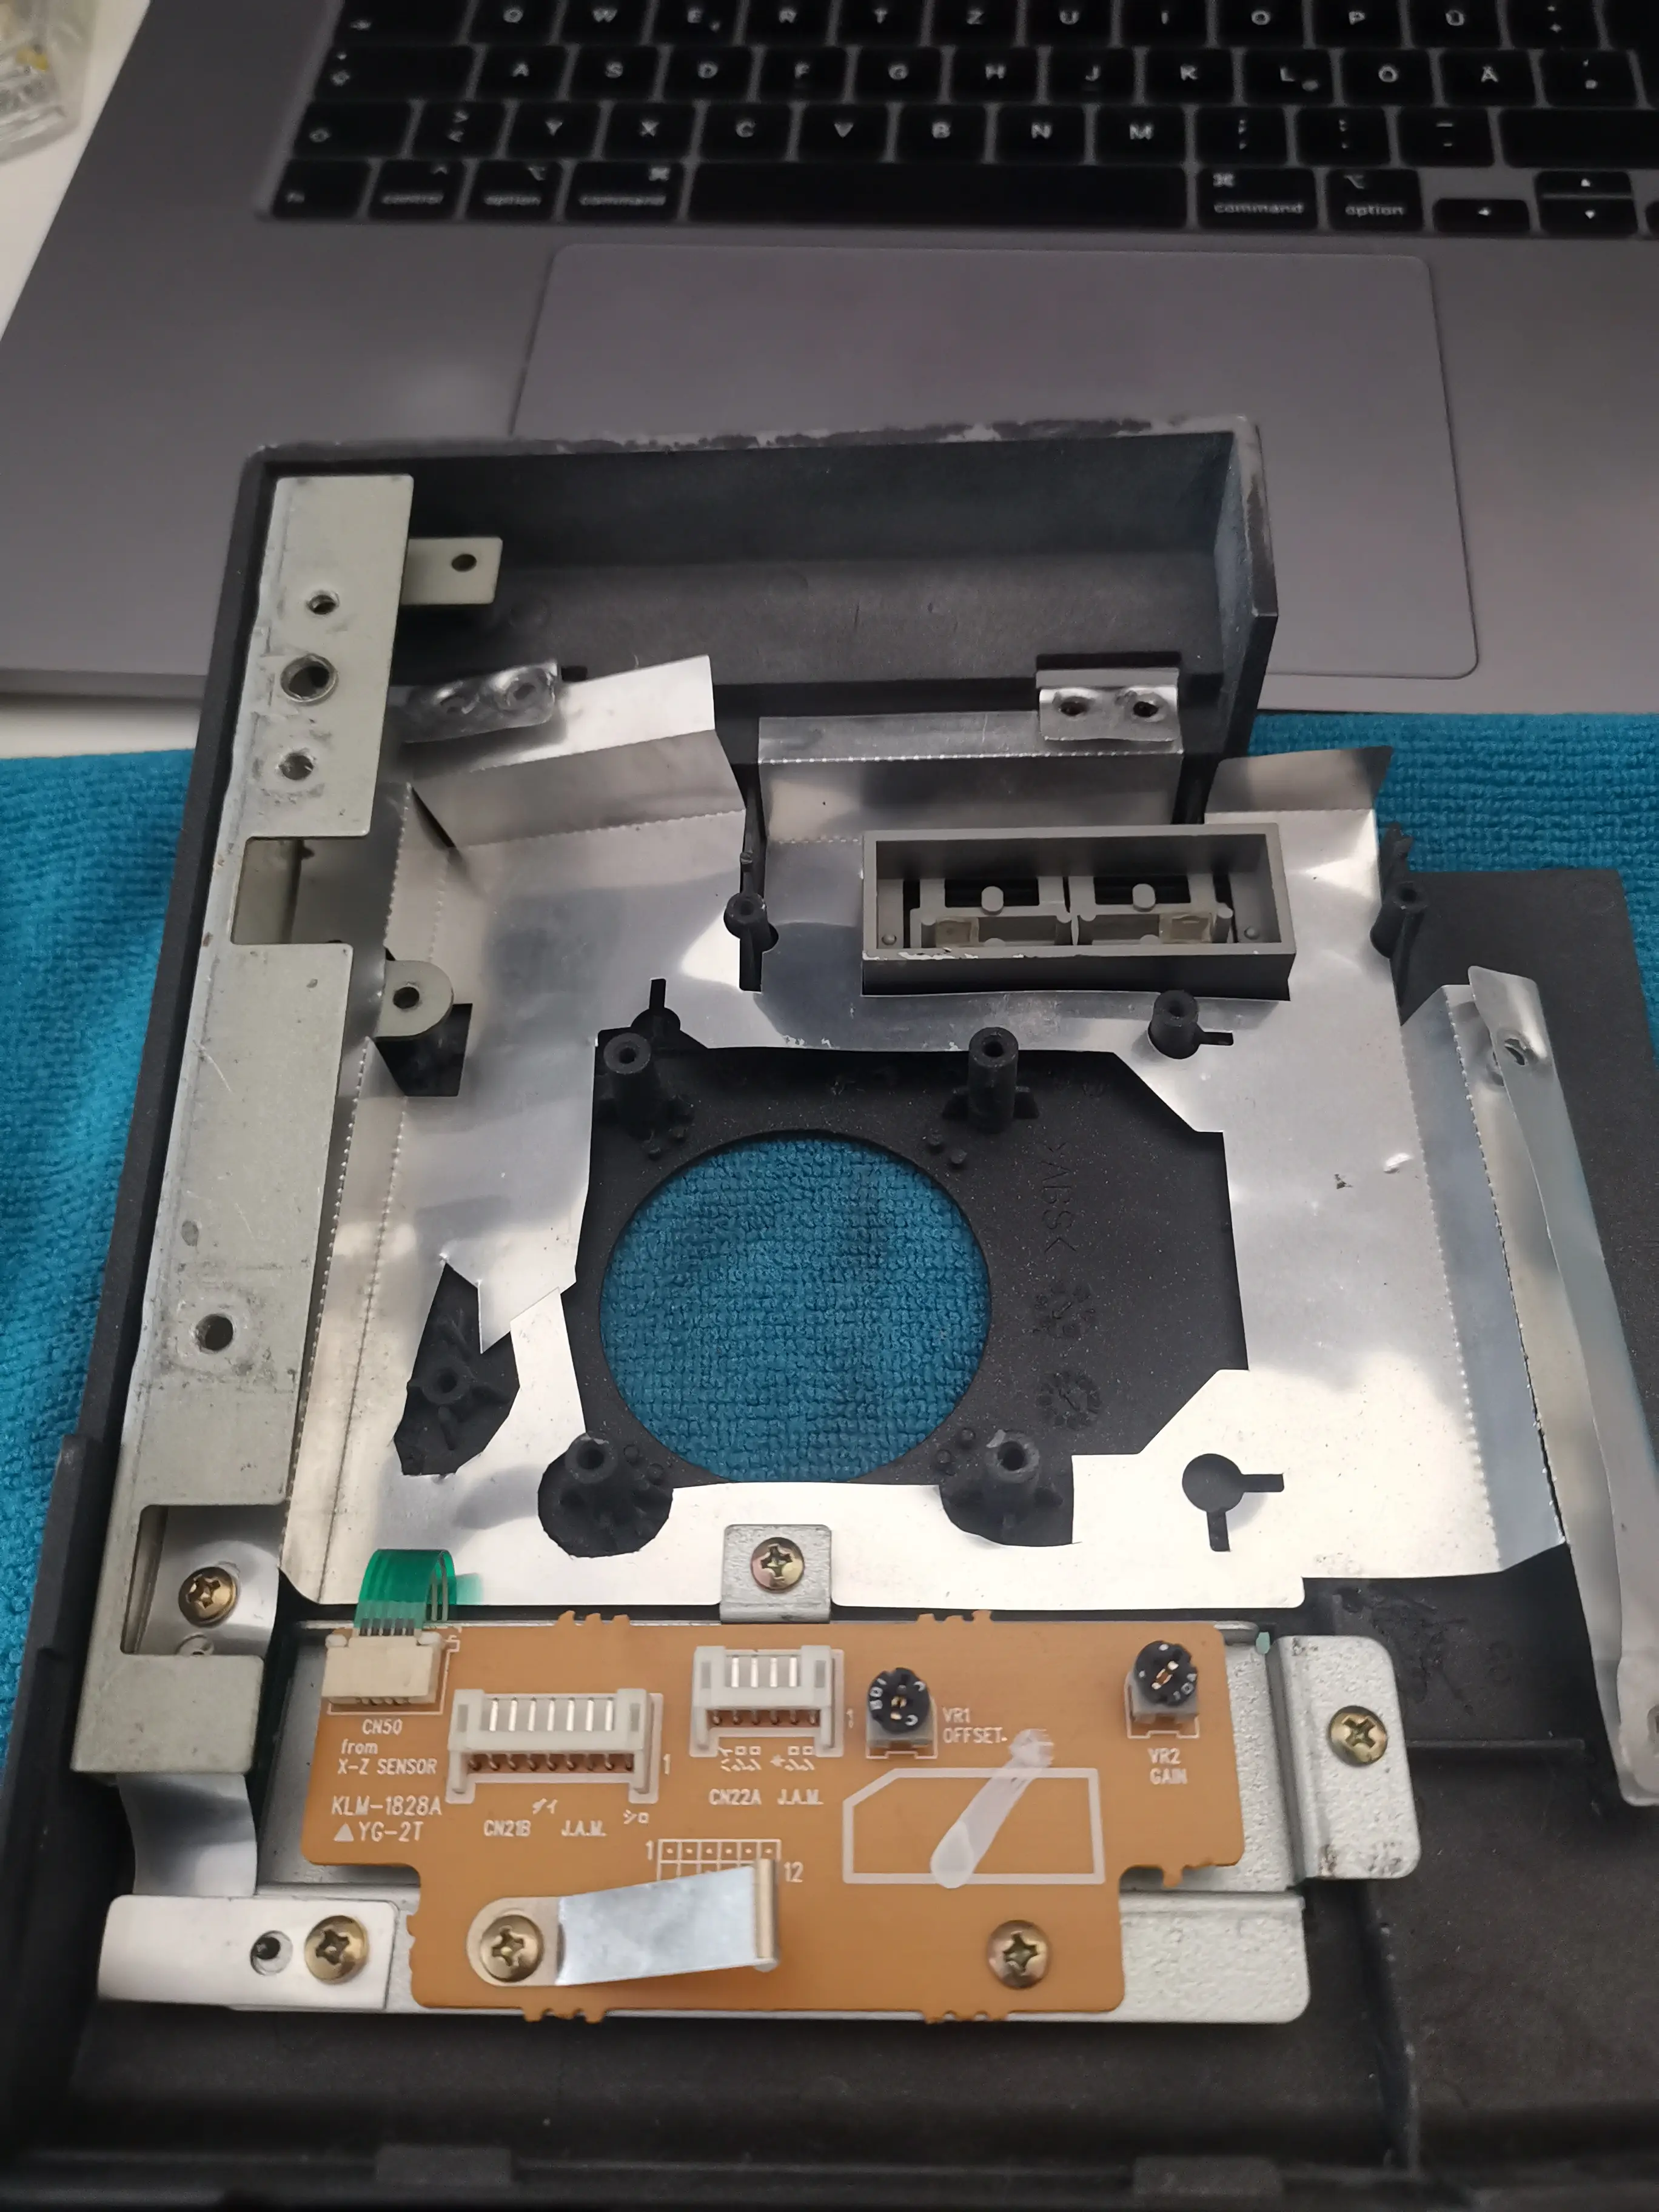
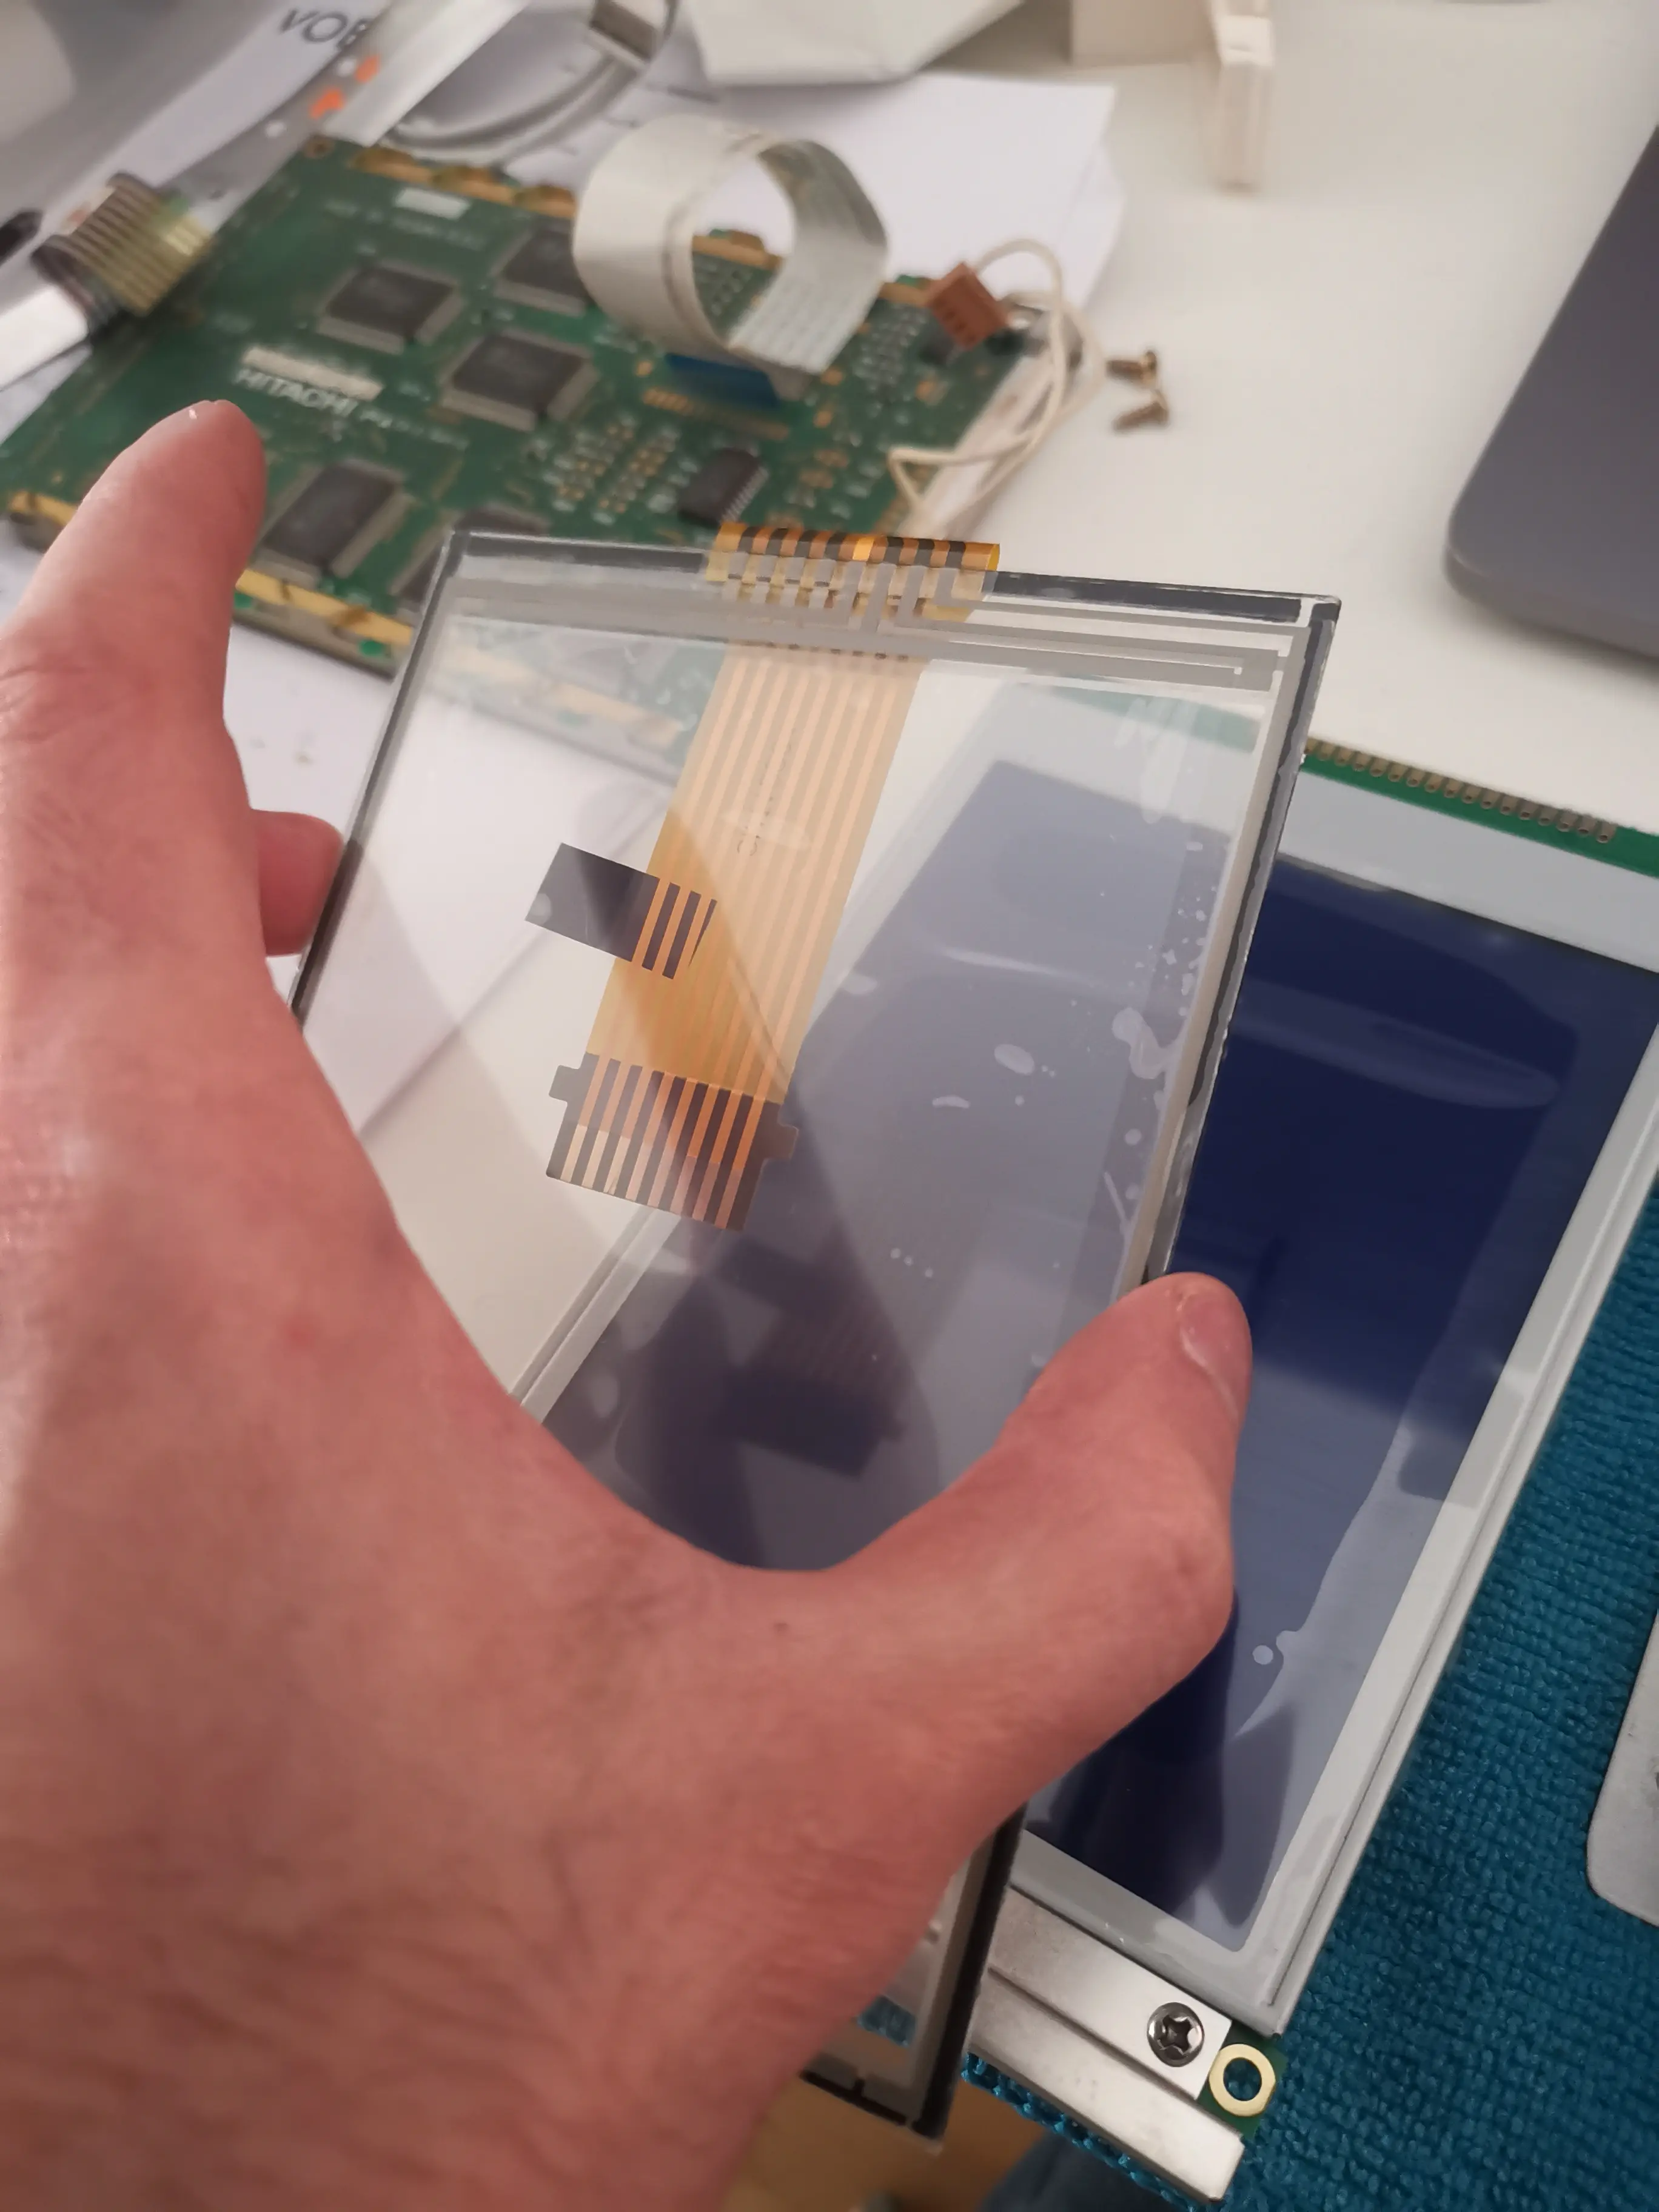
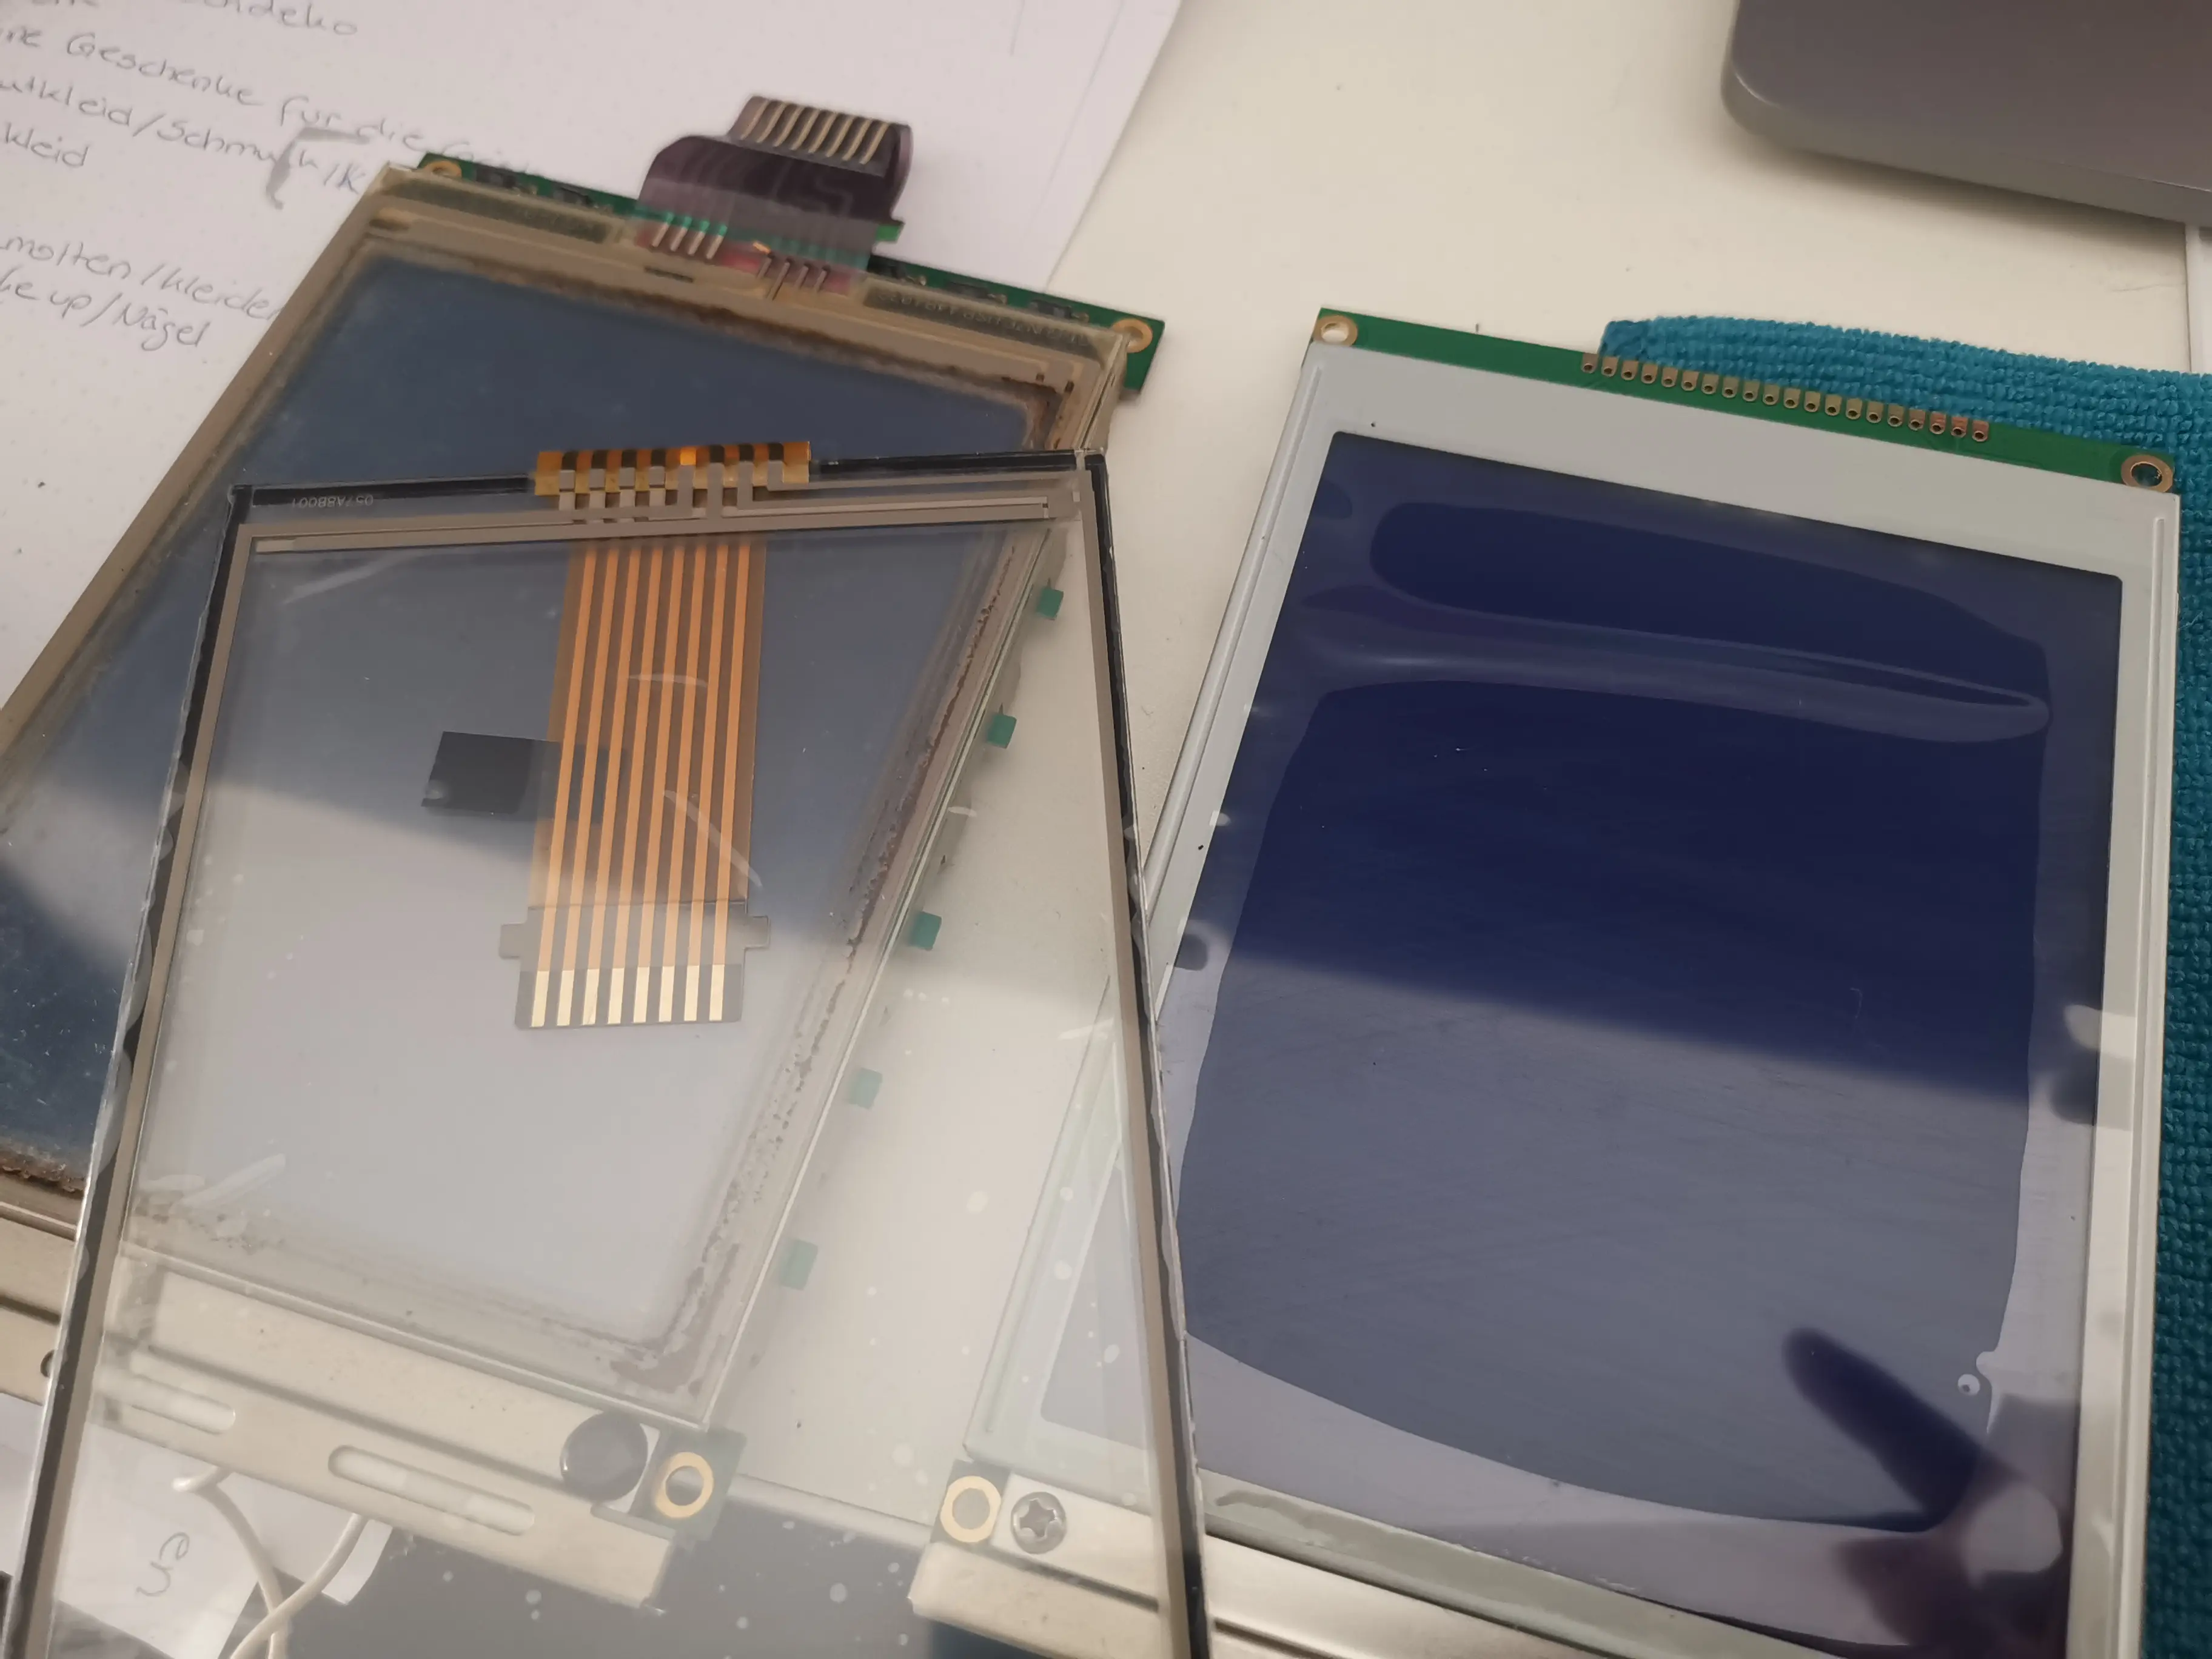
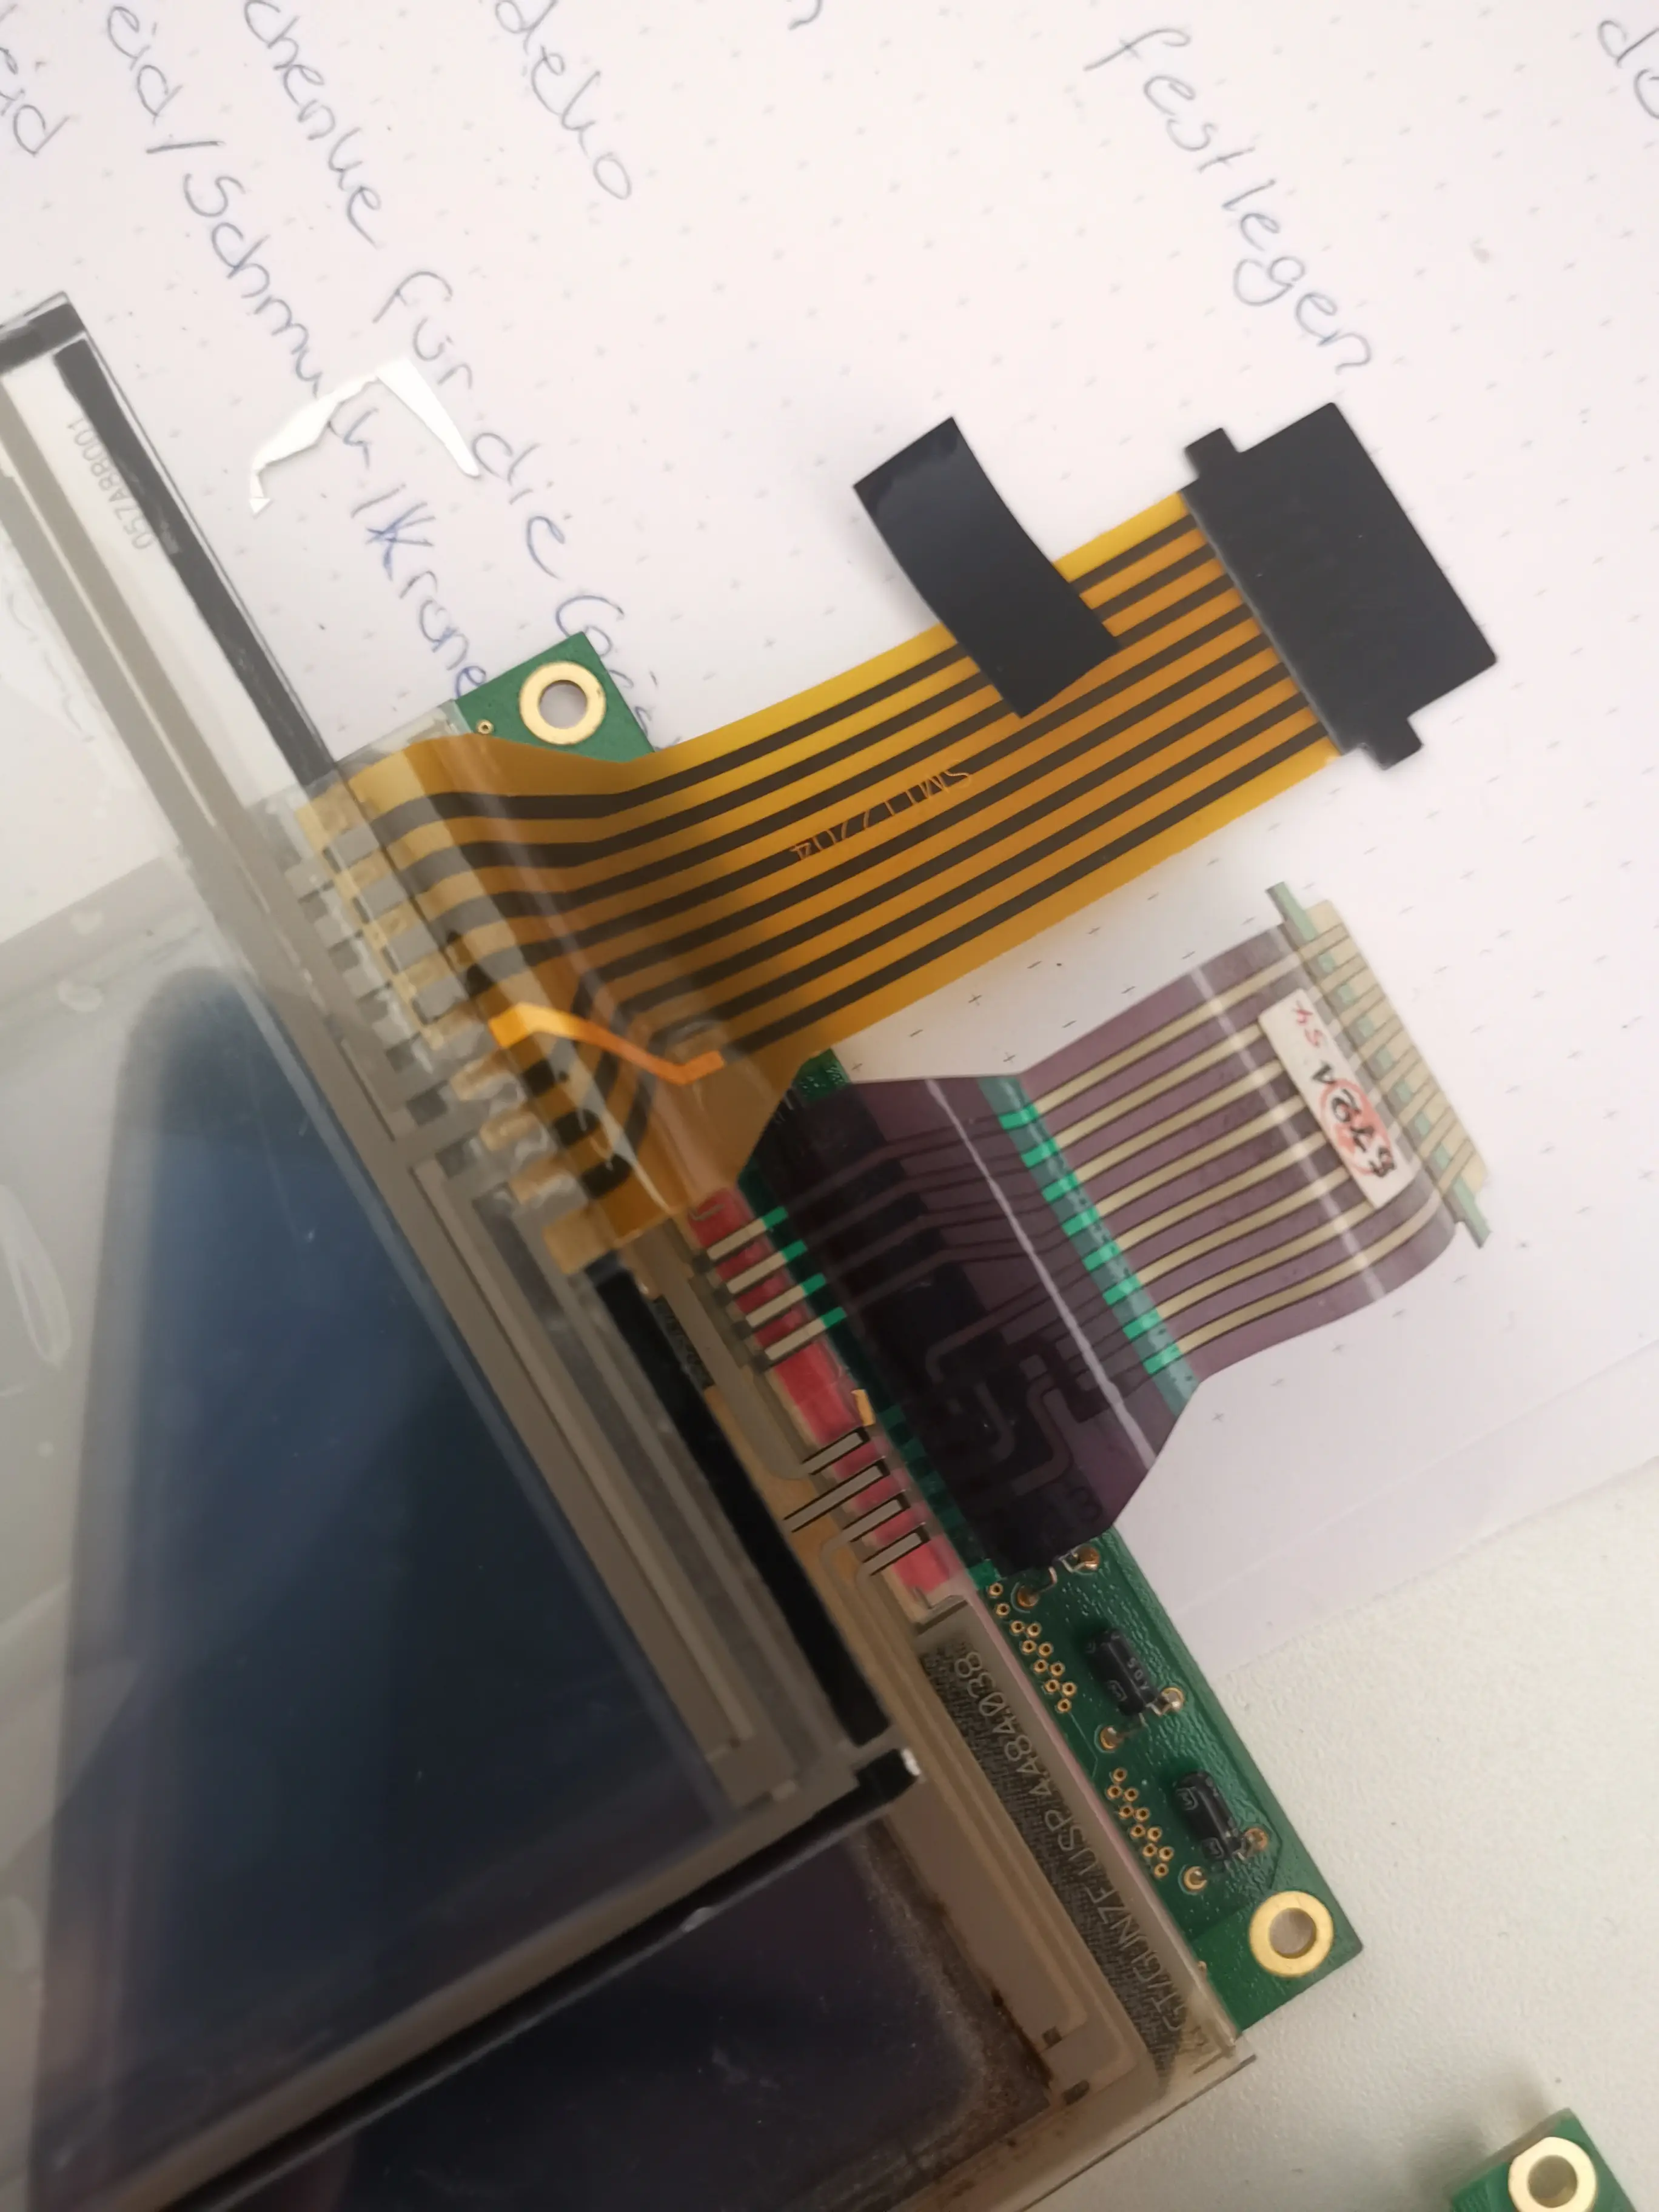
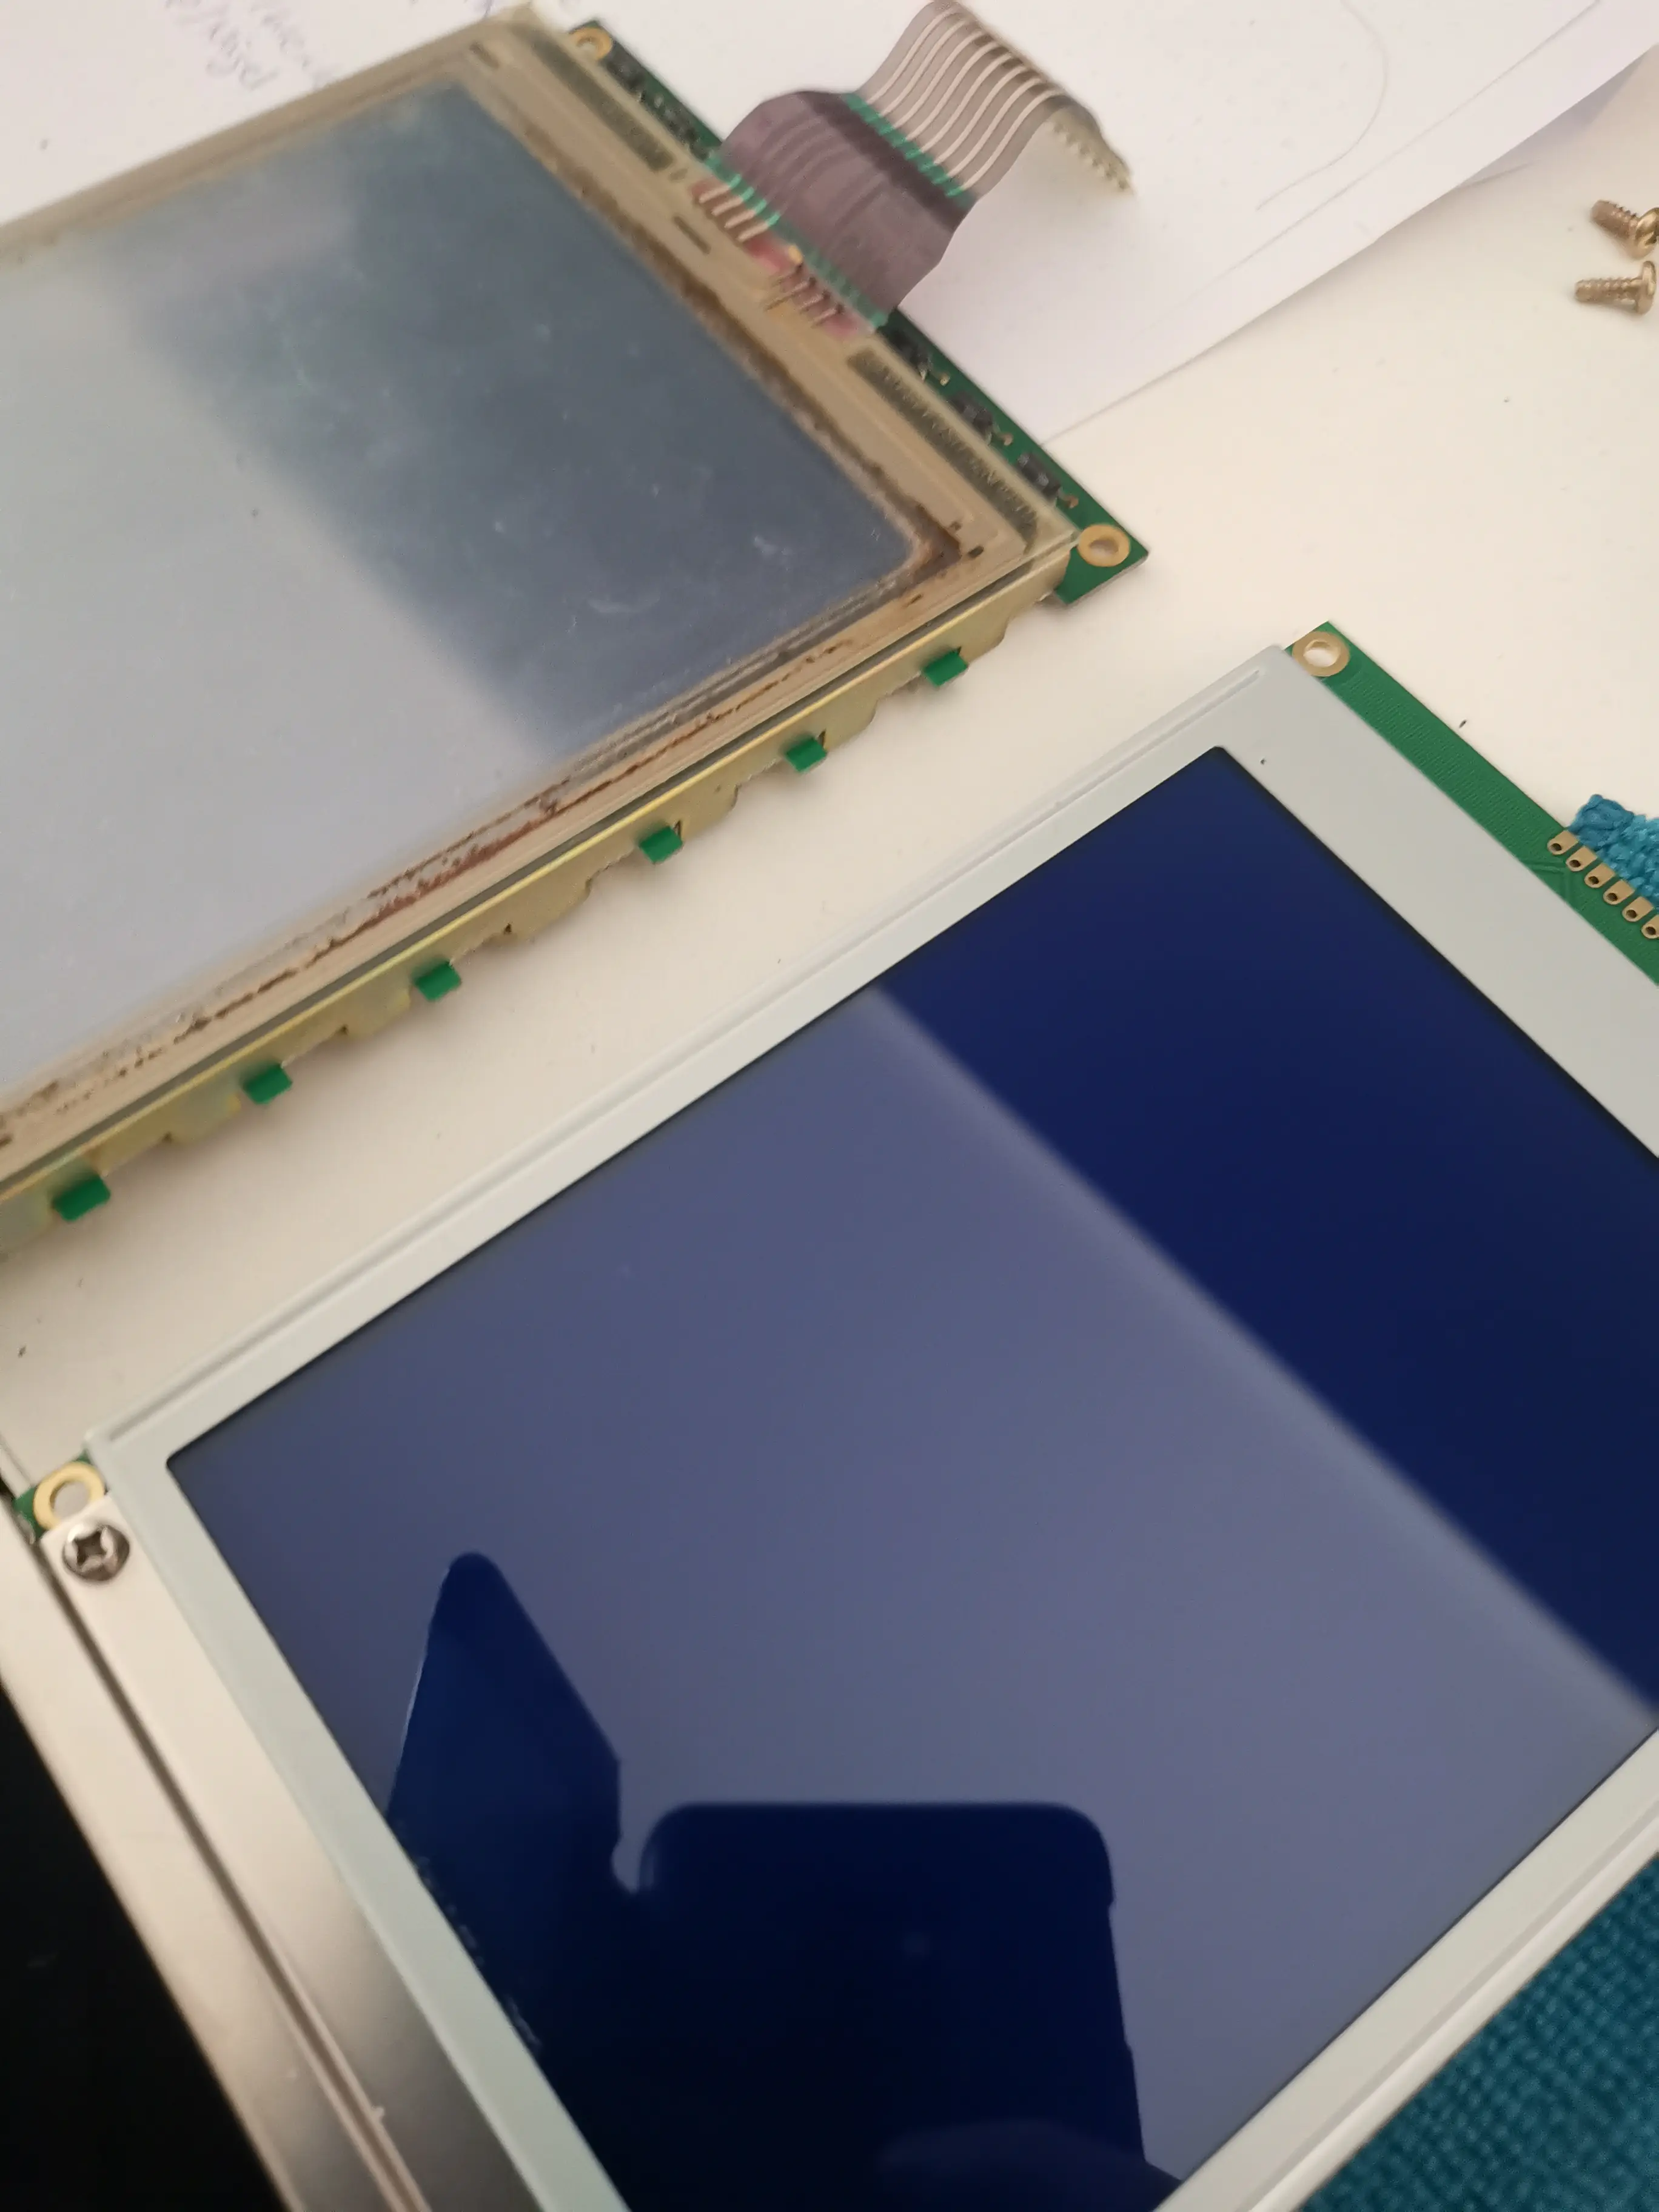
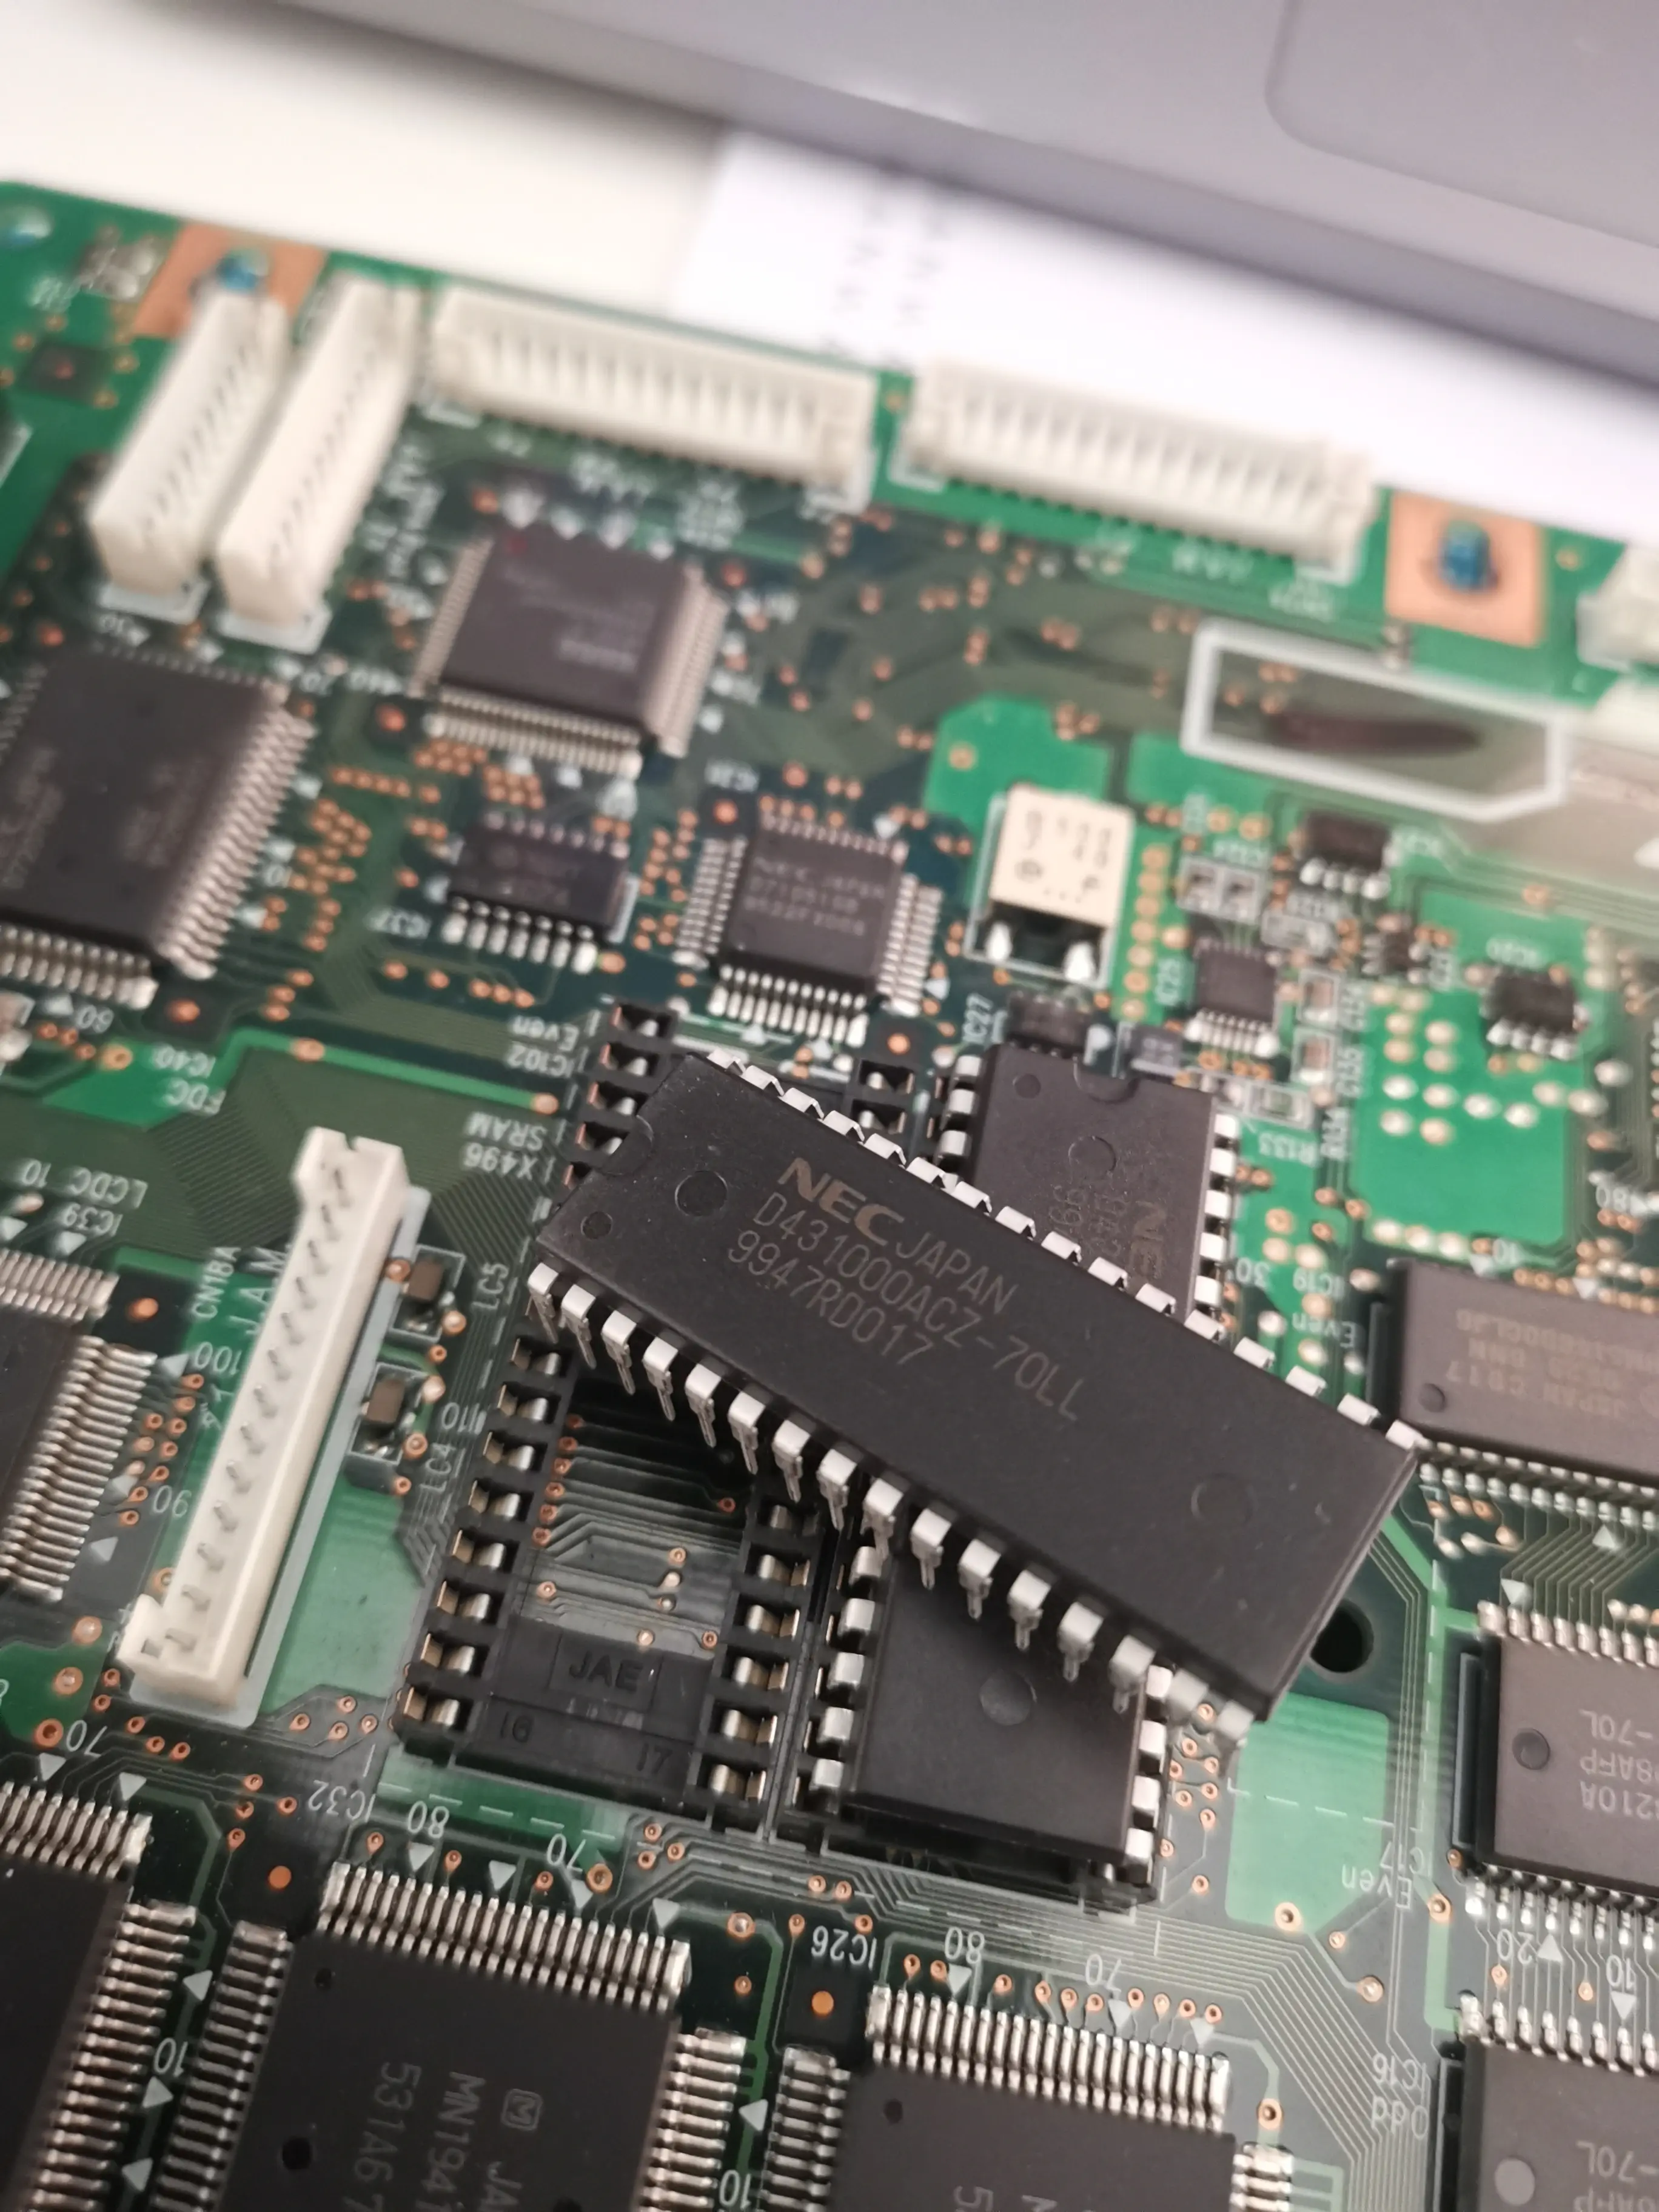
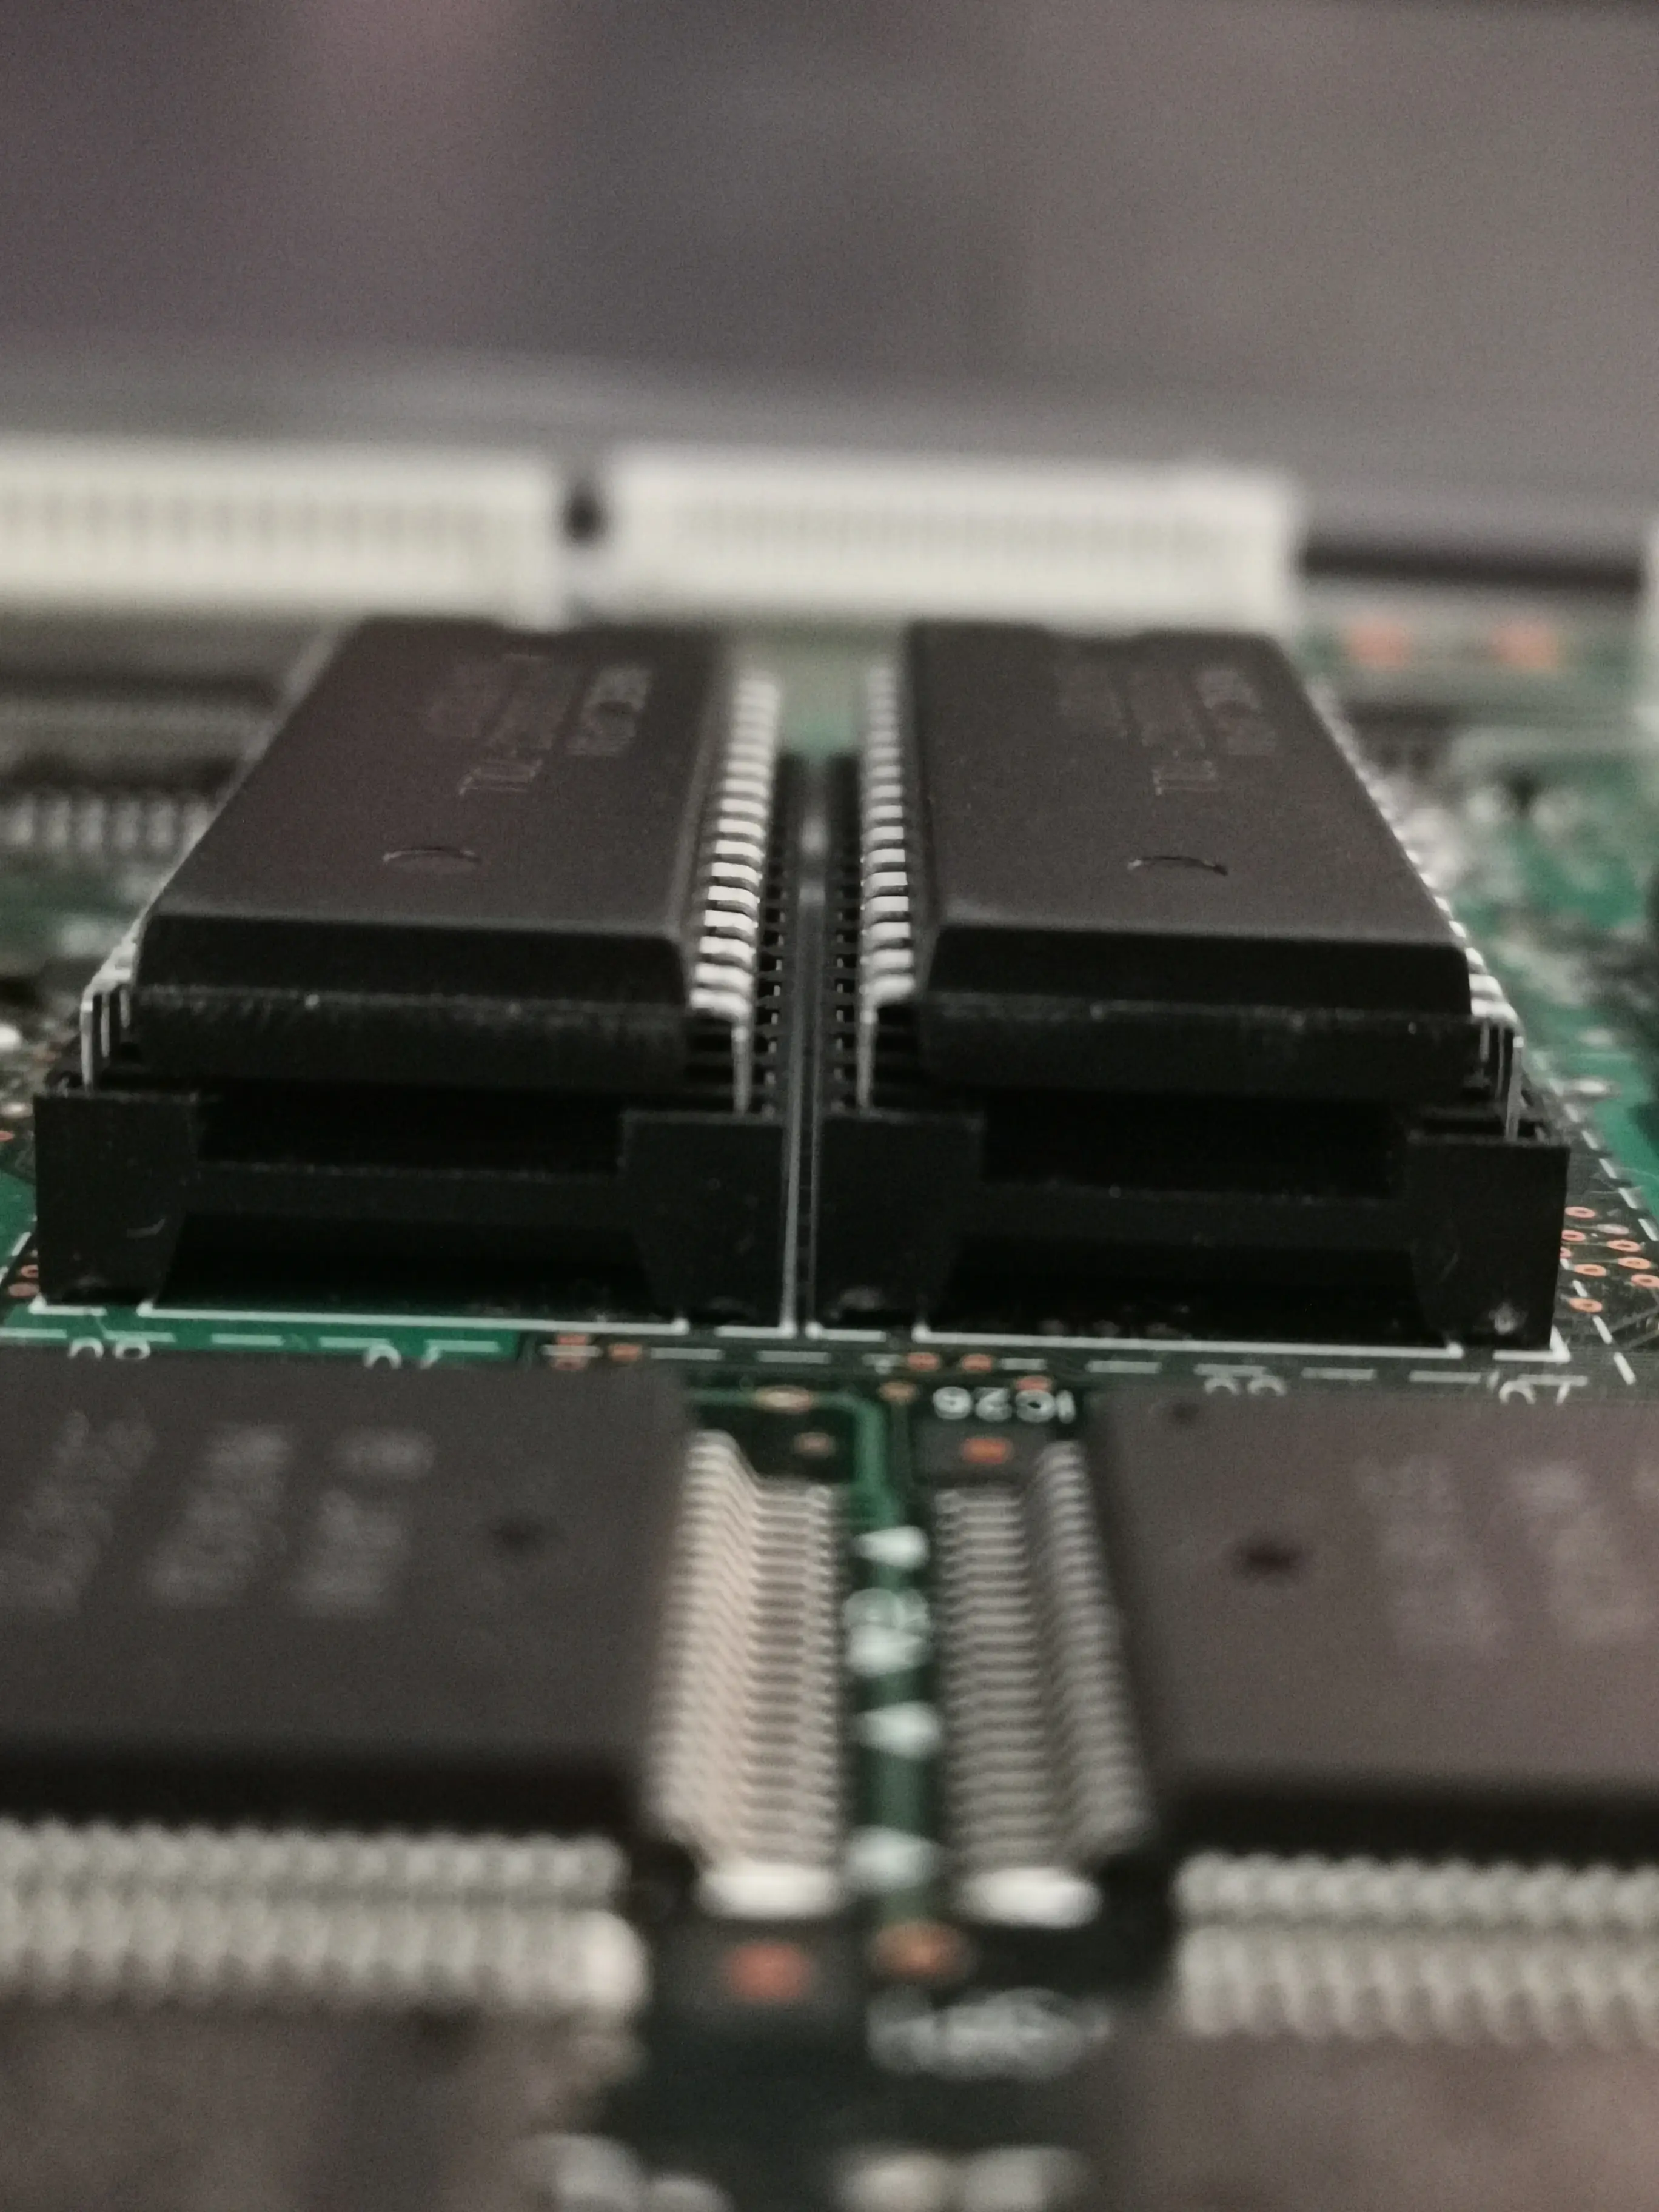
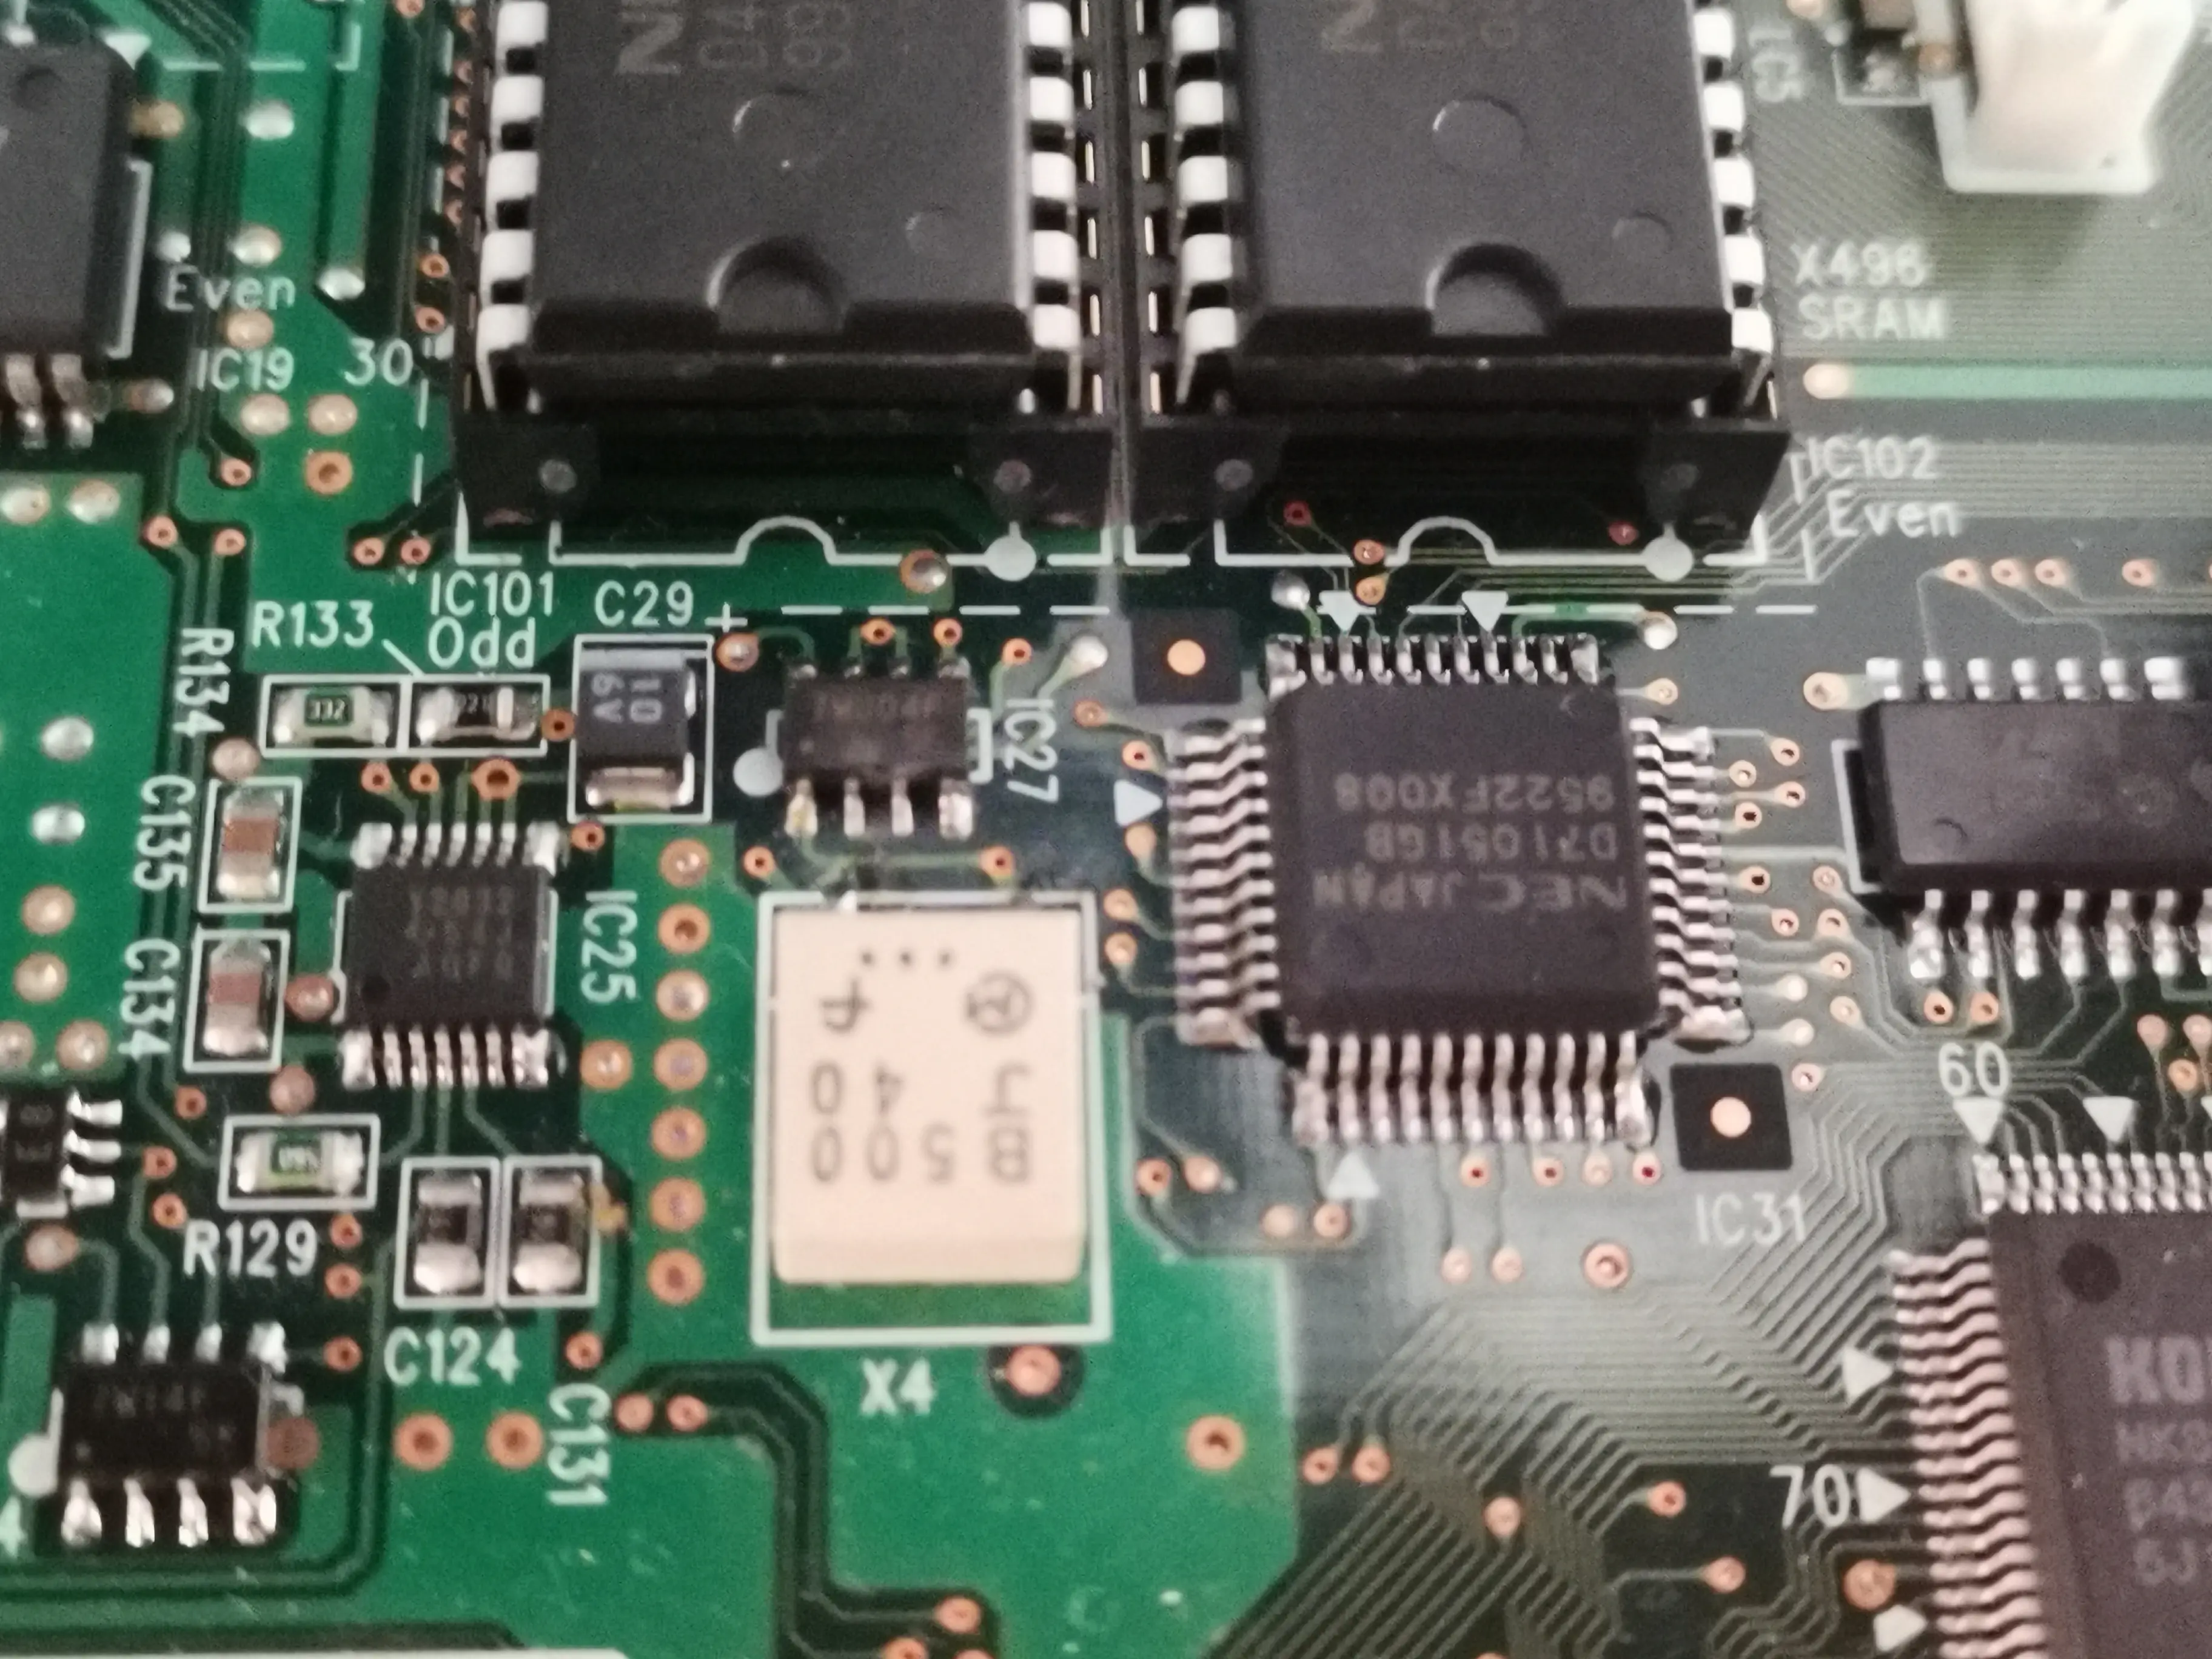
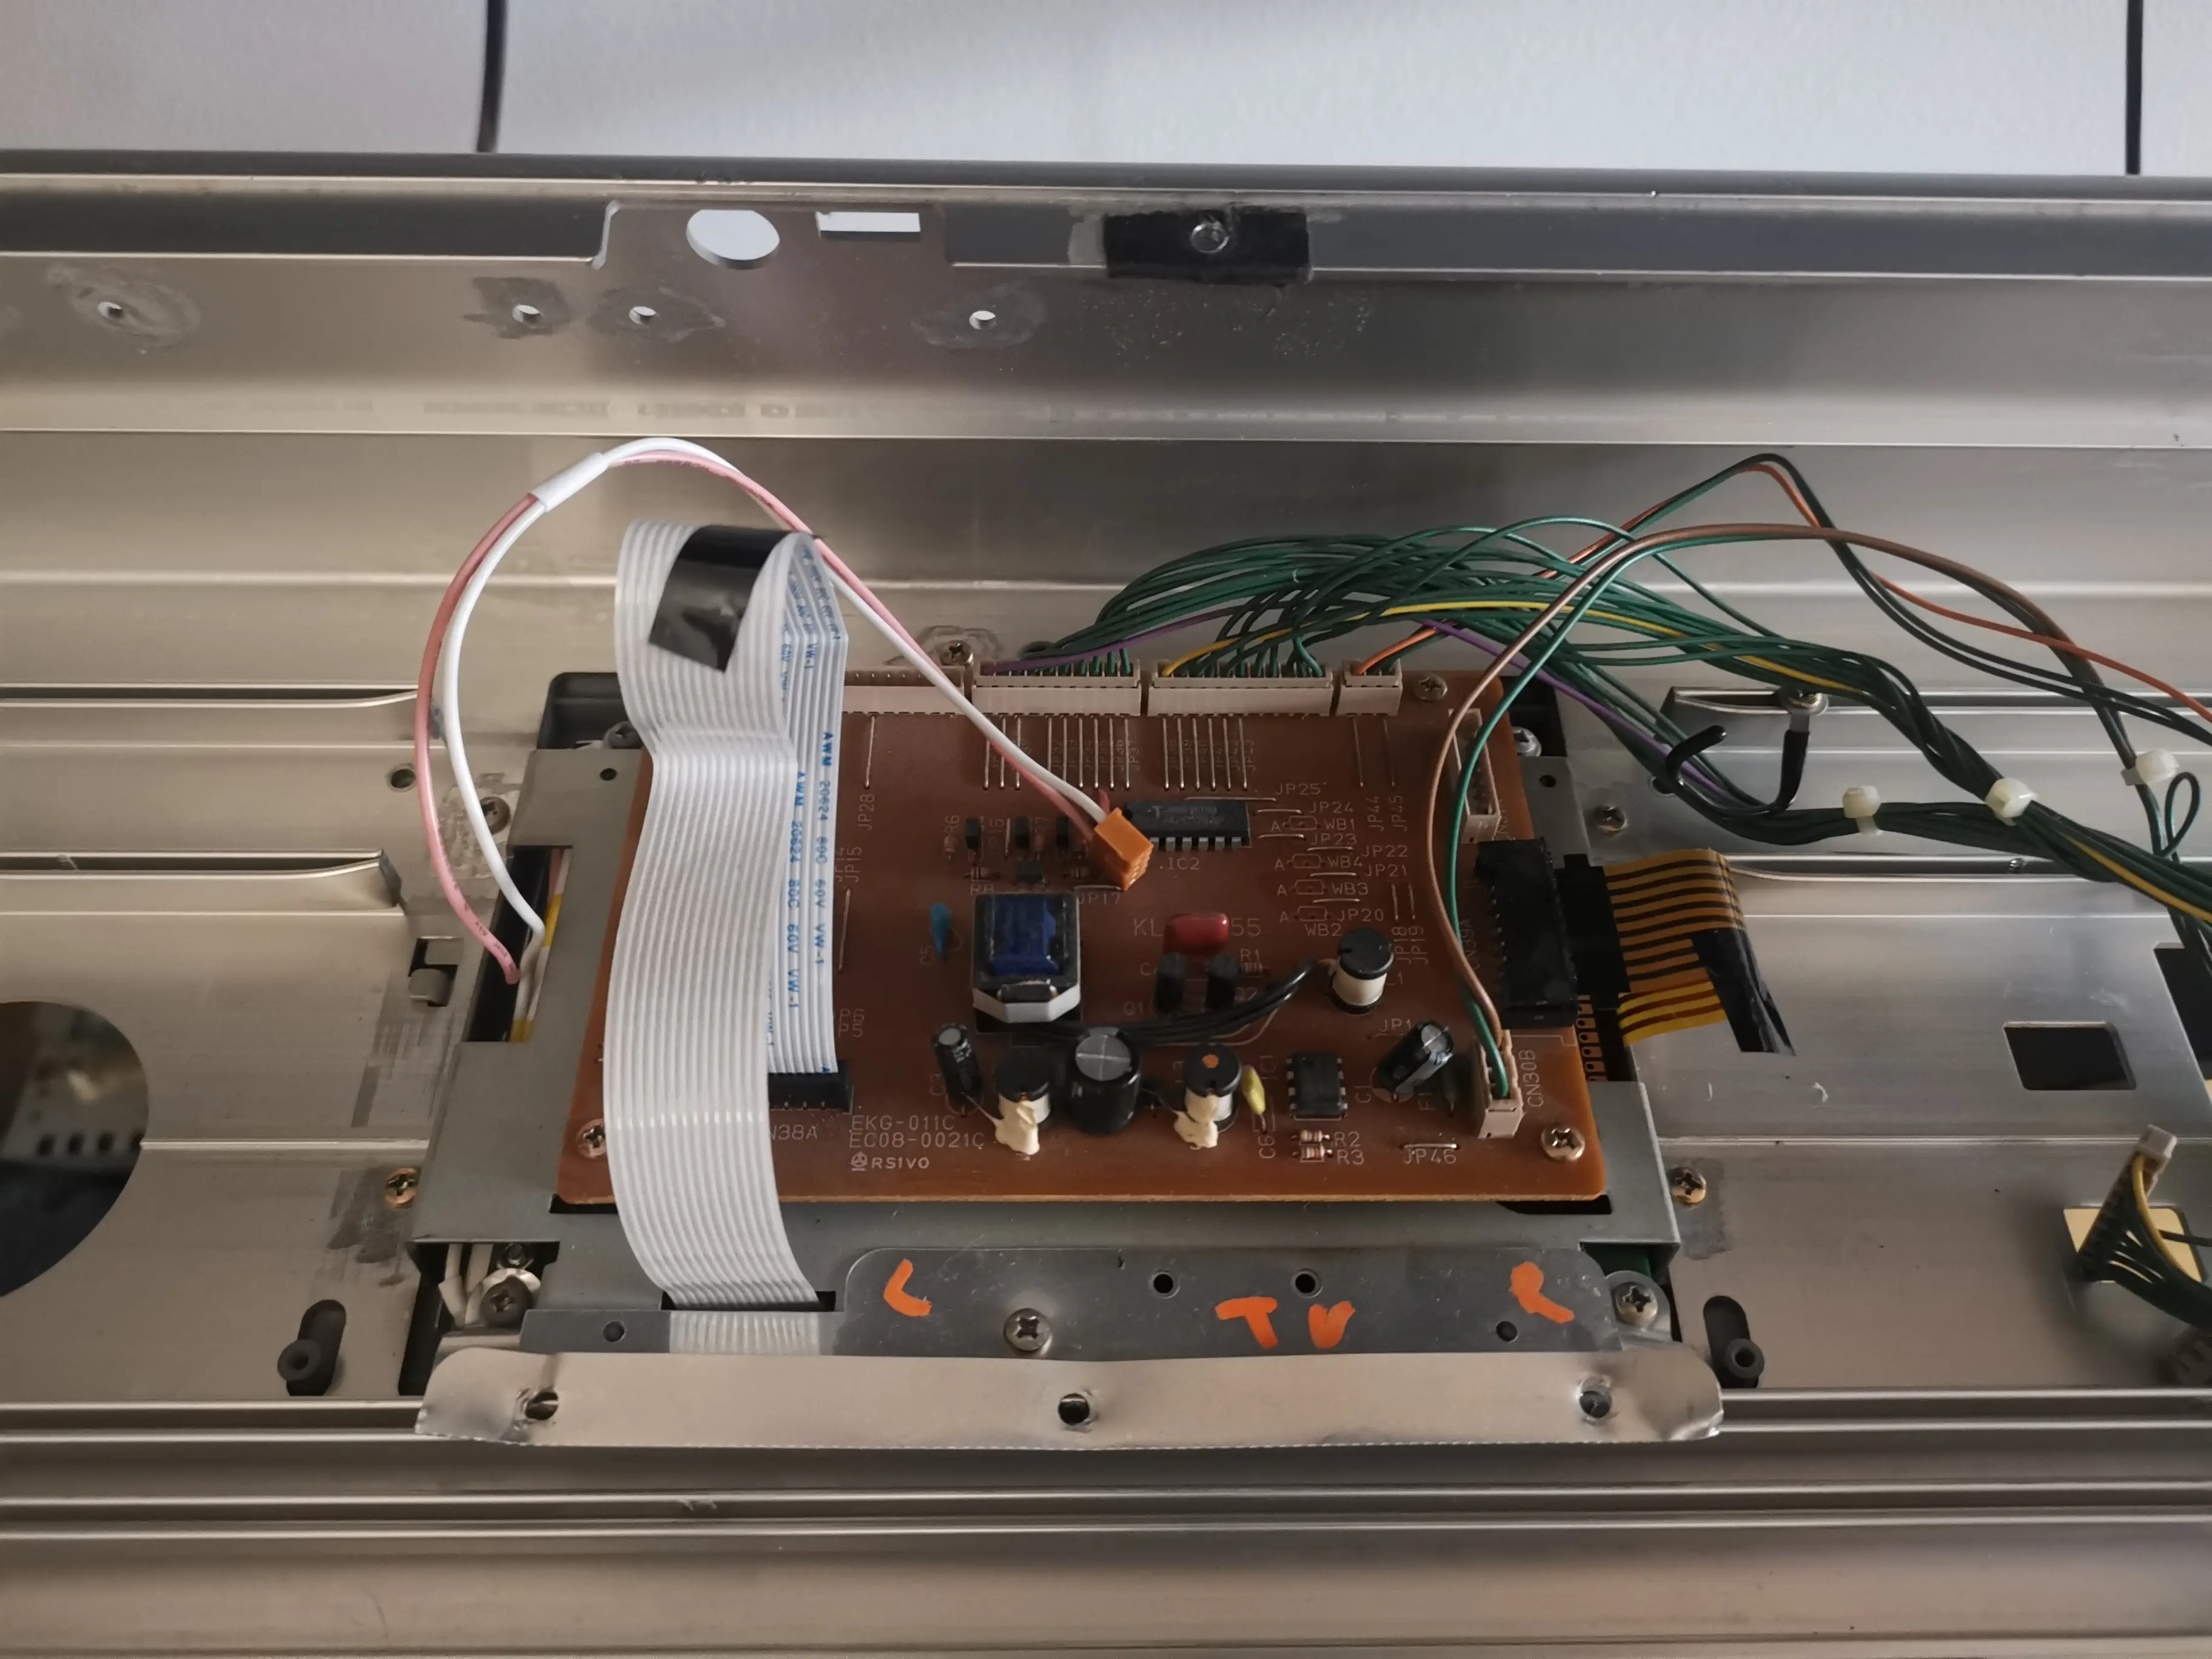
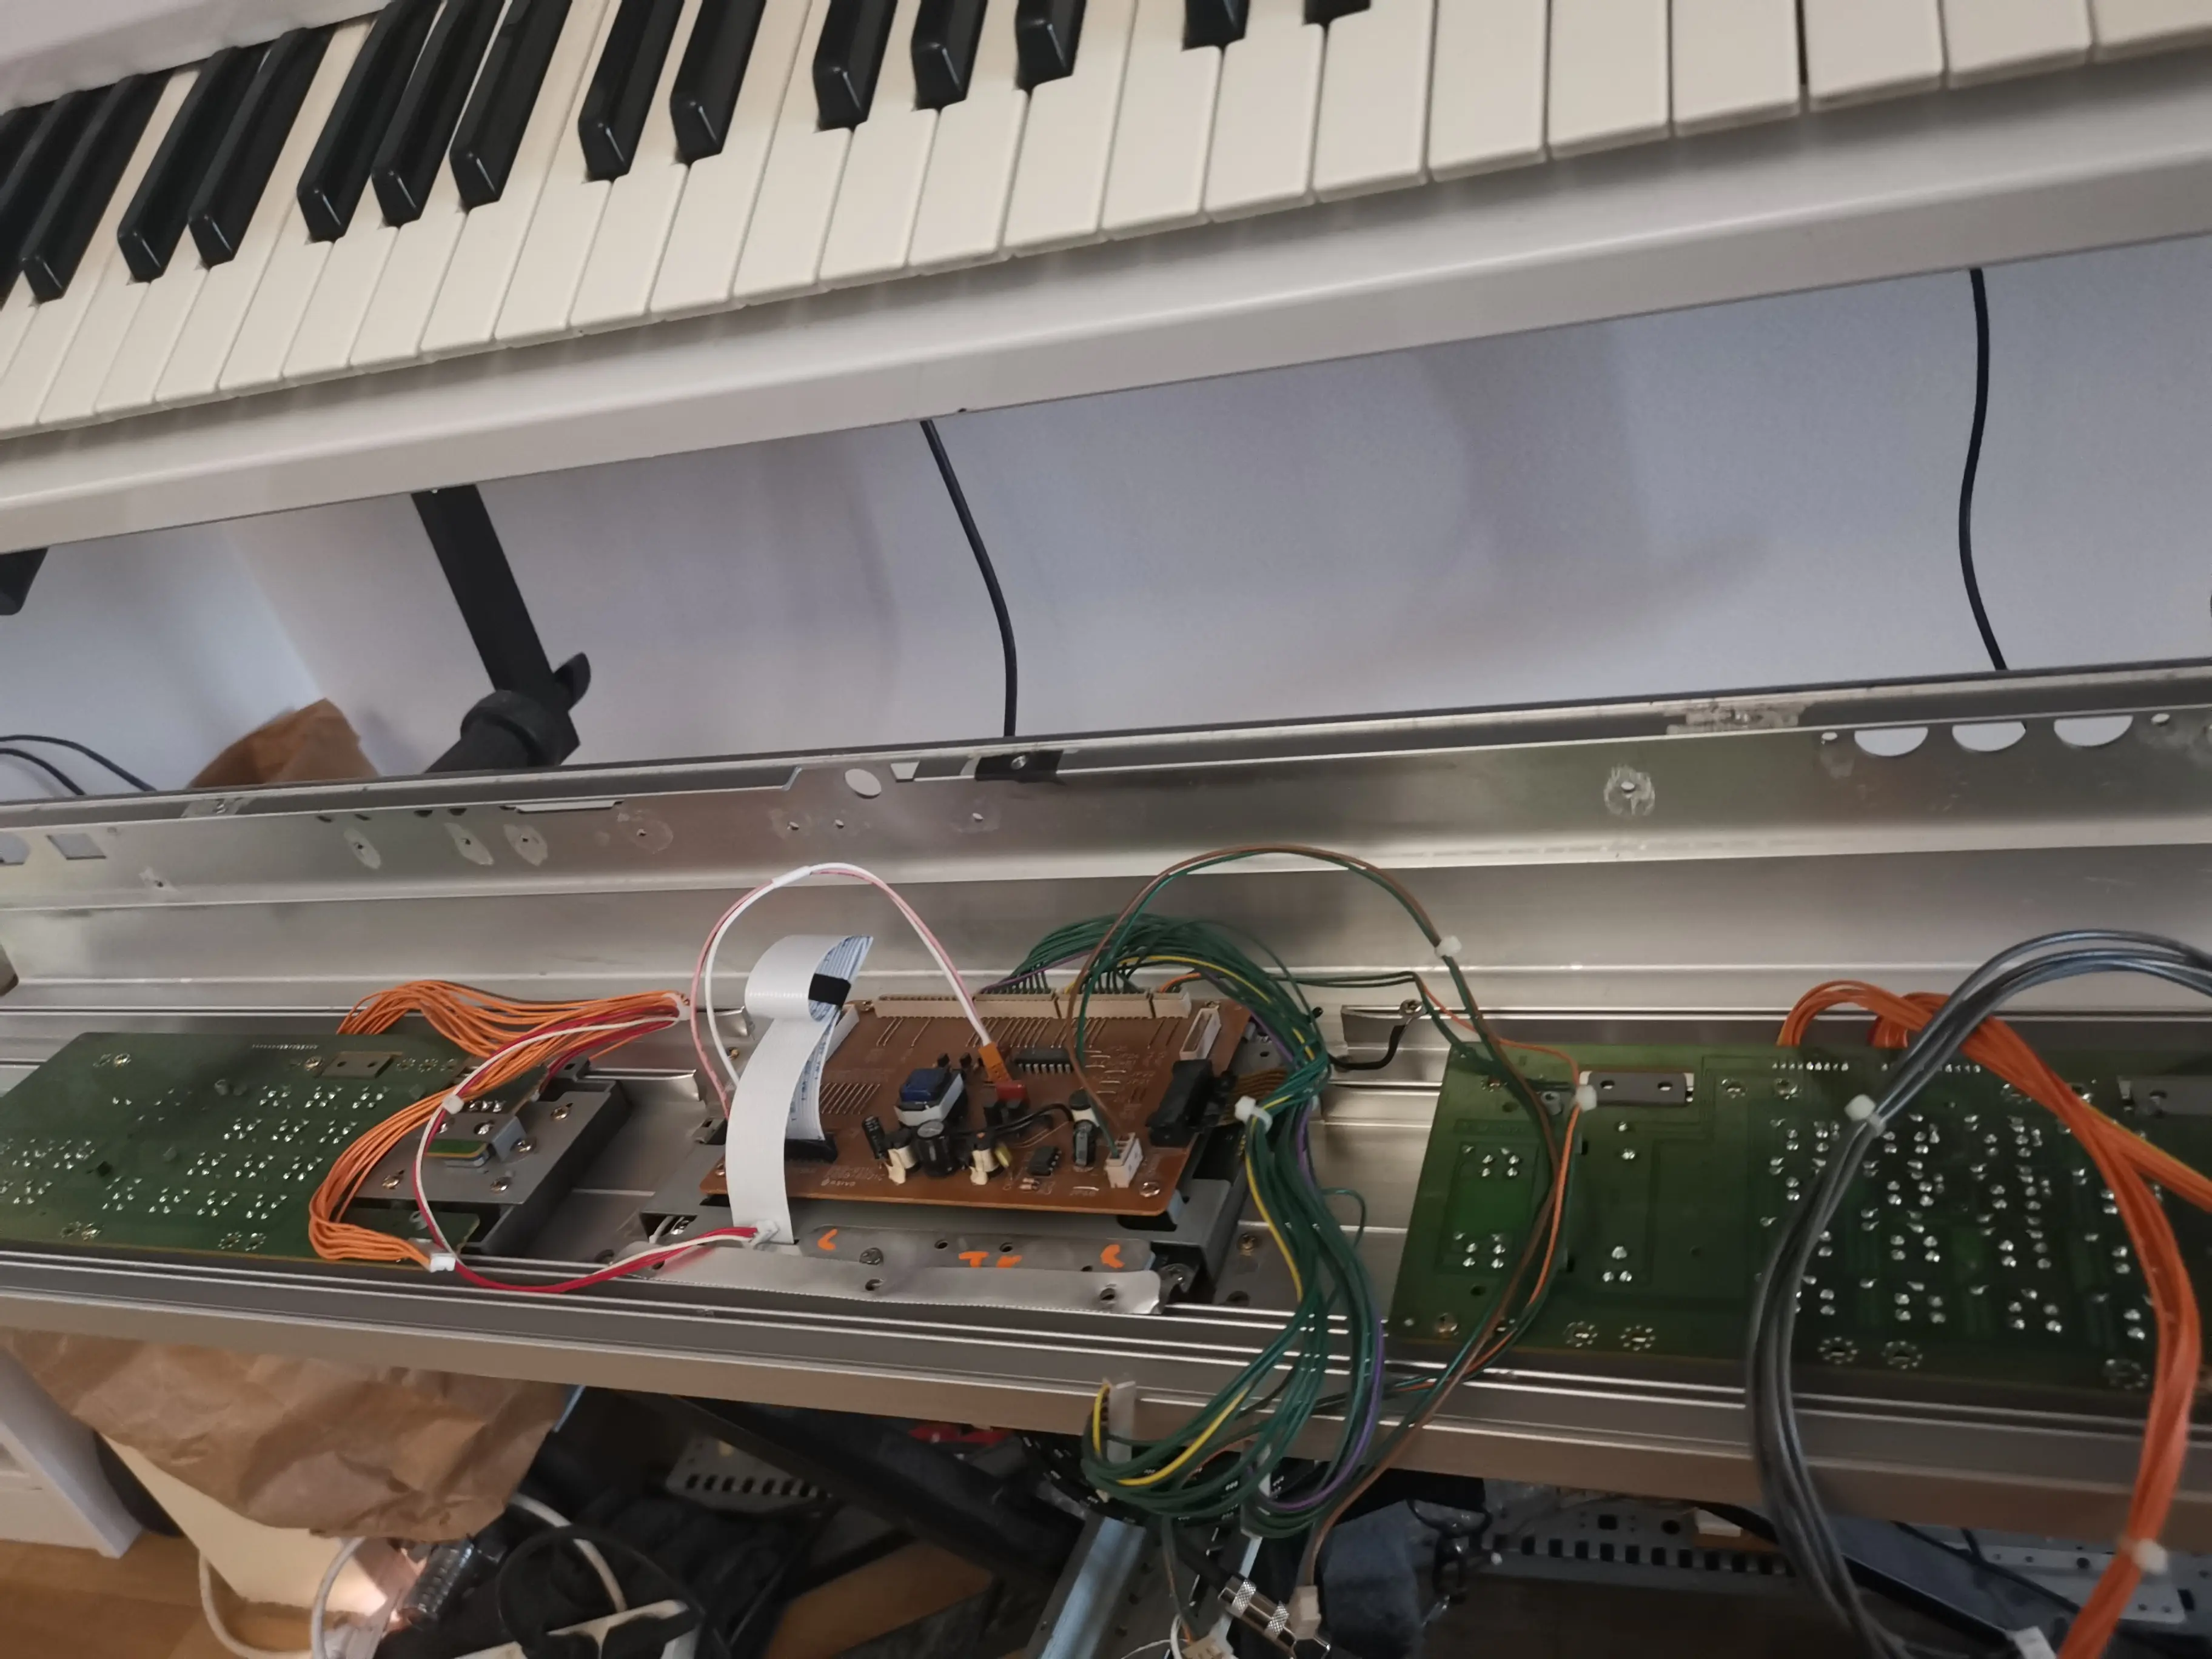
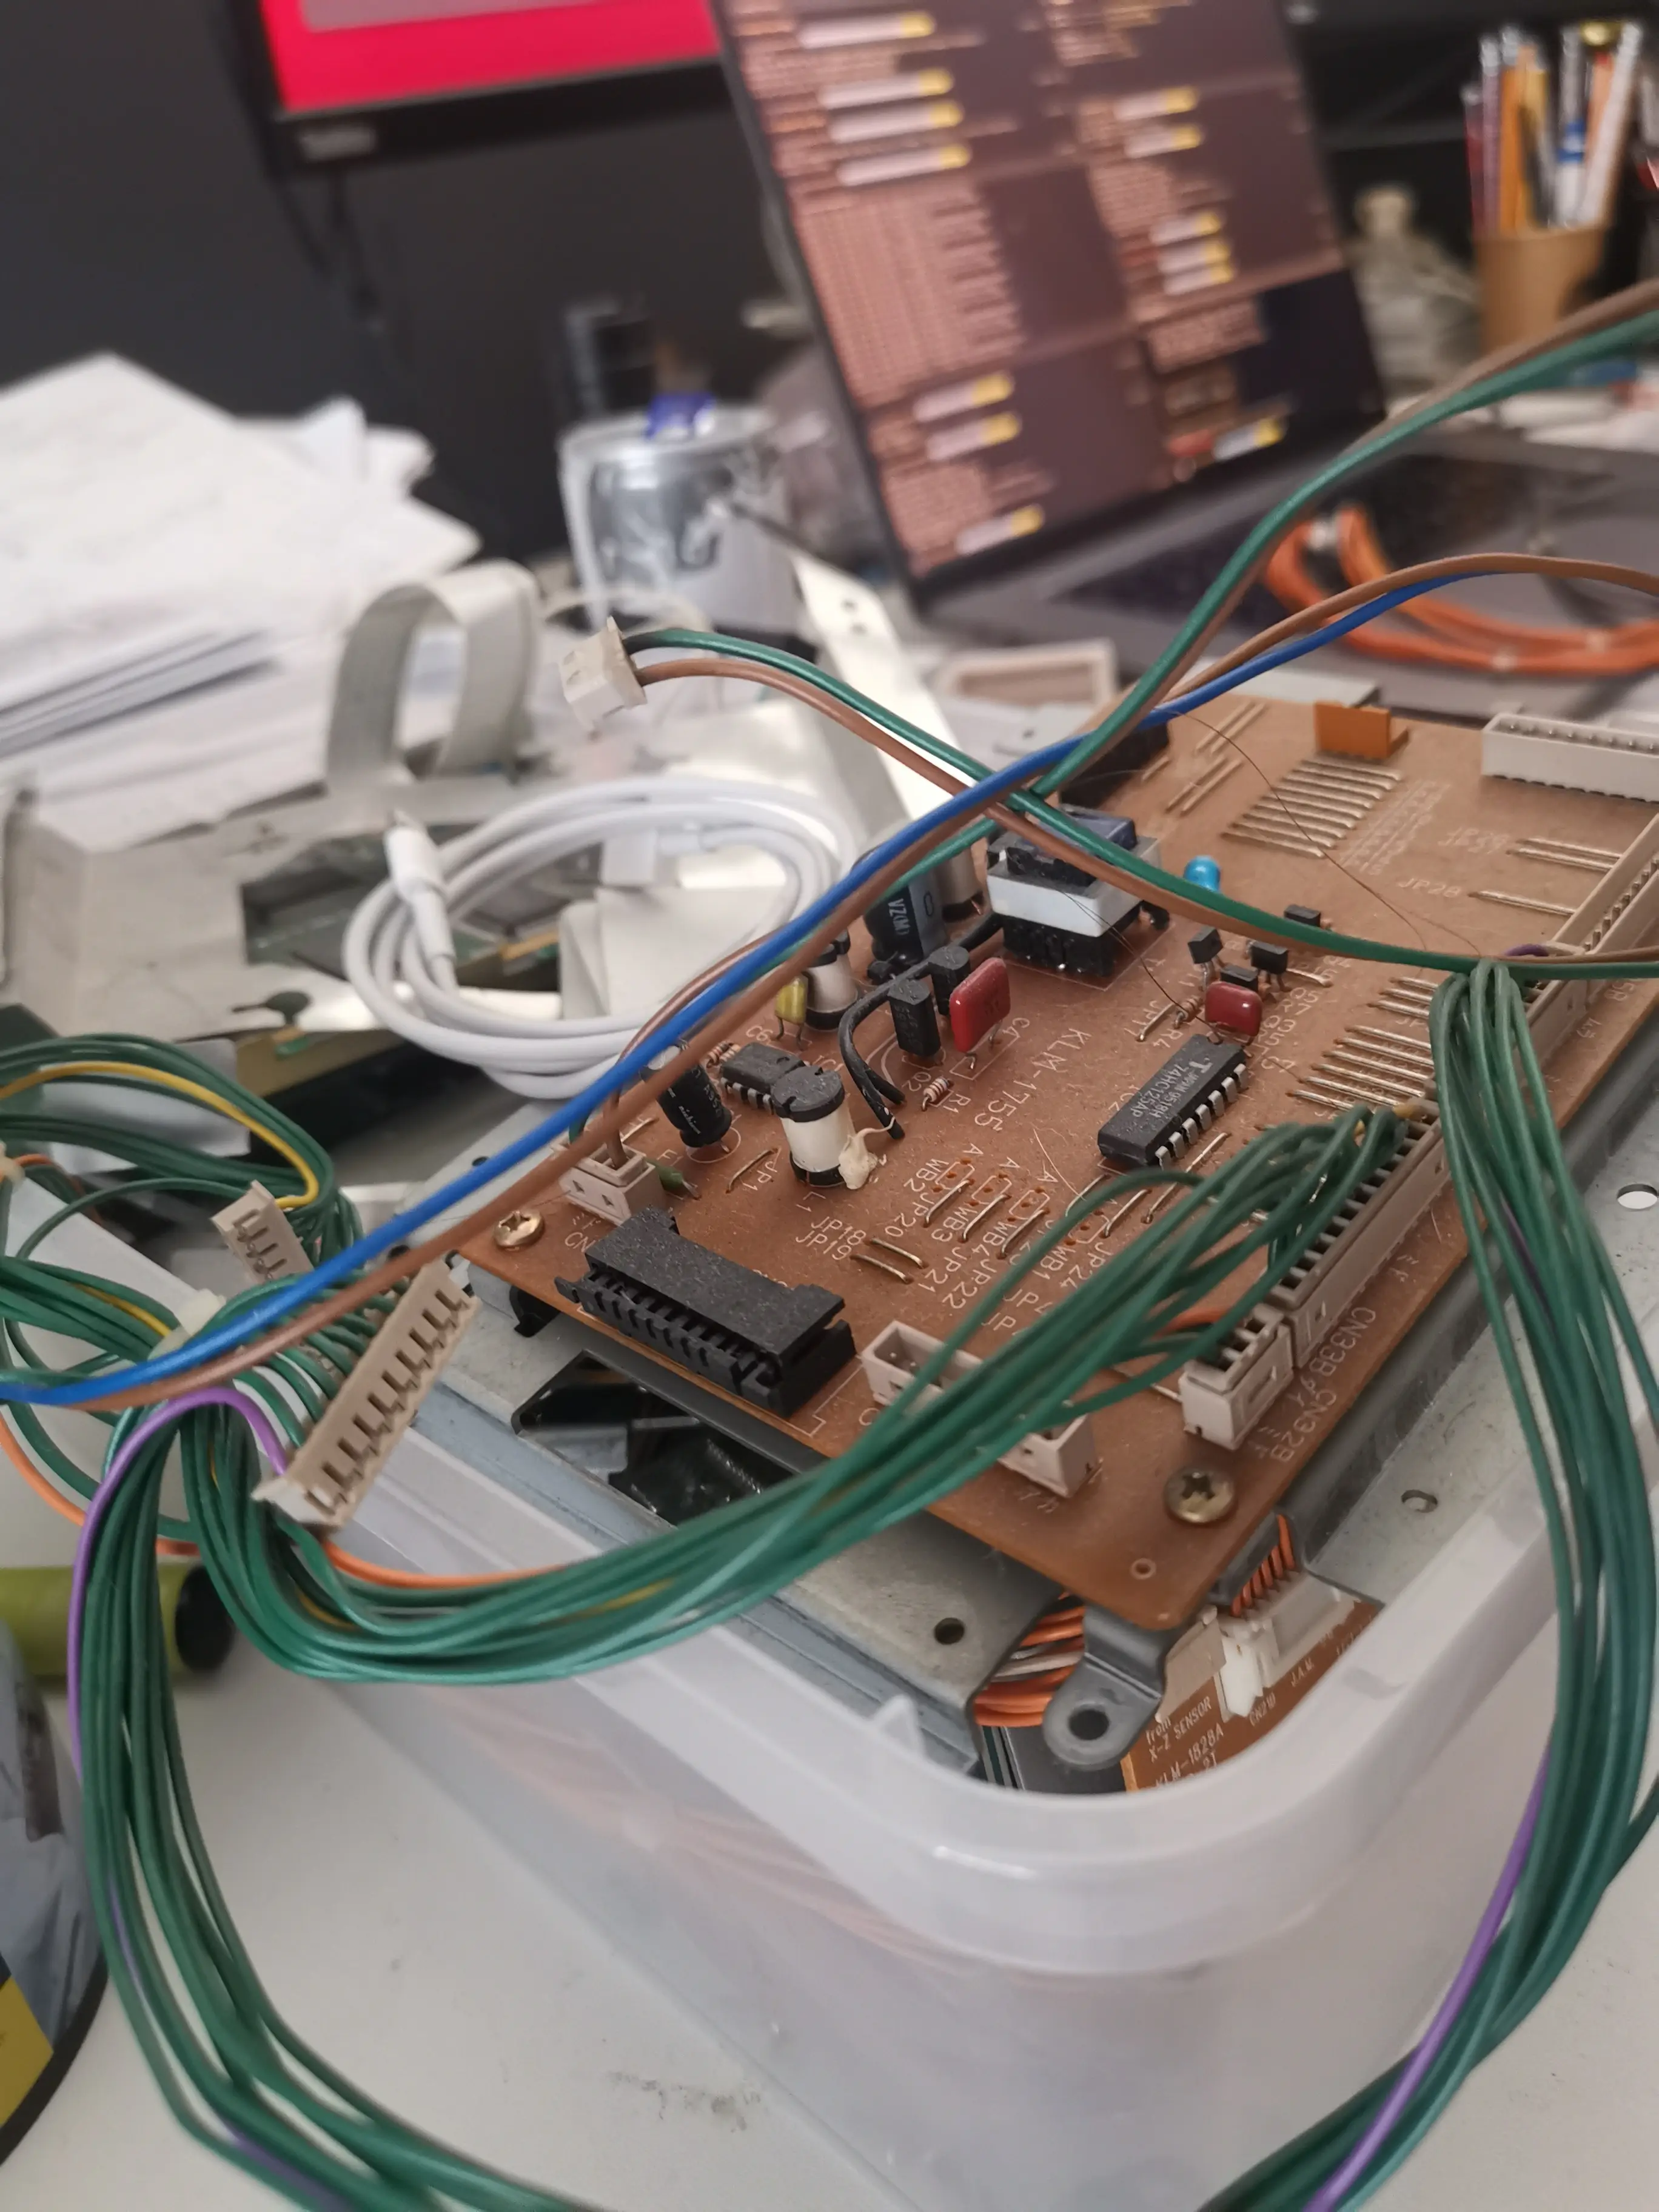
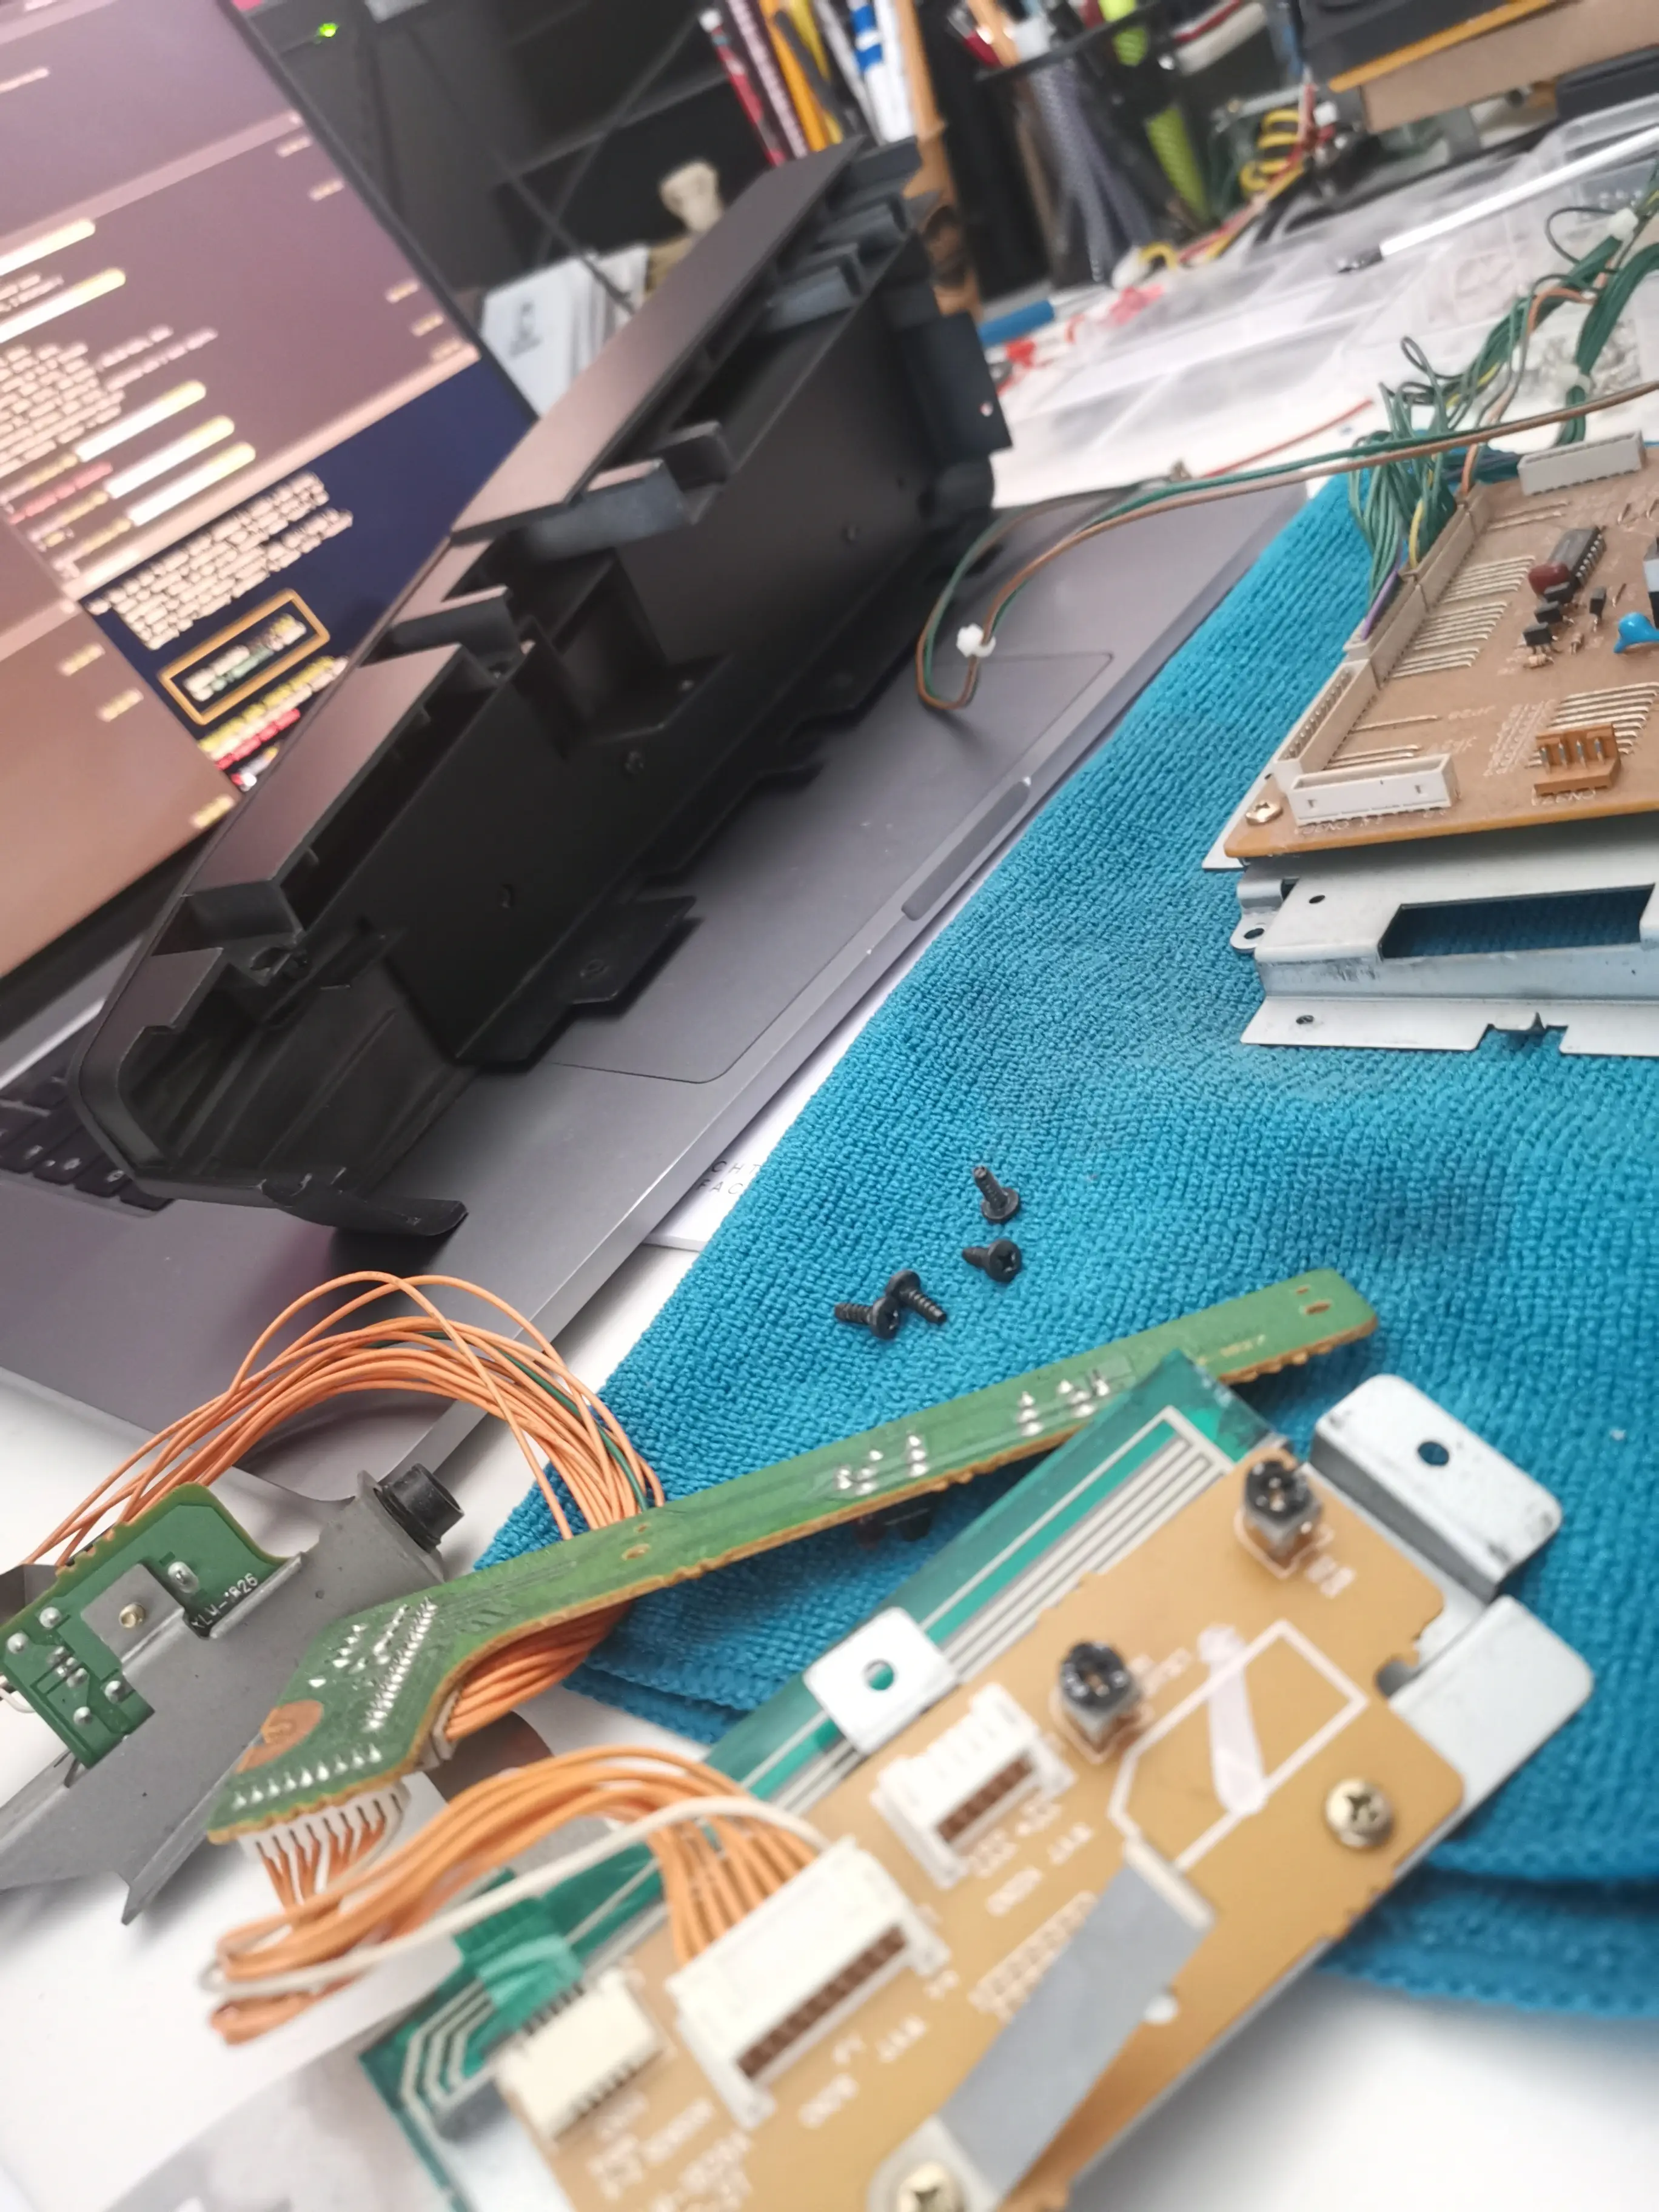
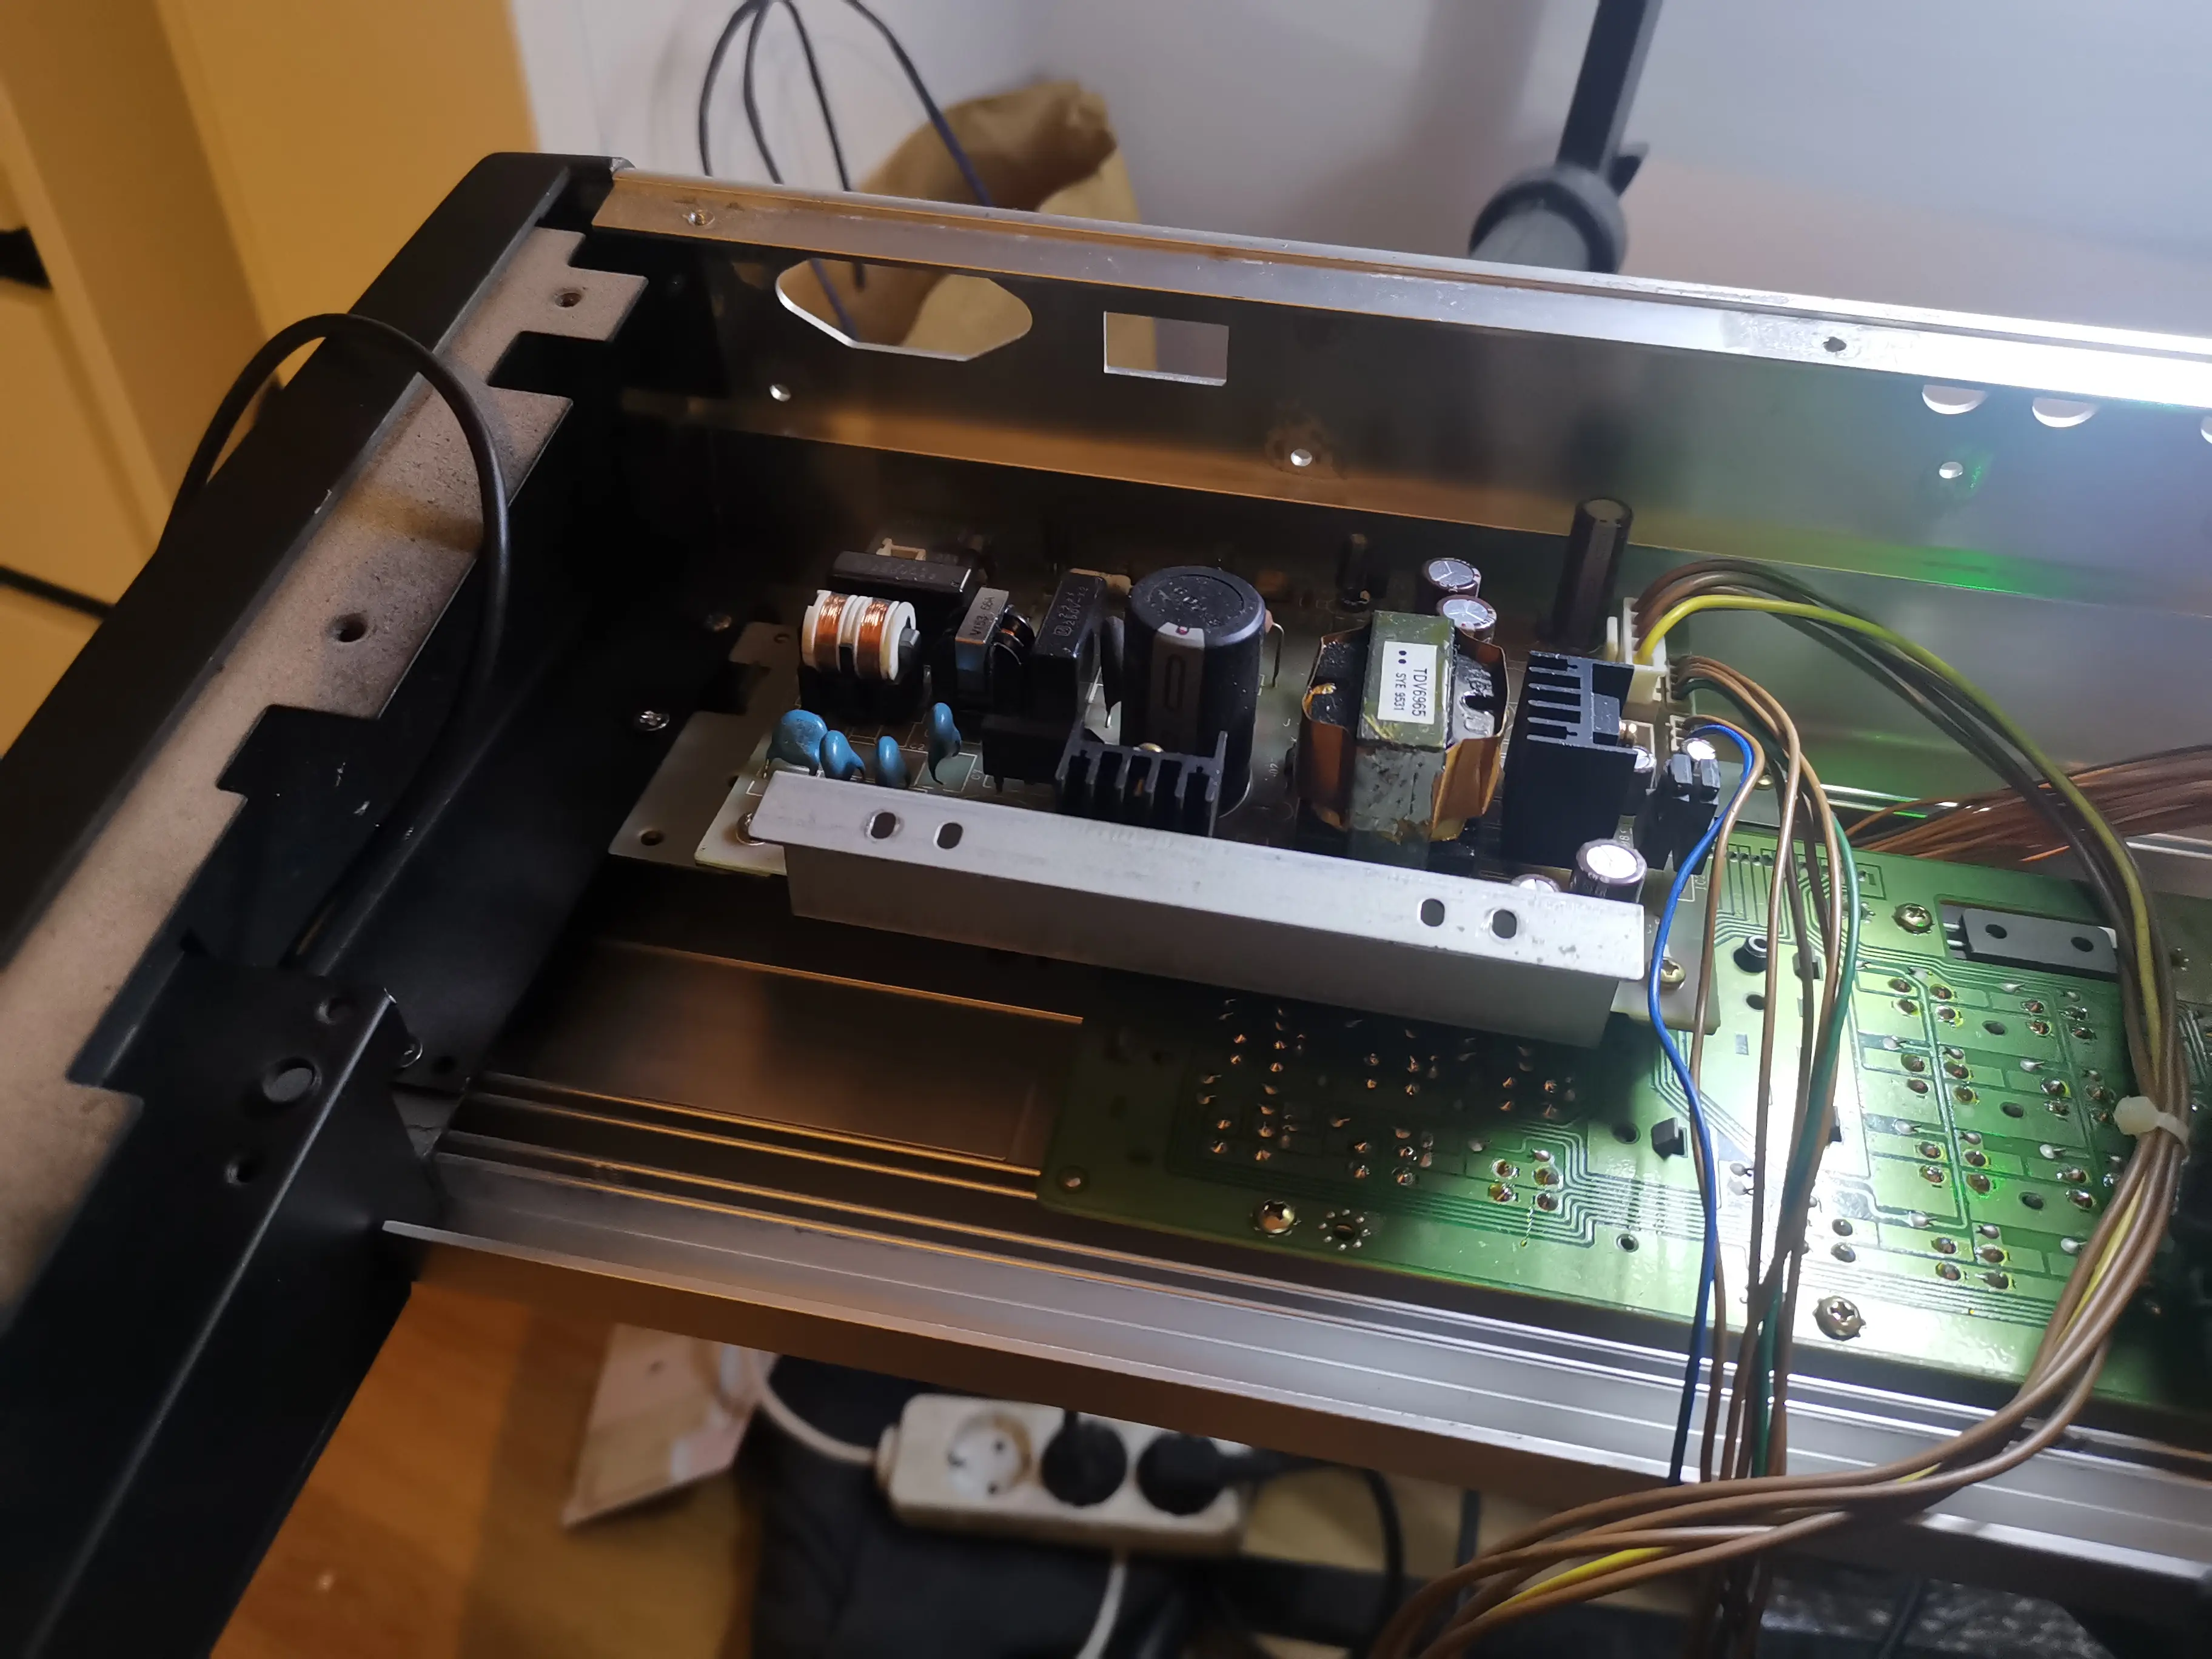
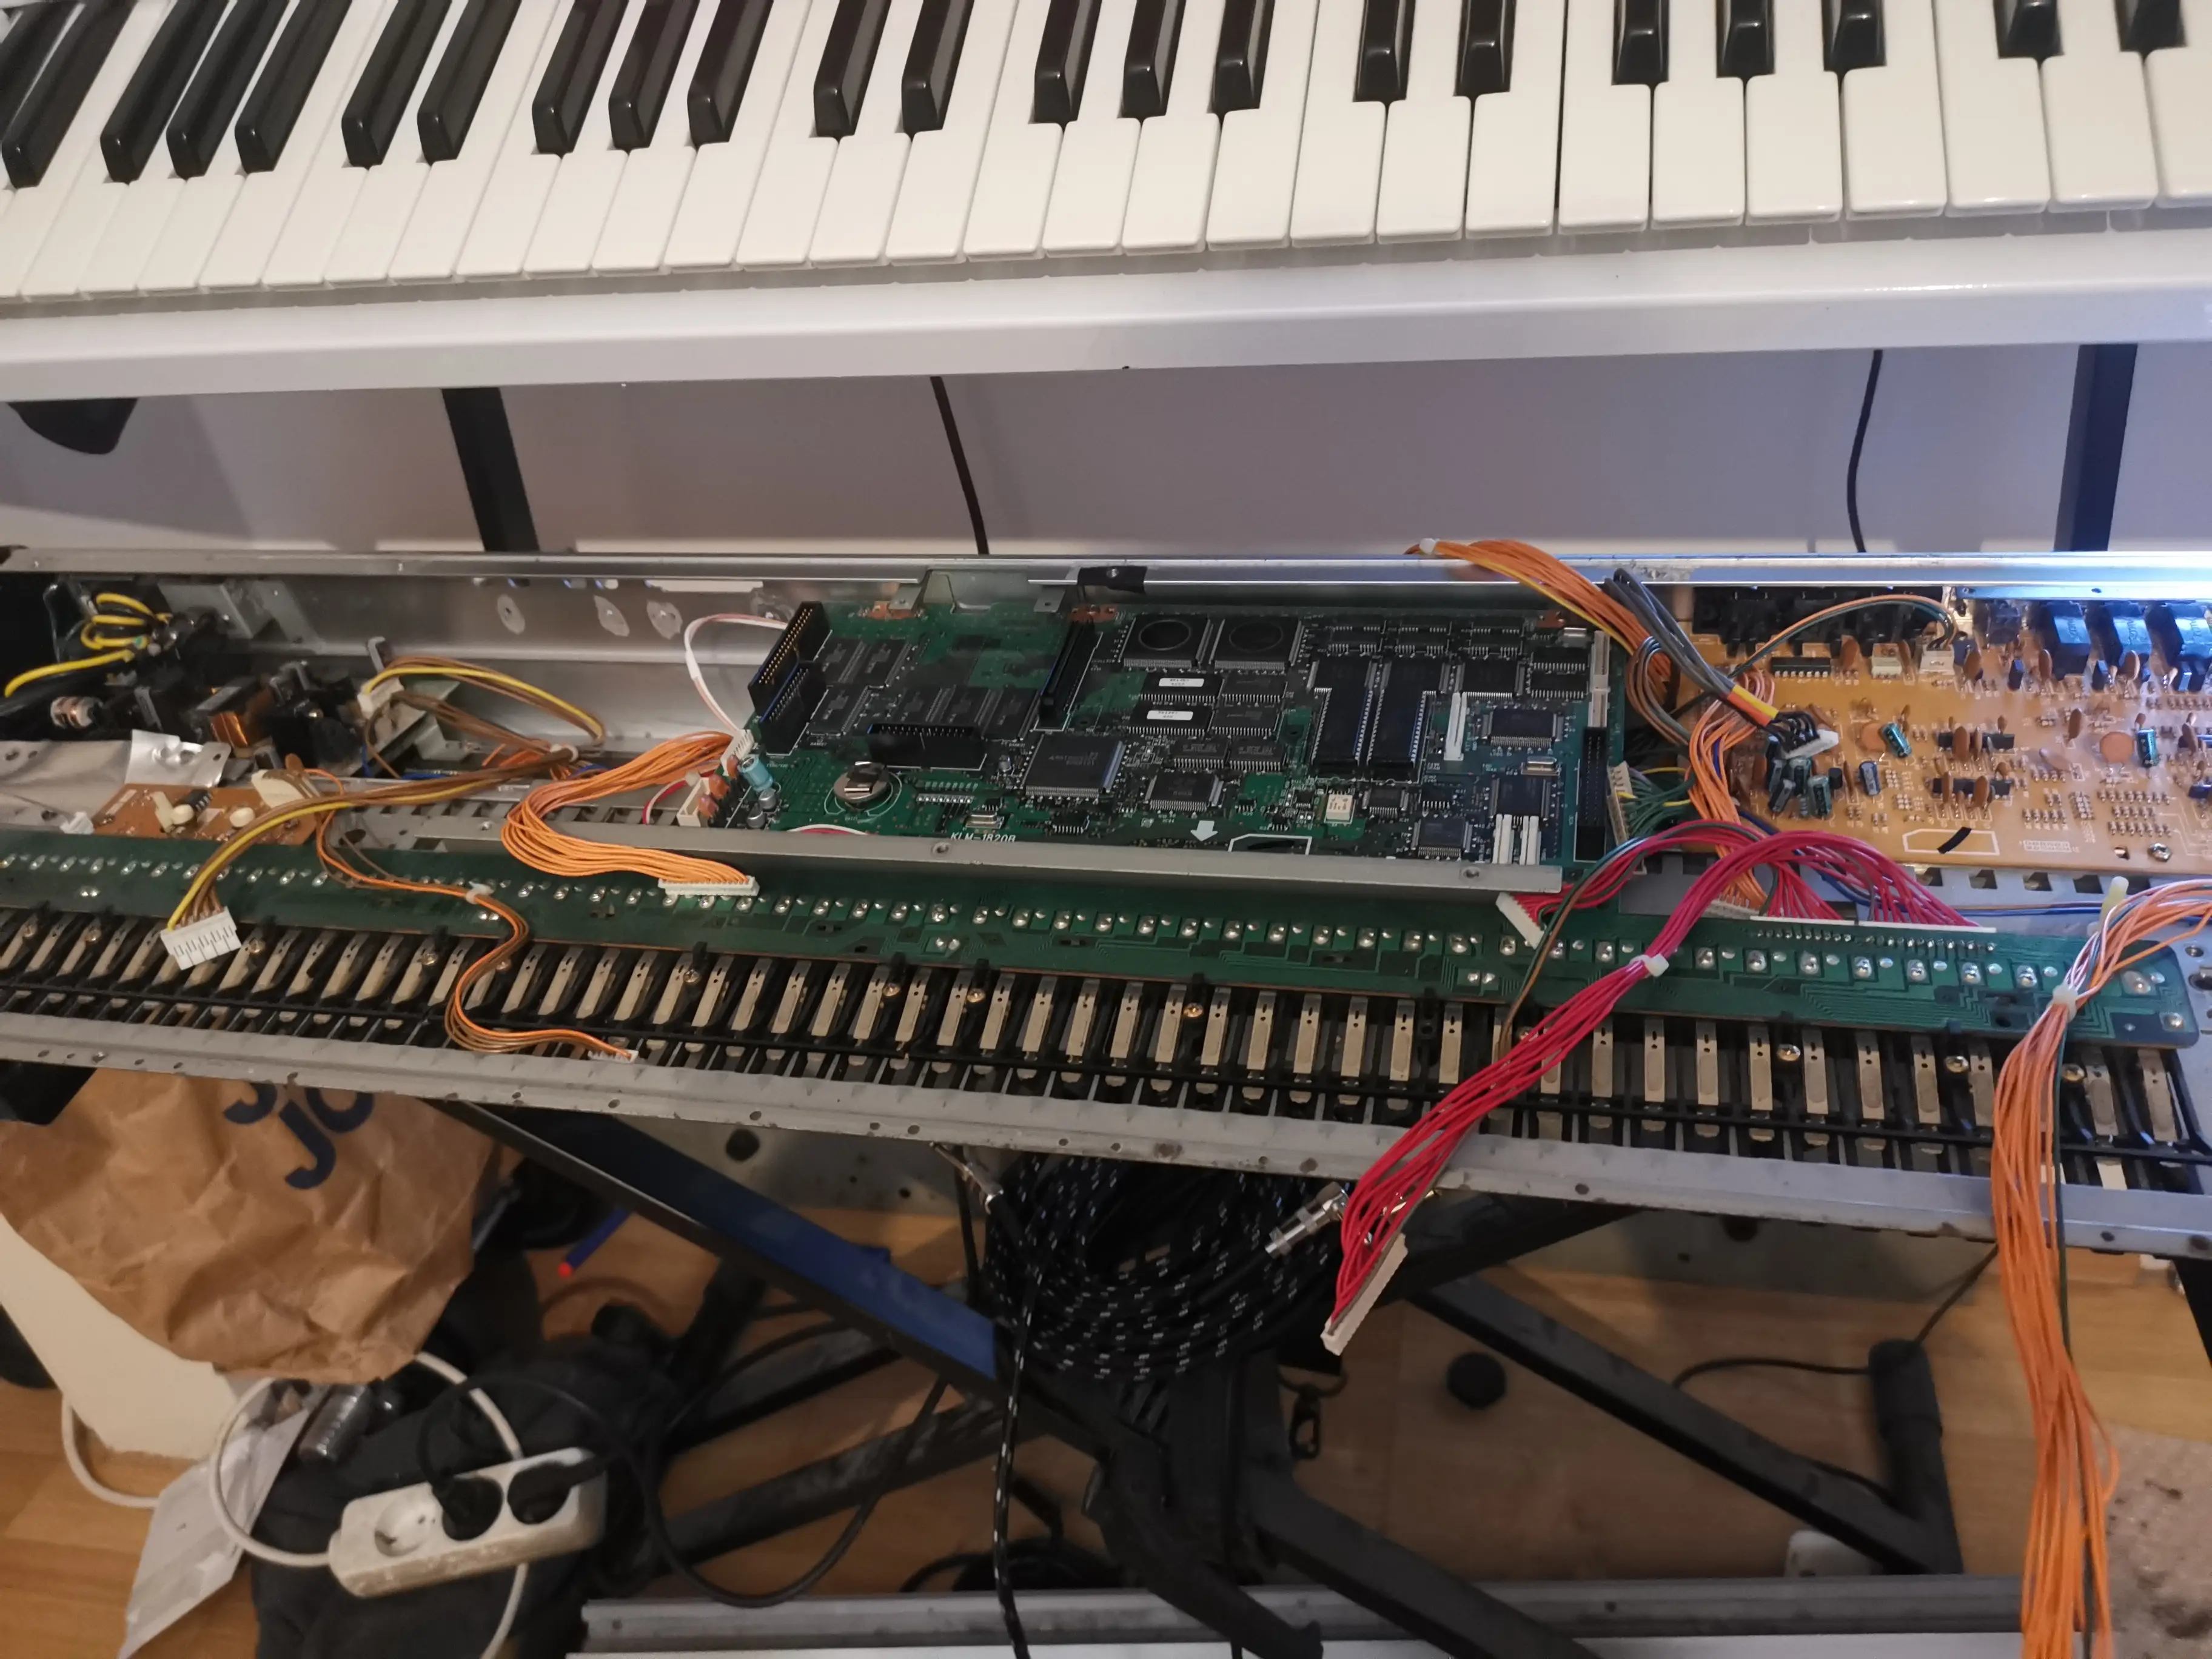
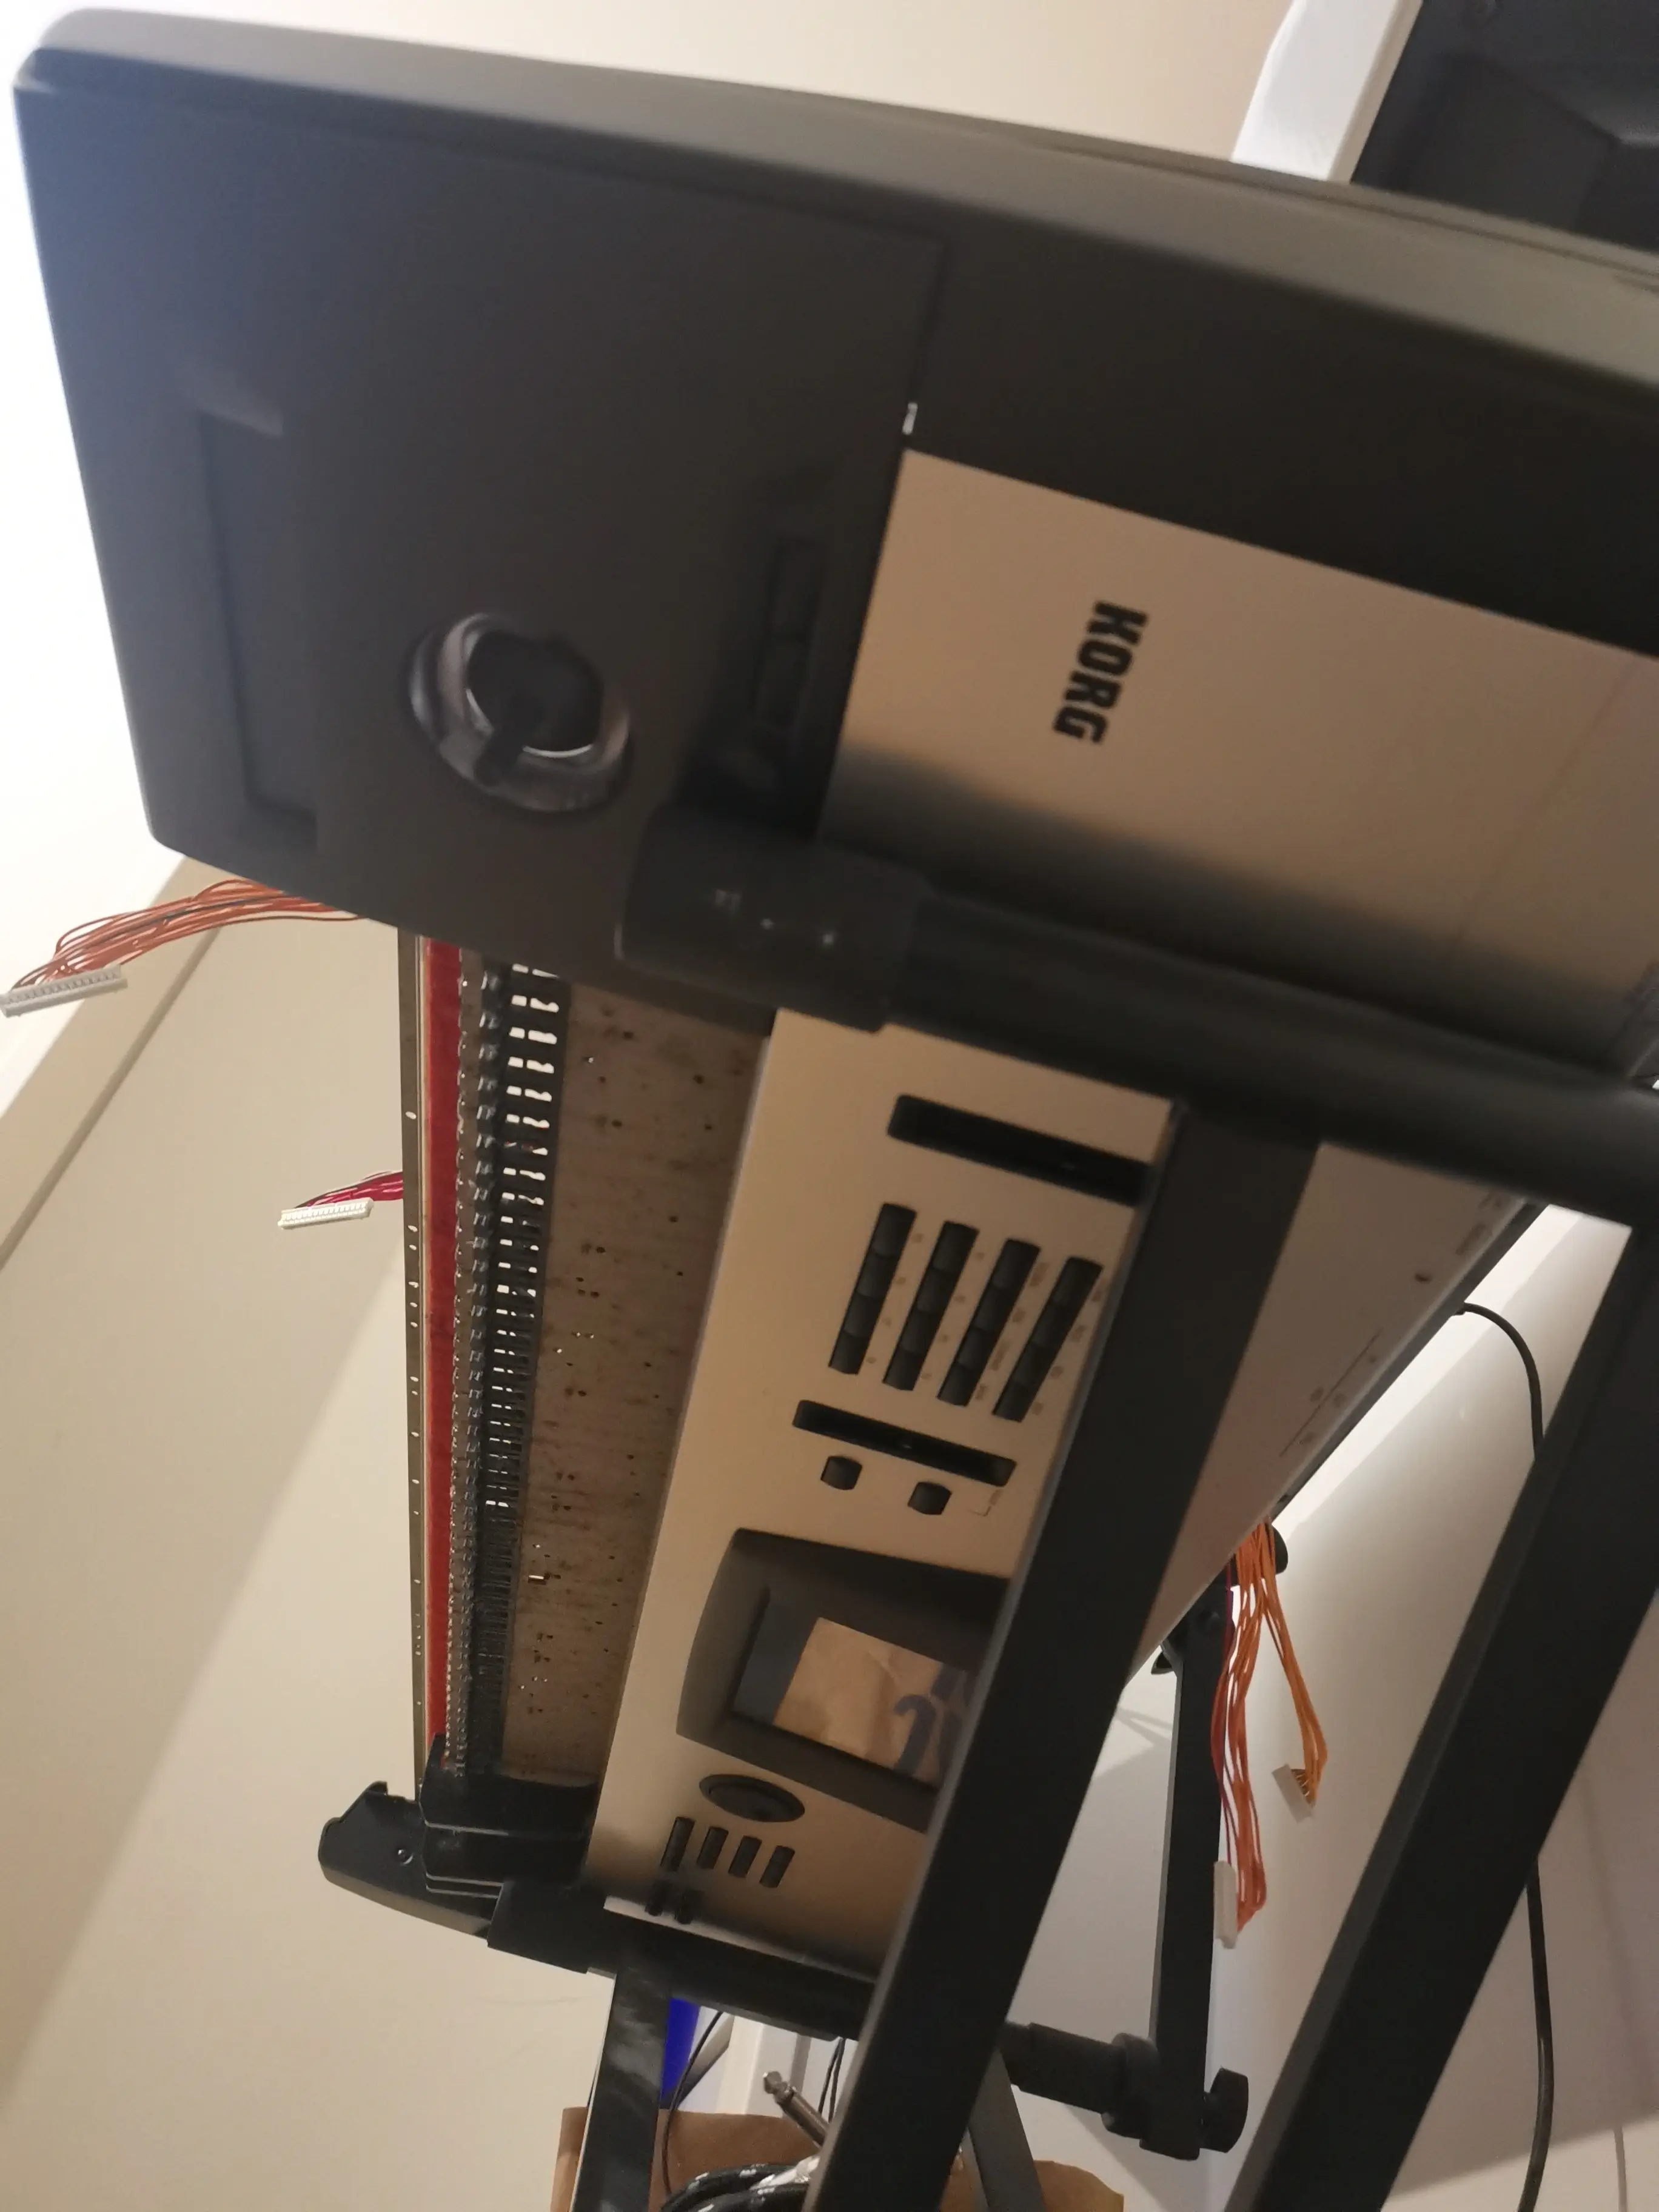
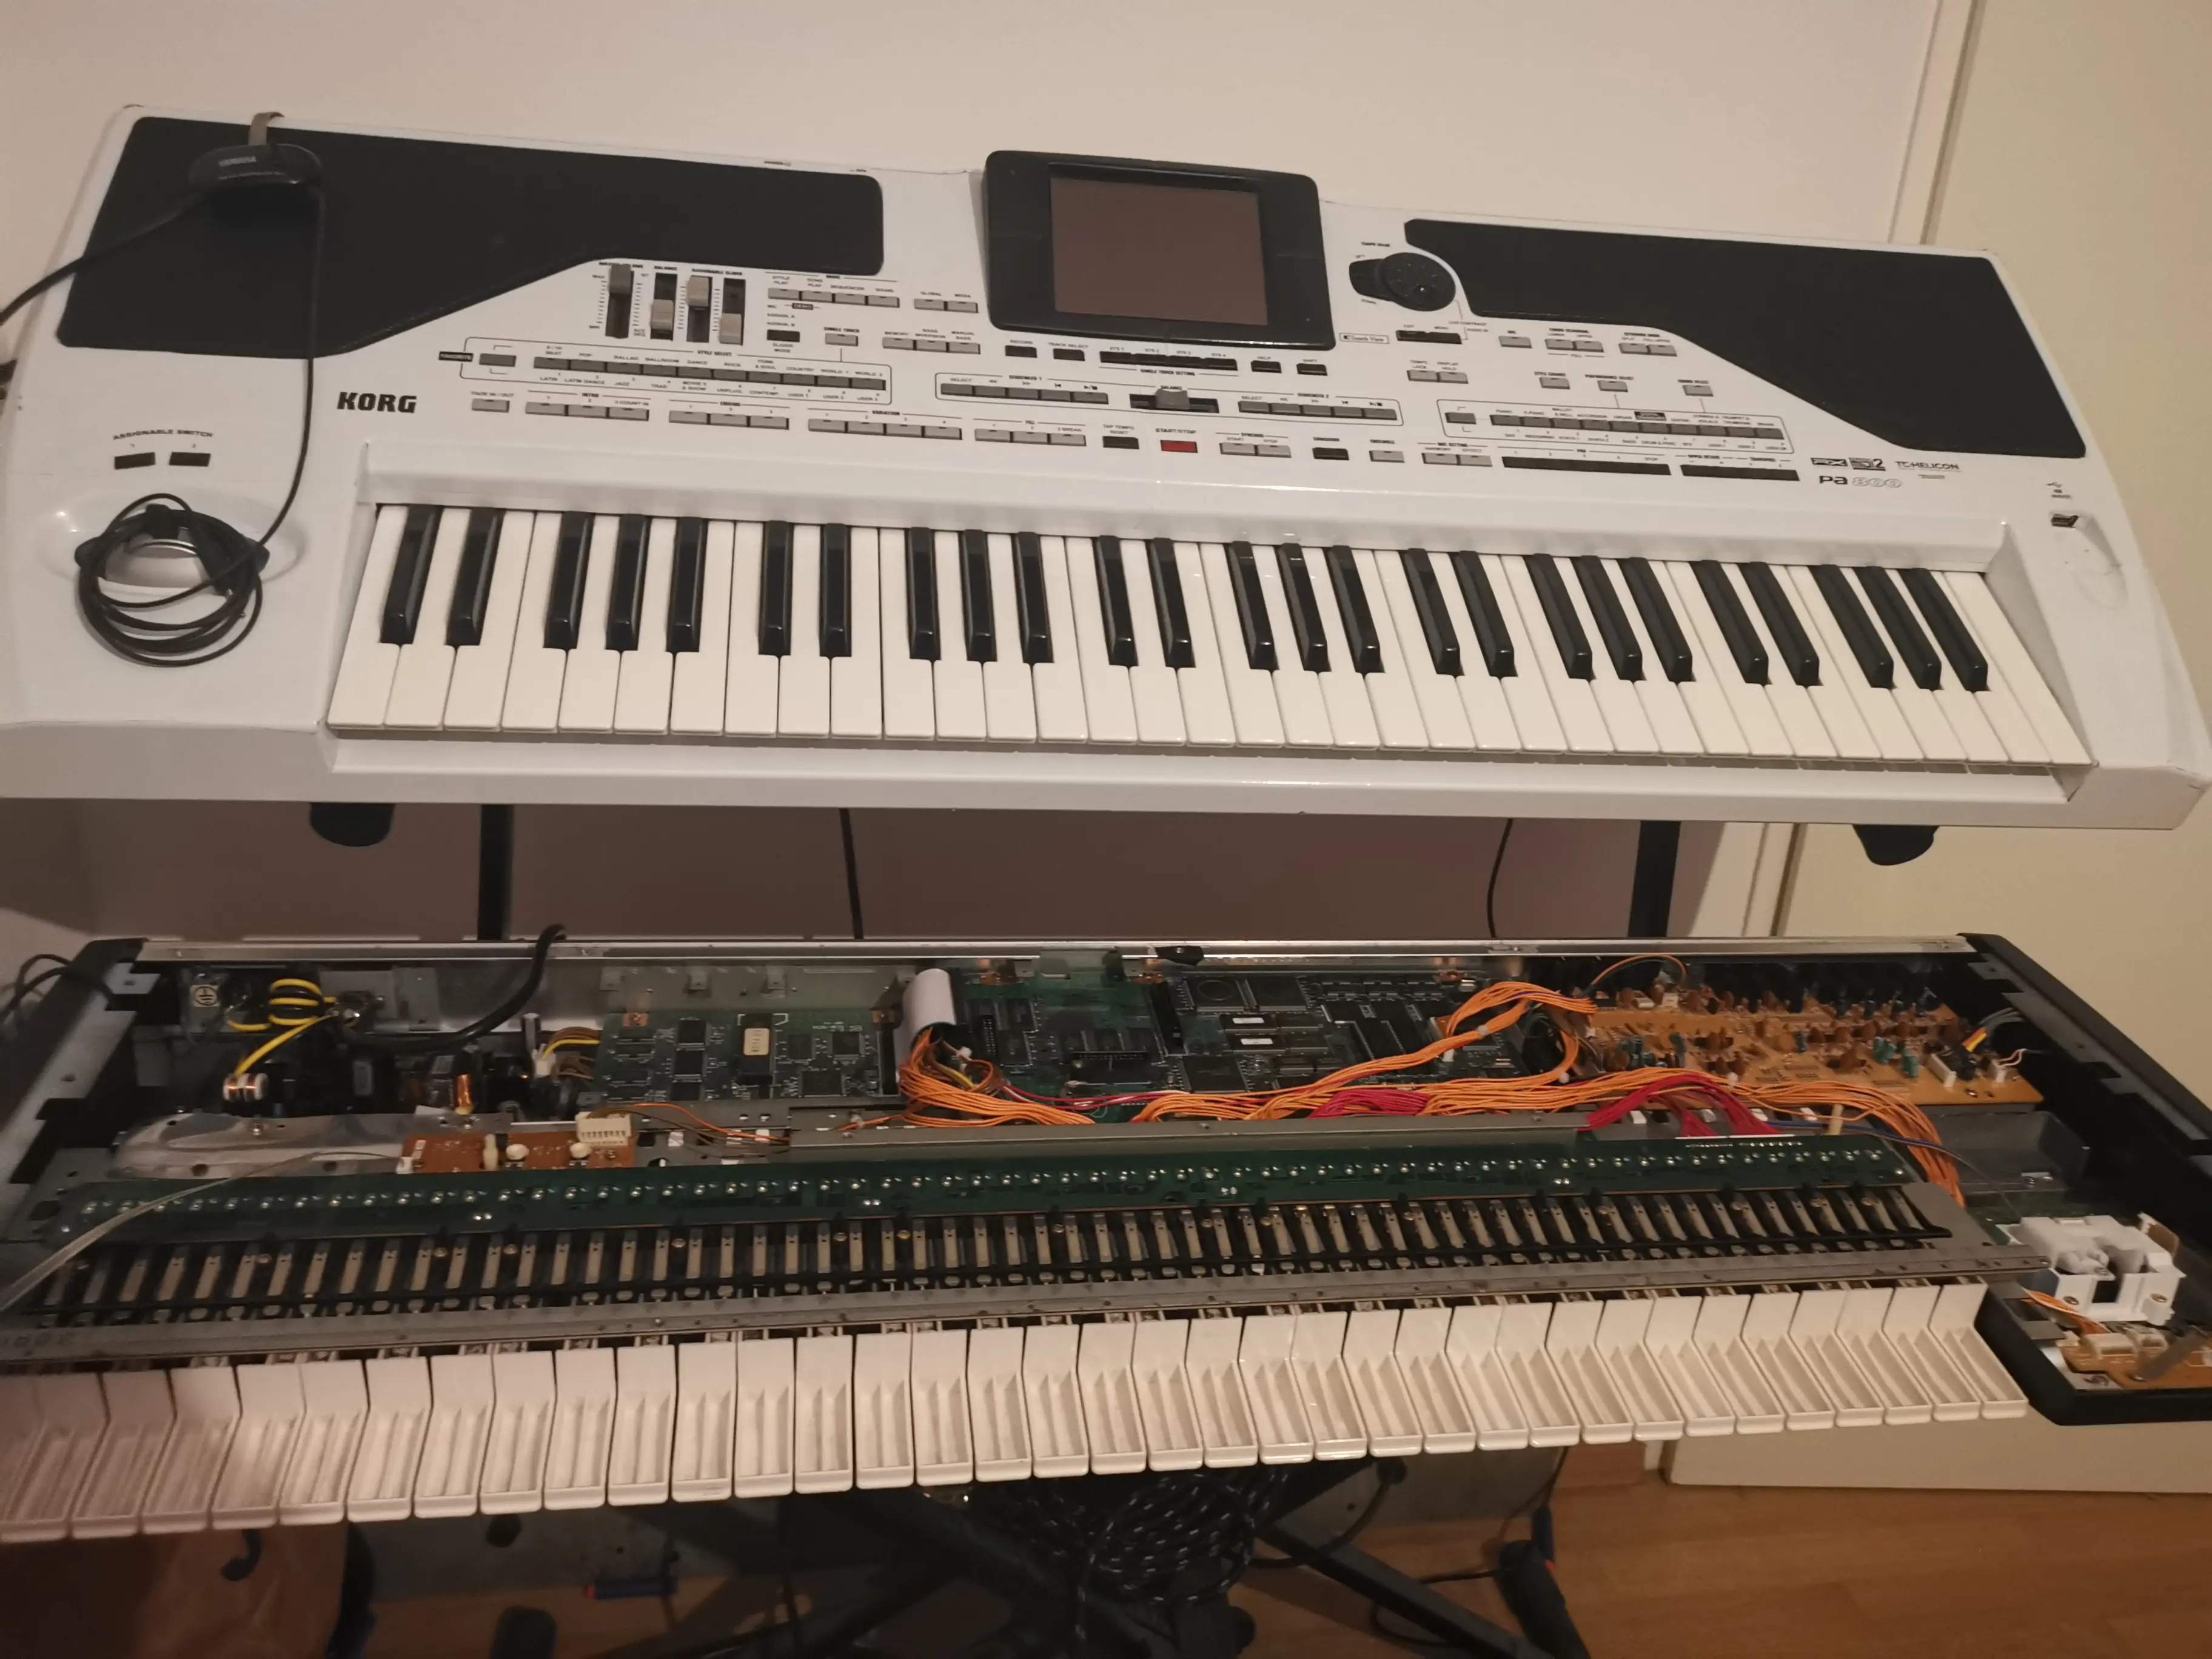
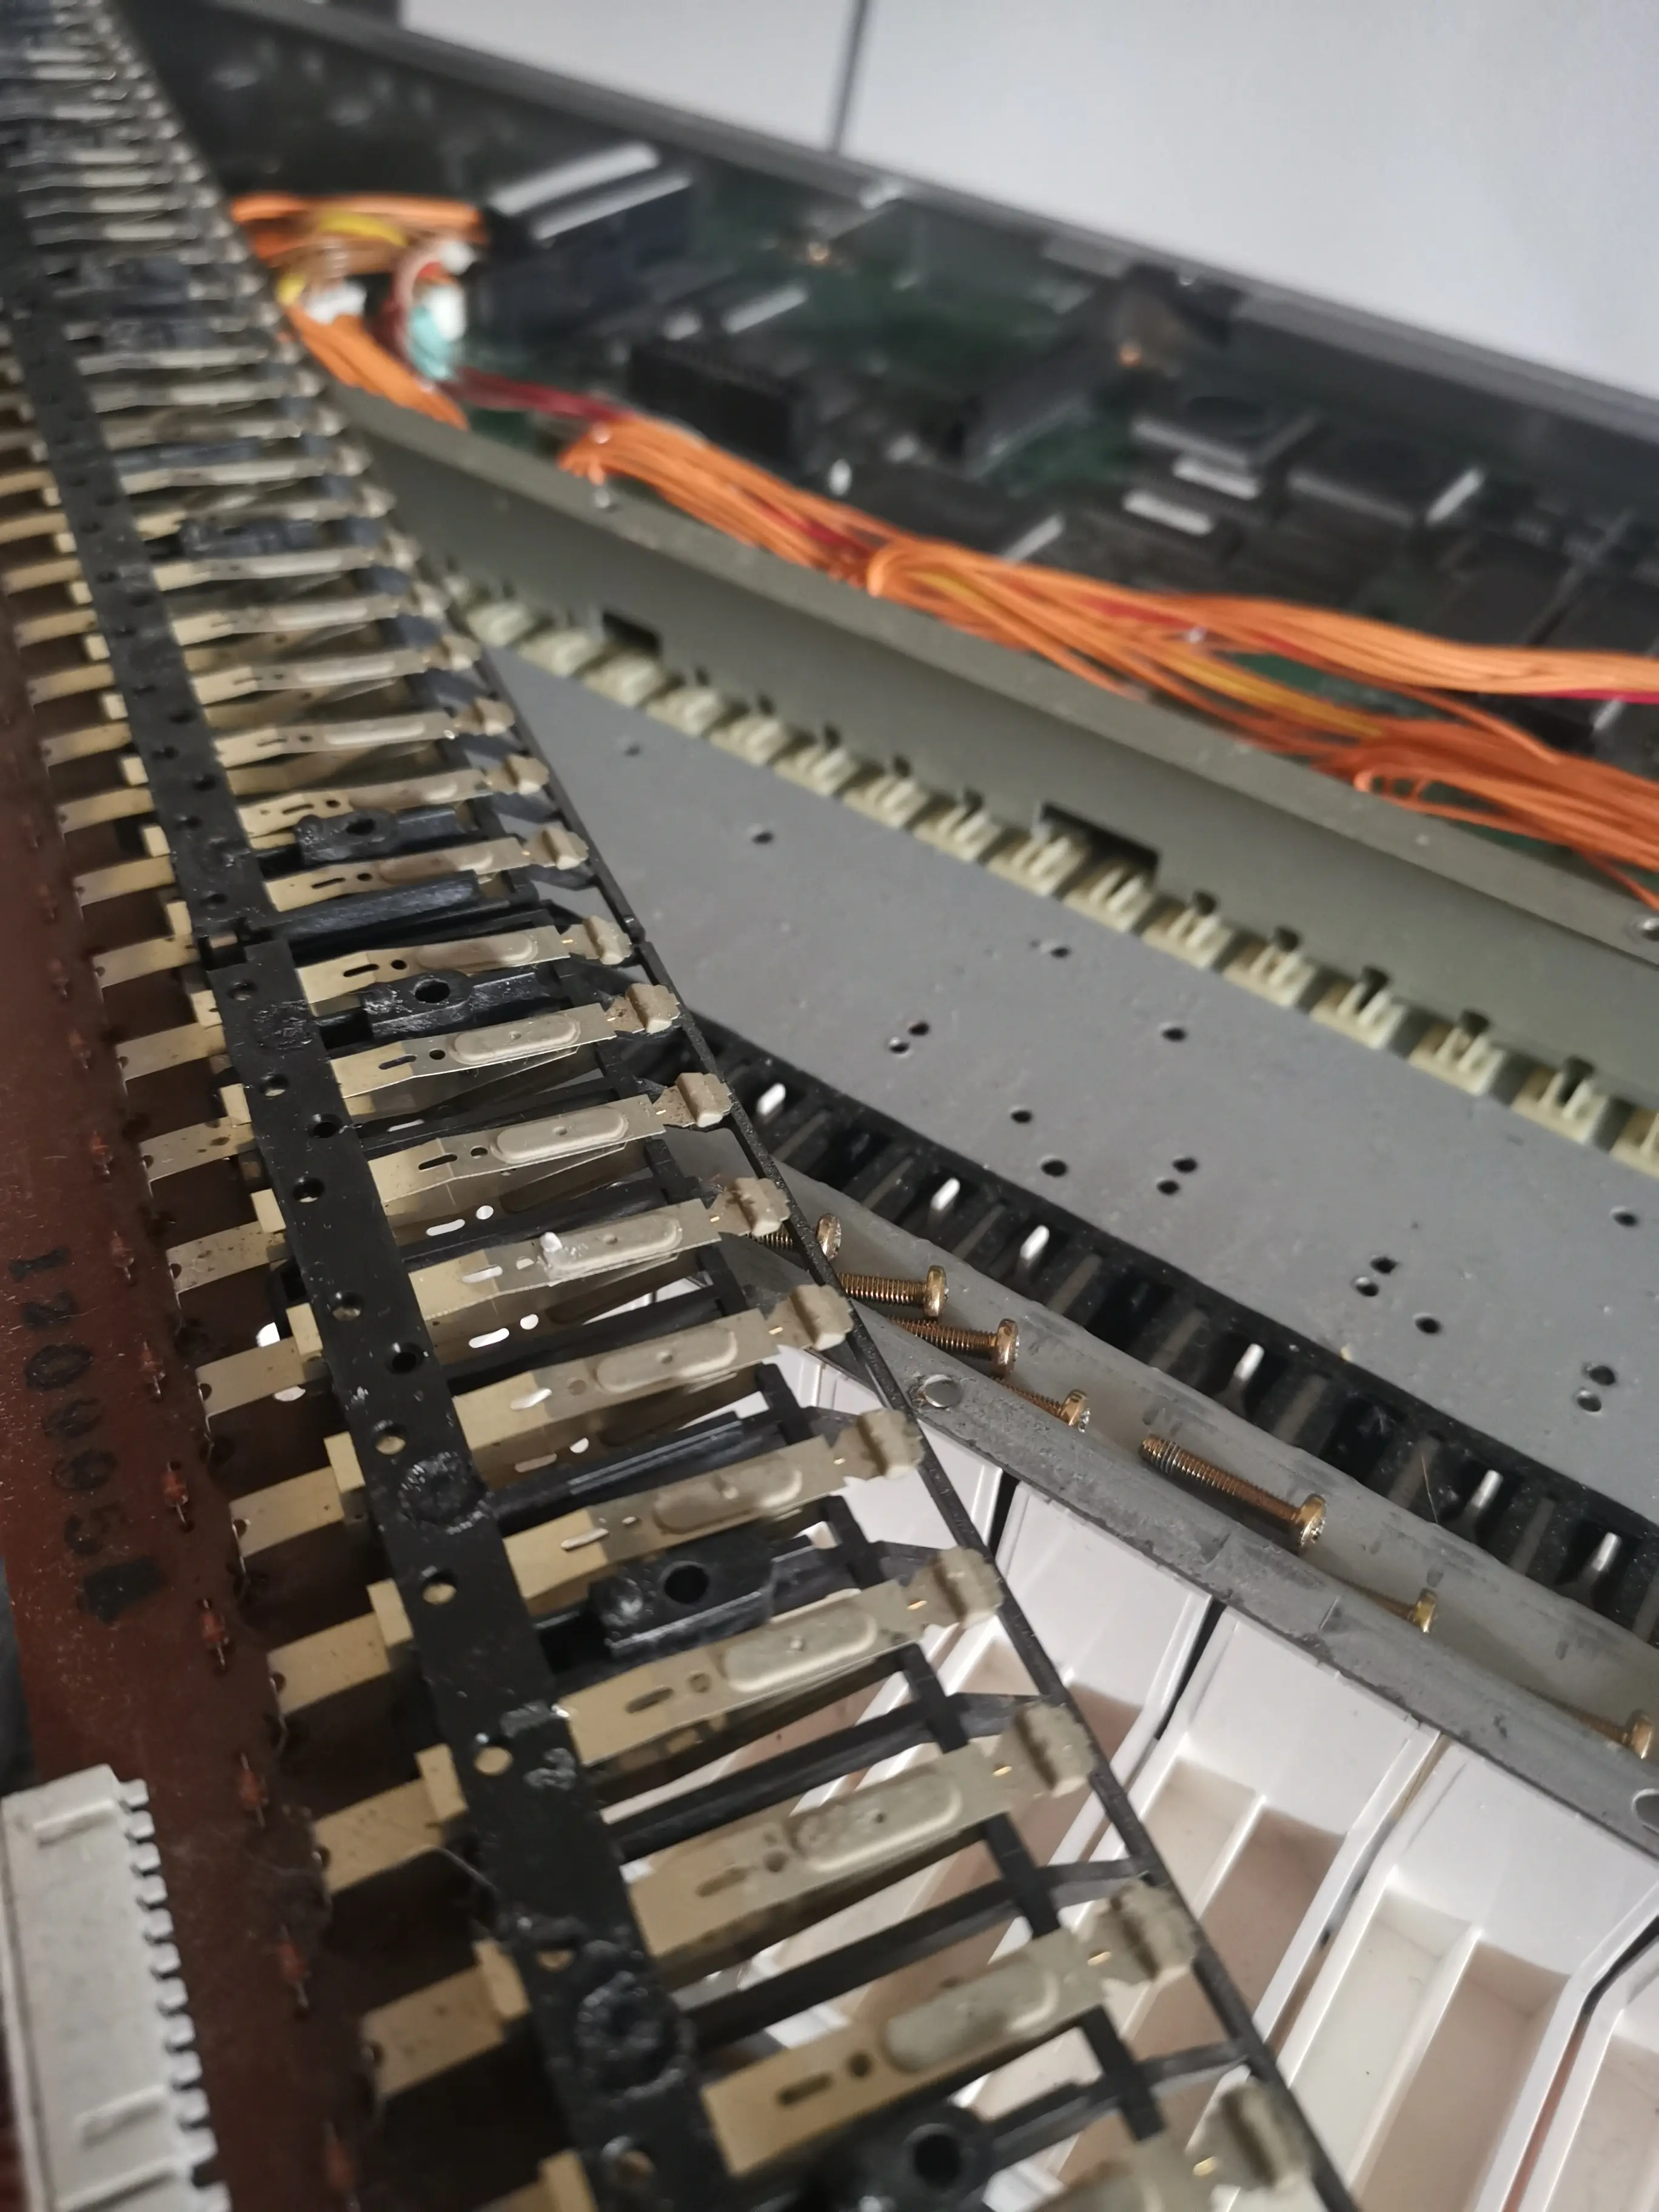
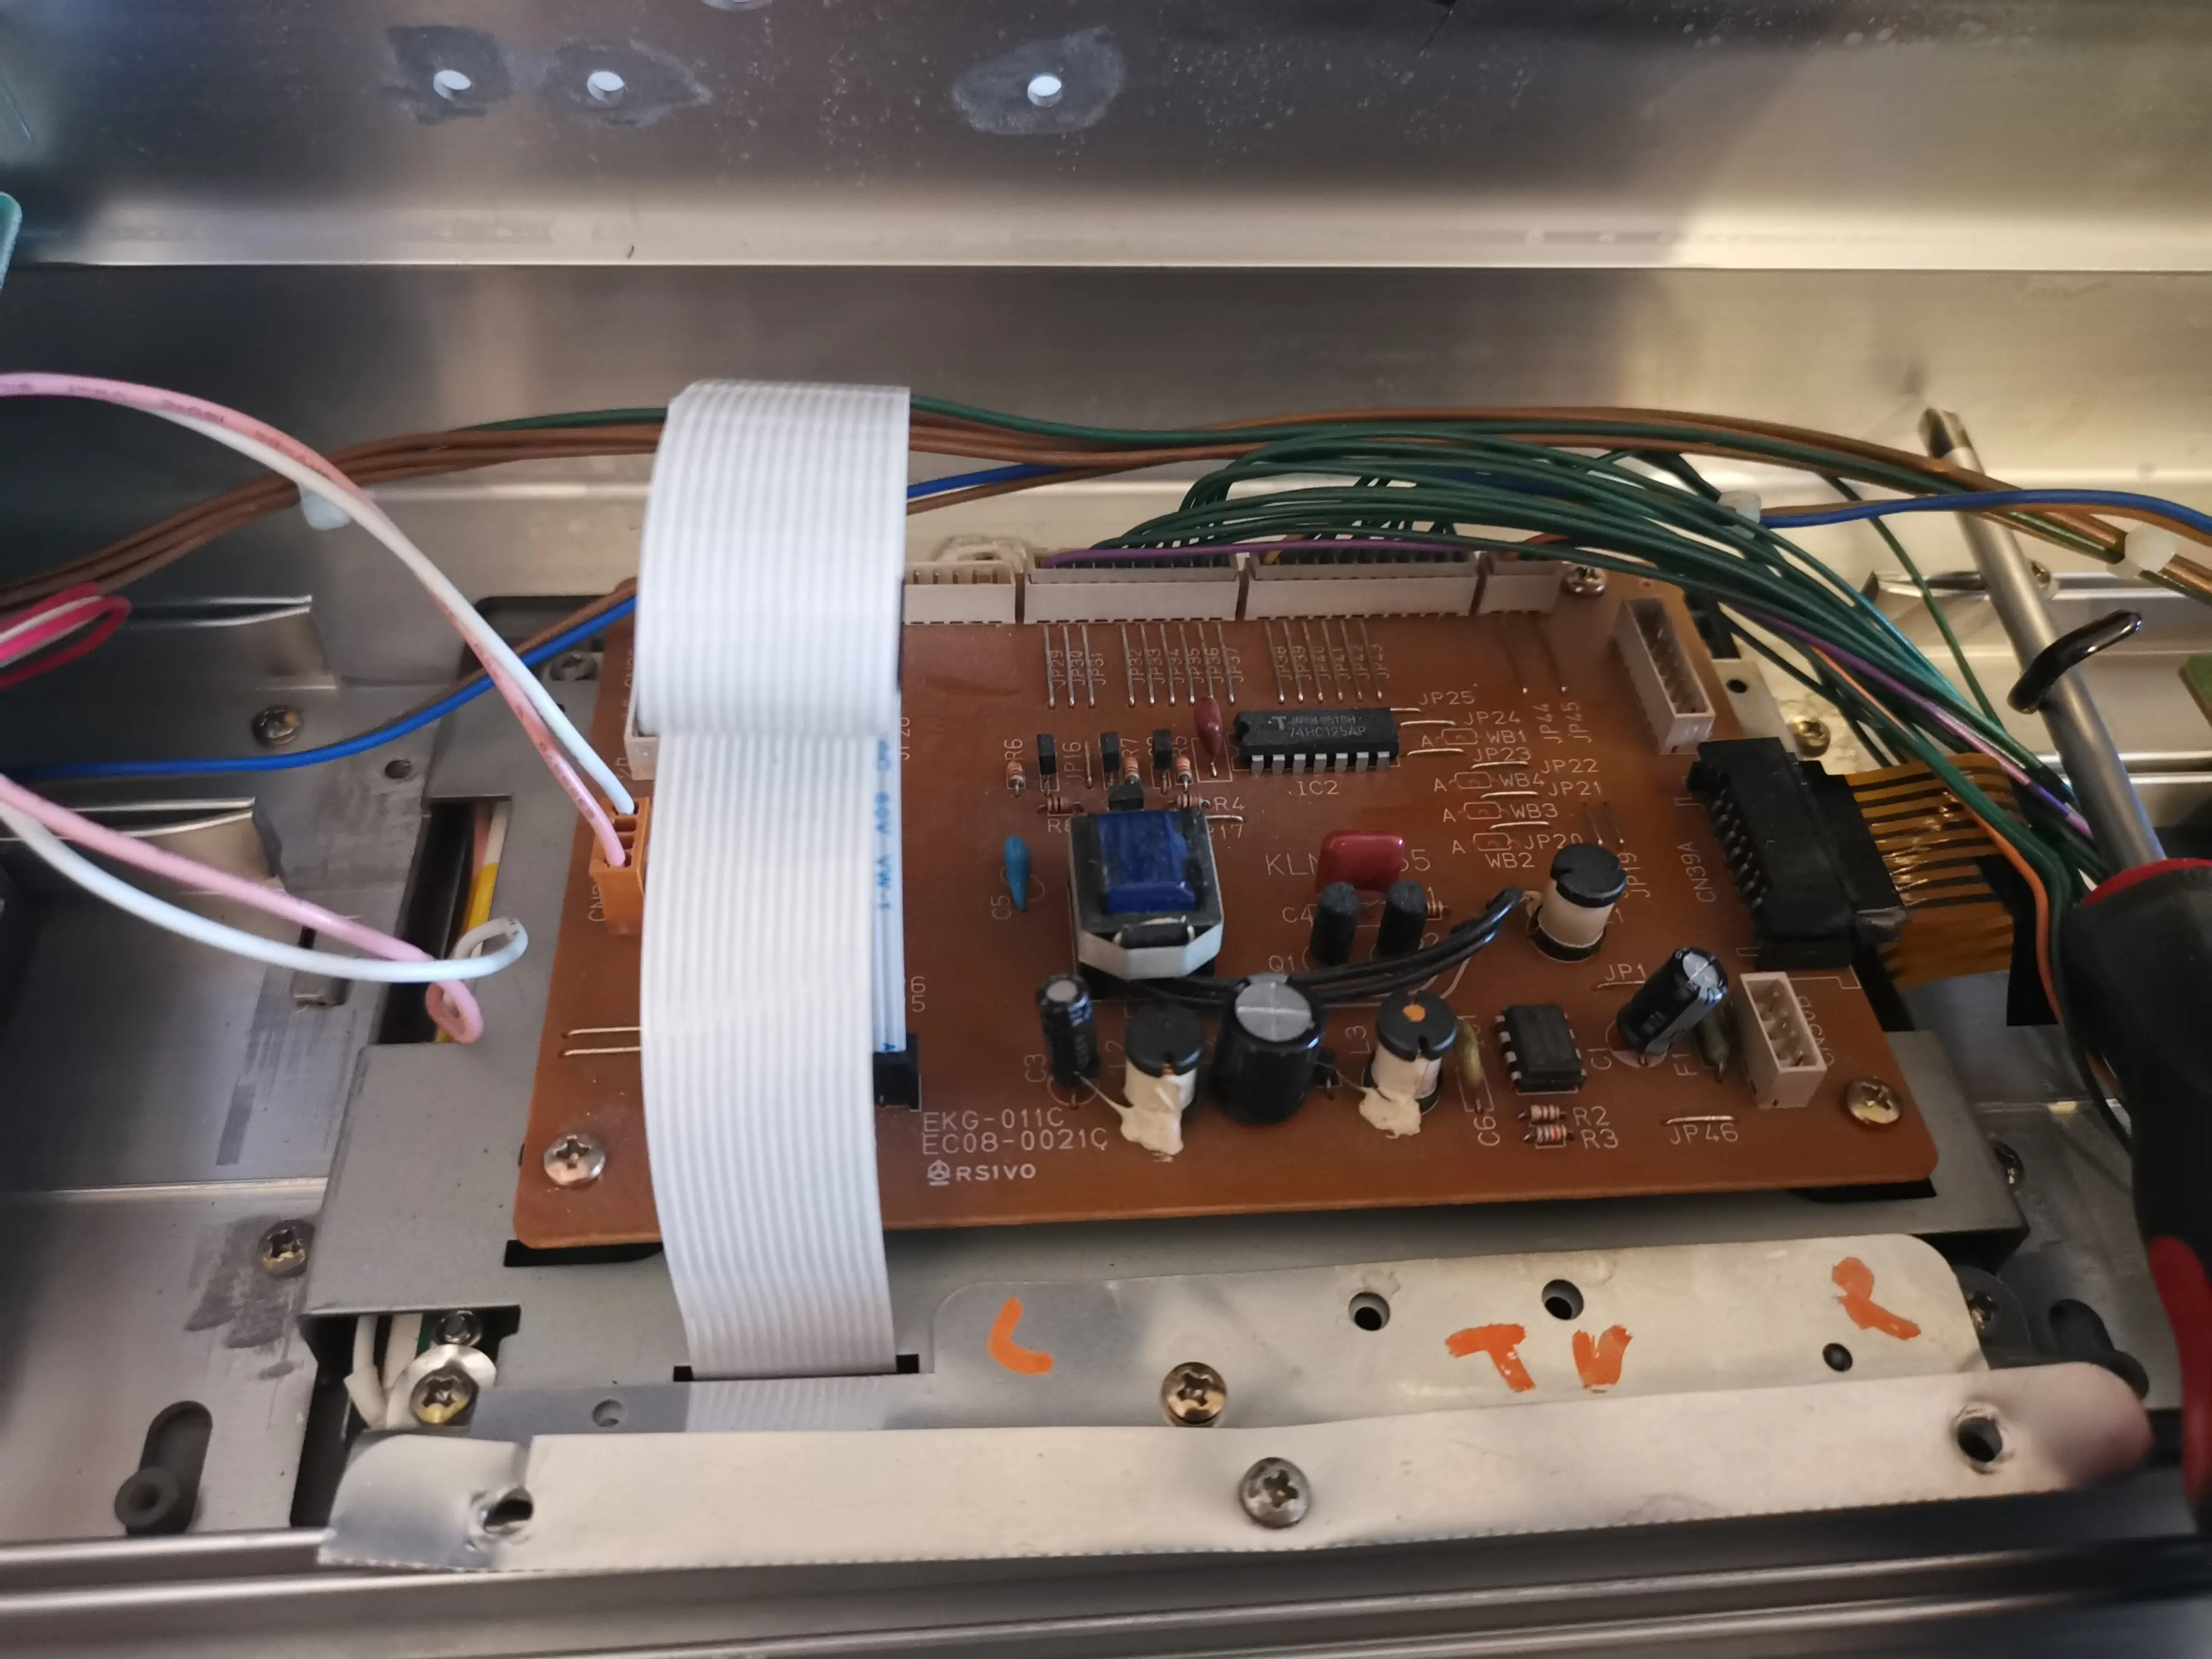
Inside the Trinity

Mainboard, power supply and keybed, all opened up.
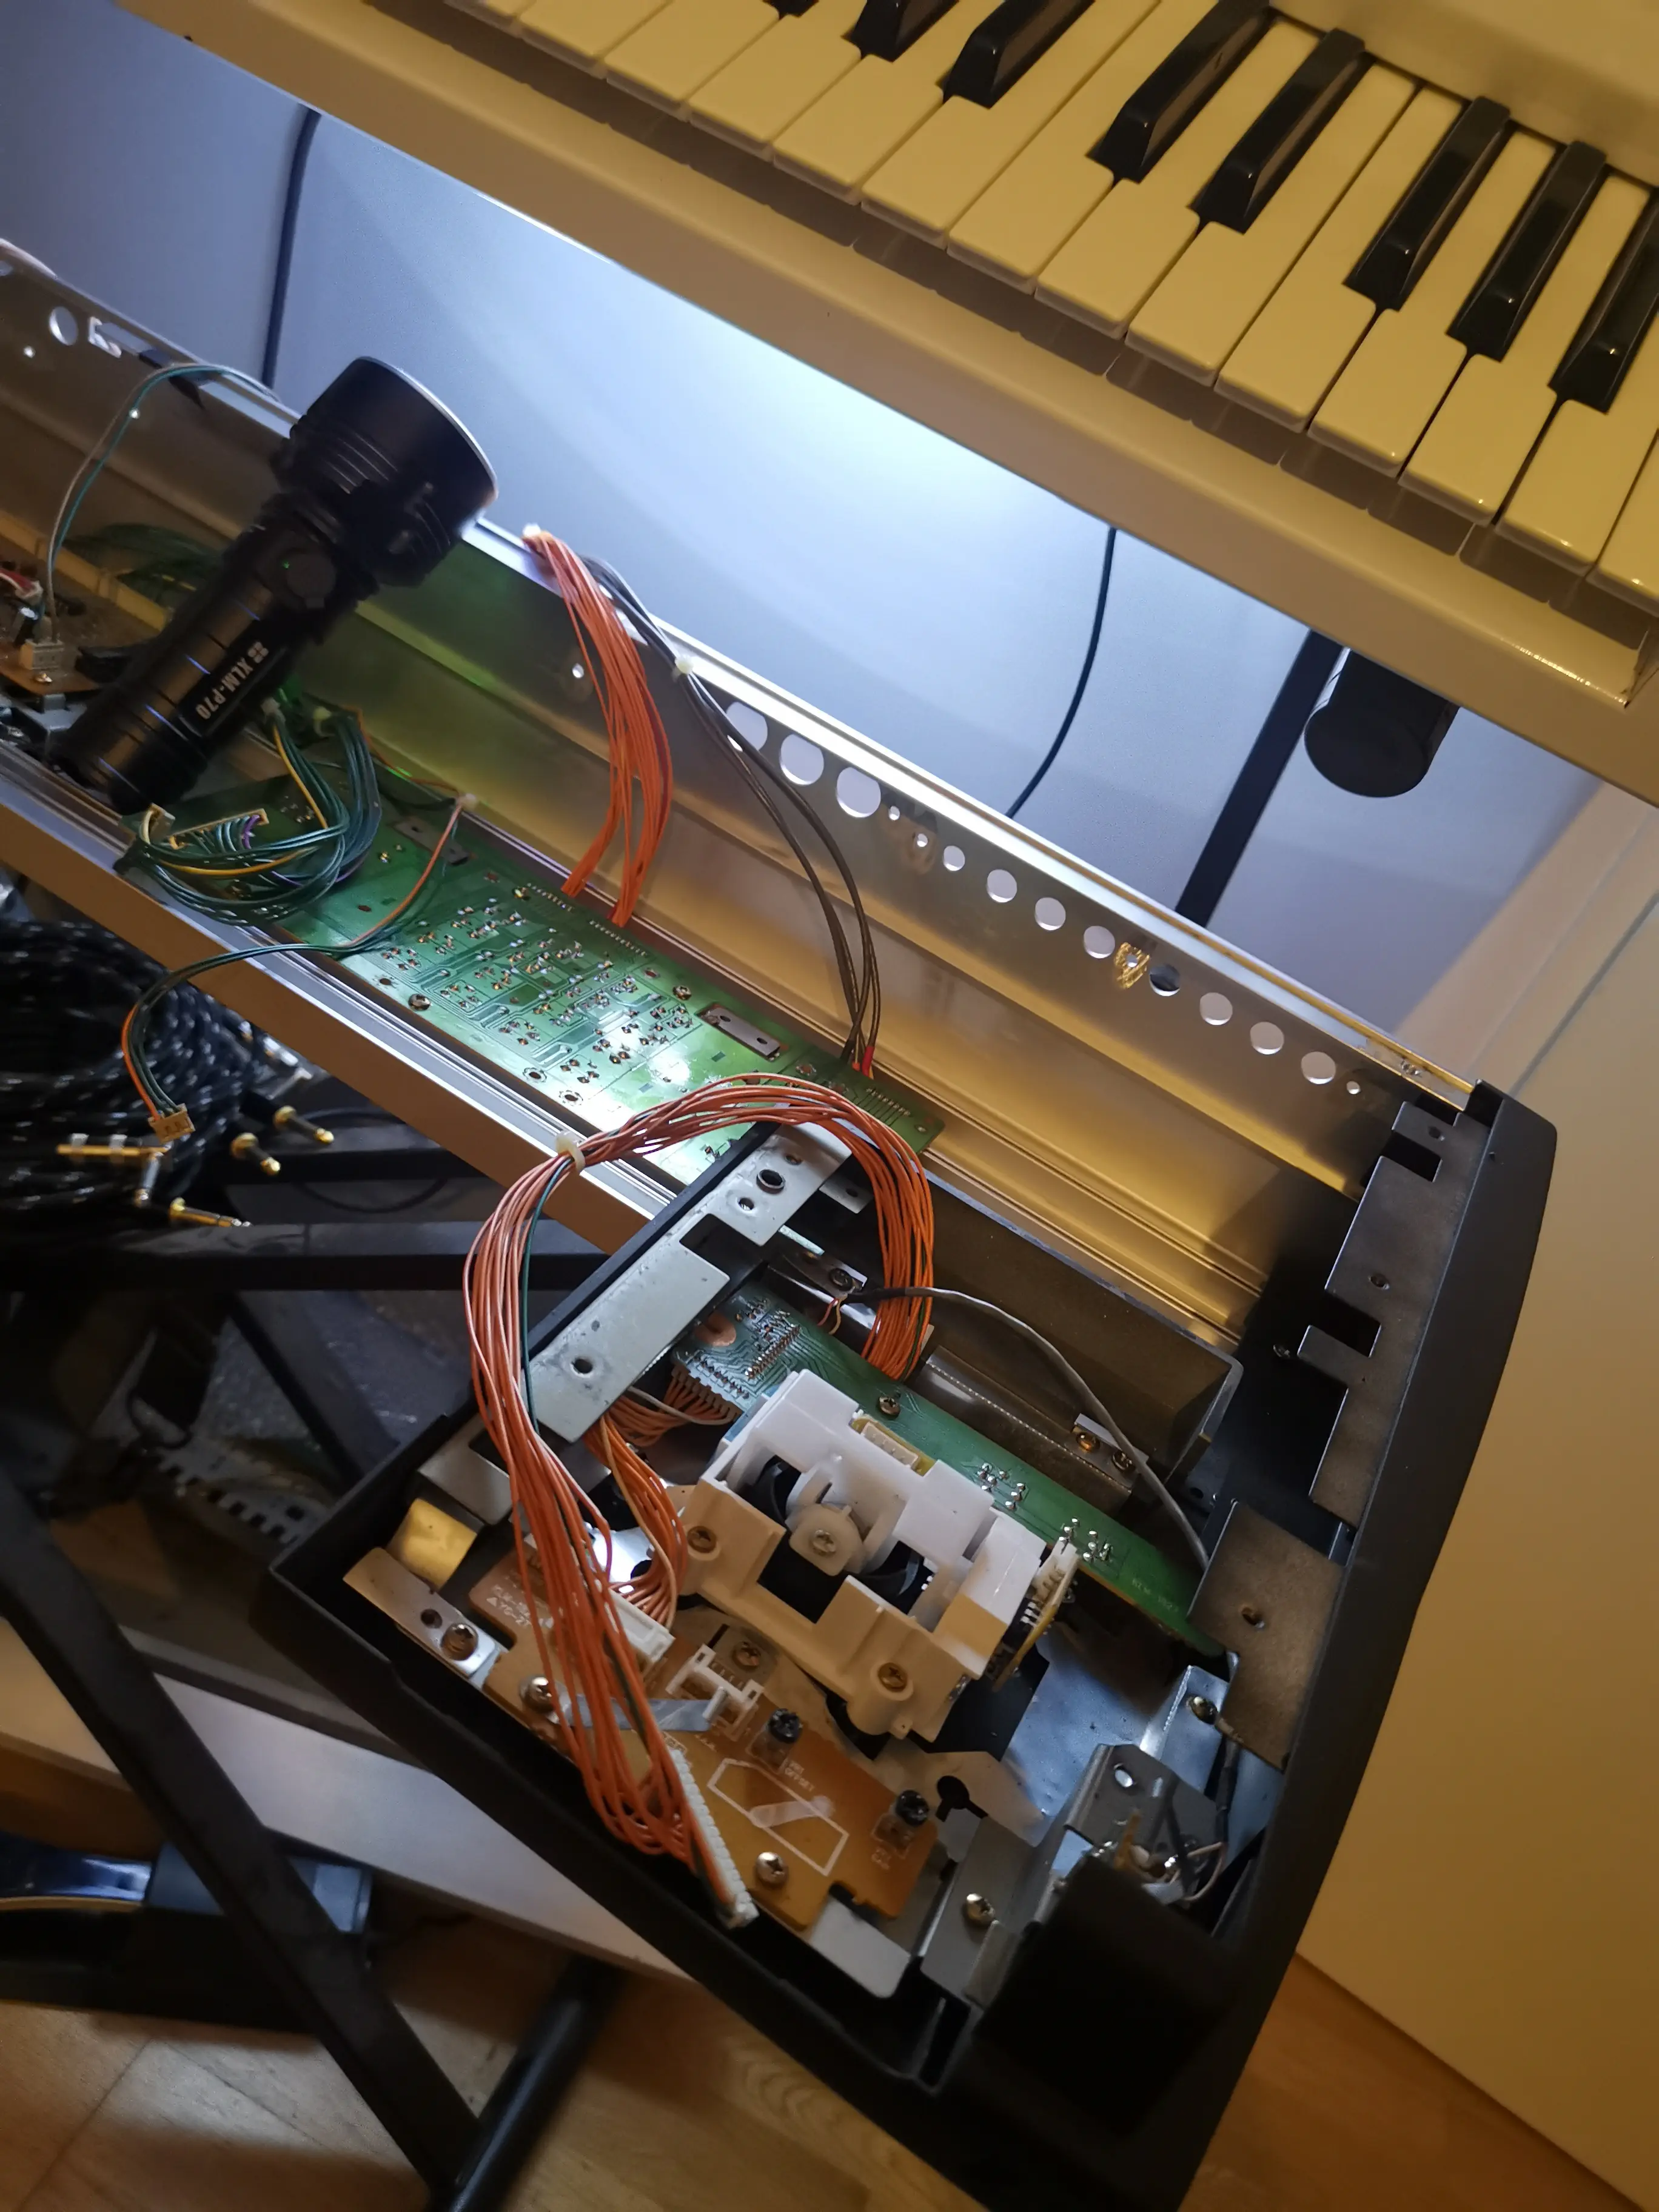
Inside the Trinity Inside the Trinity Inside the Trinity Inside the Trinity Inside the Trinity Inside the Trinity Inside the Trinity Inside the Trinity Inside the Trinity Inside the Trinity

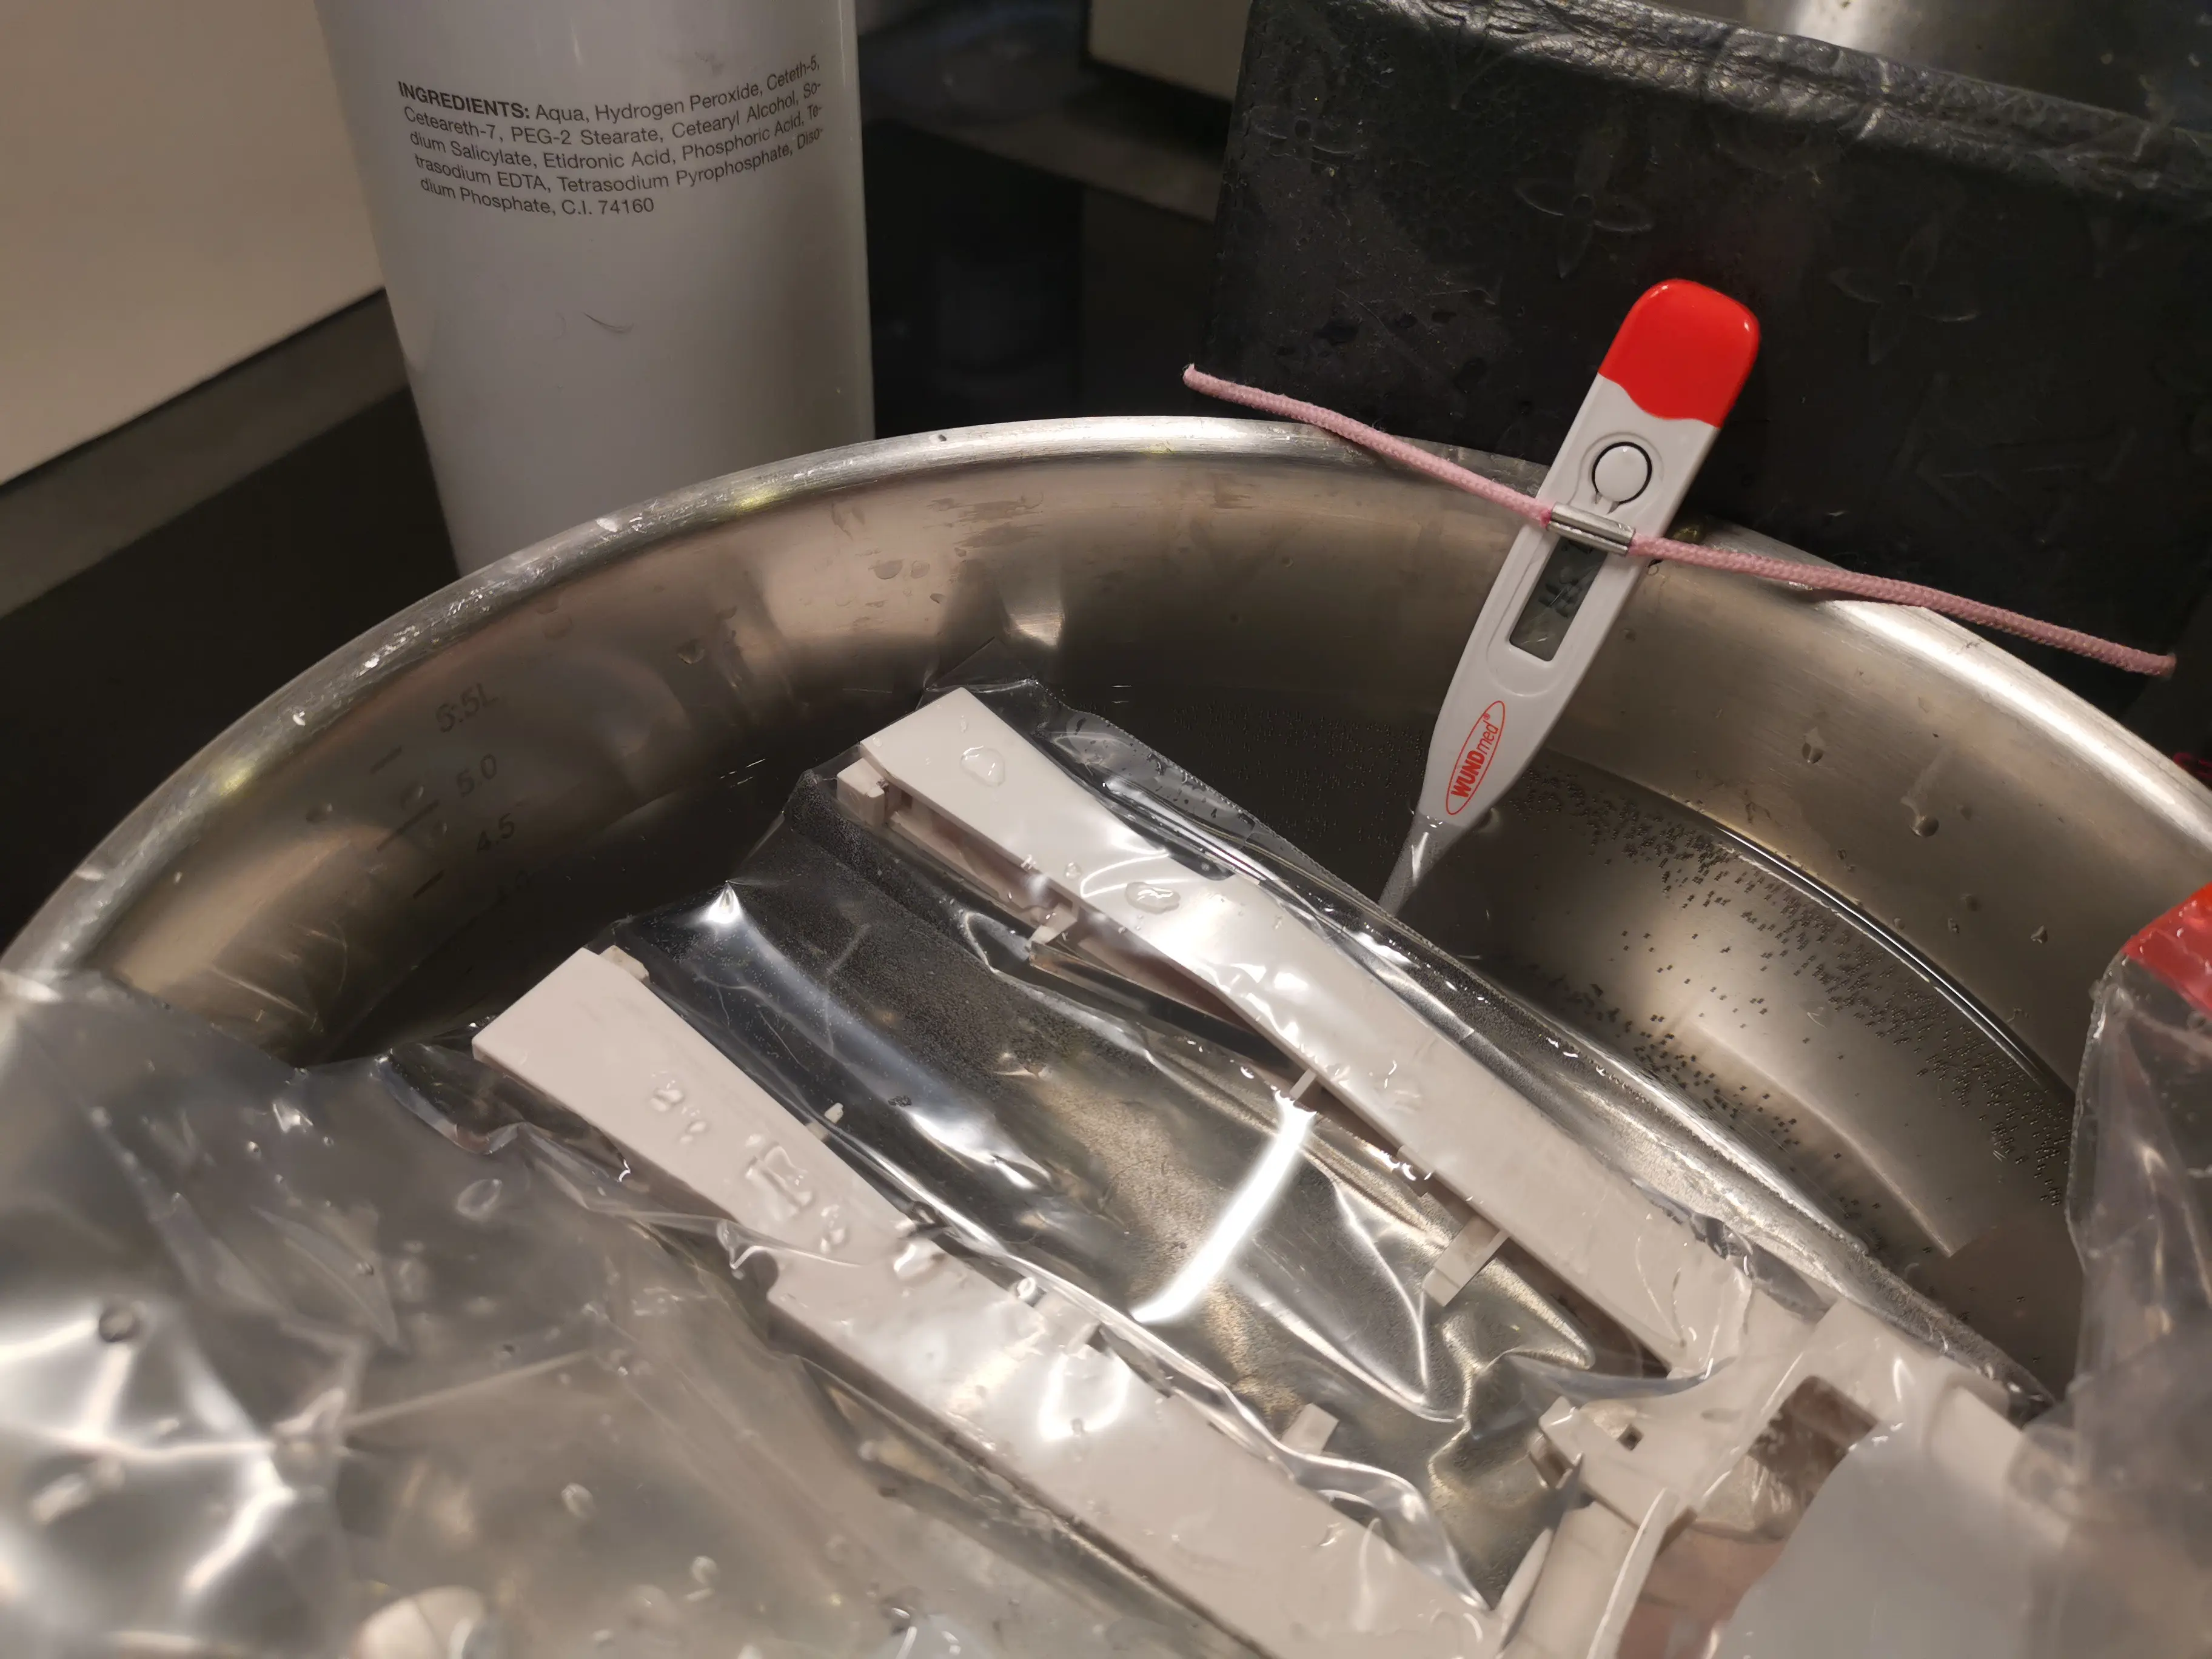
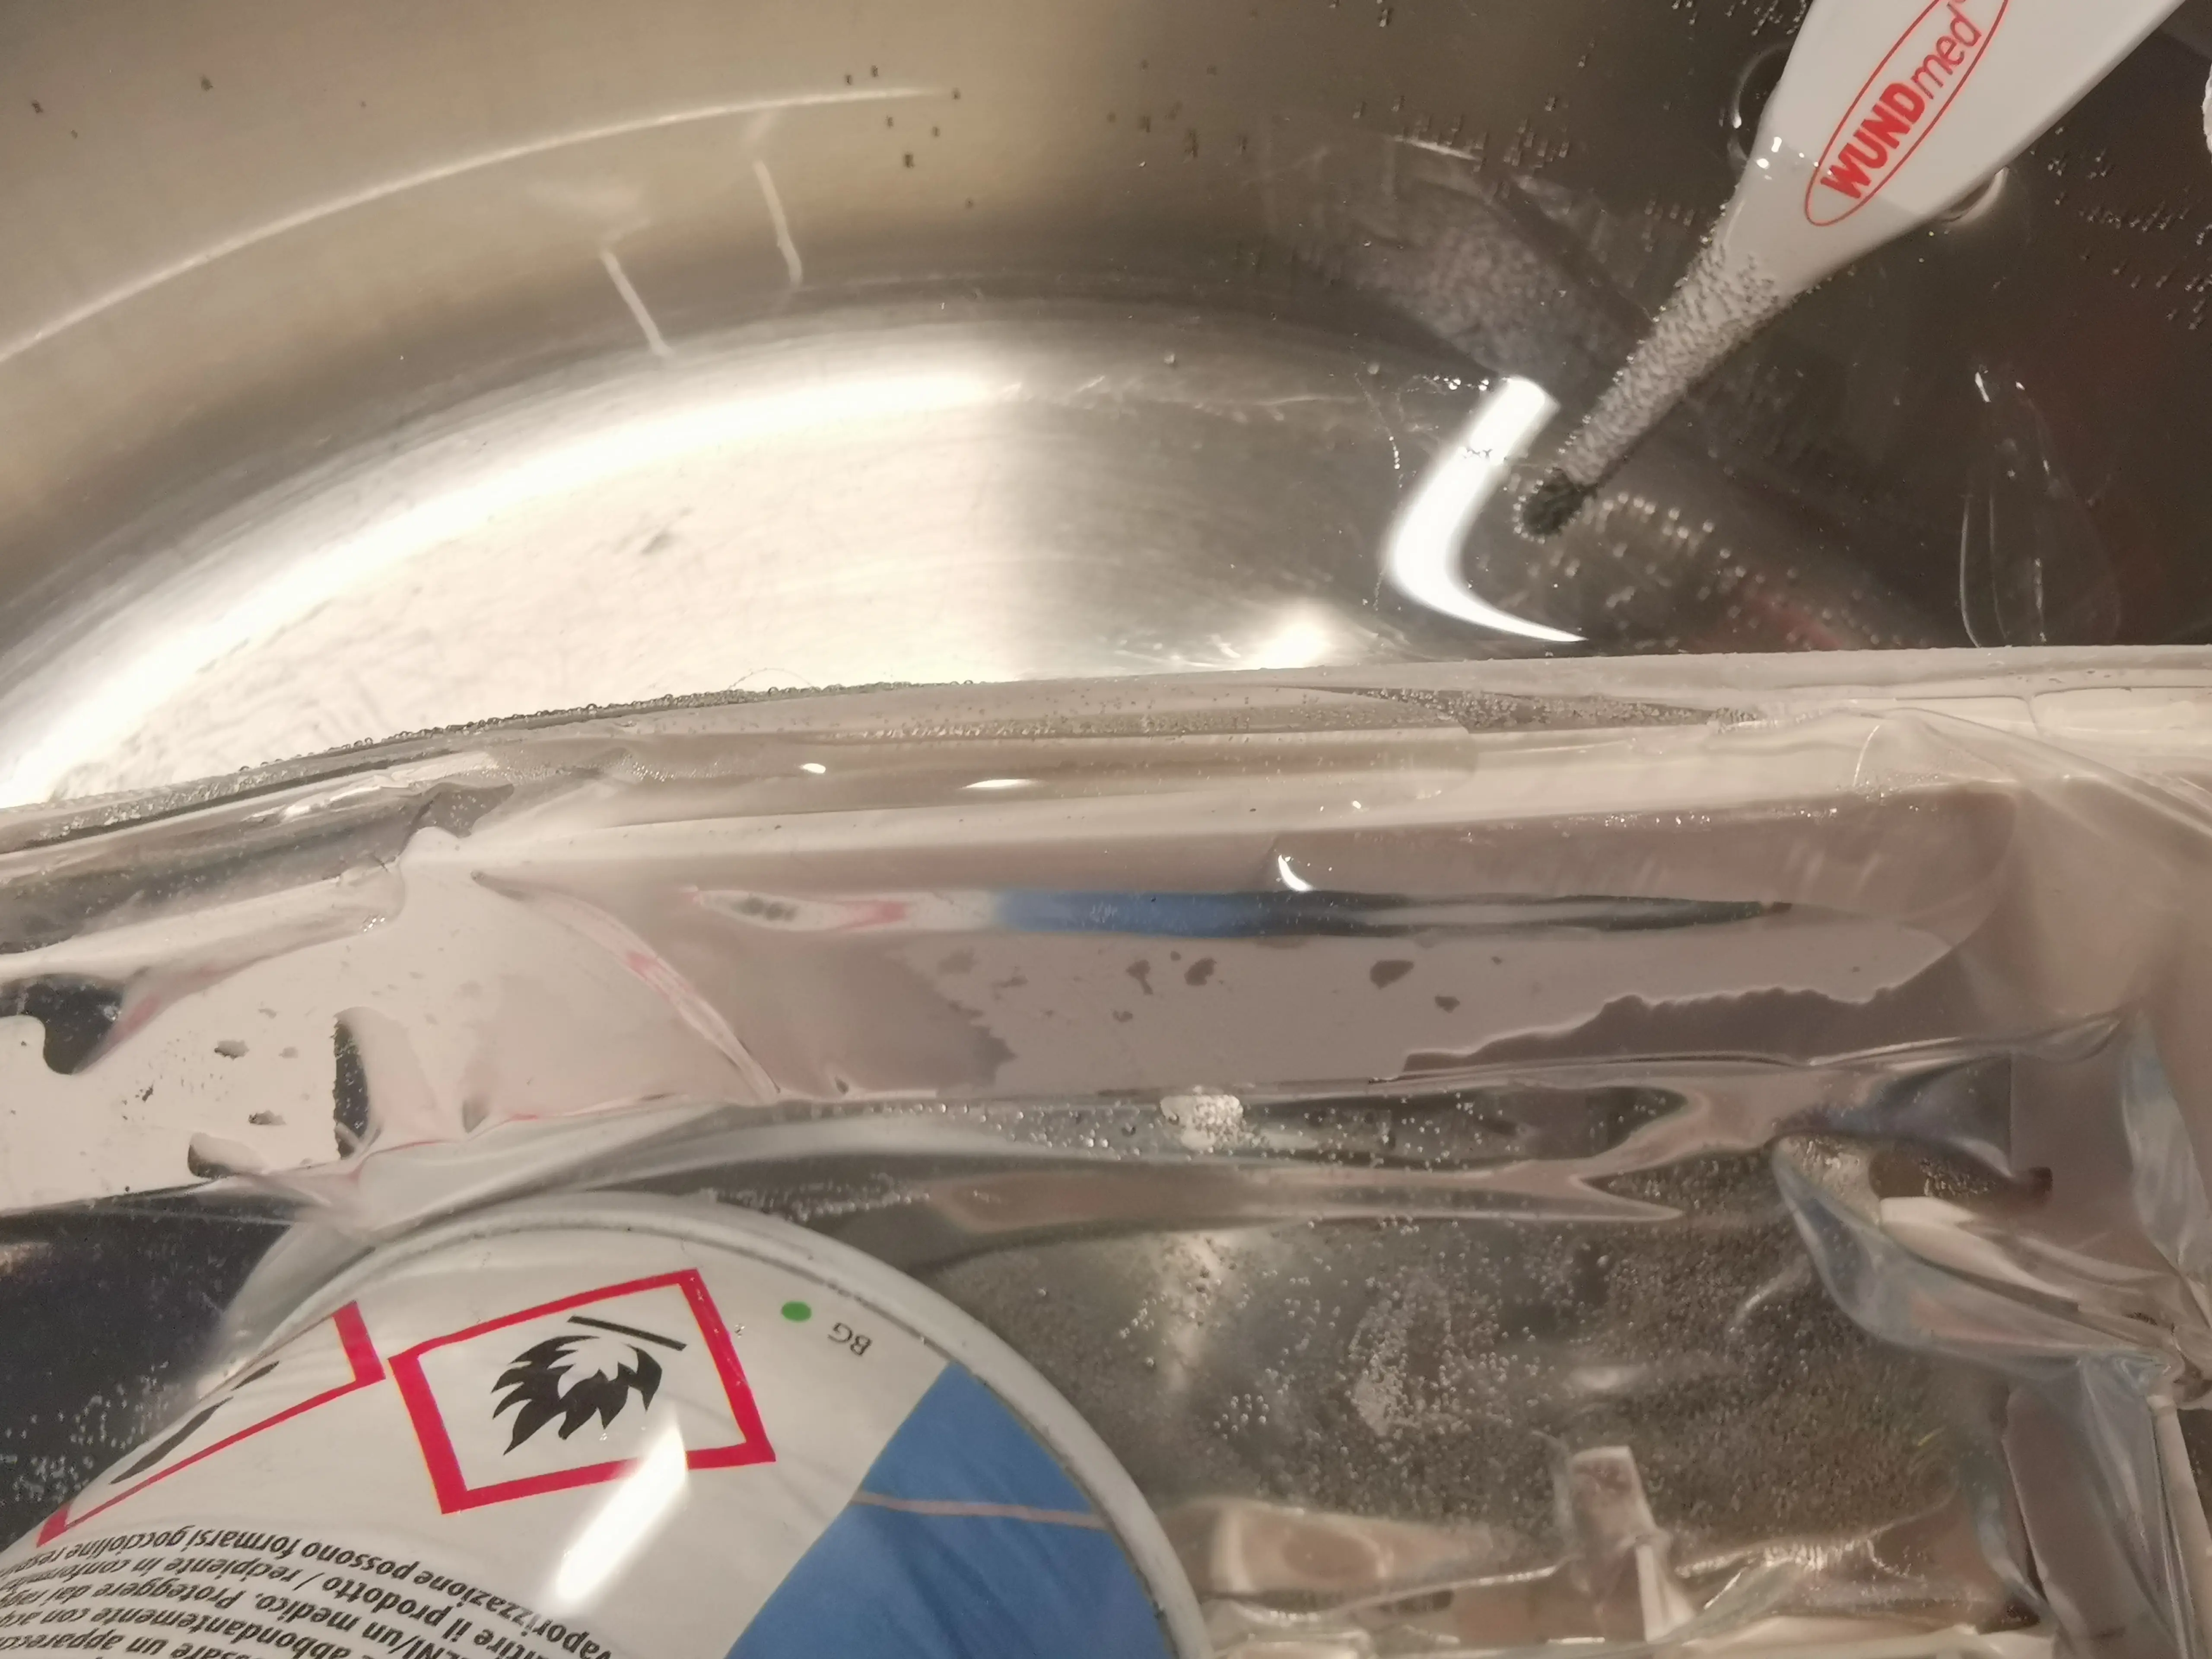
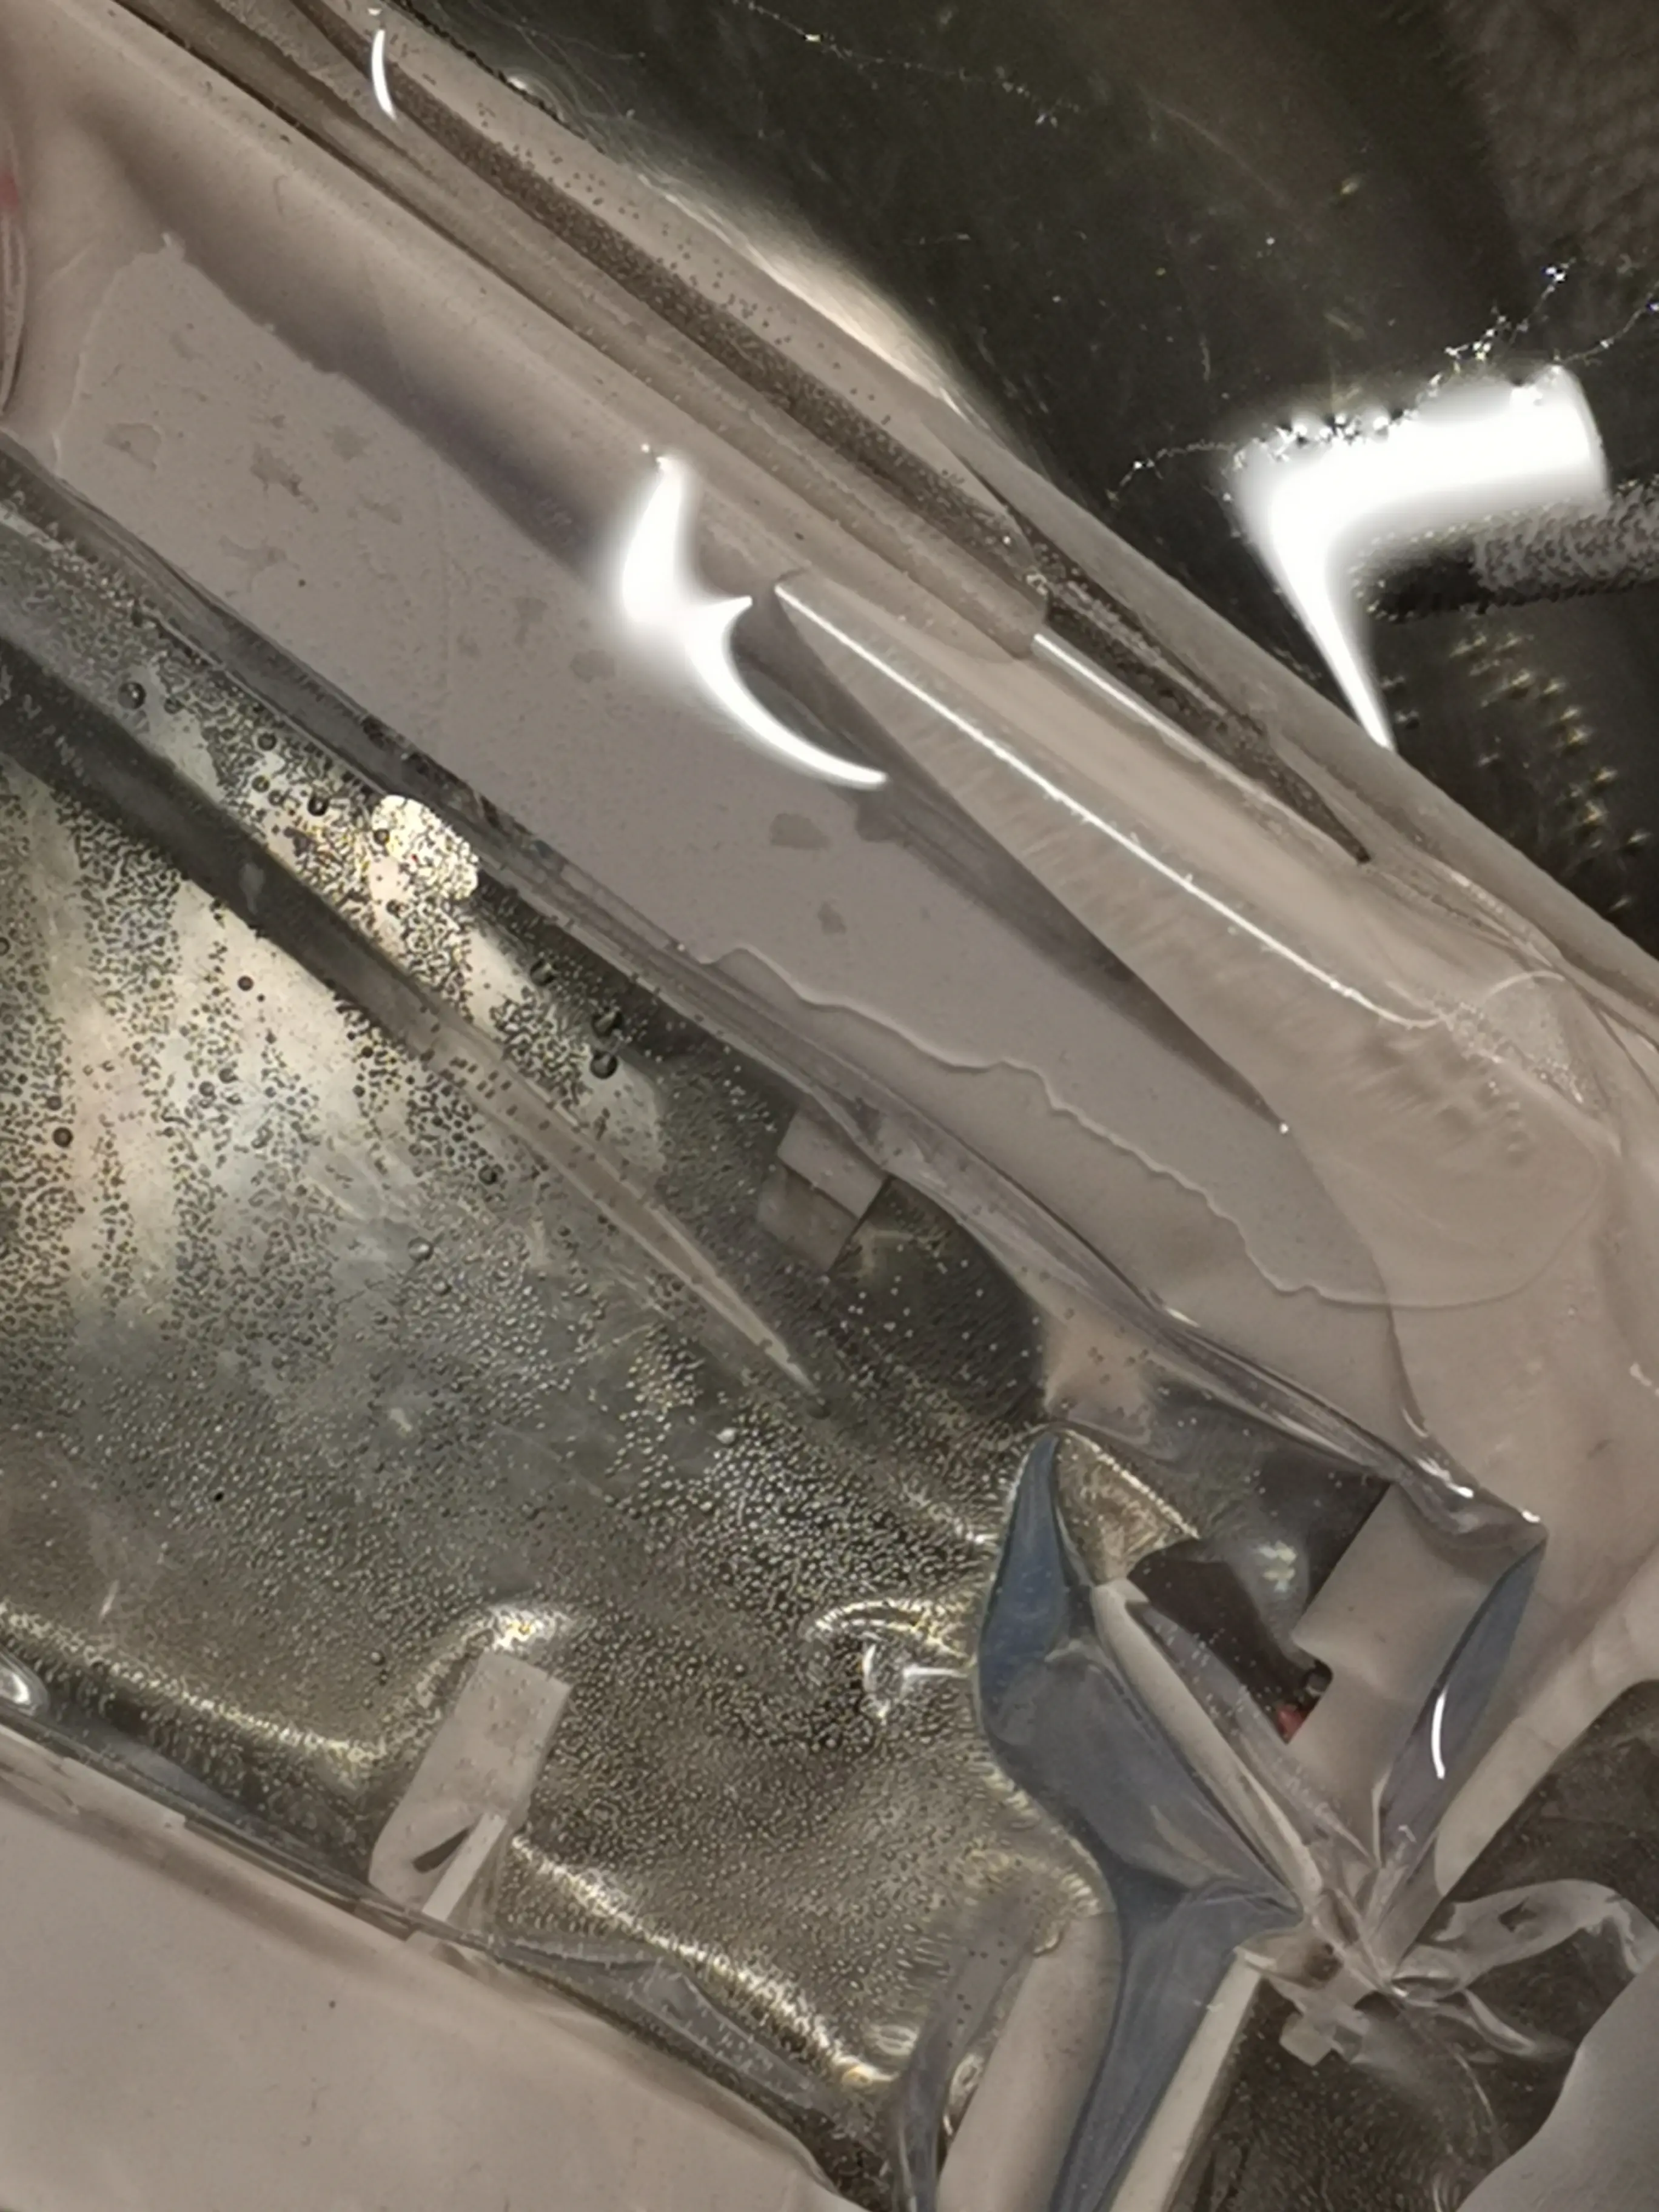
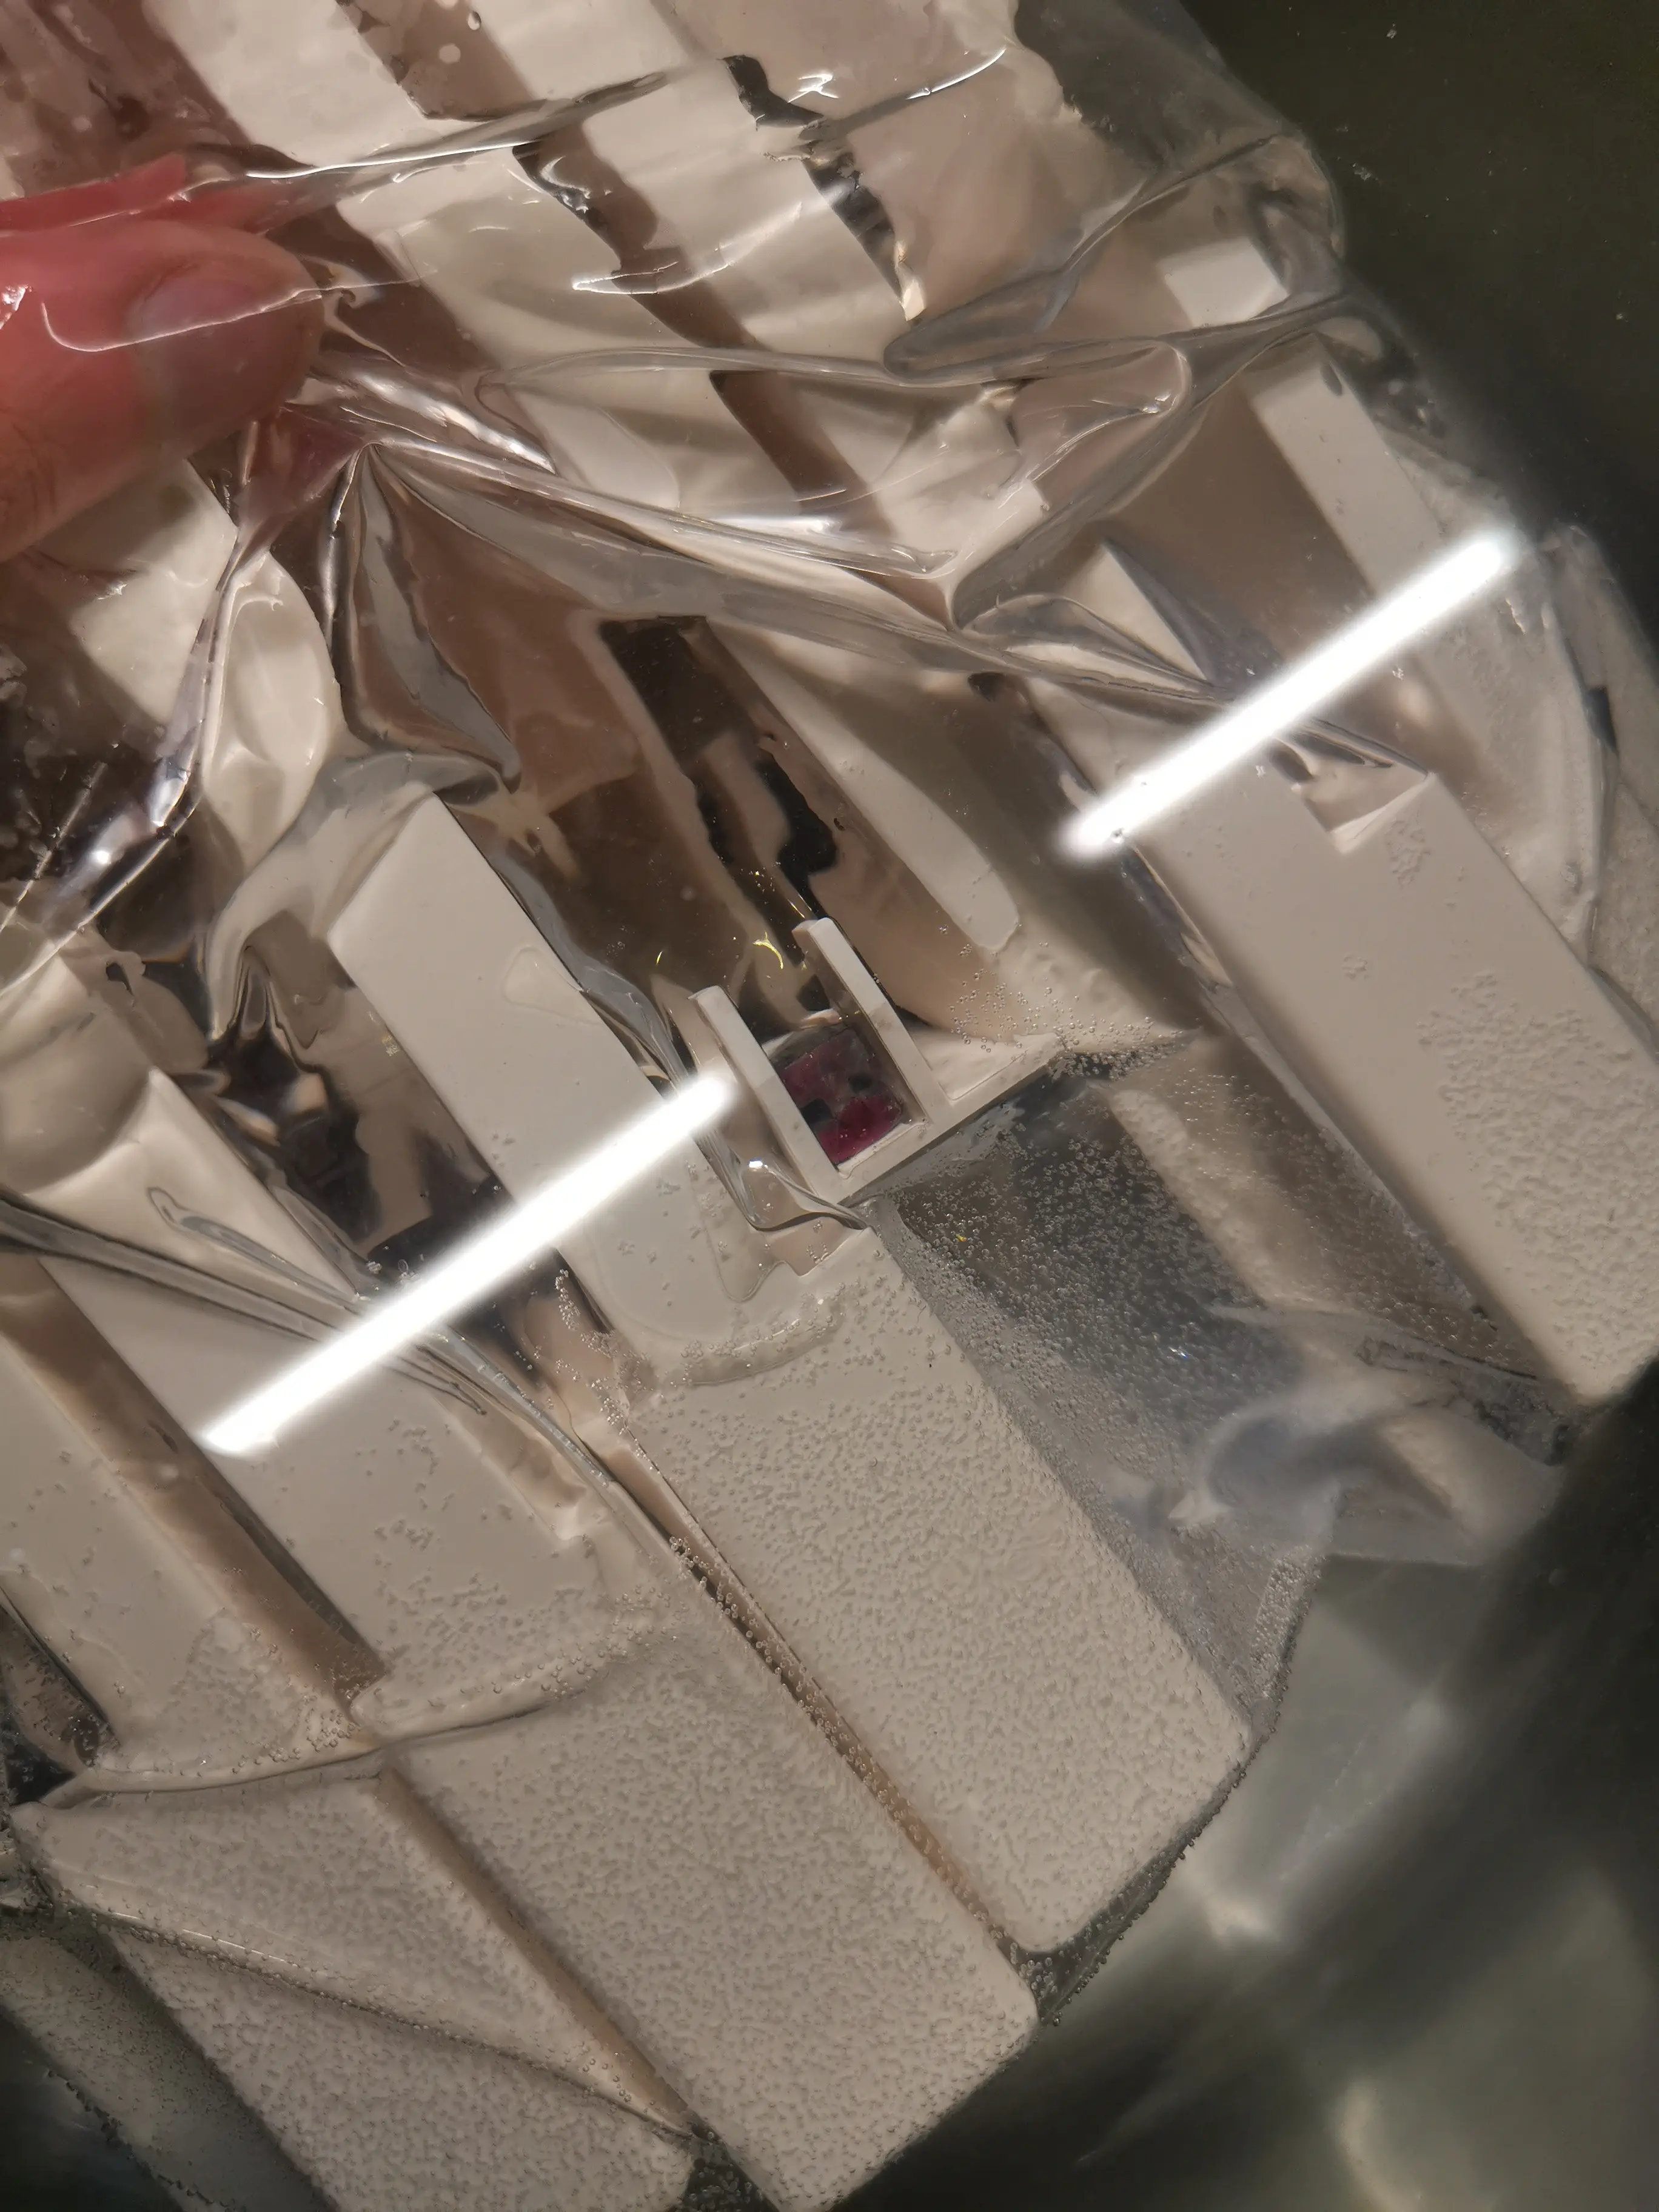
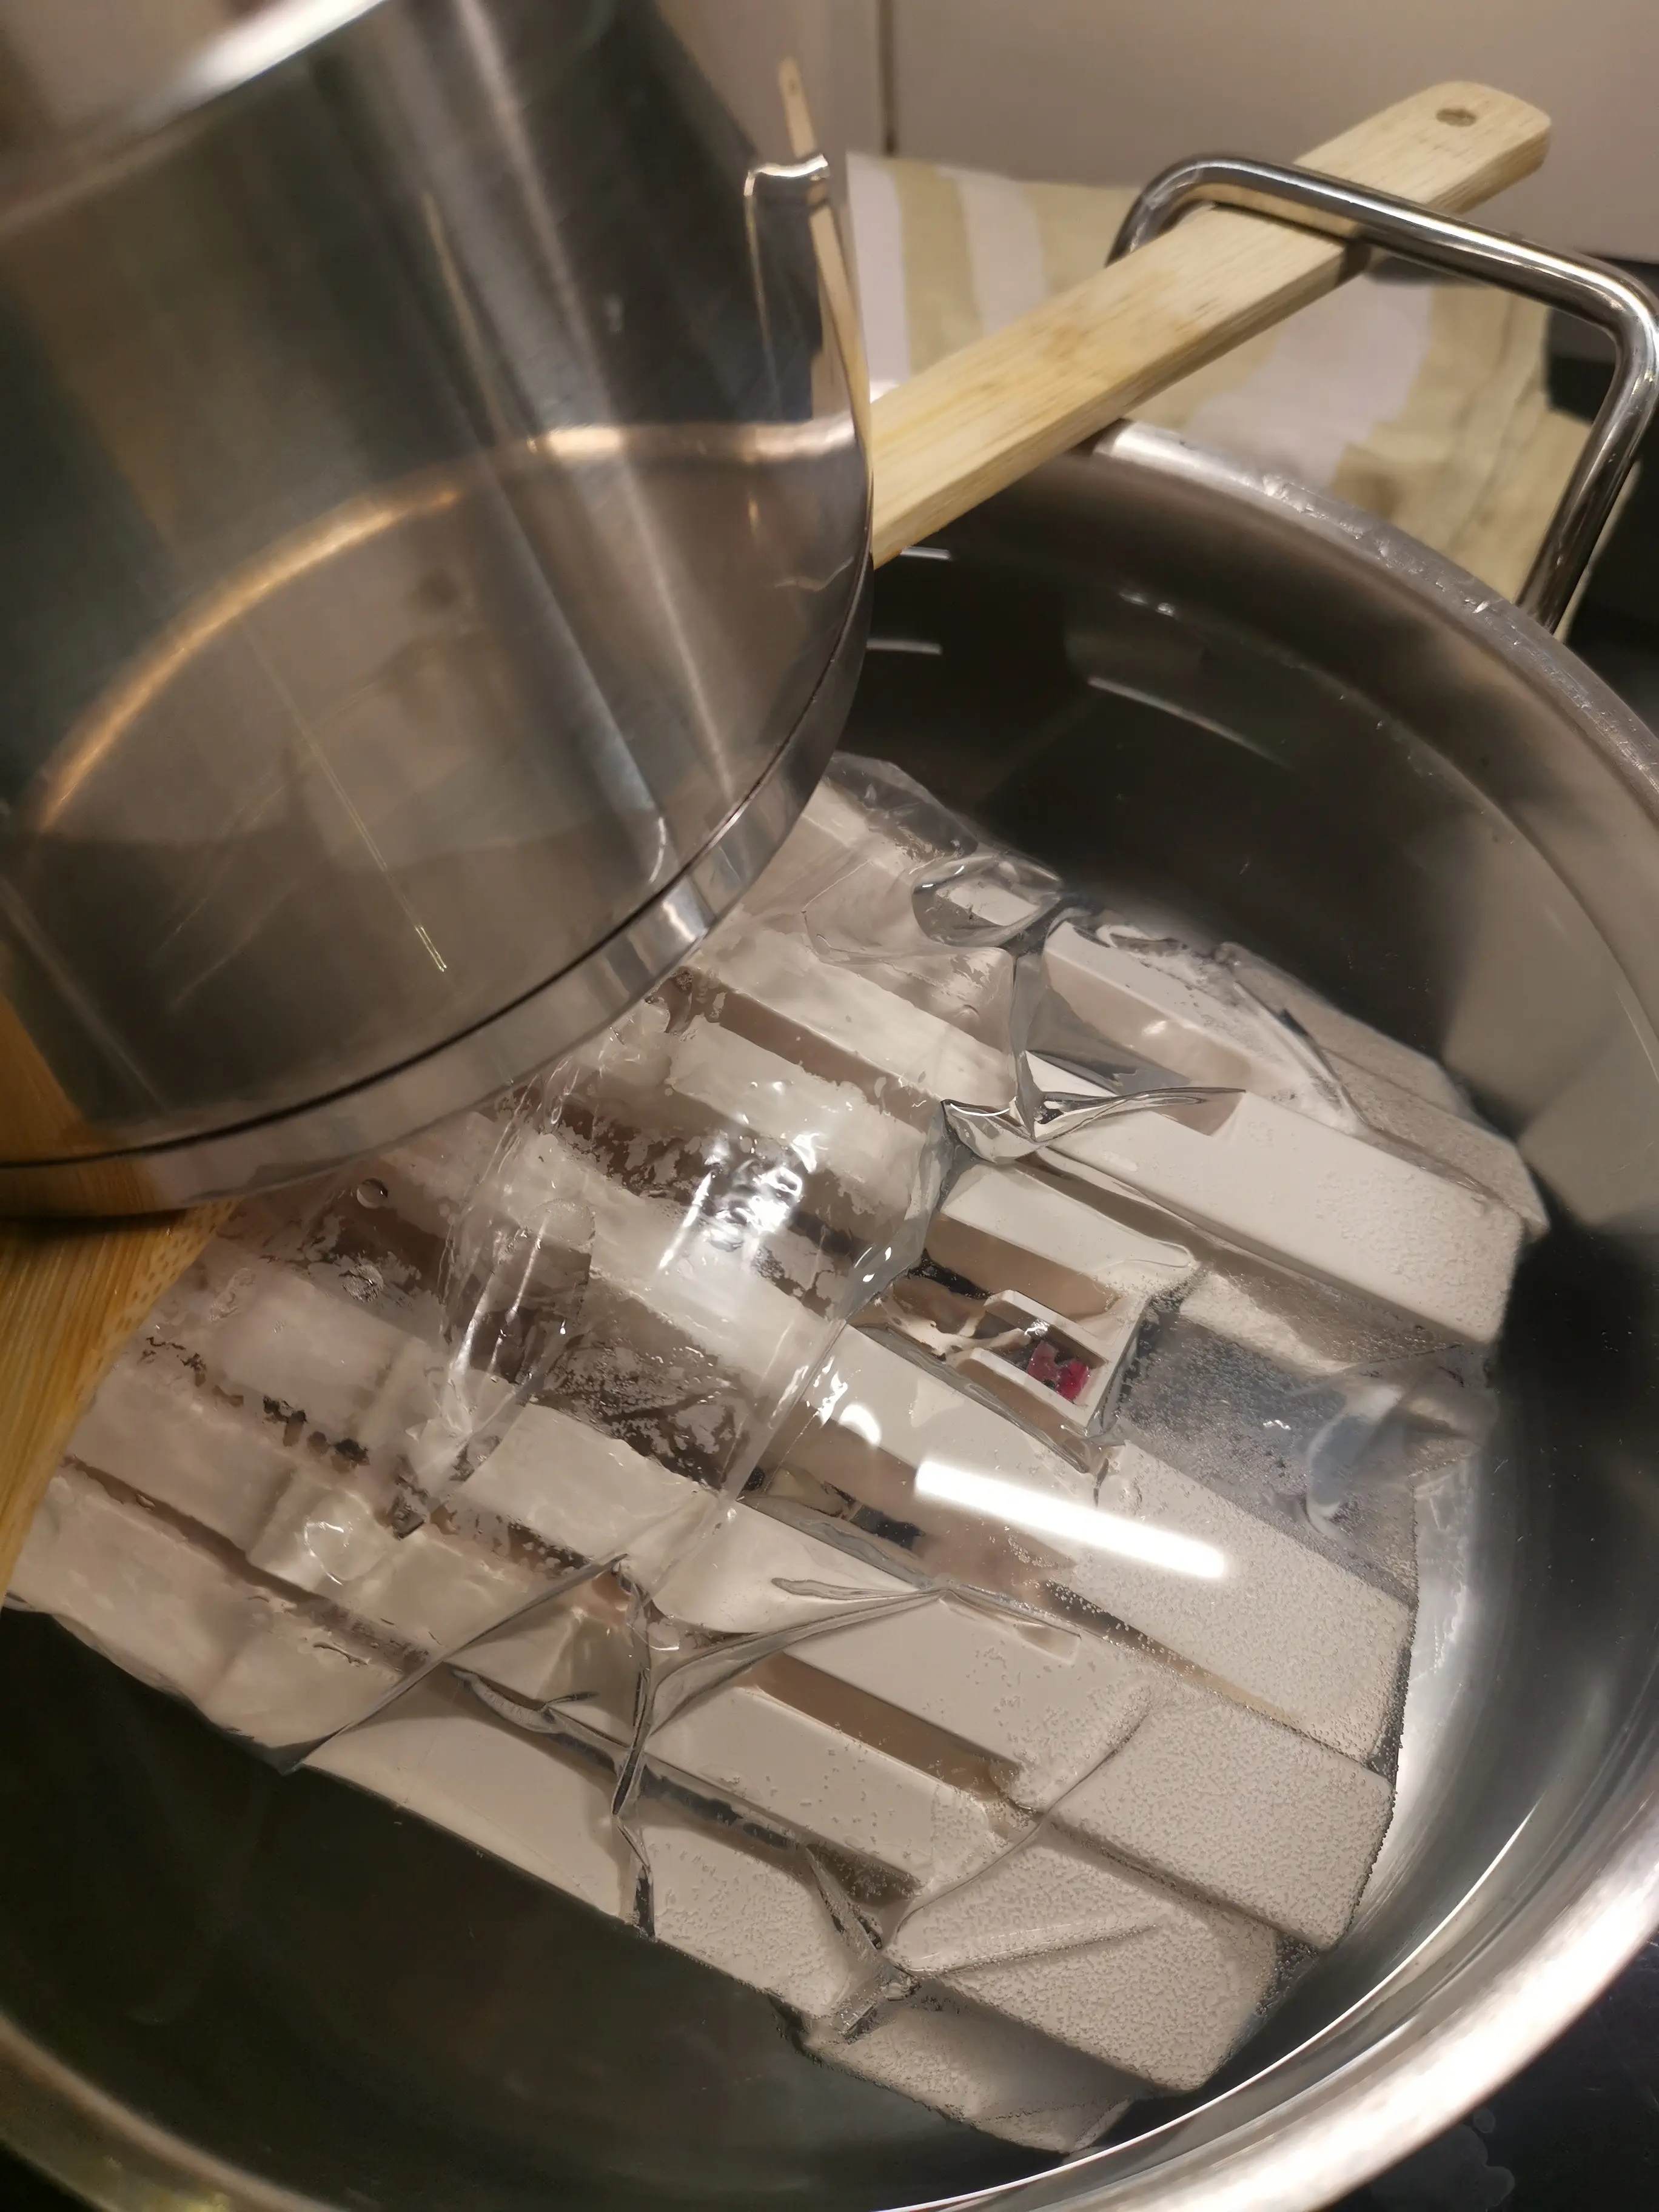
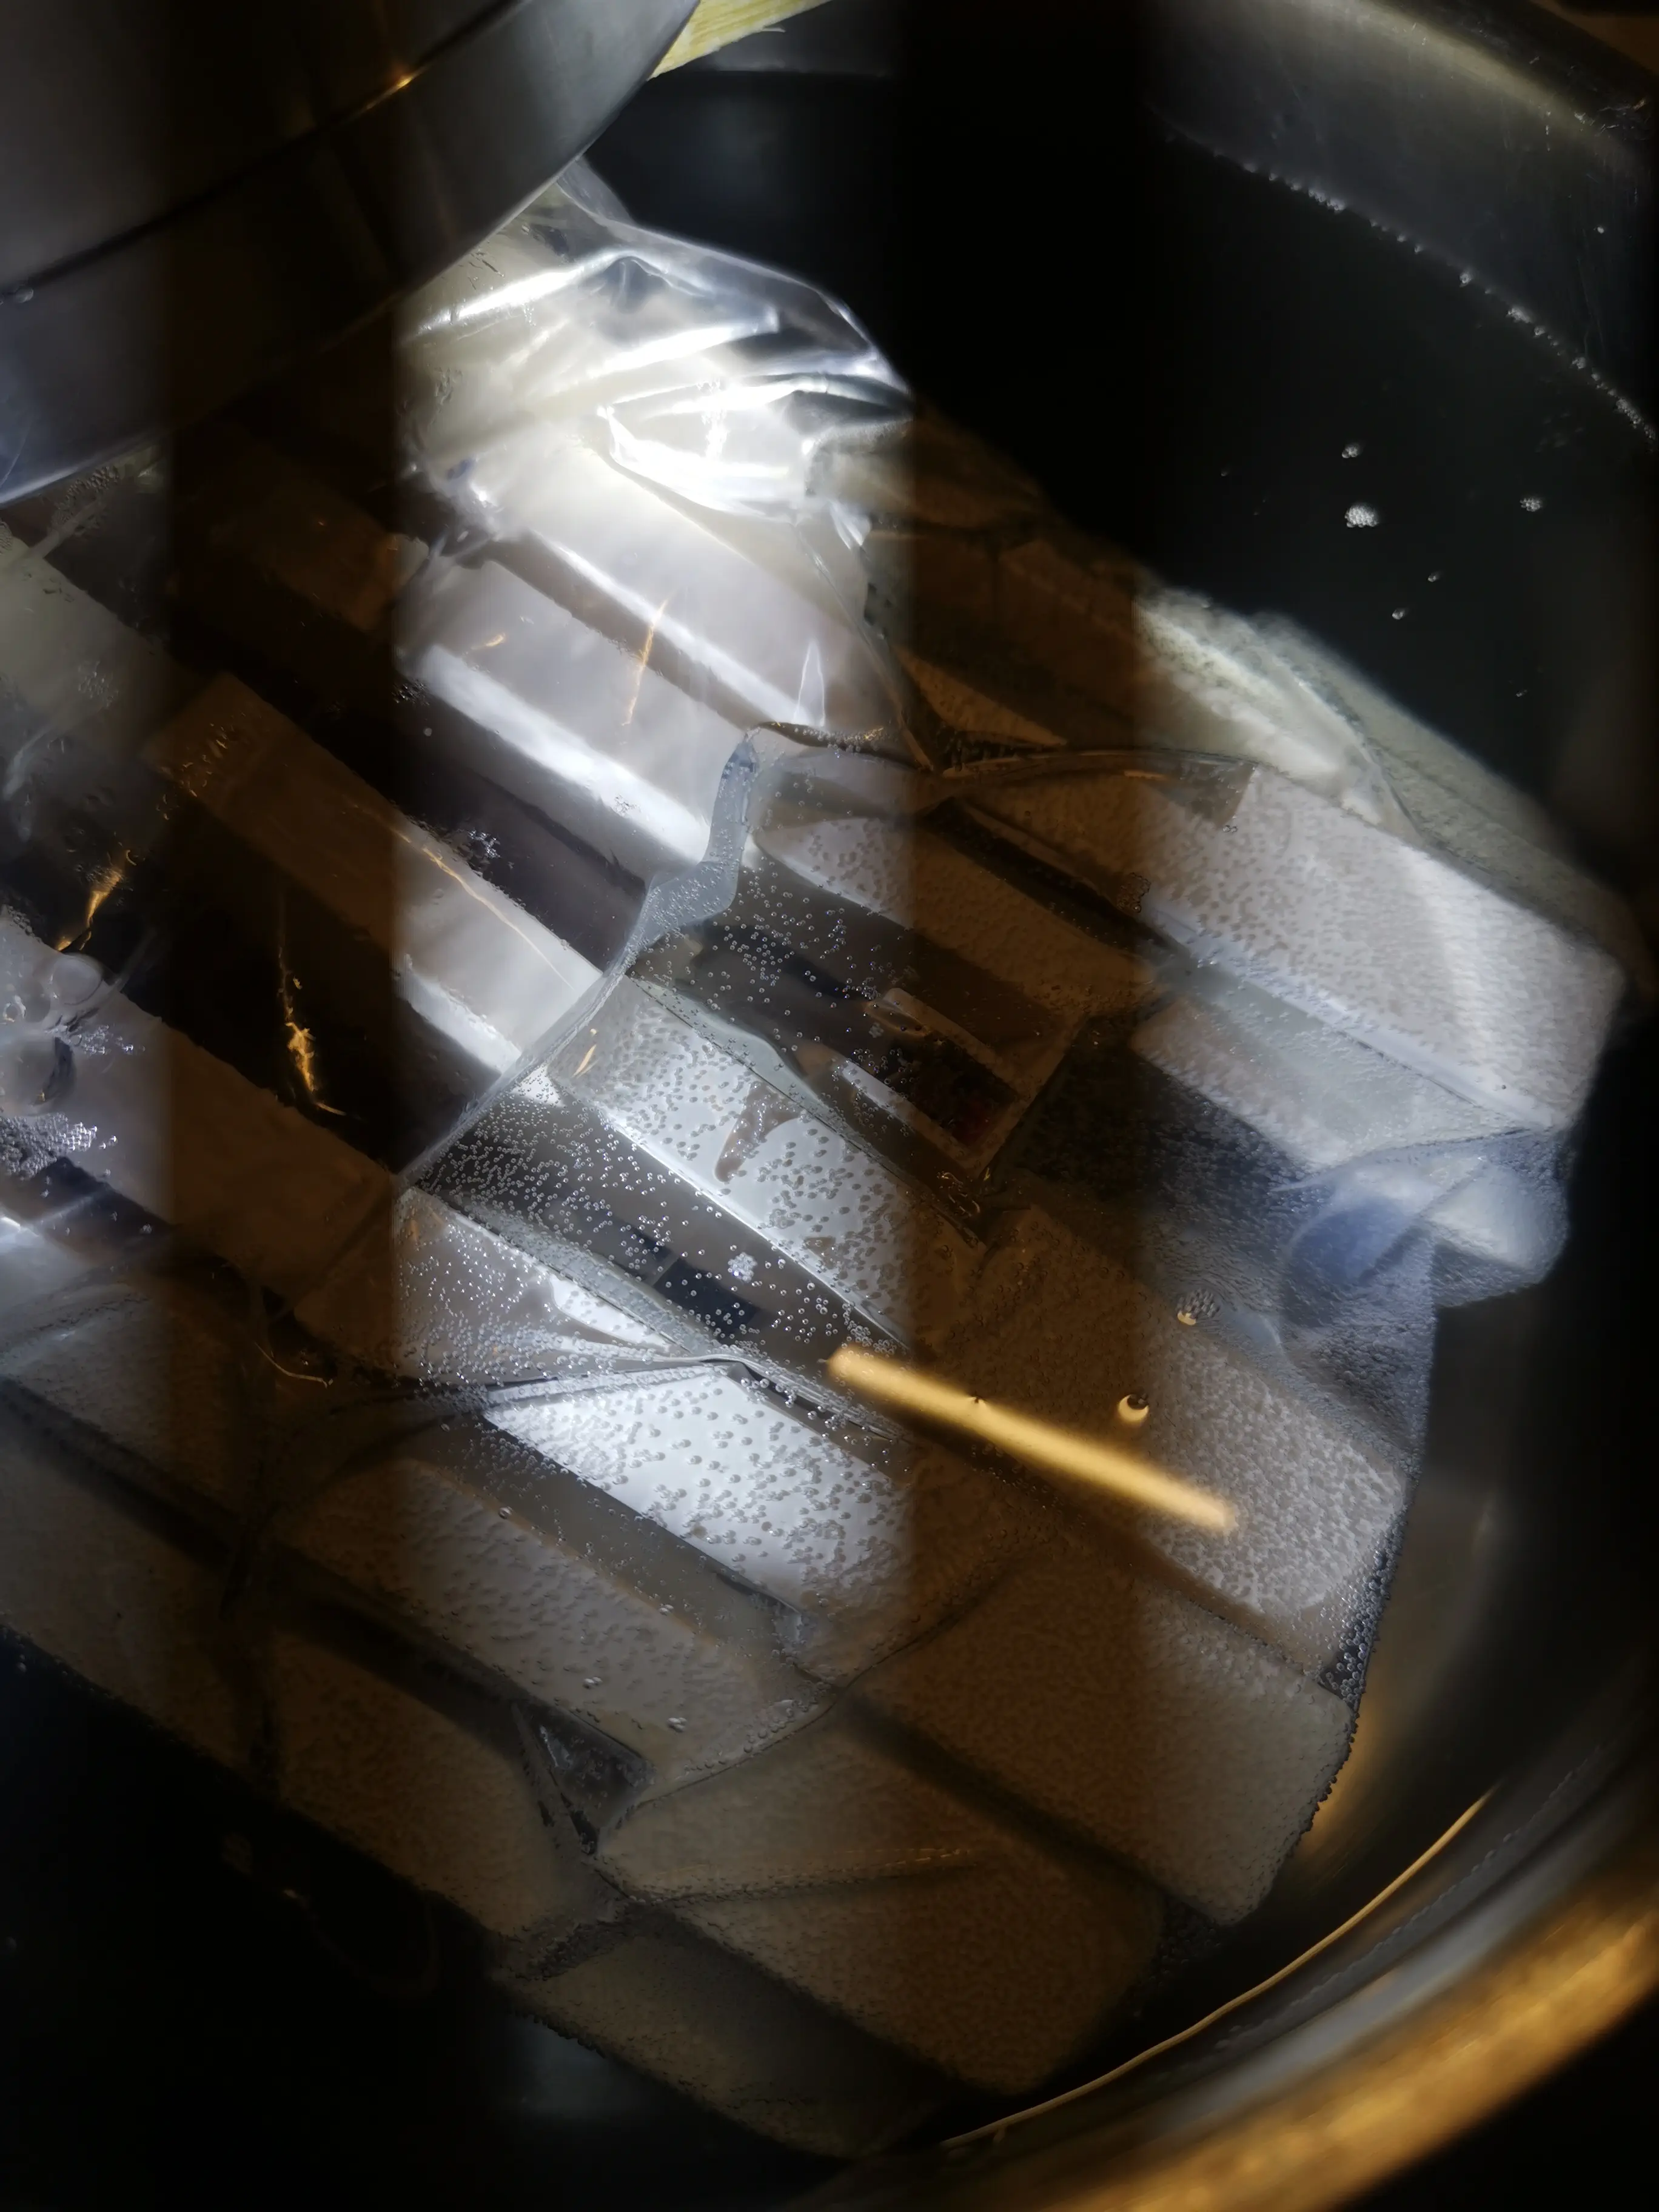
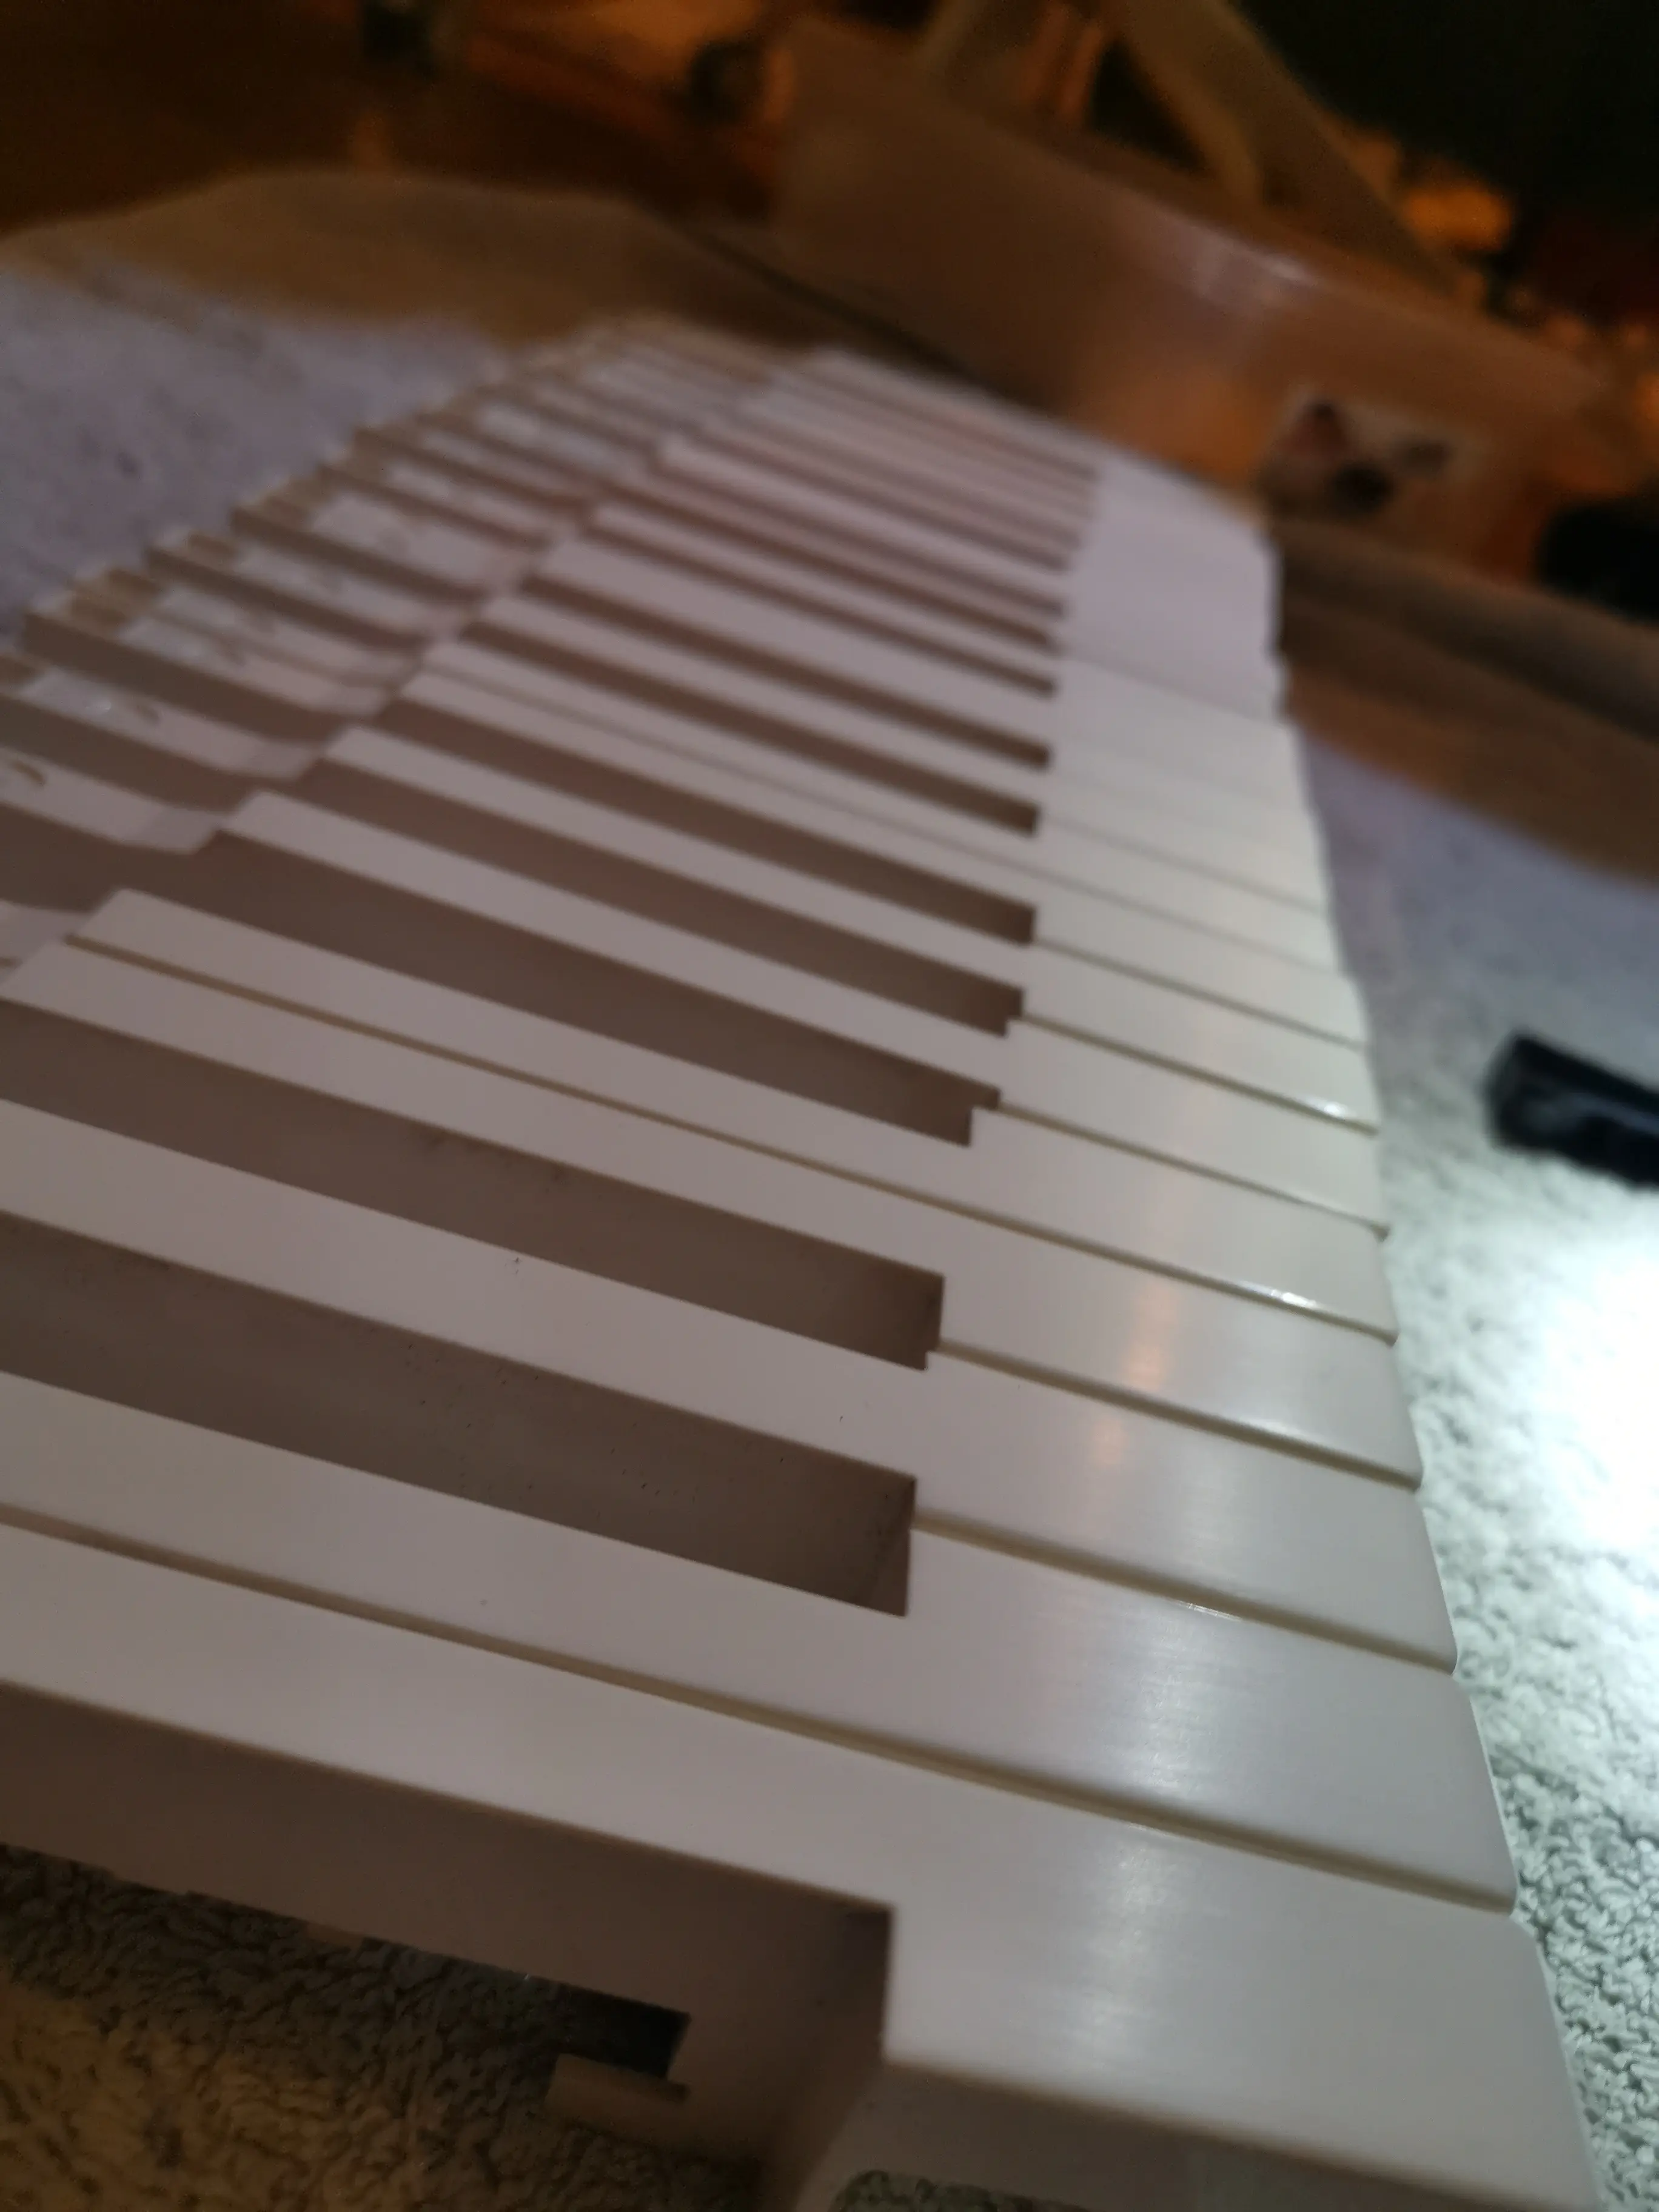
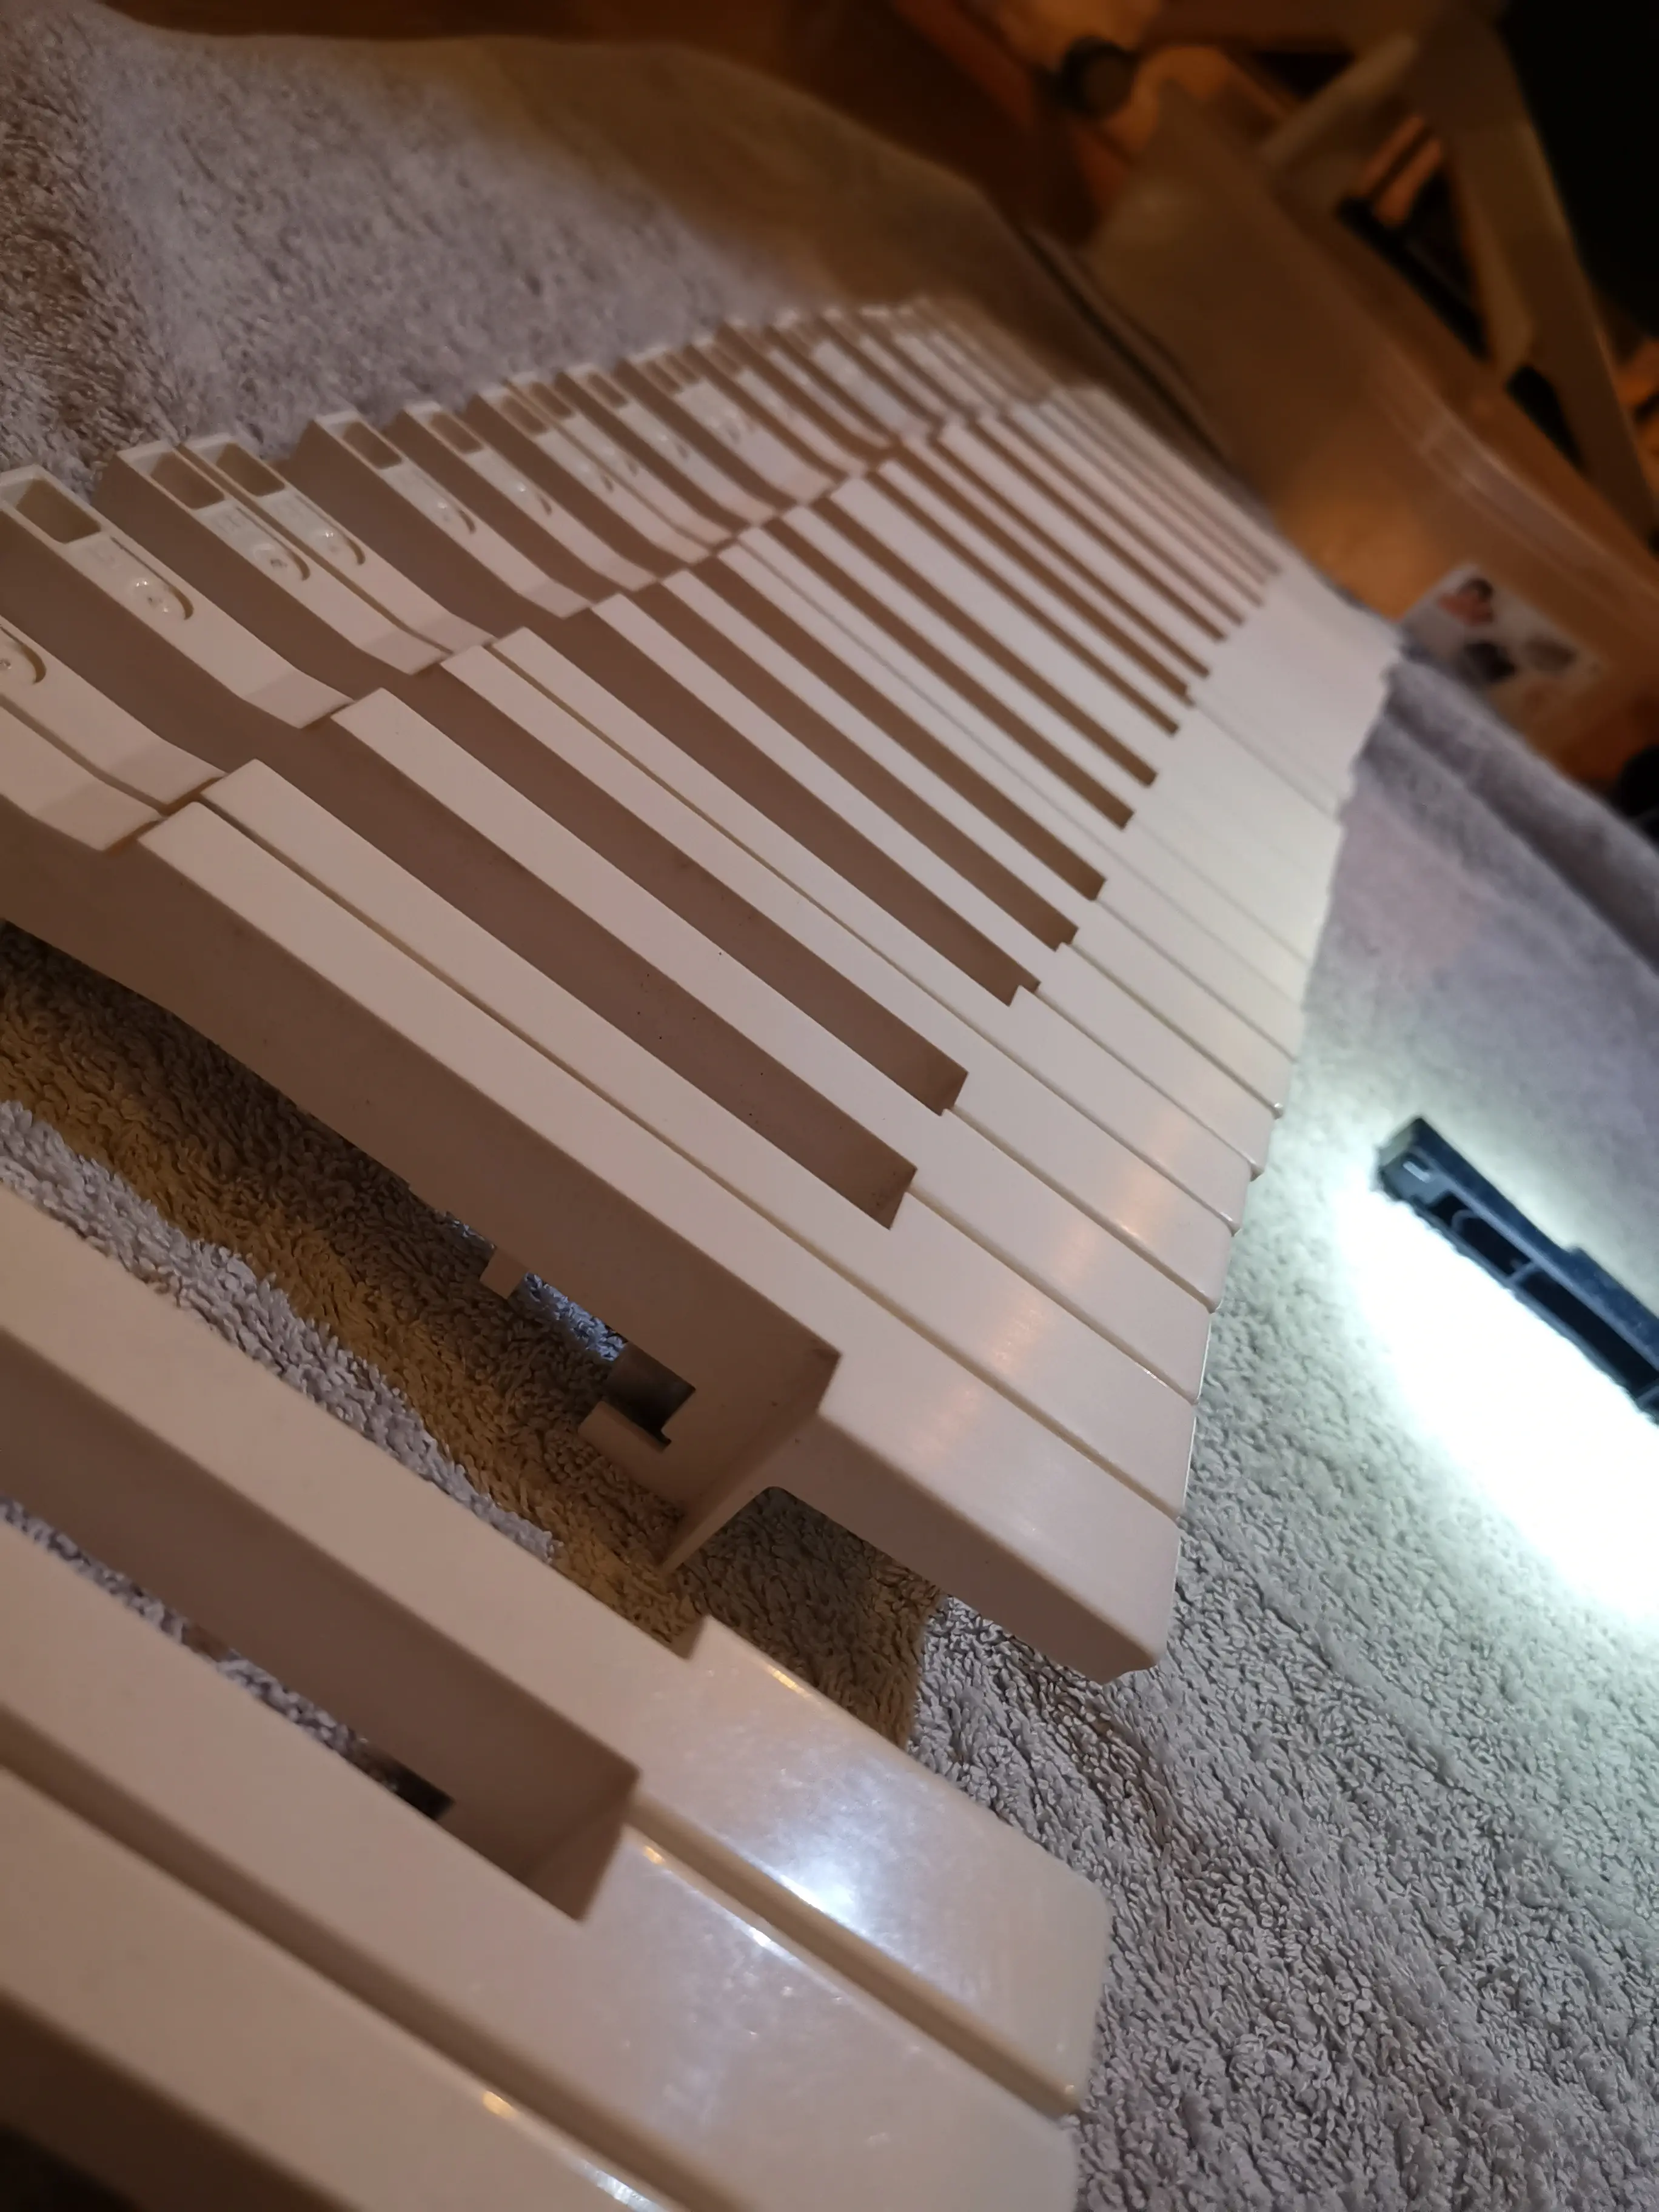
A bath for the keys

Cleaning the keys in a warm bath Cleaning the keys in a warm bath Cleaning the keys in a warm bath Cleaning the keys in a warm bath Cleaning the keys in a warm bath Cleaning the keys in a warm bath

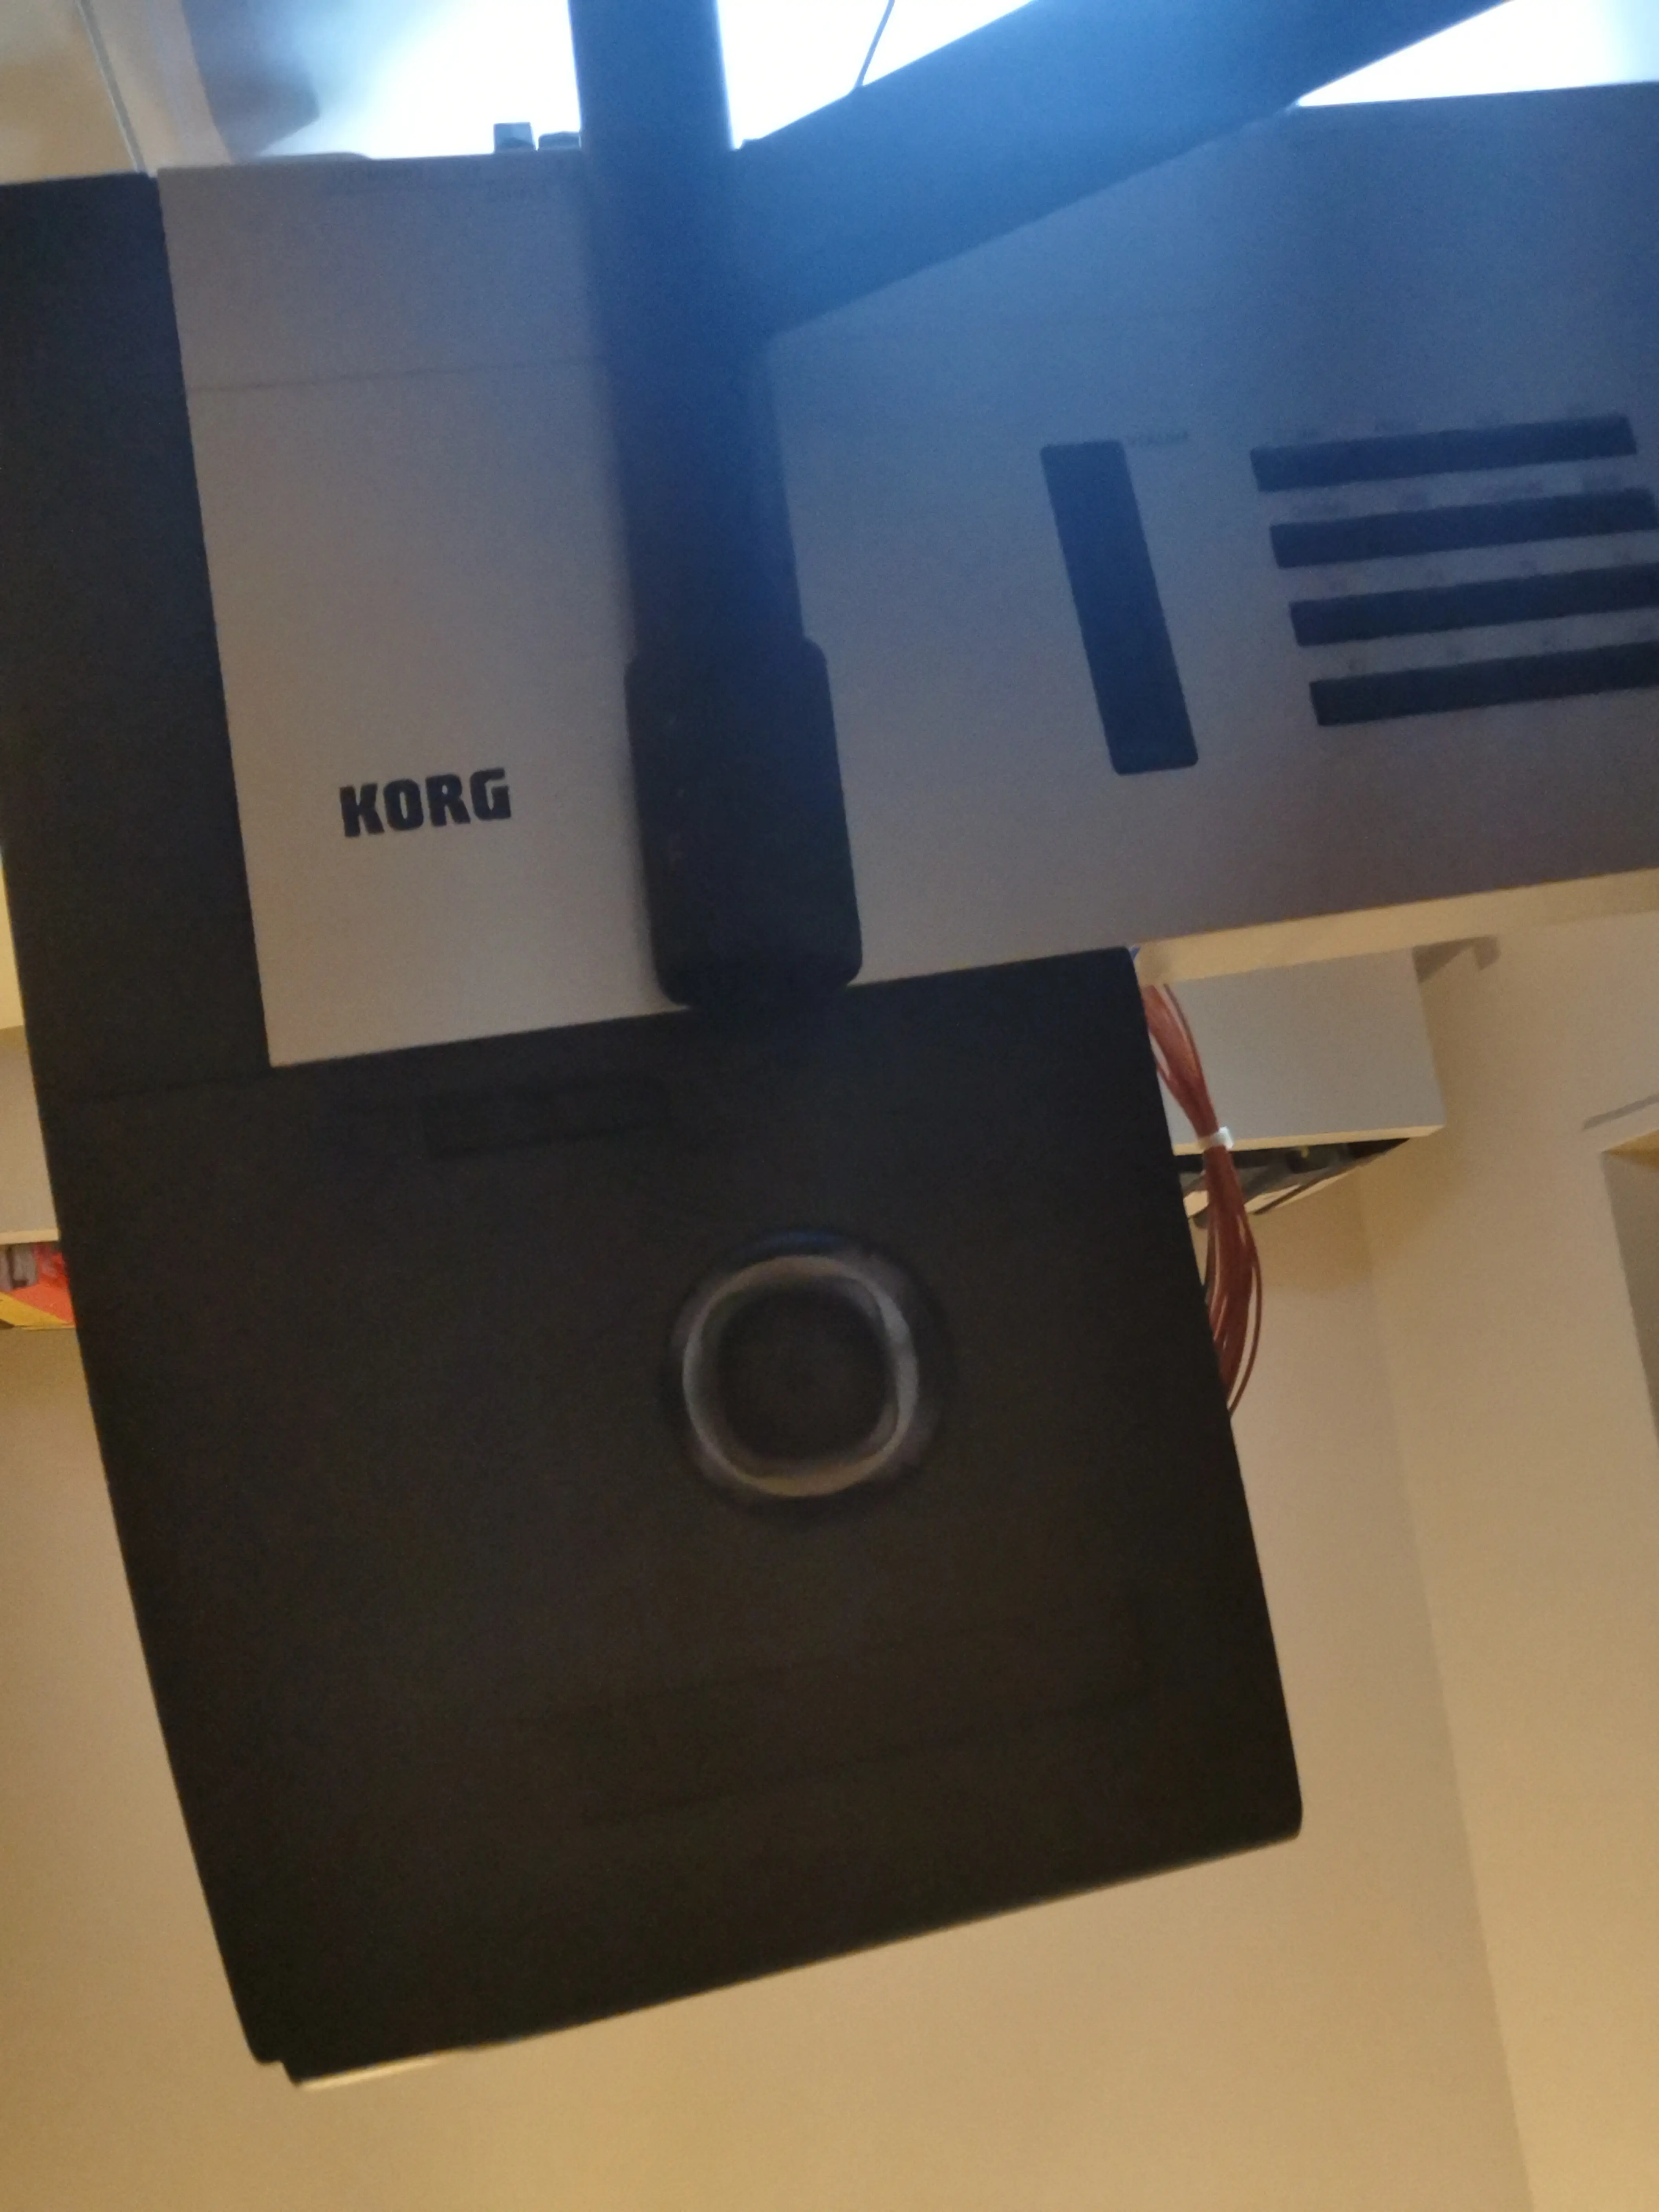
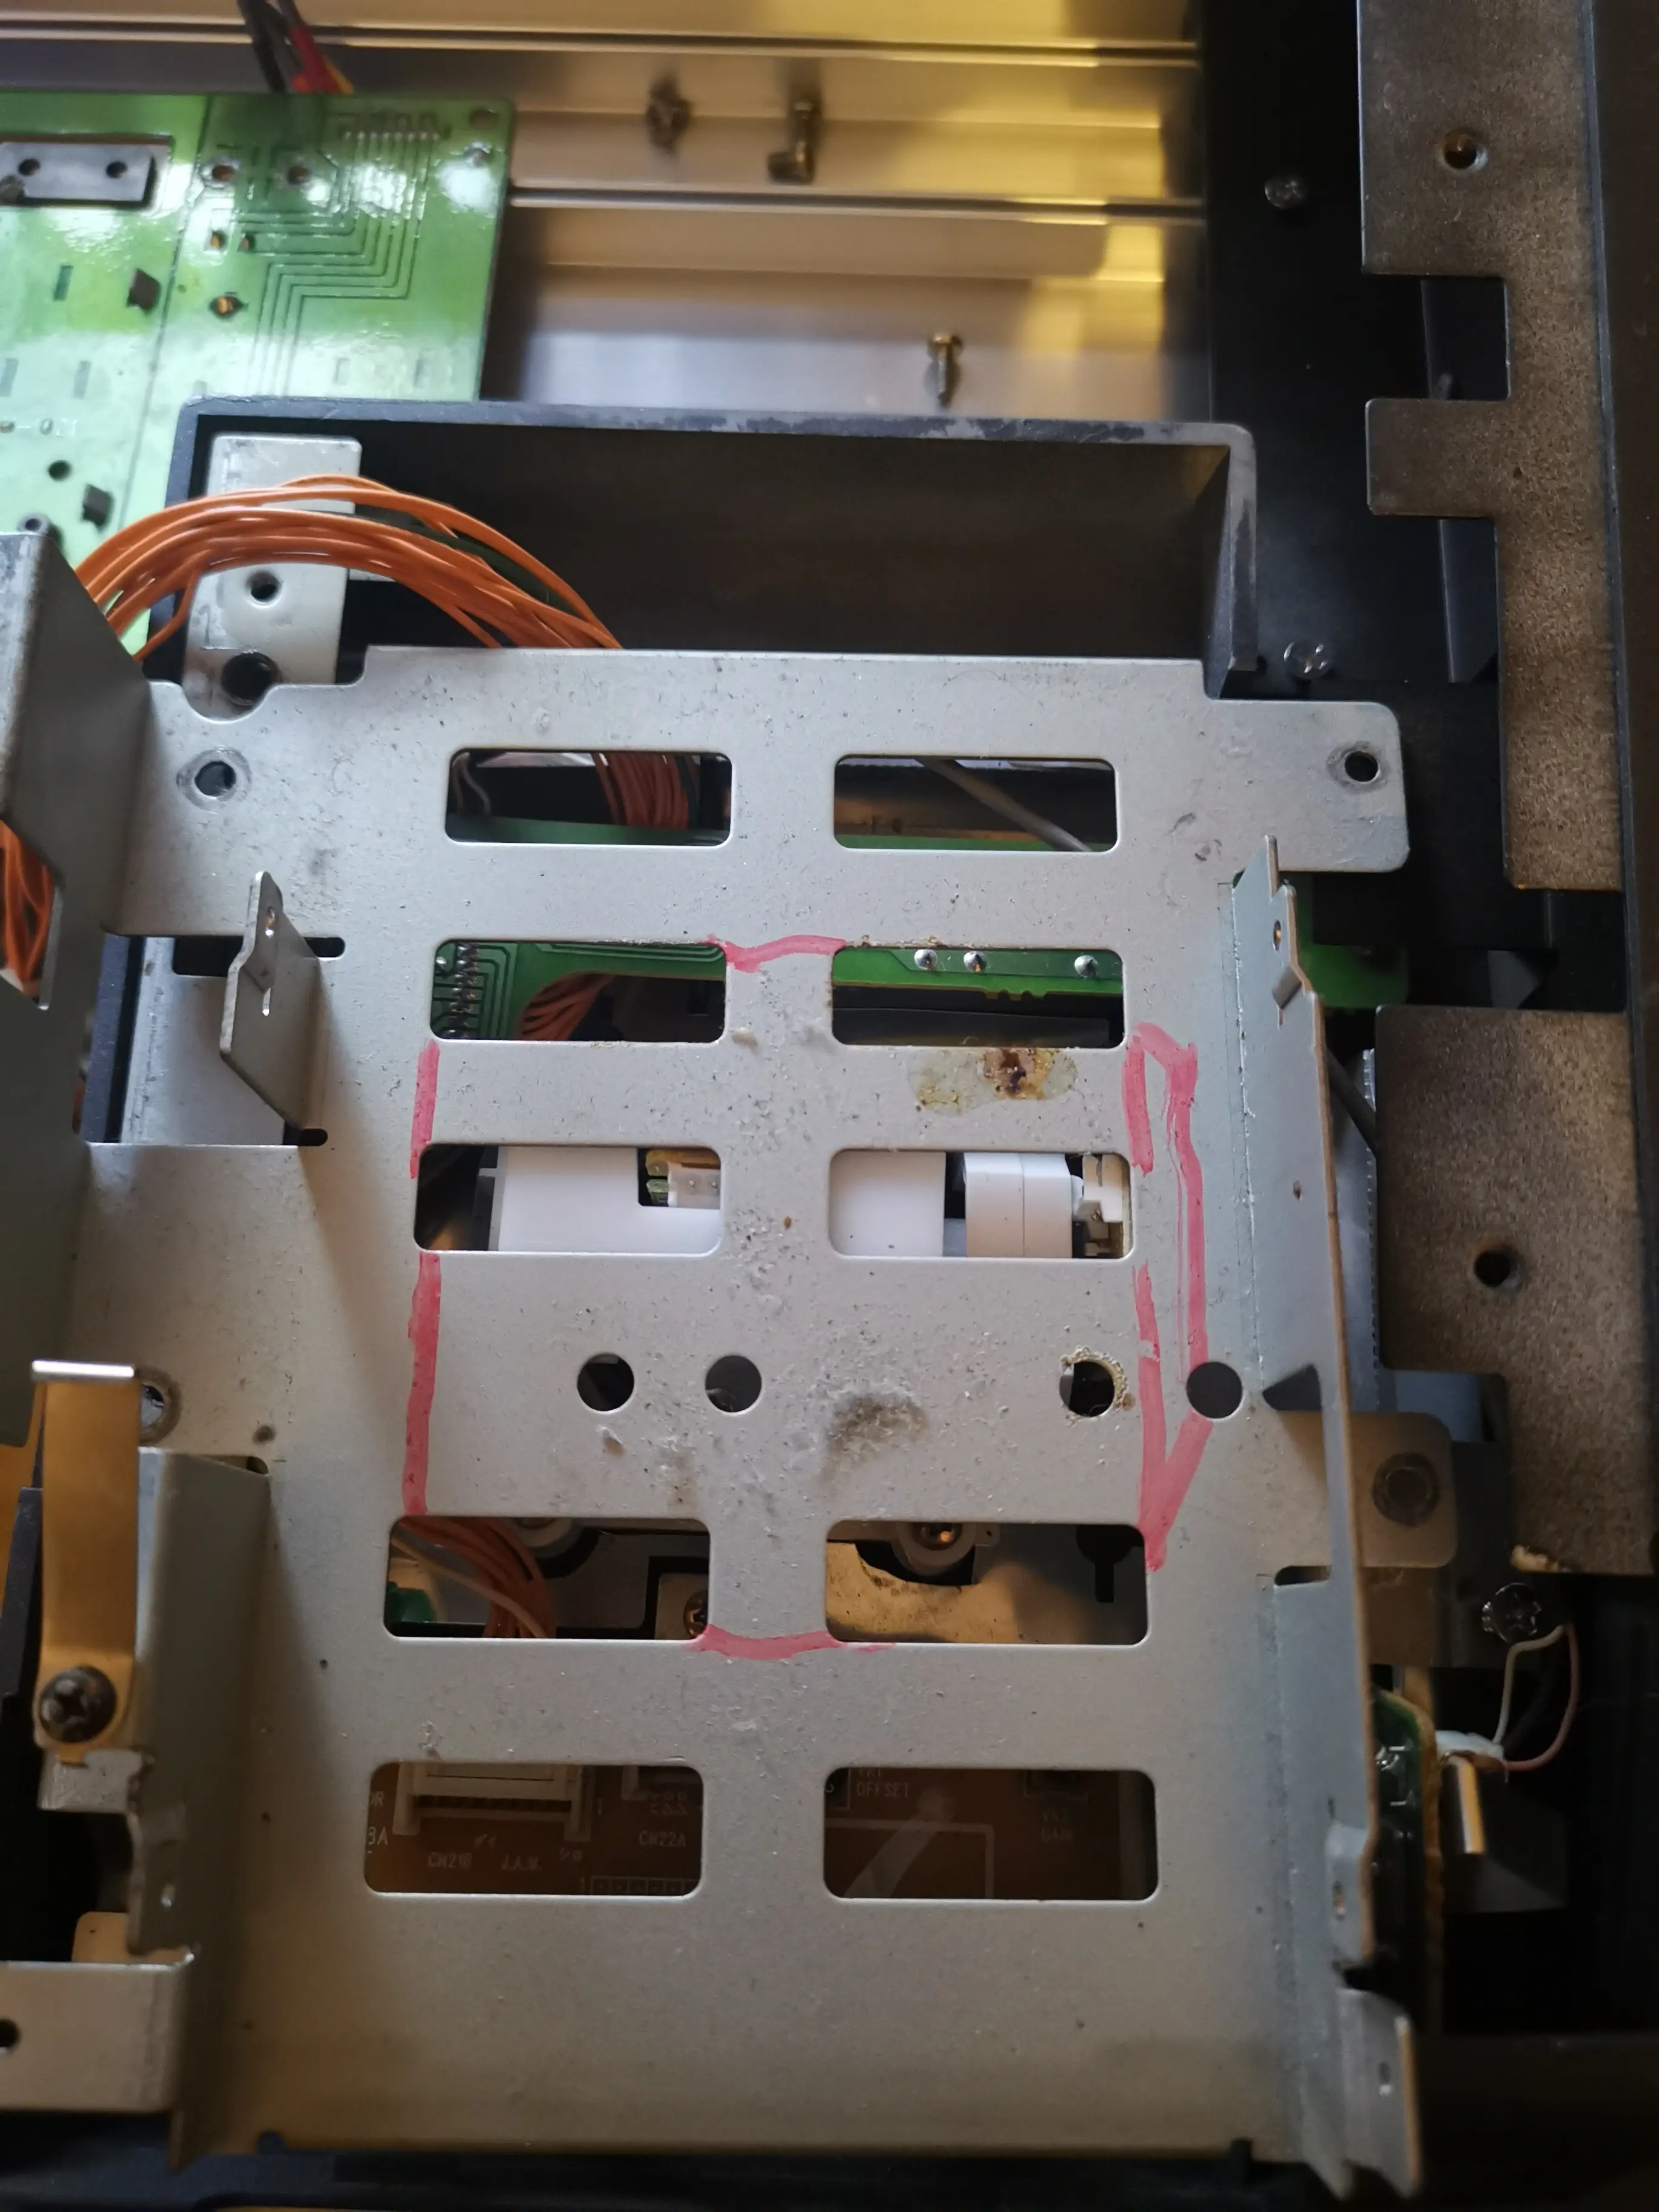
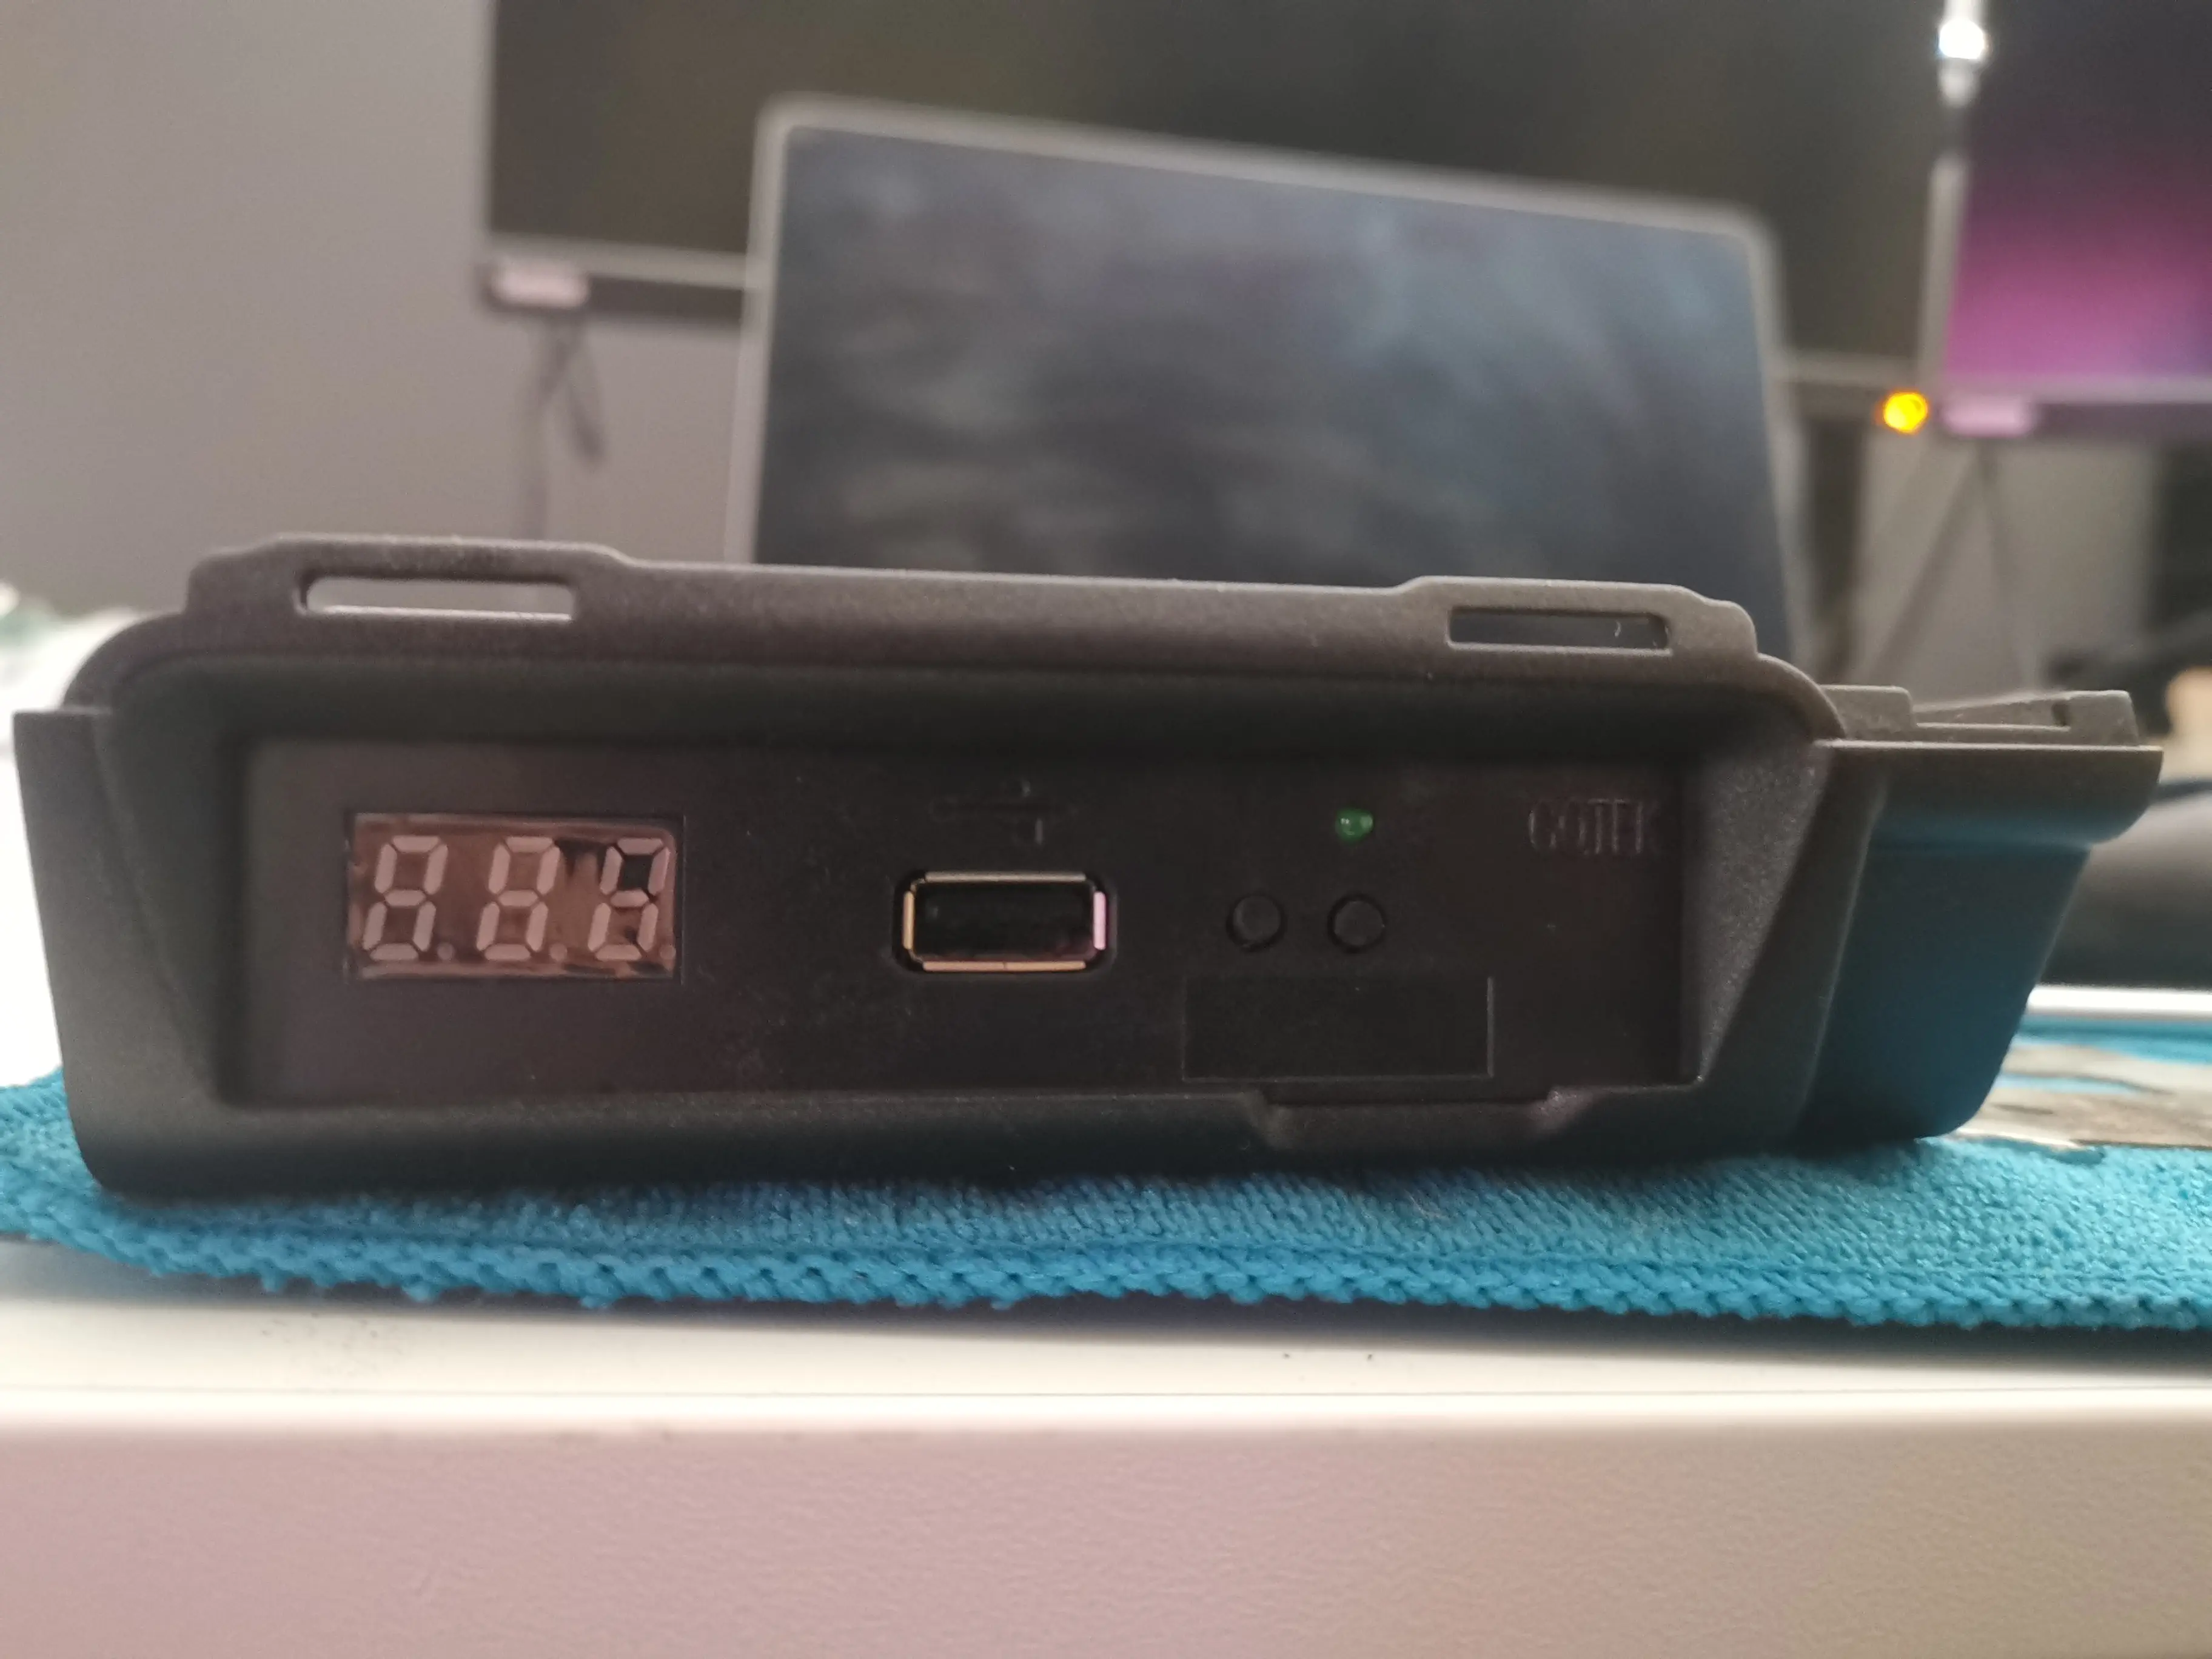
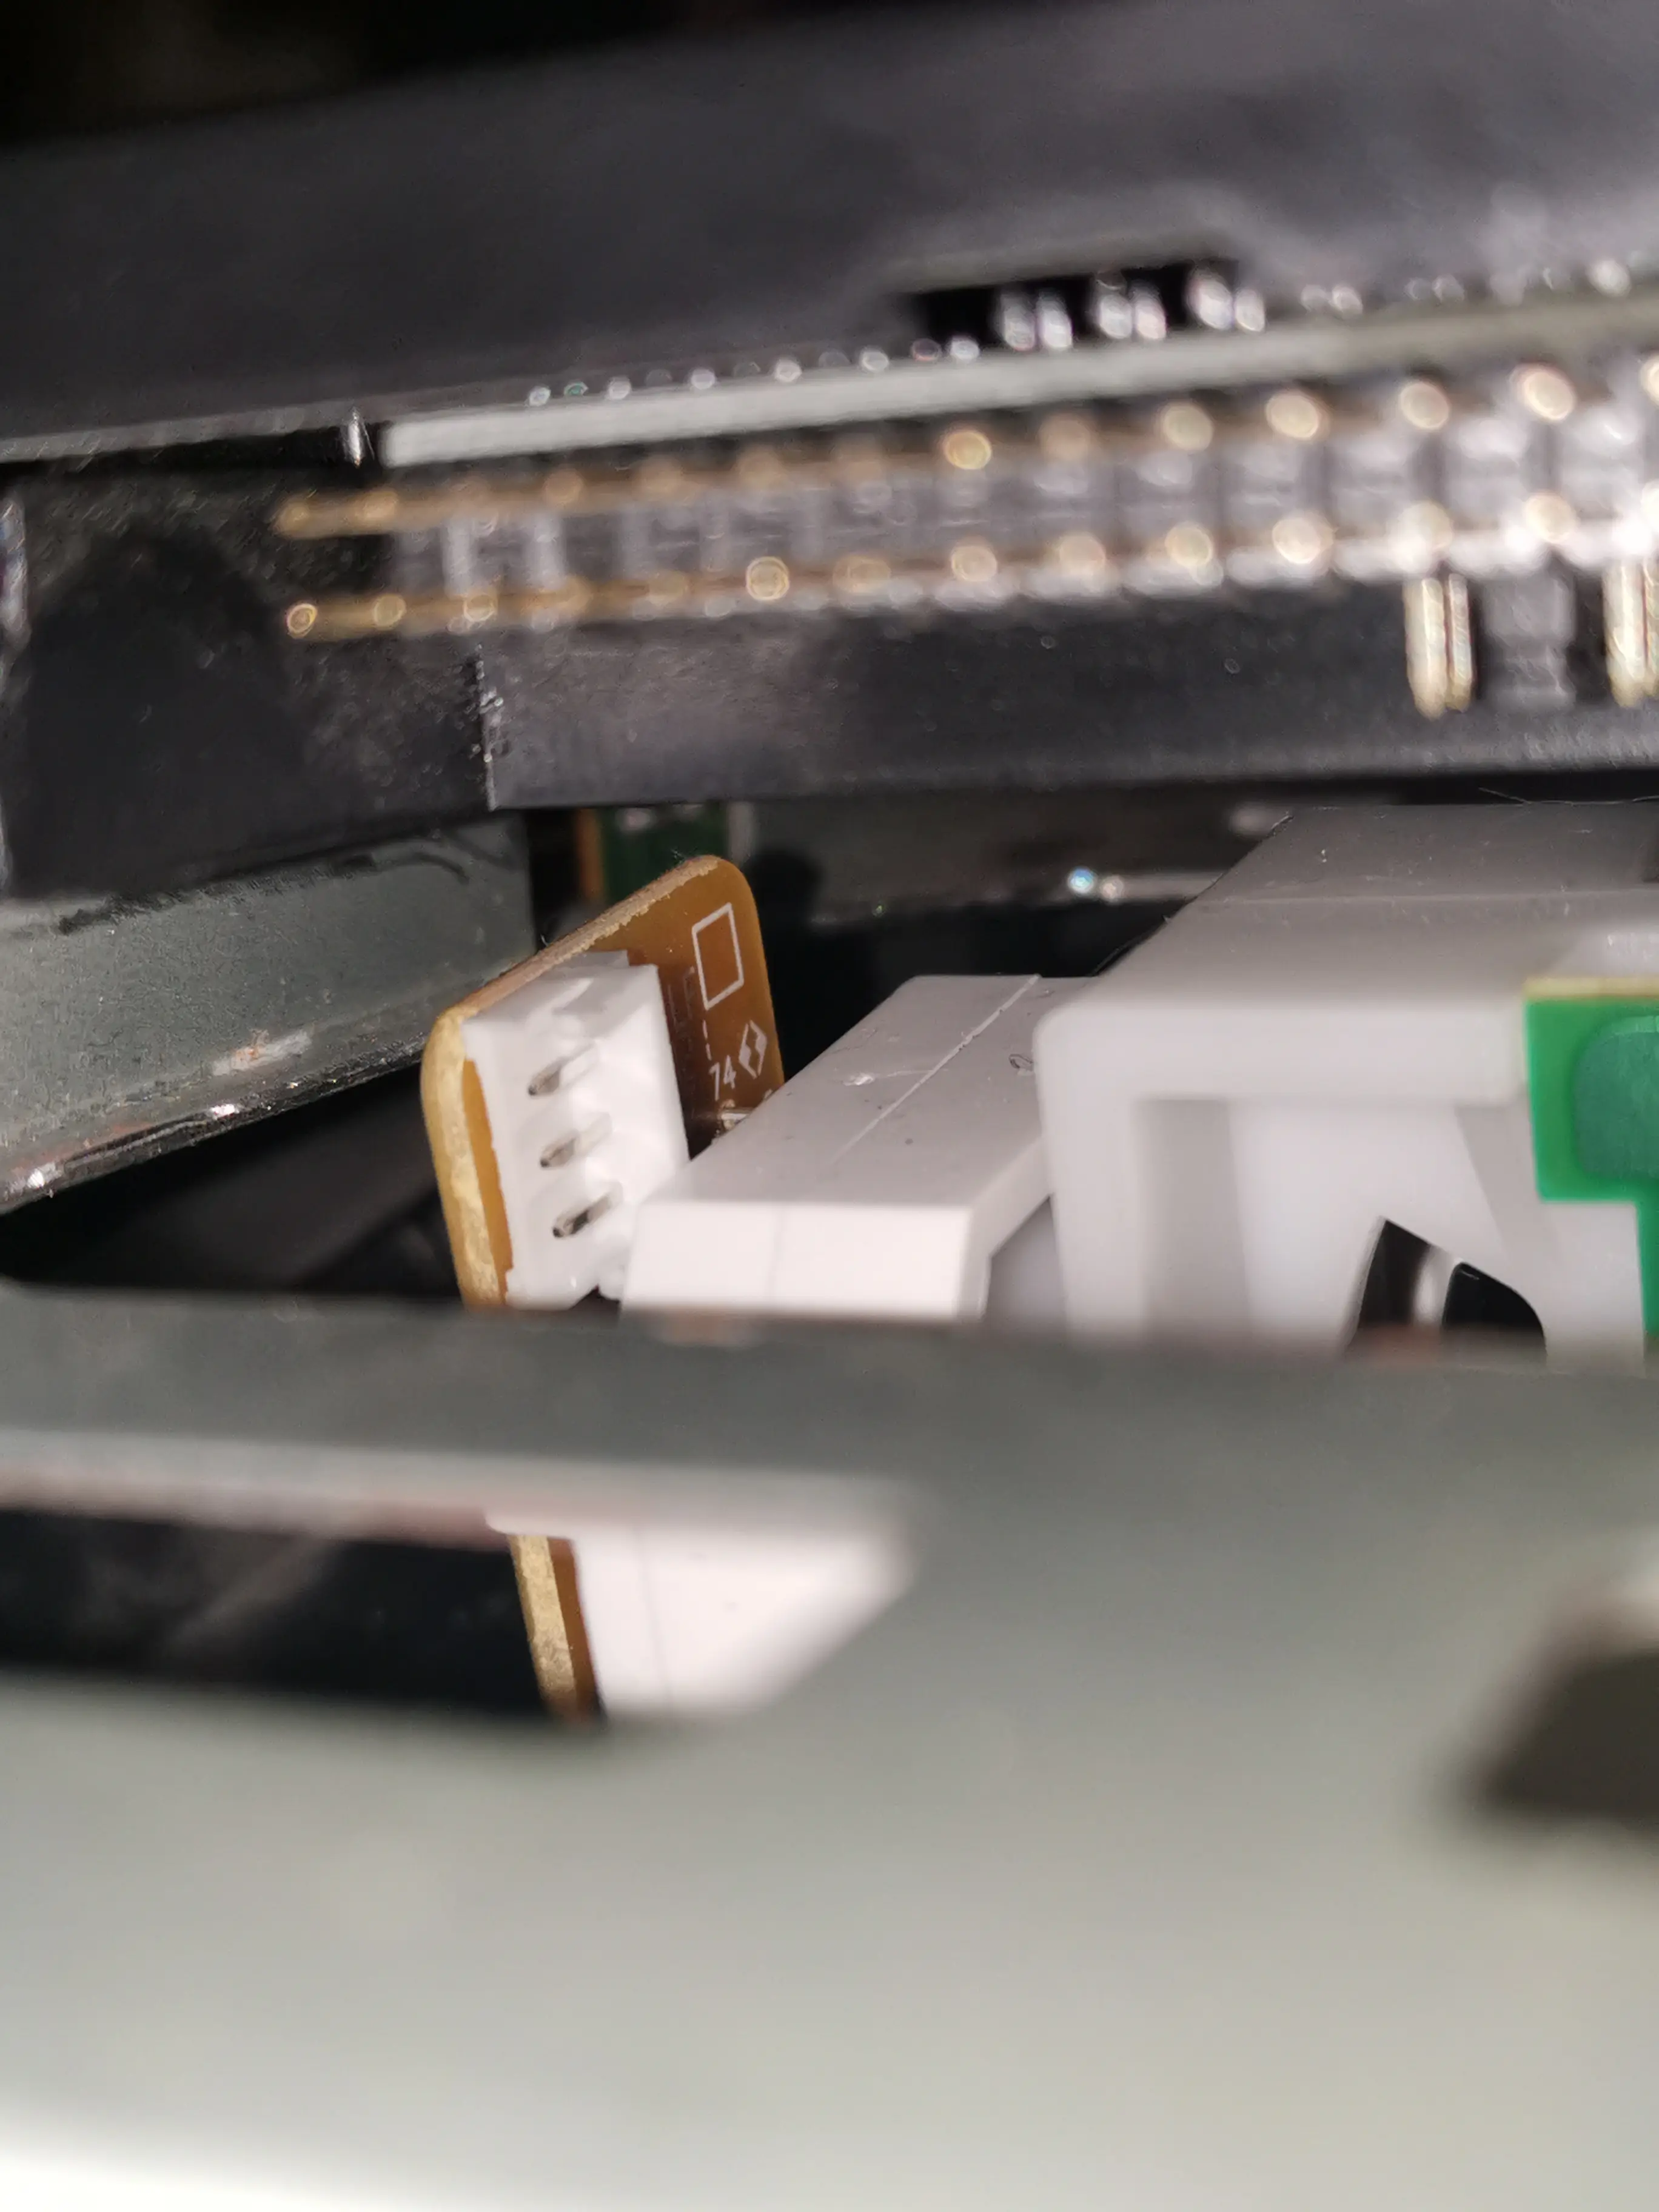
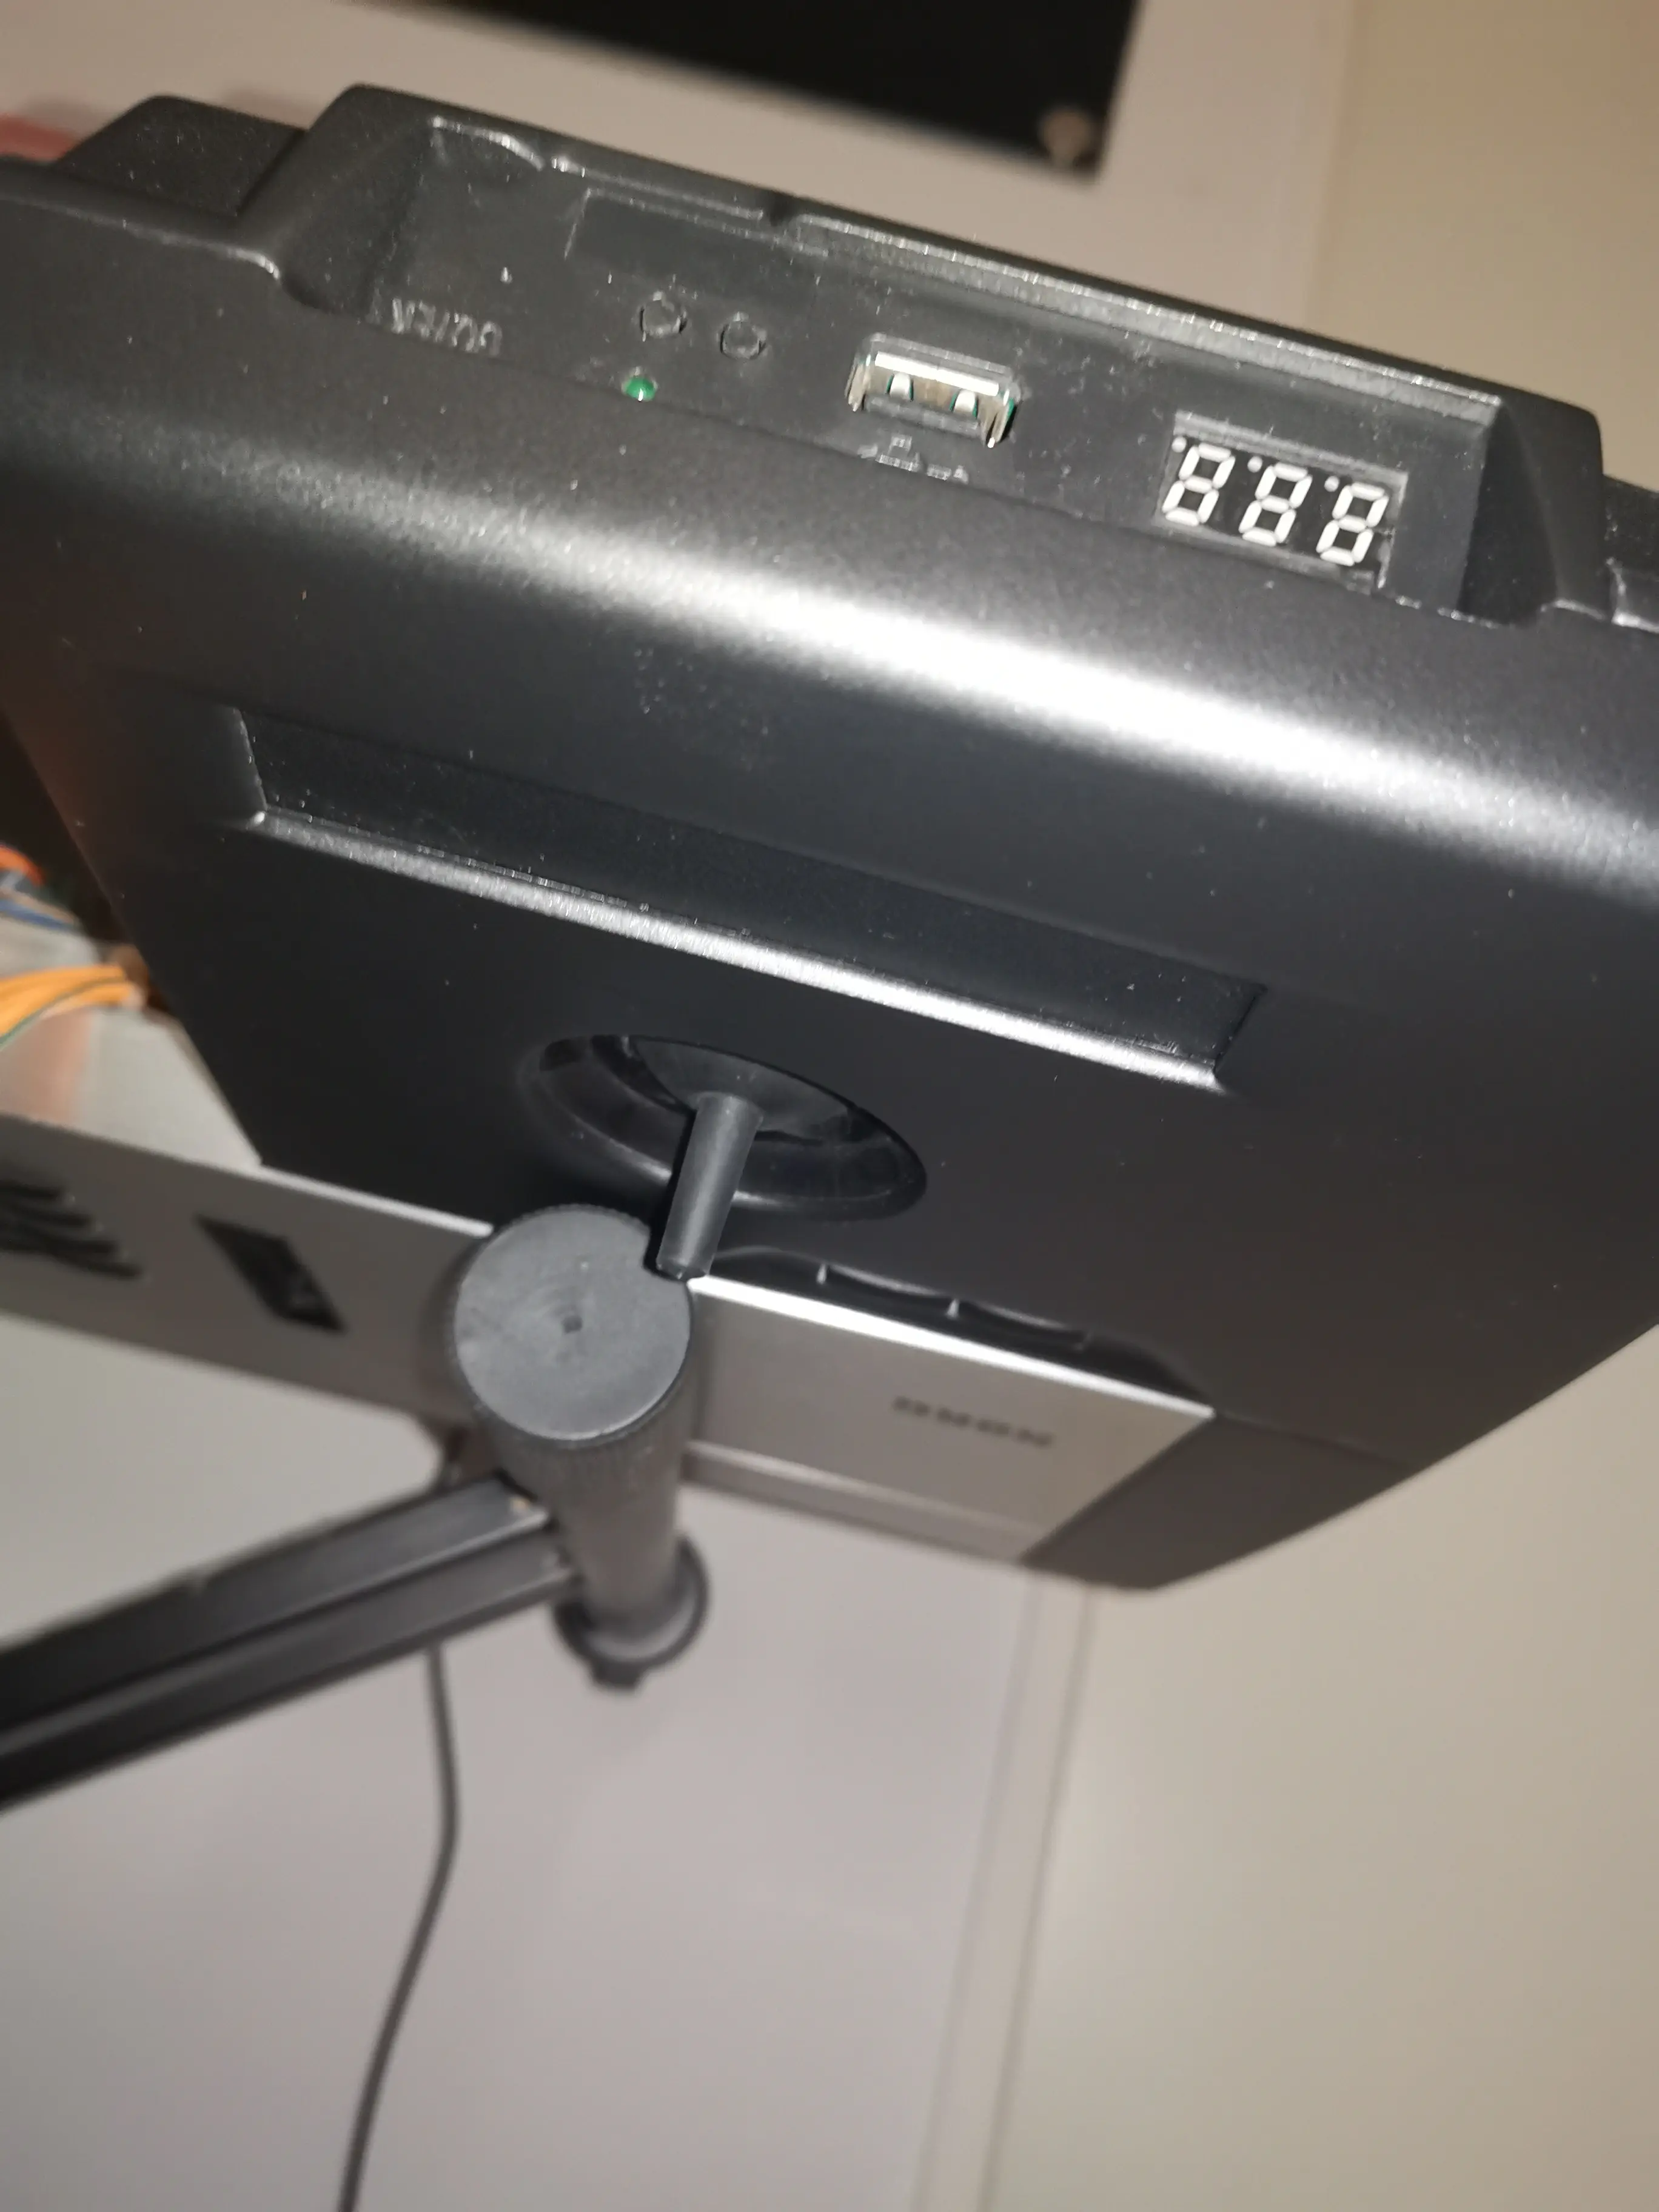
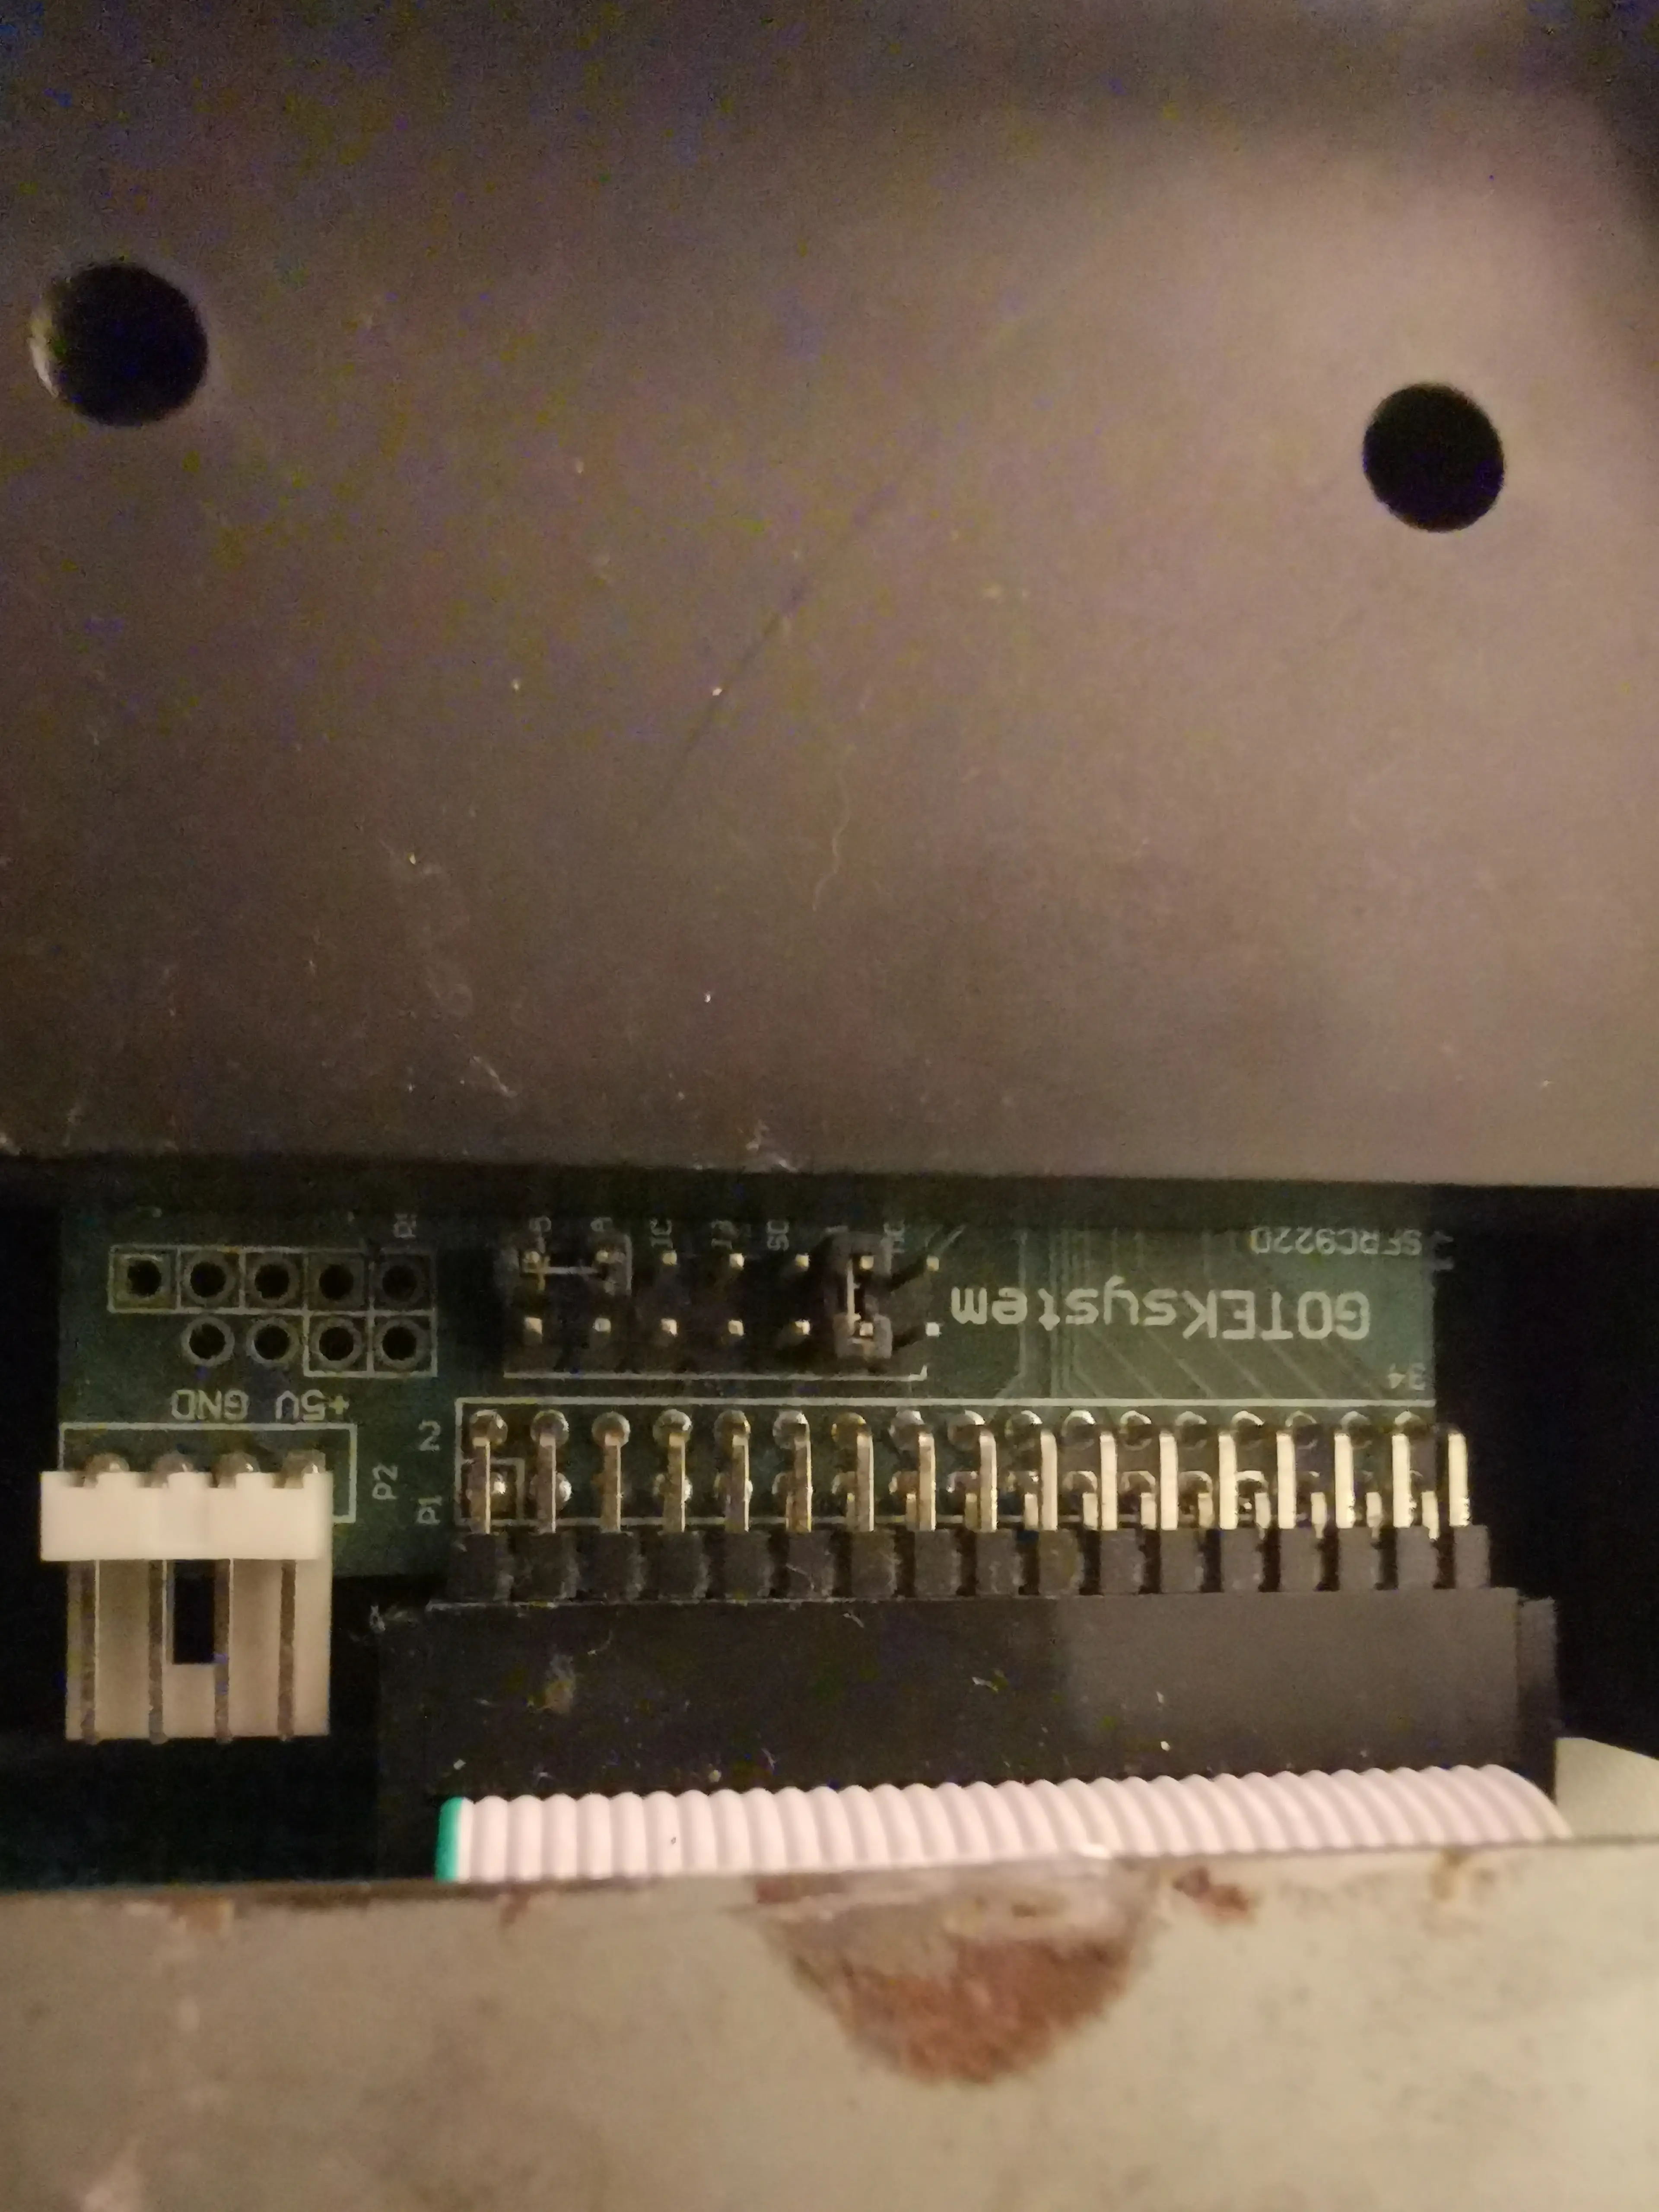
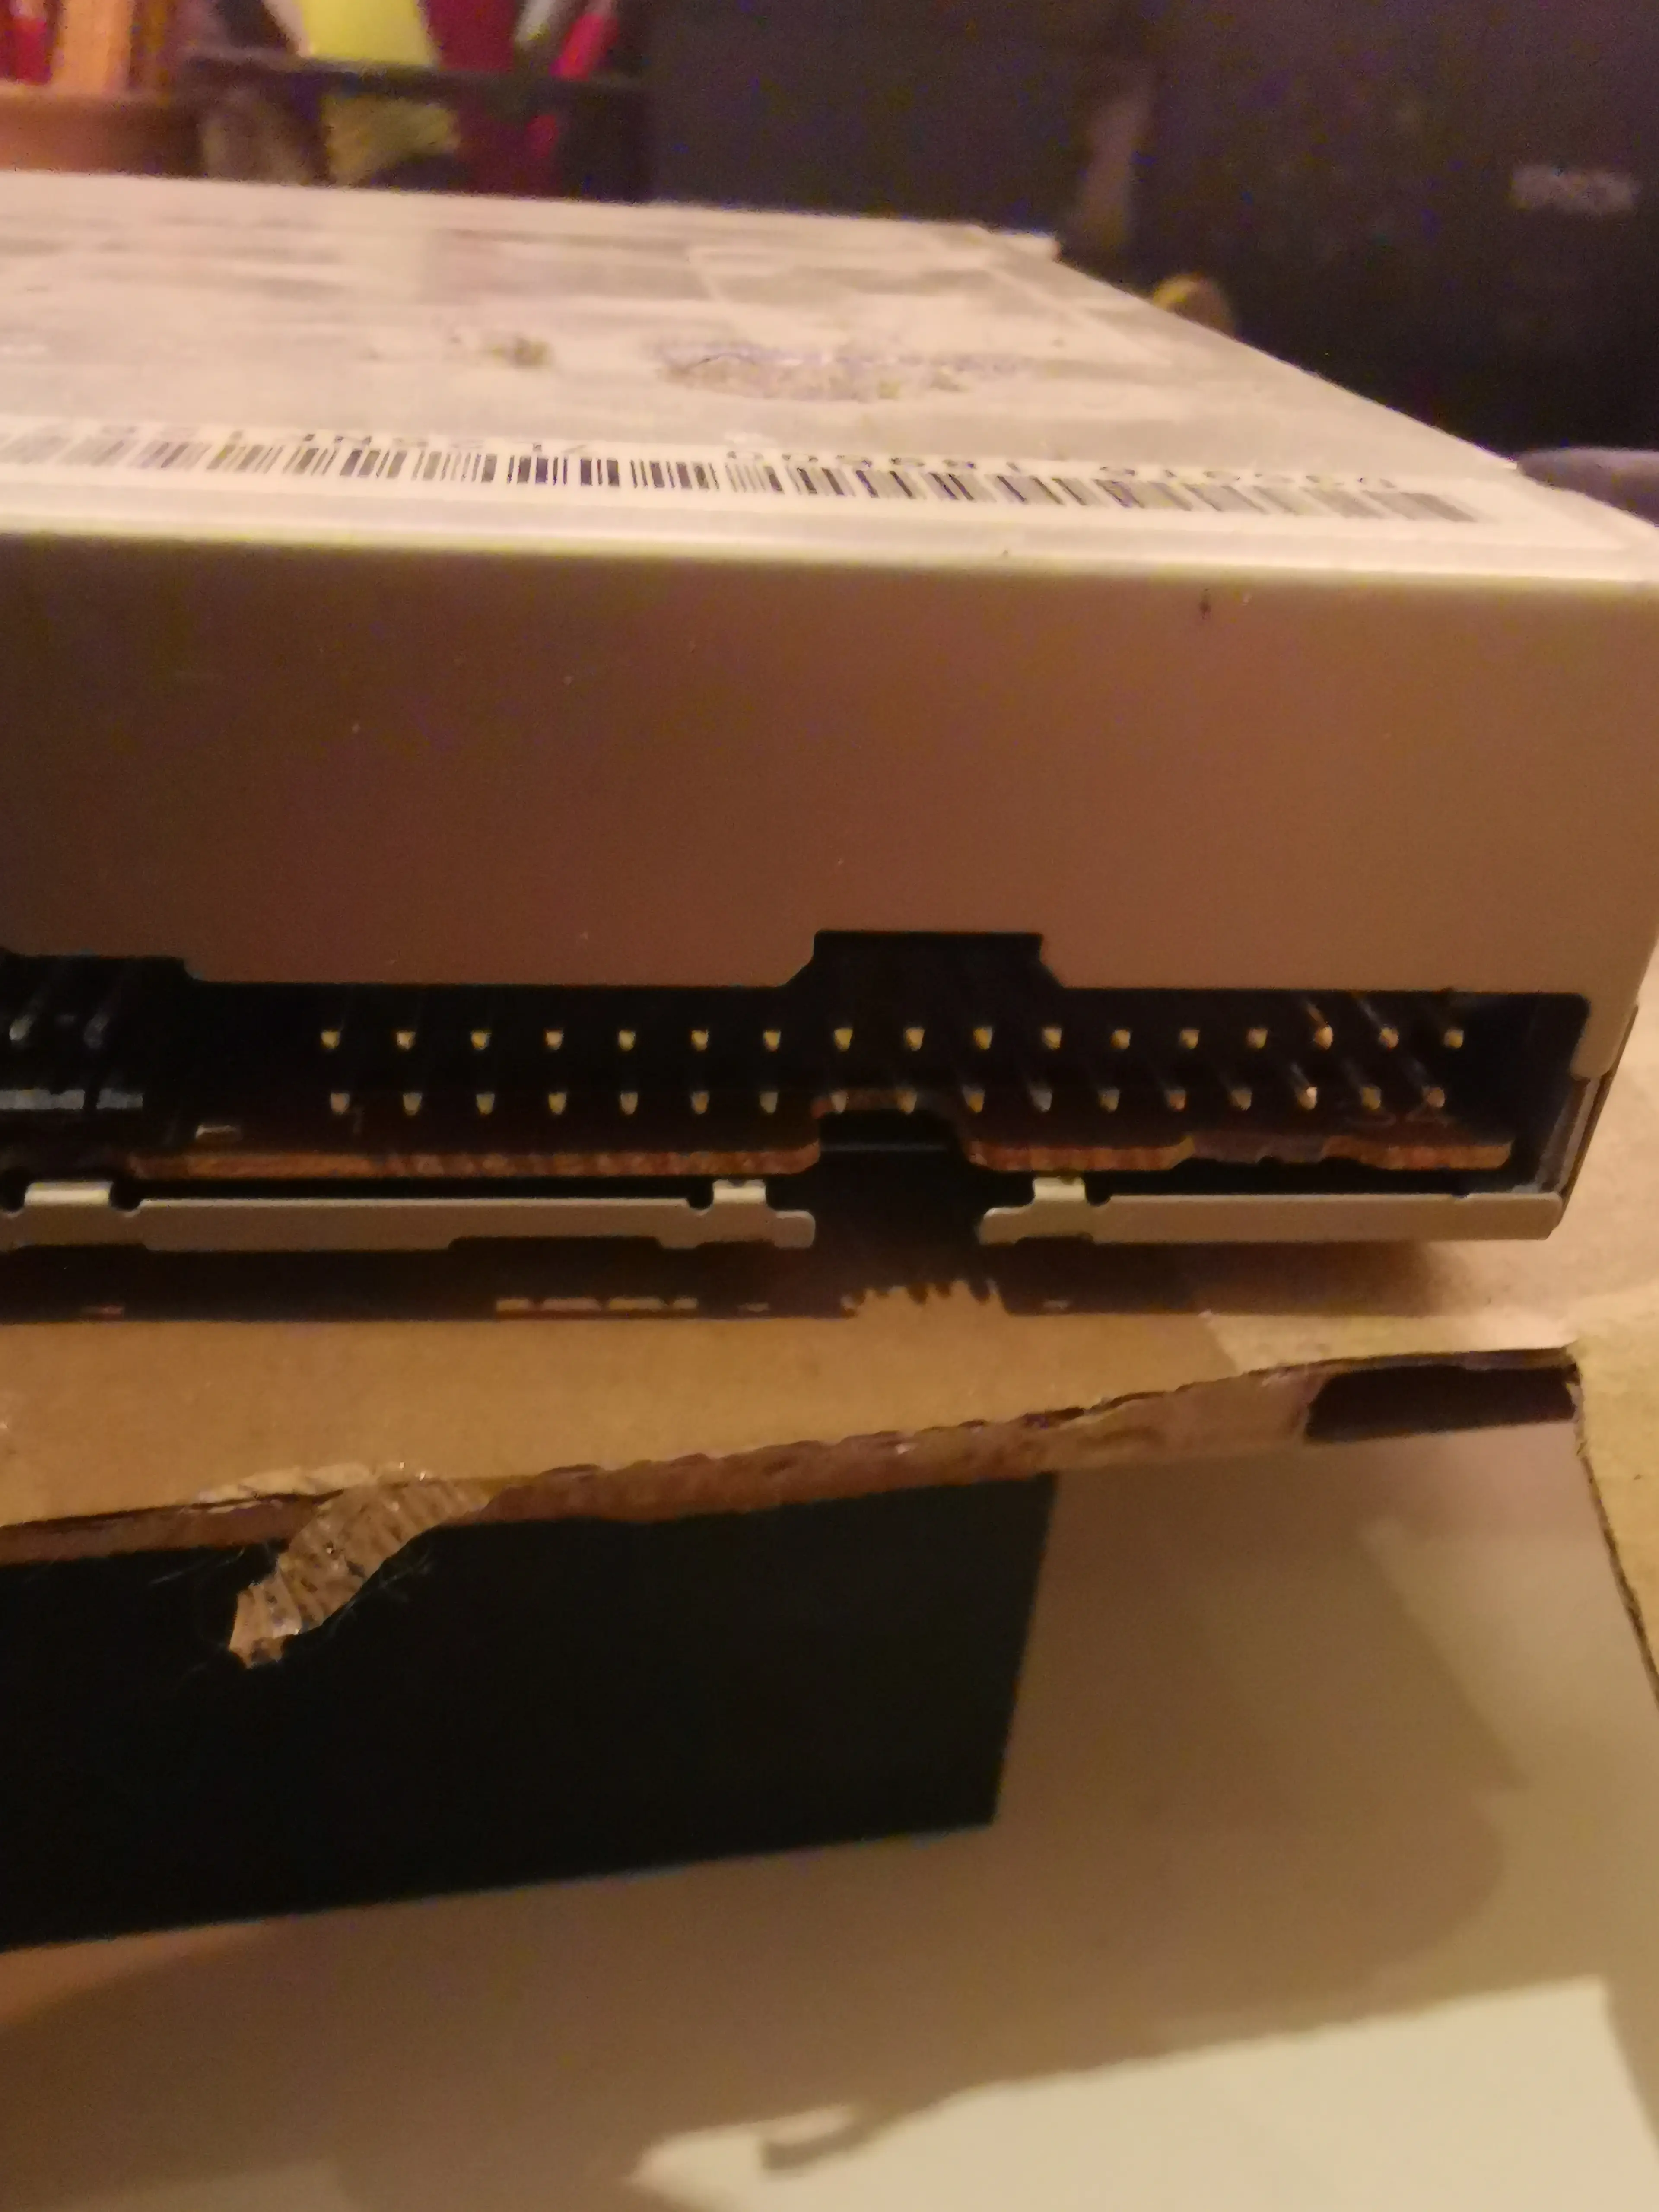
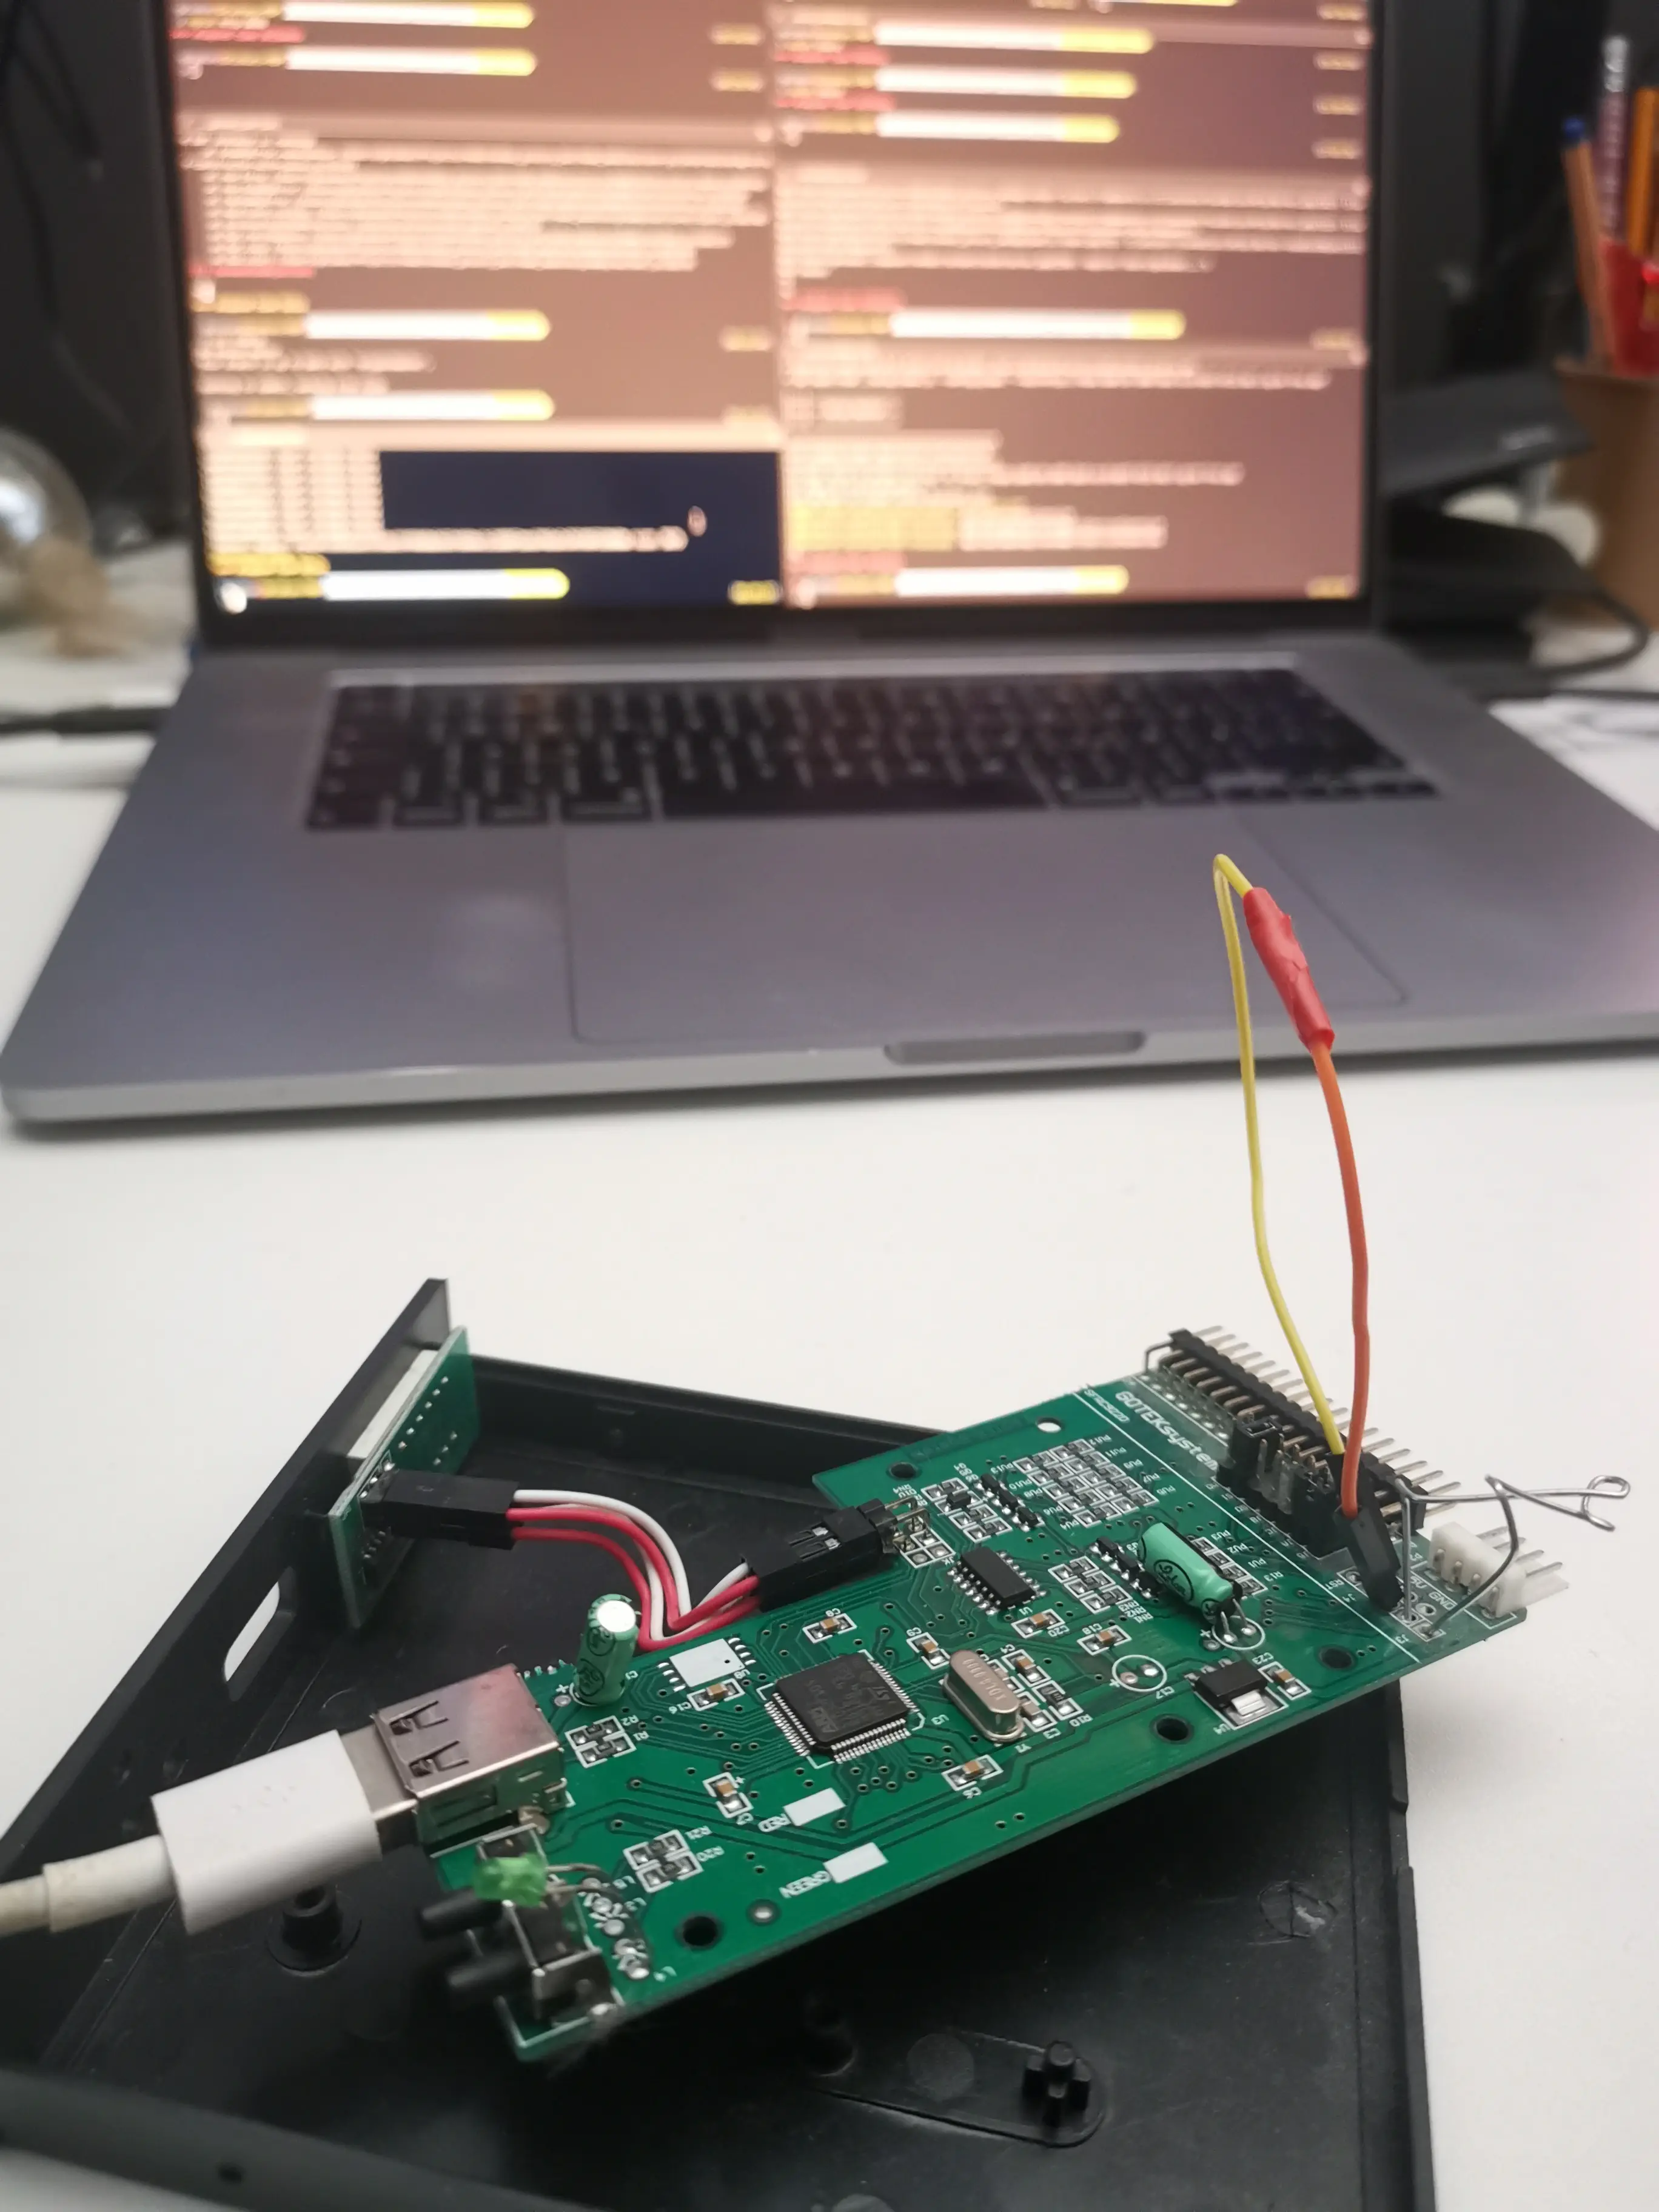
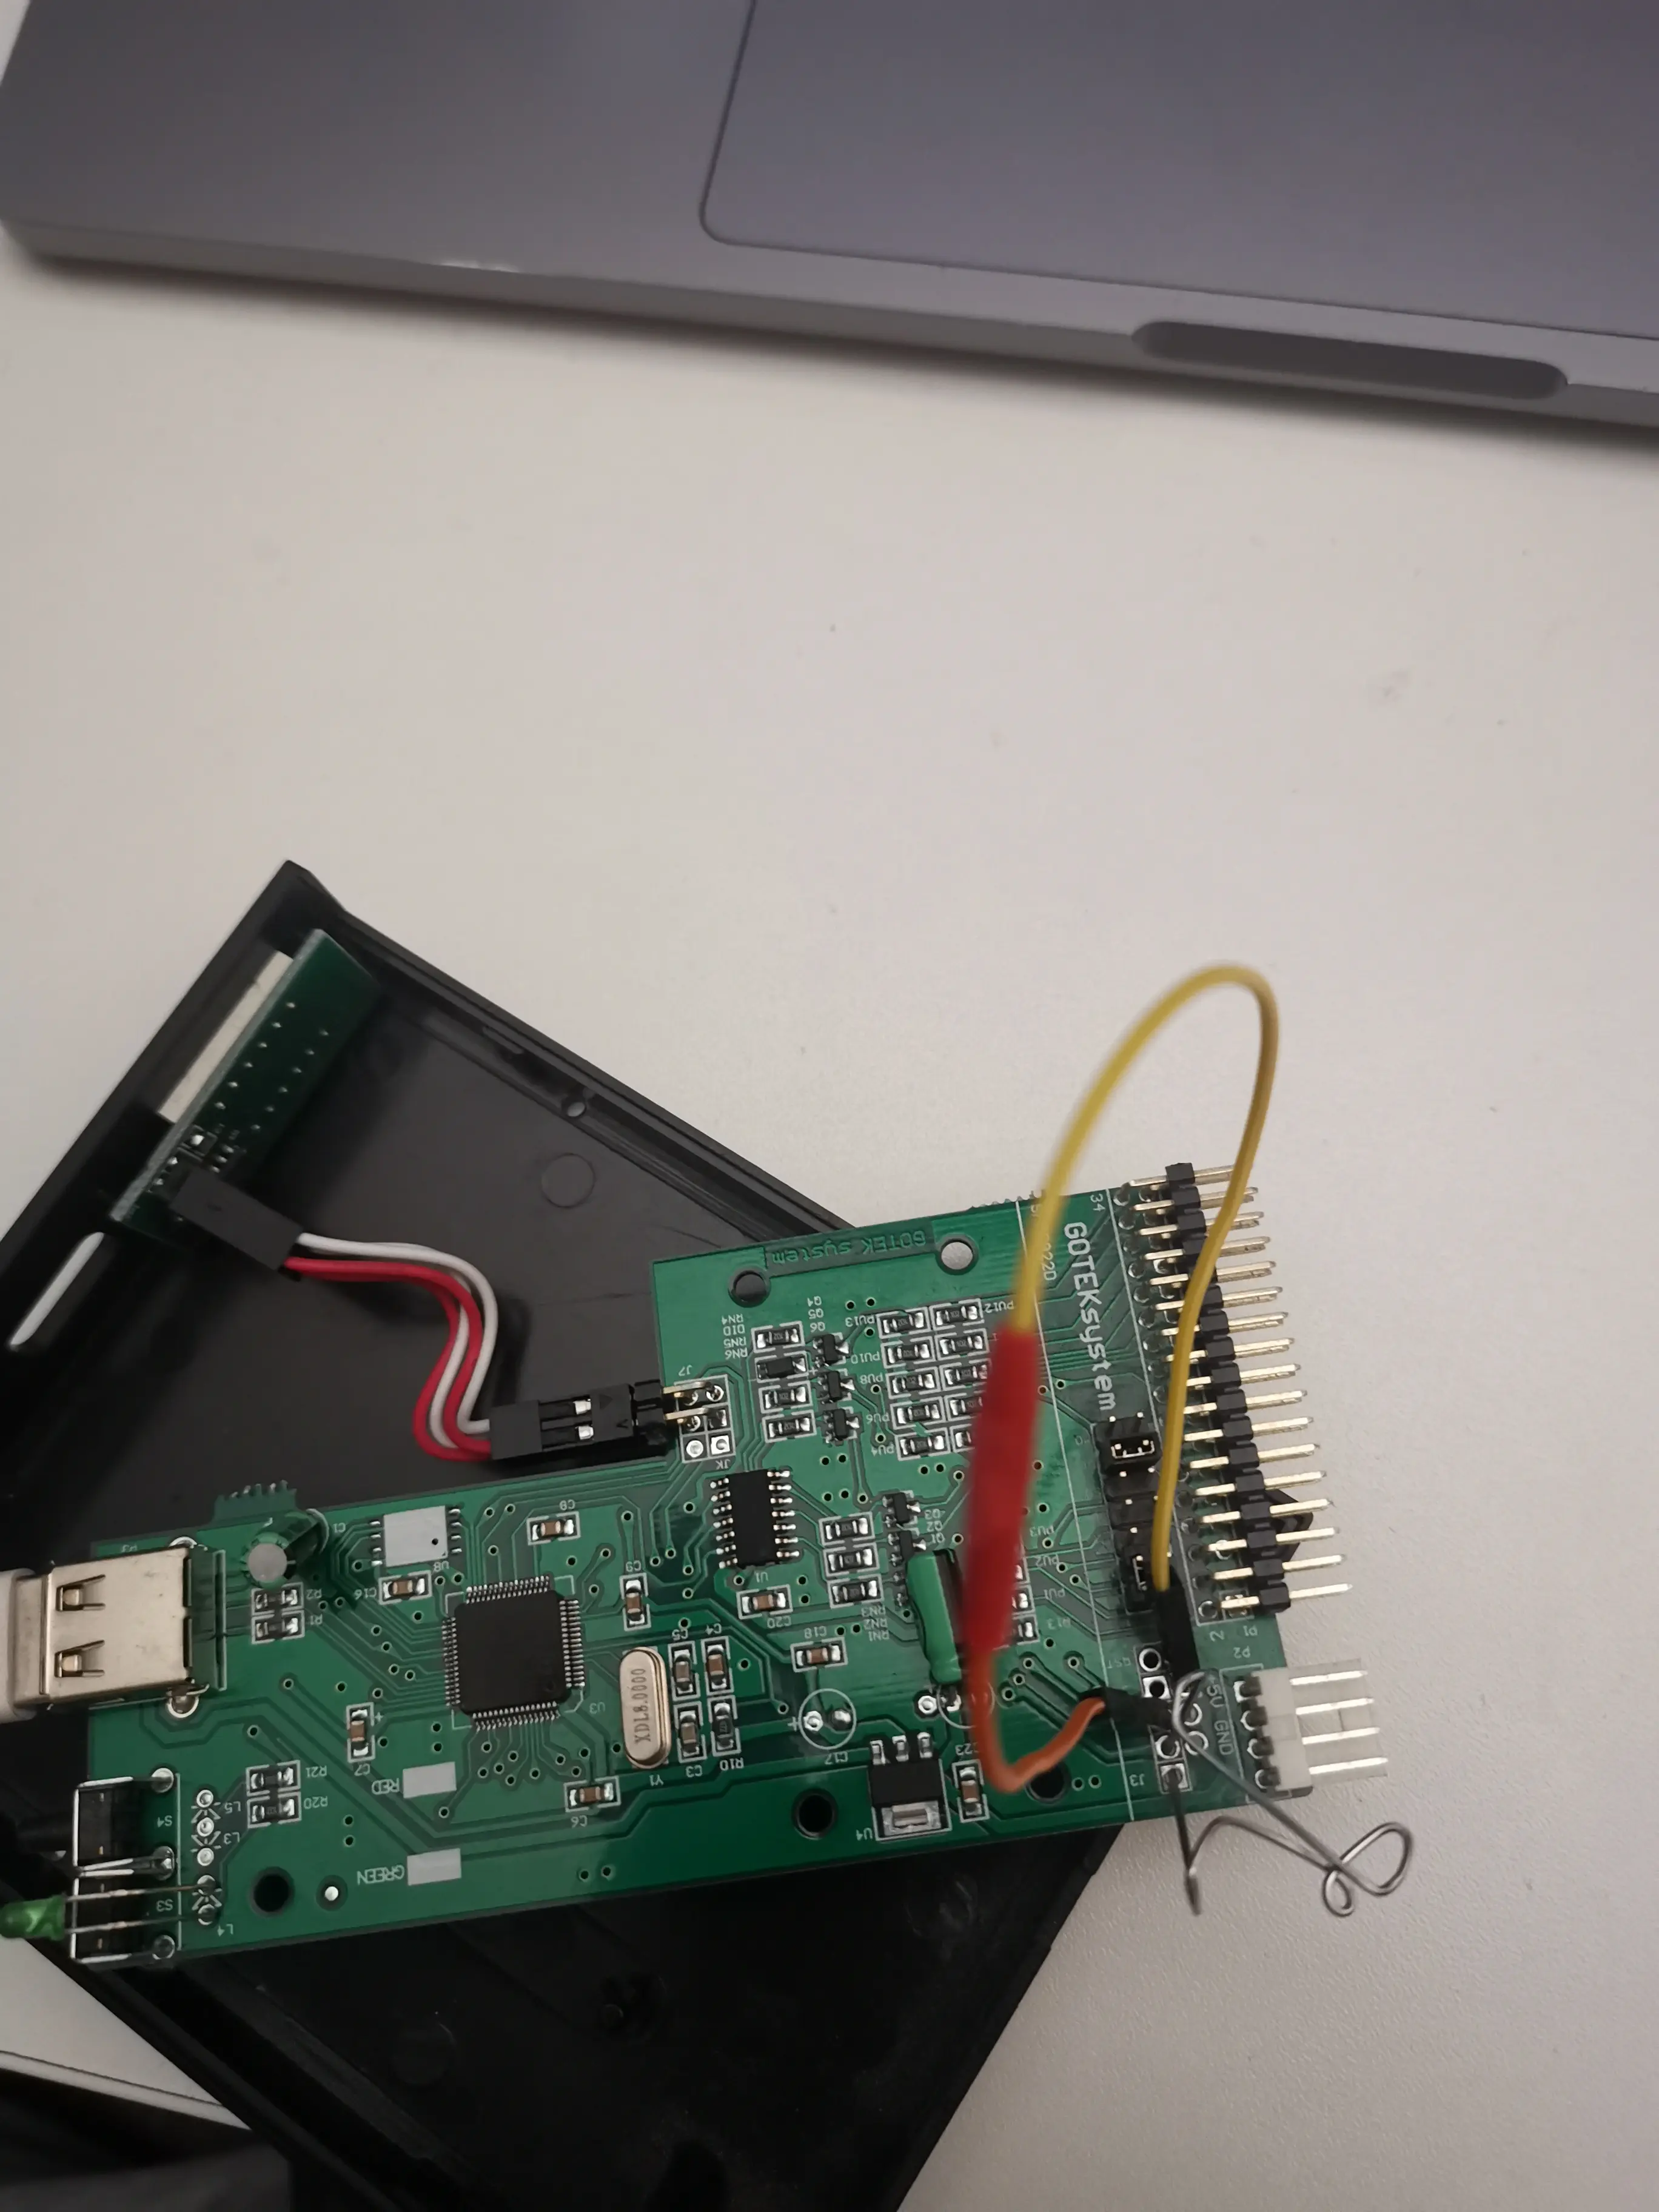
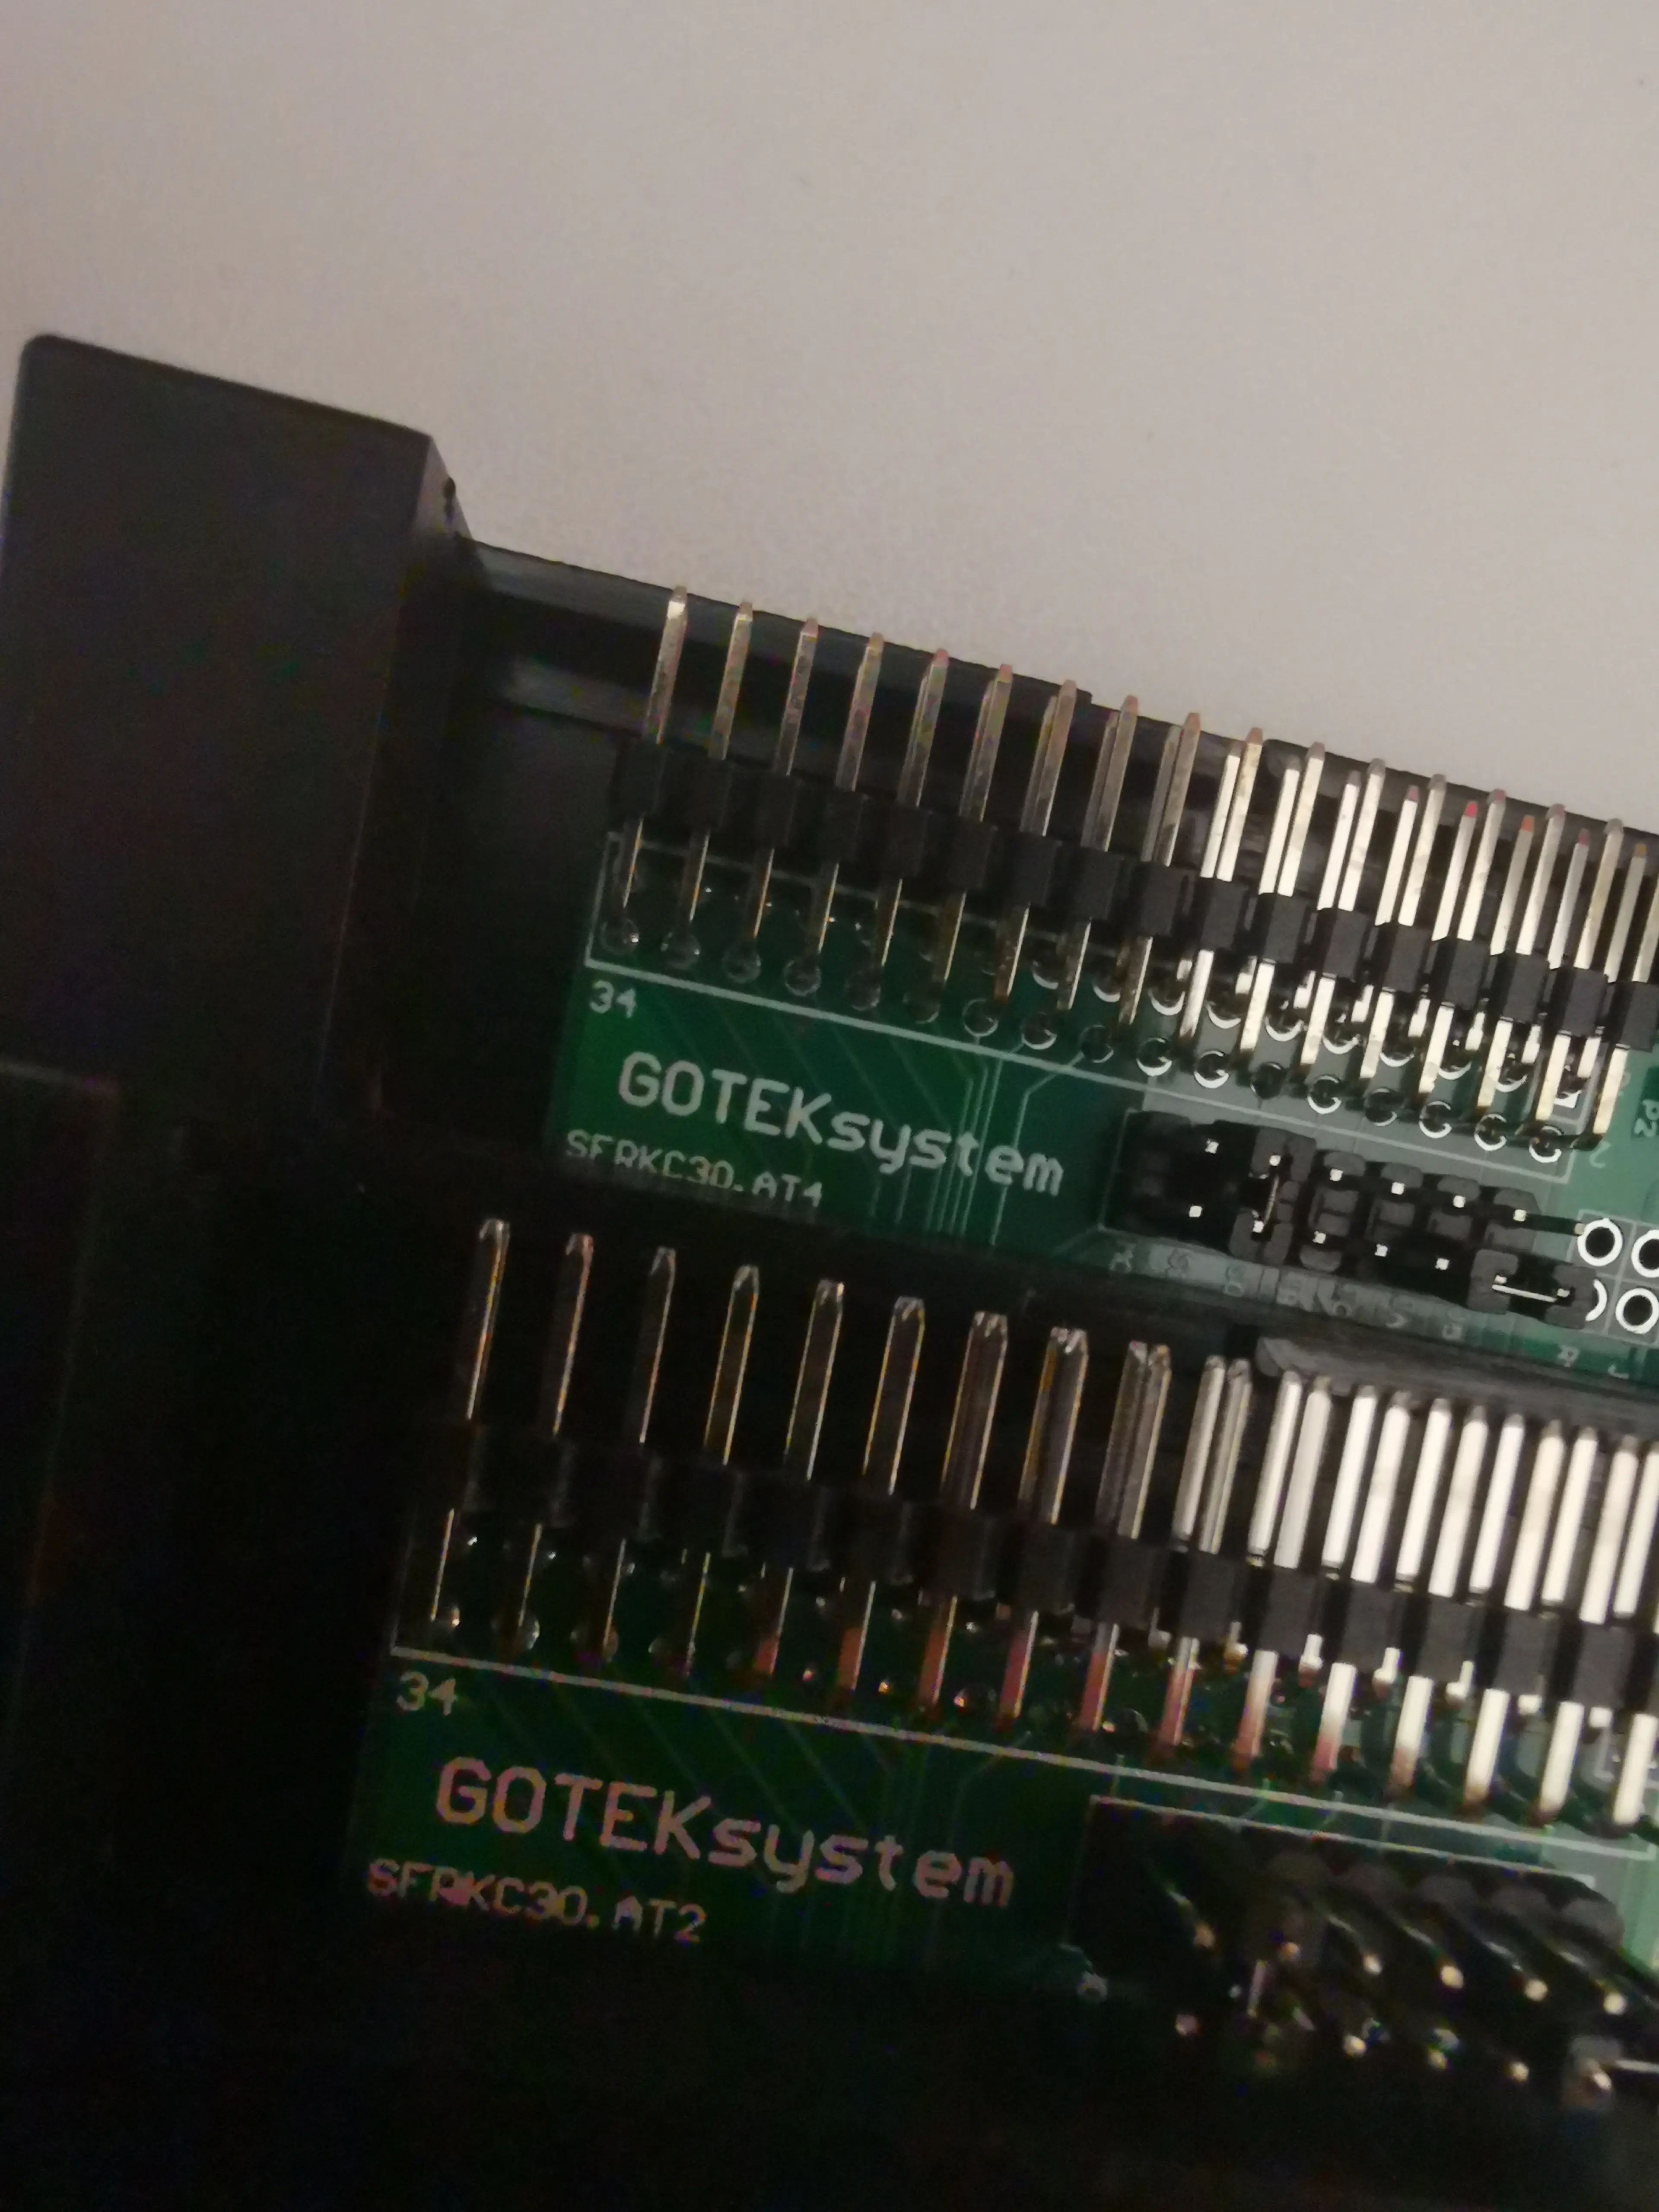
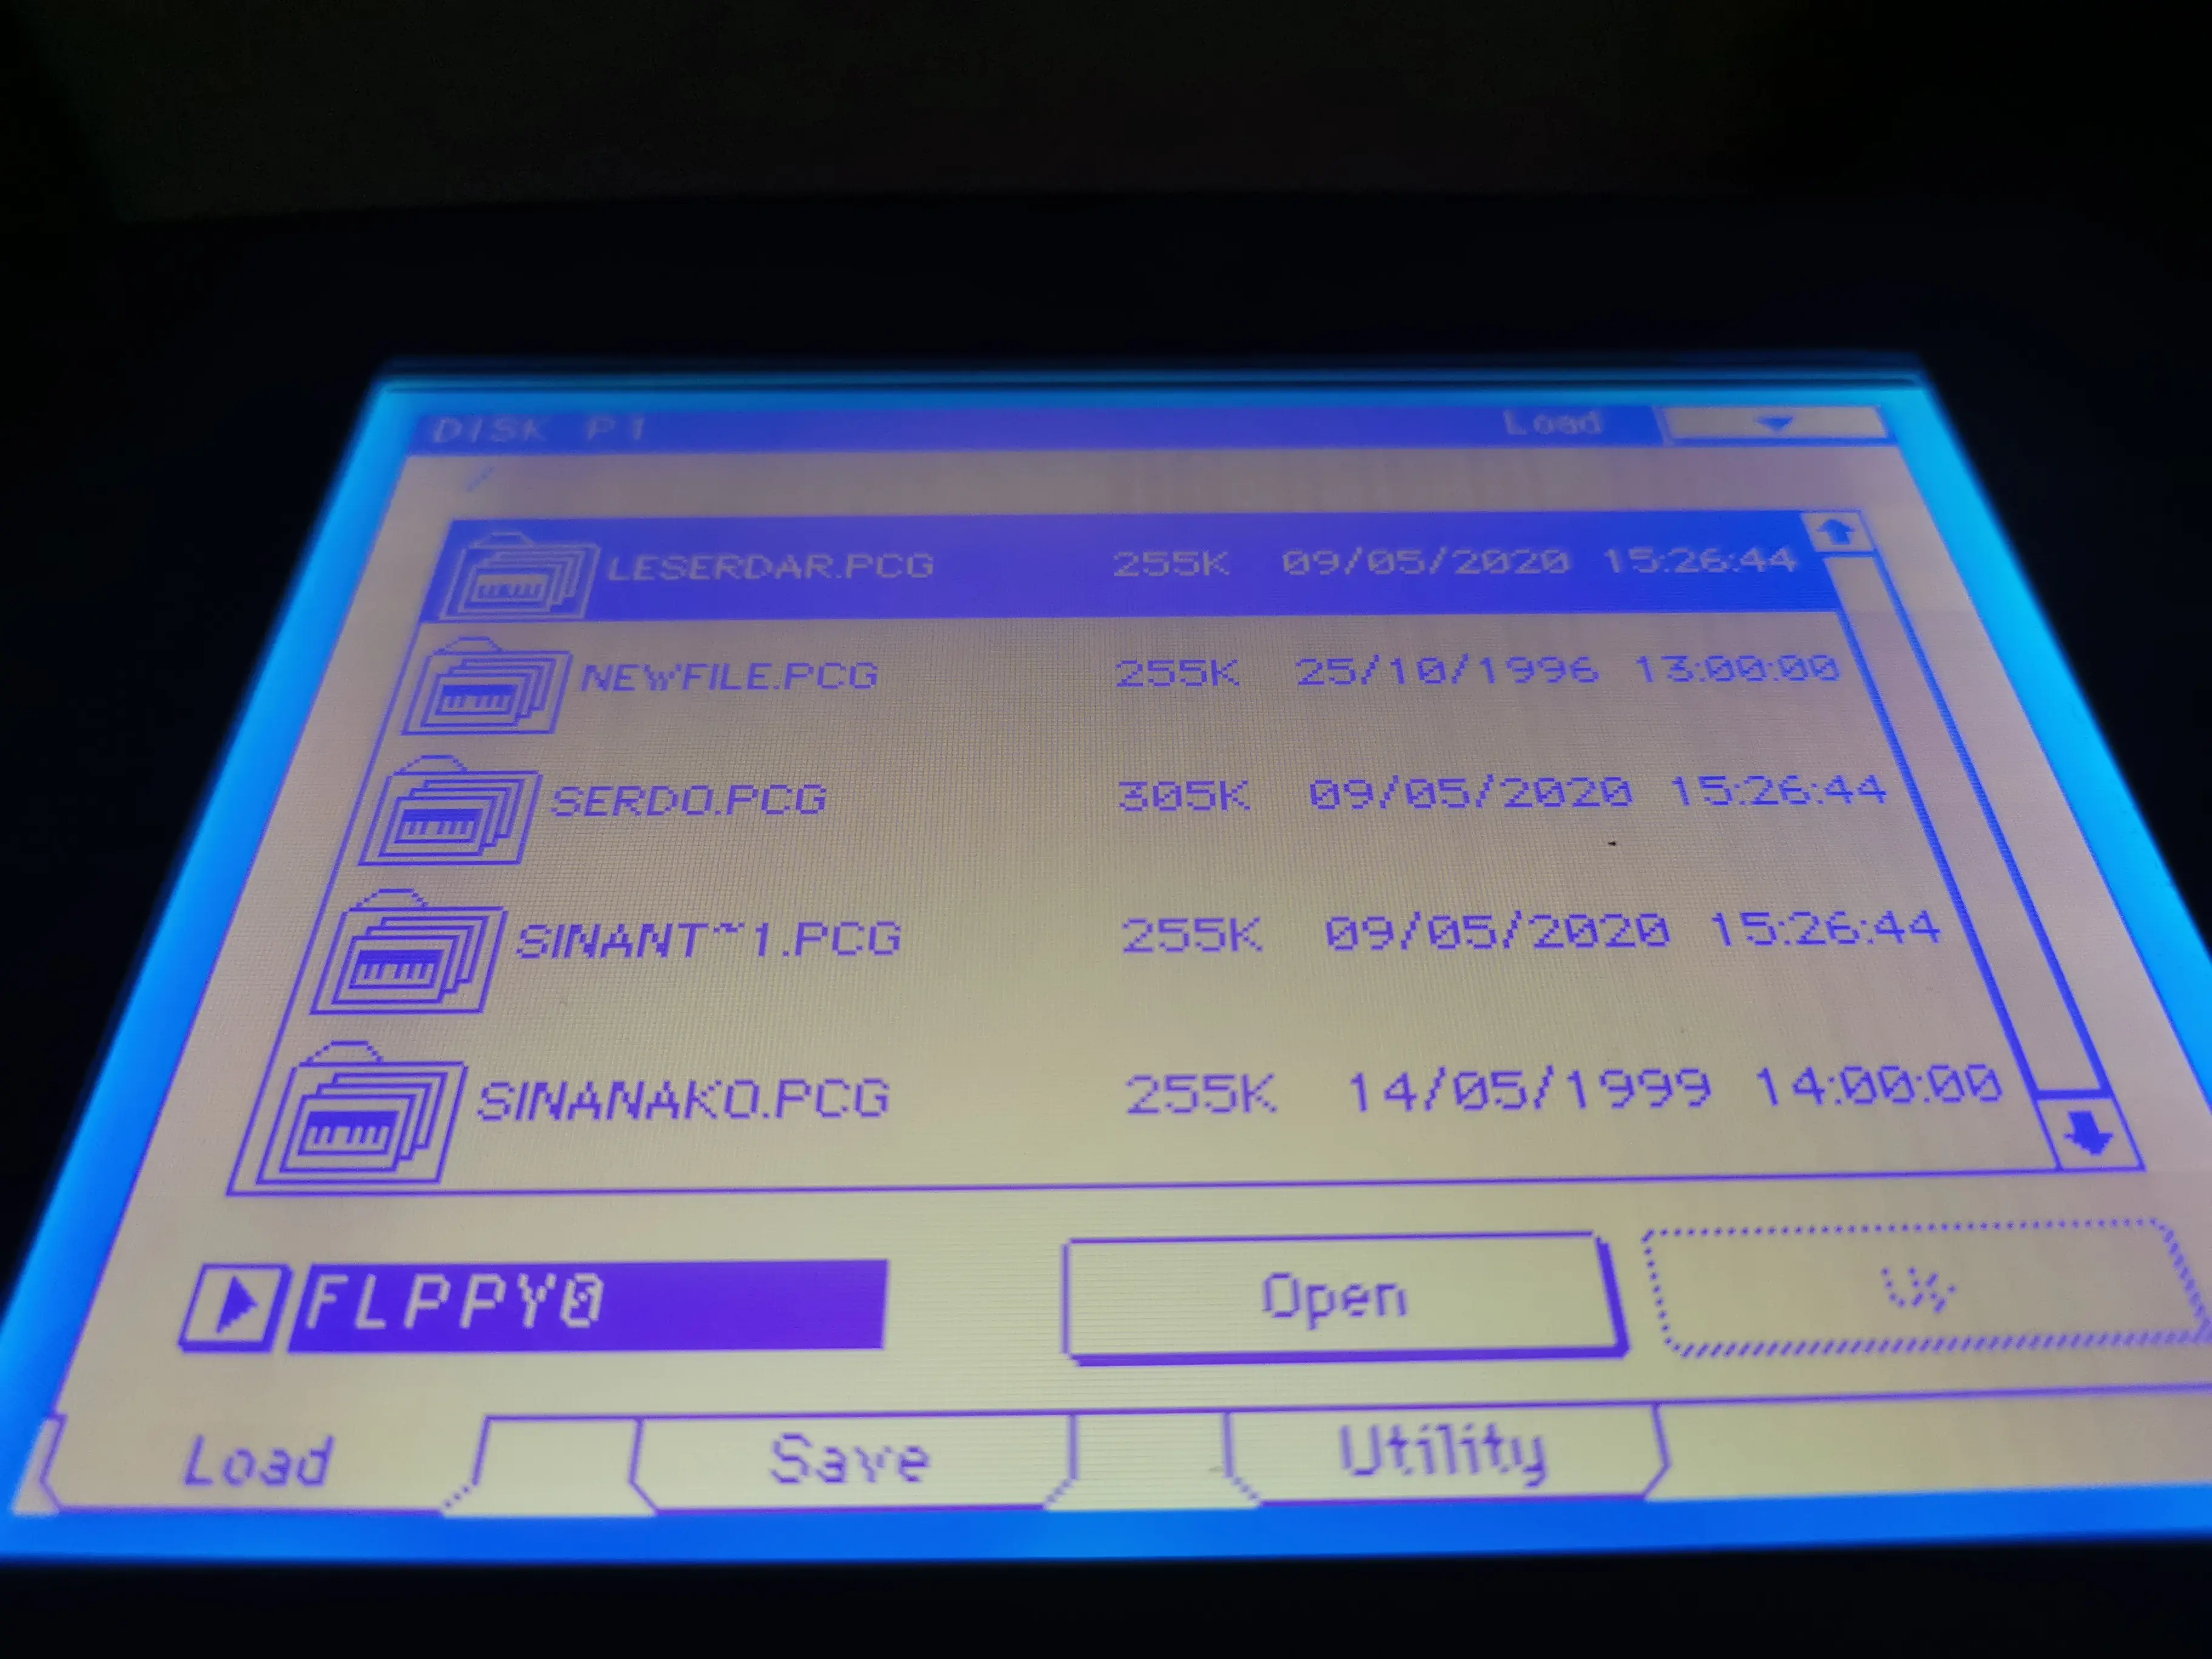
Goodbye floppy, hello Gotek

The old disk drive gets replaced by a Gotek floppy emulator with USB, mounted in its own bracket.
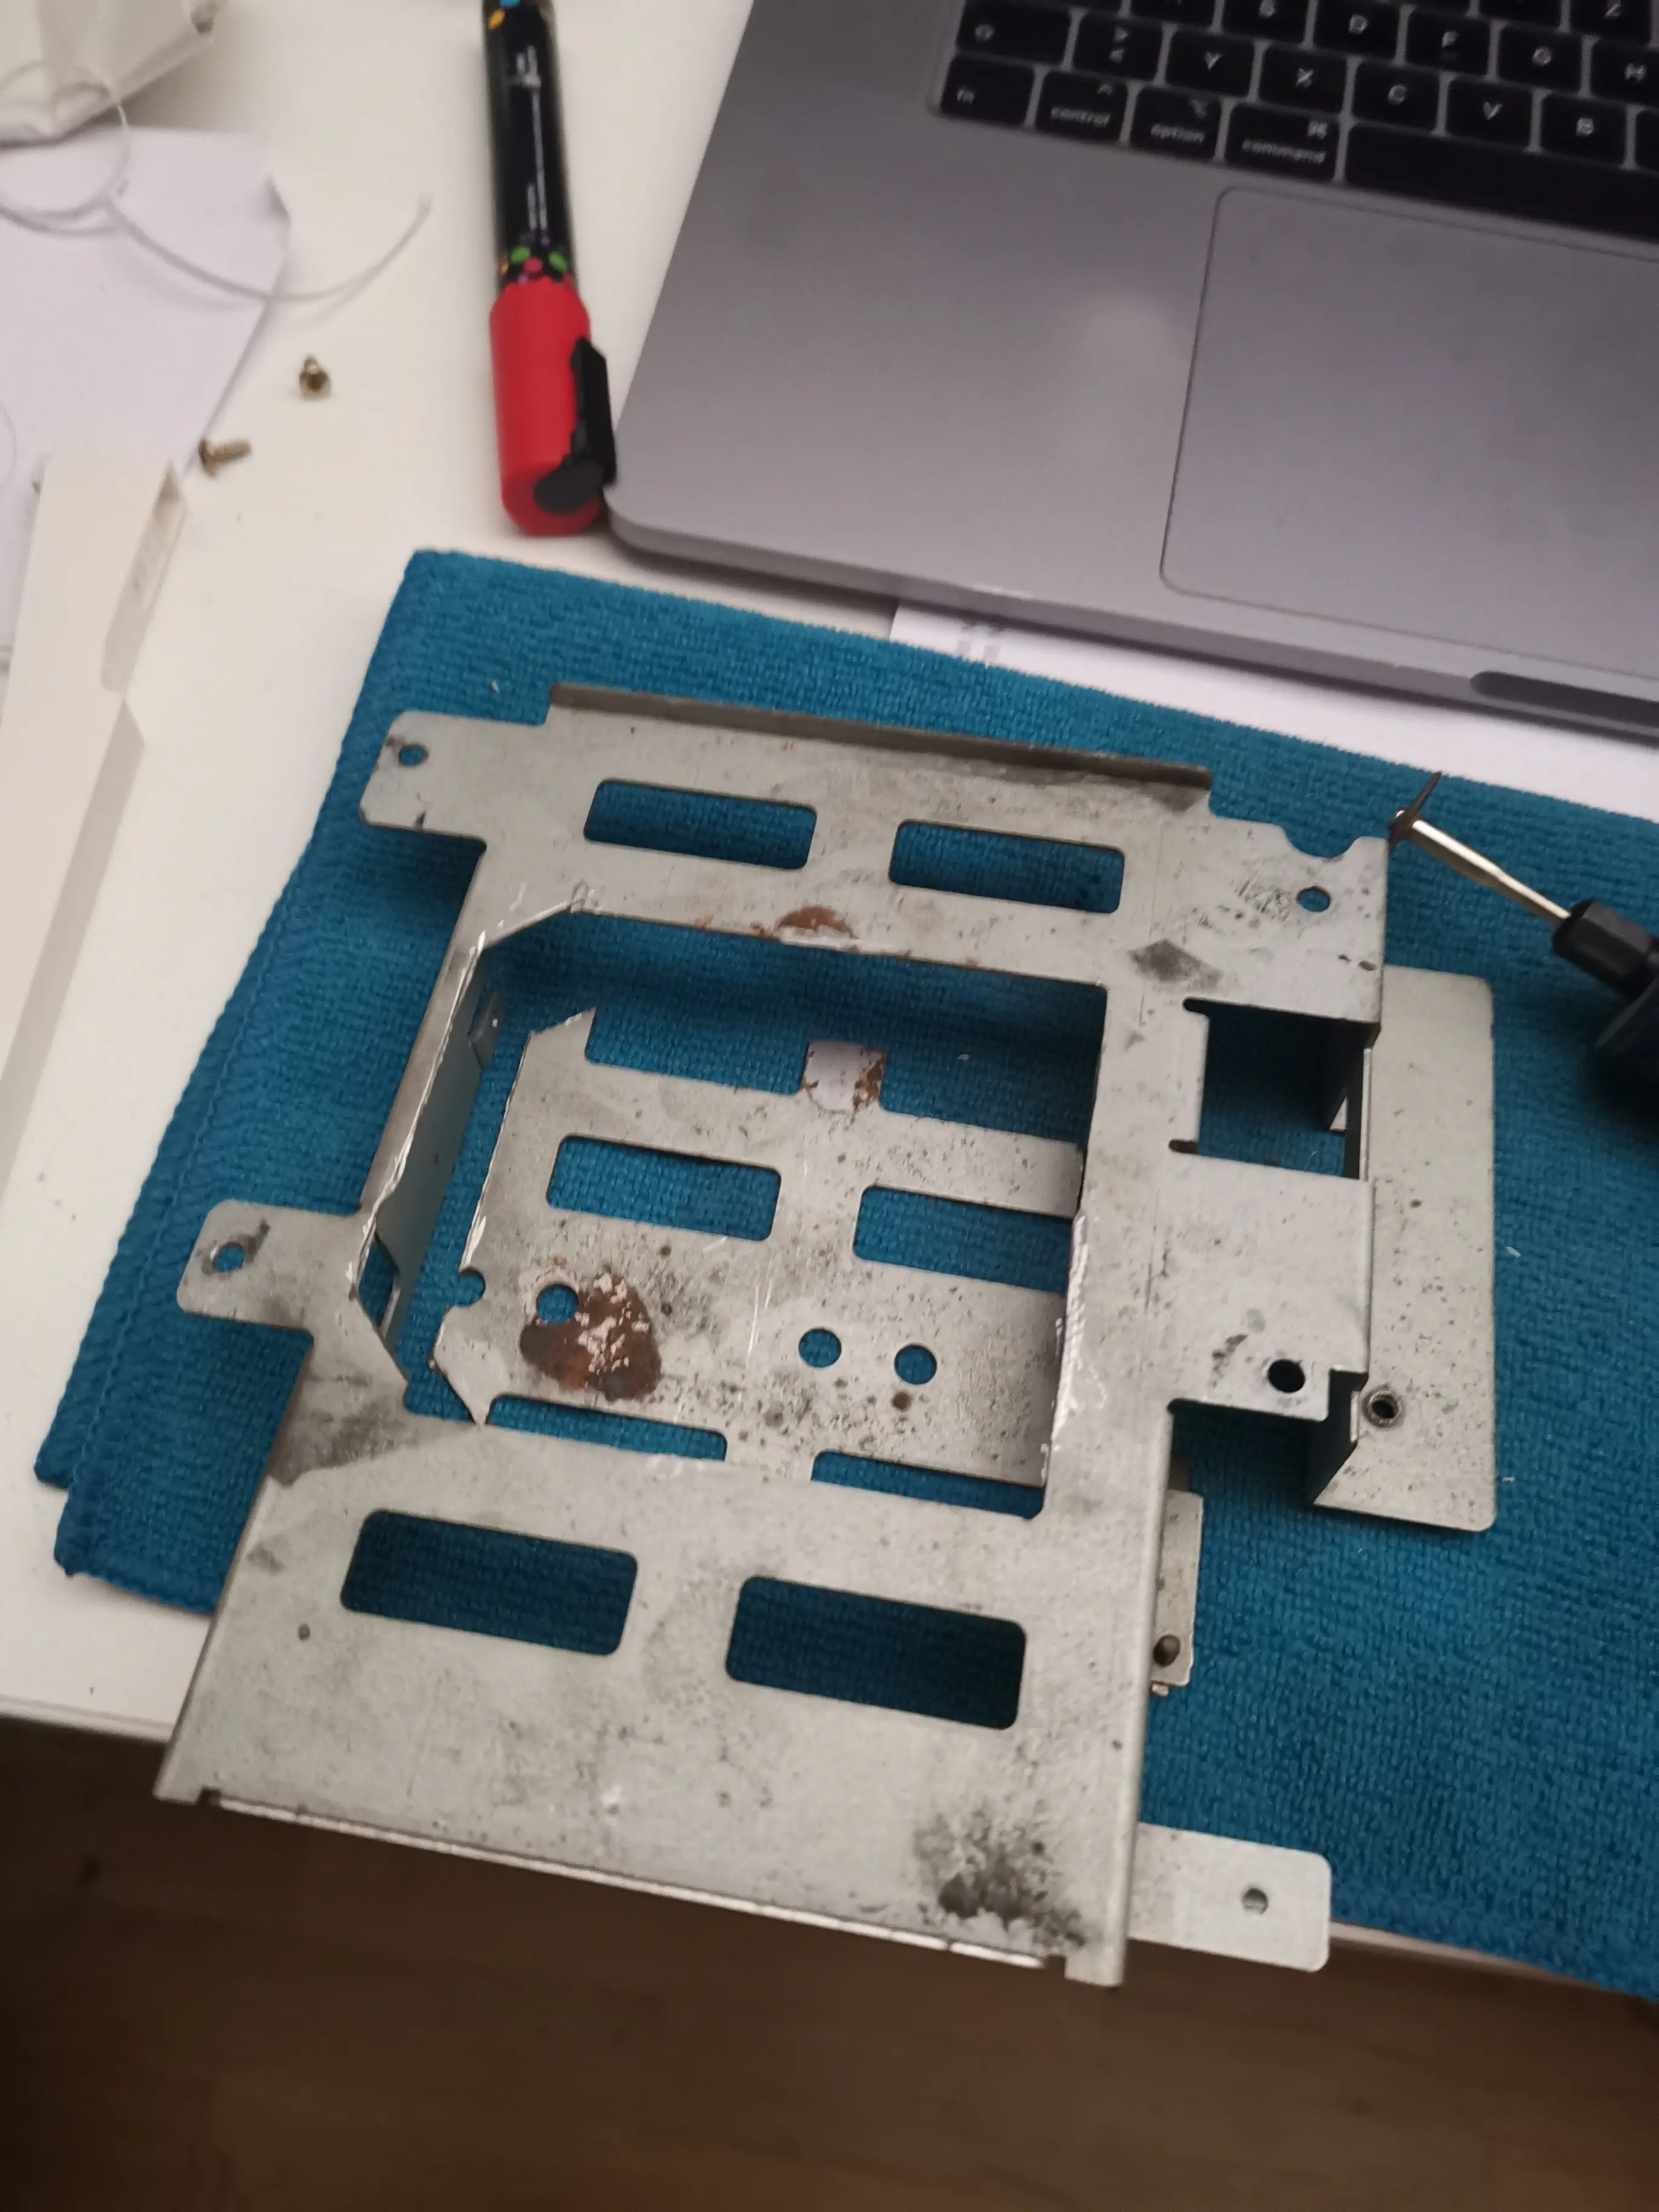
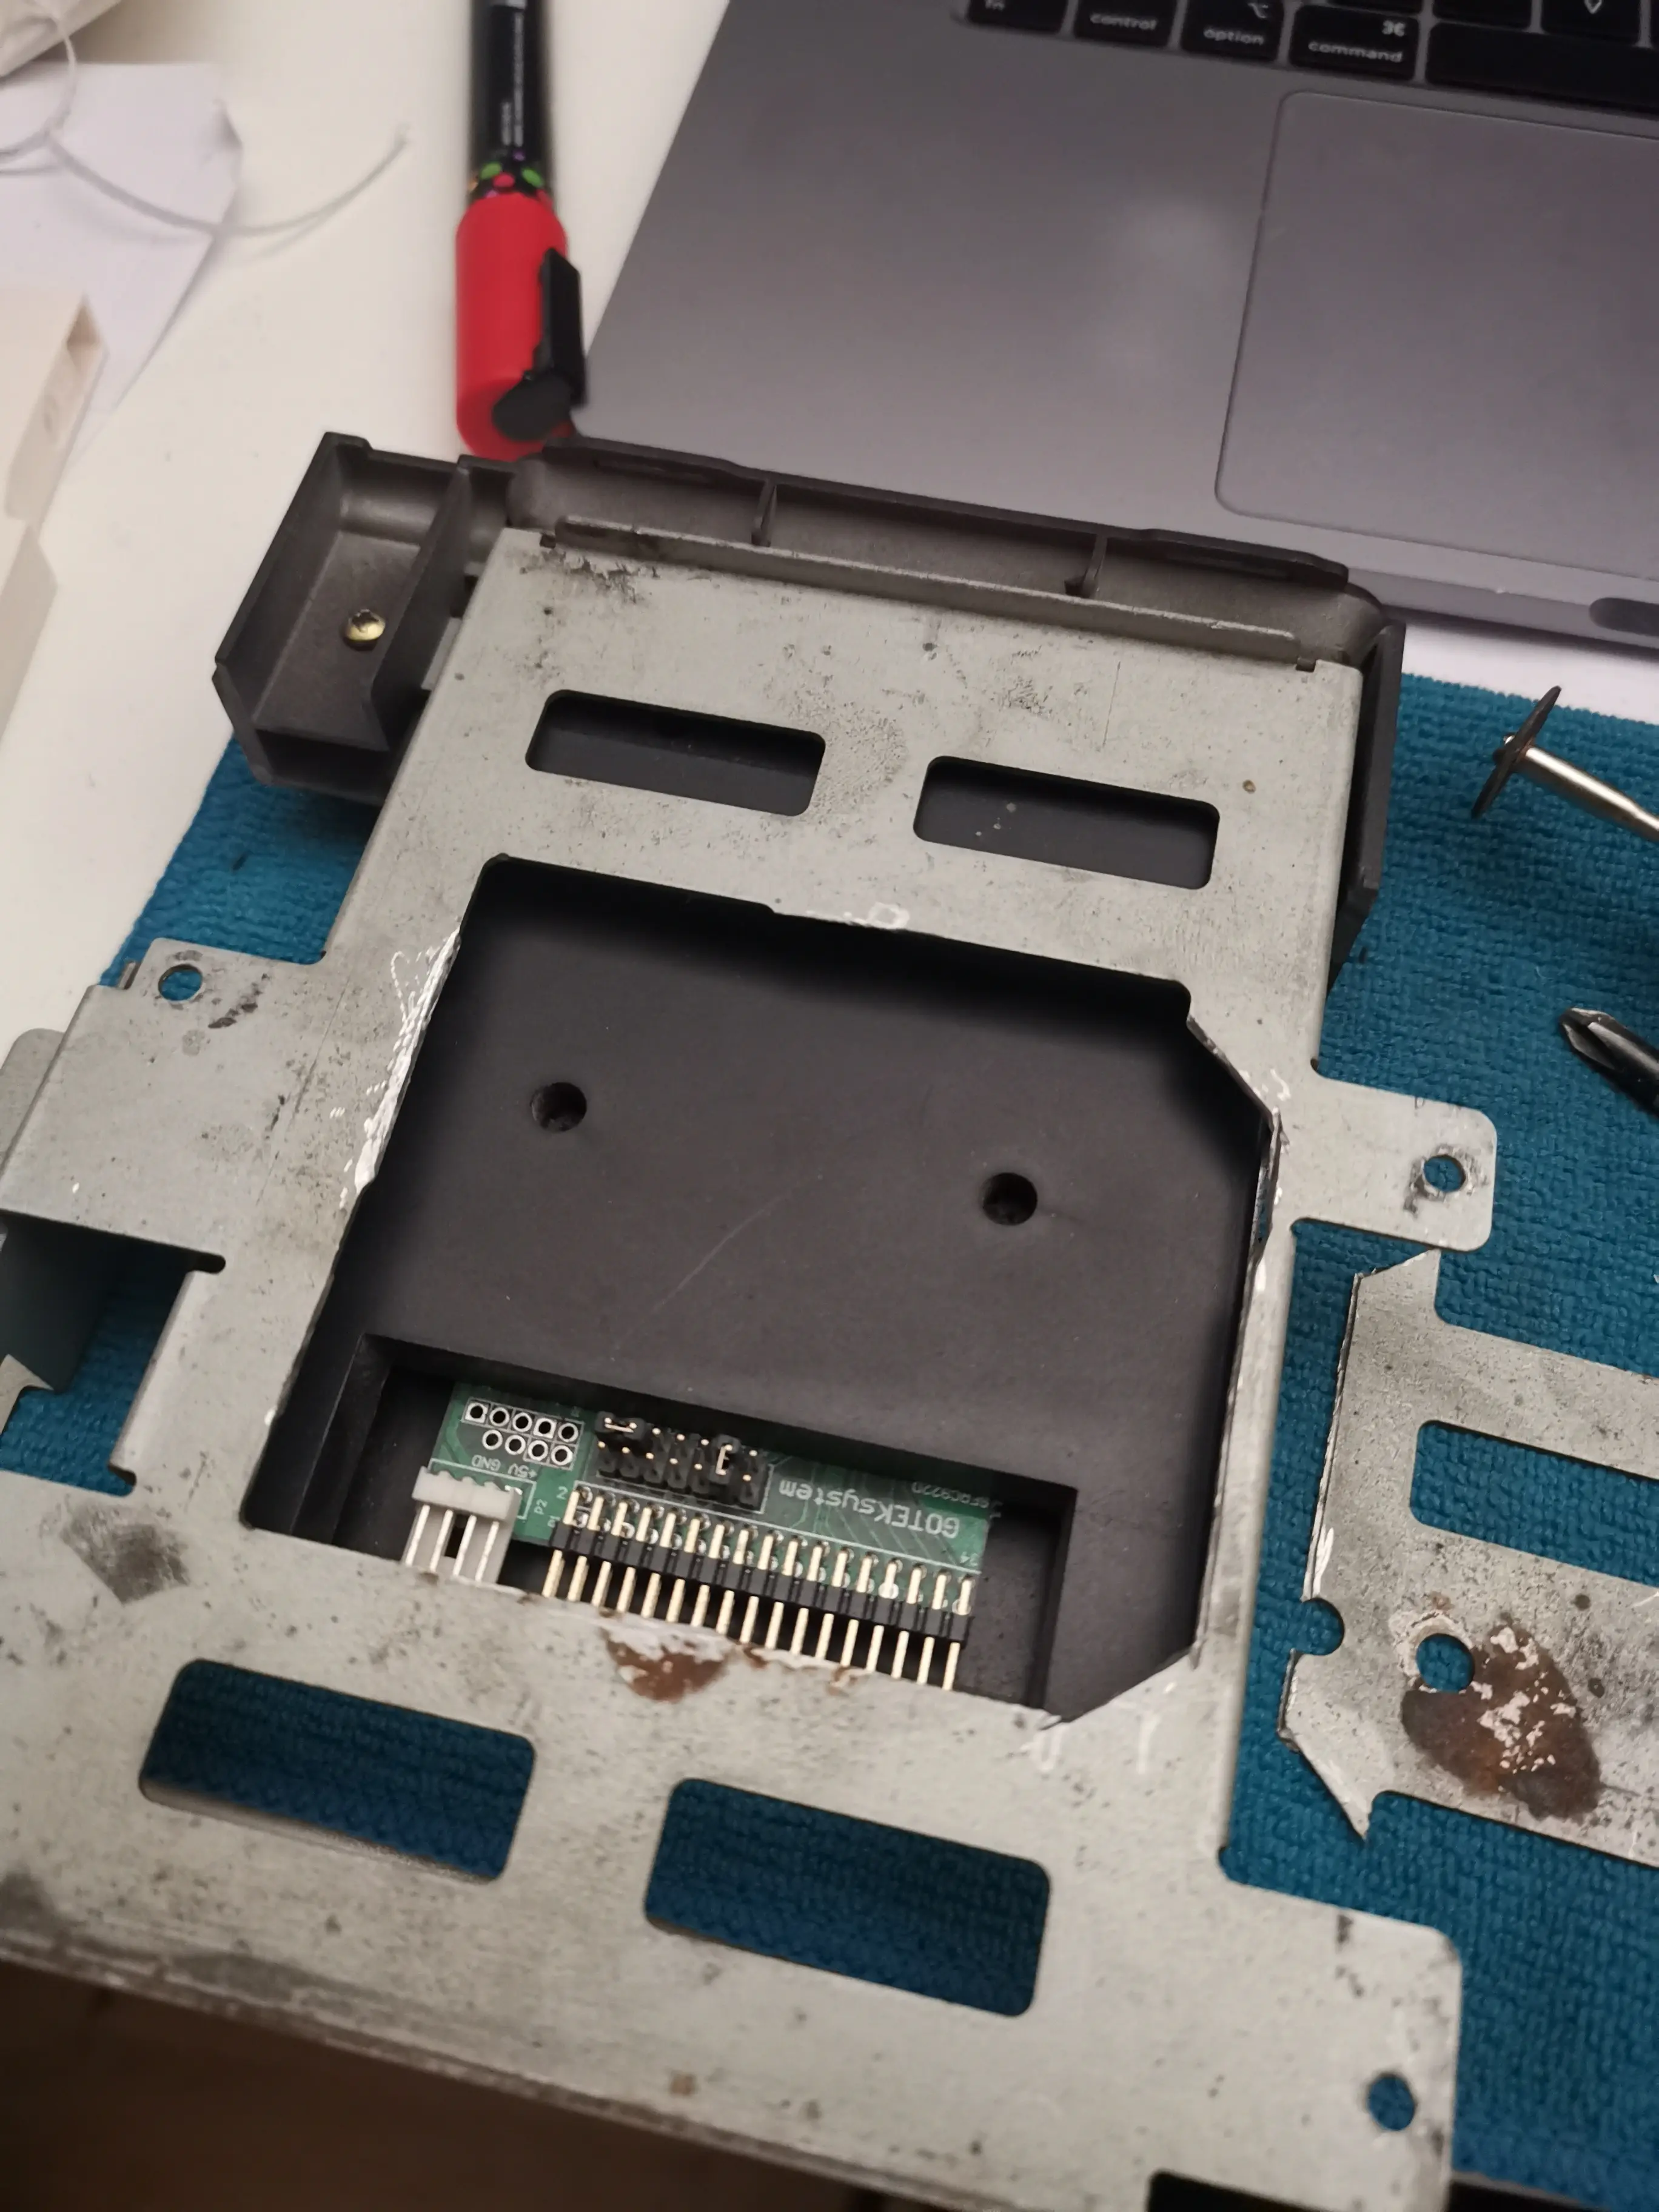
Installing the Gotek floppy emulator Installing the Gotek floppy emulator Installing the Gotek floppy emulator Installing the Gotek floppy emulator Installing the Gotek floppy emulator Installing the Gotek floppy emulator Installing the Gotek floppy emulator Installing the Gotek floppy emulator

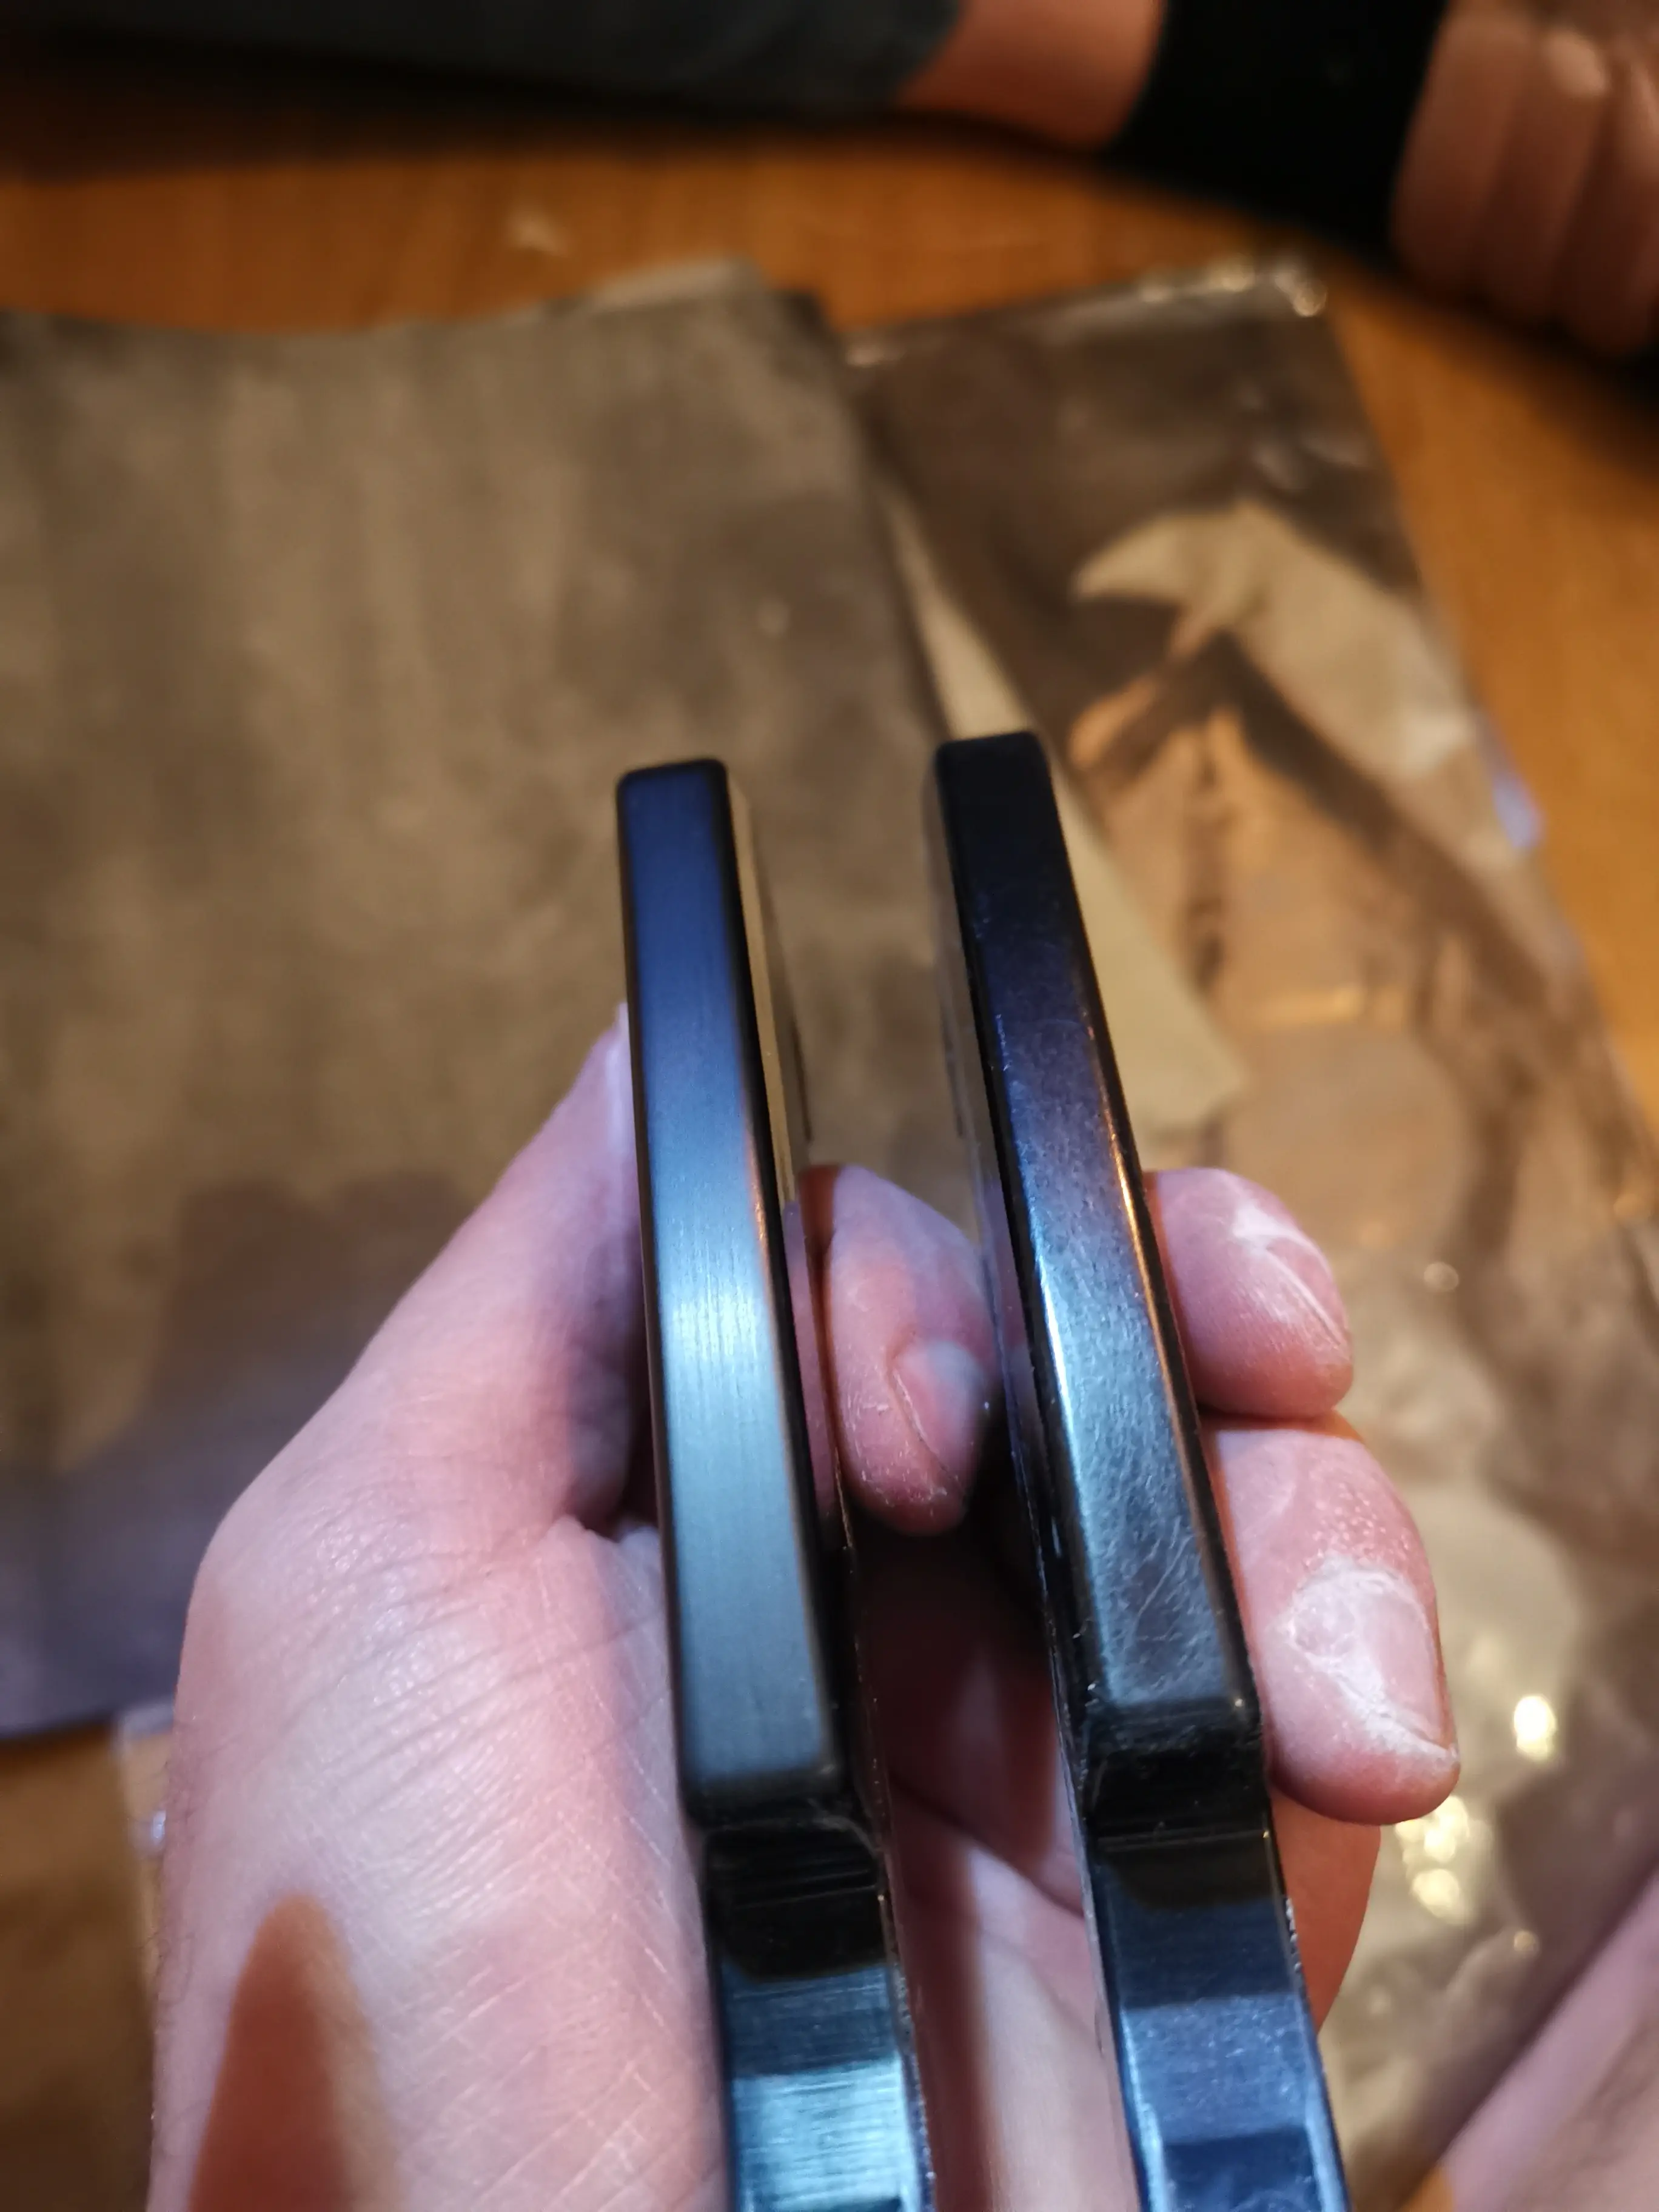
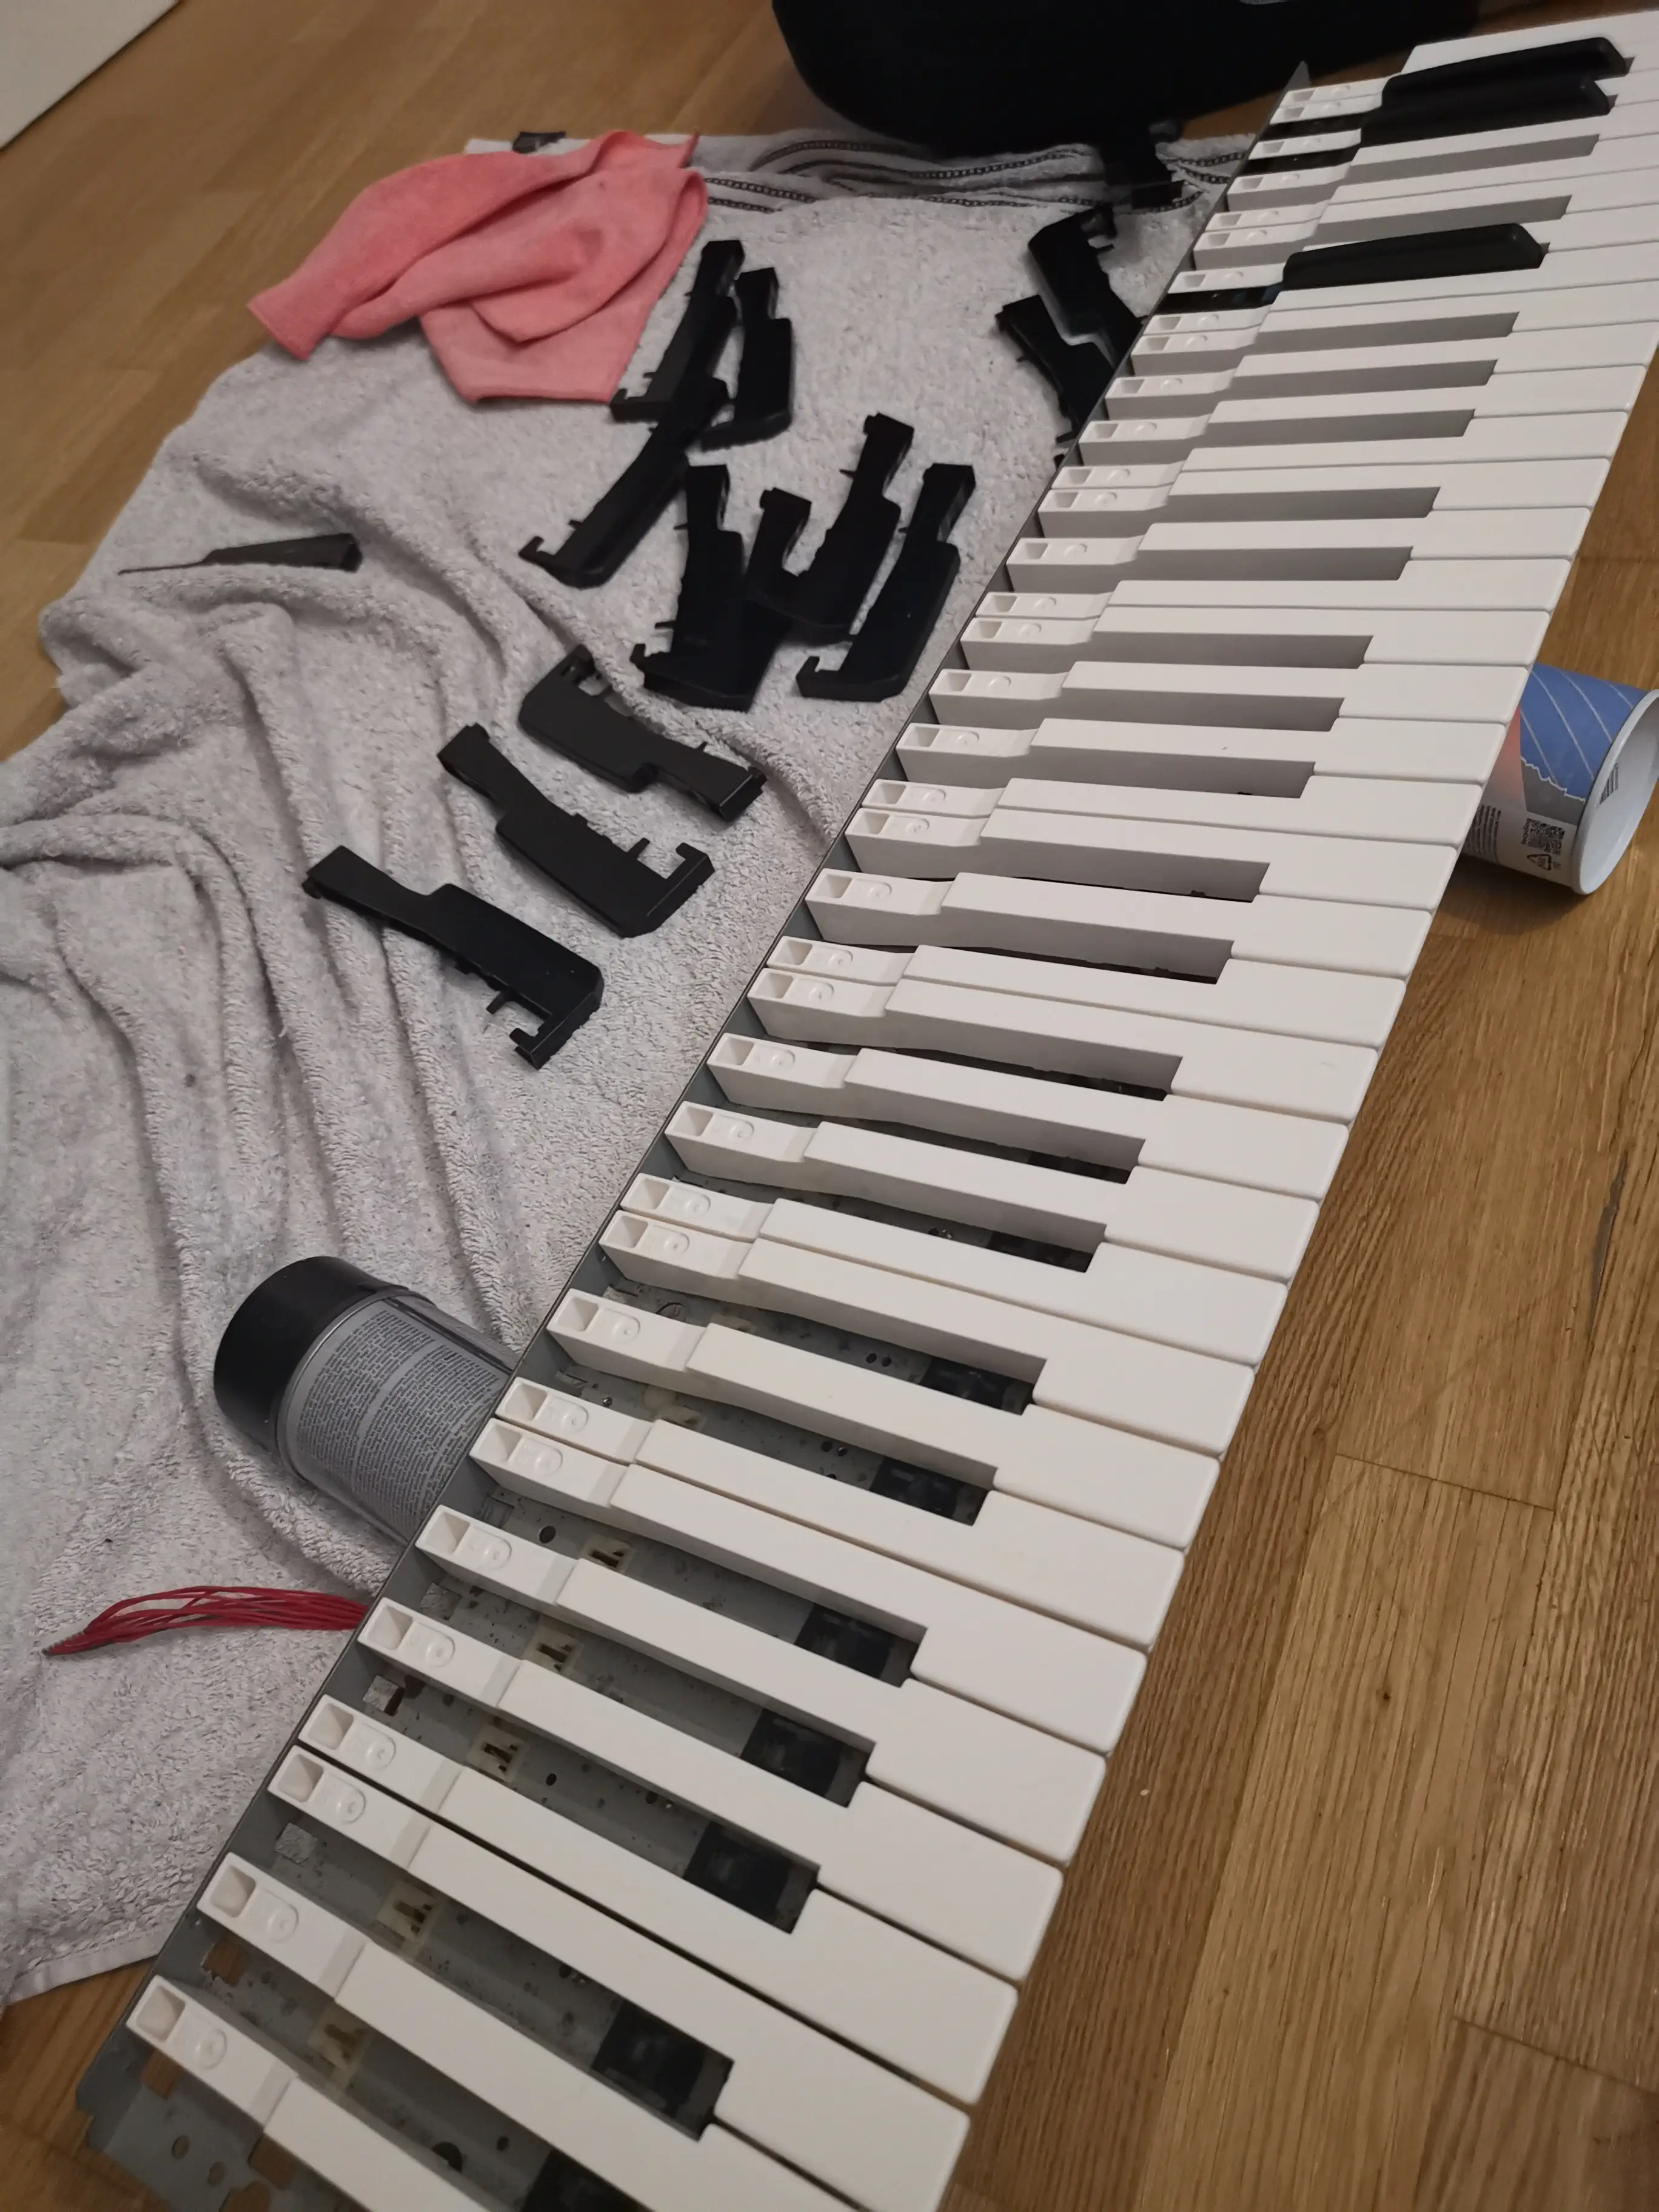
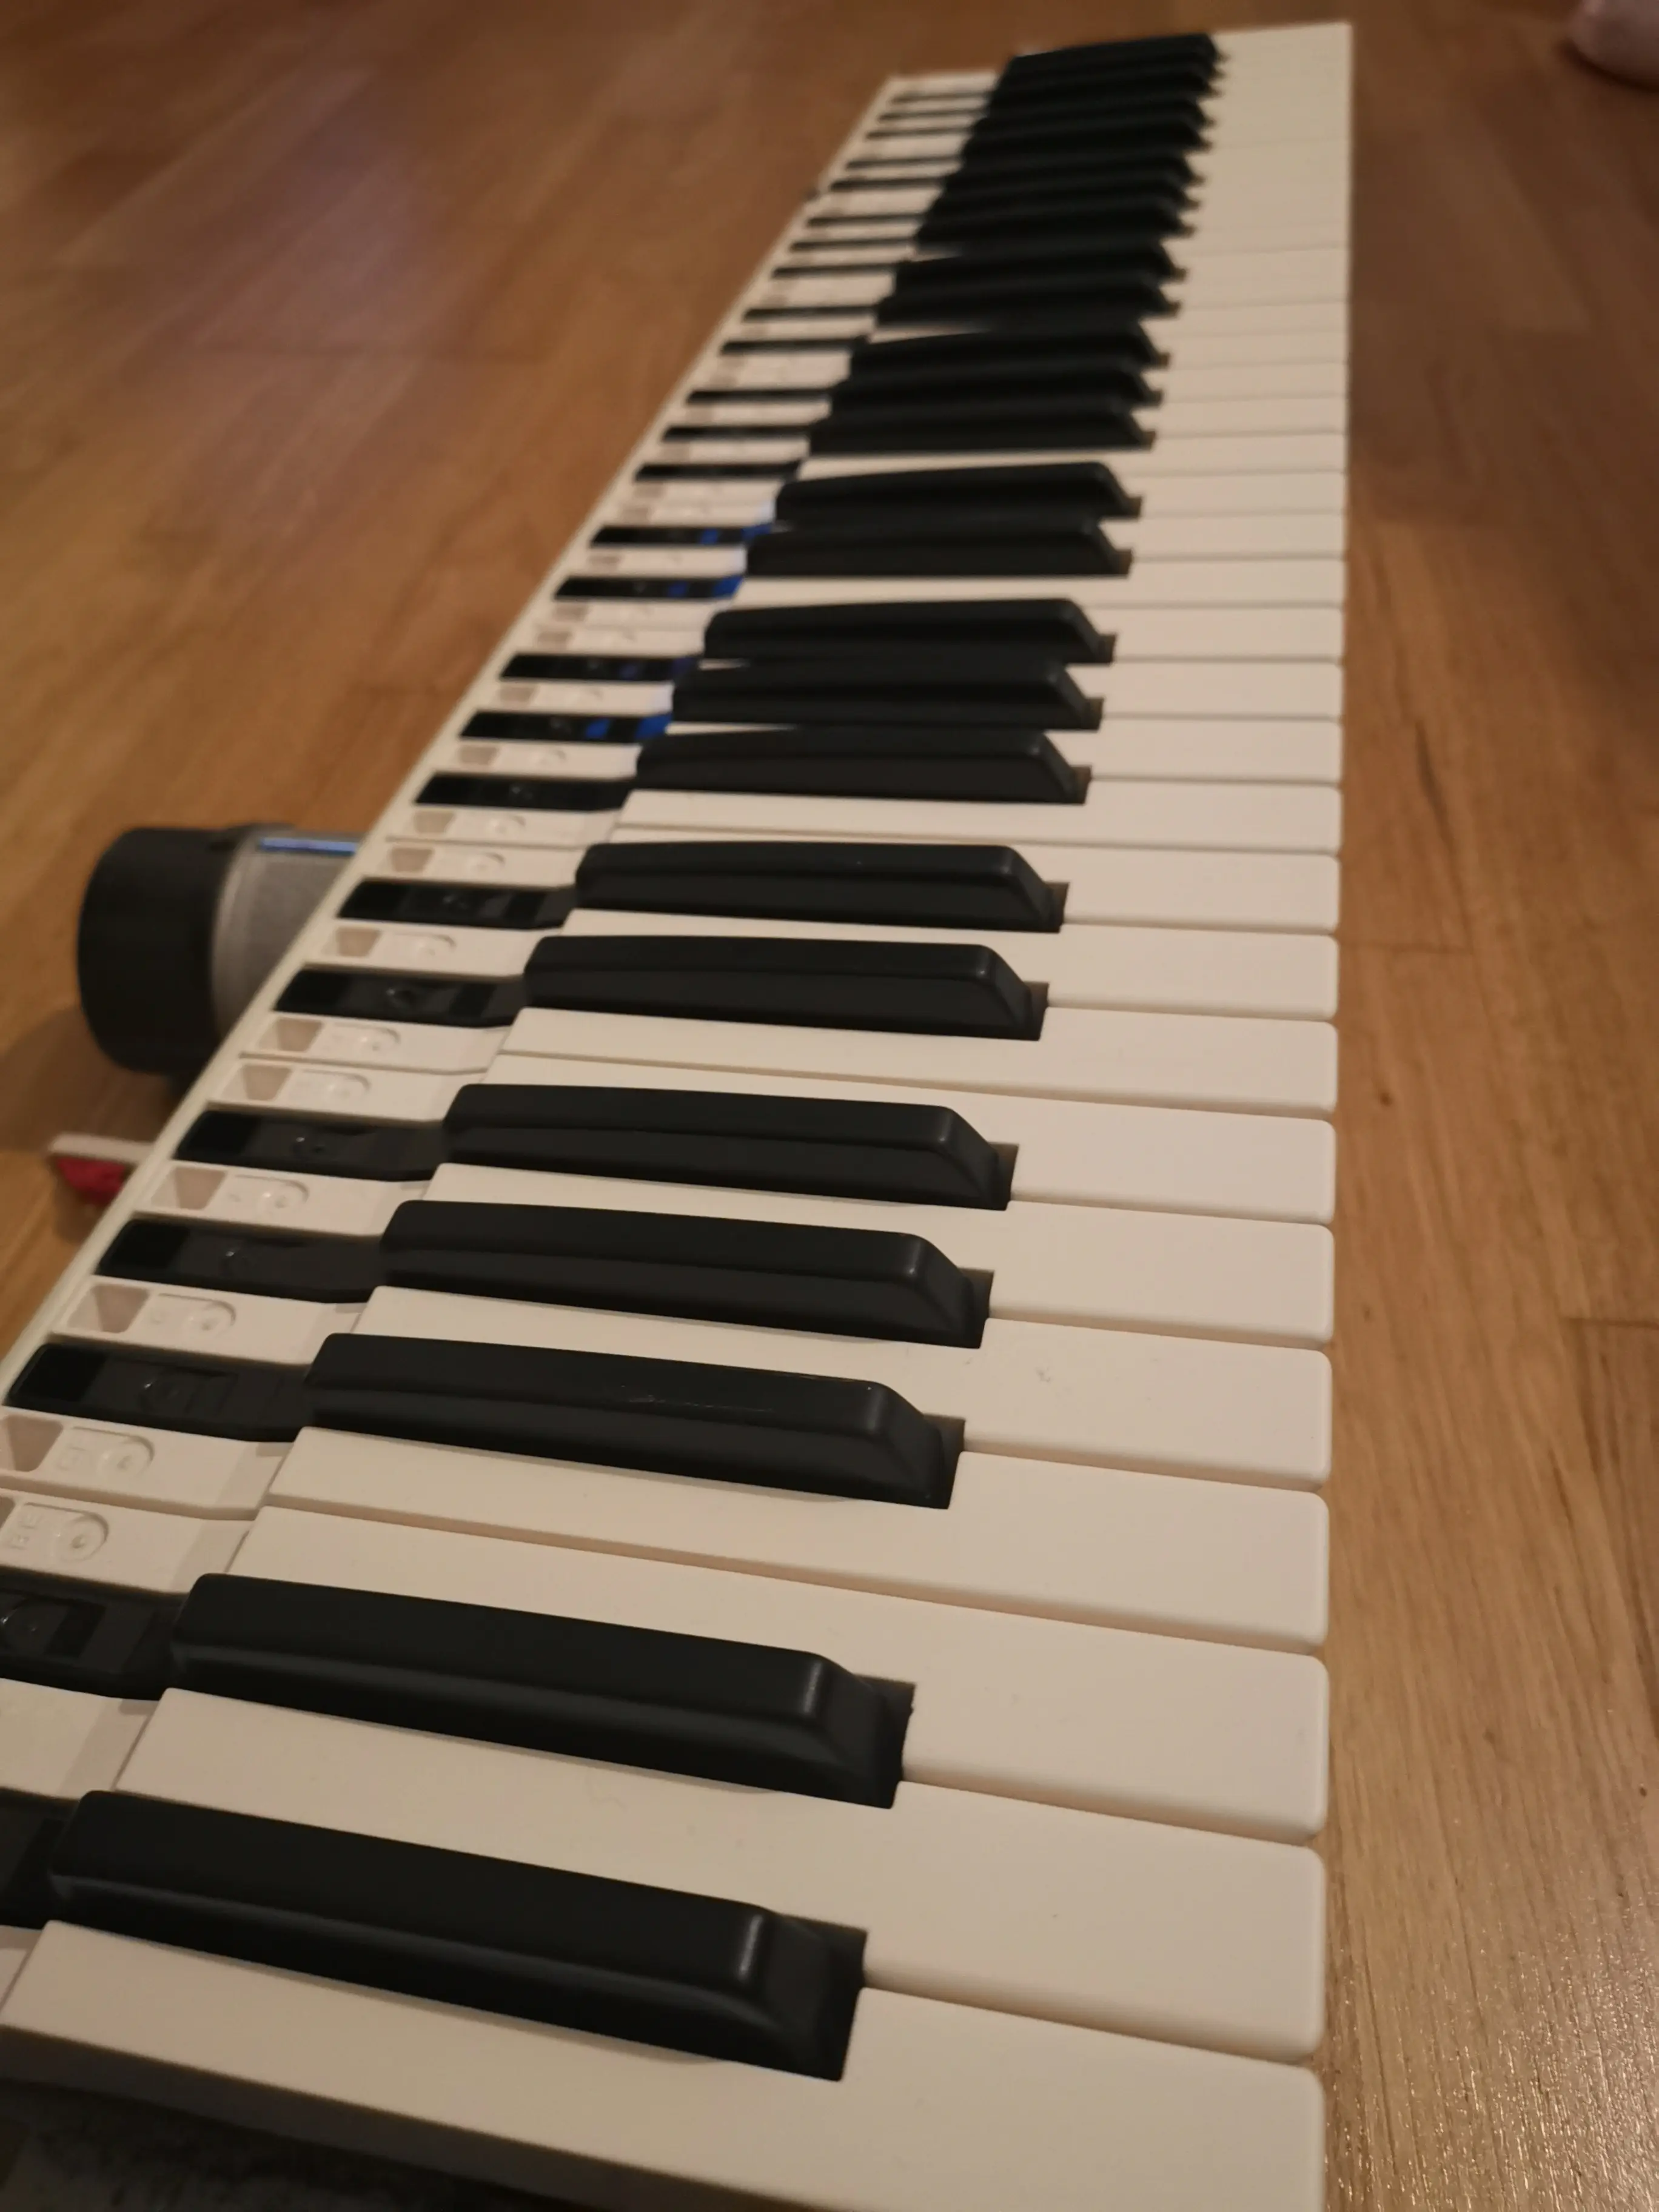
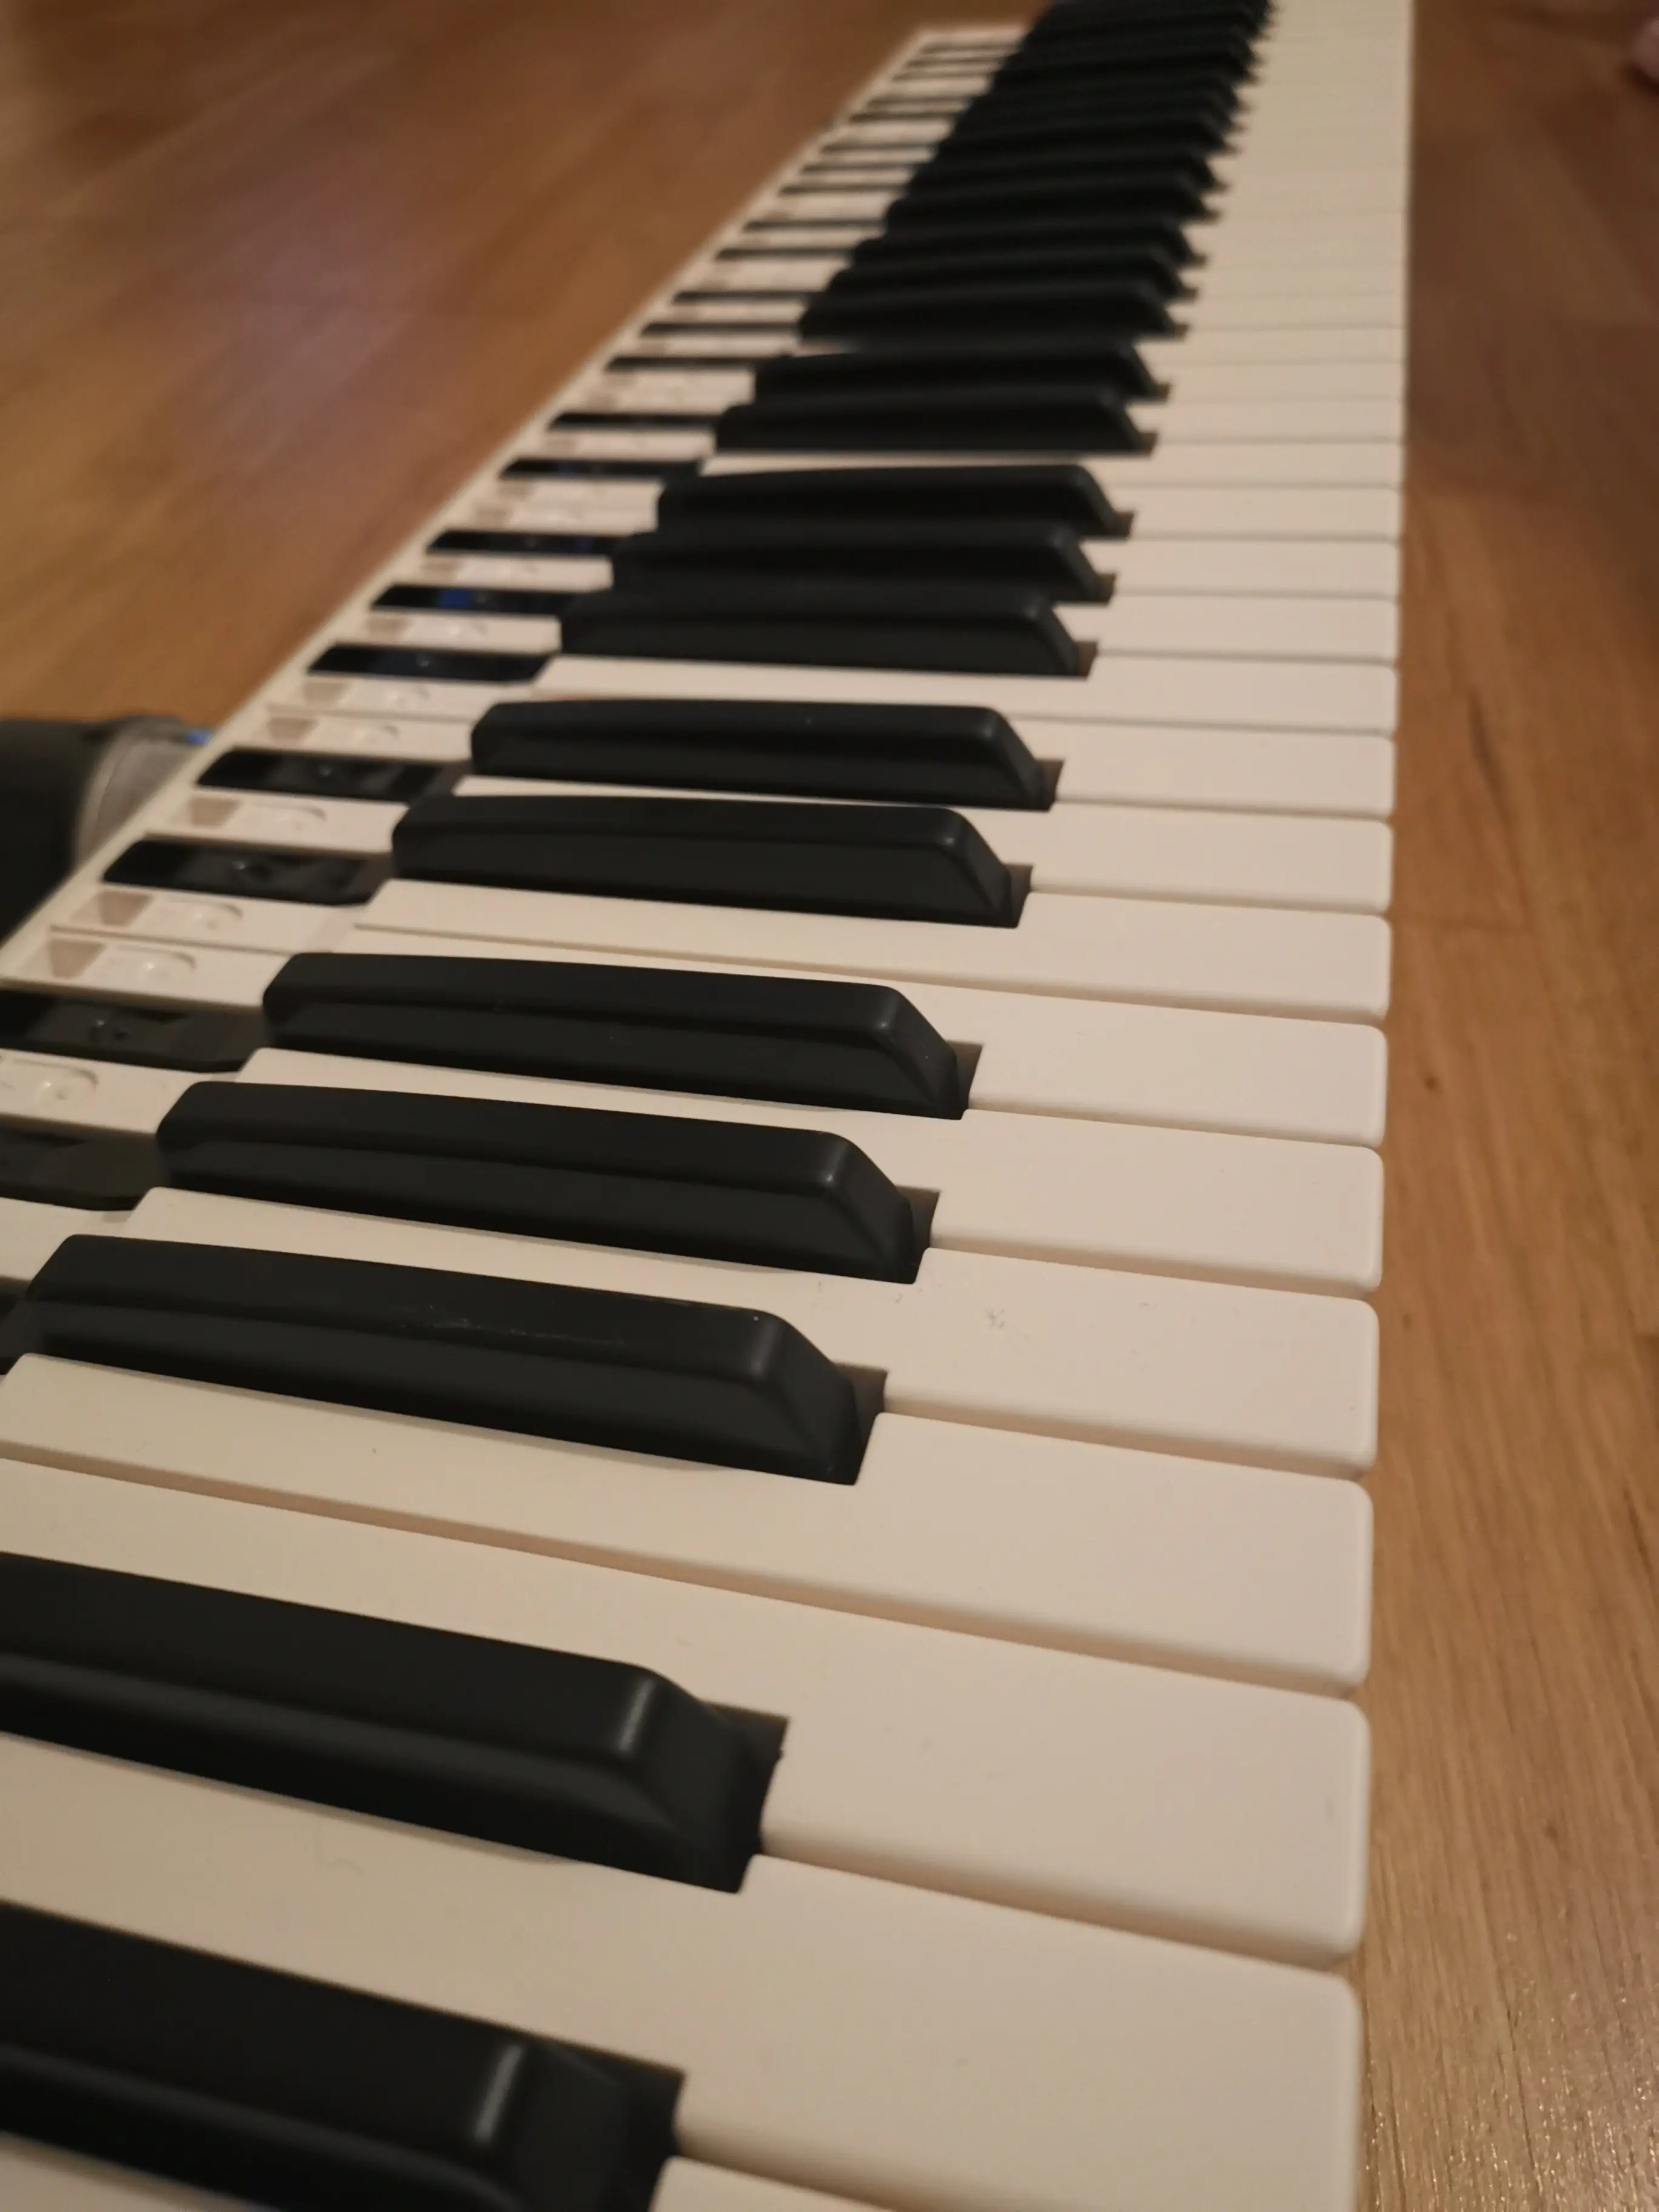
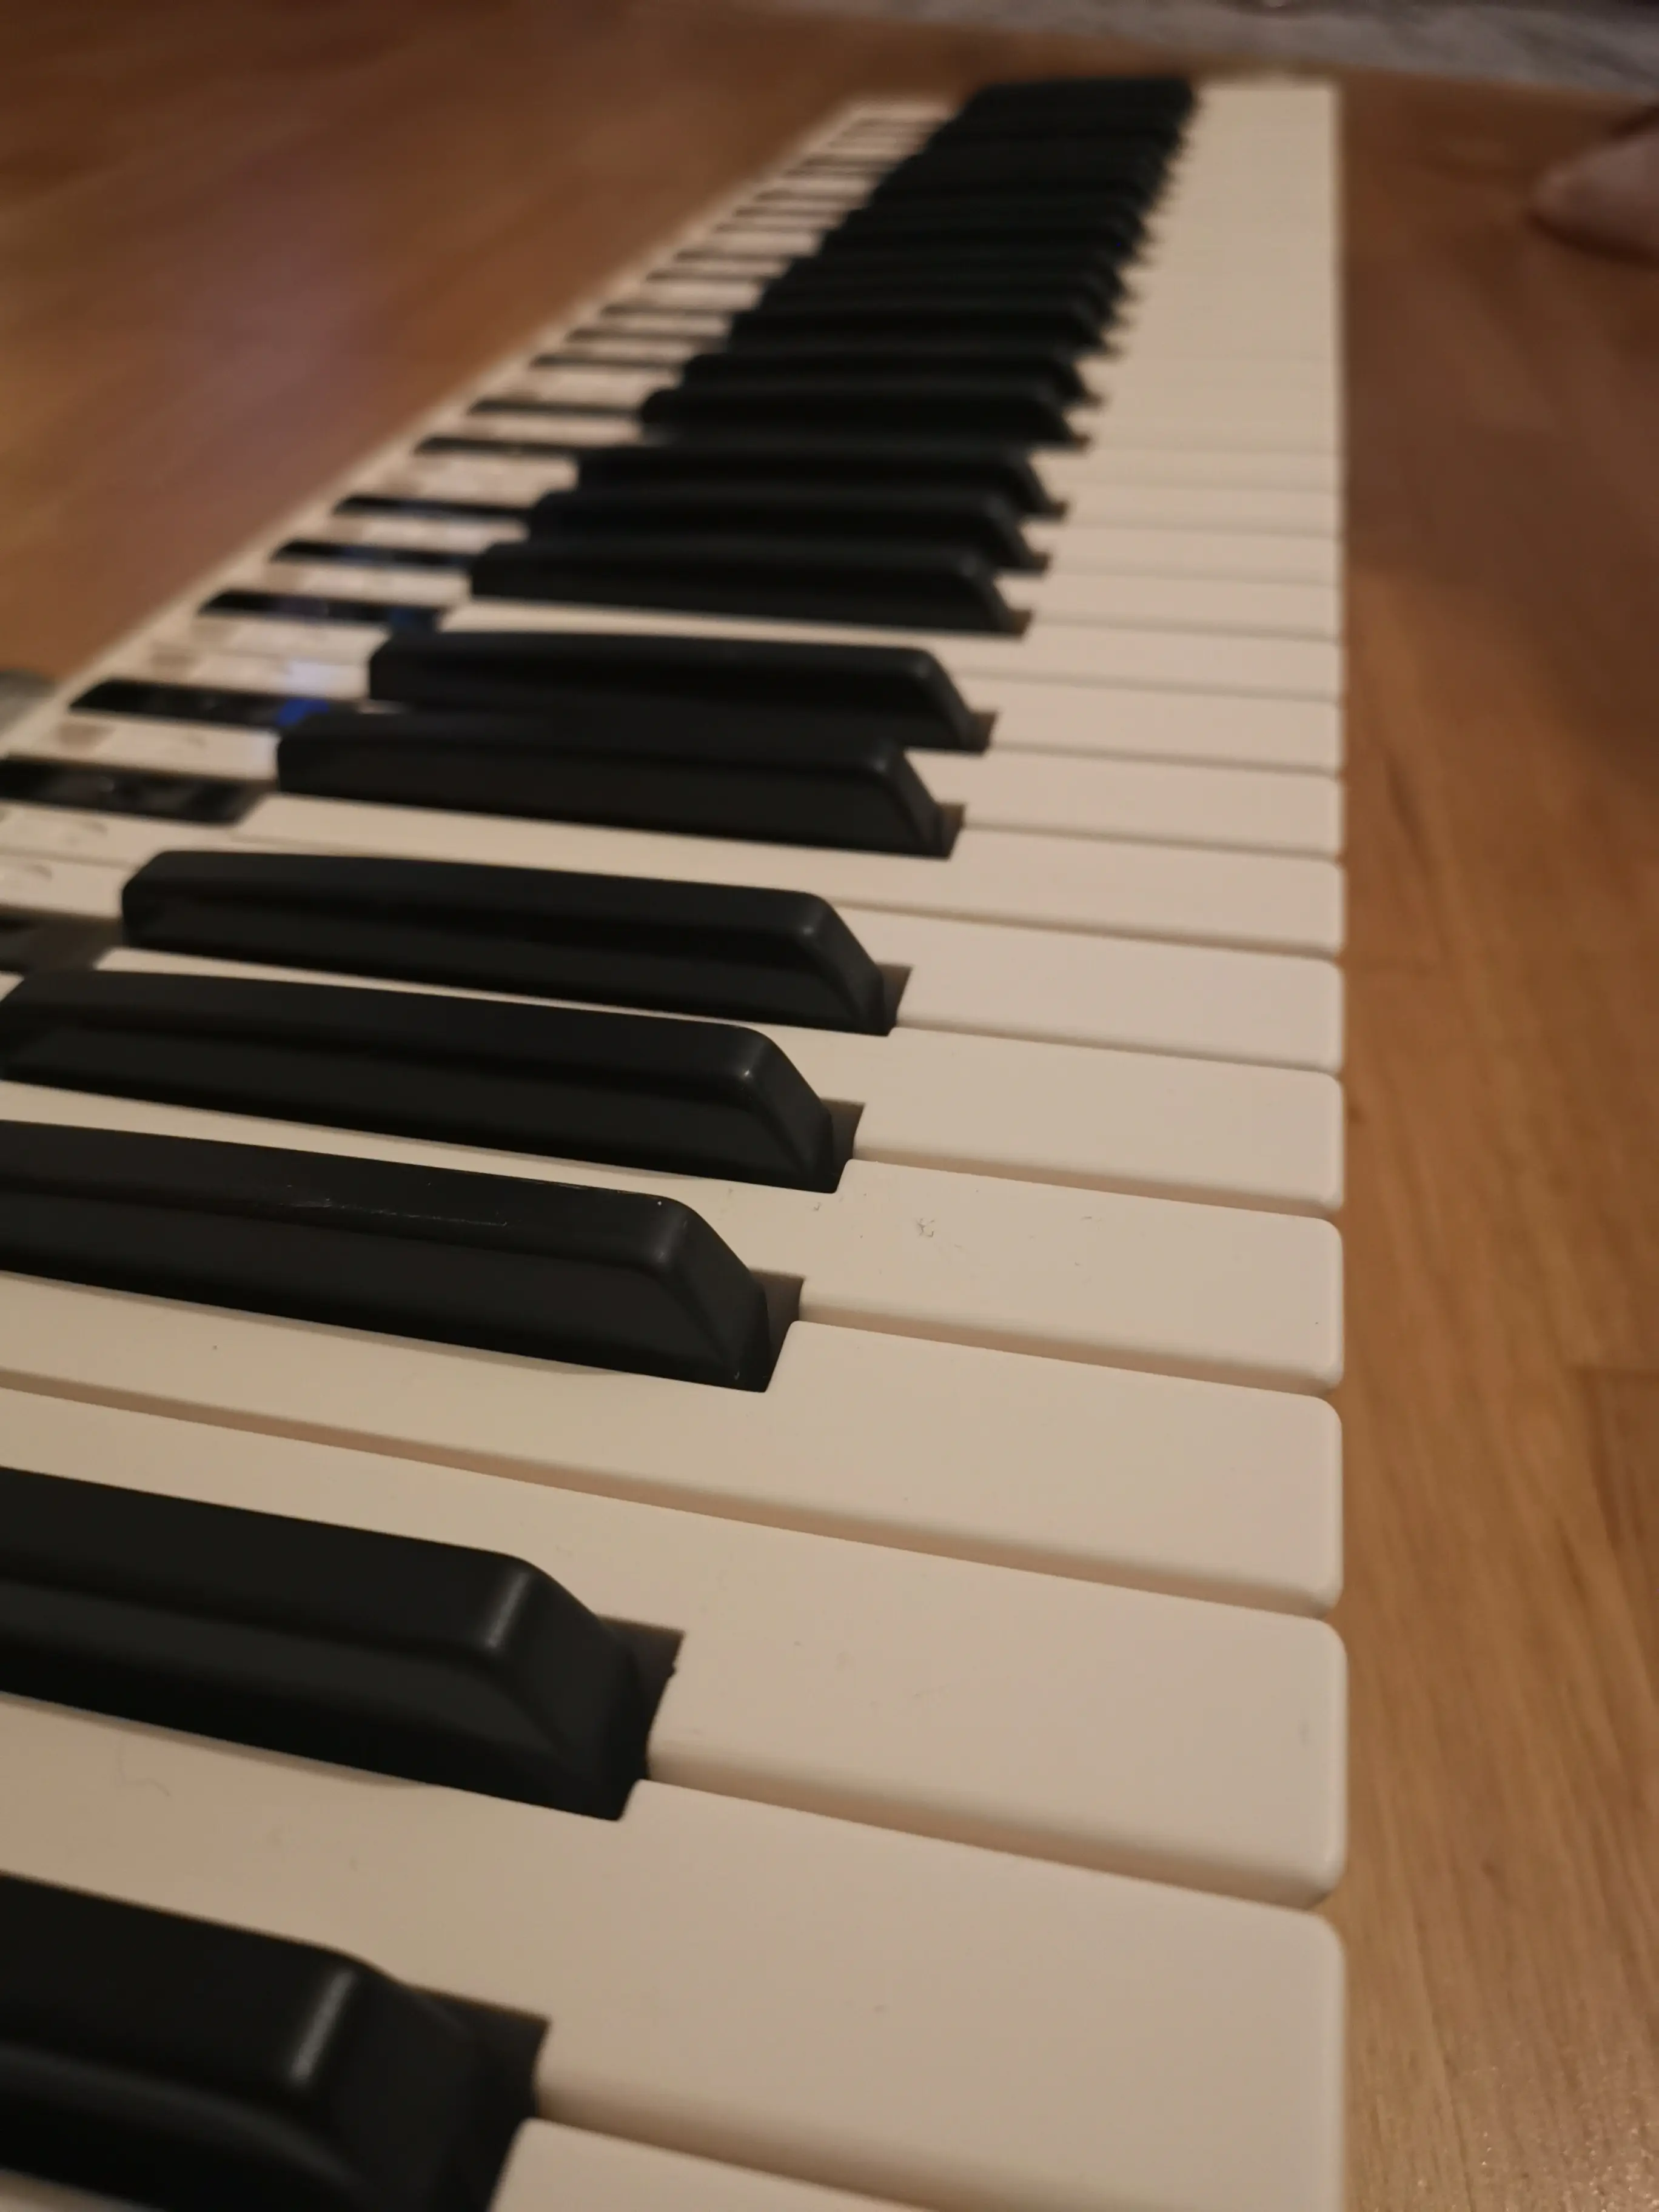
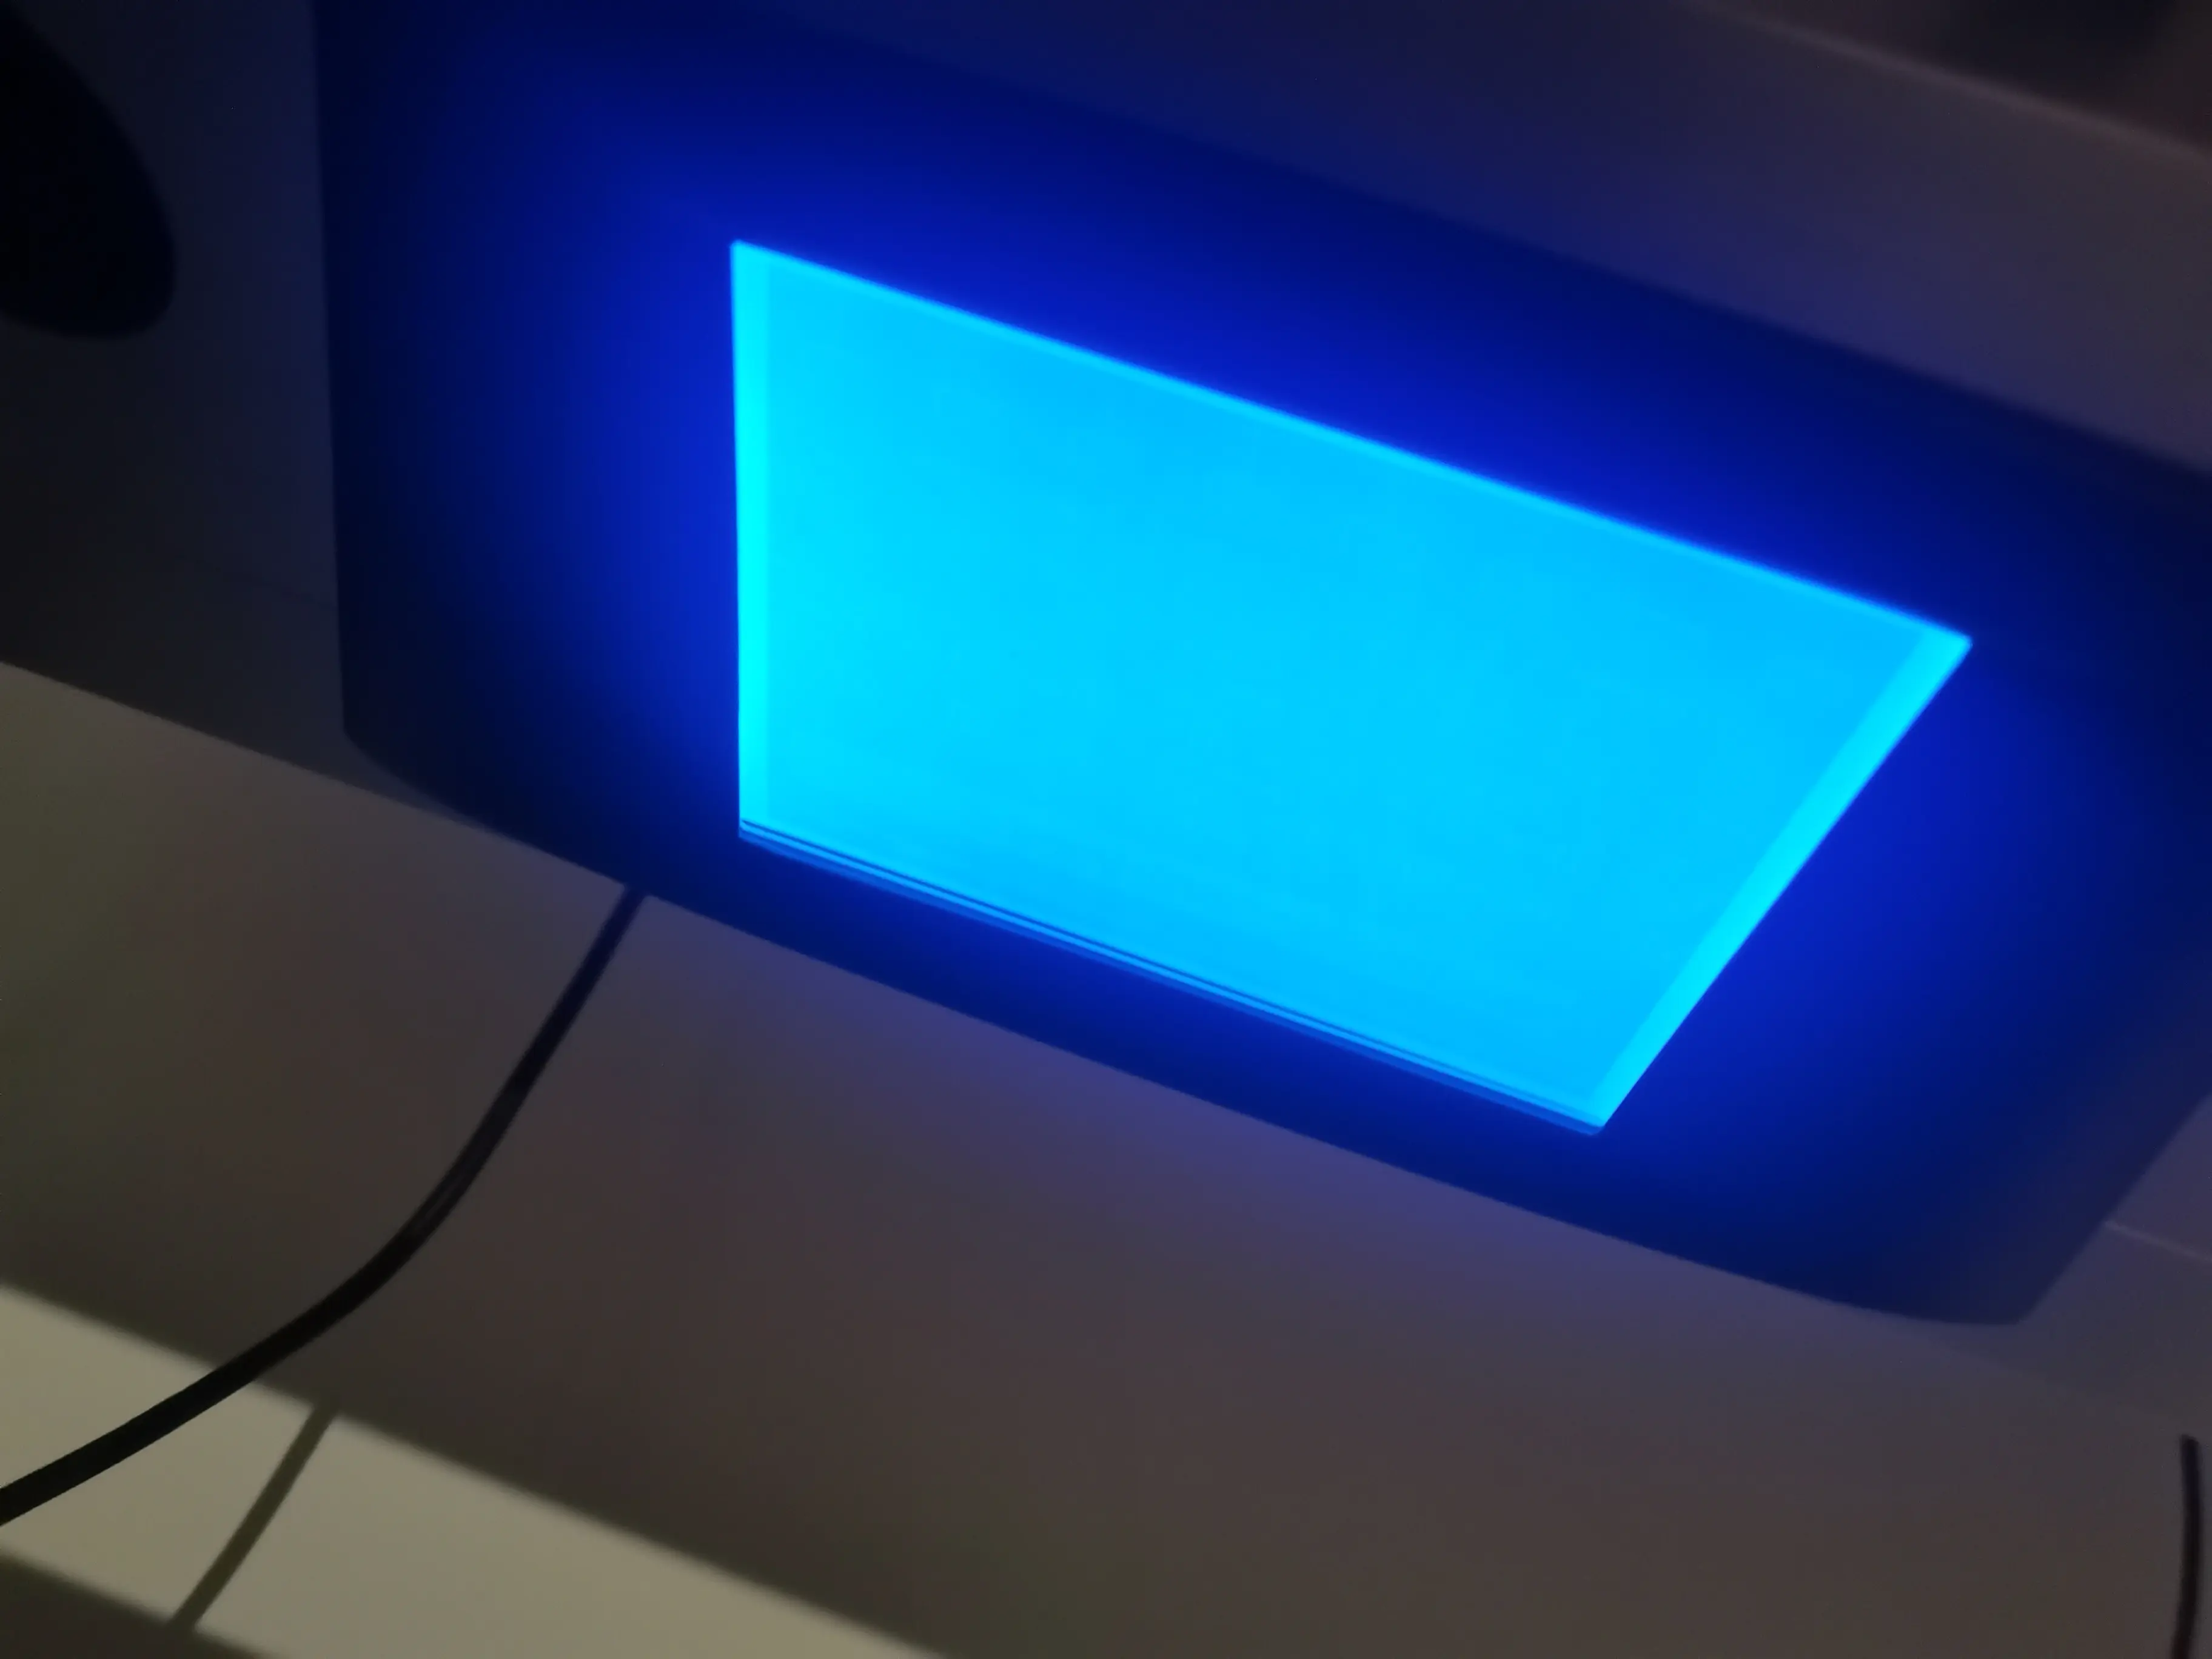
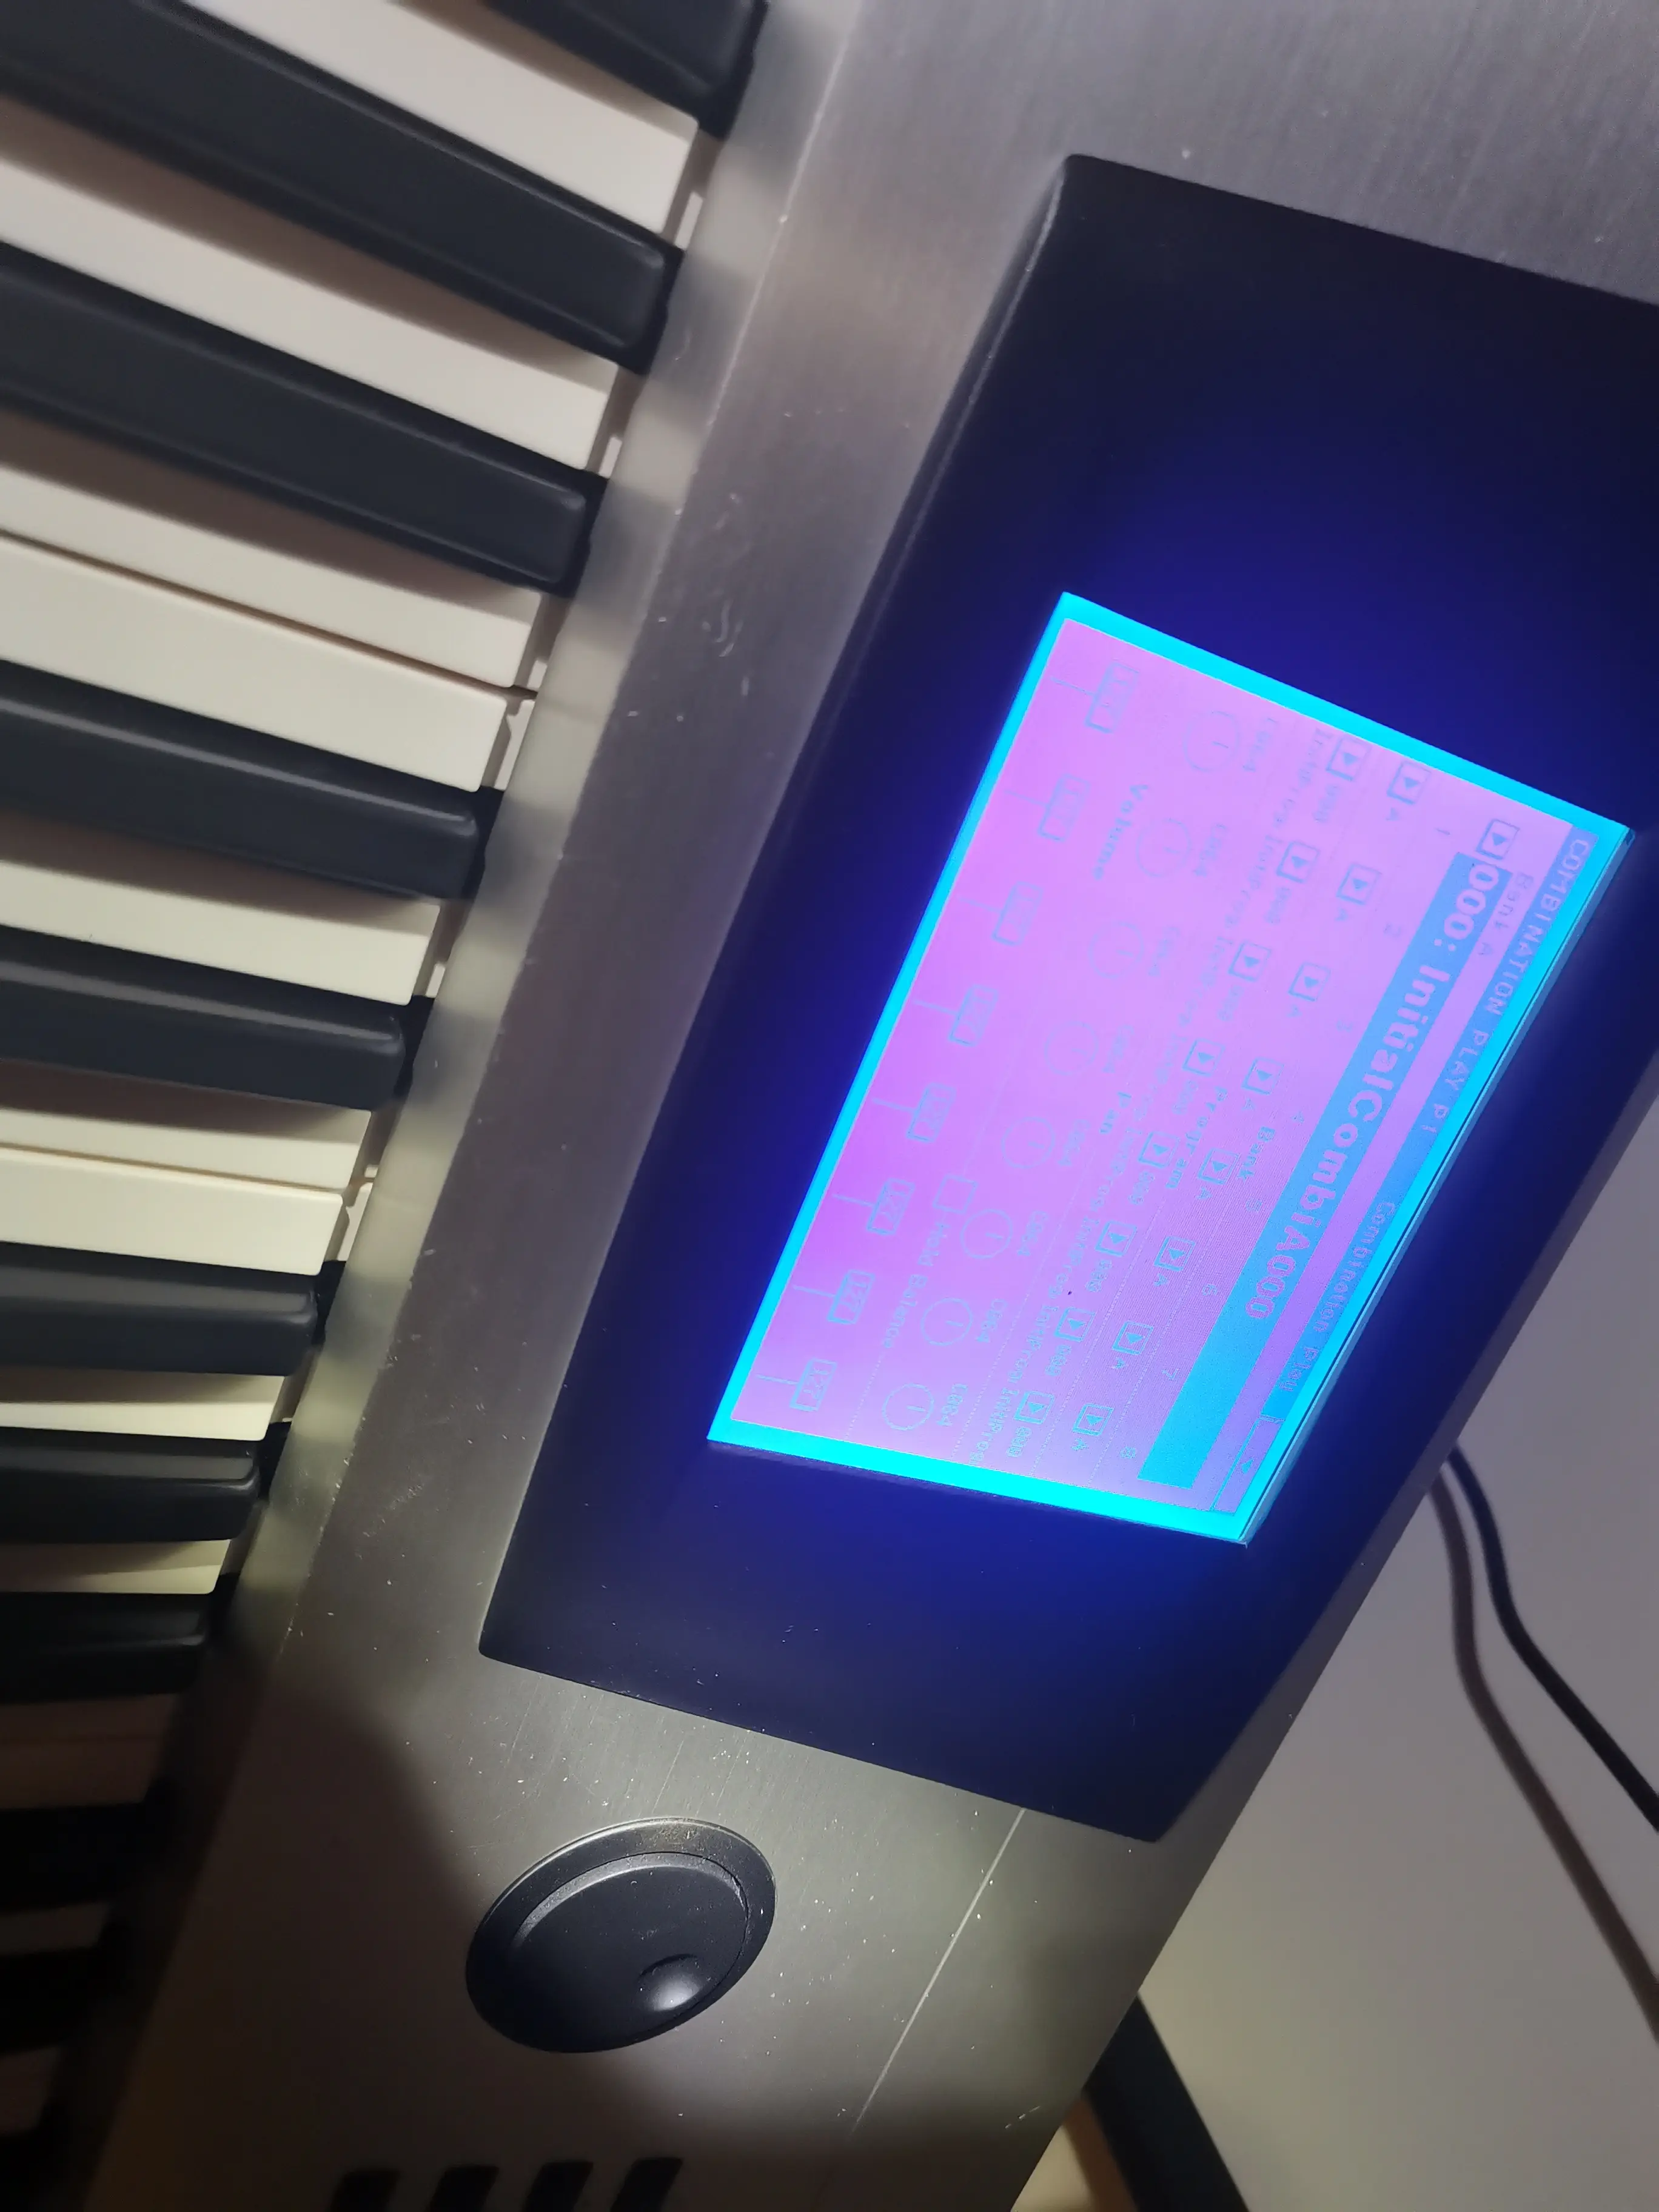
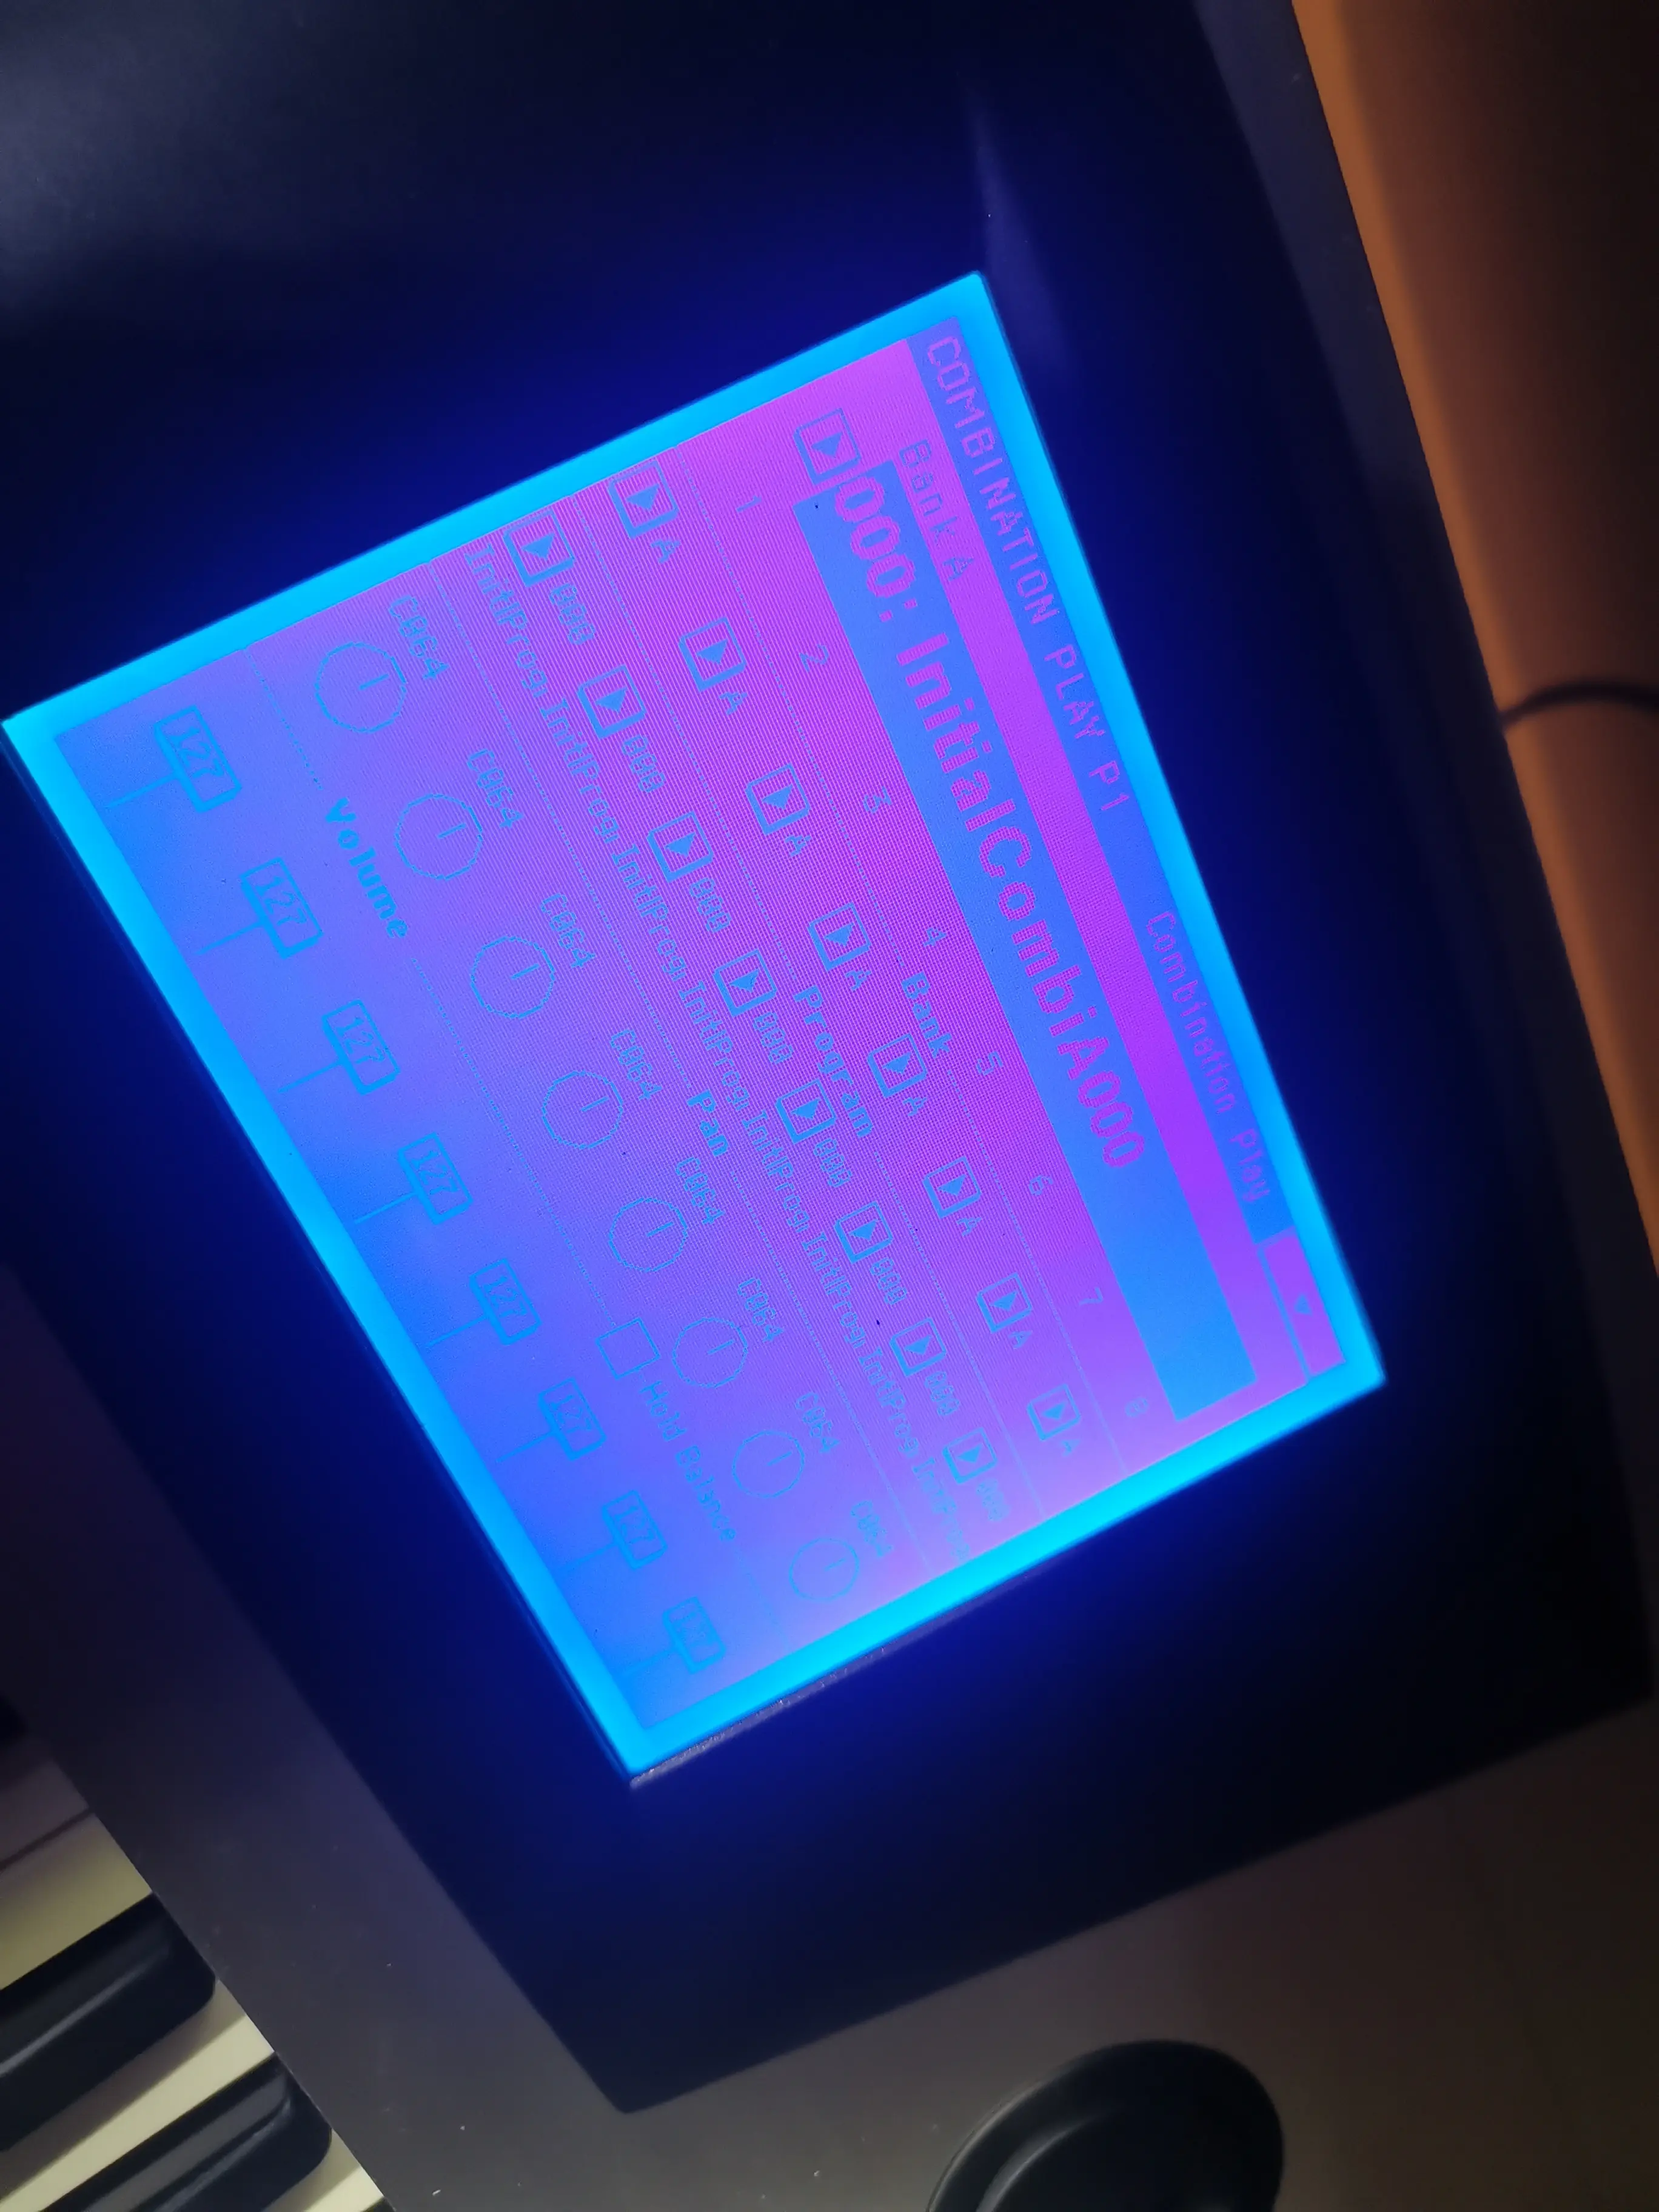
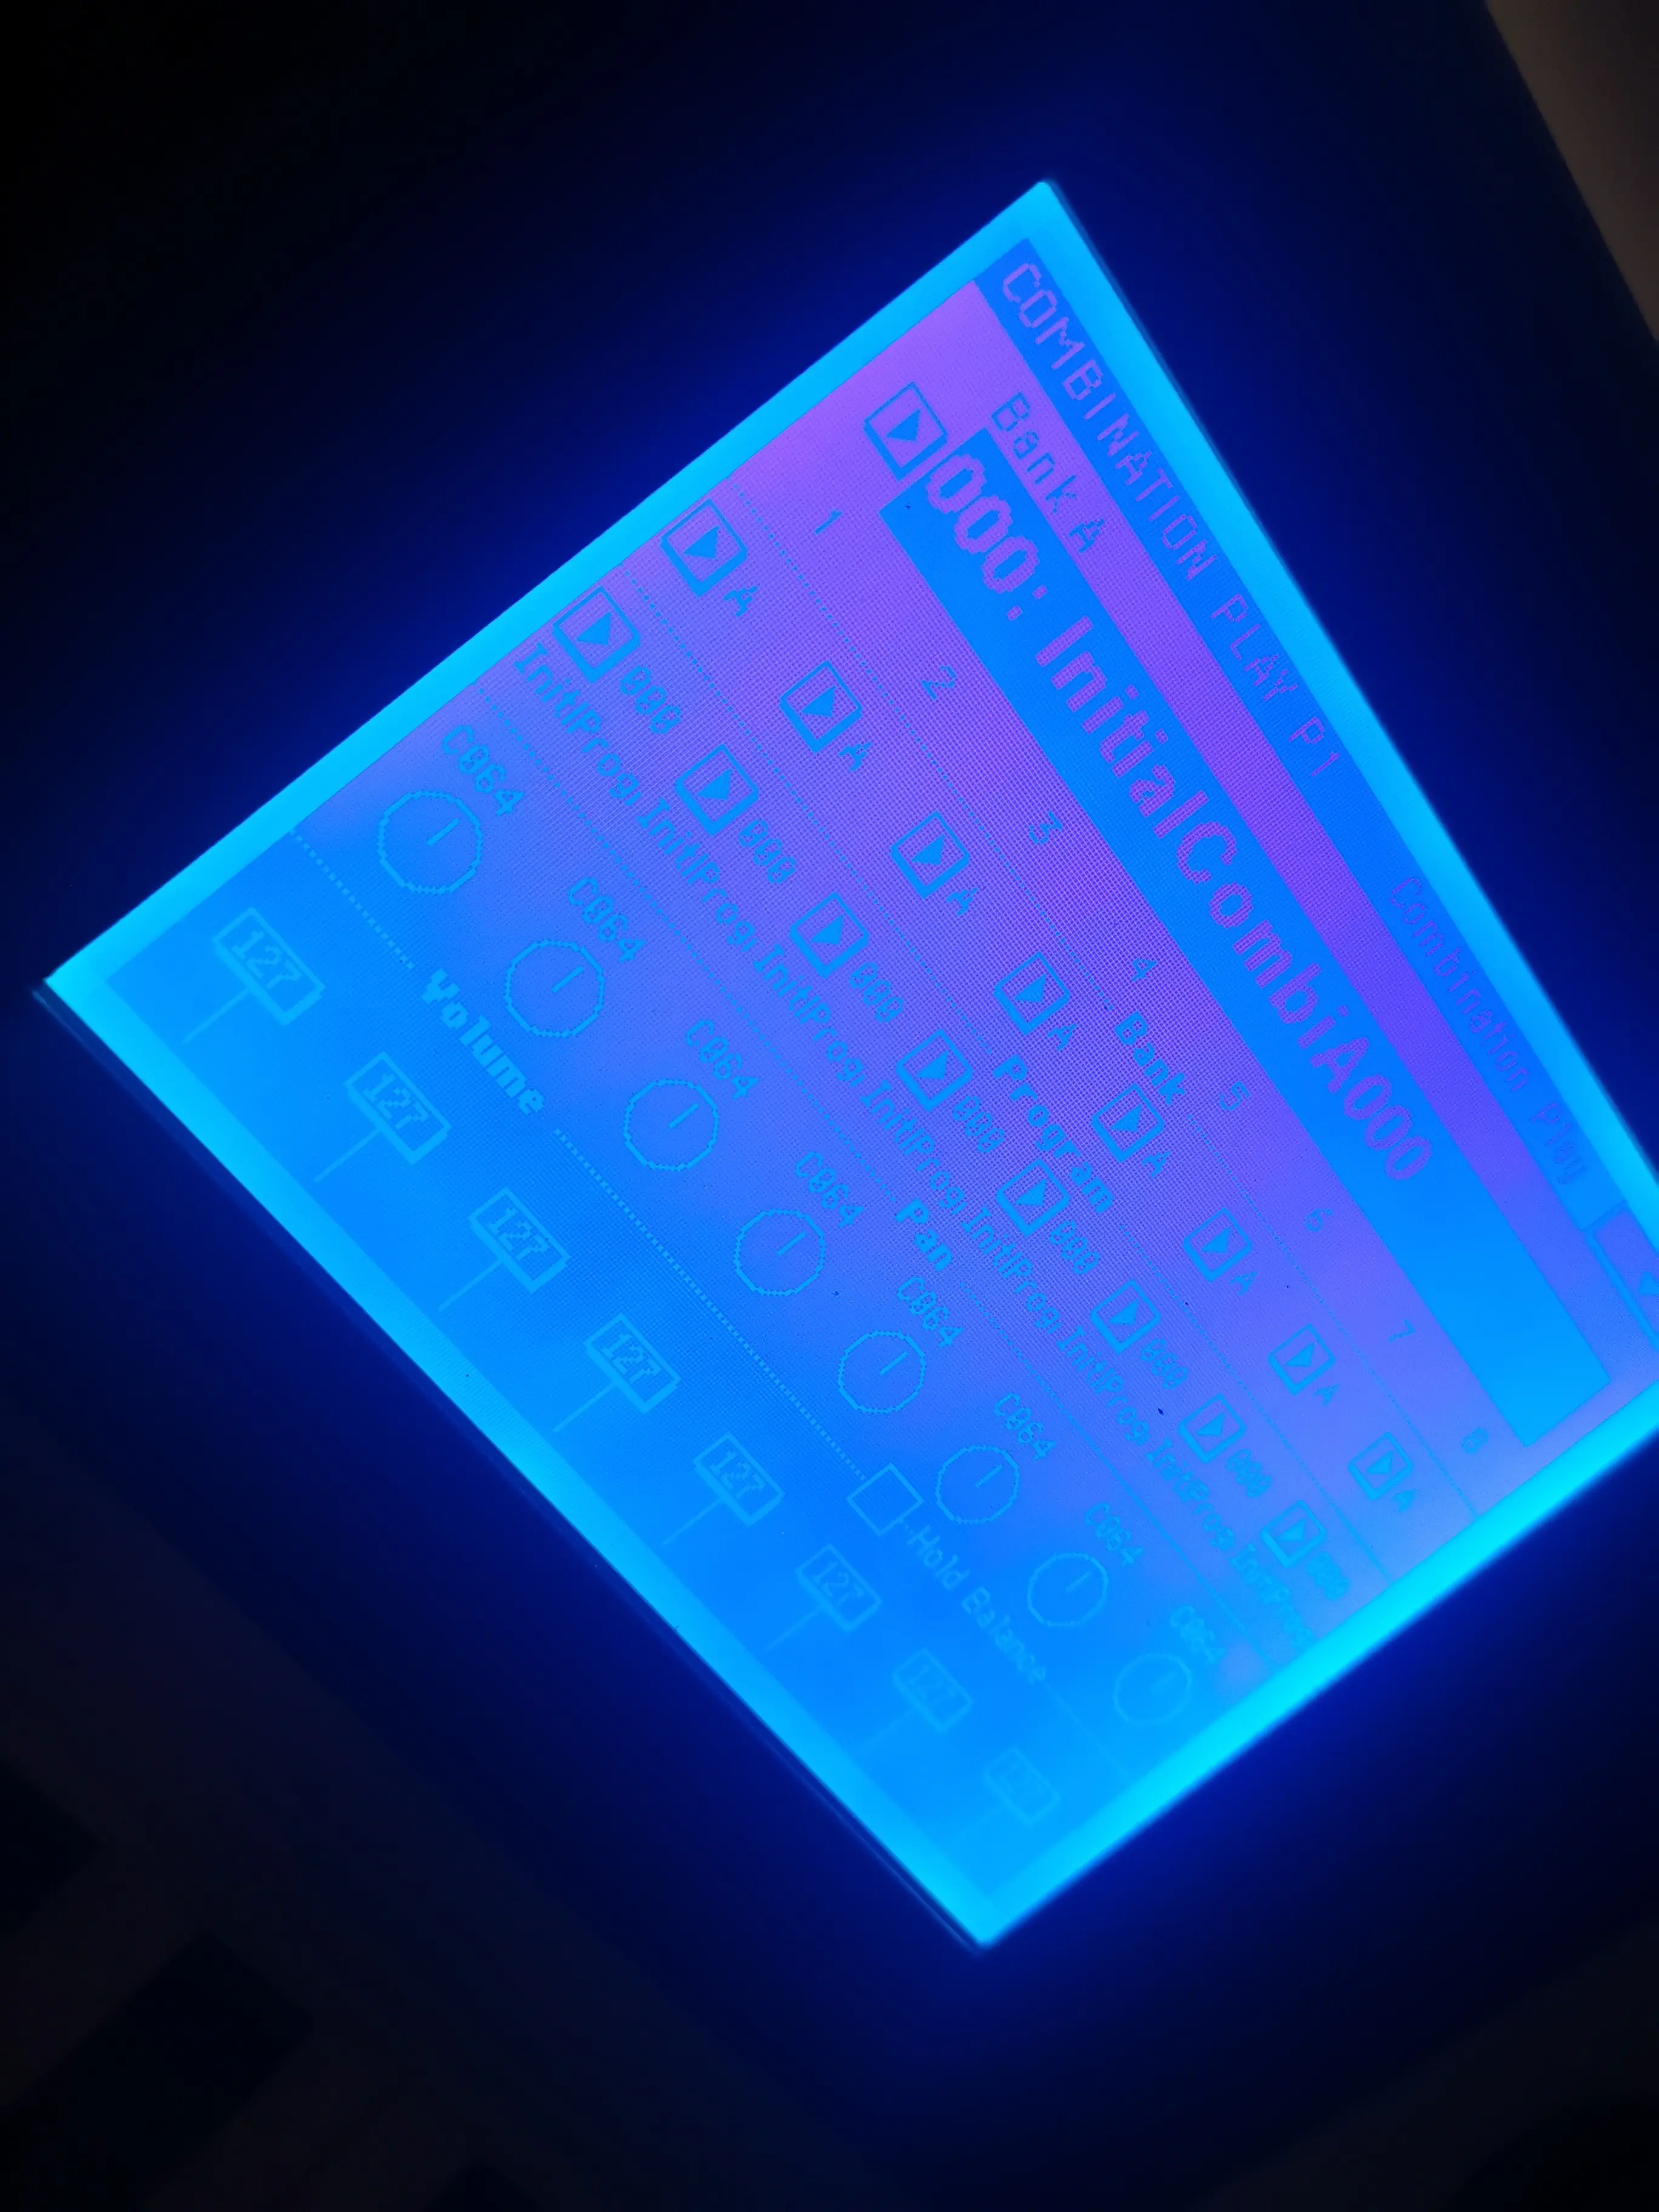
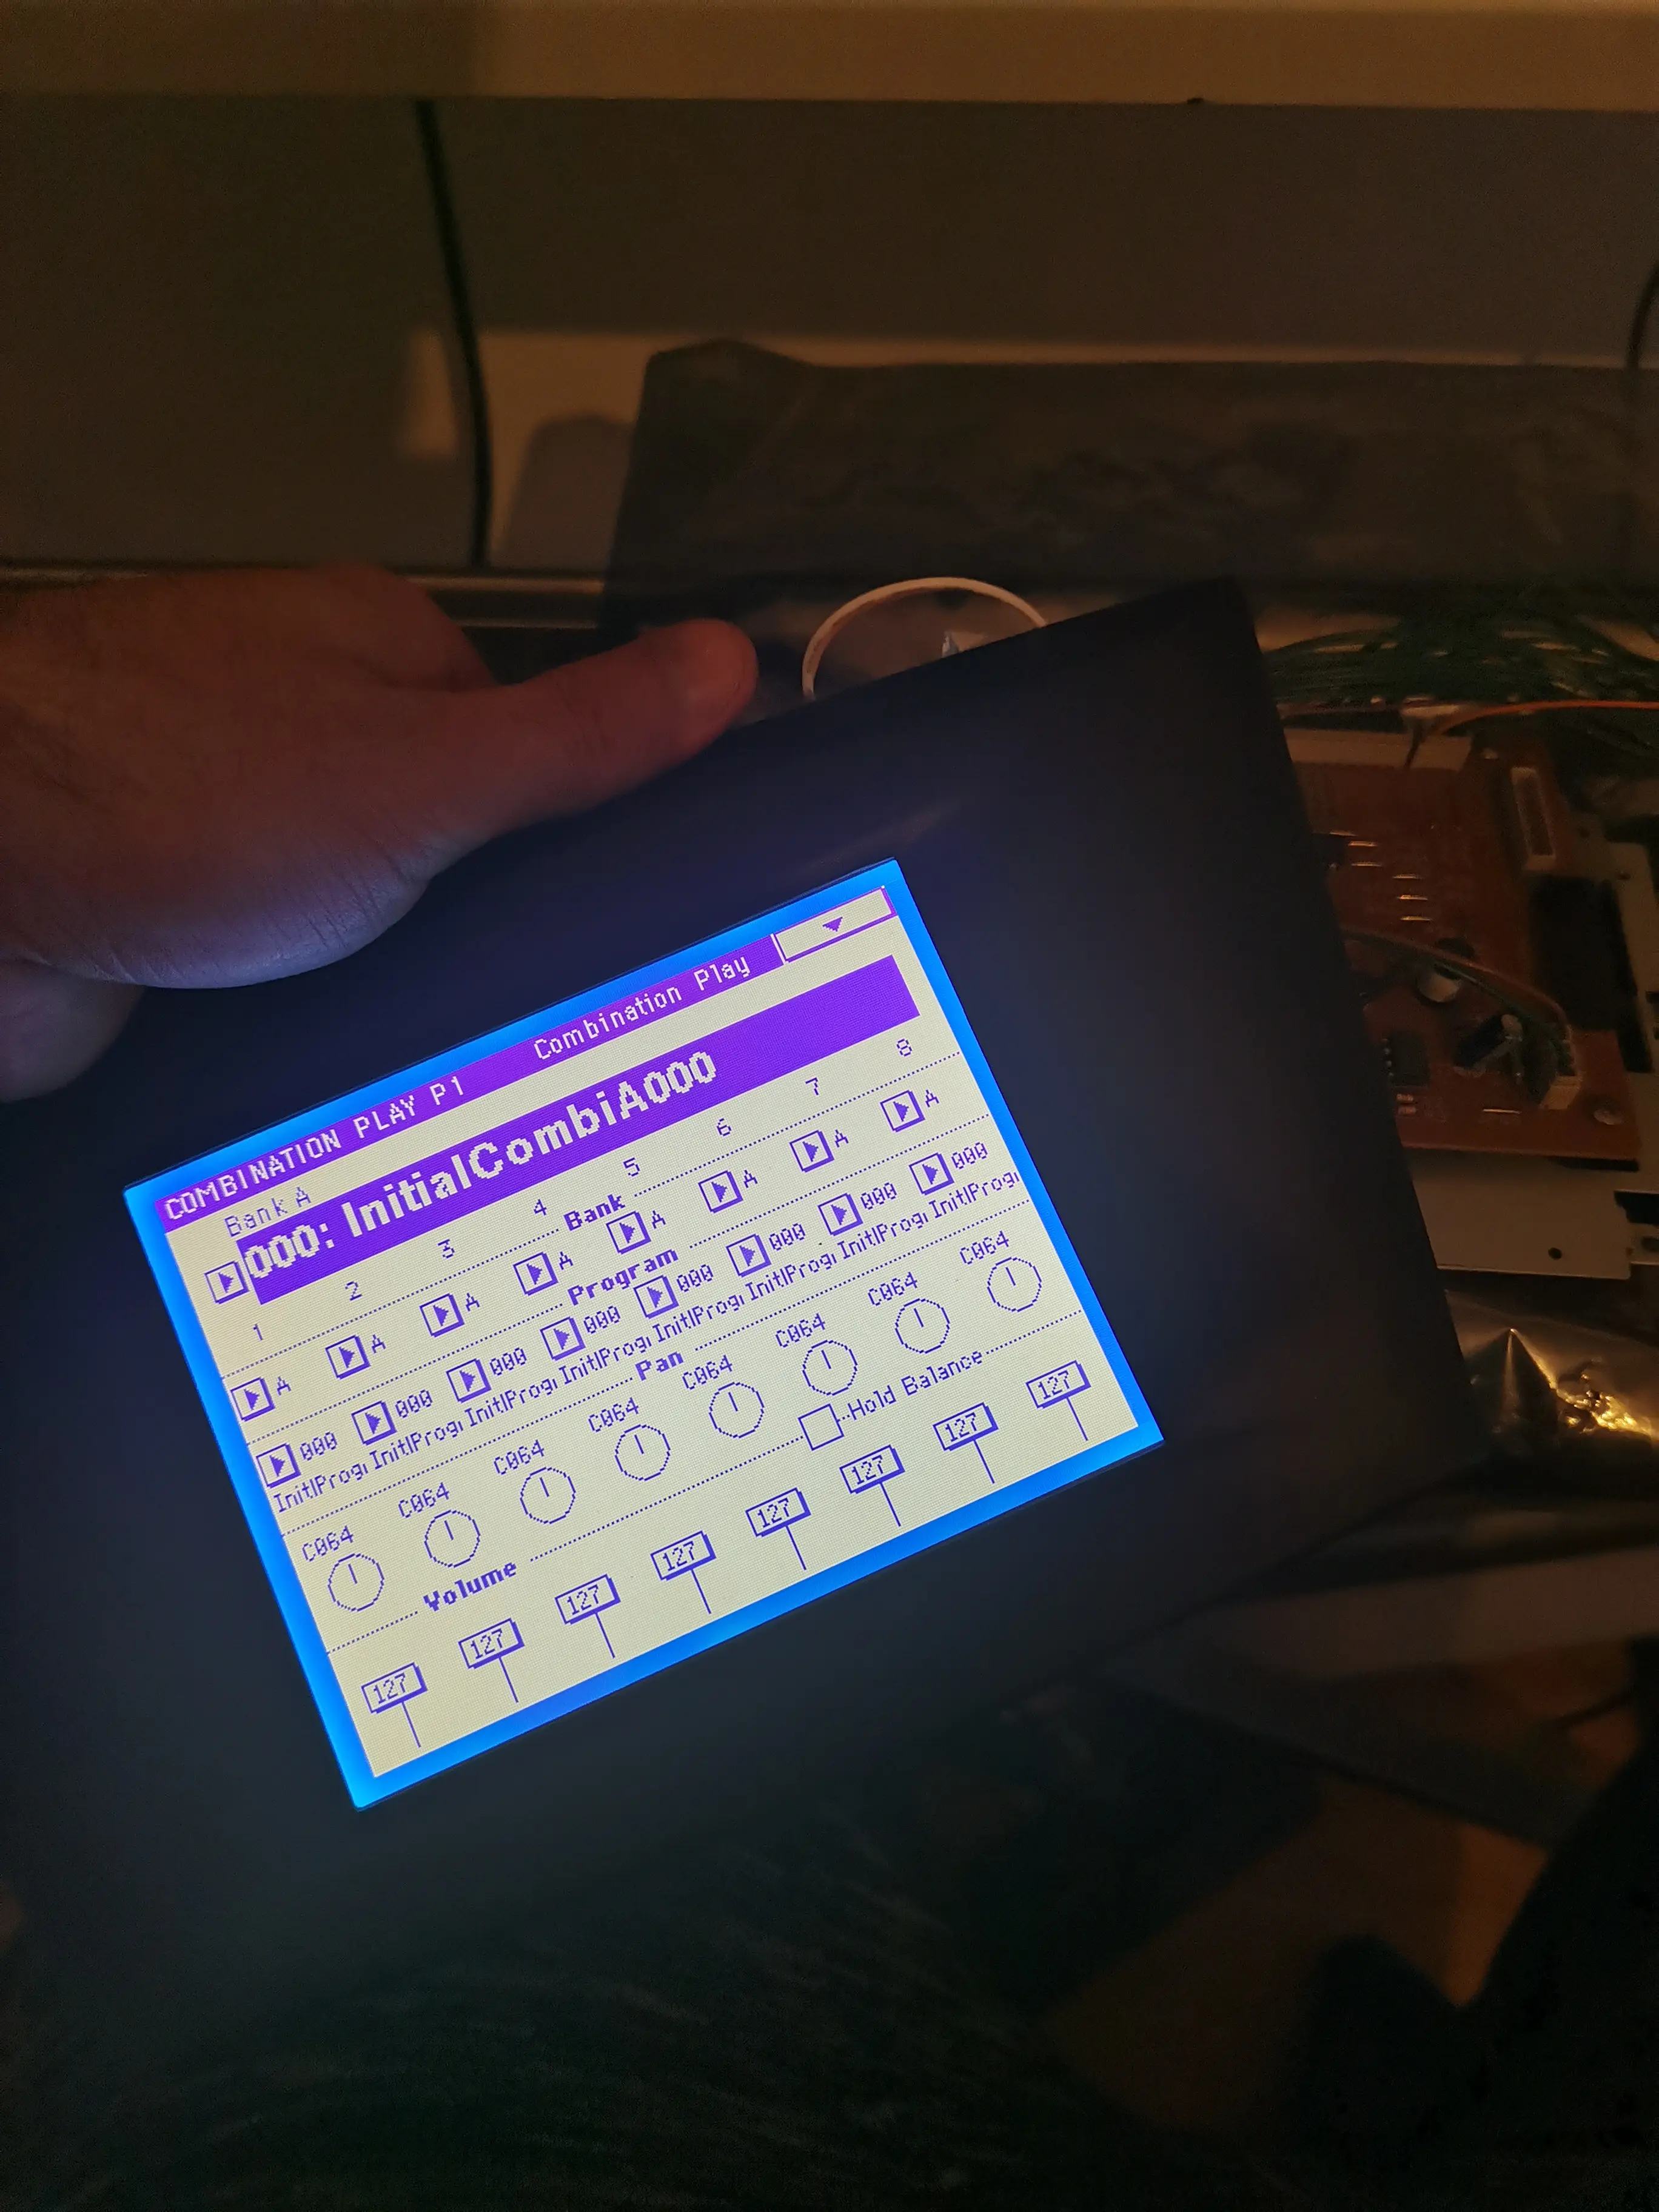
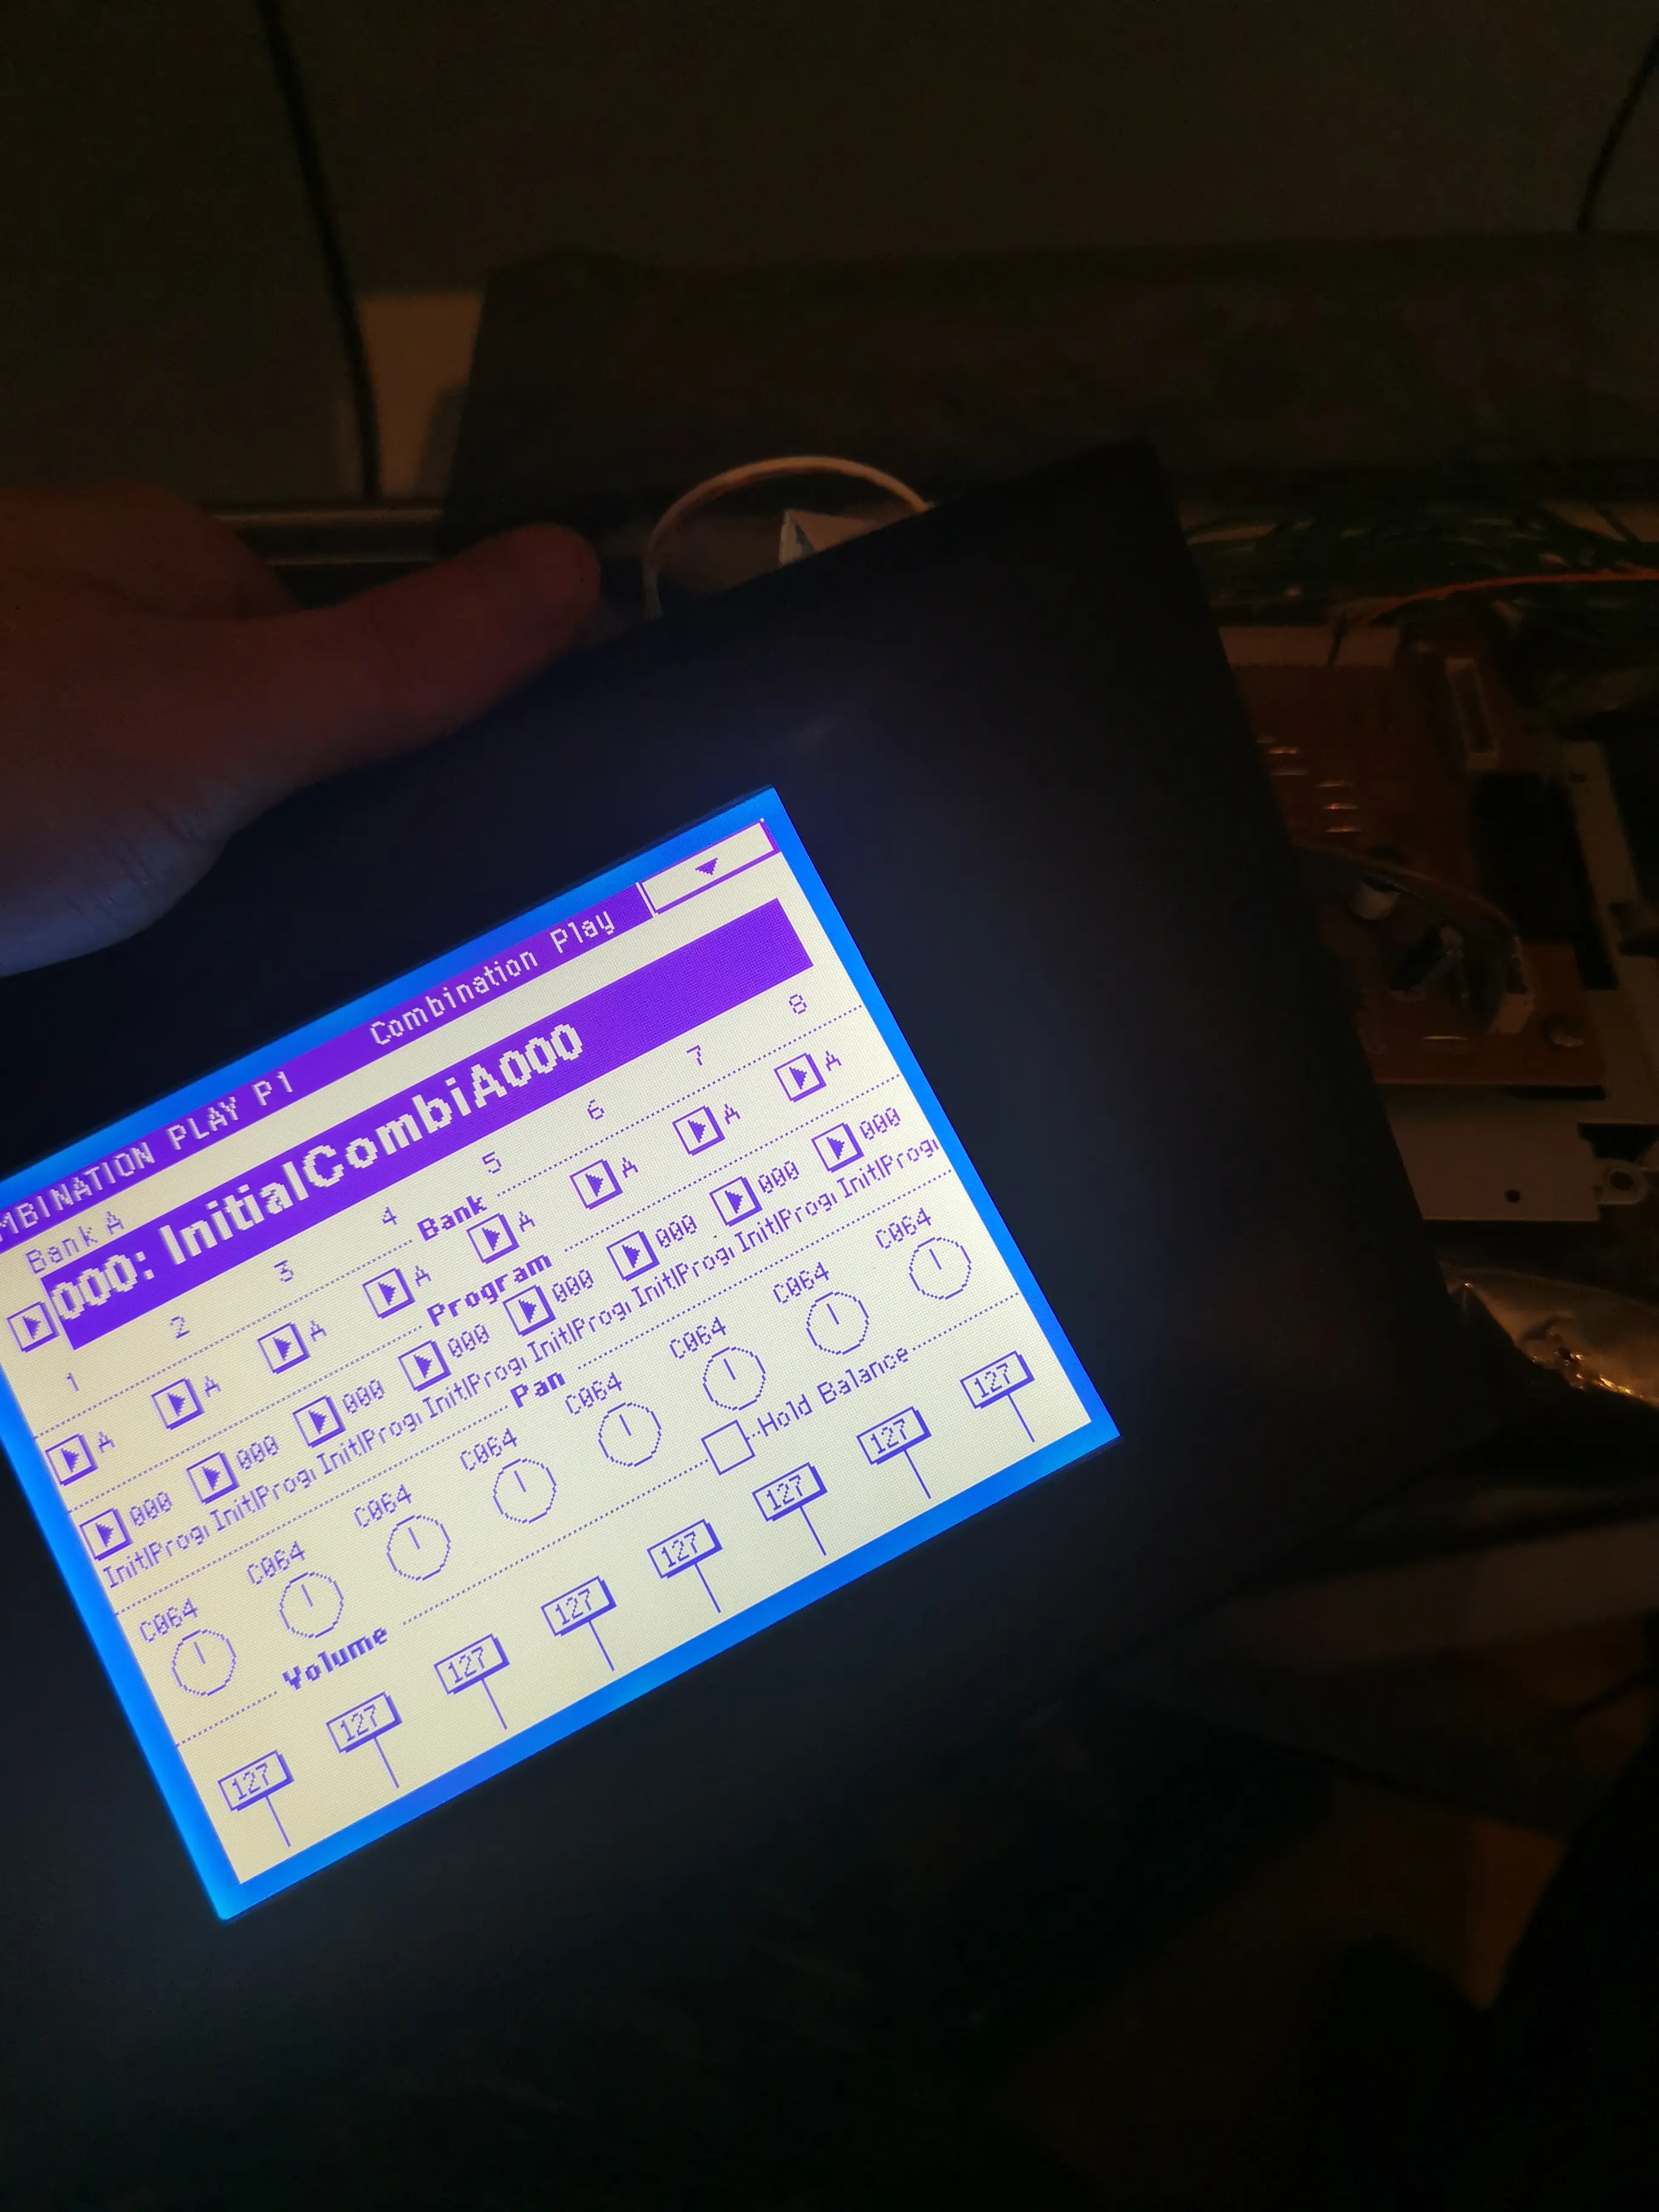
Keys back in and a new backlight
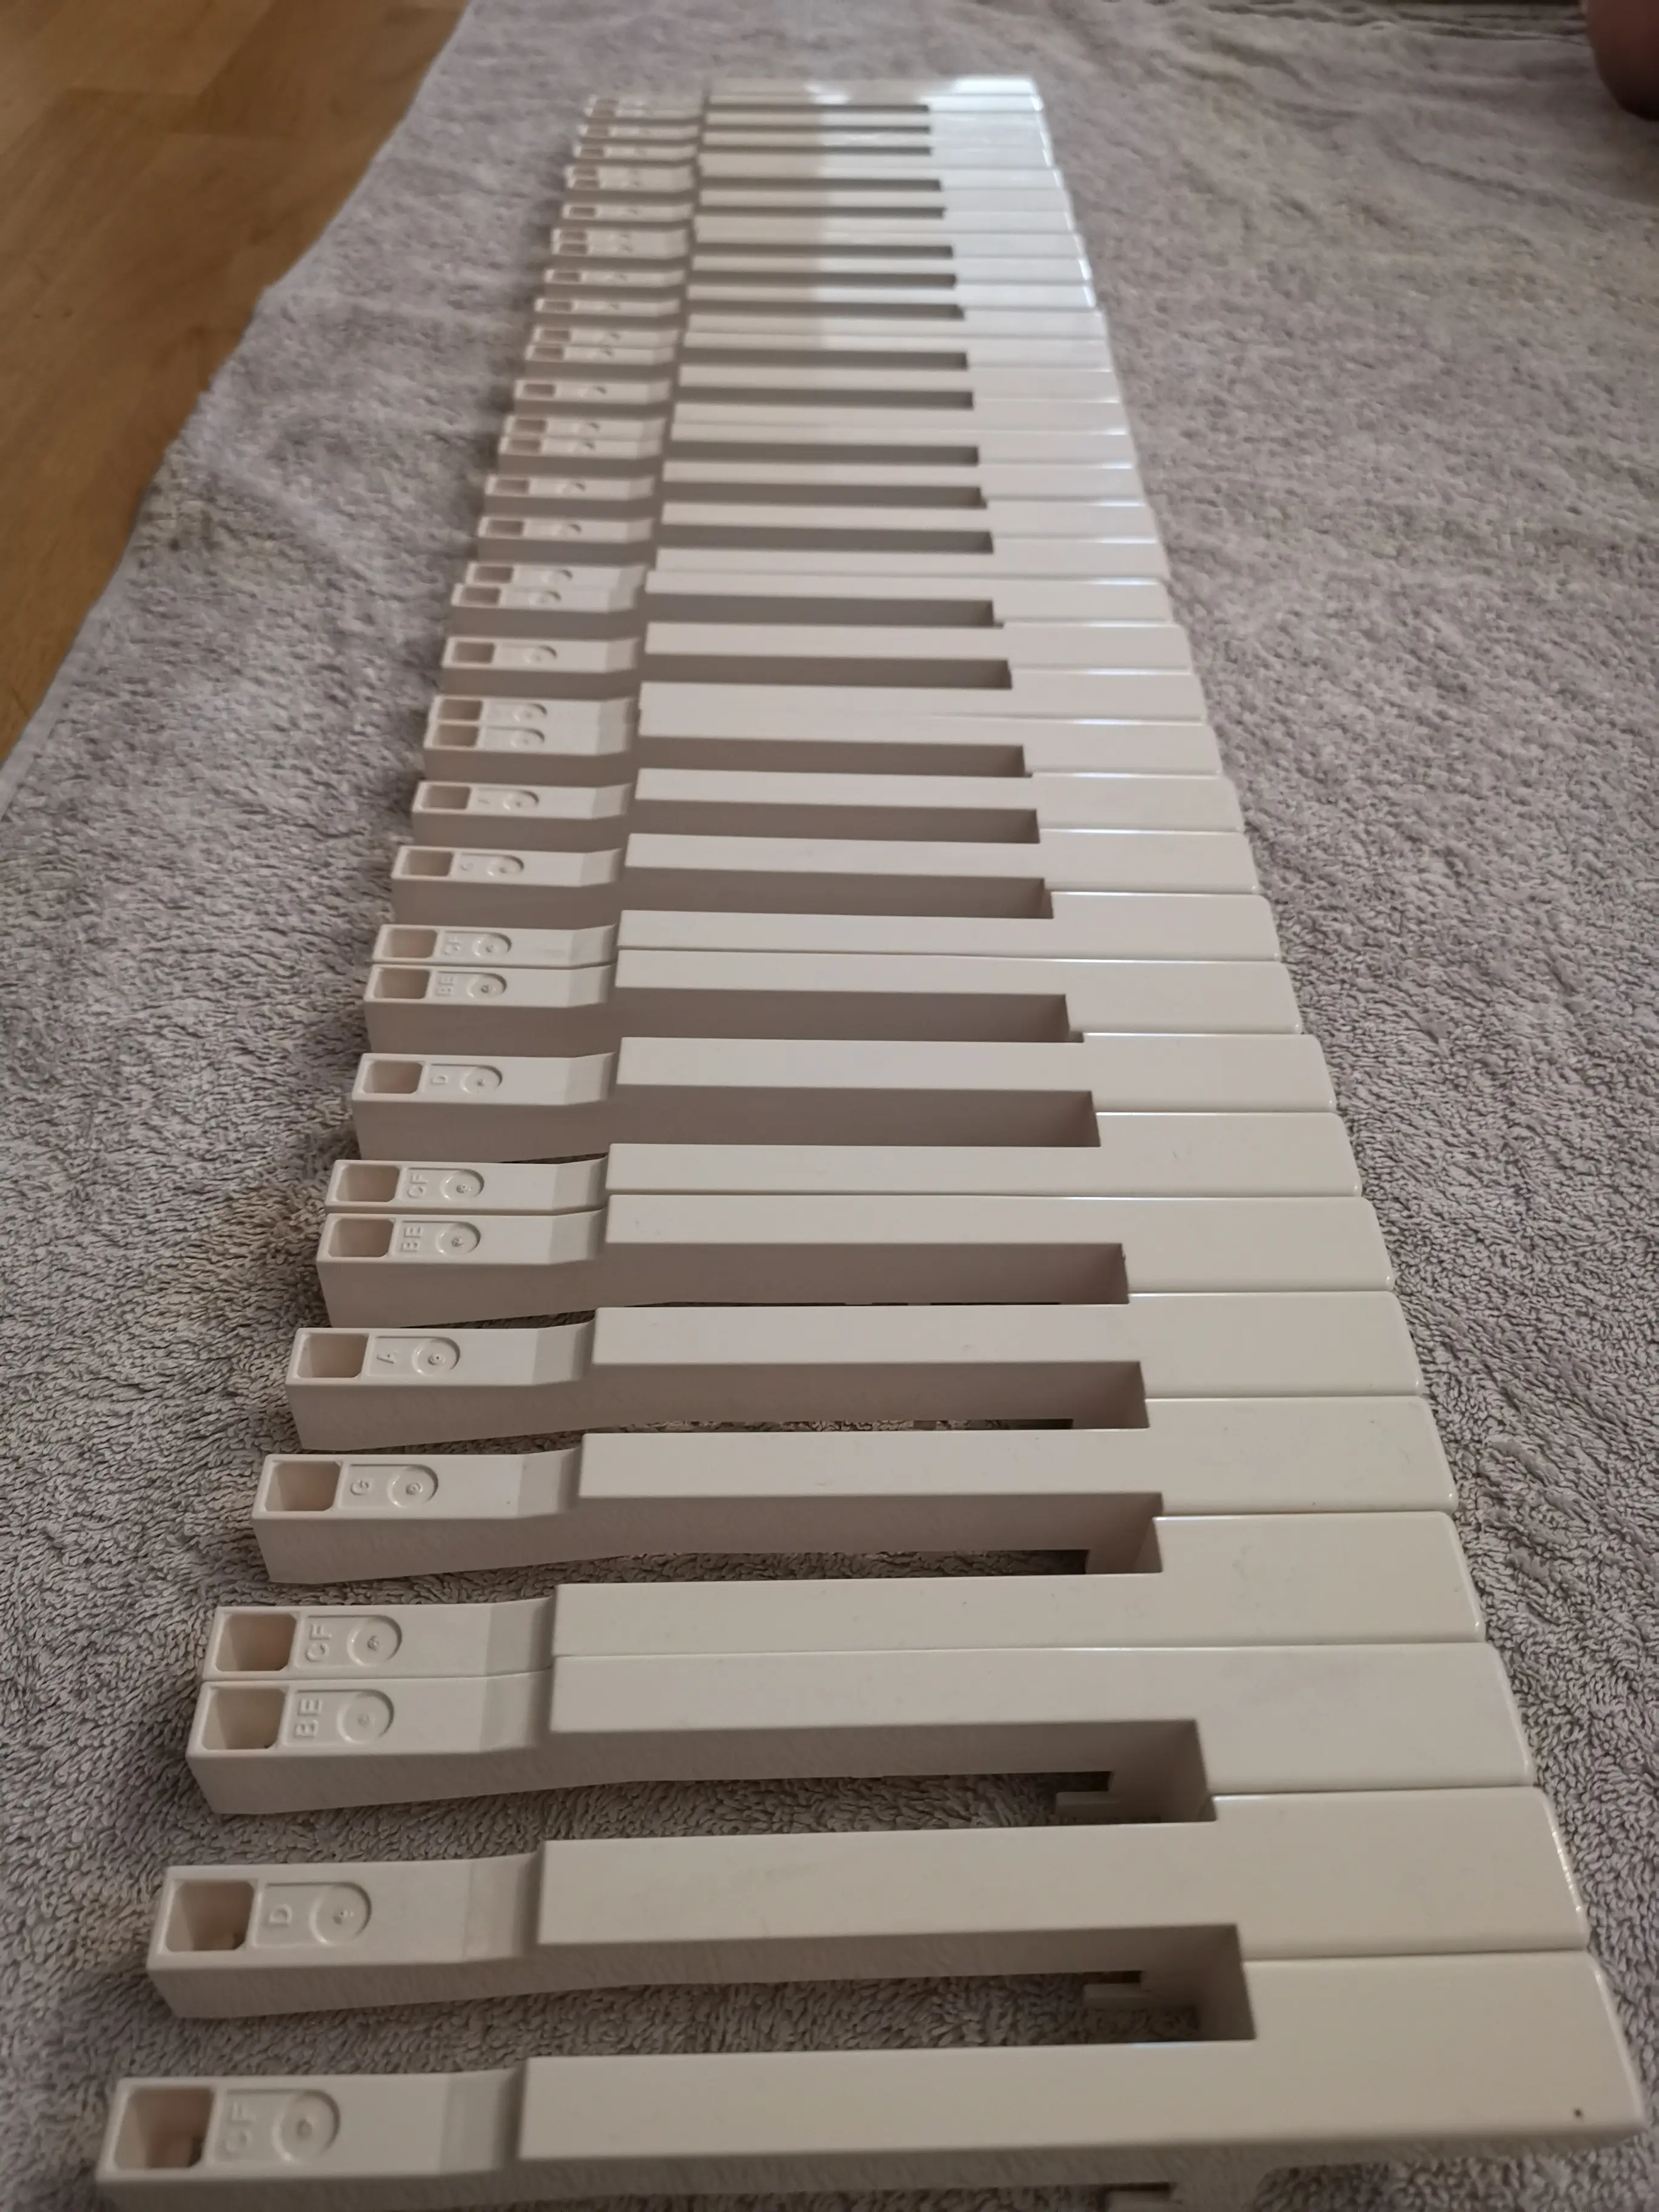
Keys reinstalled and the new display backlight Keys reinstalled and the new display backlight Keys reinstalled and the new display backlight Keys reinstalled and the new display backlight Keys reinstalled and the new display backlight Keys reinstalled and the new display backlight Keys reinstalled and the new display backlight Keys reinstalled and the new display backlight Keys reinstalled and the new display backlight Keys reinstalled and the new display backlight Keys reinstalled and the new display backlight Keys reinstalled and the new display backlight Keys reinstalled and the new display backlight Keys reinstalled and the new display backlight Keys reinstalled and the new display backlight Keys reinstalled and the new display backlight Keys reinstalled and the new display backlight Keys reinstalled and the new display backlight

Back together
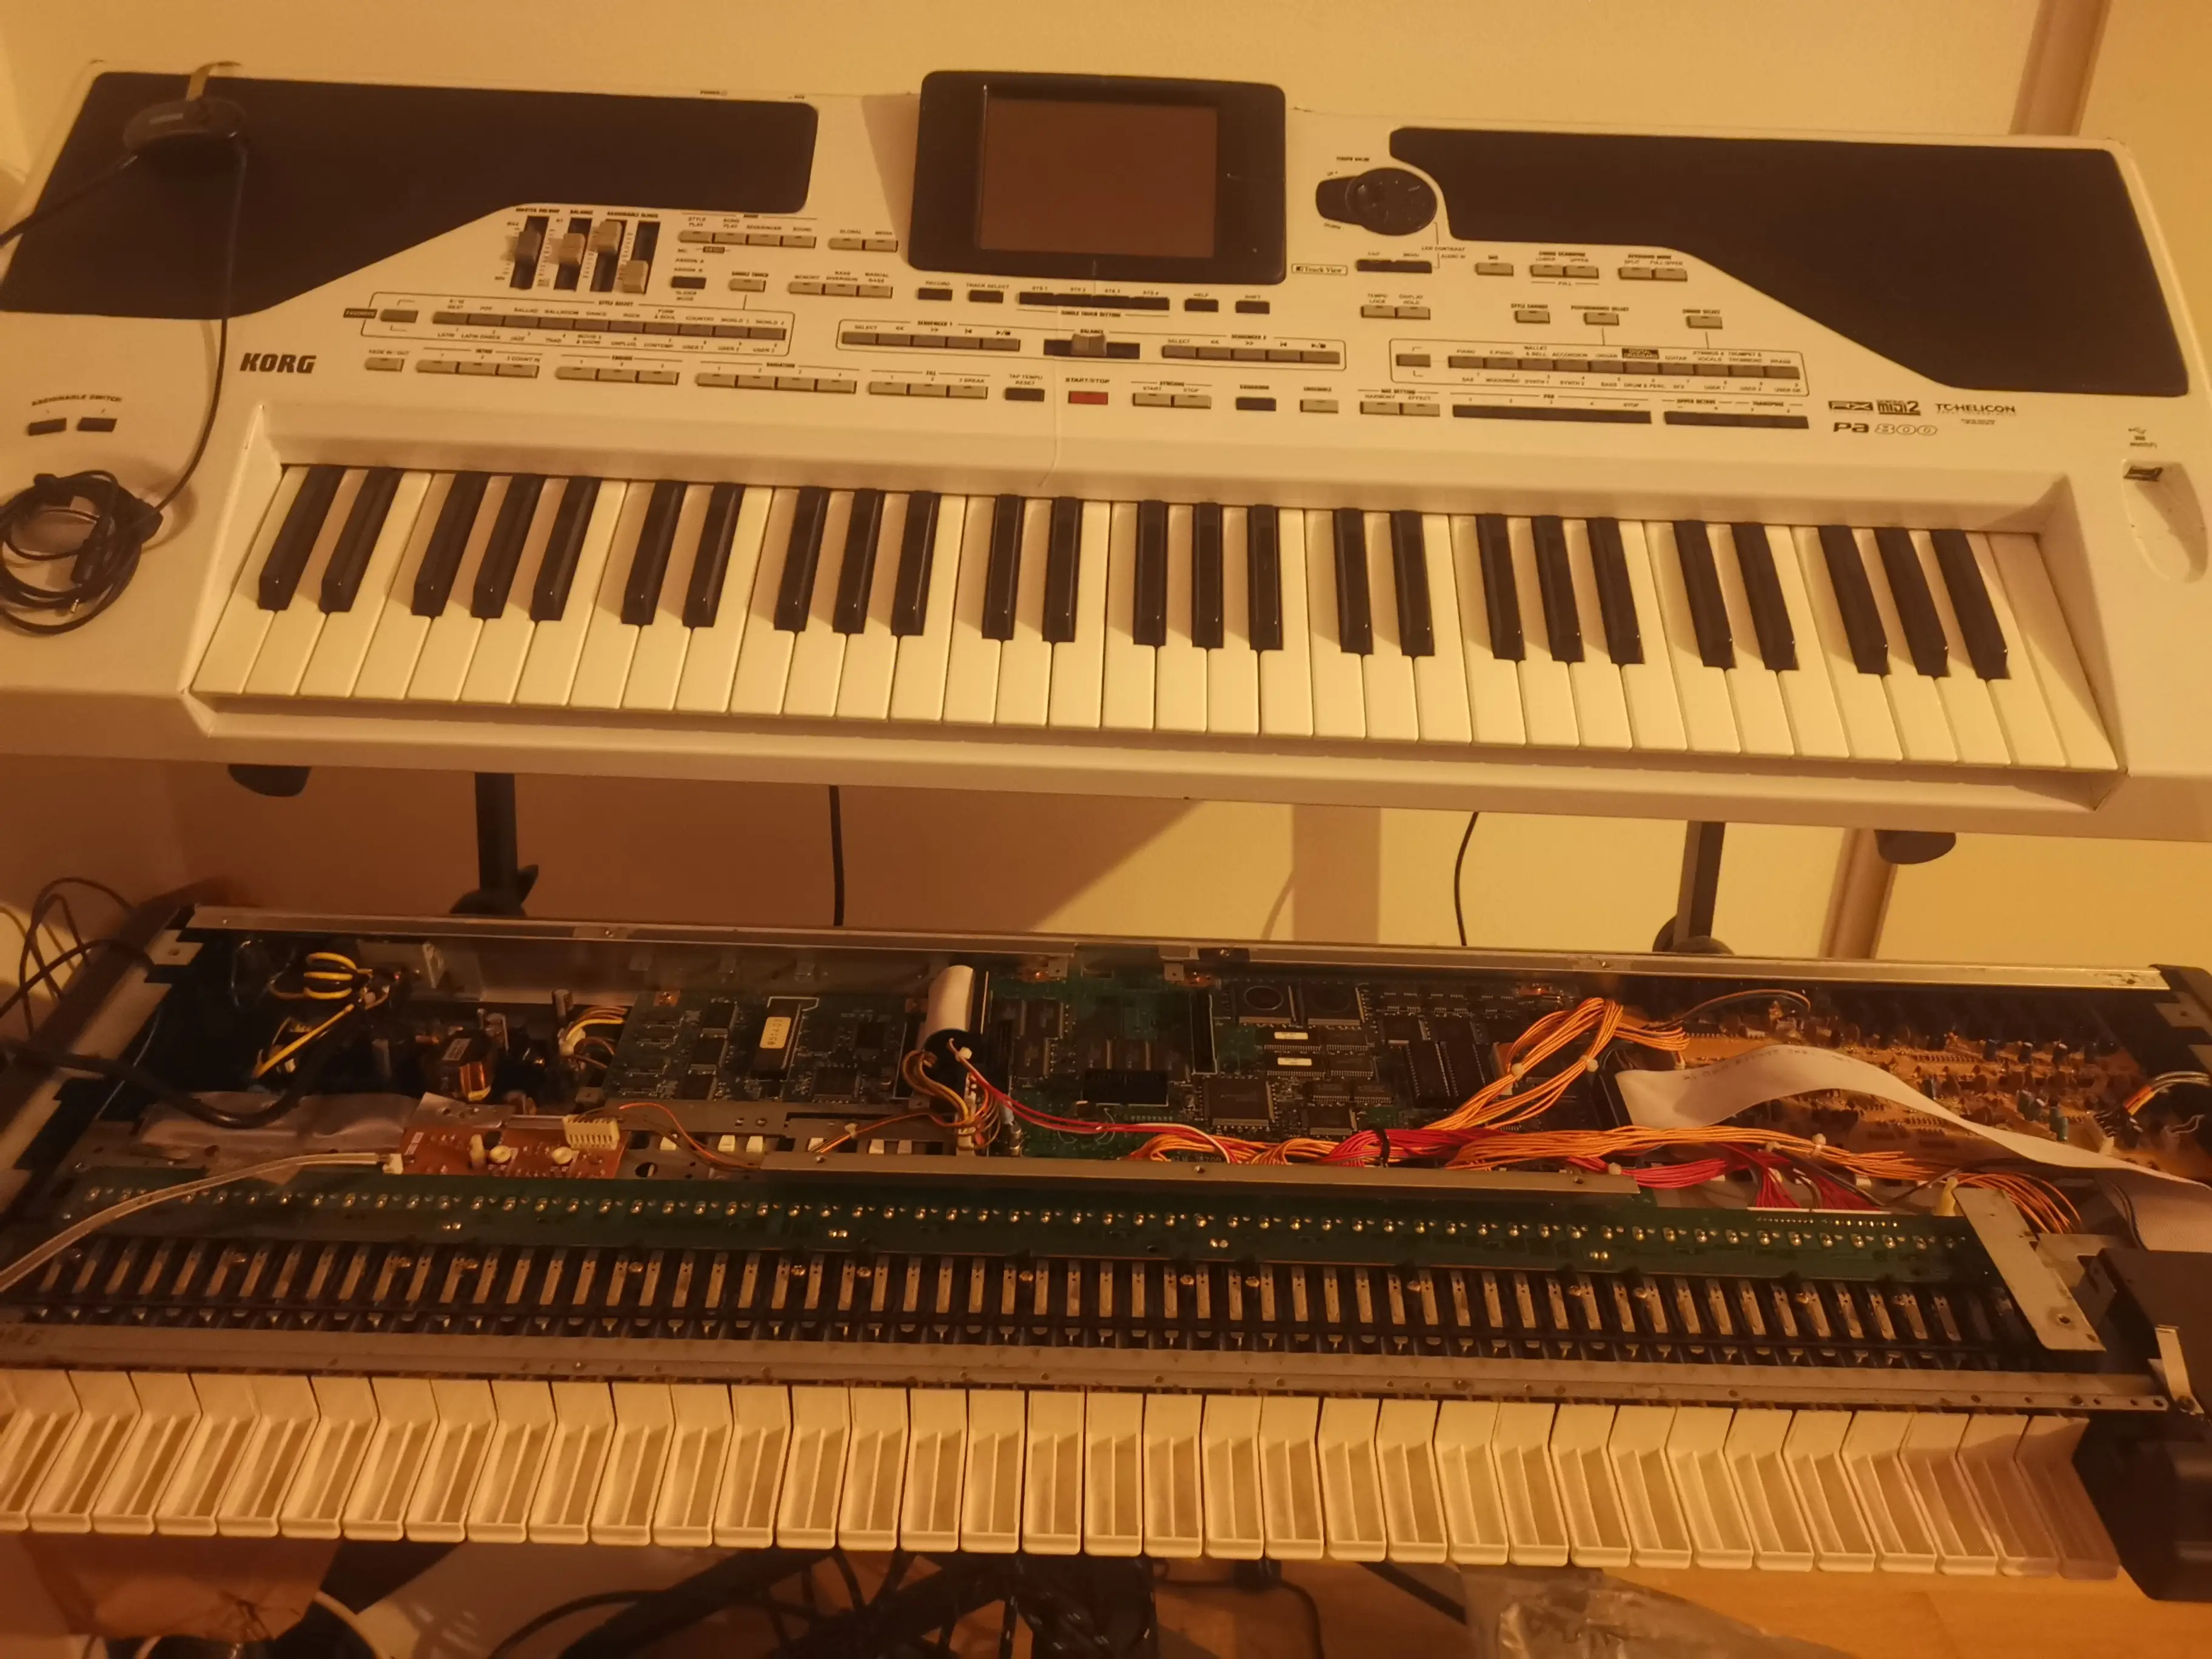
The Trinity back together The Trinity back together The Trinity back together The Trinity back together The Trinity back together

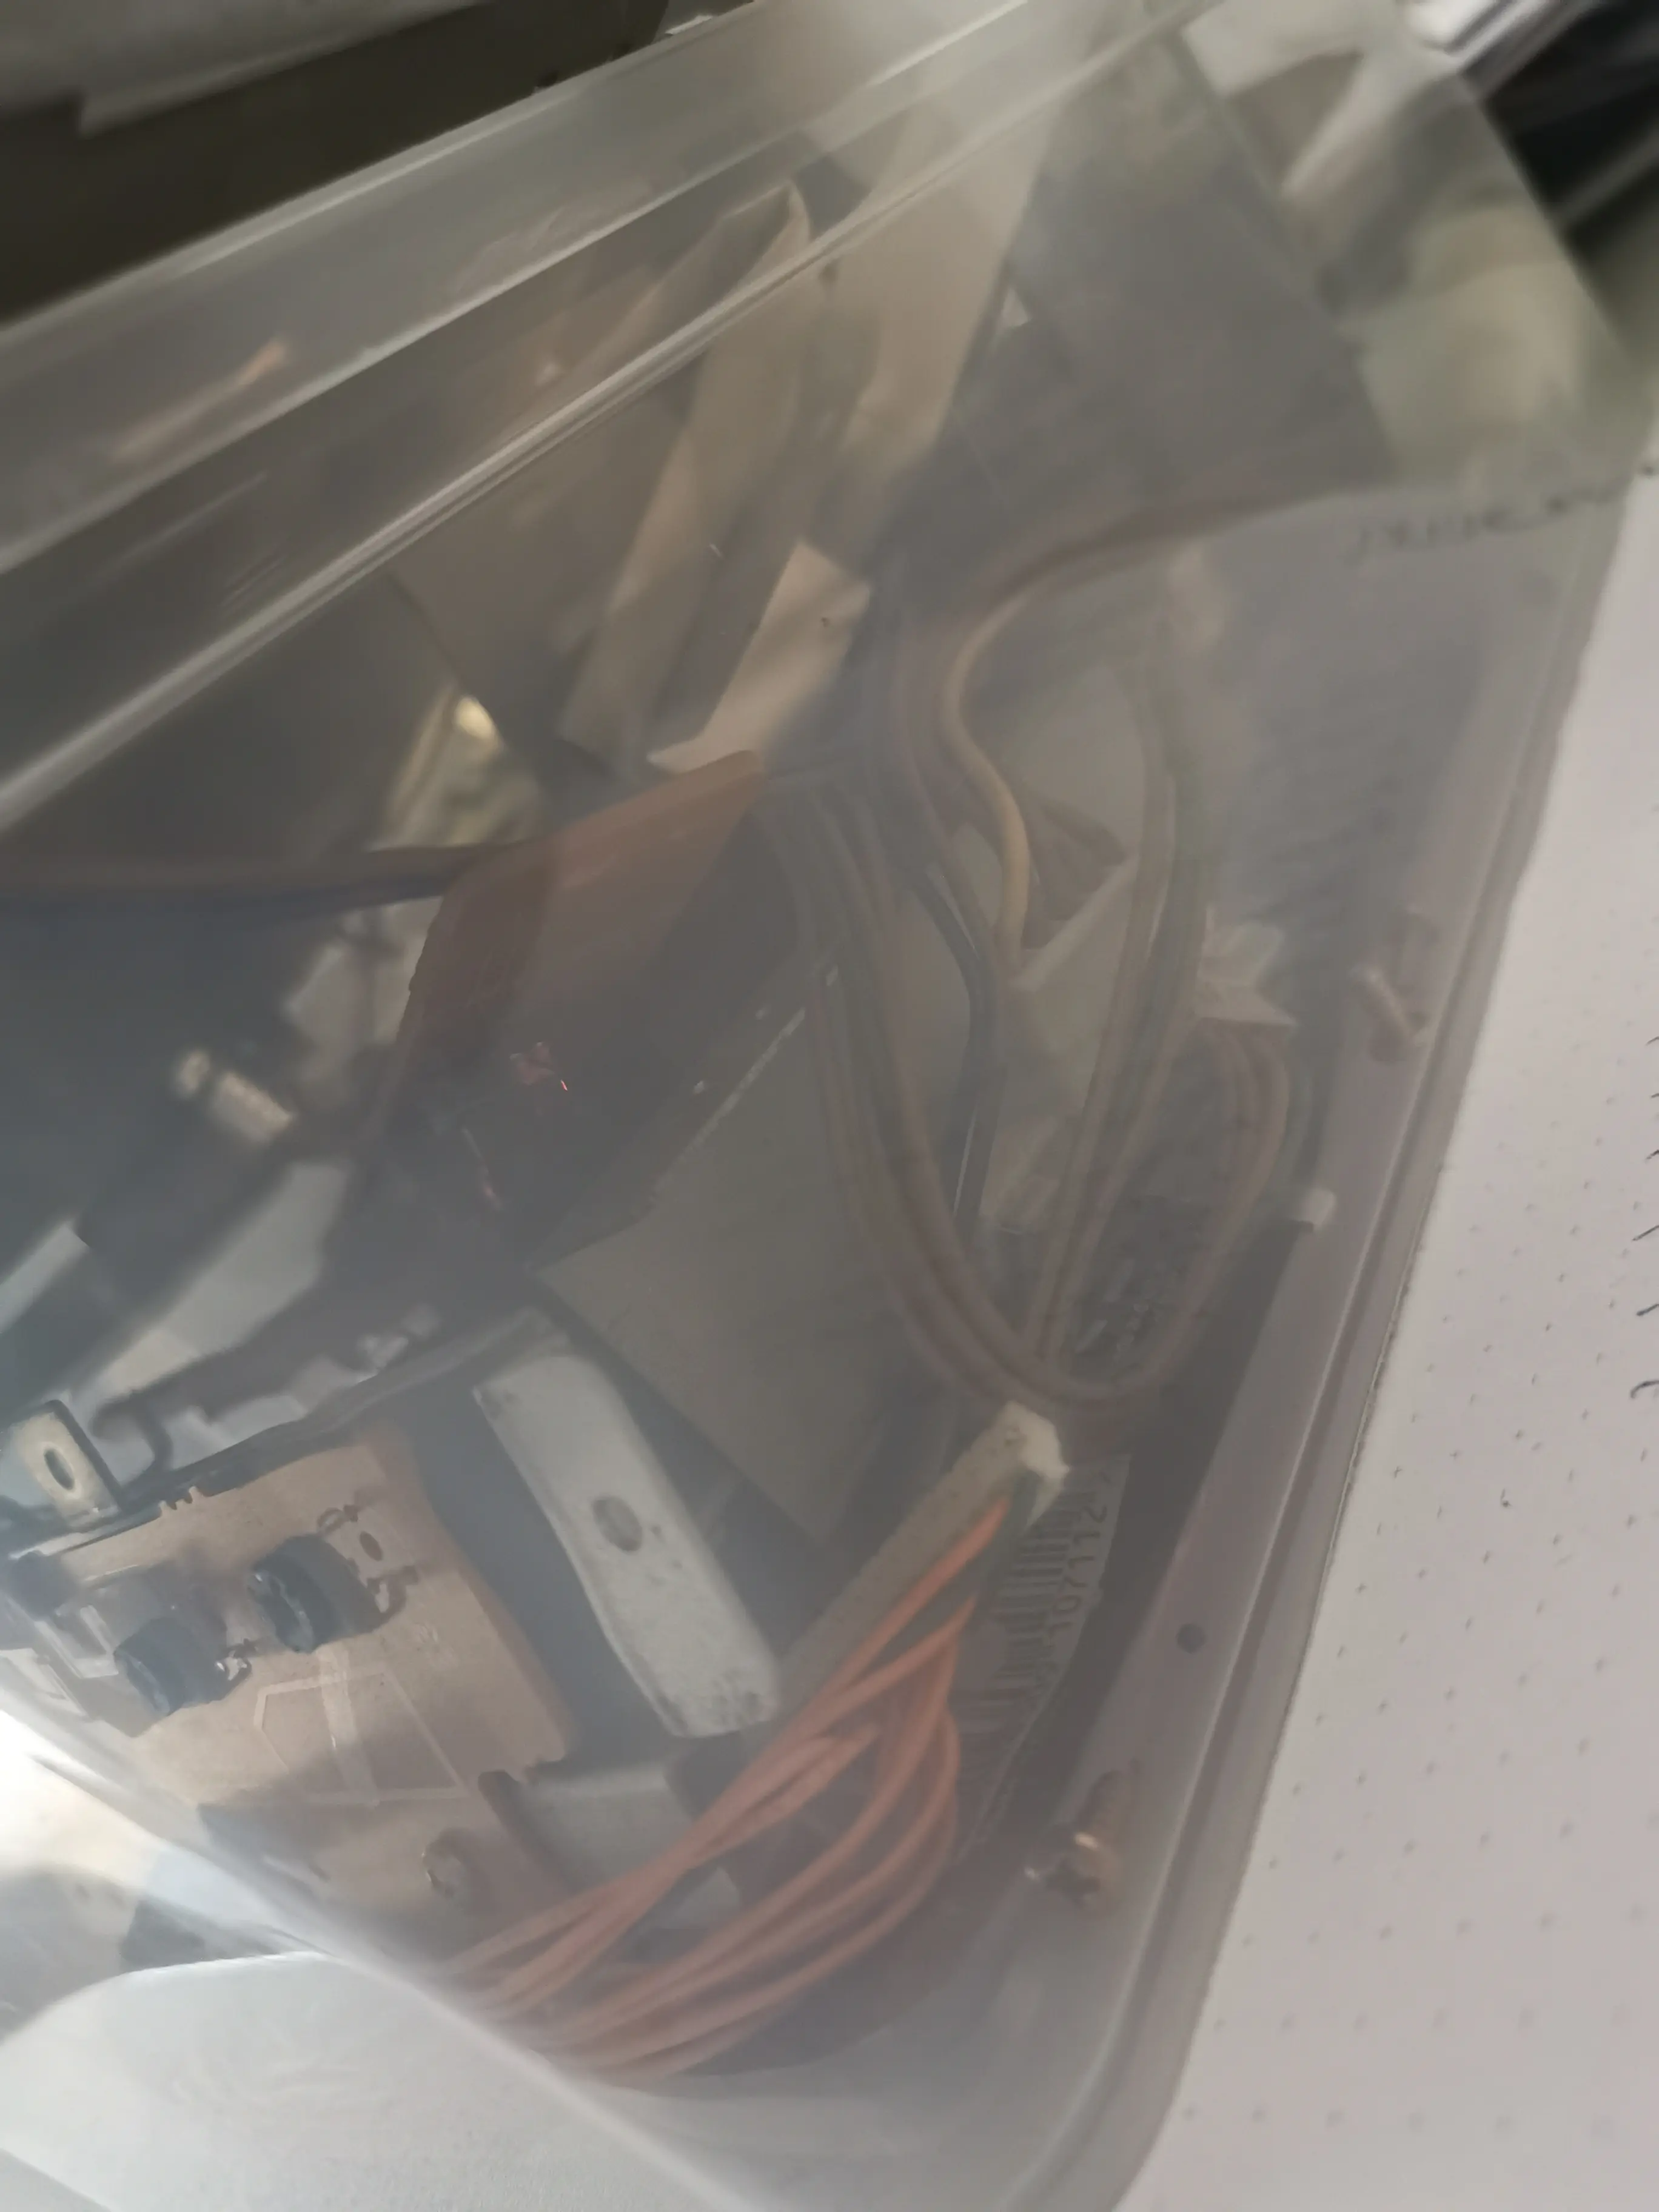
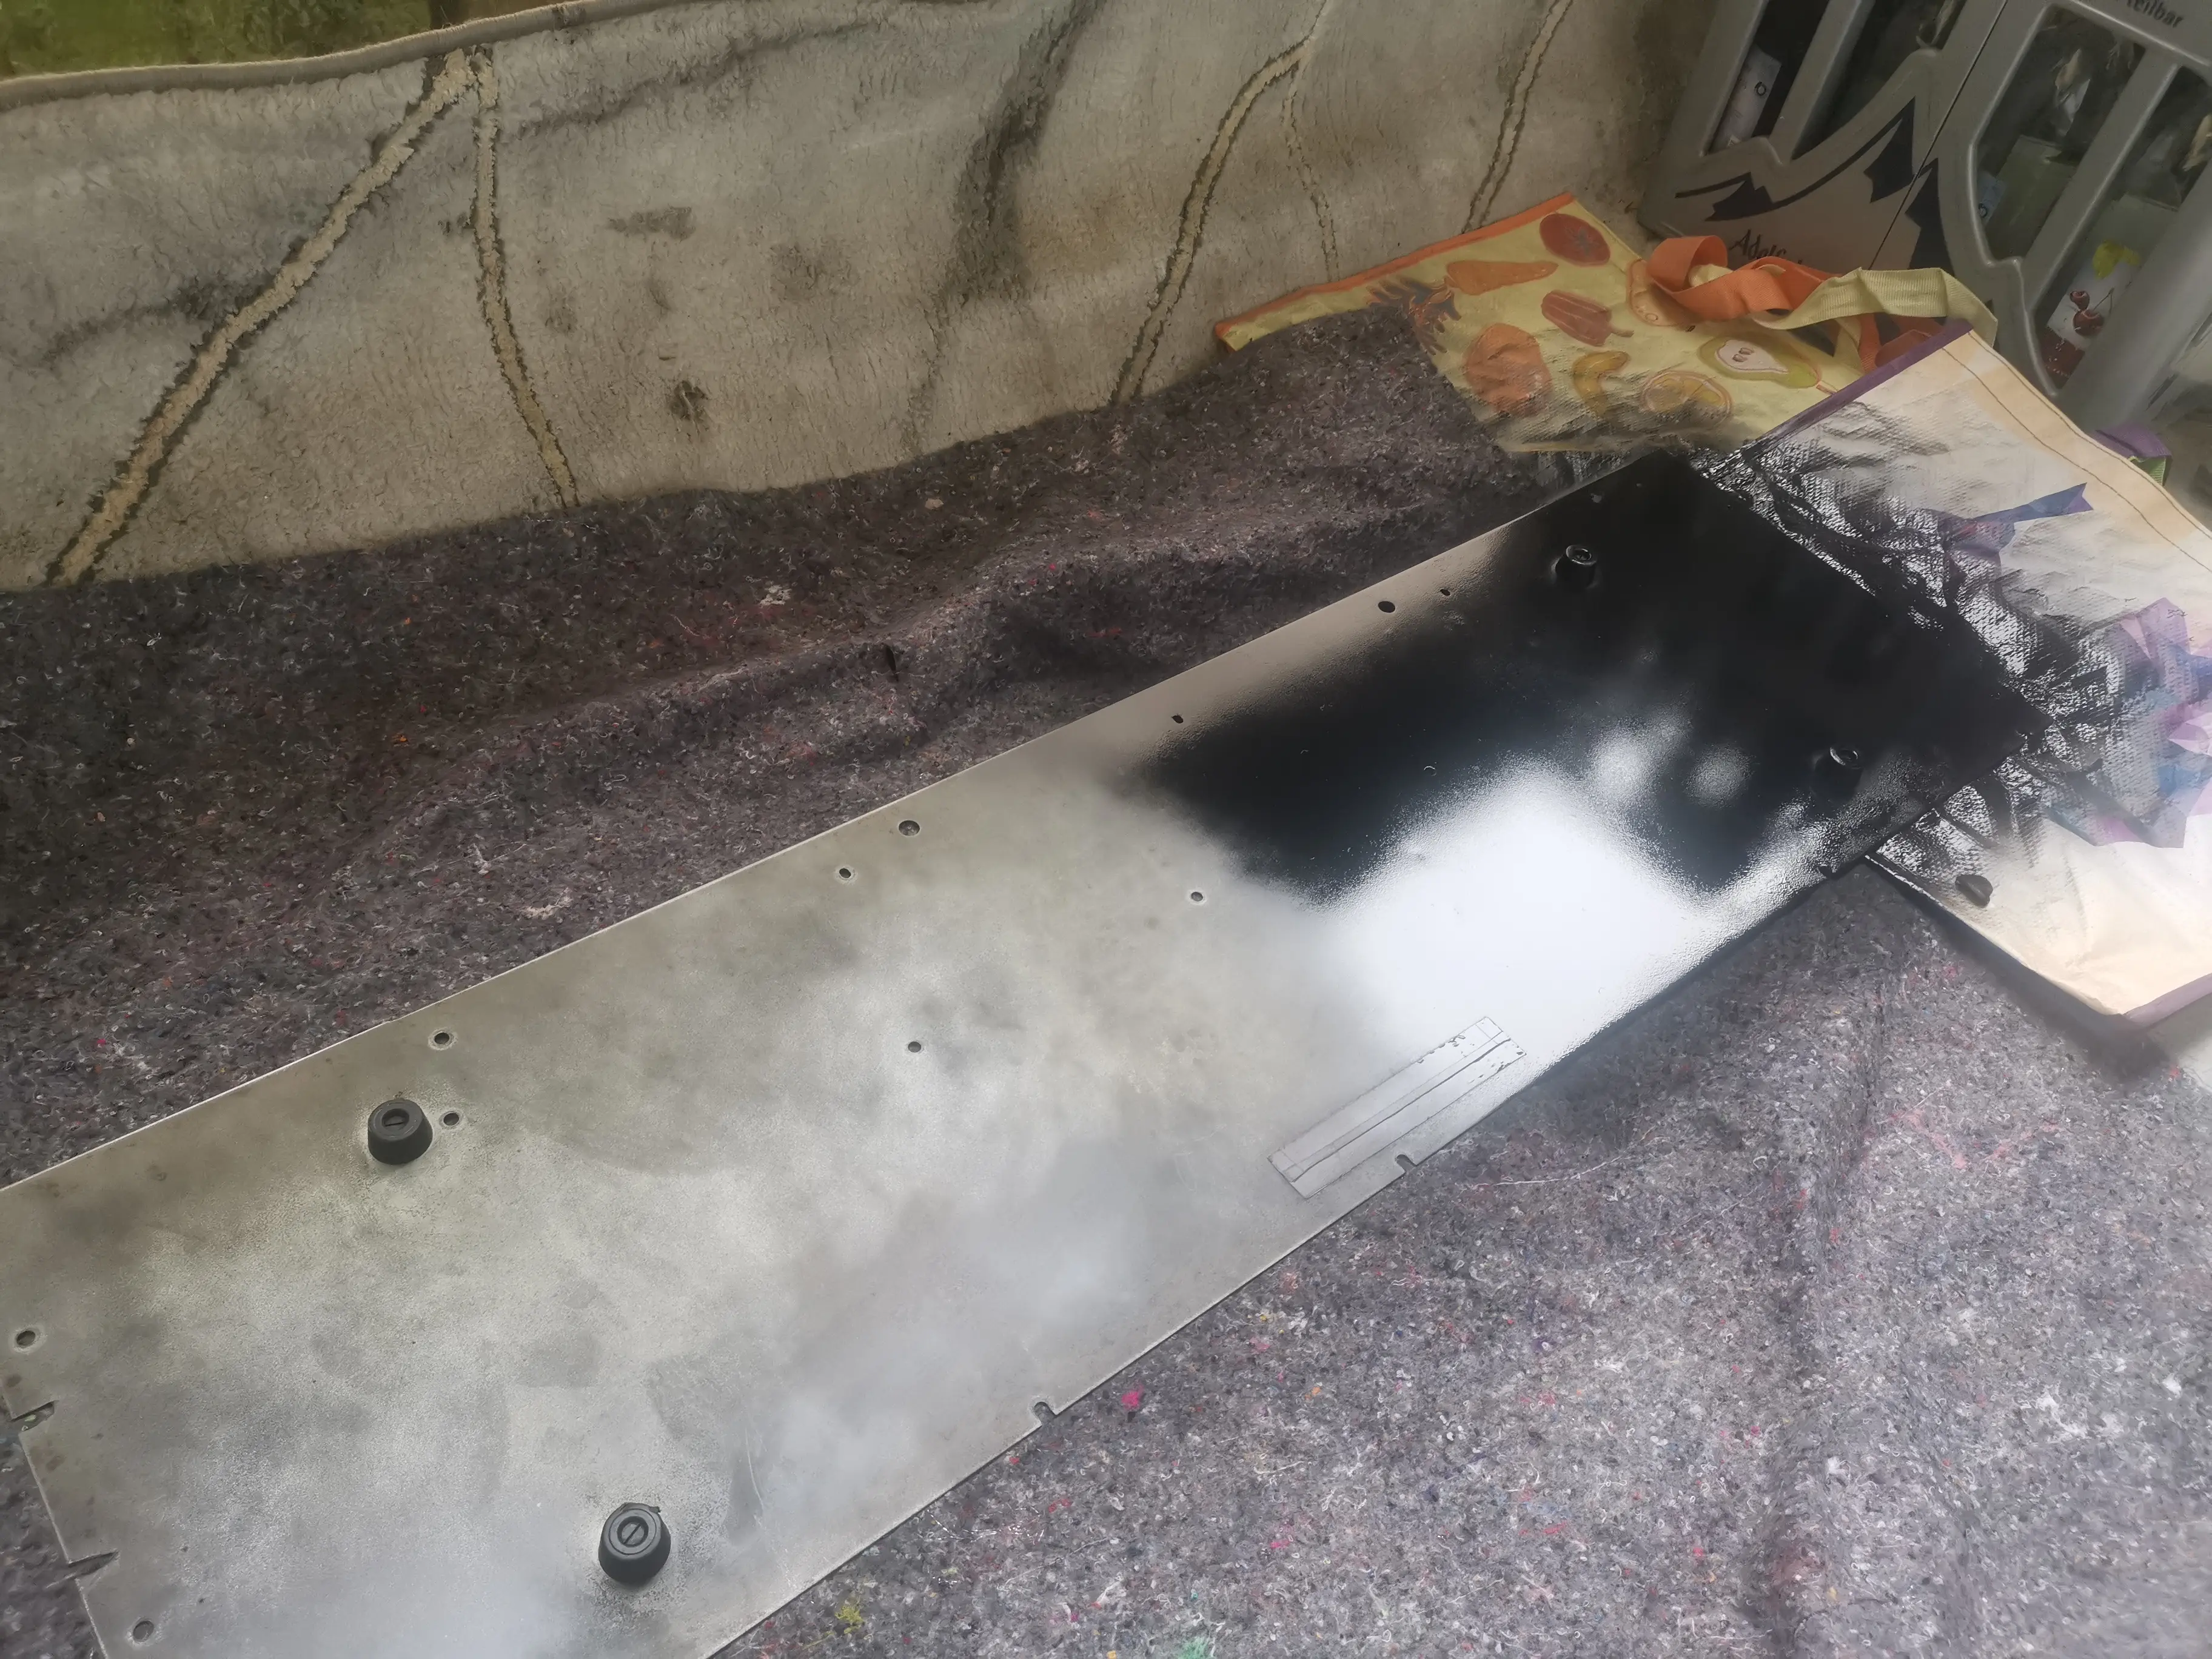
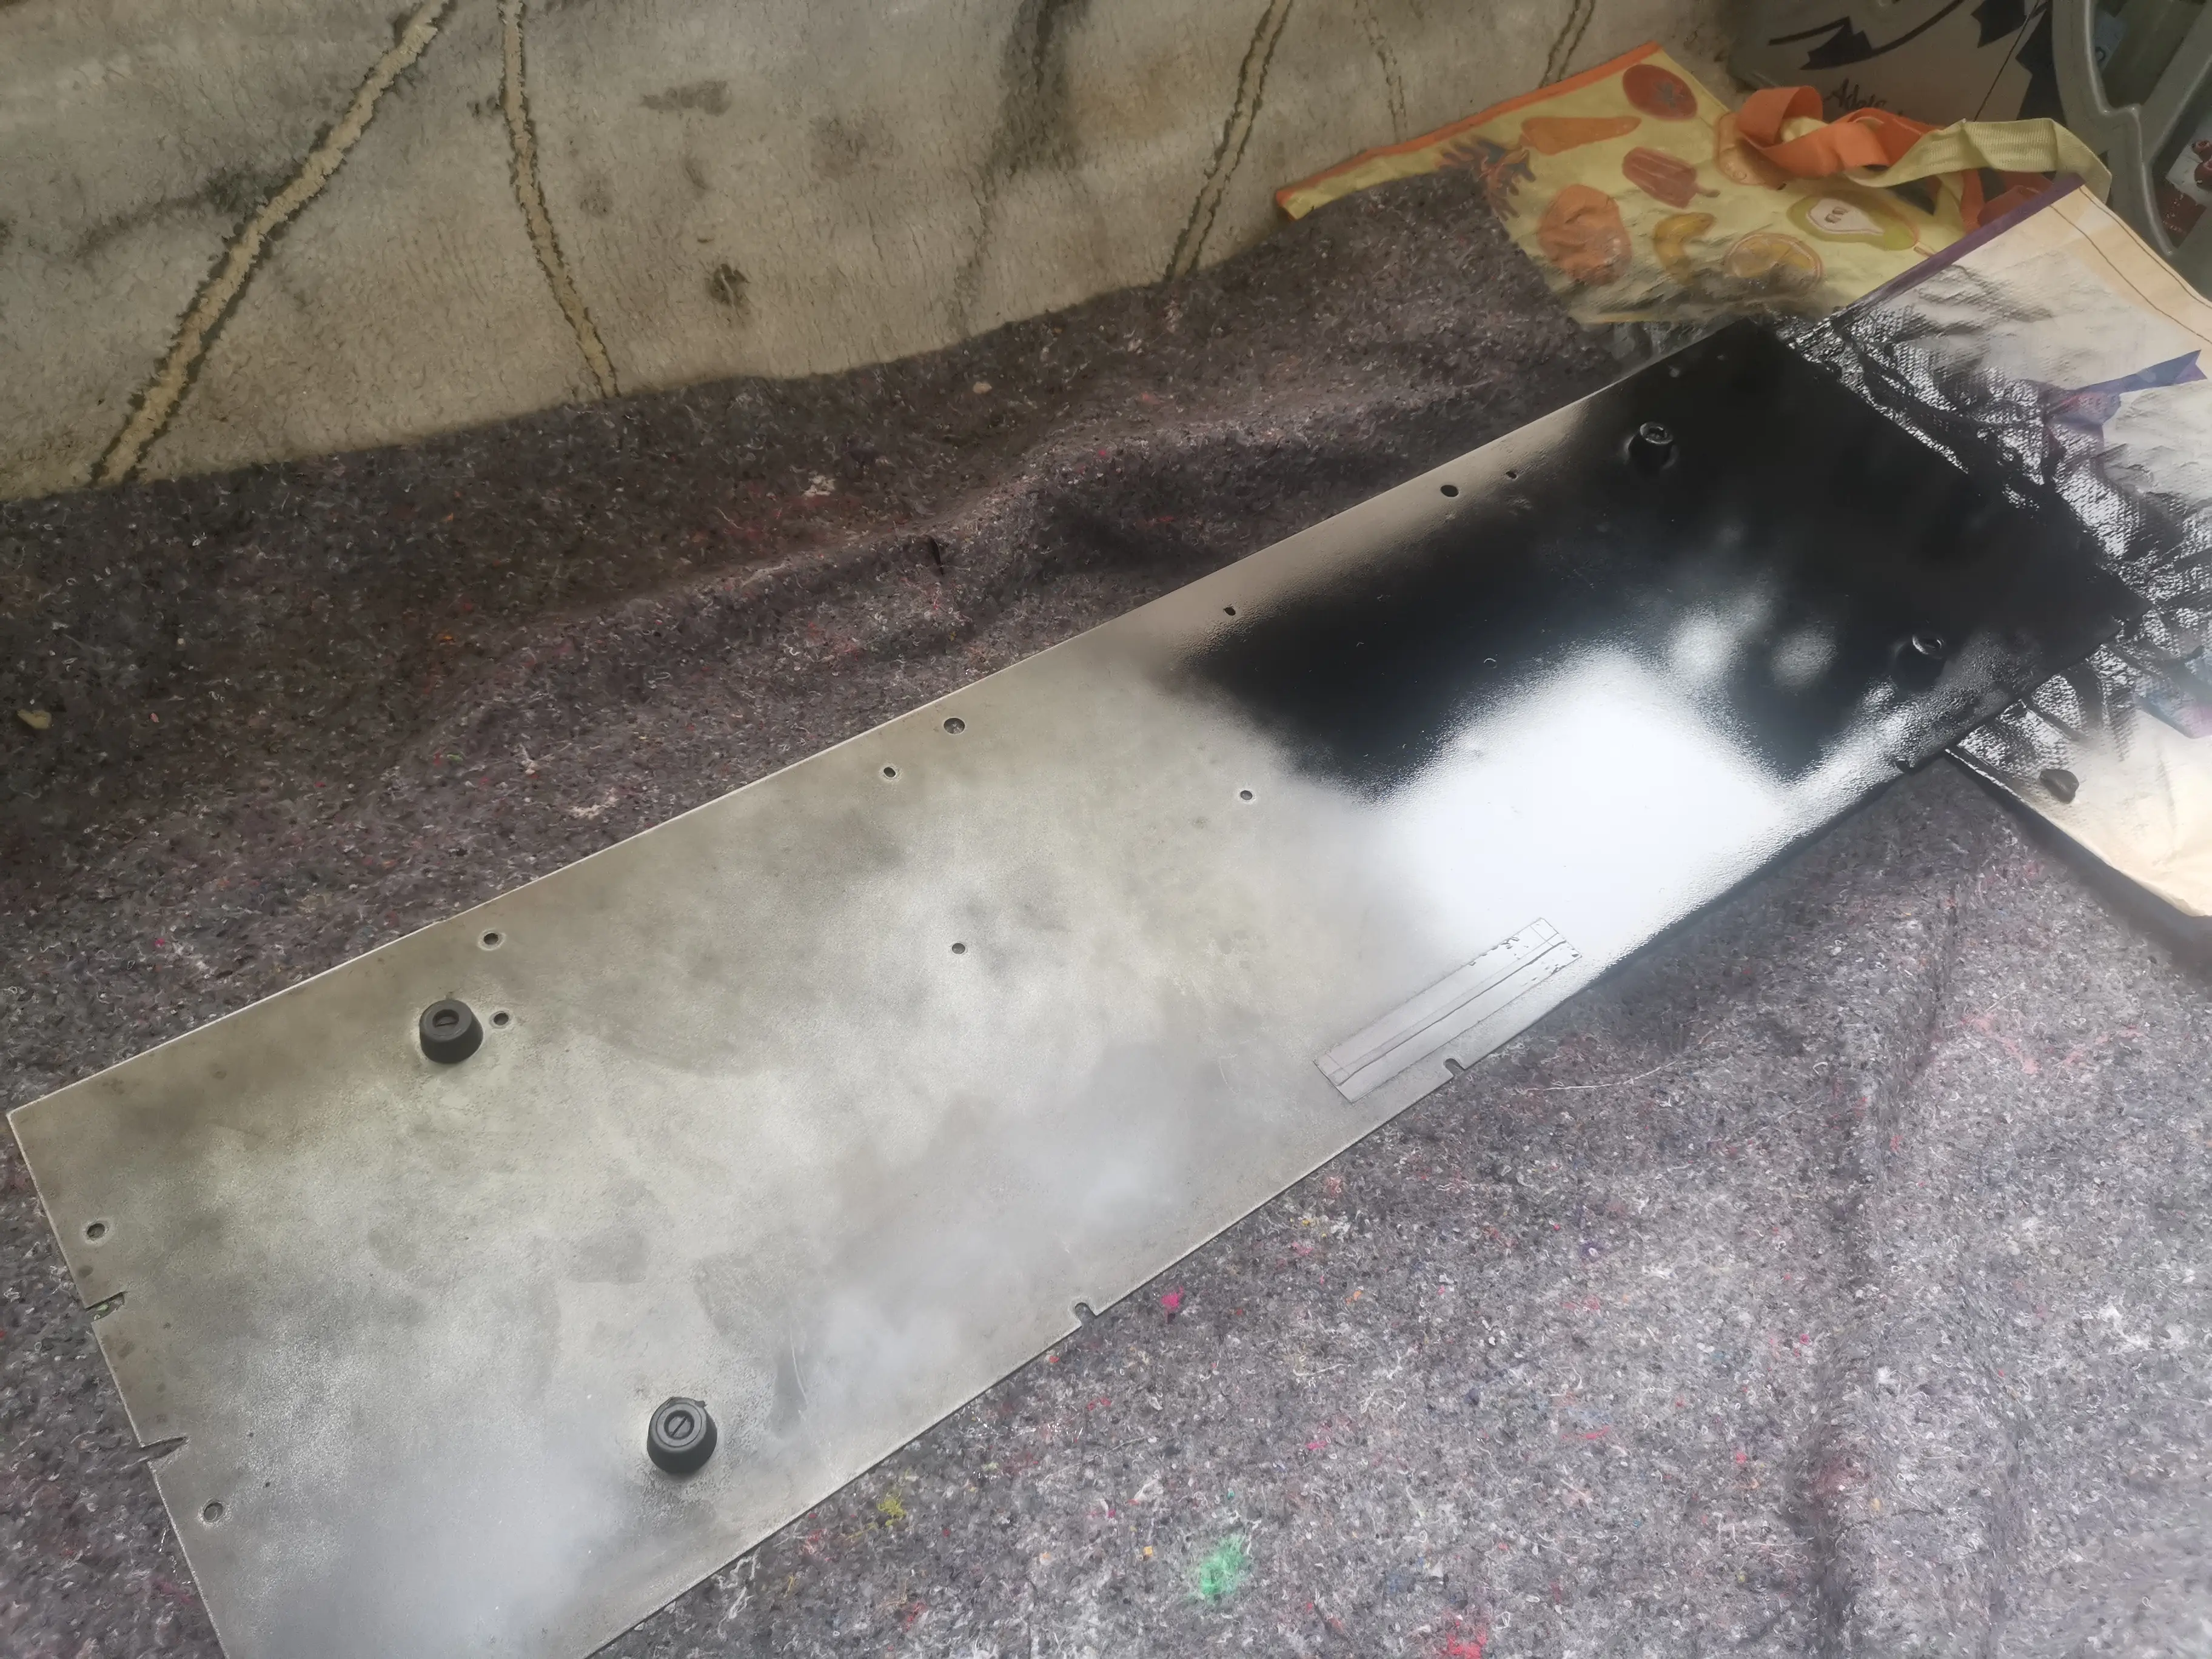
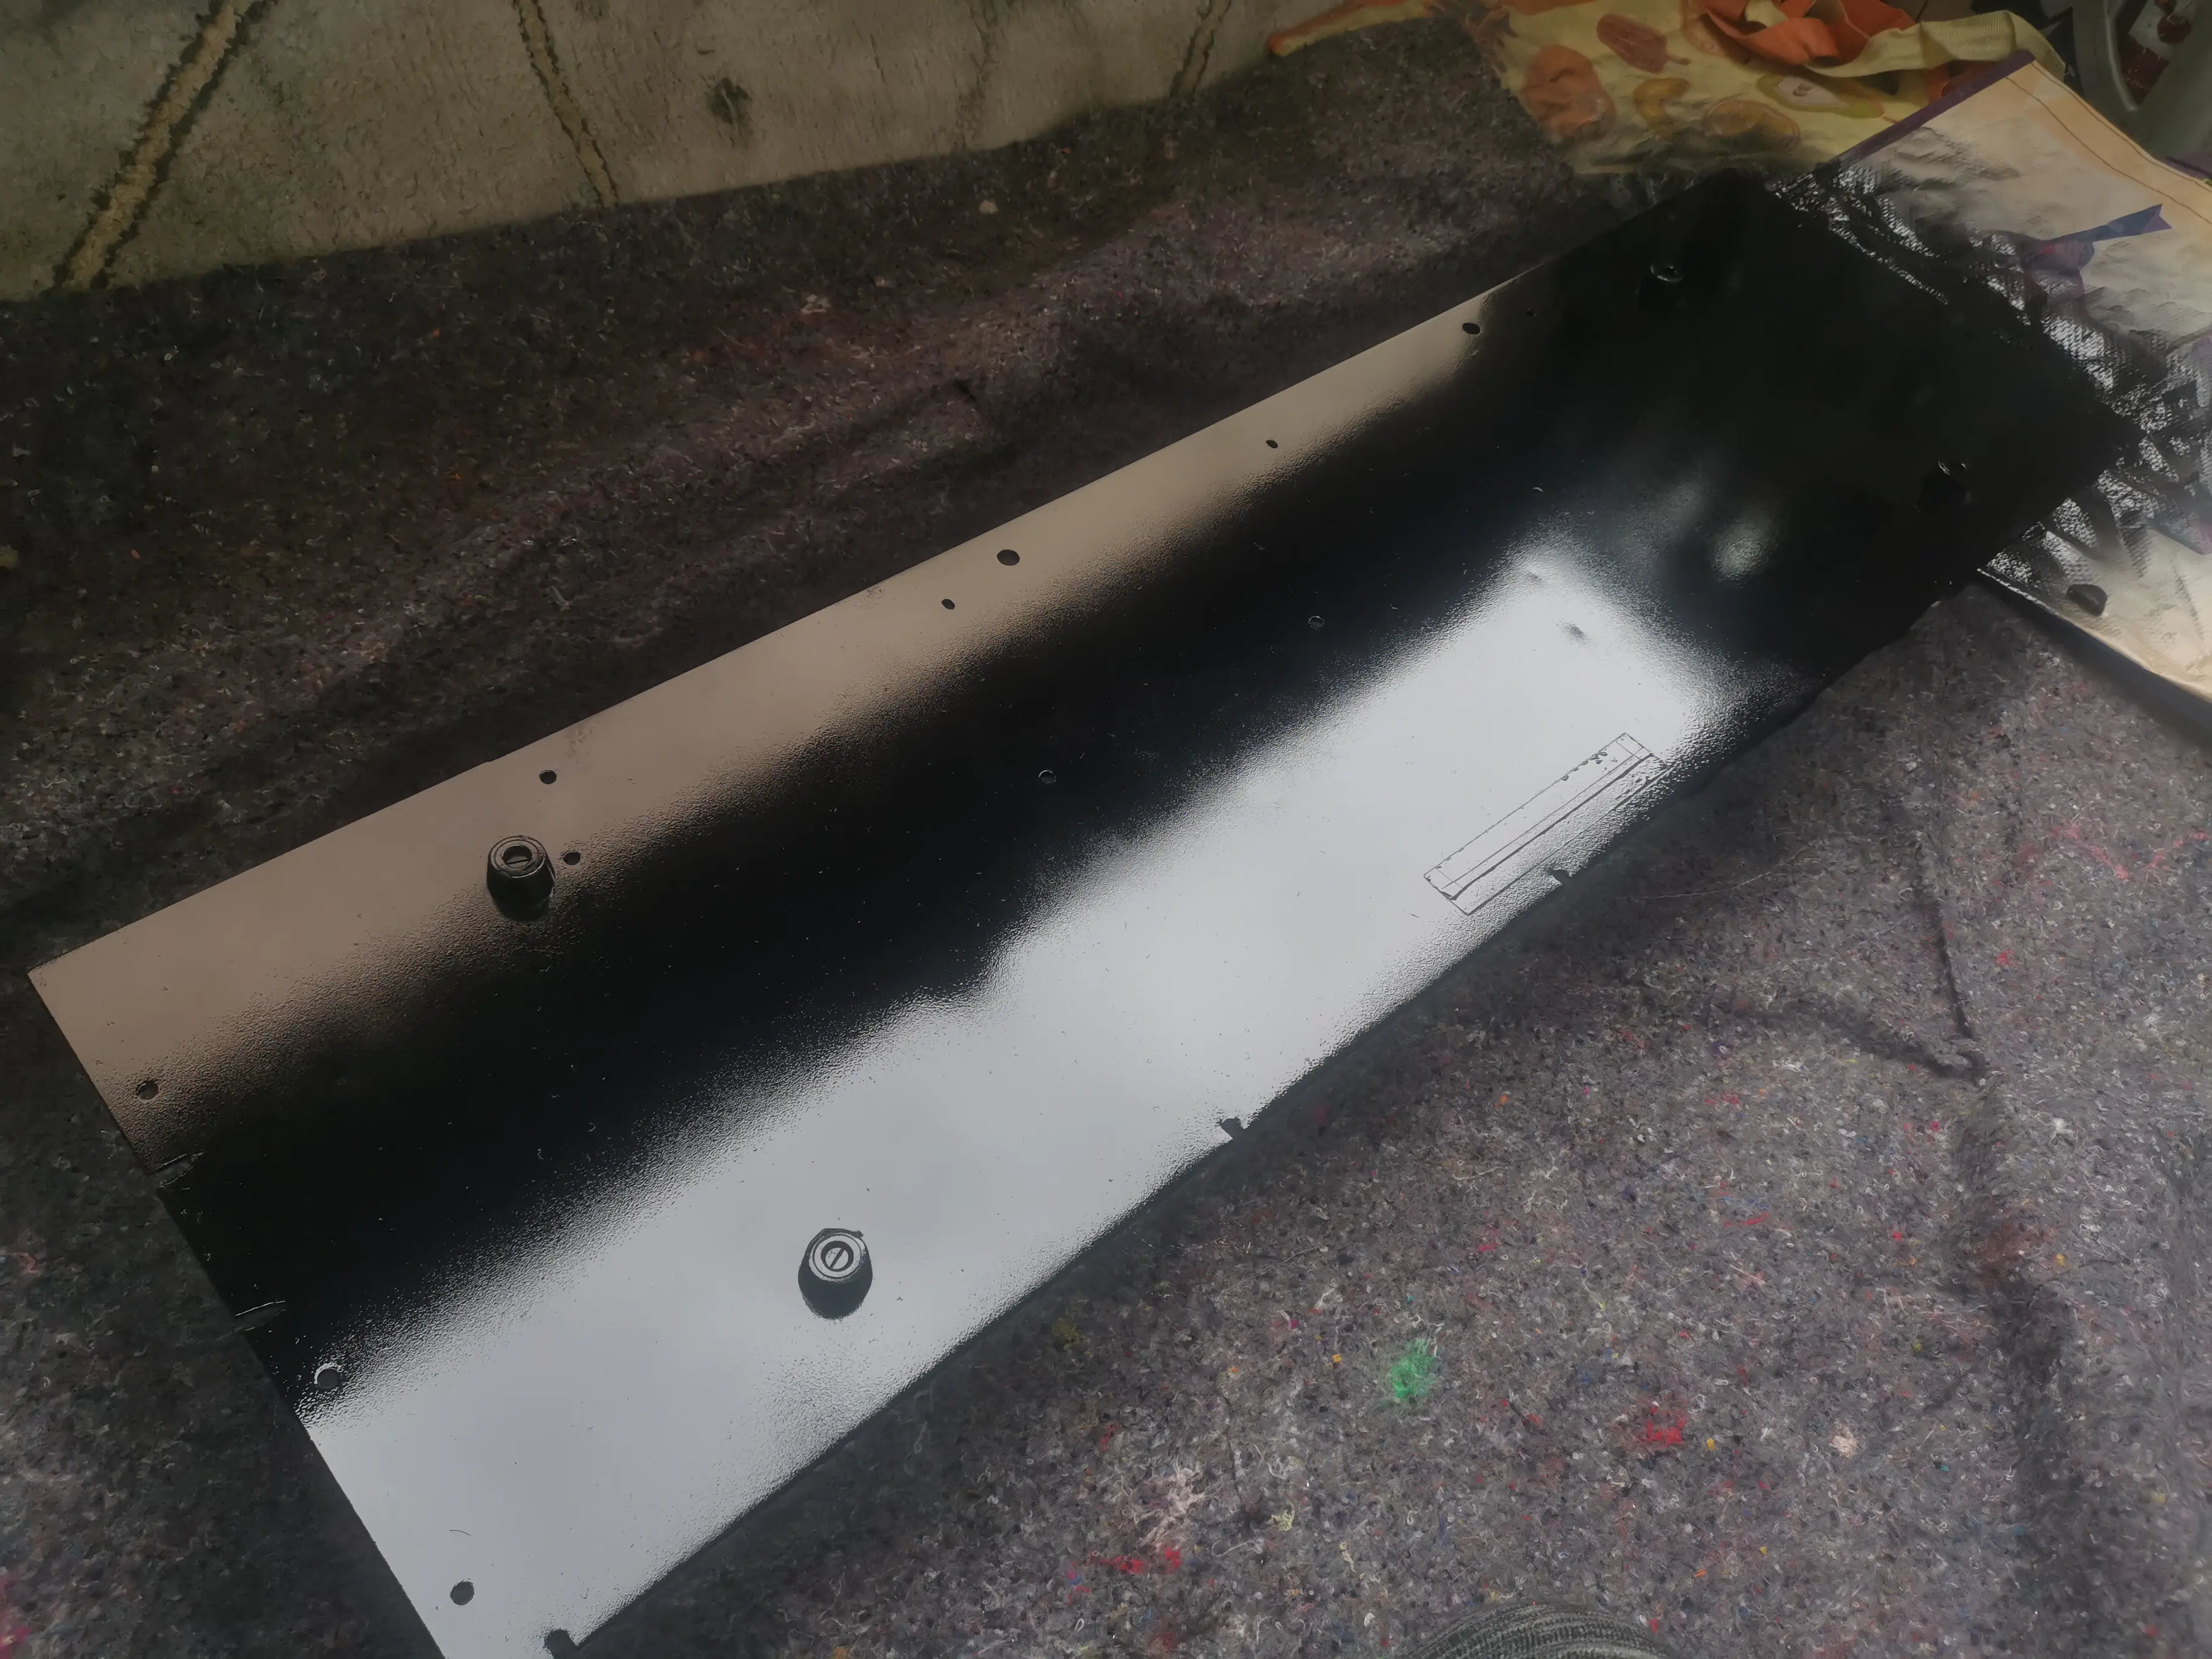
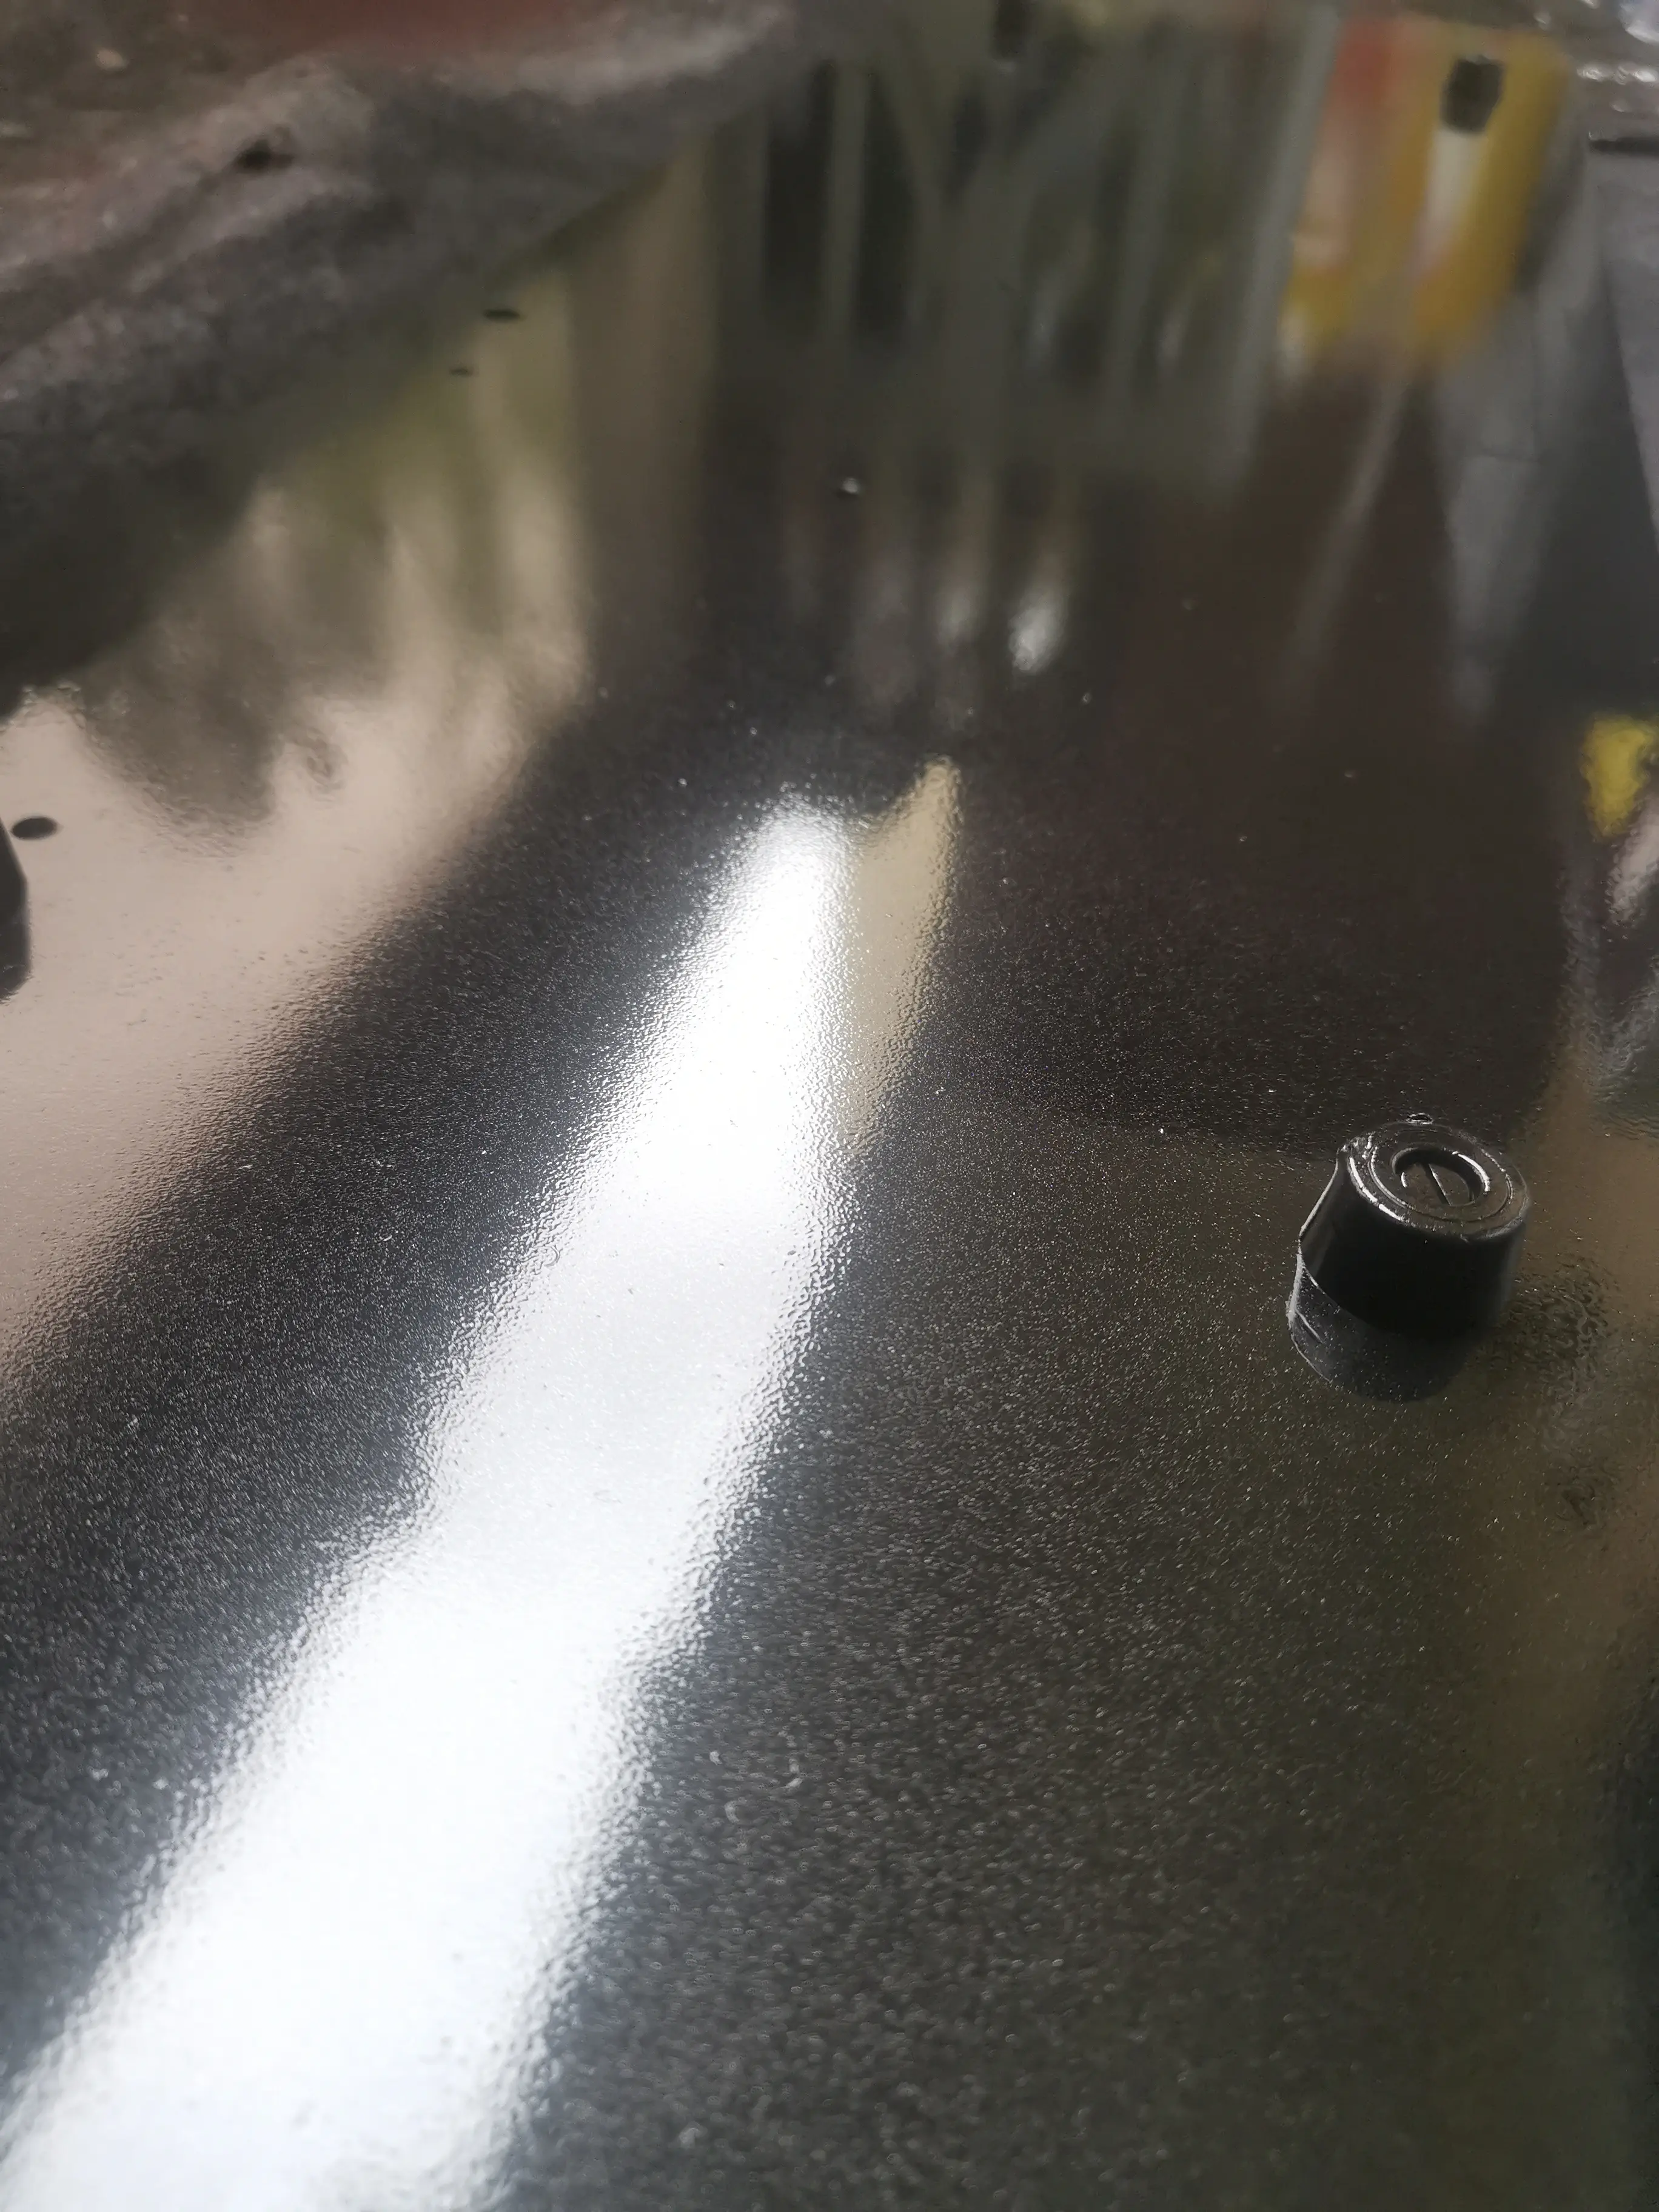
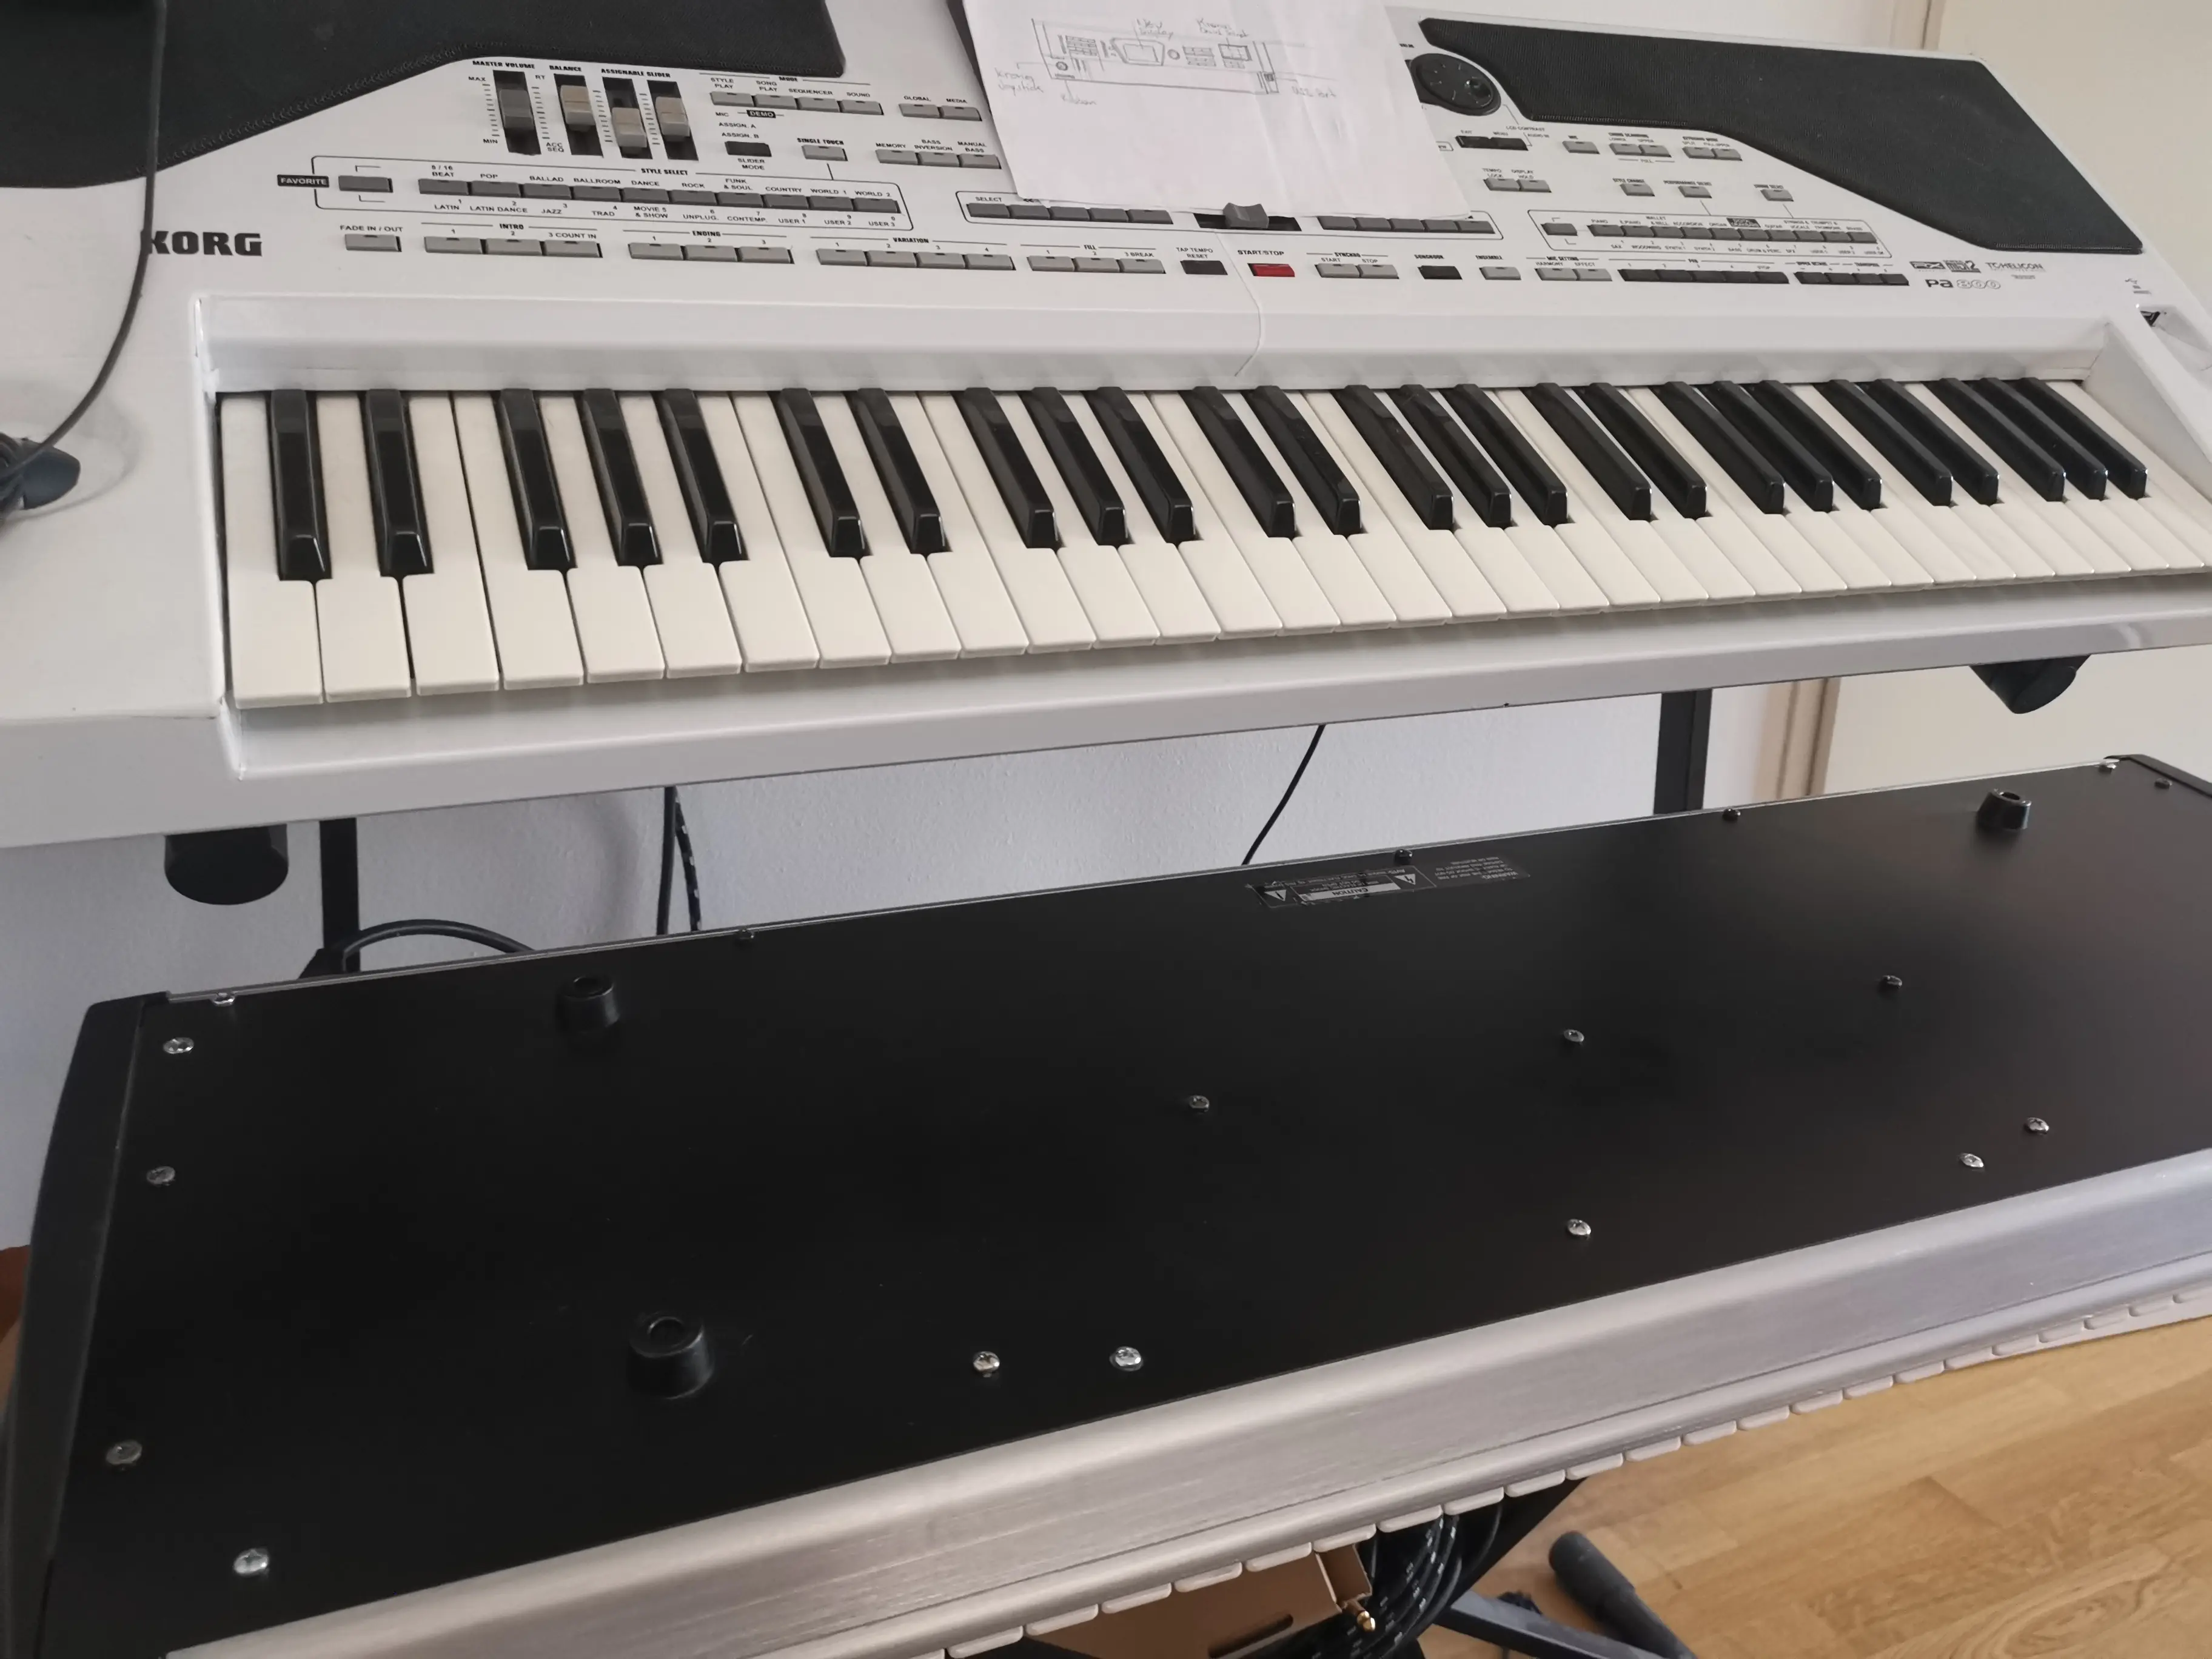
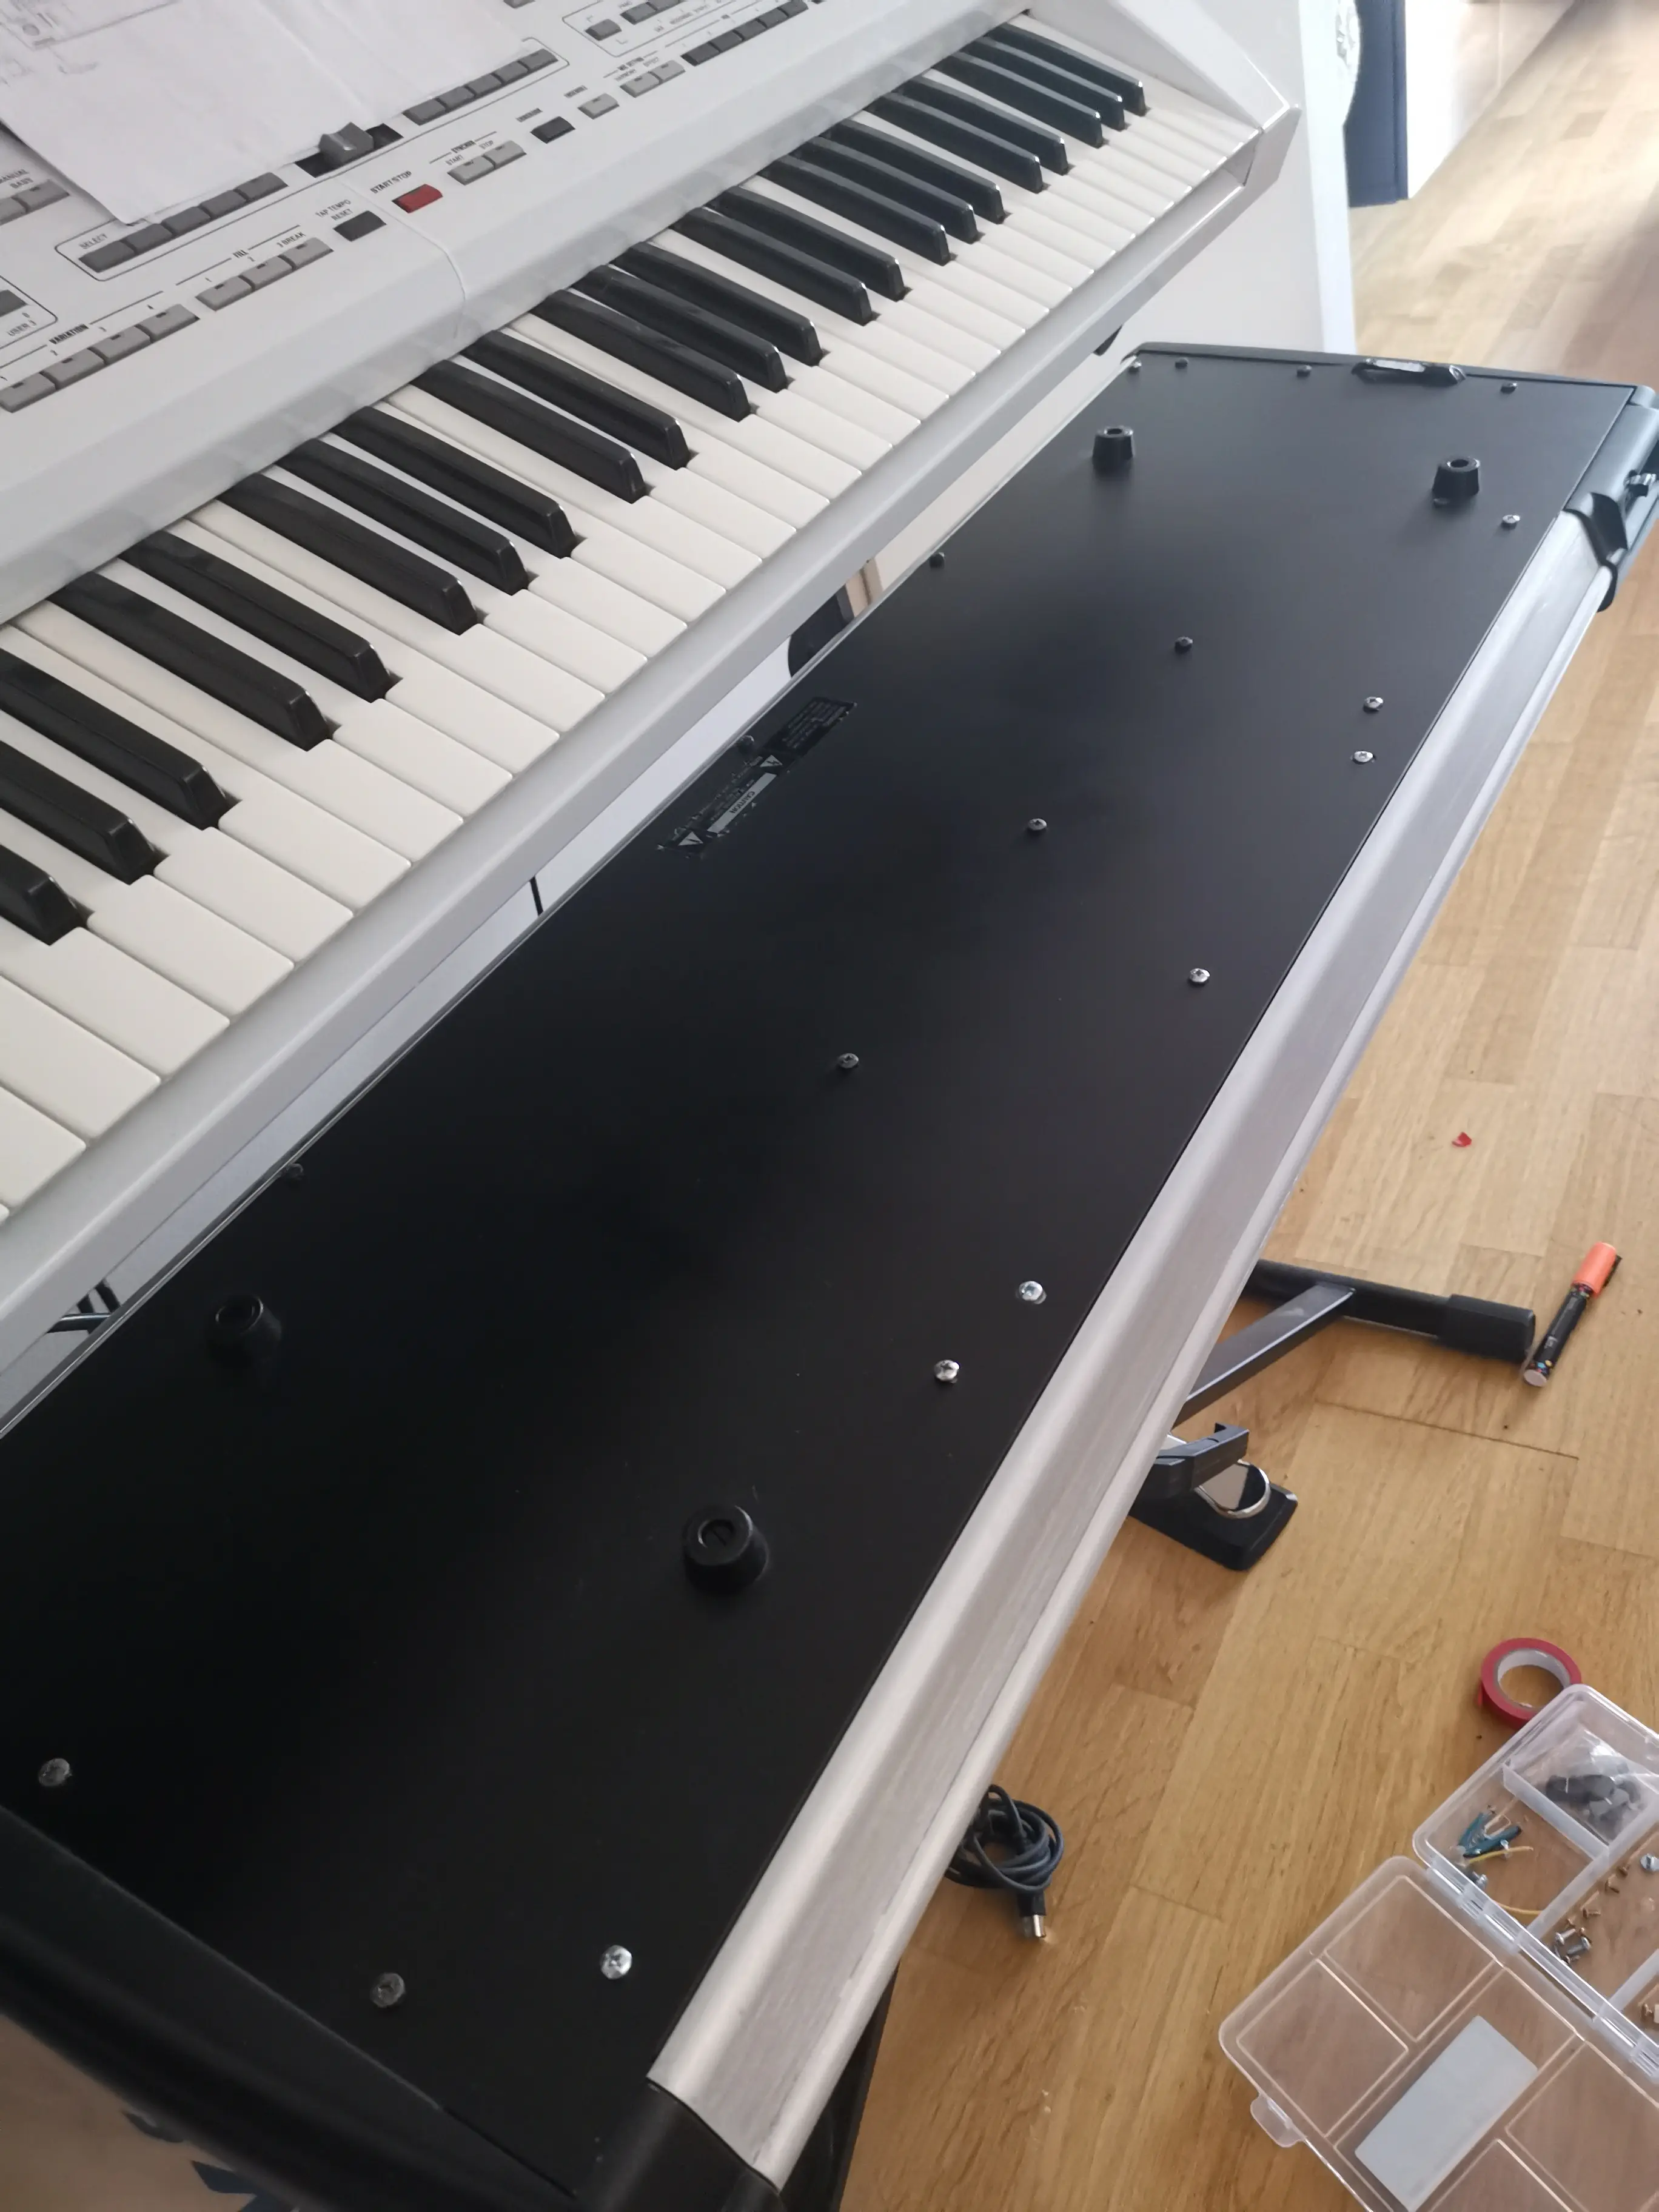
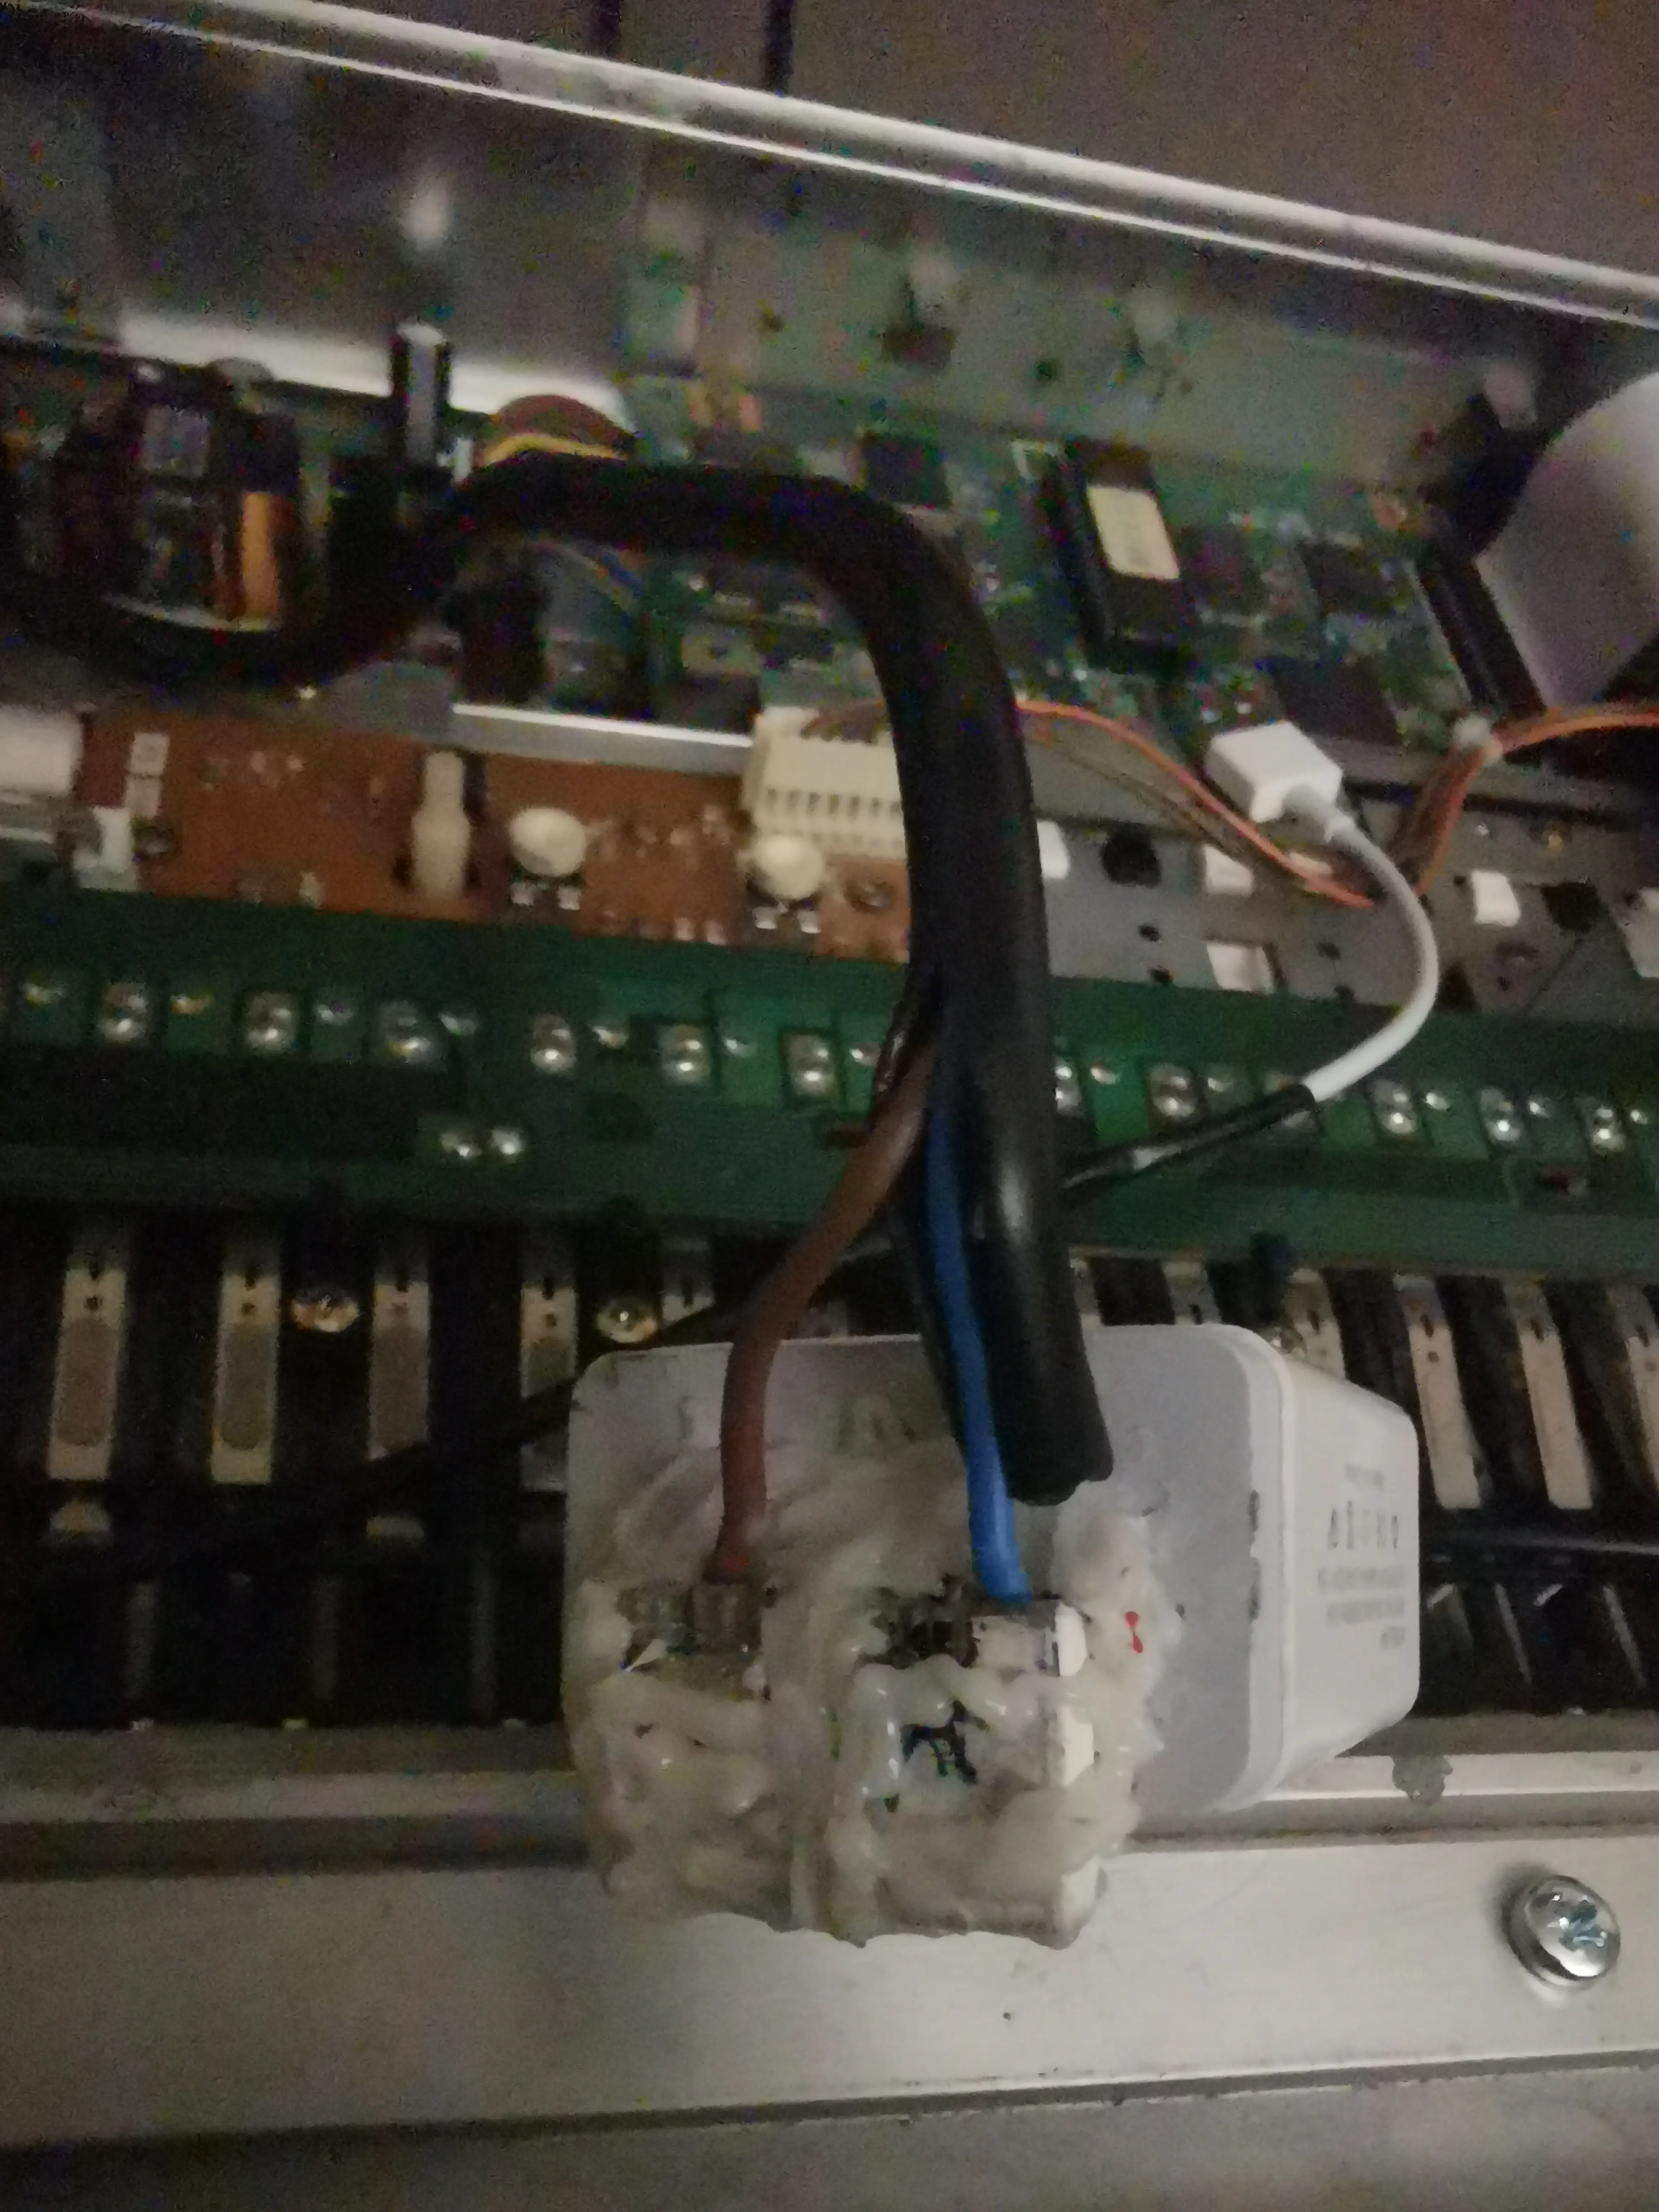
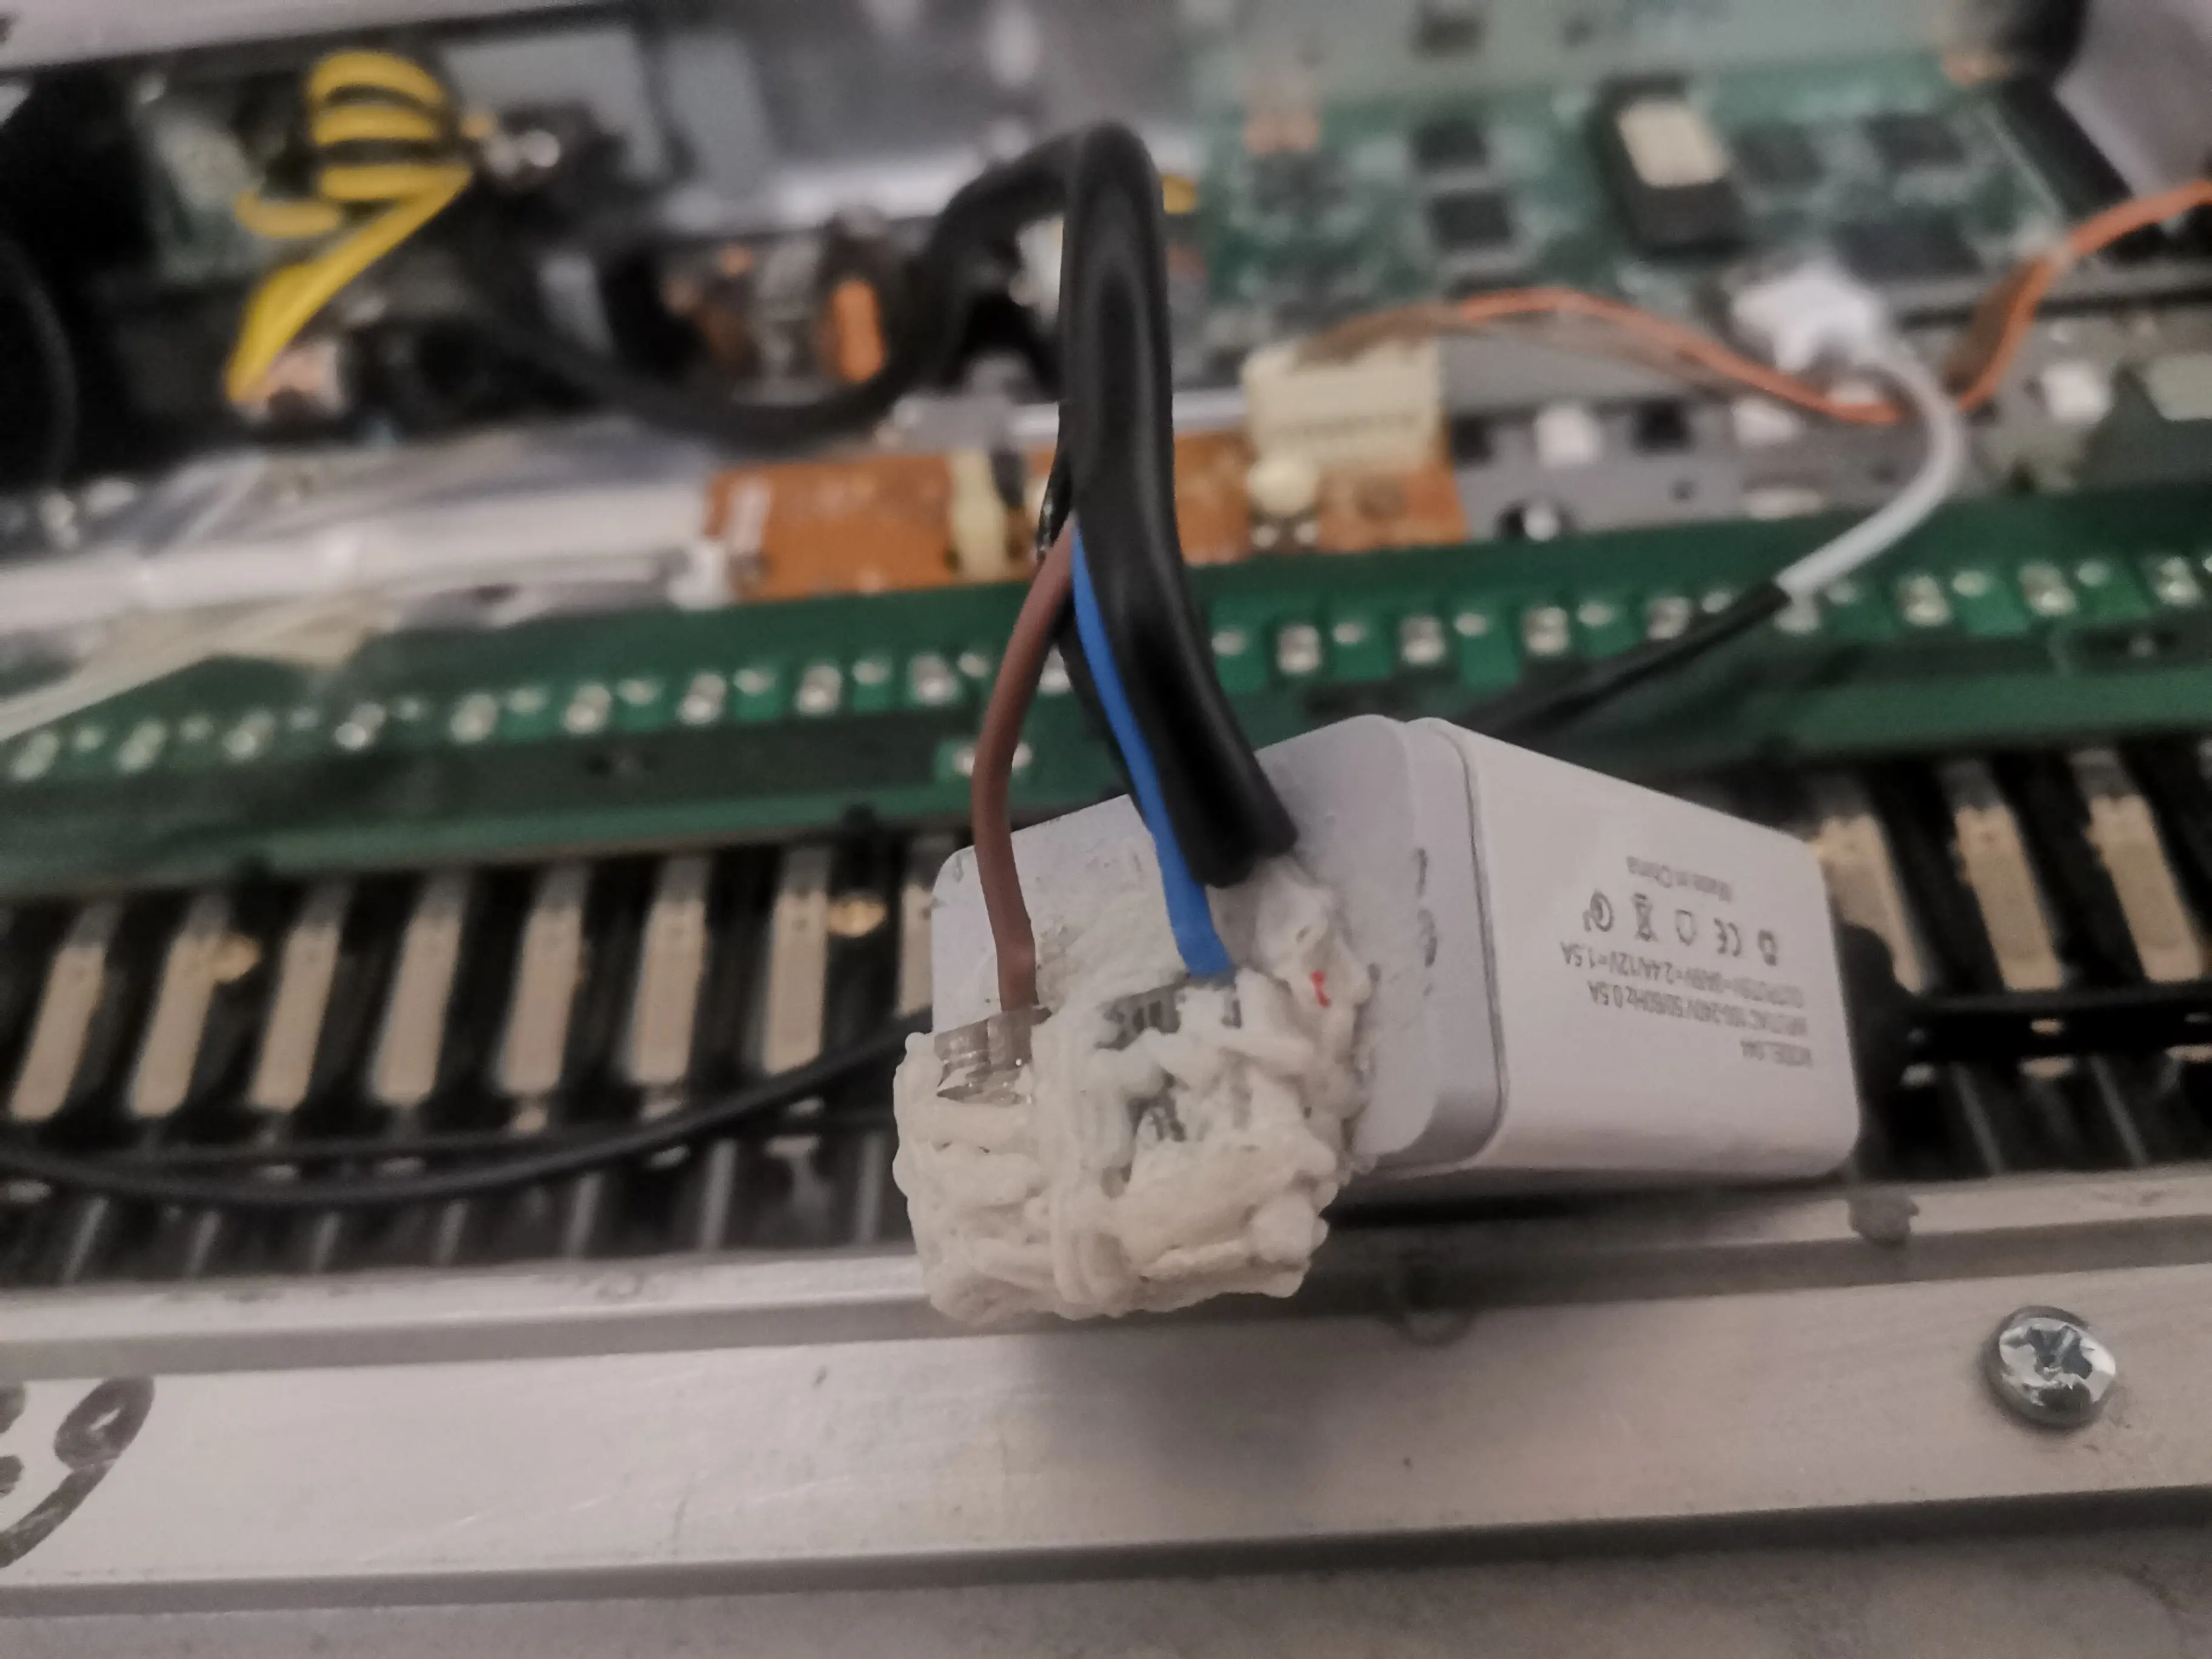
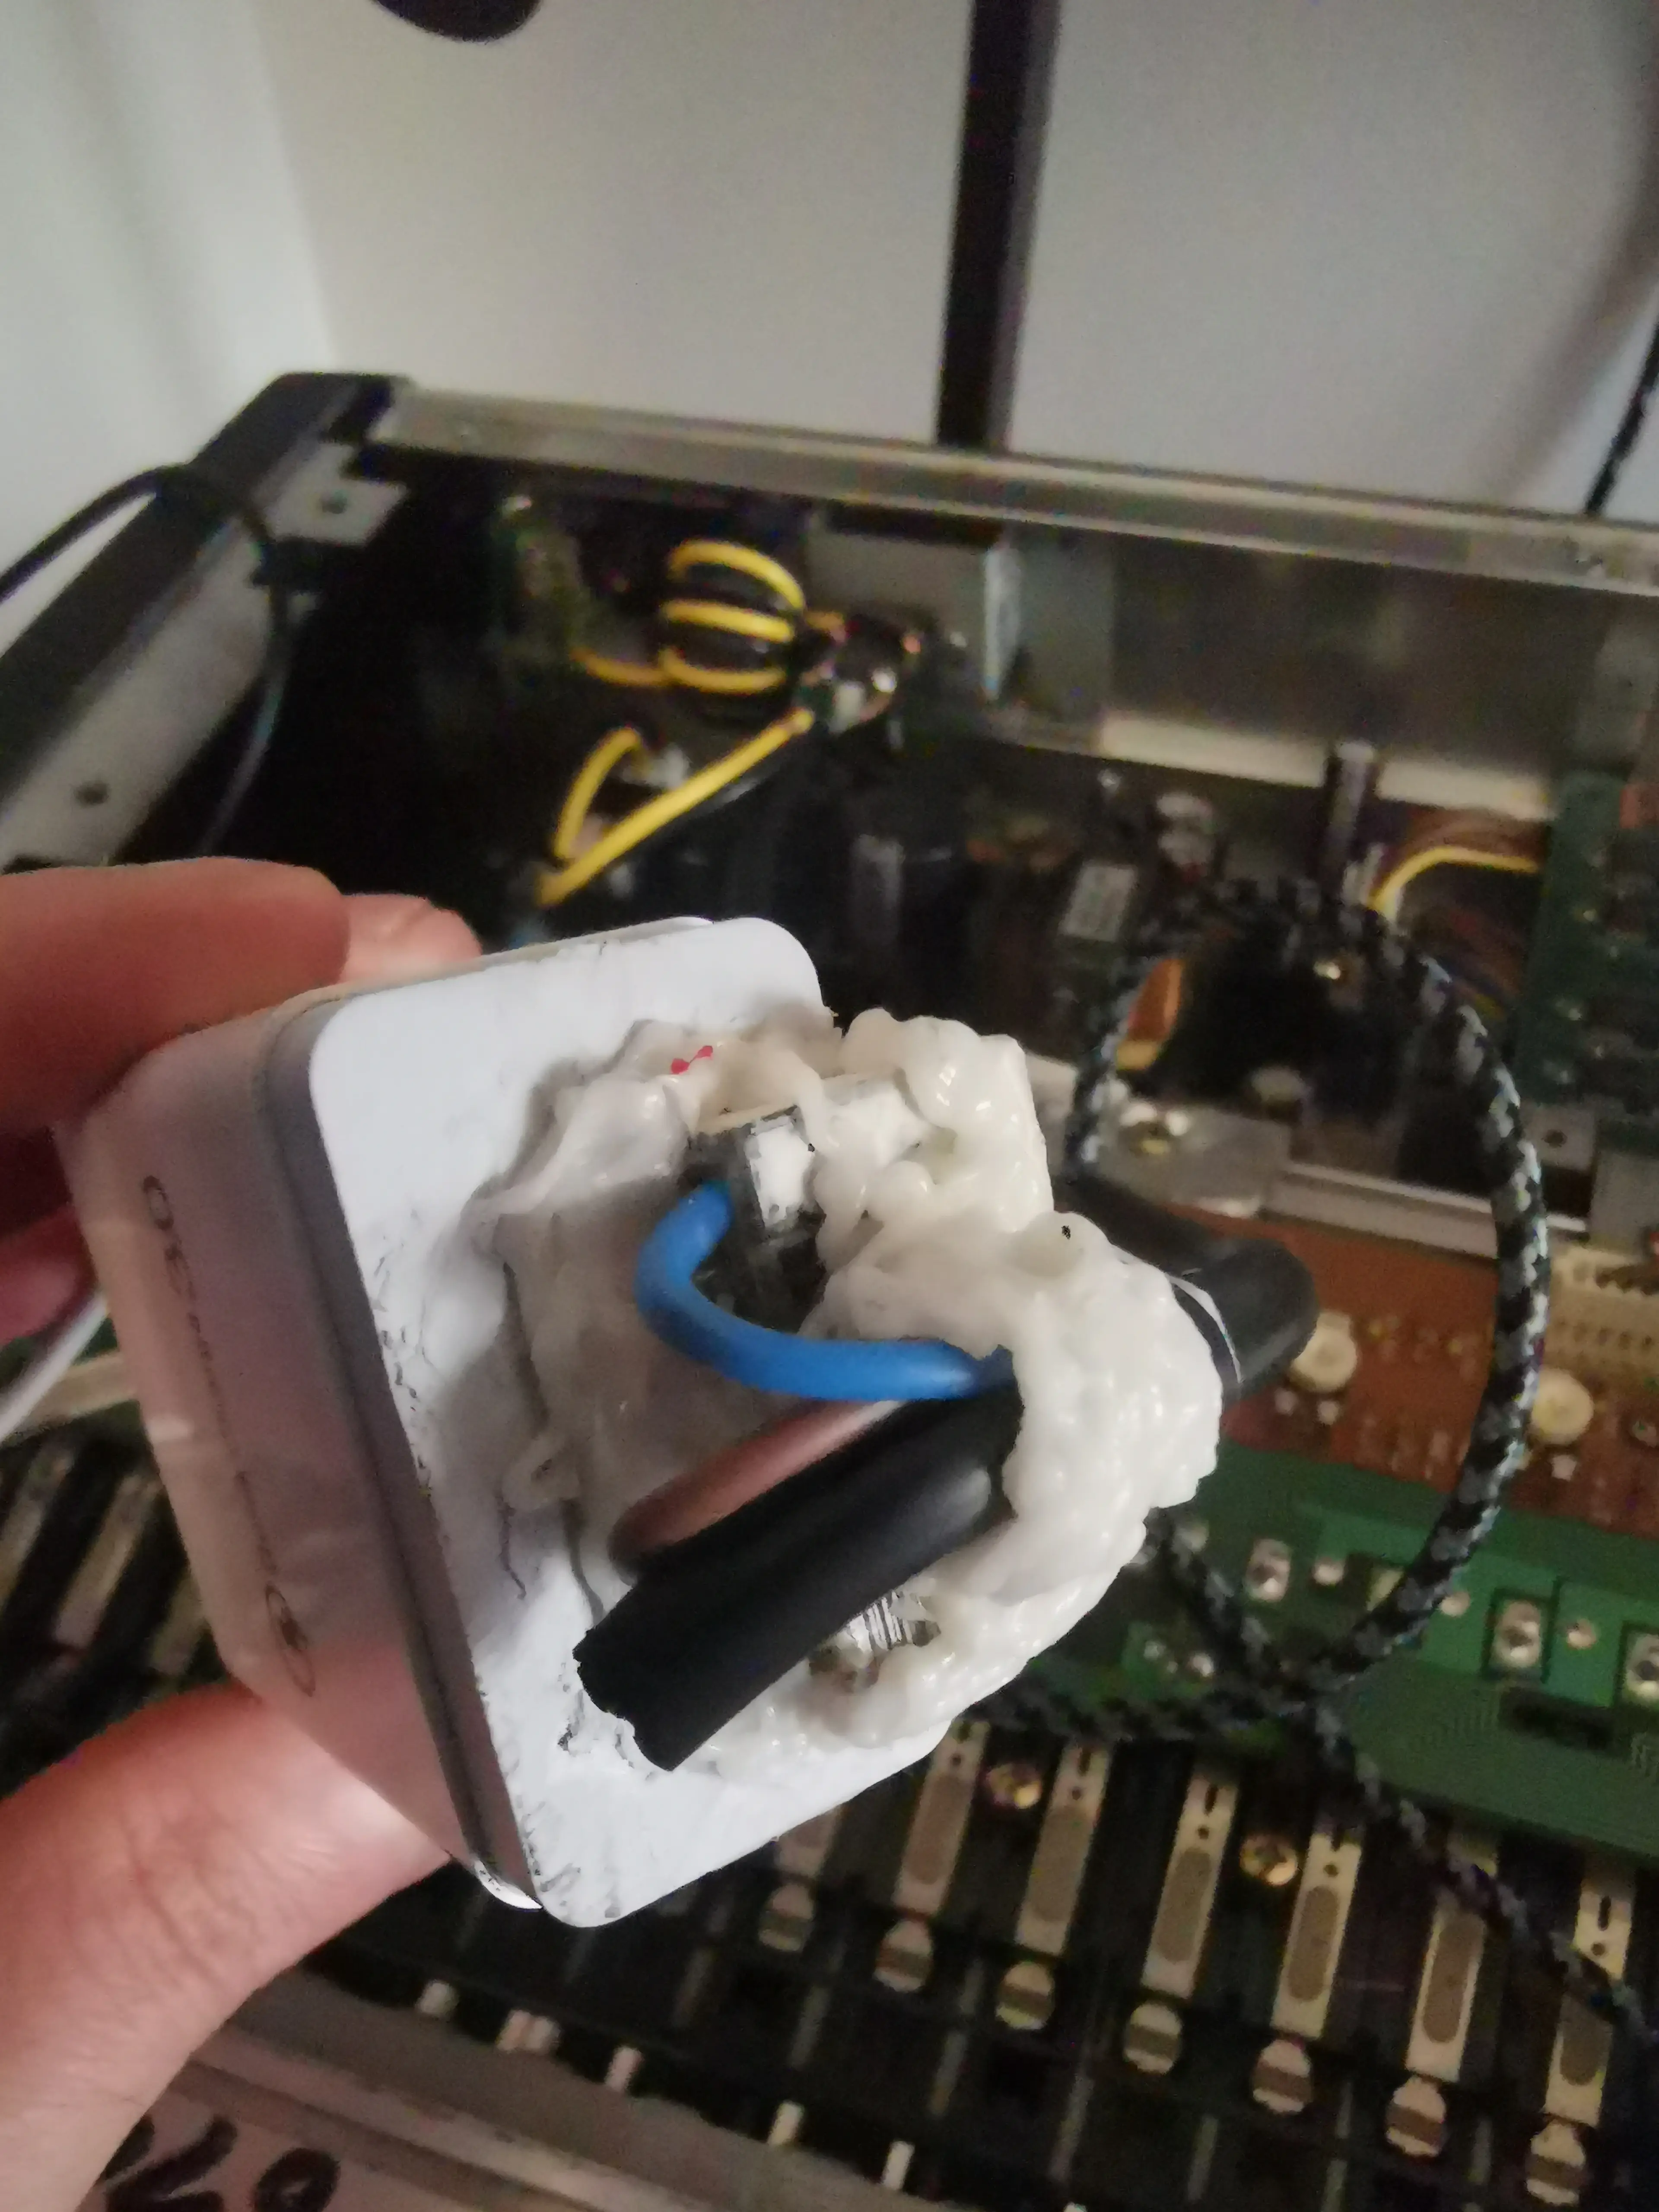
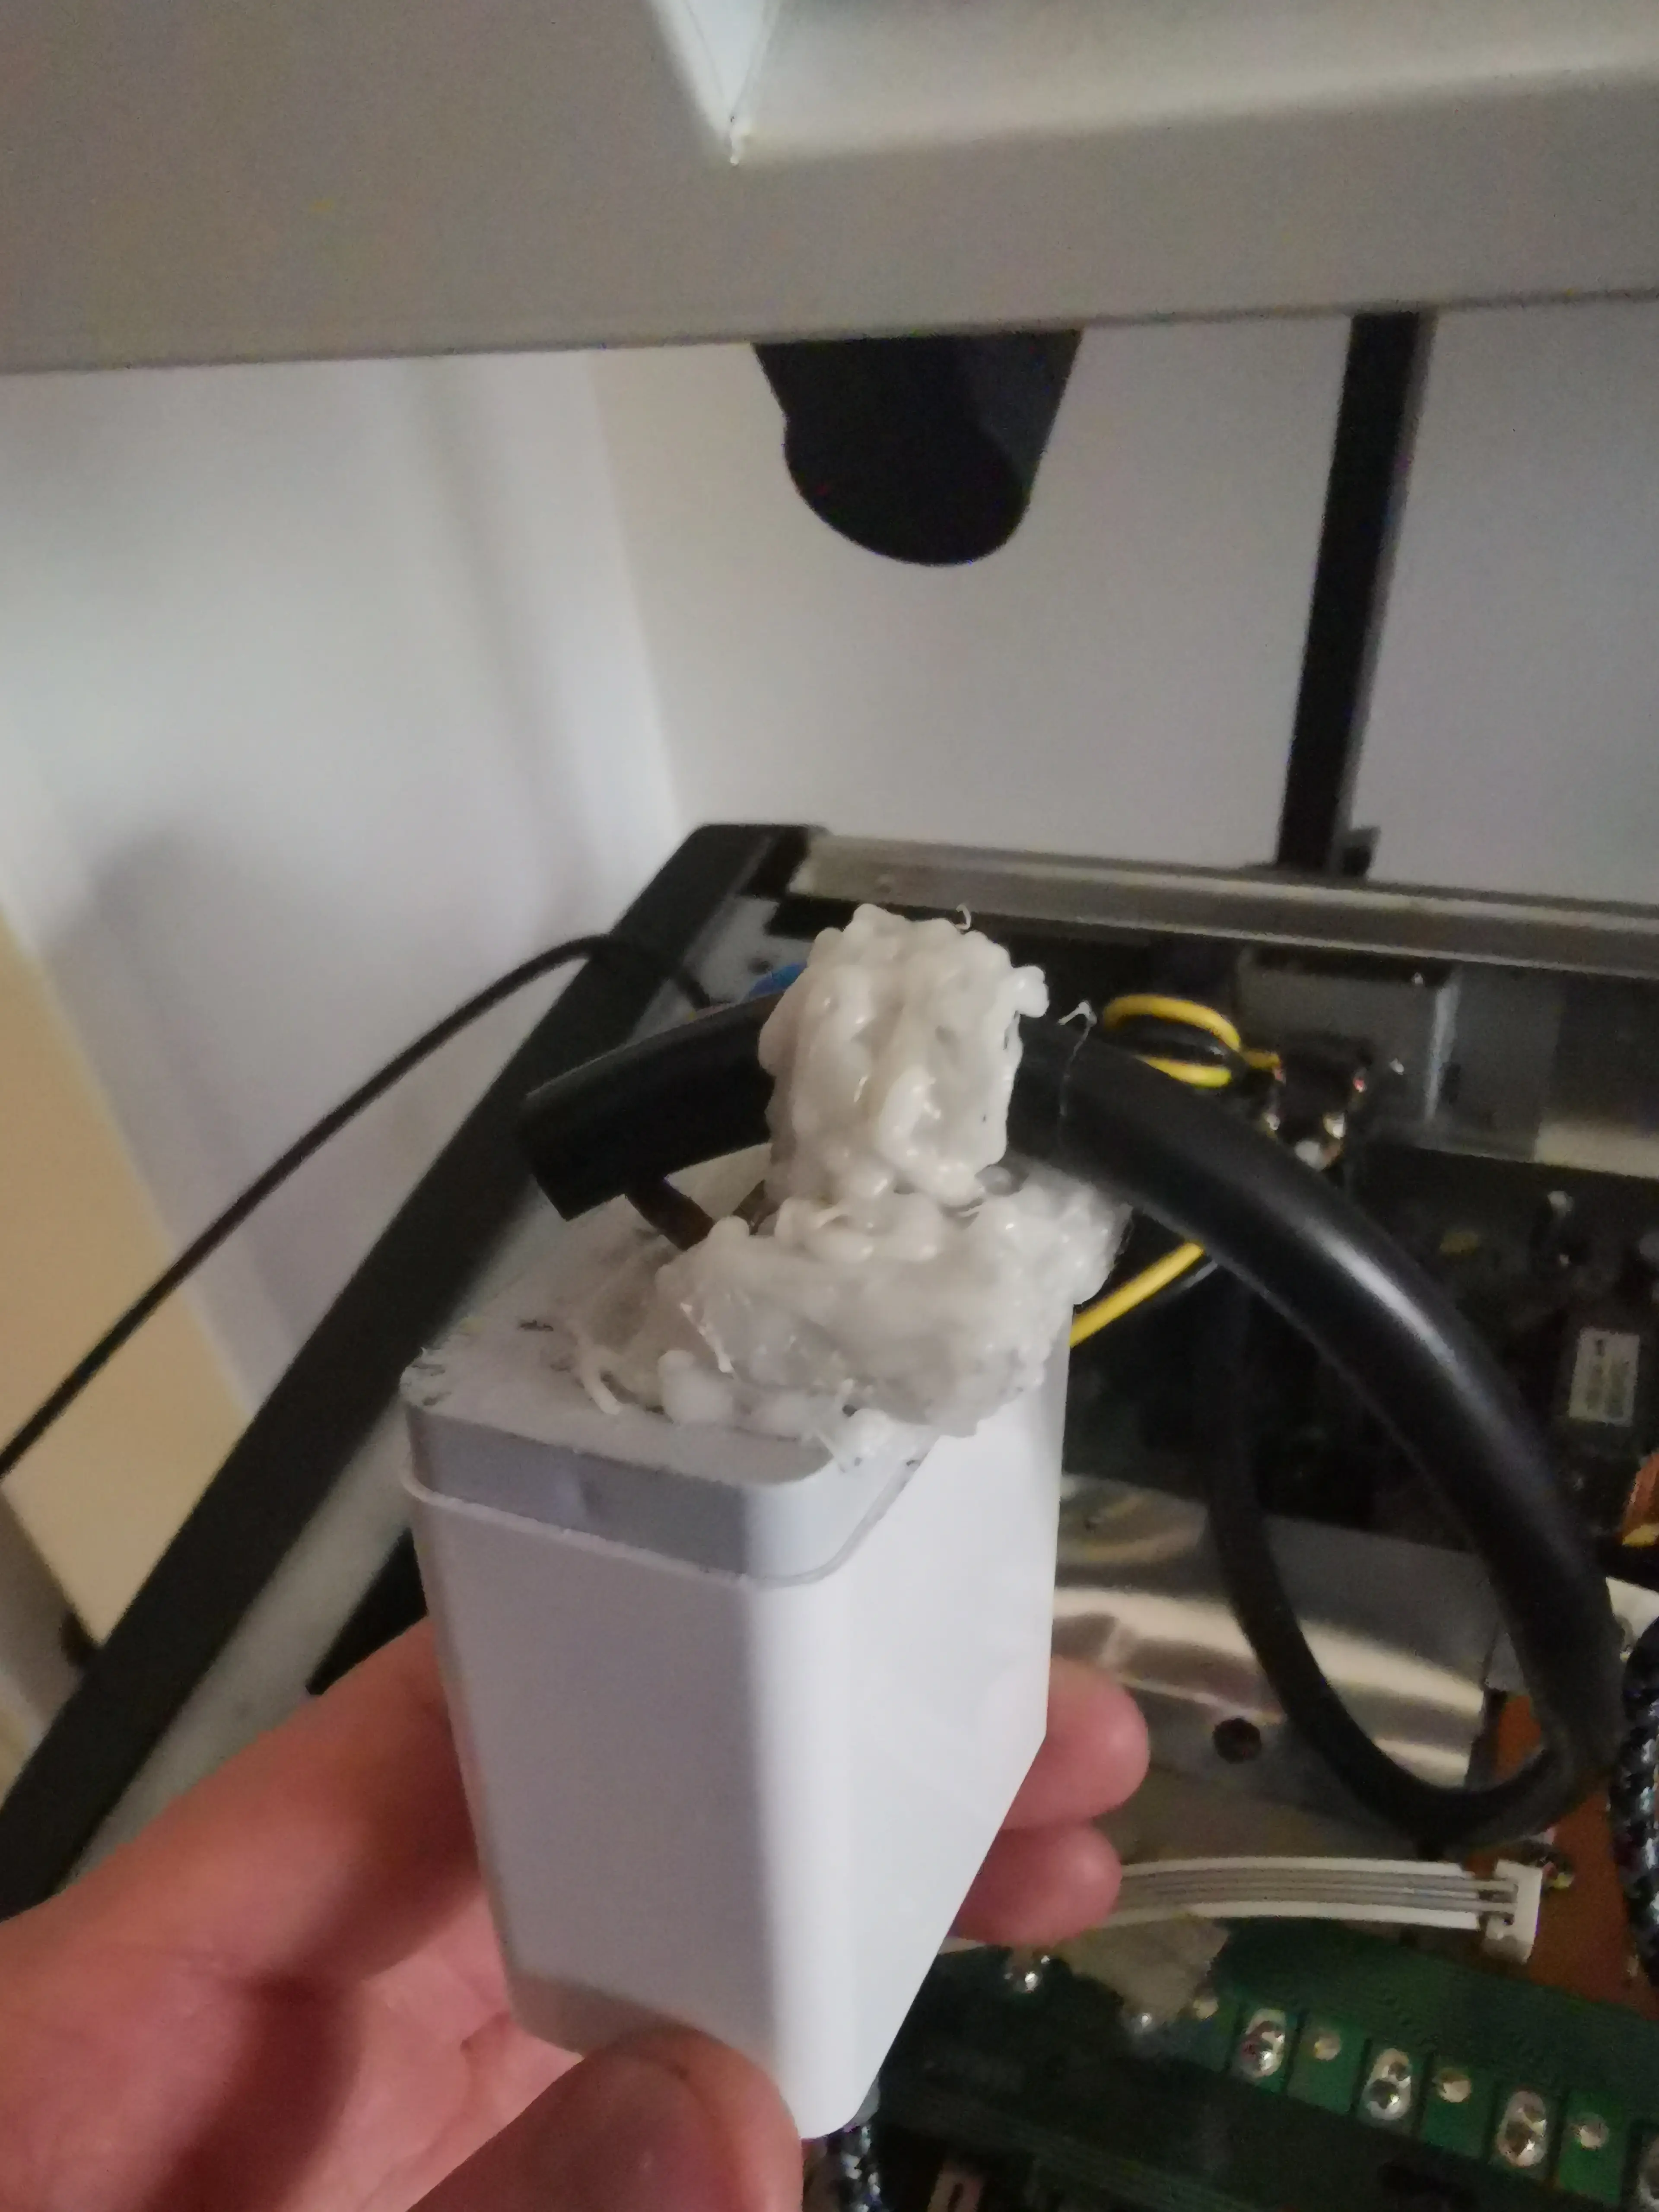
Bottom plate and internal USB power
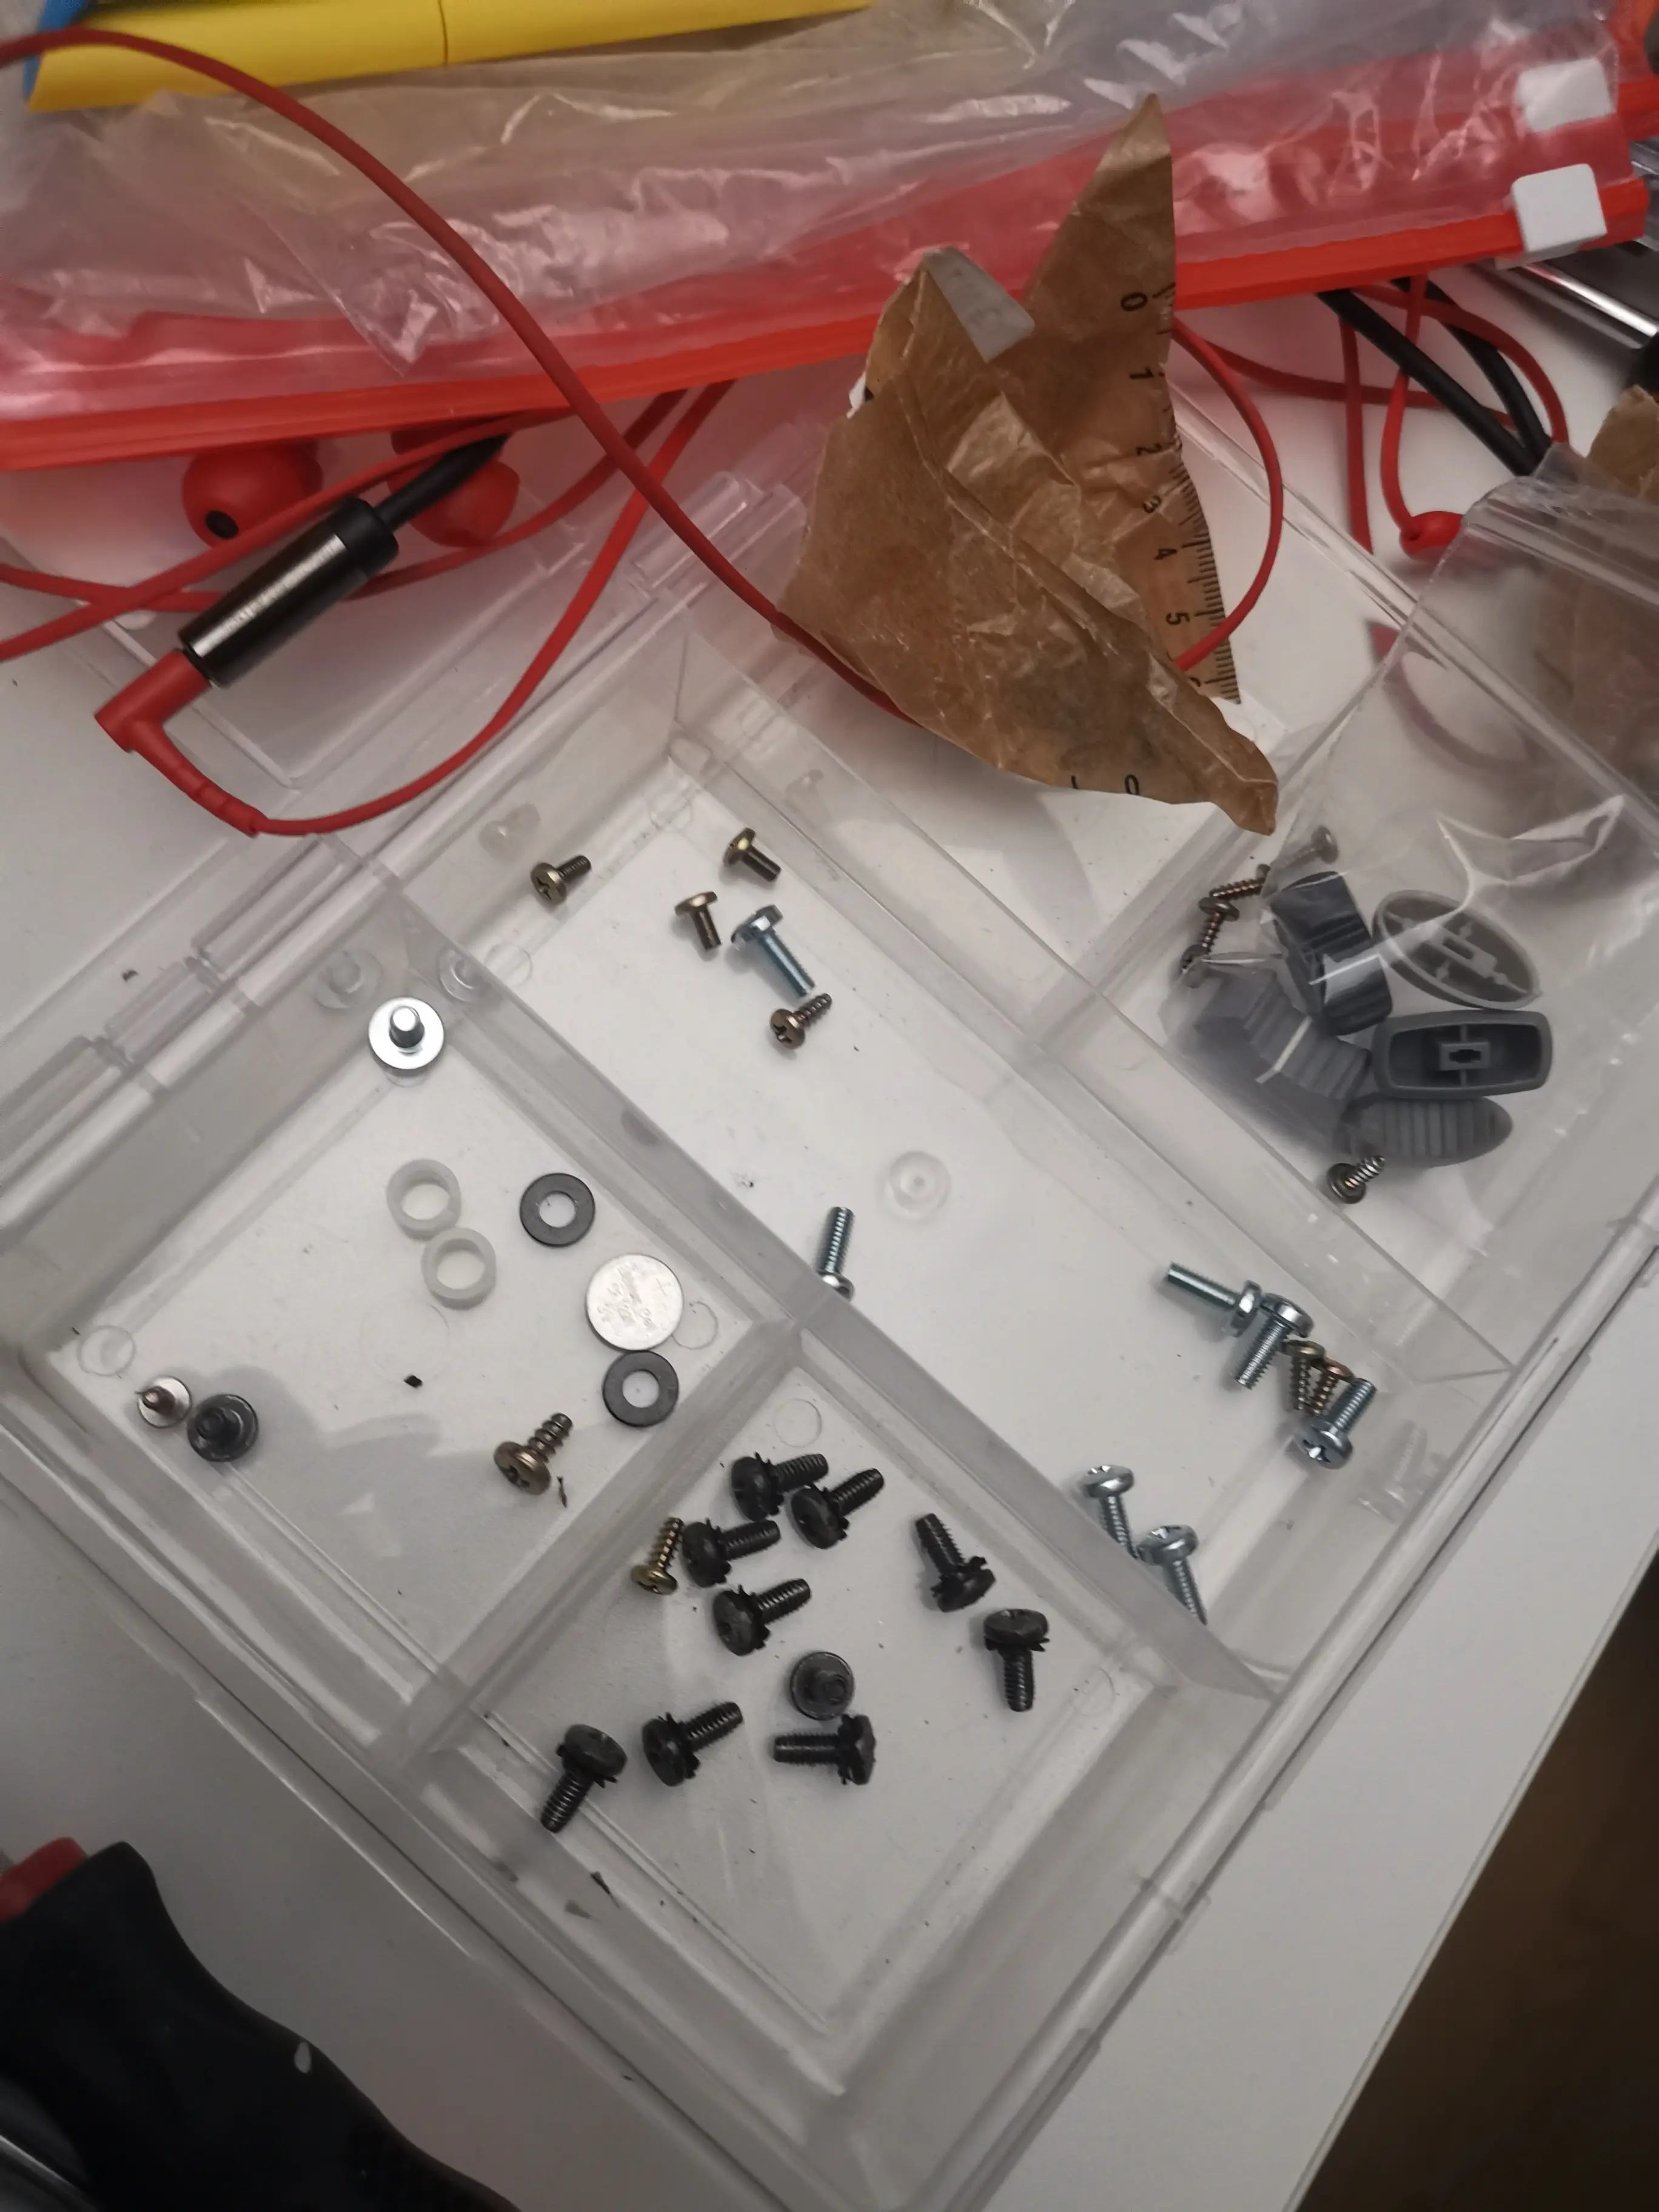
Black bottom plate and internal USB power supply Black bottom plate and internal USB power supply Black bottom plate and internal USB power supply Black bottom plate and internal USB power supply Black bottom plate and internal USB power supply Black bottom plate and internal USB power supply Black bottom plate and internal USB power supply Black bottom plate and internal USB power supply Black bottom plate and internal USB power supply Black bottom plate and internal USB power supply Black bottom plate and internal USB power supply Black bottom plate and internal USB power supply Black bottom plate and internal USB power supply Black bottom plate and internal USB power supply
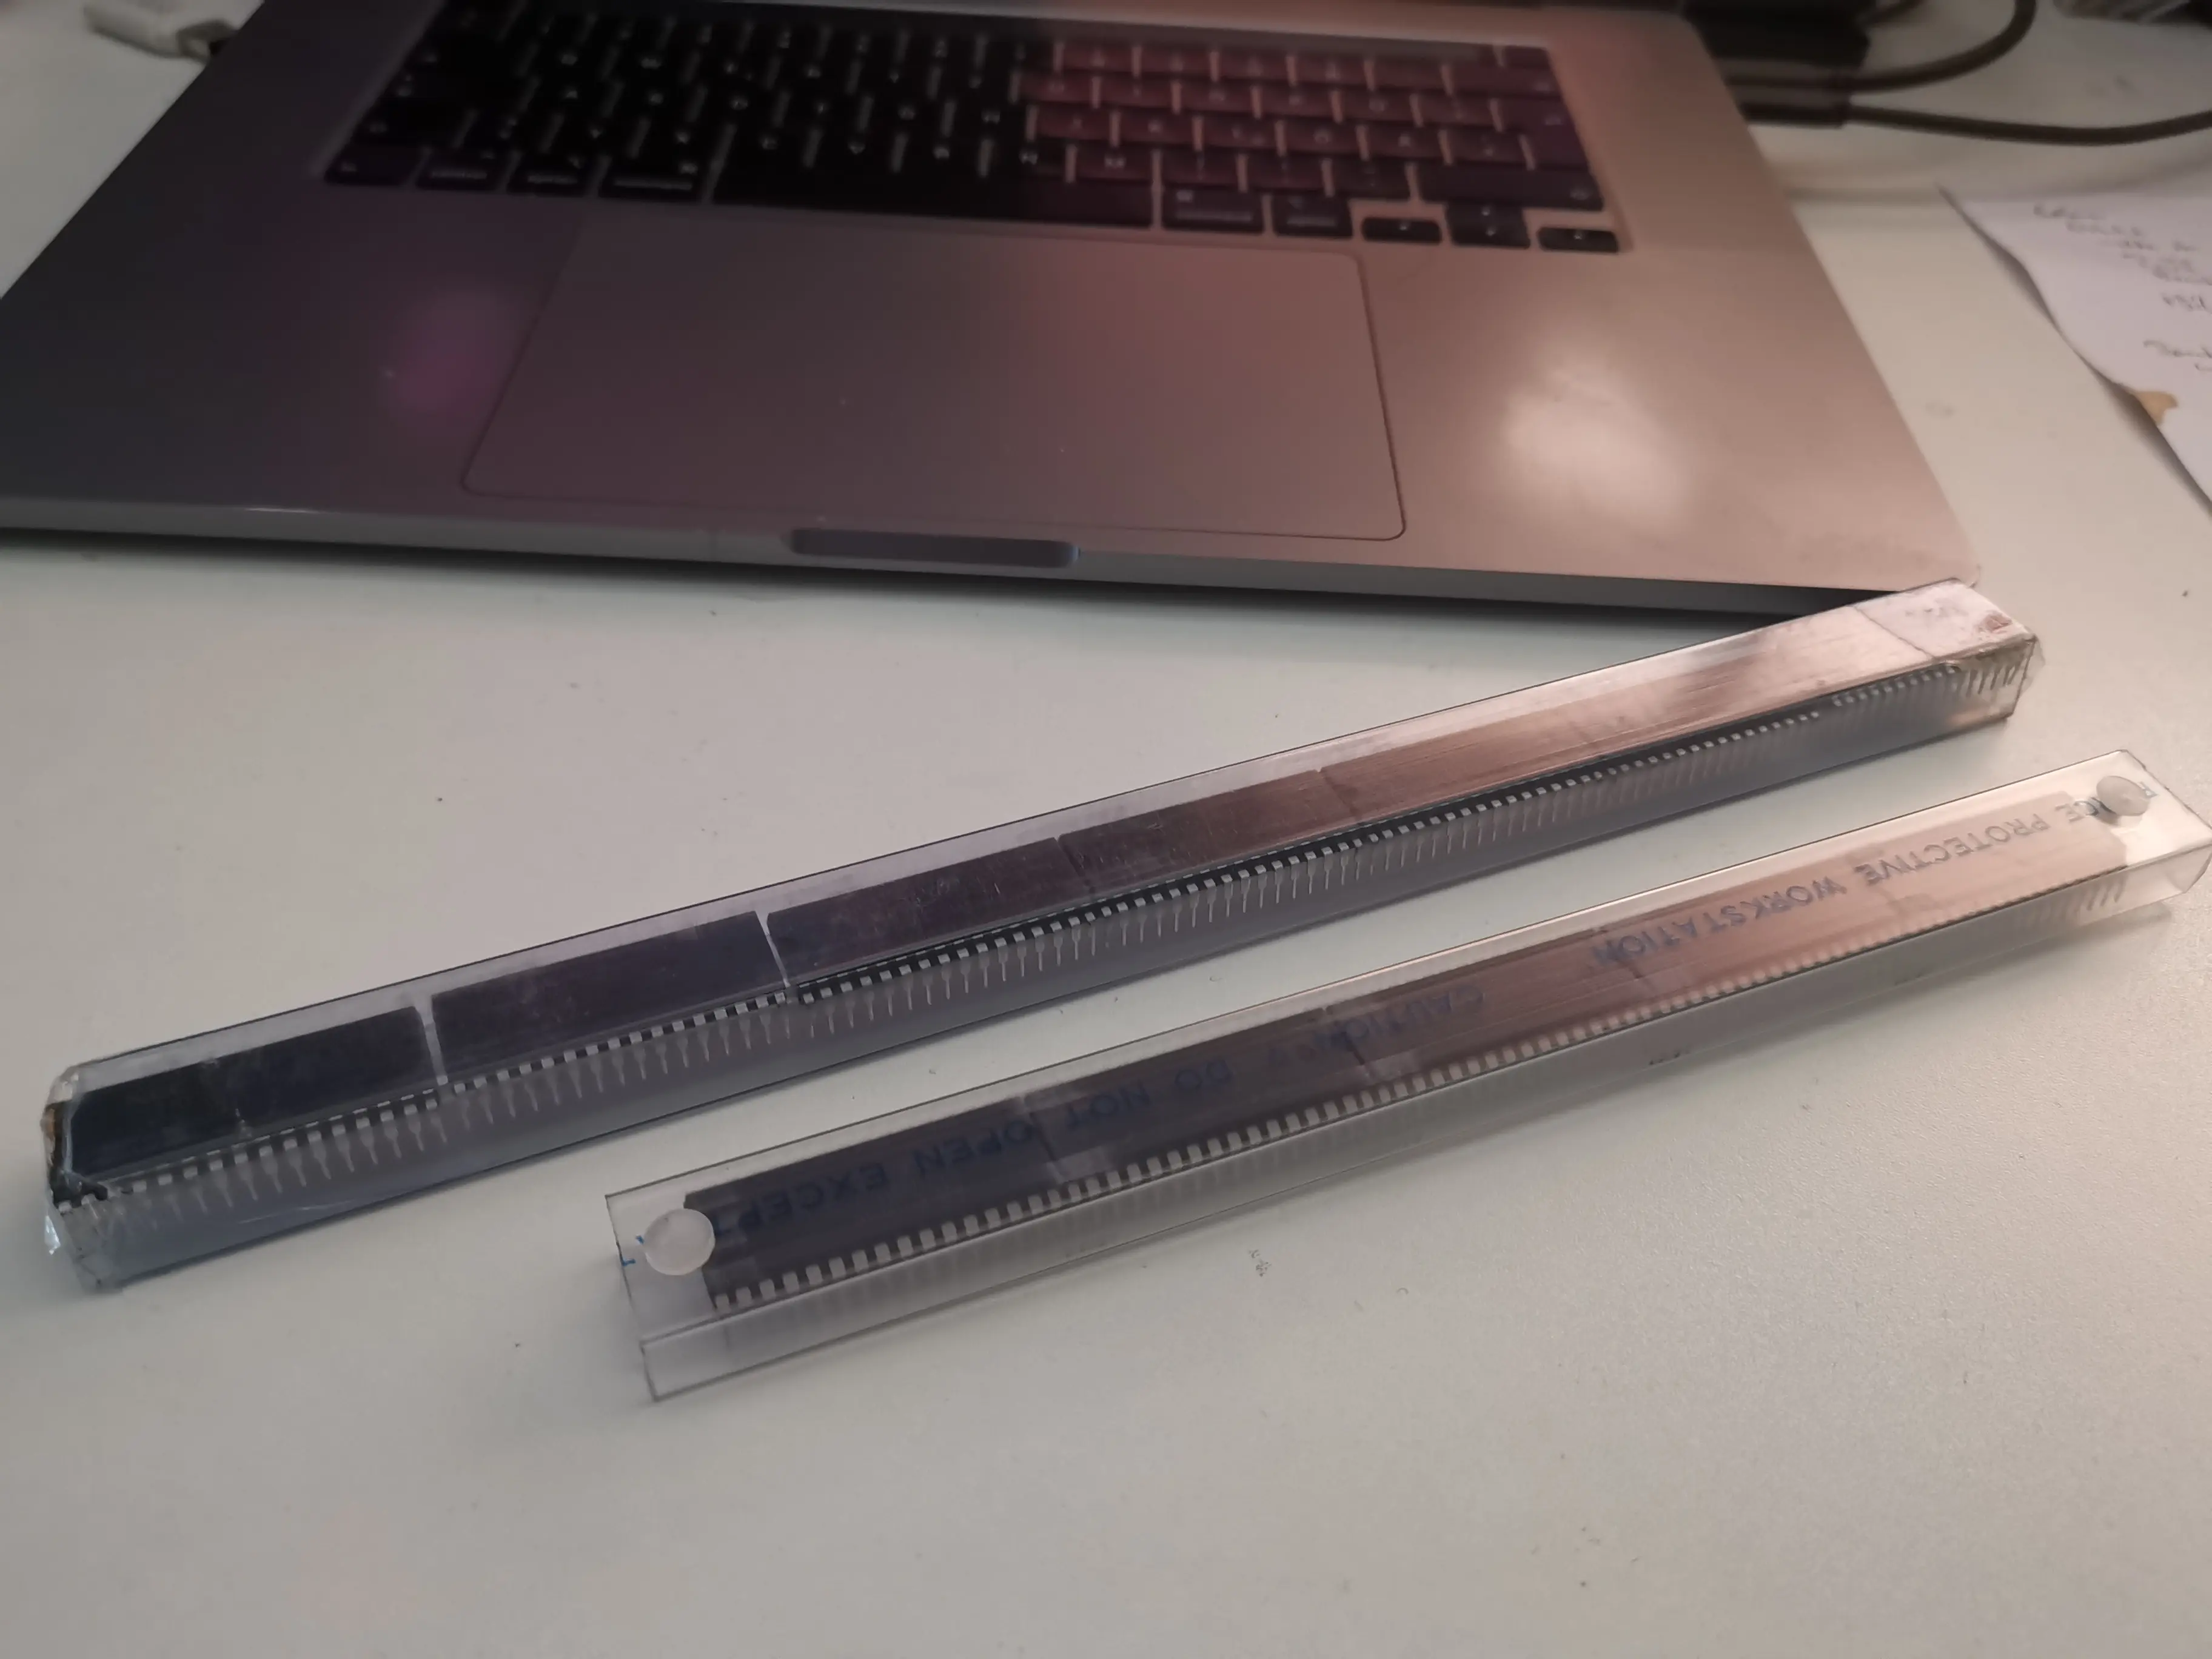
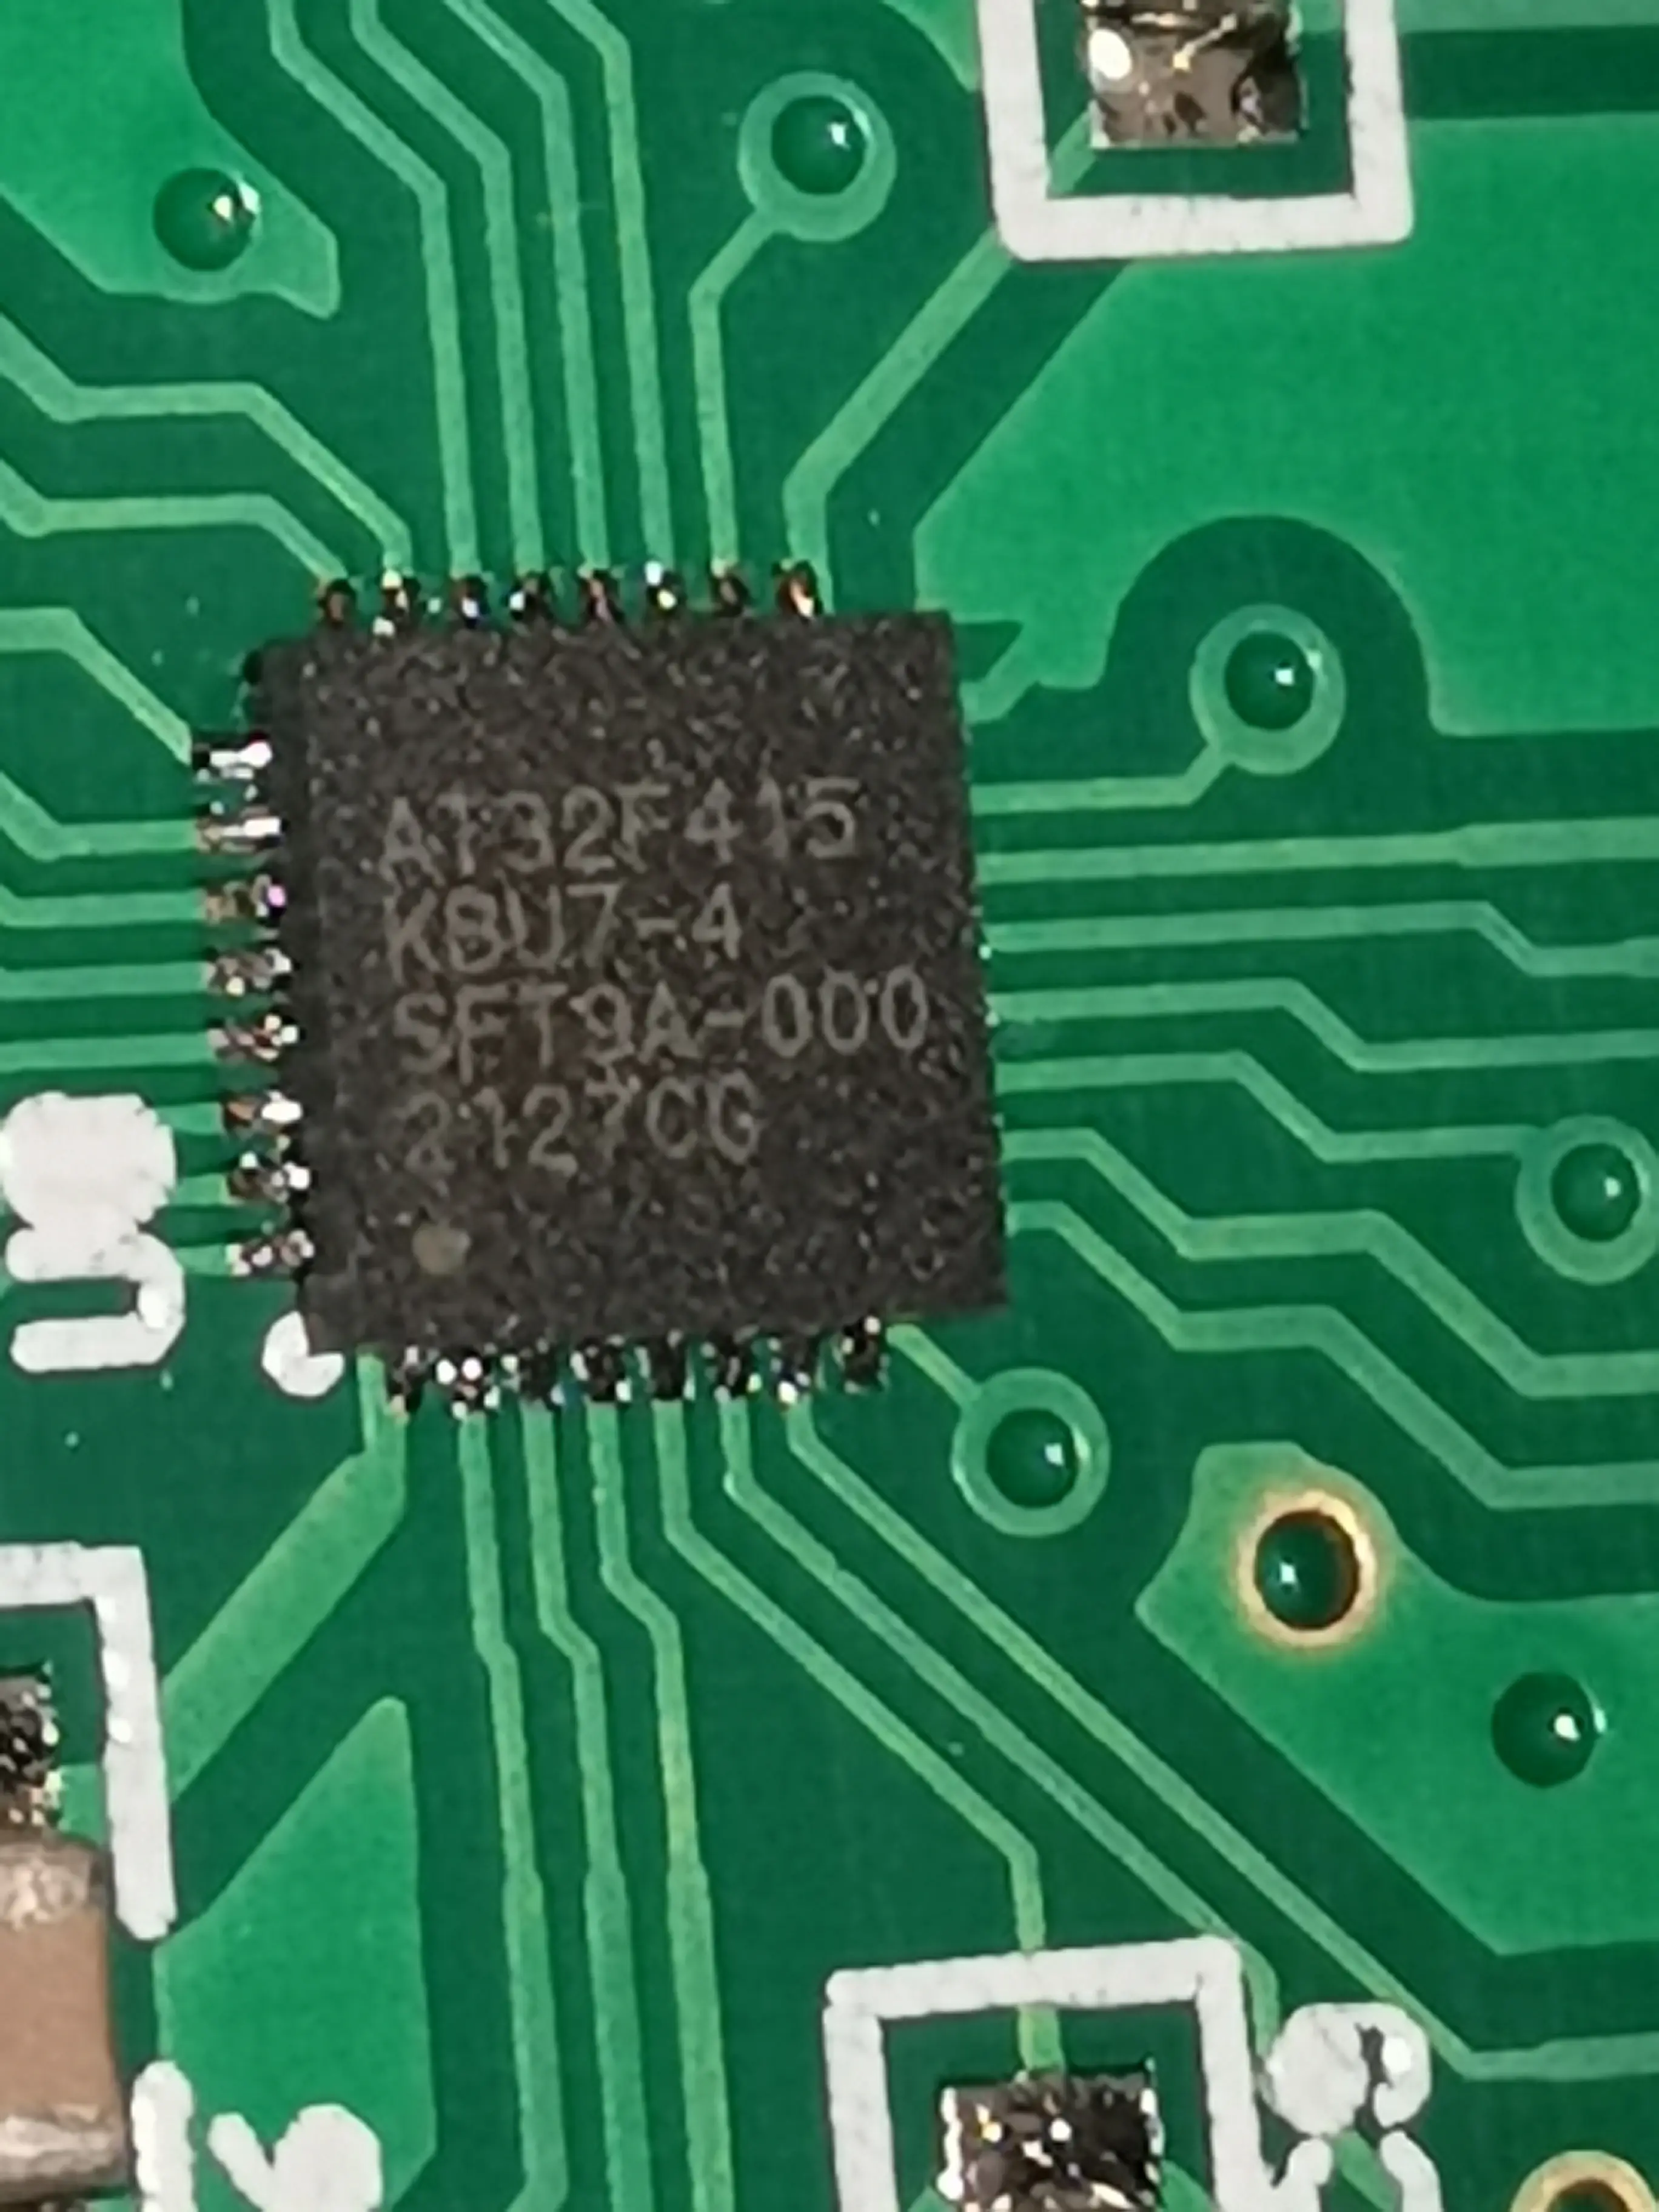
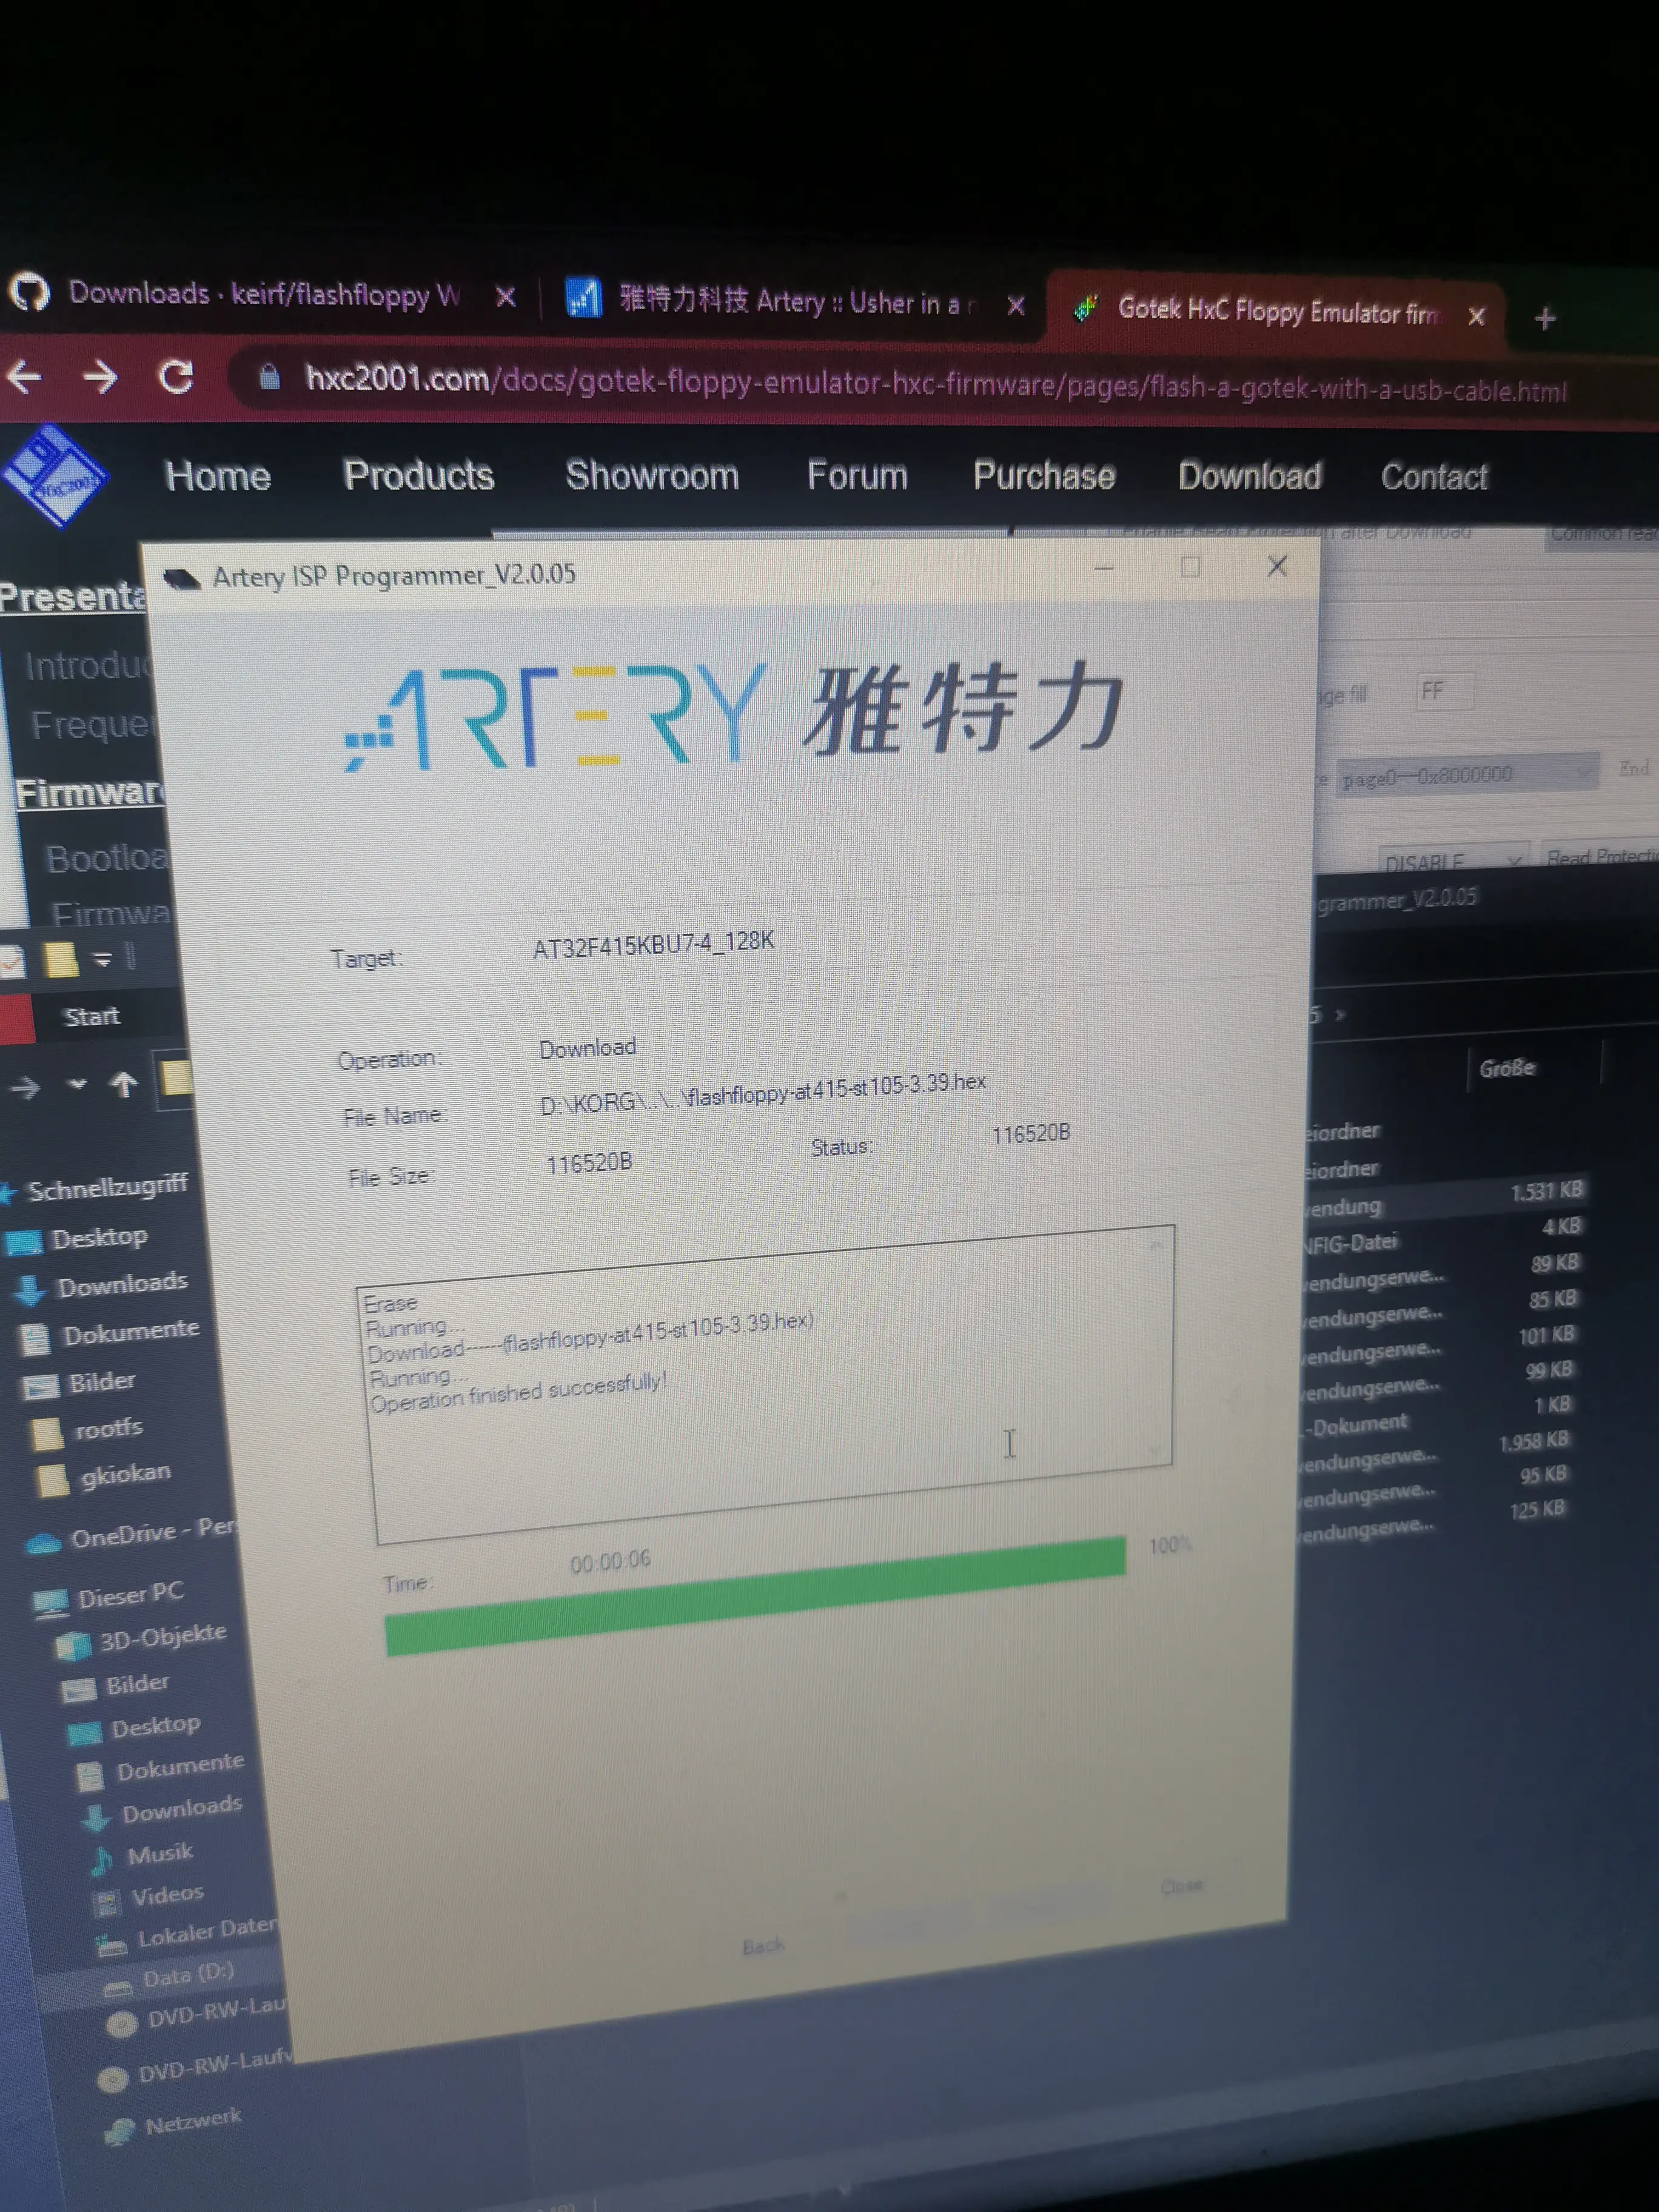
Firmware and electronics

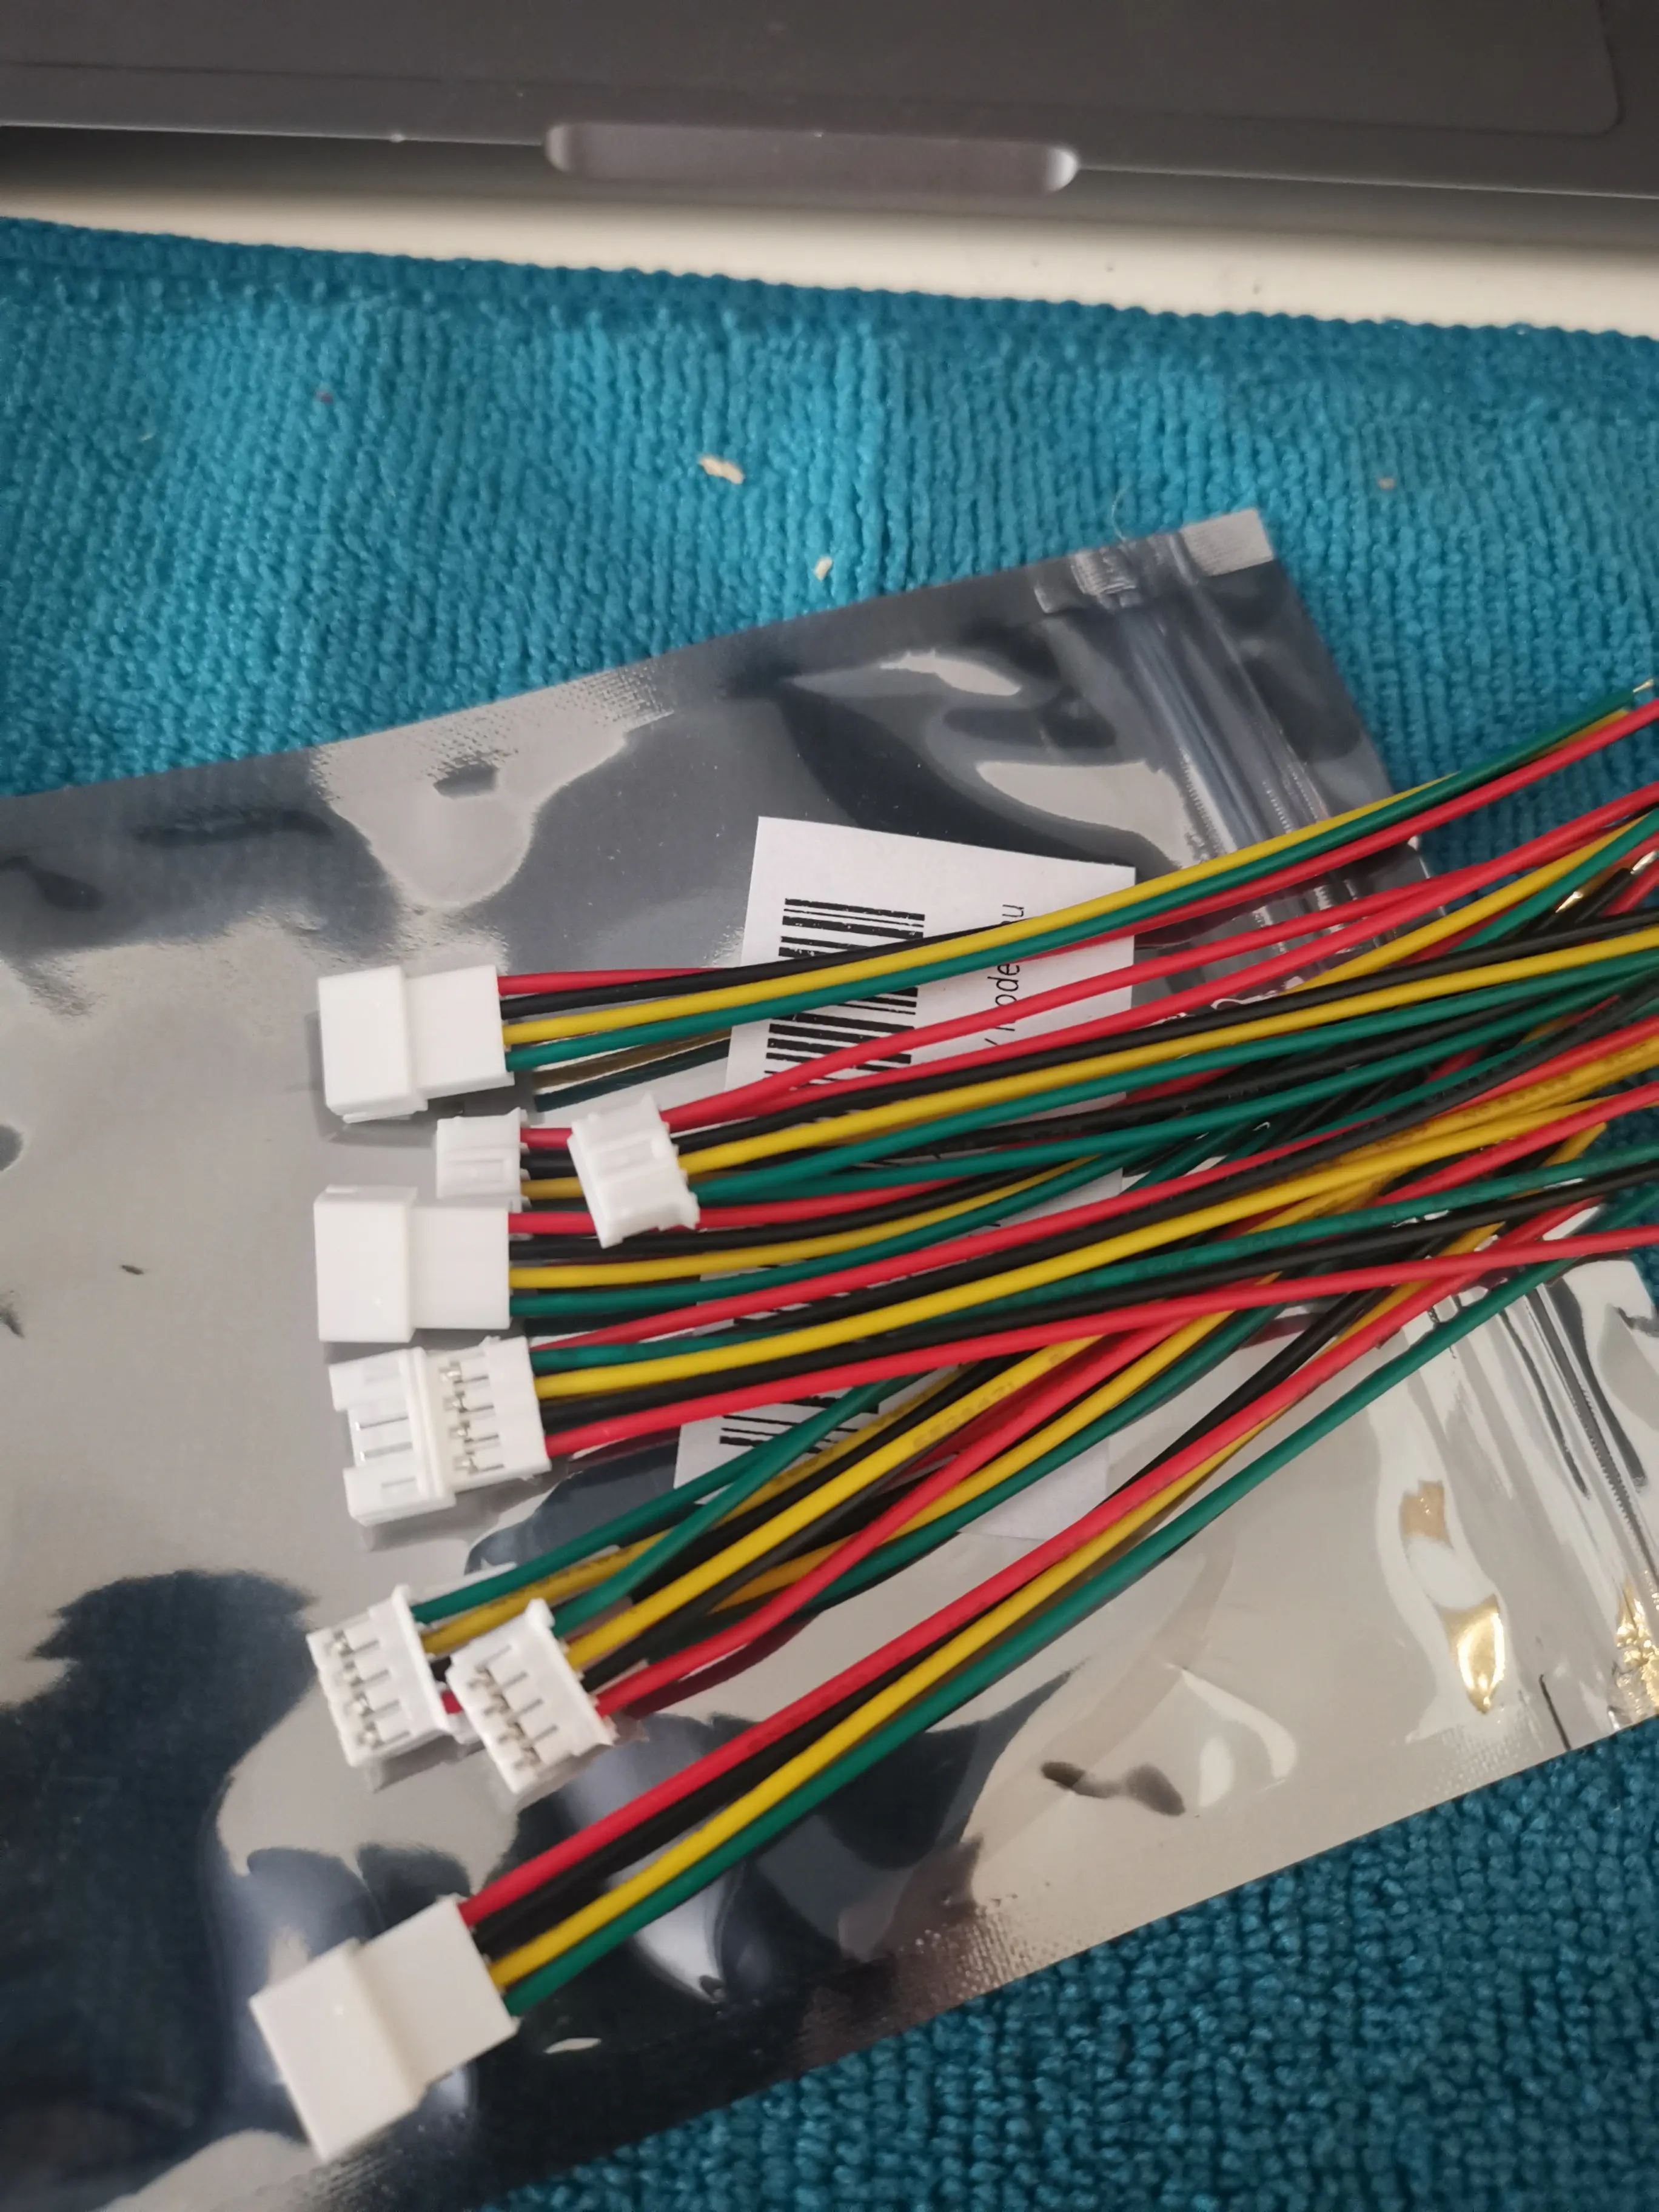
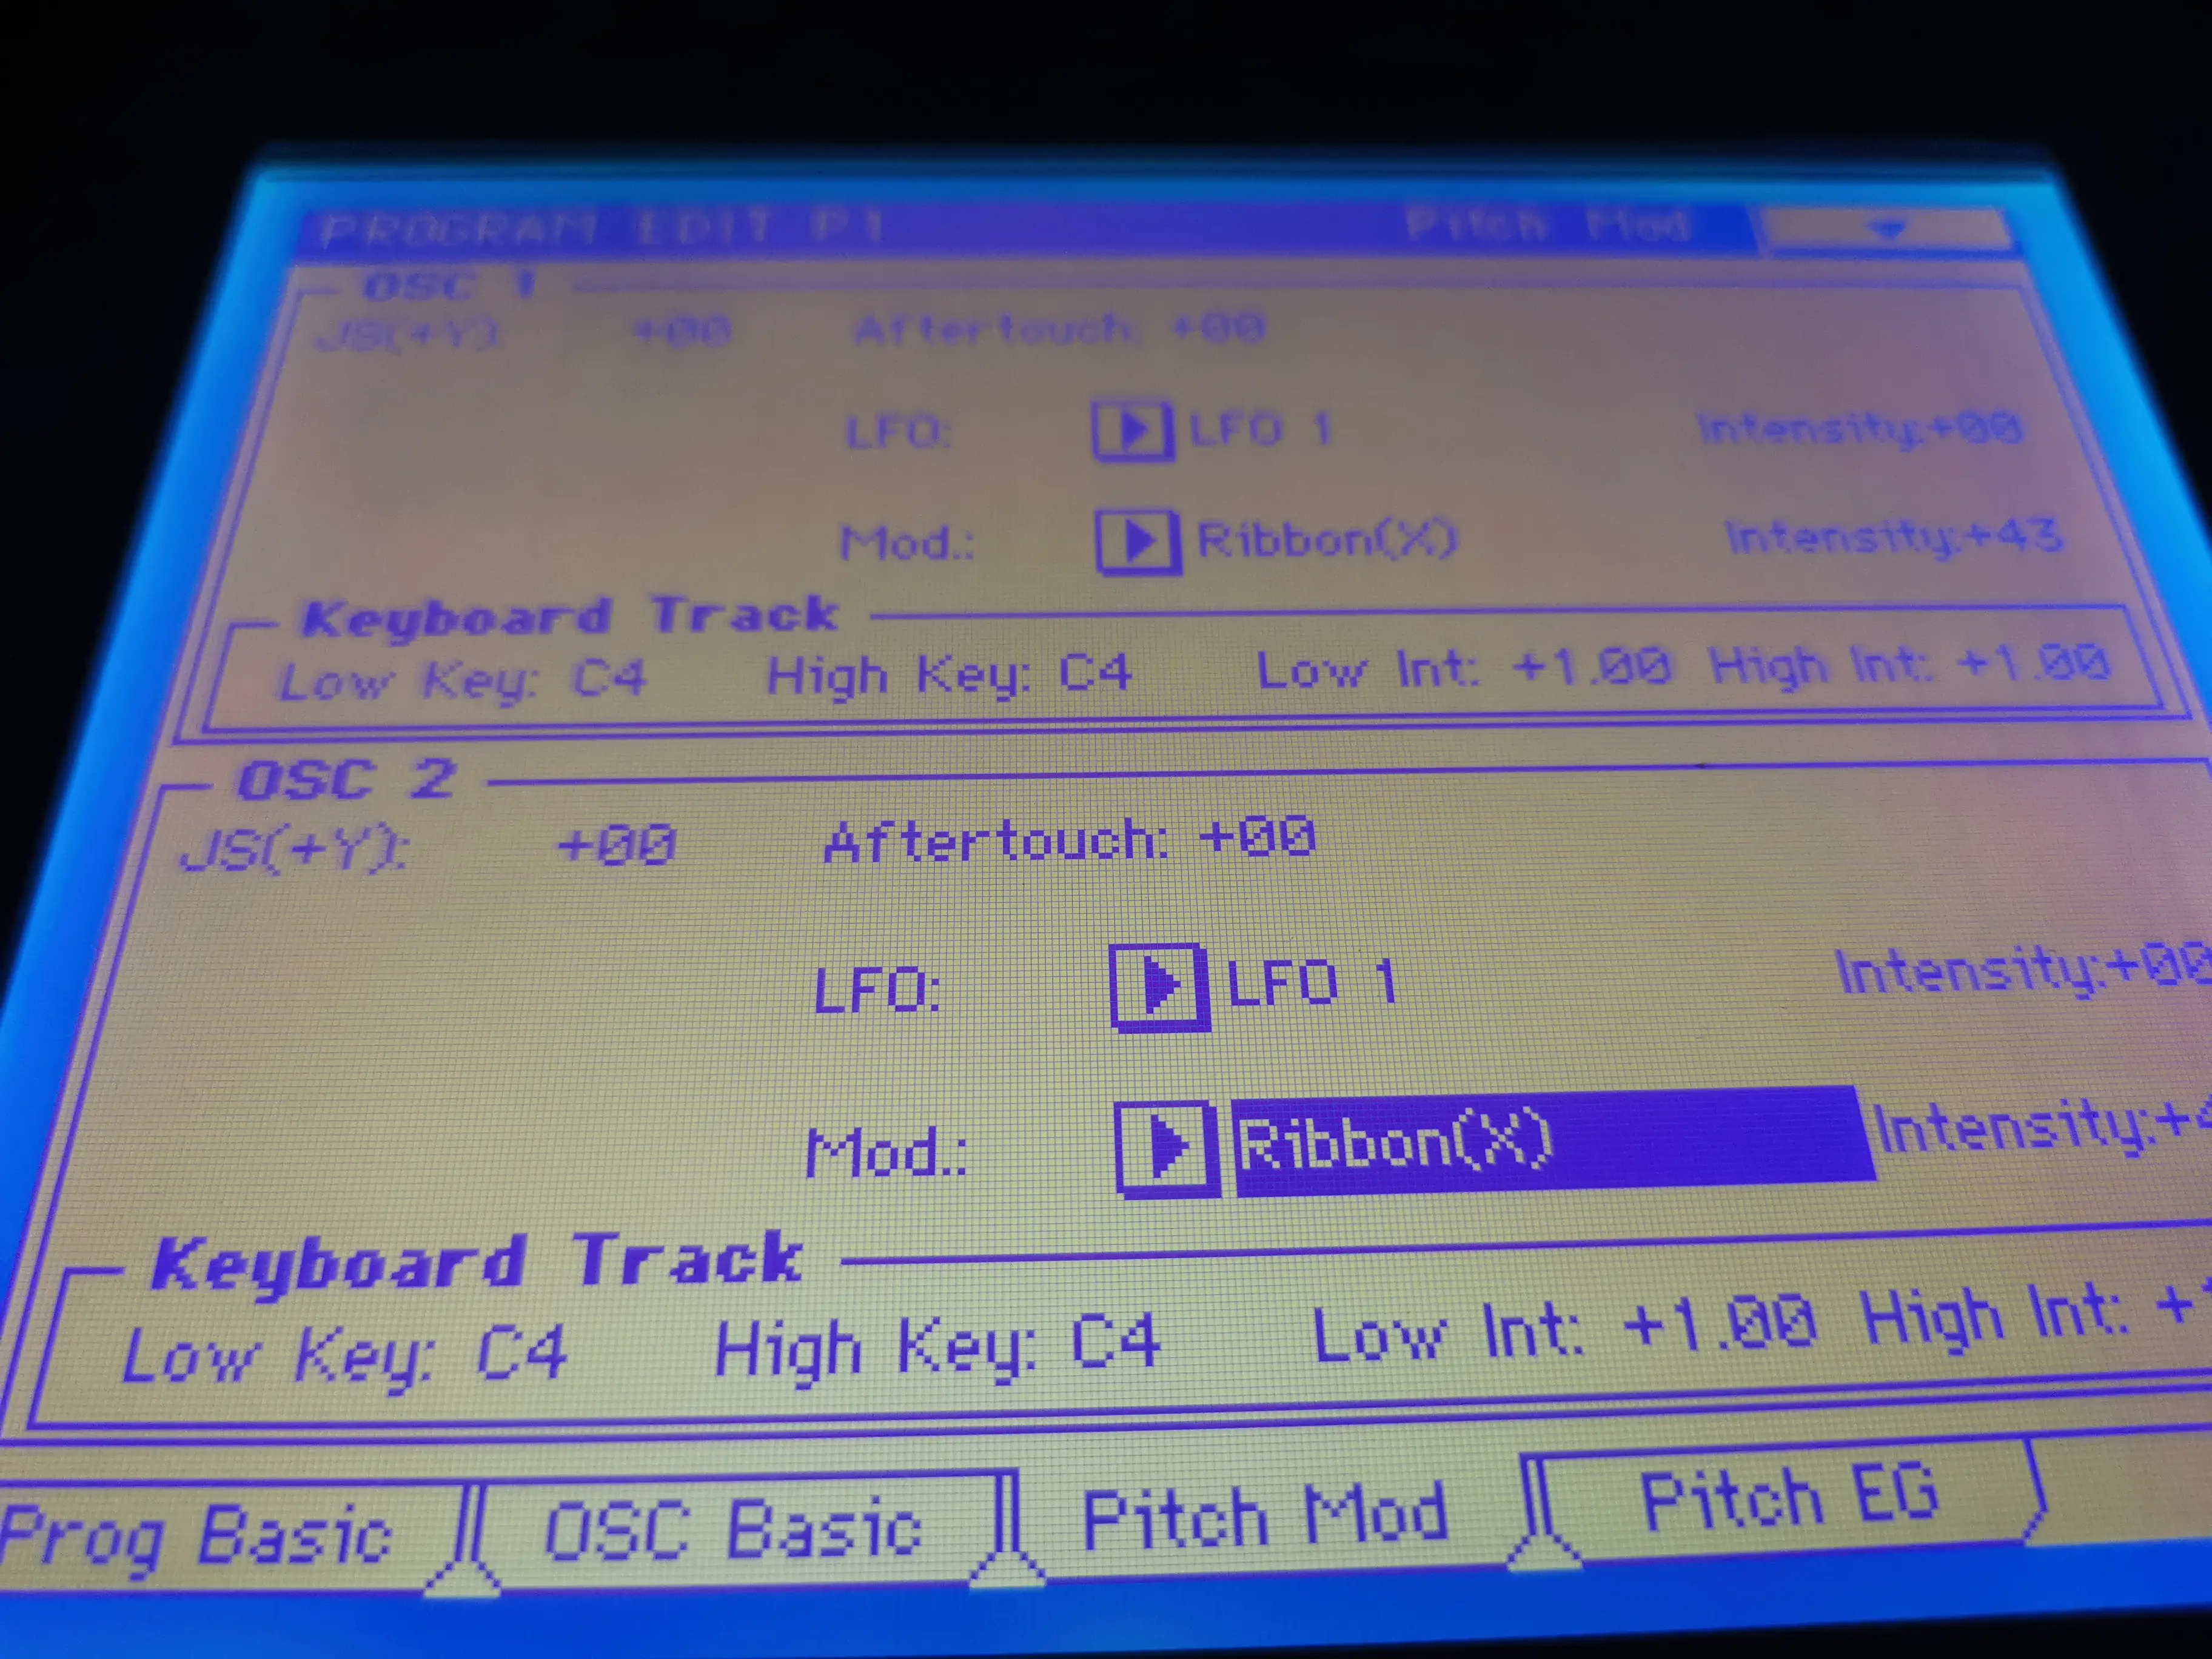
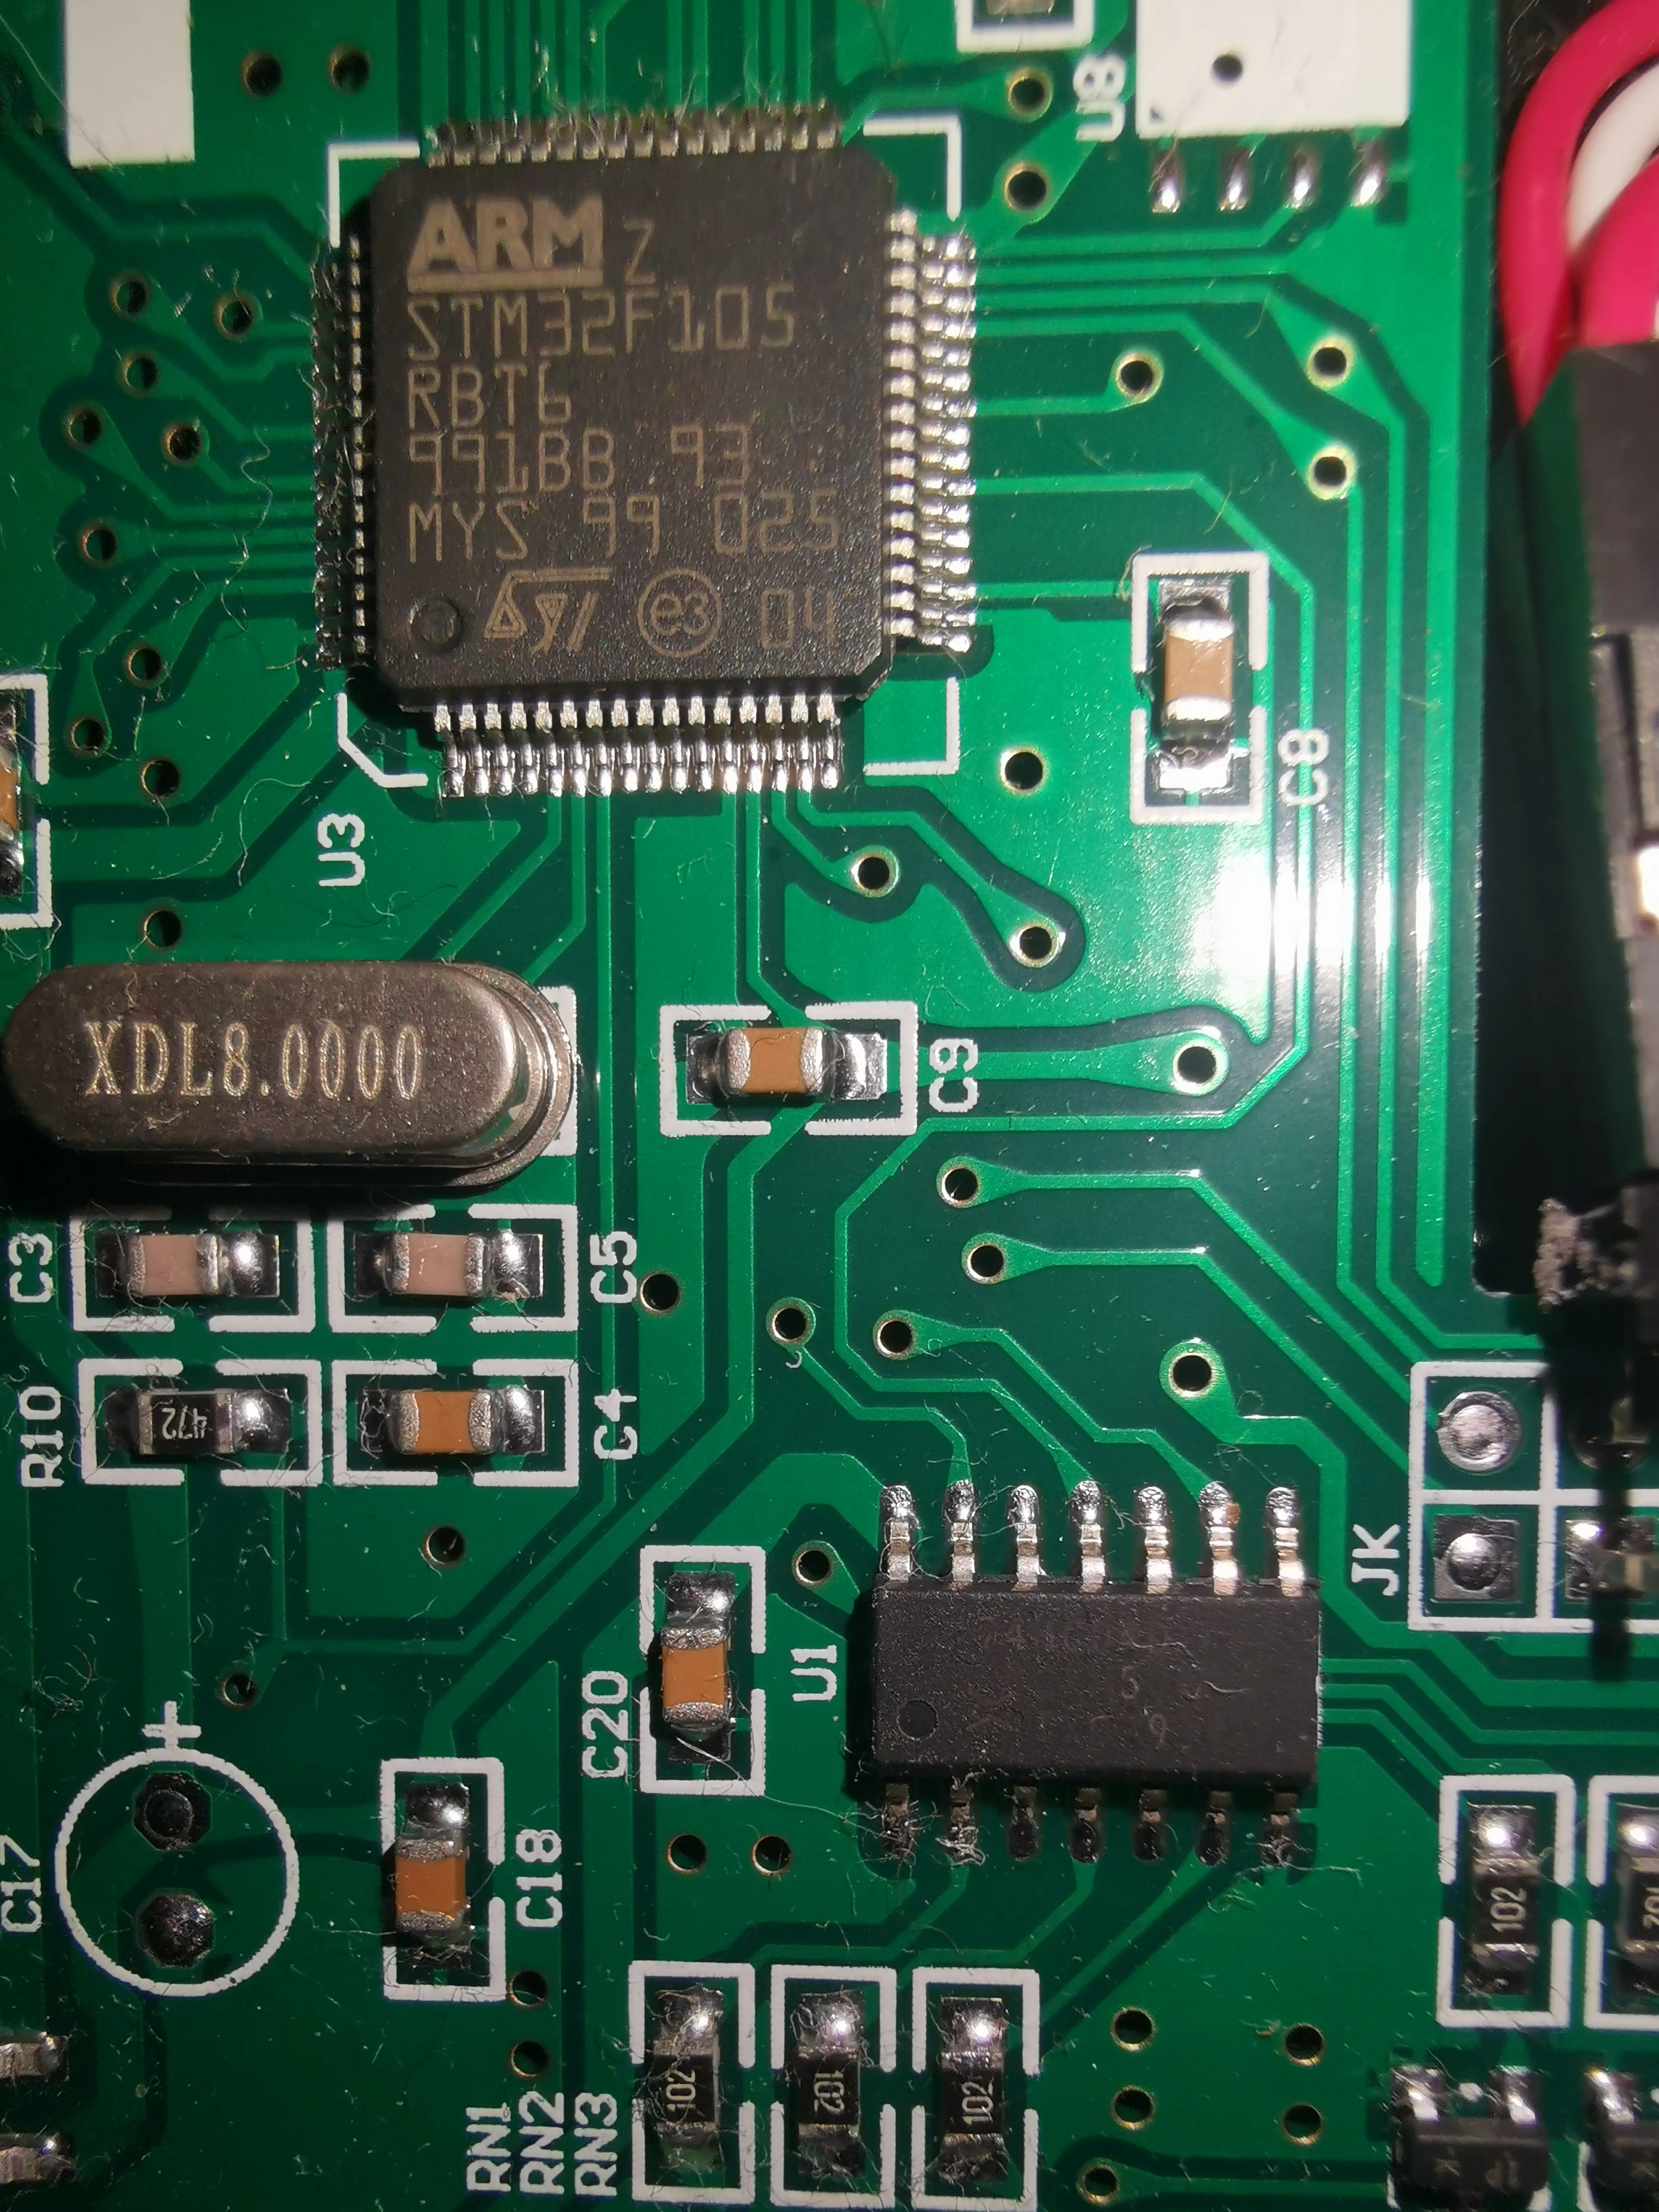
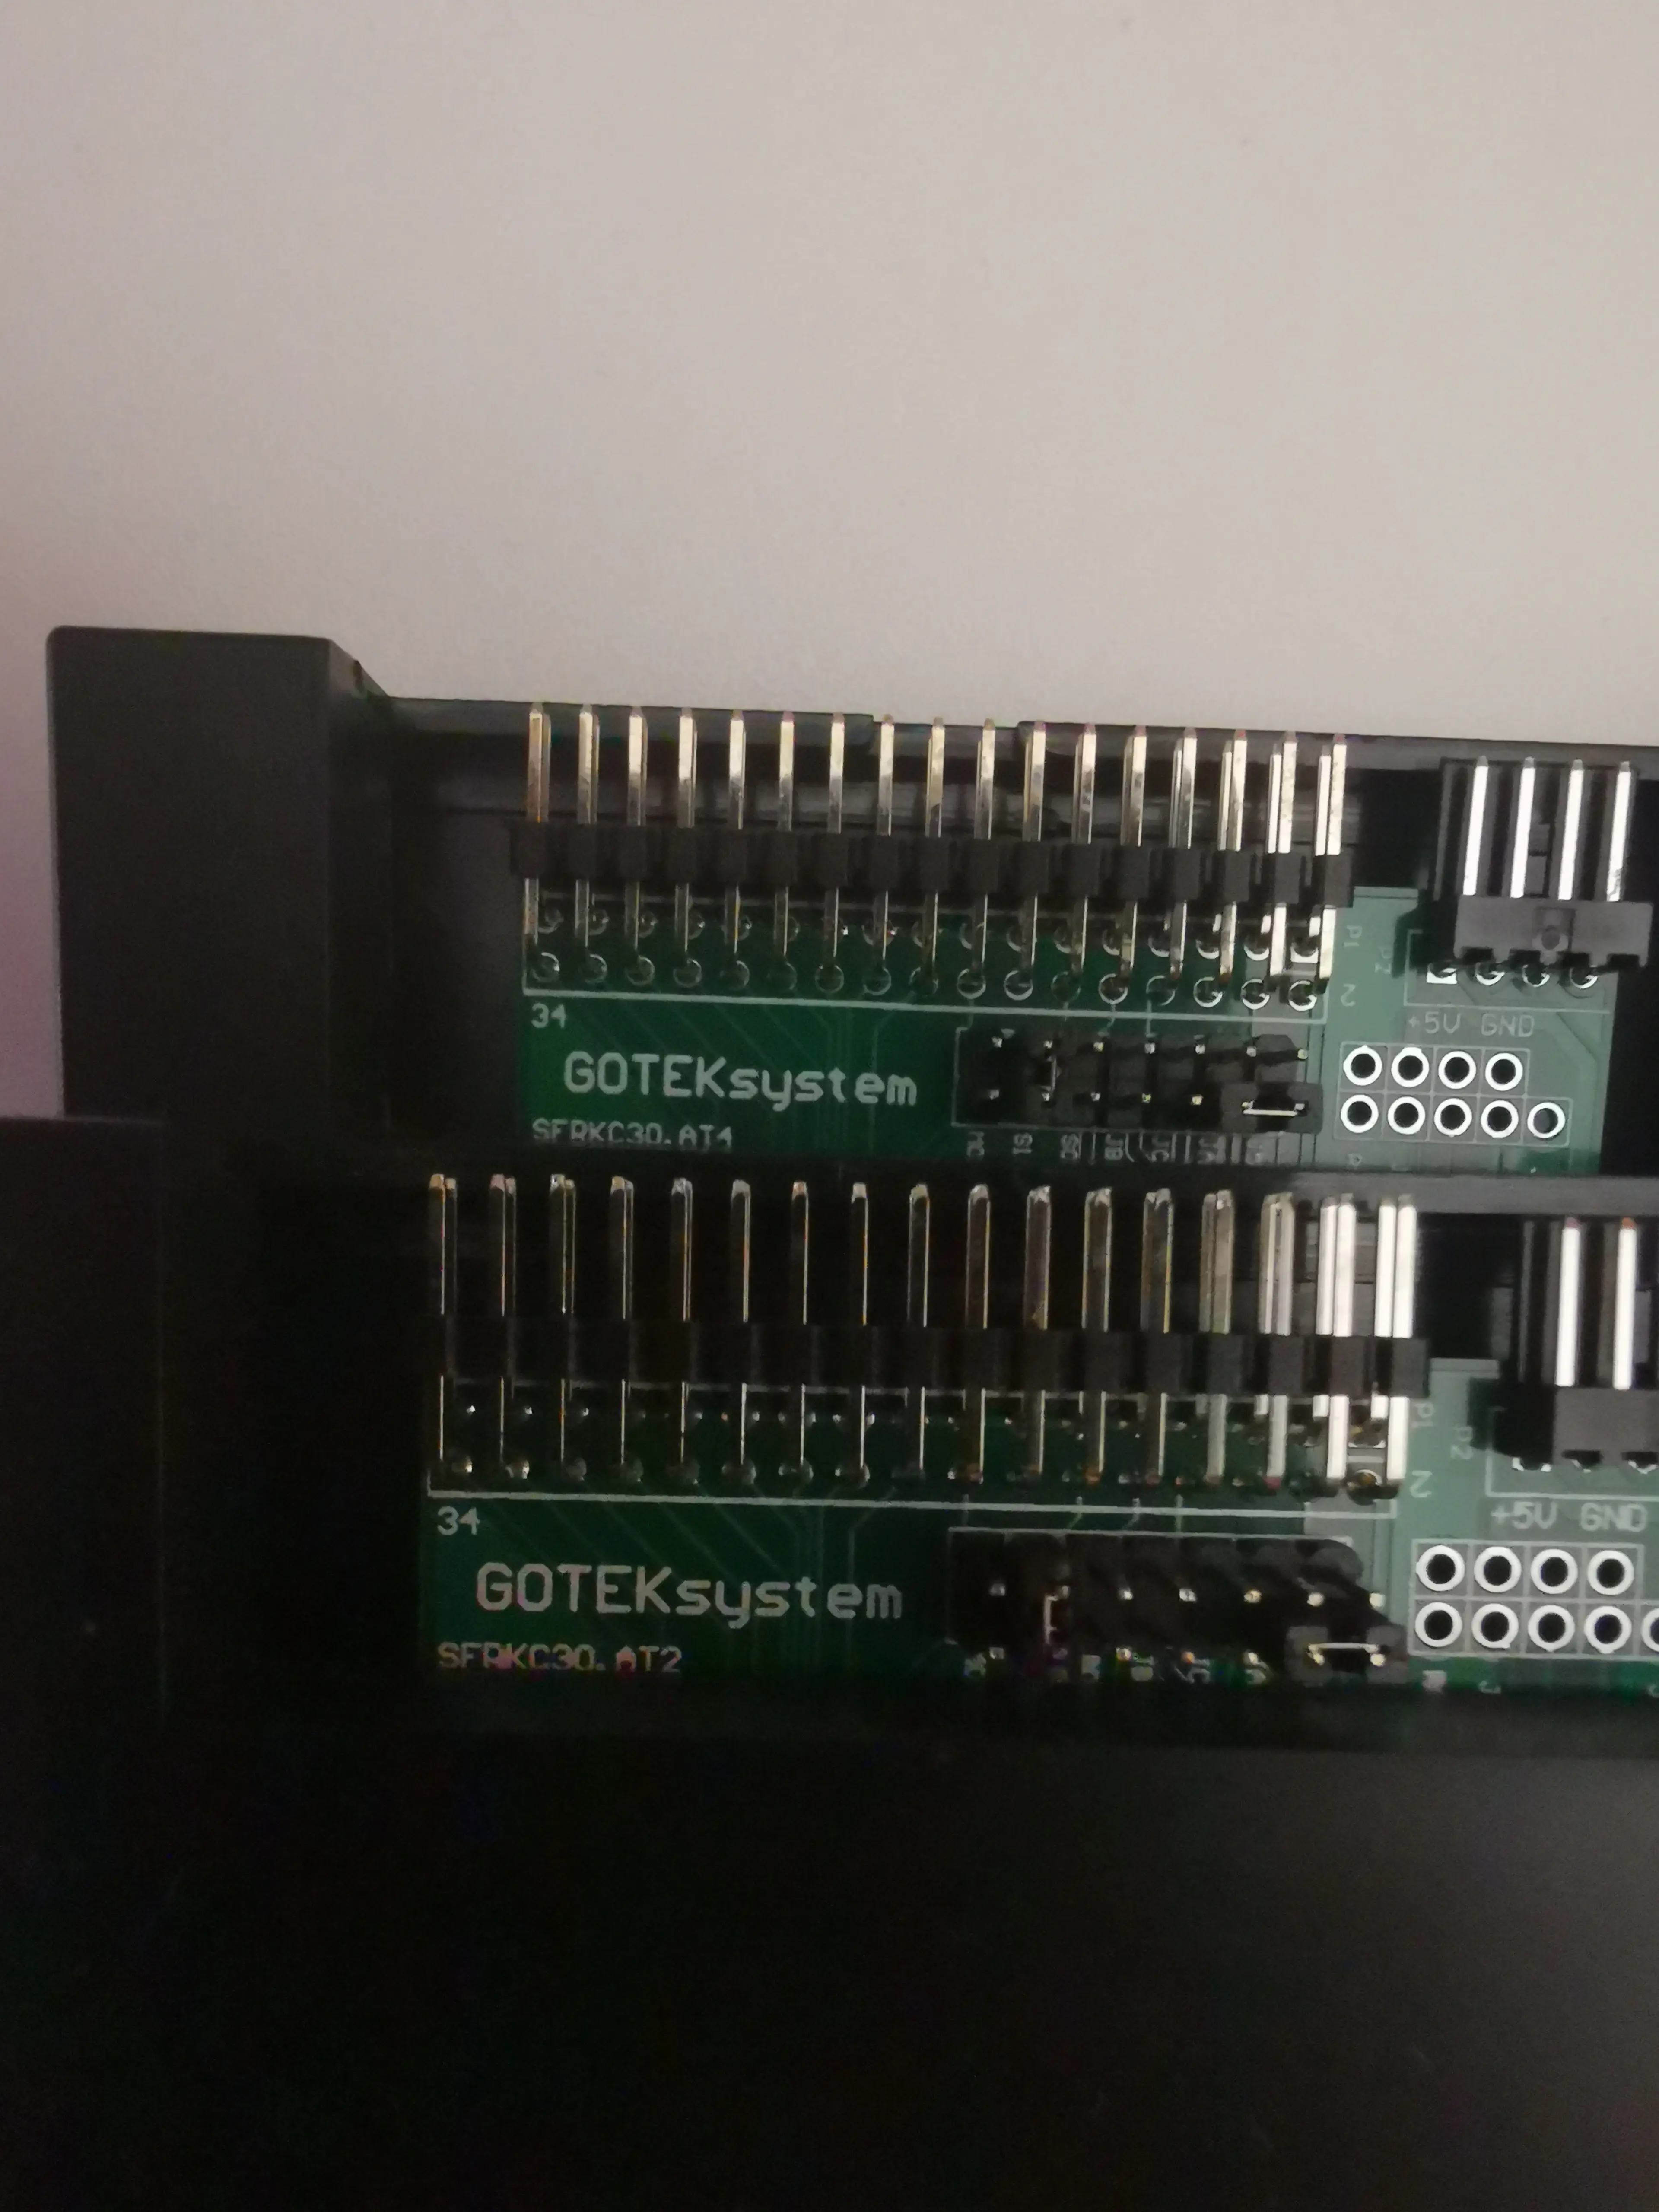
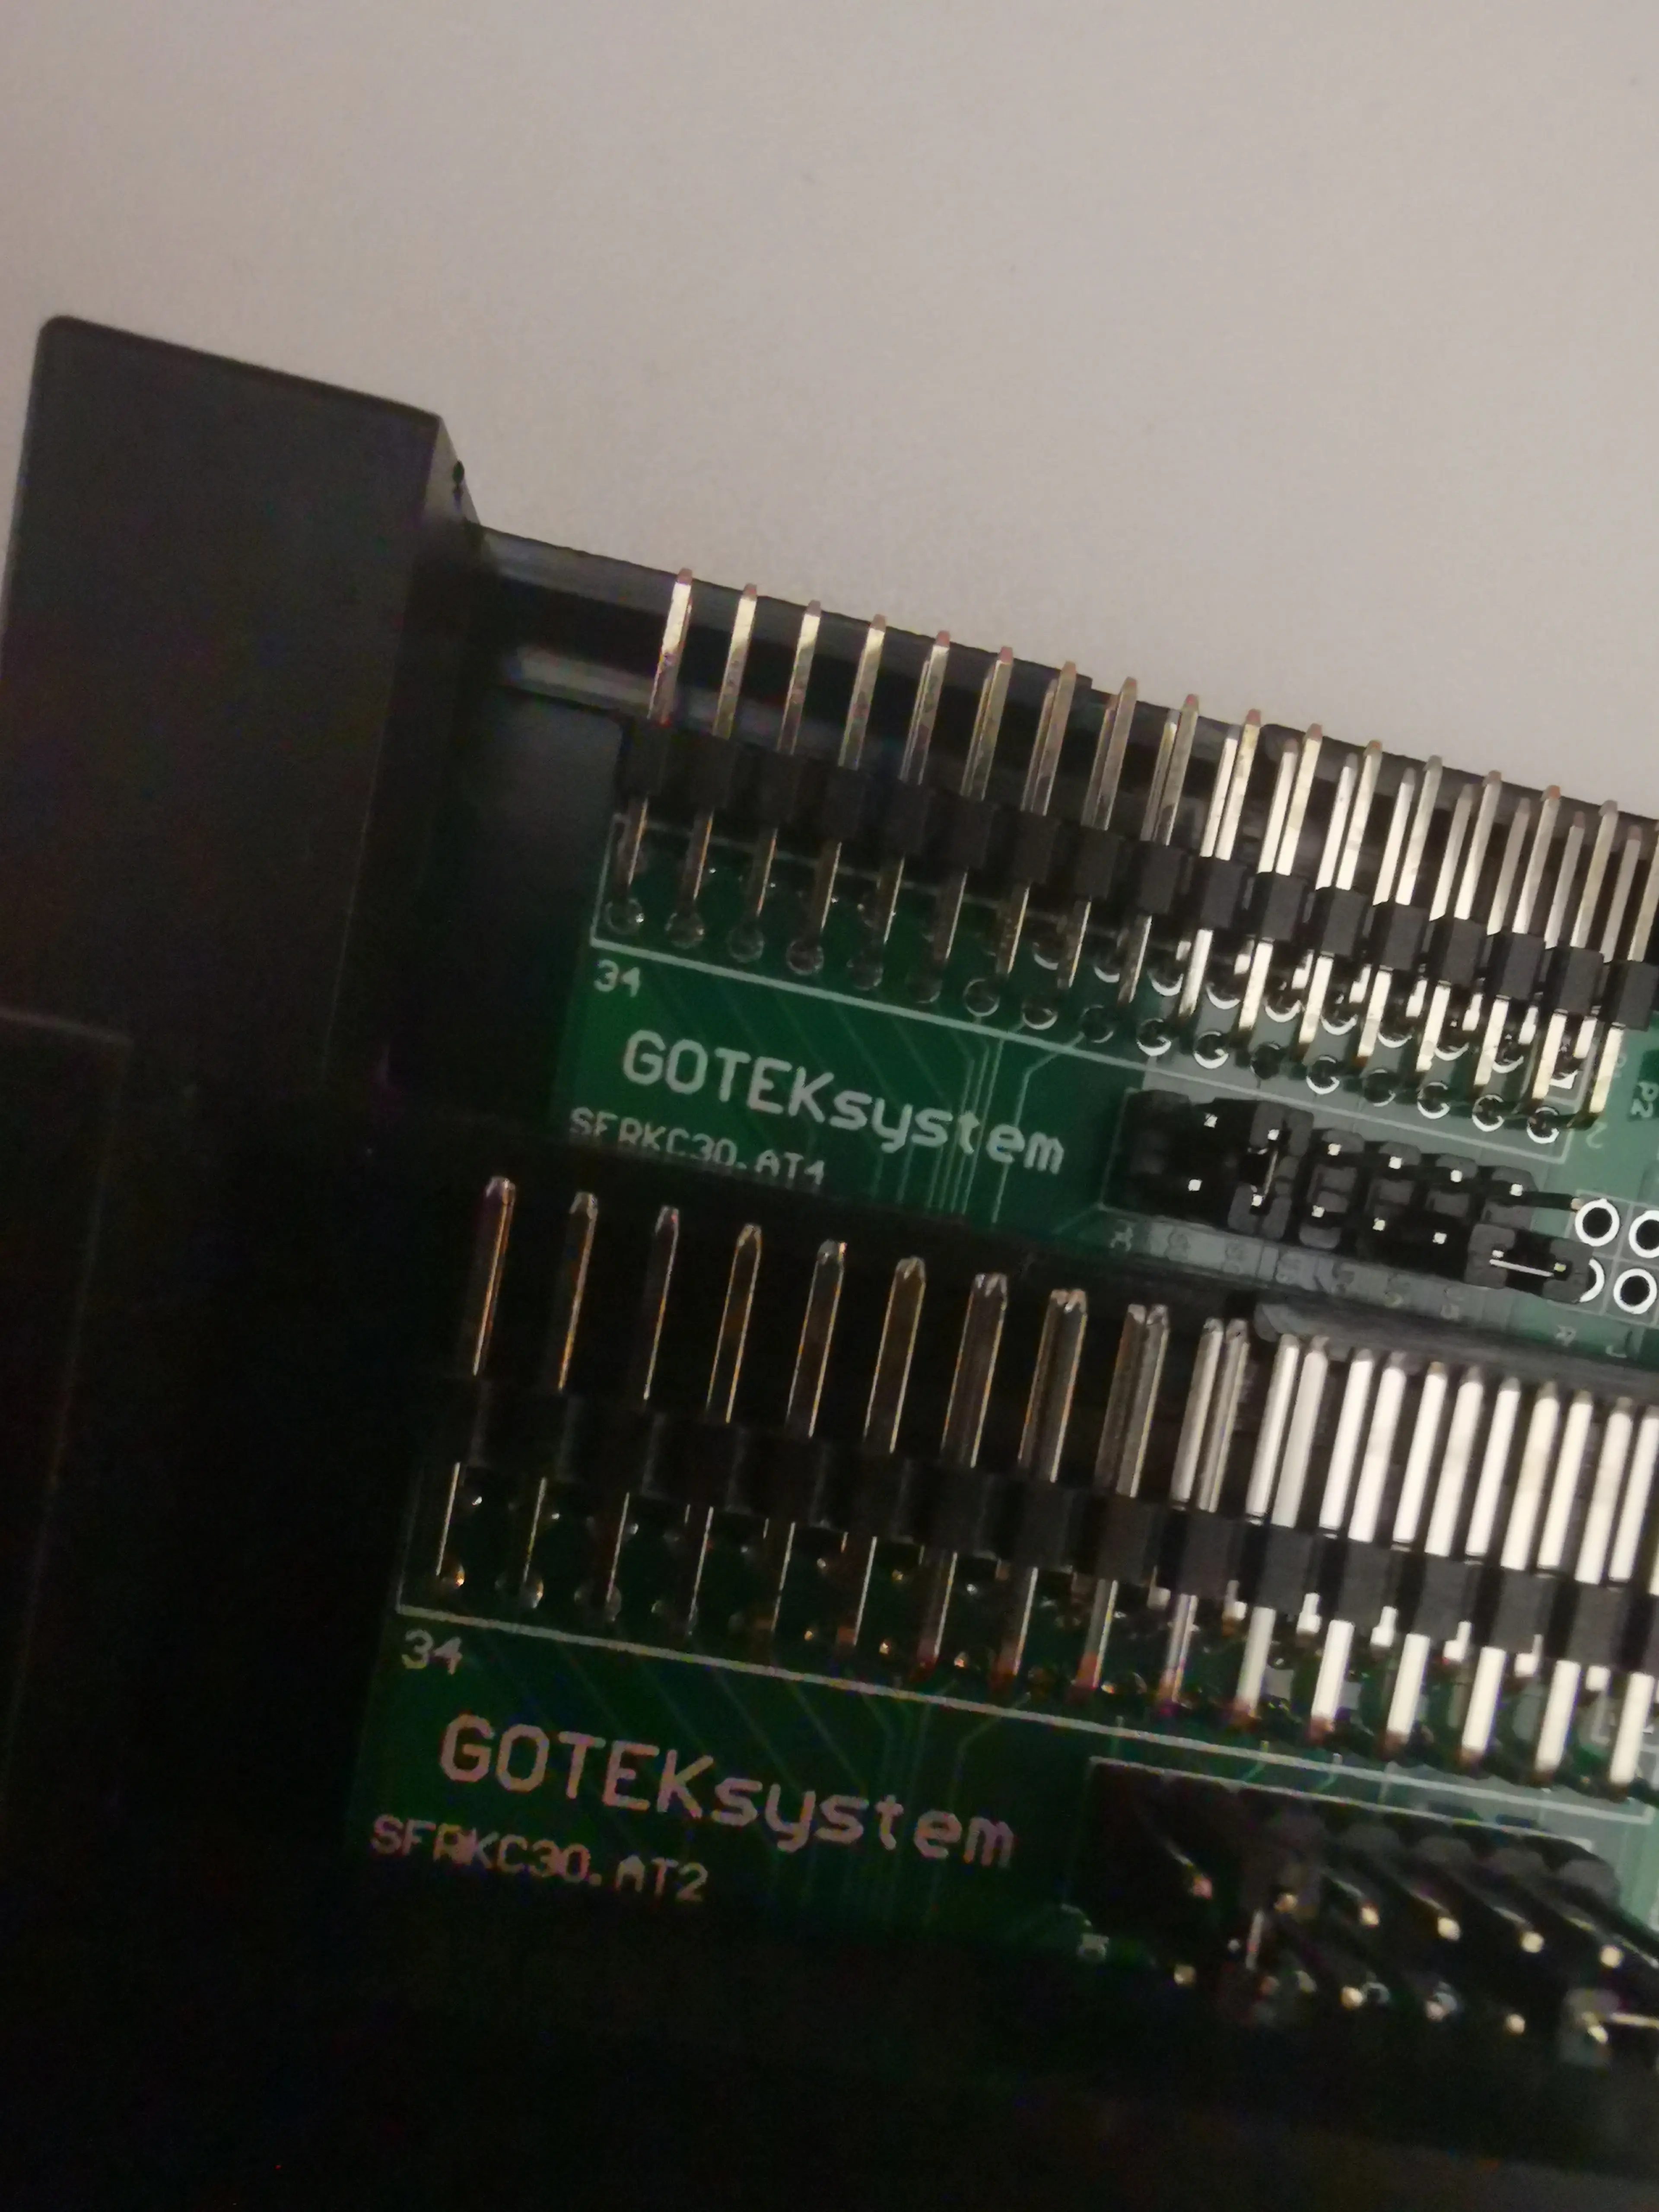
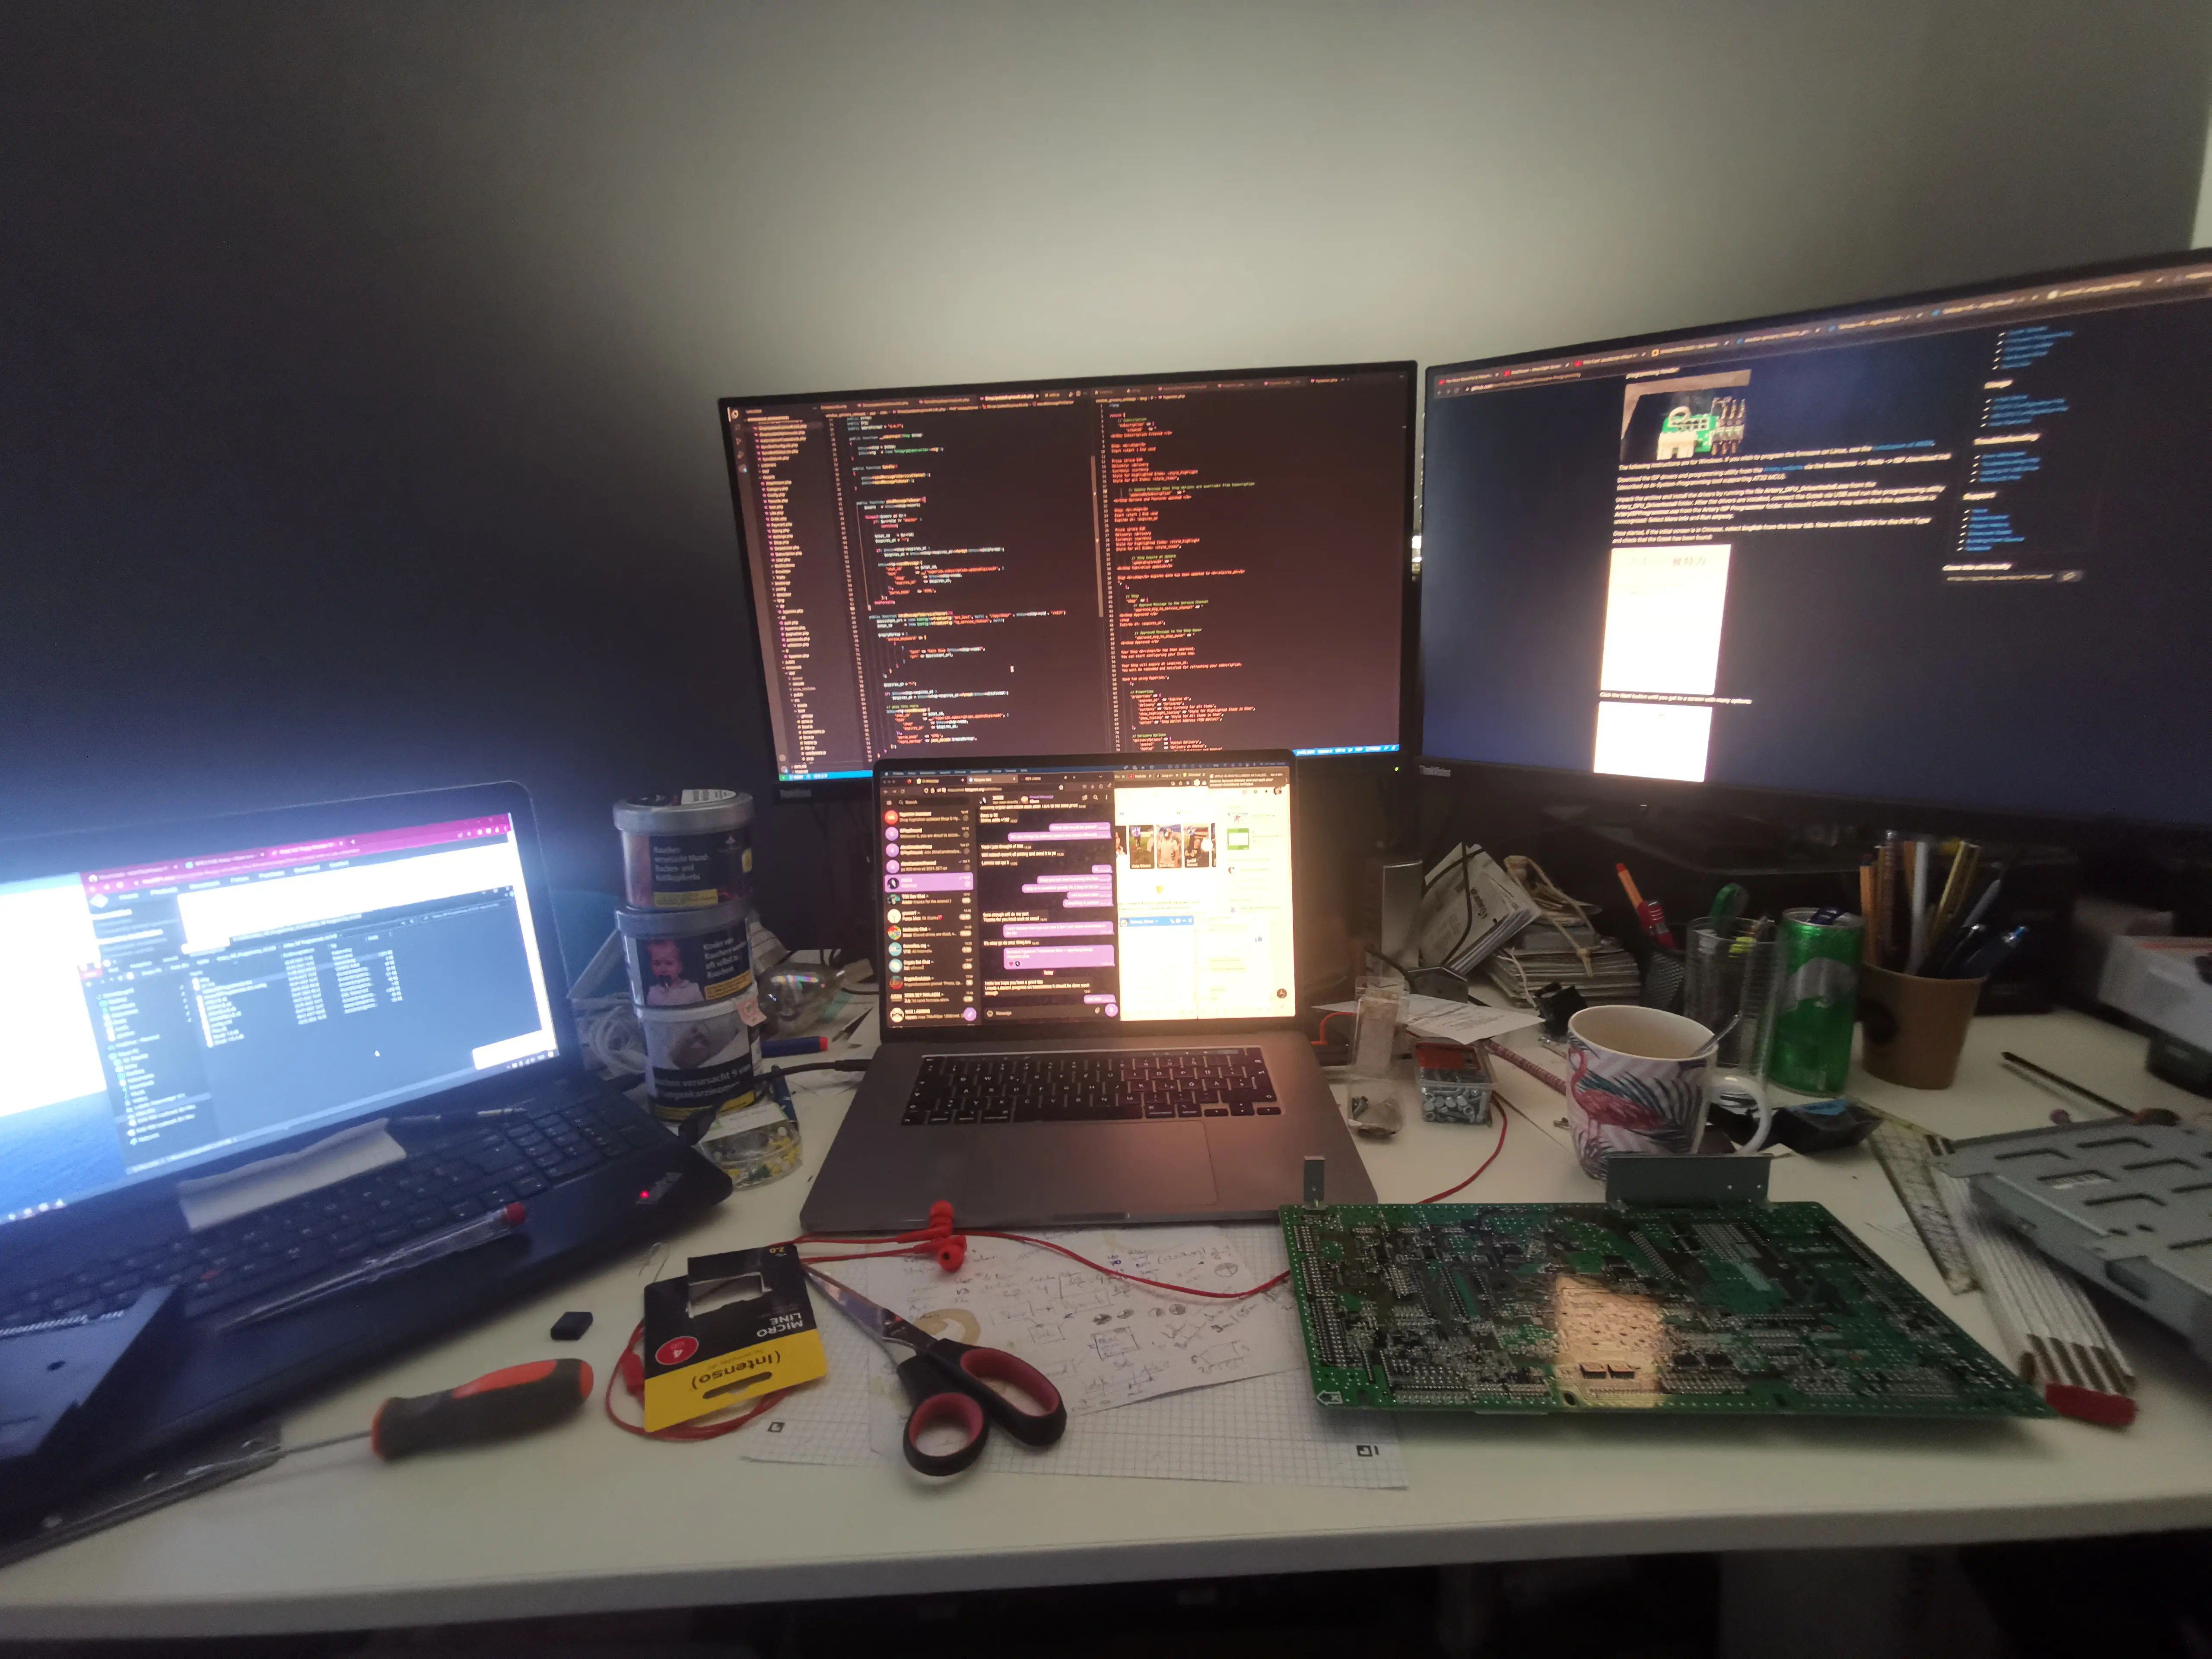
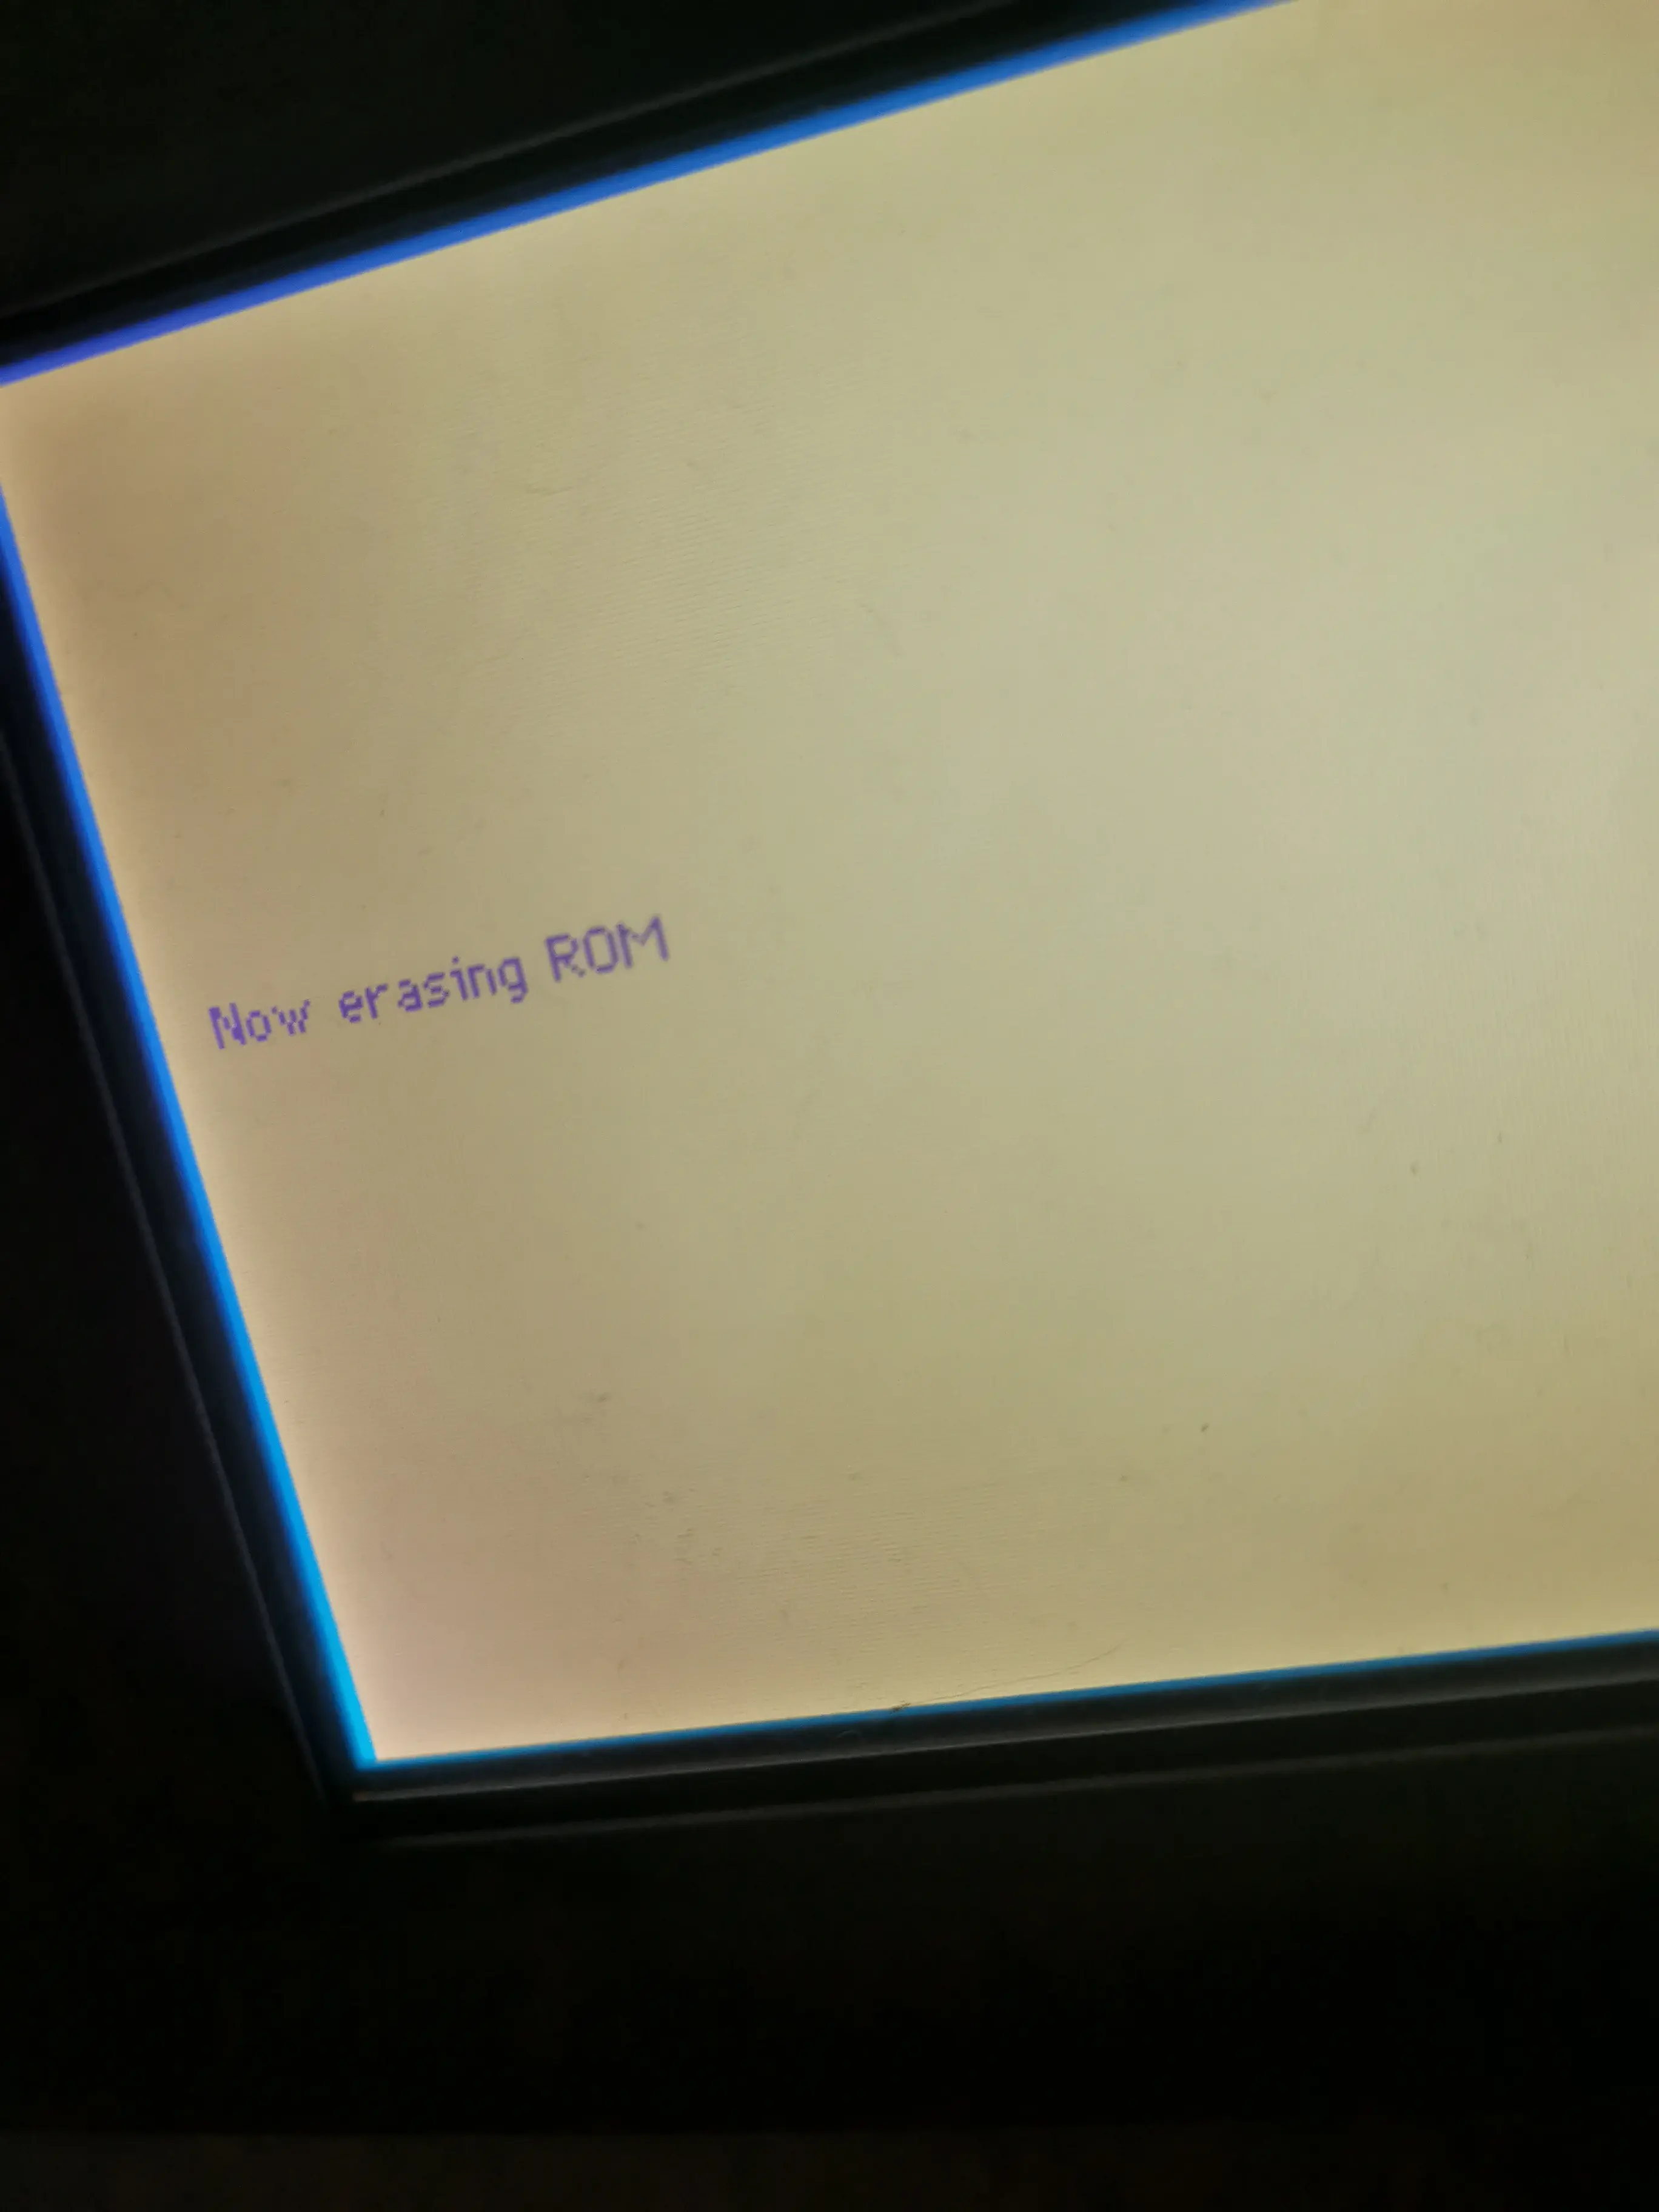
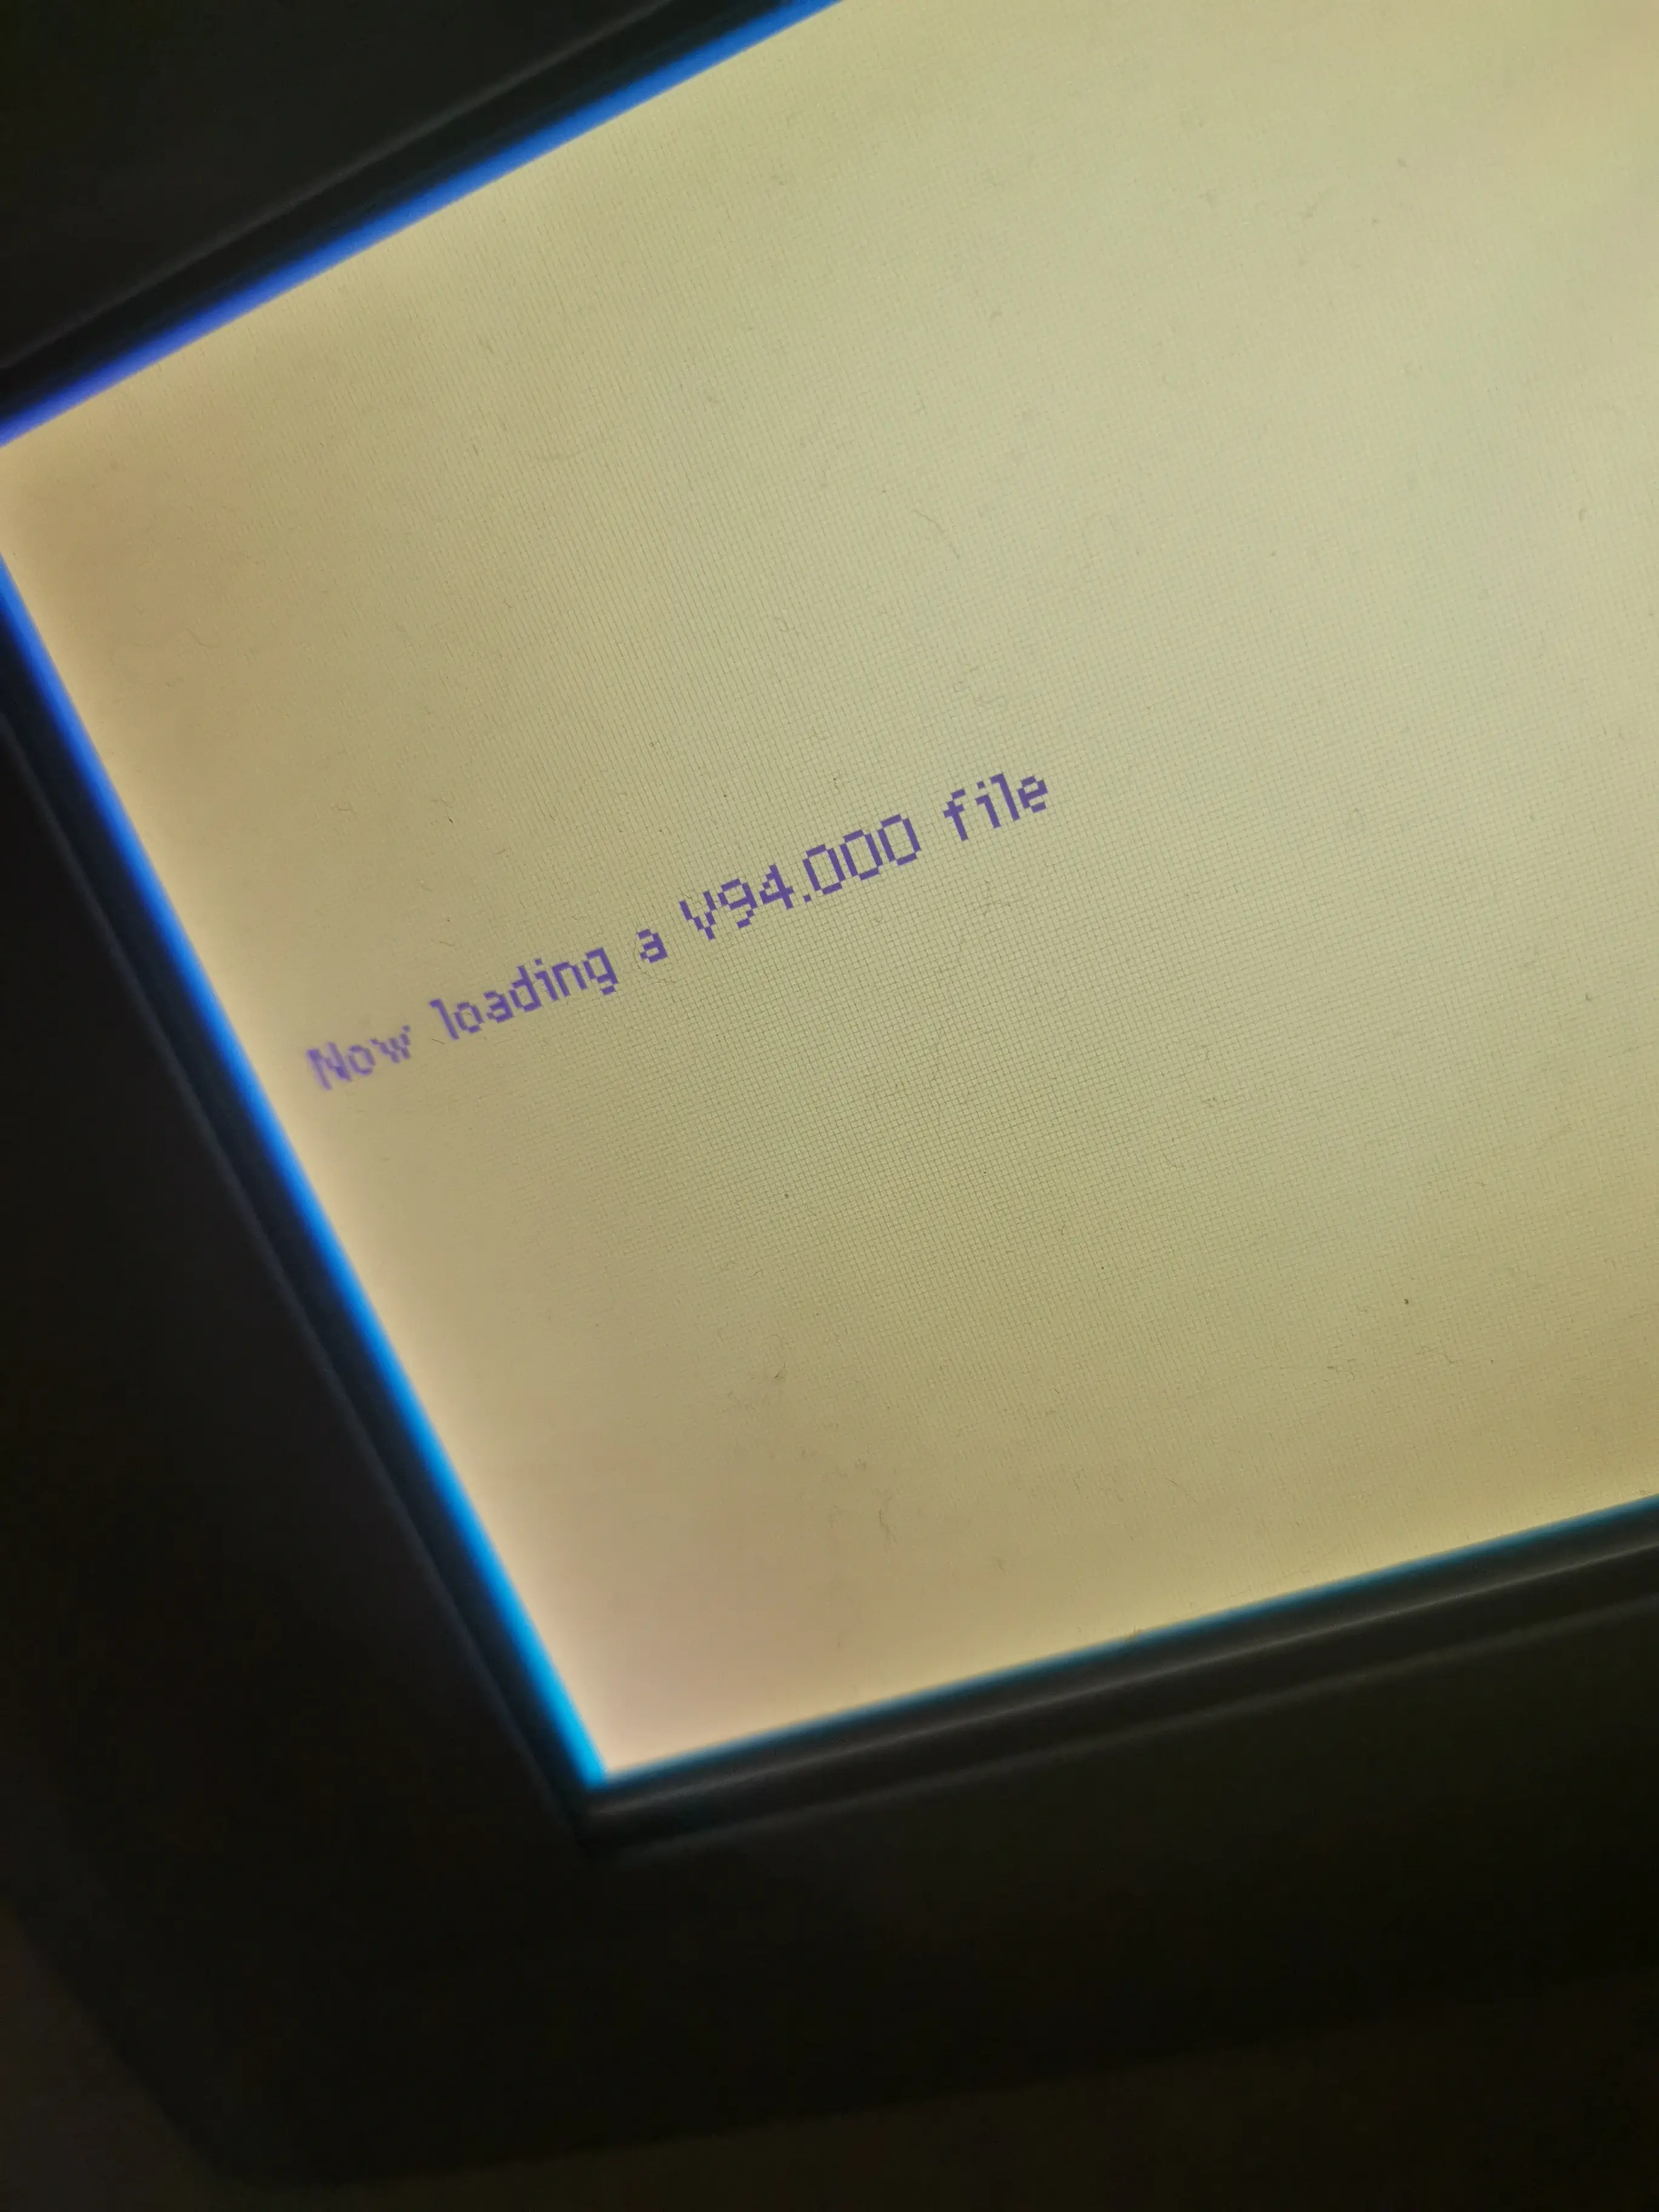
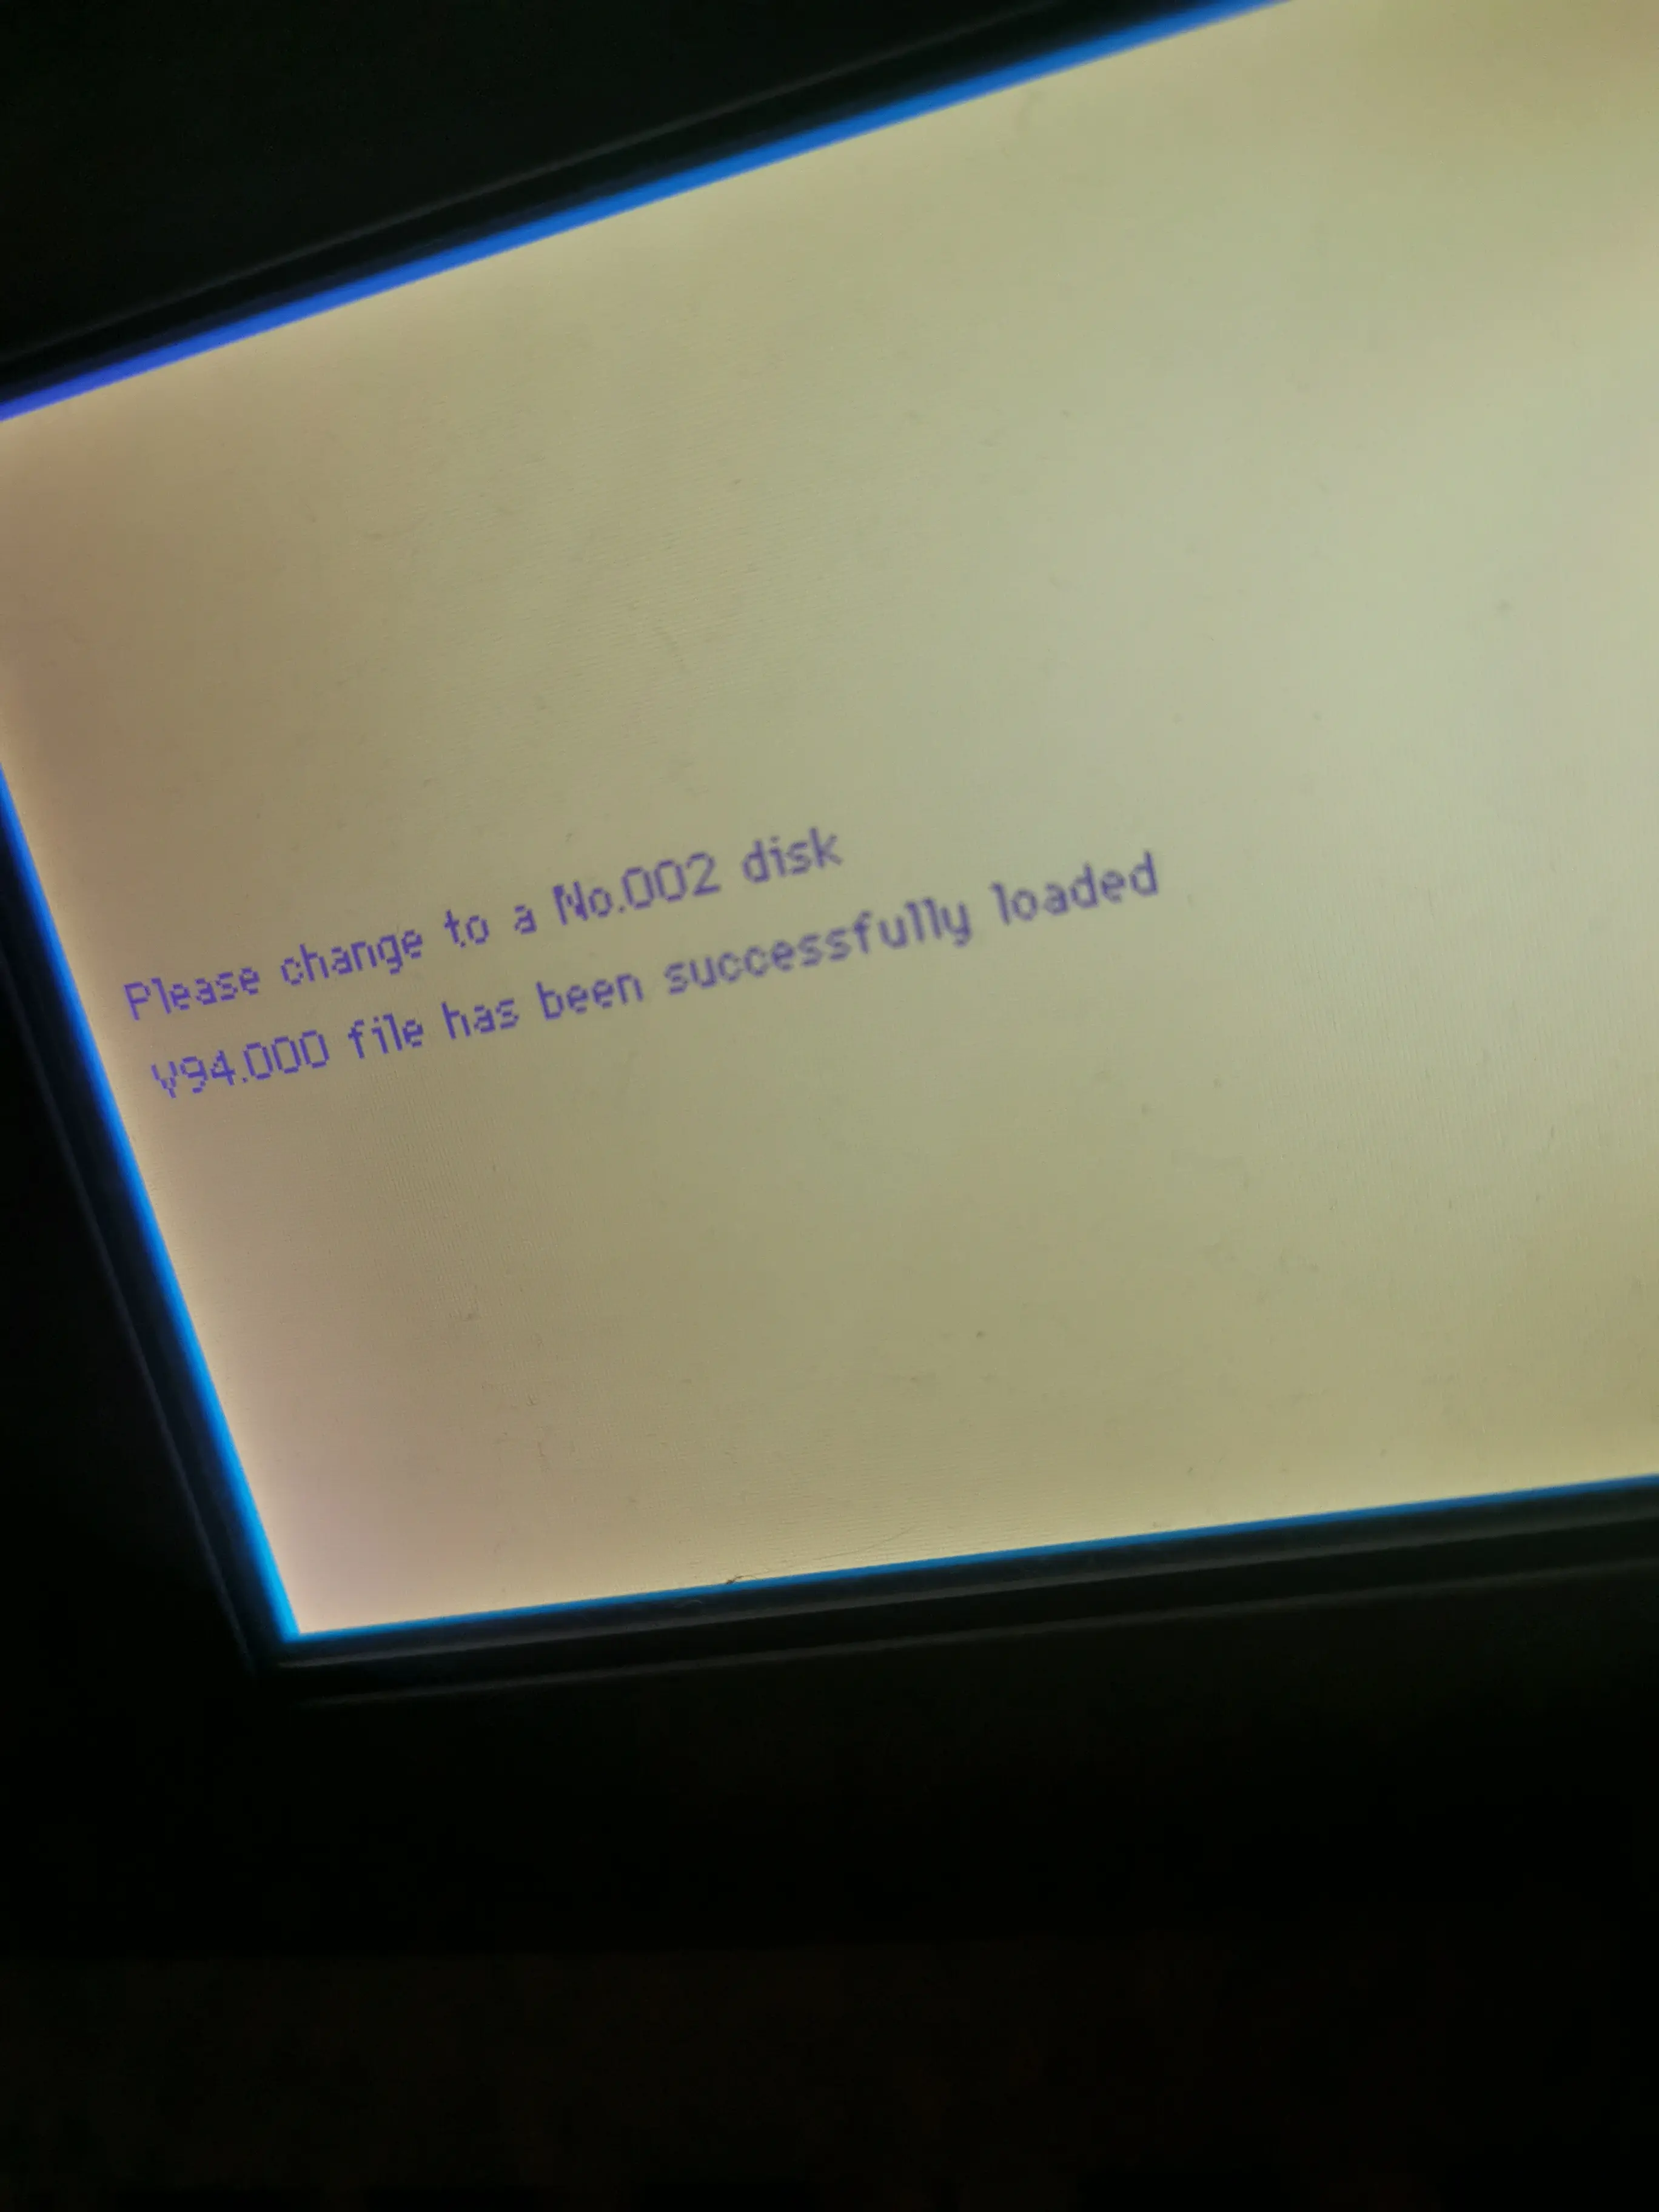
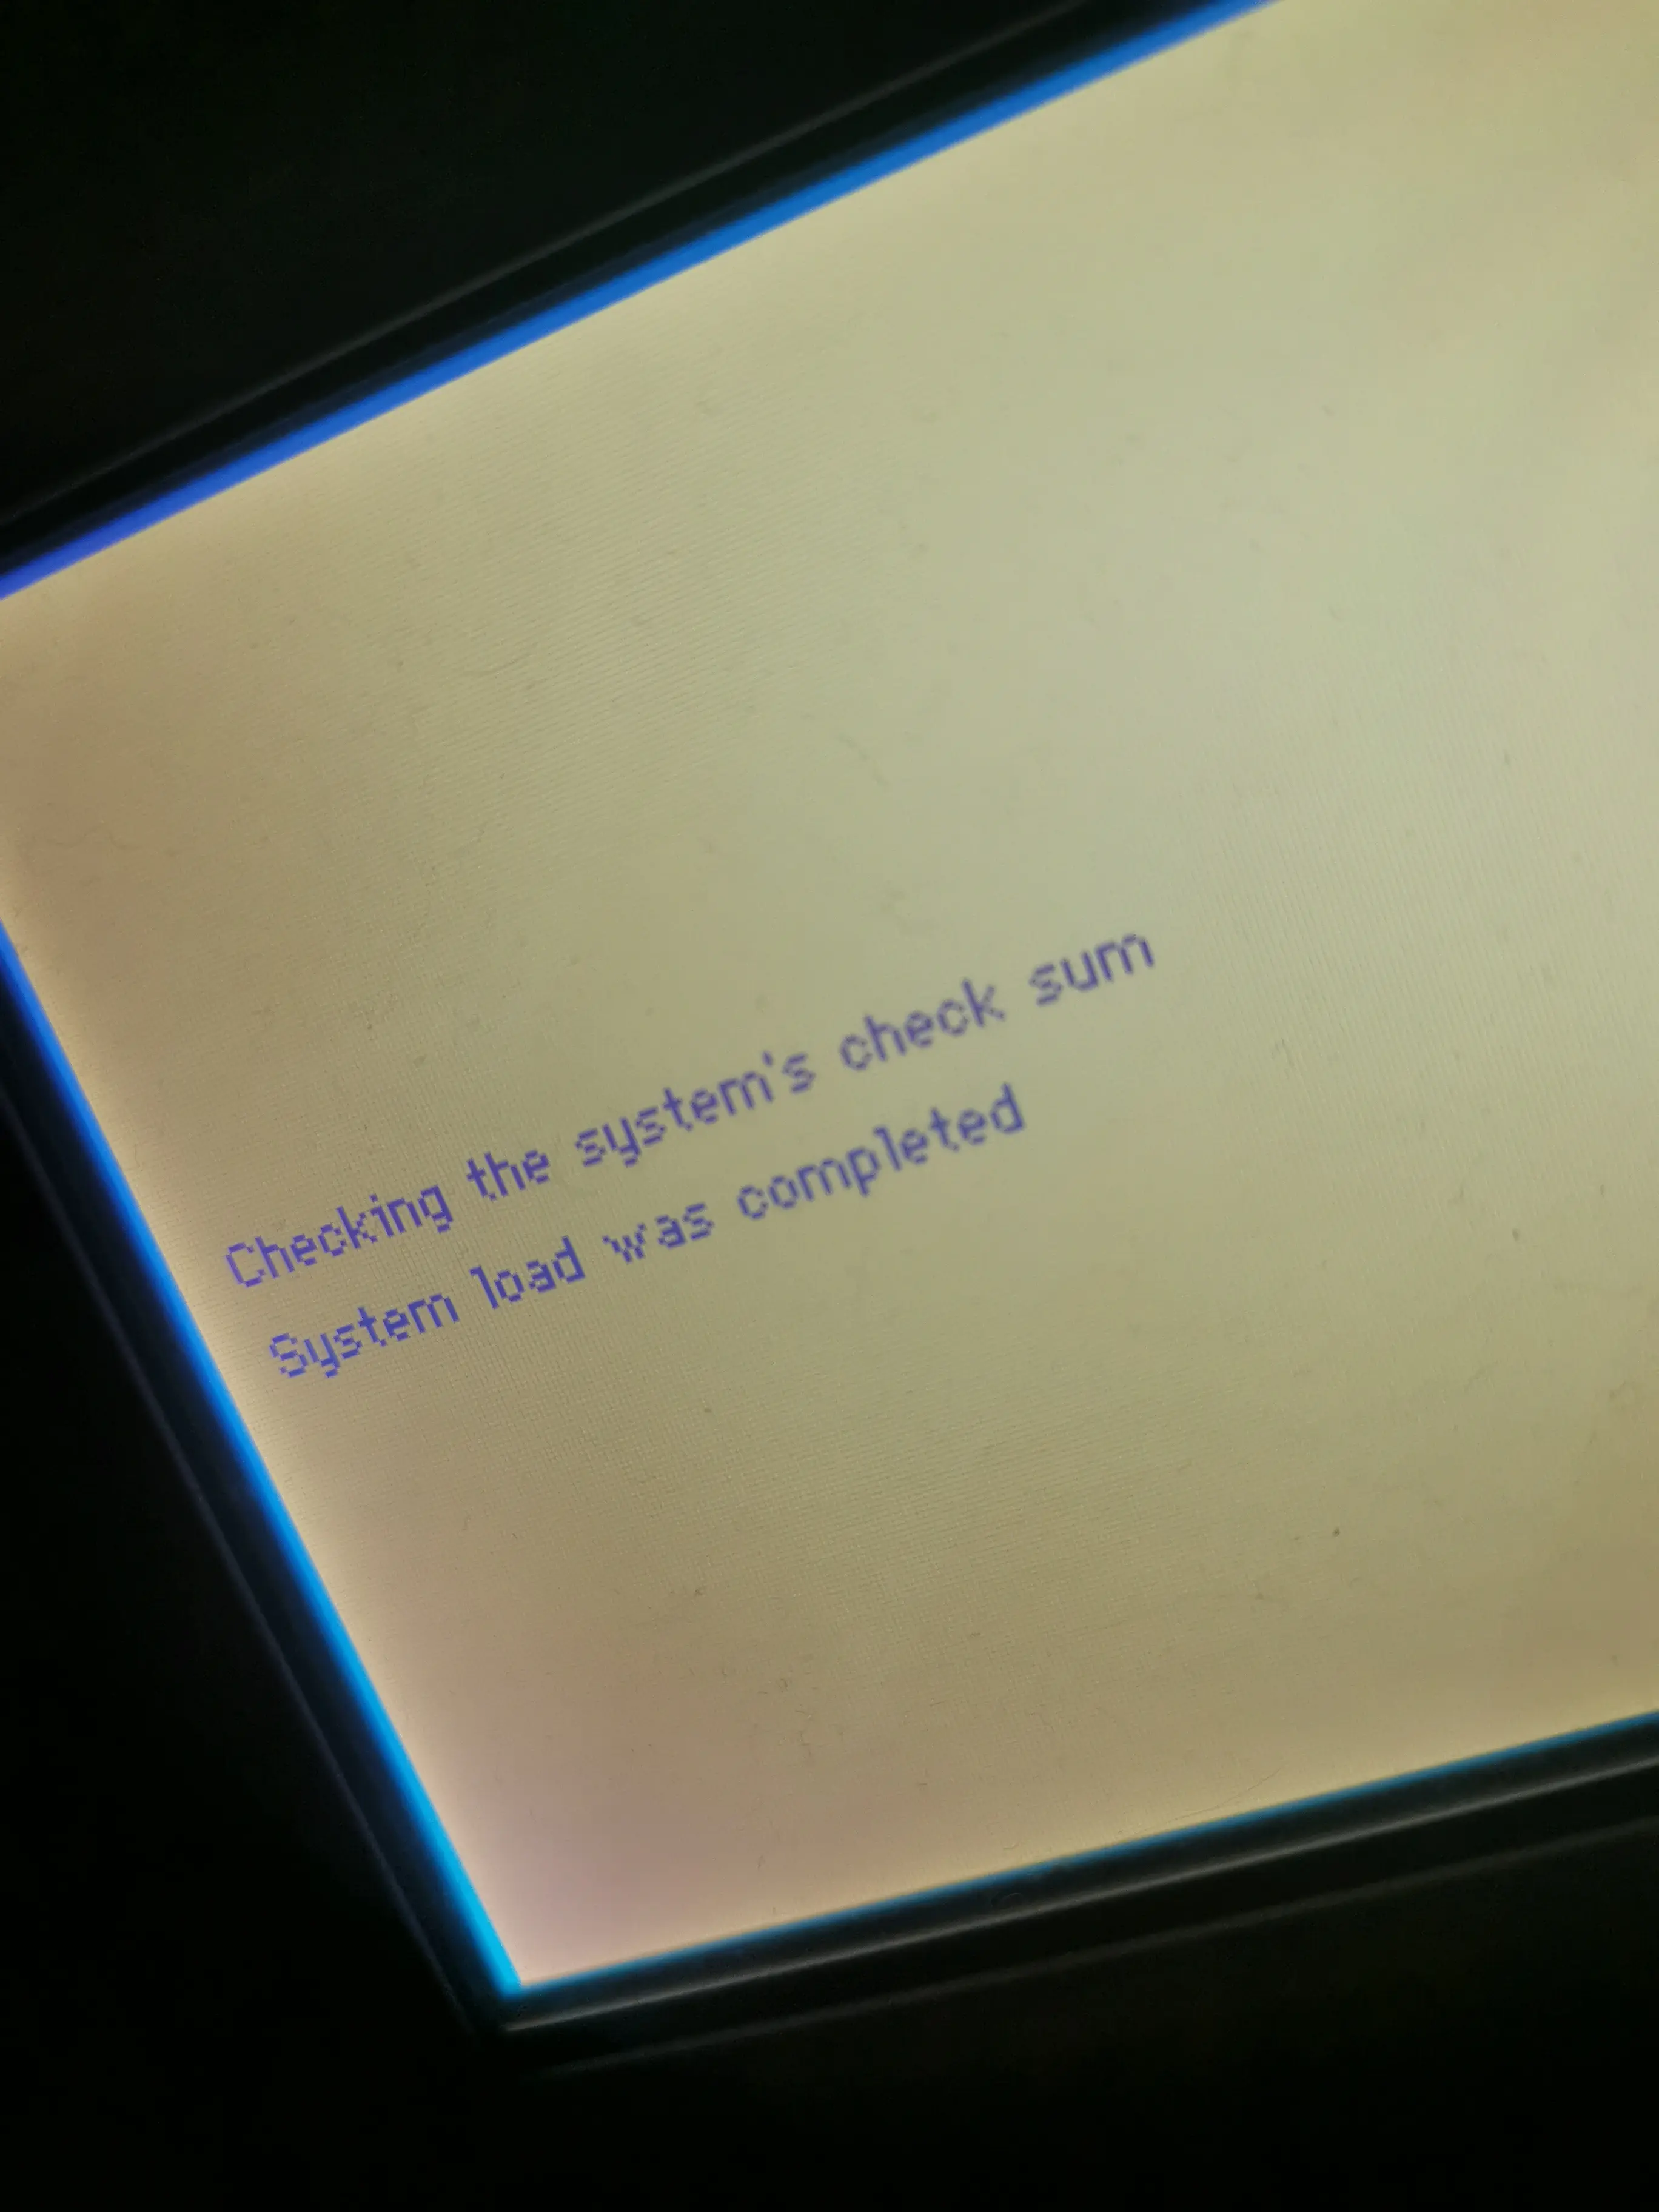
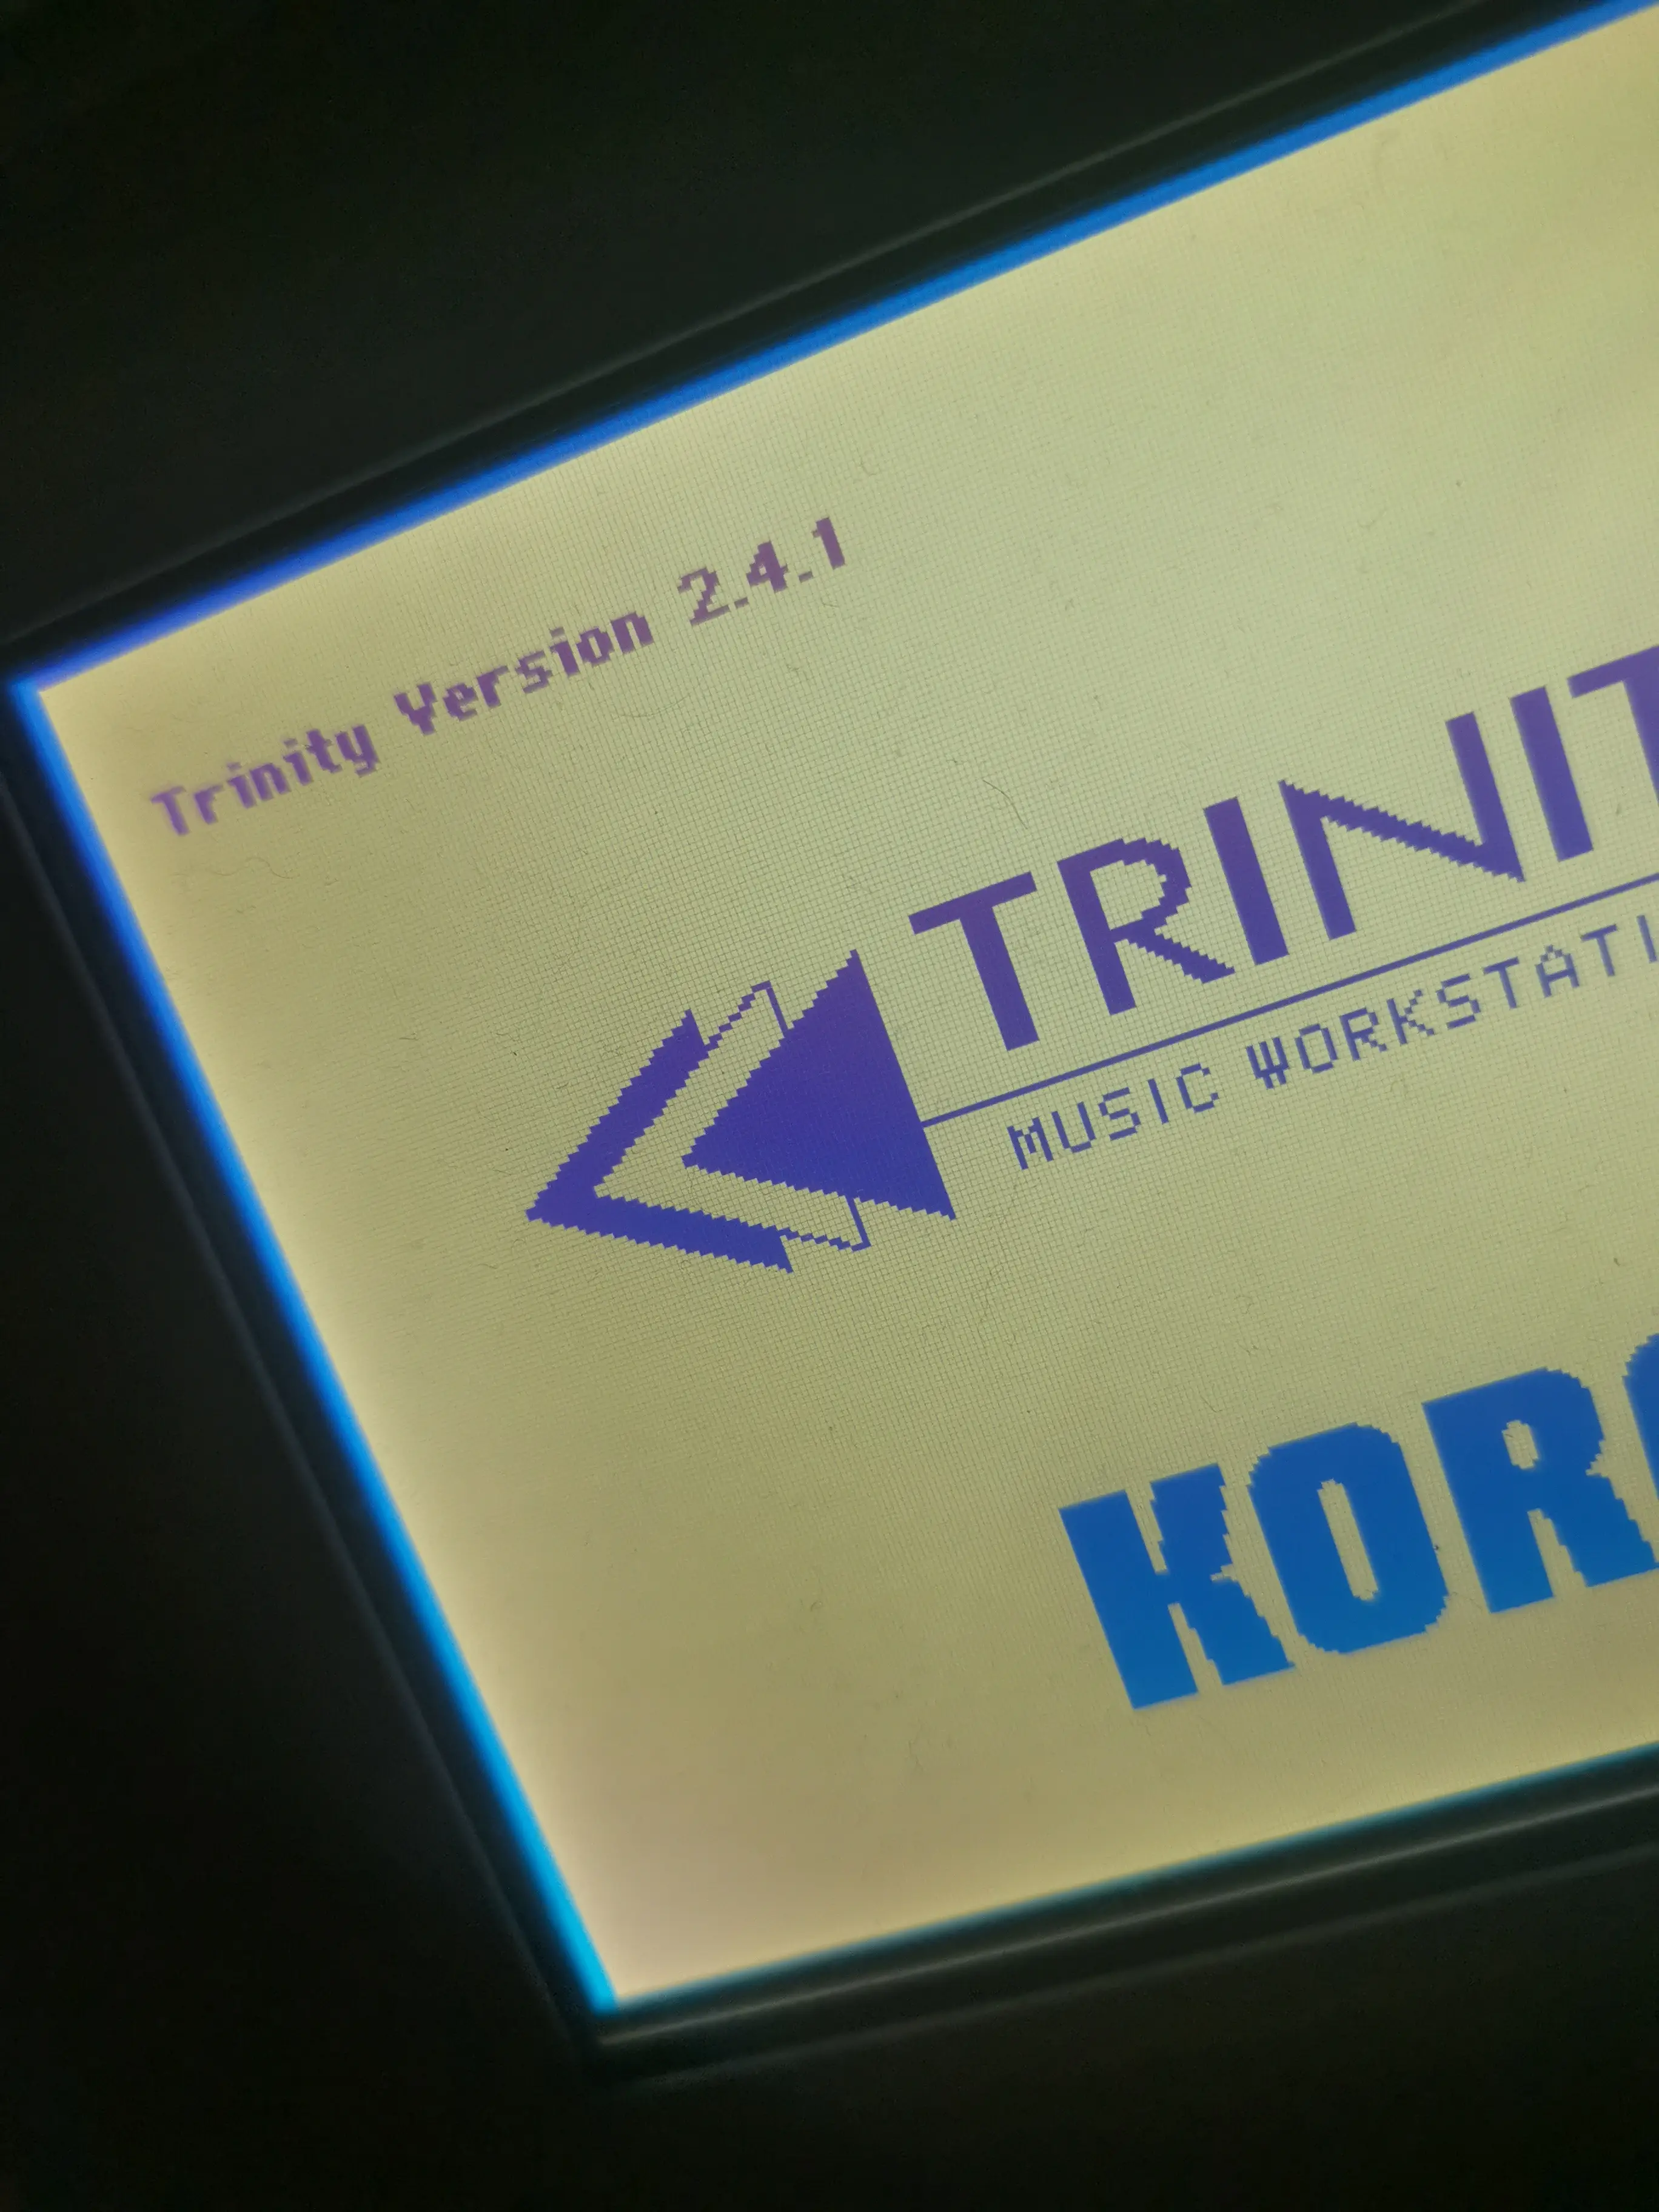
New controller boards, flashing with the ARTERY tool and the Trinity booting with Version 2.4.1.
Firmware update and electronics Firmware update and electronics Firmware update and electronics Firmware update and electronics Firmware update and electronics Firmware update and electronics Firmware update and electronics Firmware update and electronics Firmware update and electronics Firmware update and electronics Firmware update and electronics Firmware update and electronics Firmware update and electronics Firmware update and electronics Firmware update and electronics Firmware update and electronics Firmware update and electronics Firmware update and electronics Firmware update and electronics Firmware update and electronics

See the finished result in the NEW Trinity snapshot. More about what I do with KORG instruments can be found on the Pimp my KORG page.

Gkiokan.NET

Author Gkiokan Sali
Version v9.2.0
Contact info@gkiokan.net

Latest Posts

  • The NEW Trinity – Snapshot
  • The NEW Trinity – White
  • Rebuild Gkiokan.NET from scratch
  • PS4 Pro Cleanup
  • Building the NEW Trinity
  • Building the Arturia mk2 ext Edition

Projects

  • Remote Package Sender v2
  • PS4 Homebrew Store
  • KORG TrinityOS
  • KanaX
  • API Enterprise Router
  • WordPress Enterprise
  • WordPress App Store
  • WordPress Blackmarket PoC
  • YouTube Manager
  • YouTube Thumbnail Catcher
  • QR Code Generator
  • License Manager

Social Media

  • Facebook
  • Instagram
  • TikTok
  • GitHub
  • LinkedIn
  • Pinterest
  • StackOverflow
  • X

Informative

  • Imprint
  • Data Privacy
  • Contact
© Gkiokan.NET 2006 - 2026 | Handcrafted with my Fingers | All rights reserved.