Hi folks,
today, I am going to show you the making of the Arturia mk2 Edition with the handcrafted extended case, the Casio CZ-101 Pitch Bend Wheel and also the KORG Kronos Ribbon, all working together in the Arturia.
In this Project, I am involved in both Software and Hardware Development. The tasks are quite straightforward. We have two Sensors to read from, analyze the data and push the calculated pitch value to the Arturia through MIDI commands. Additionally we need a couple of interpolation and filter functions for the Kronos Ribbon because we have a non-linear Ribbon Sensor, so this was a bit tricky but in the end I got it working smoothly.
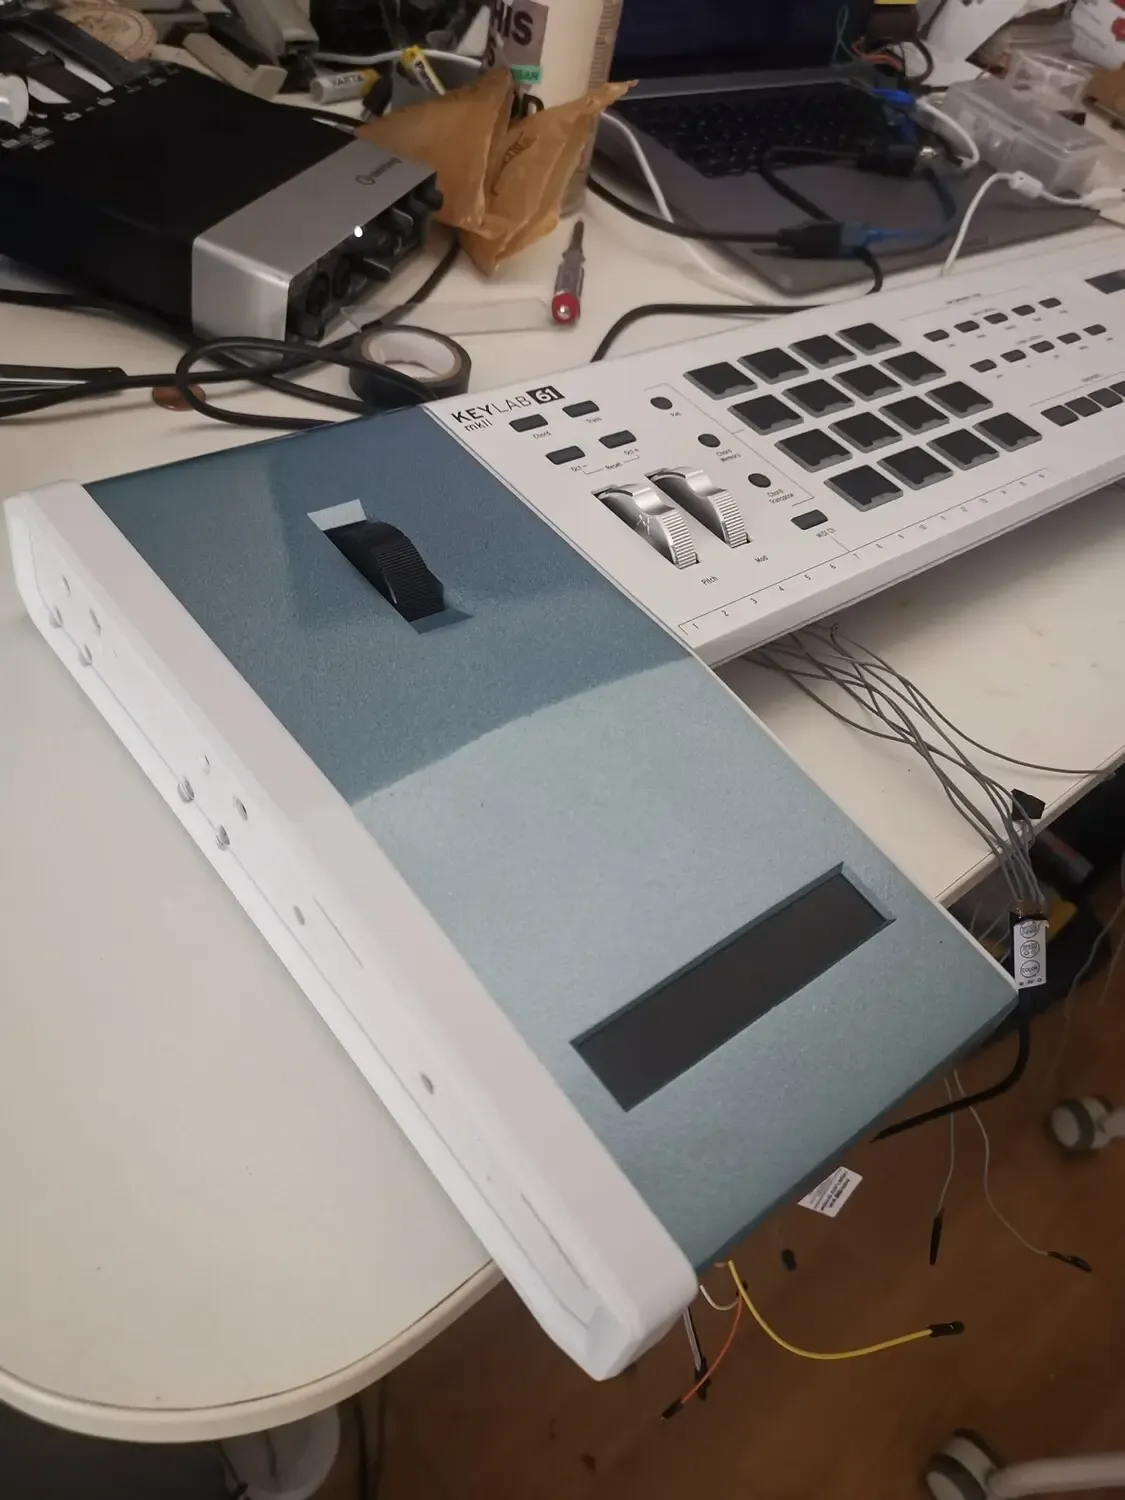
First of all let’s show you the final Product.
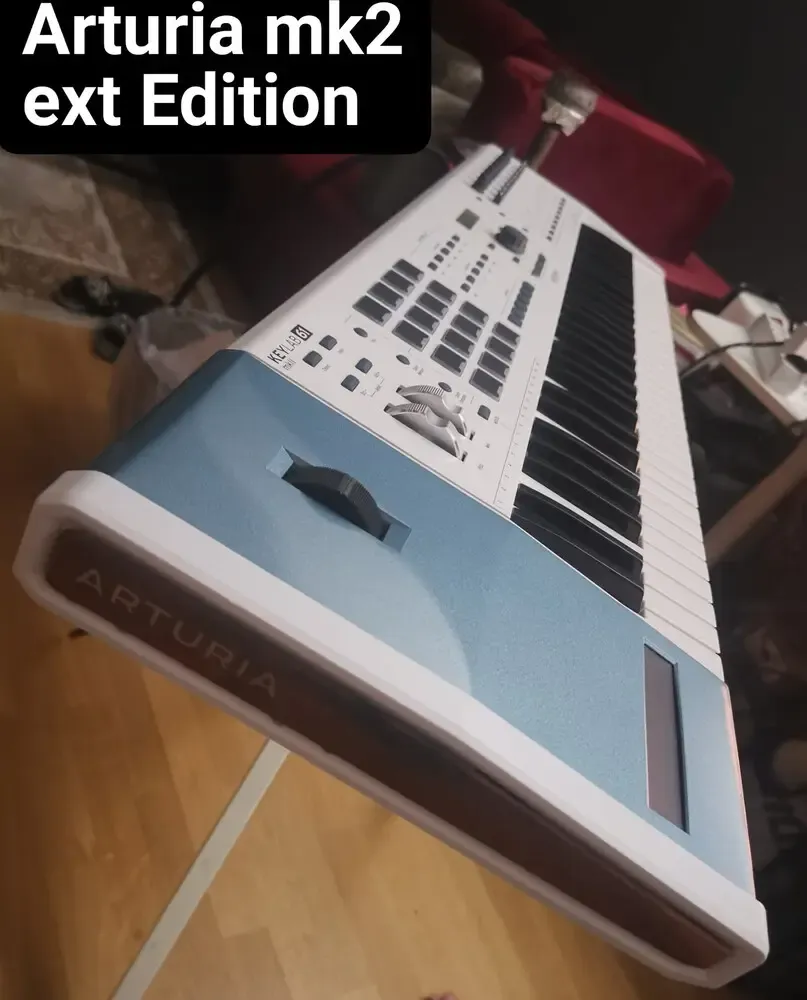
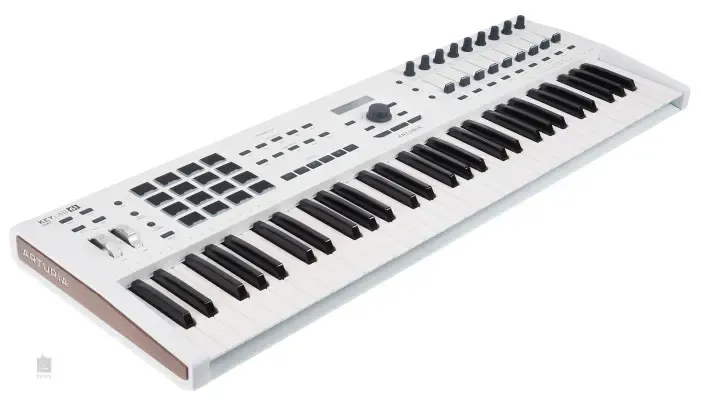
Just for comparison, this is the Original mk2 version below.
The extension case
As you can guess there are quite a lot things going on under the hood, so let’s get started from the beginning. First of all I had to think about how all the Sensors gonna fit into the case. As this wasn’t really possible due the length of the Ribbon Sensor the only way was to think about an extension case.
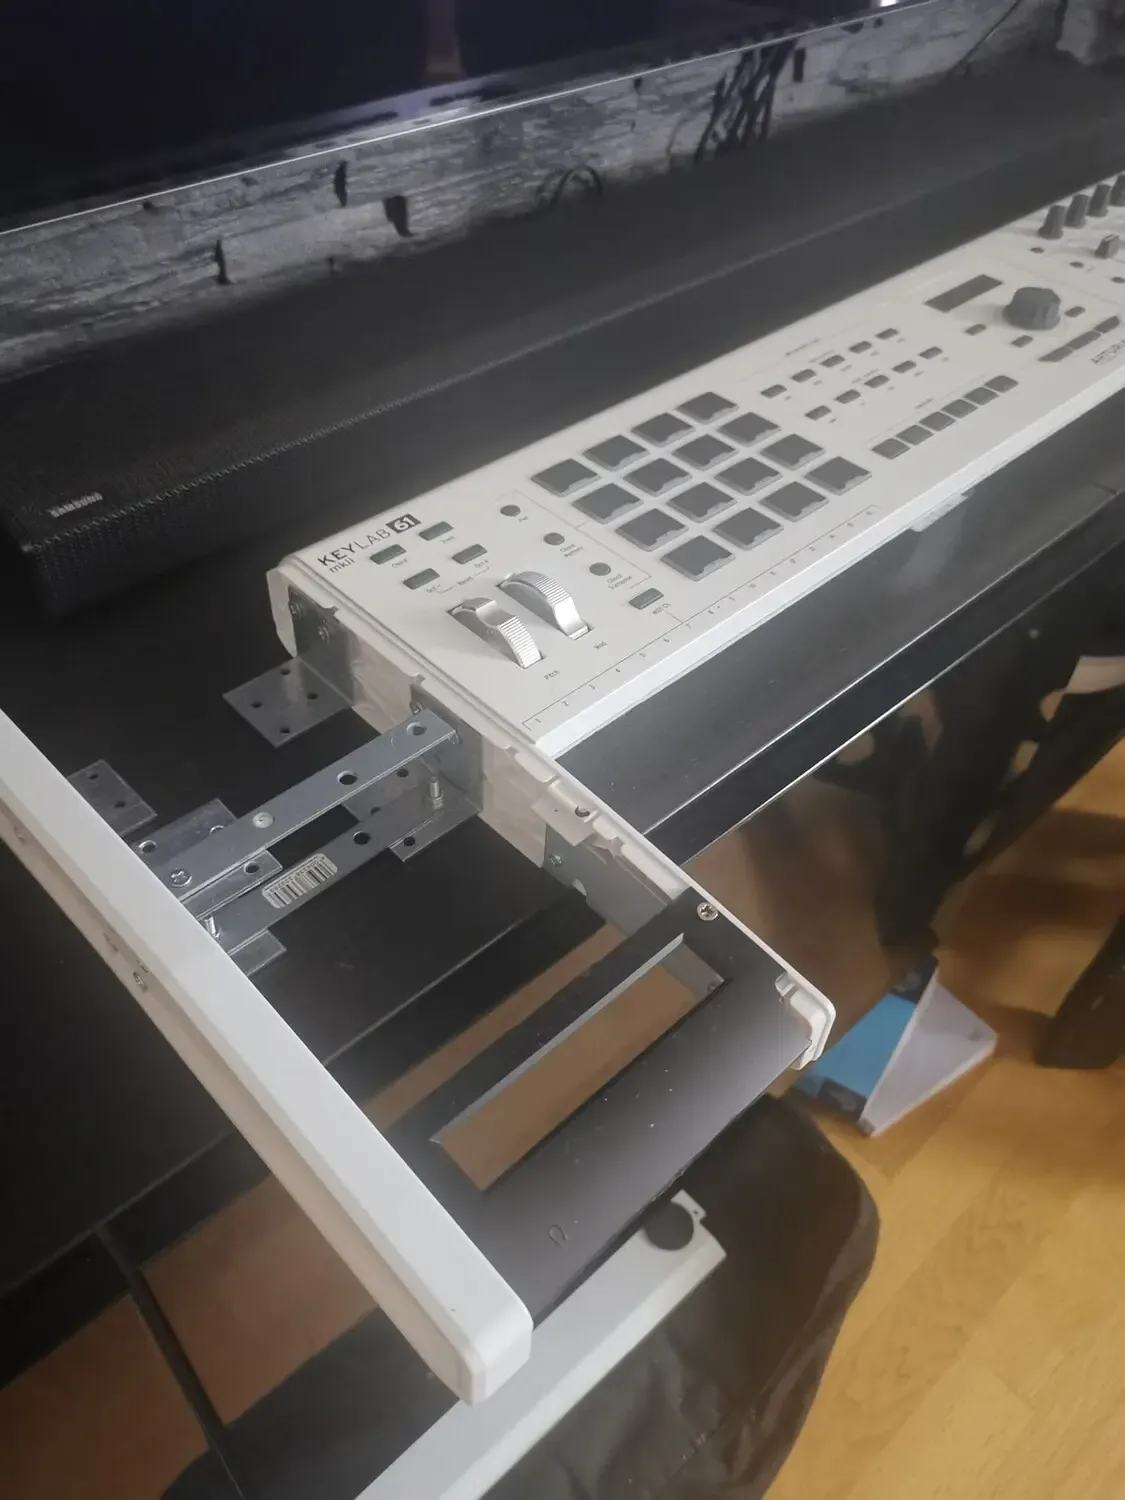
My first approach was to extend the side case with Metal L form pieces and have a closed U shape that could also hold the force from the top. For the measurement I have used the Kronos Pitch Case which was the required minimum length caused by the Ribbon.
3D printed inner build
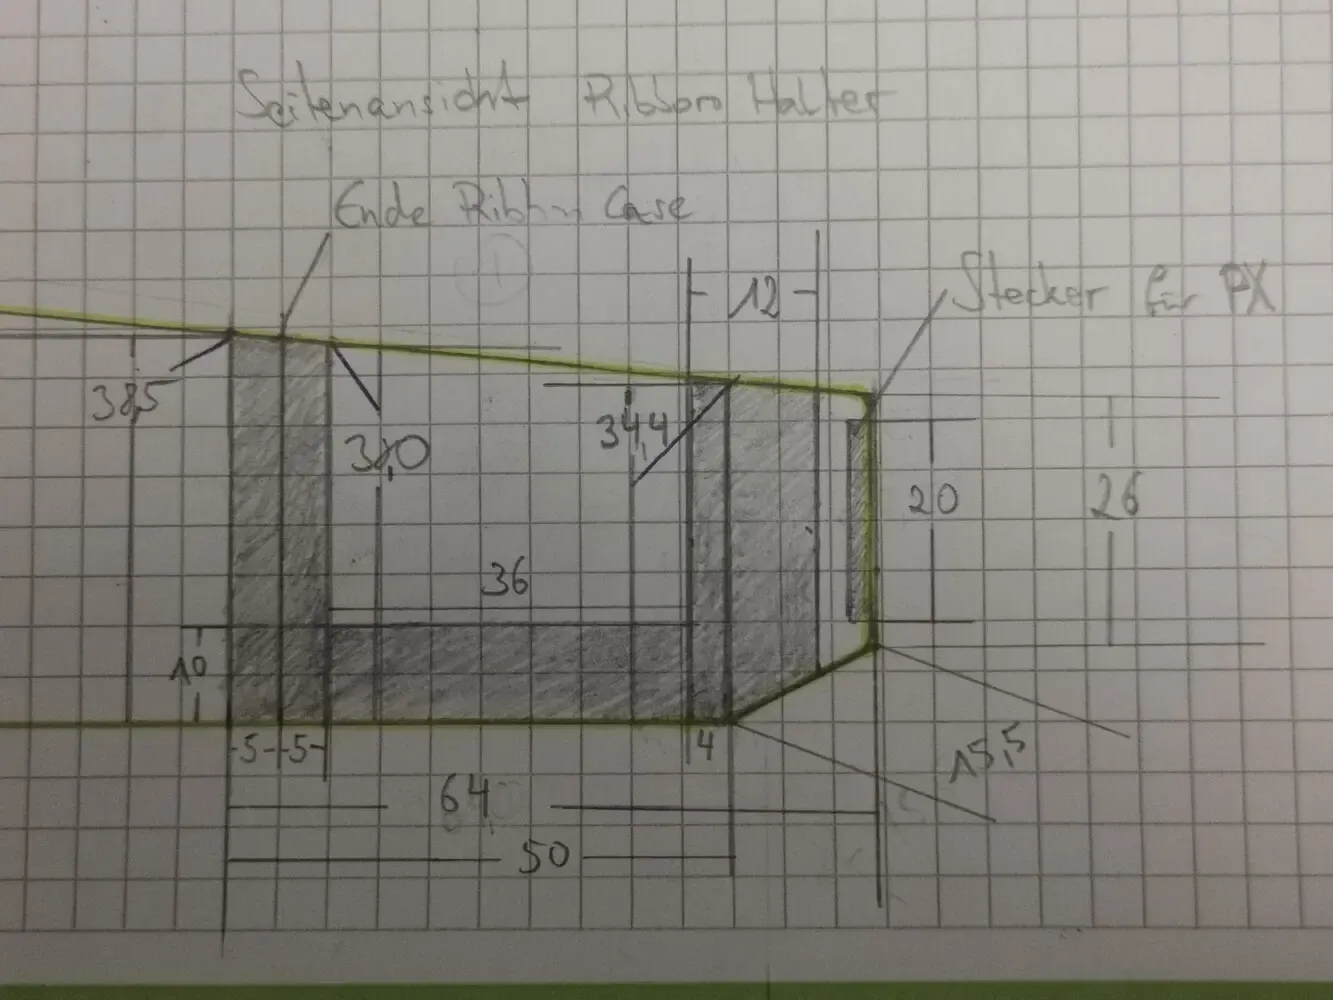
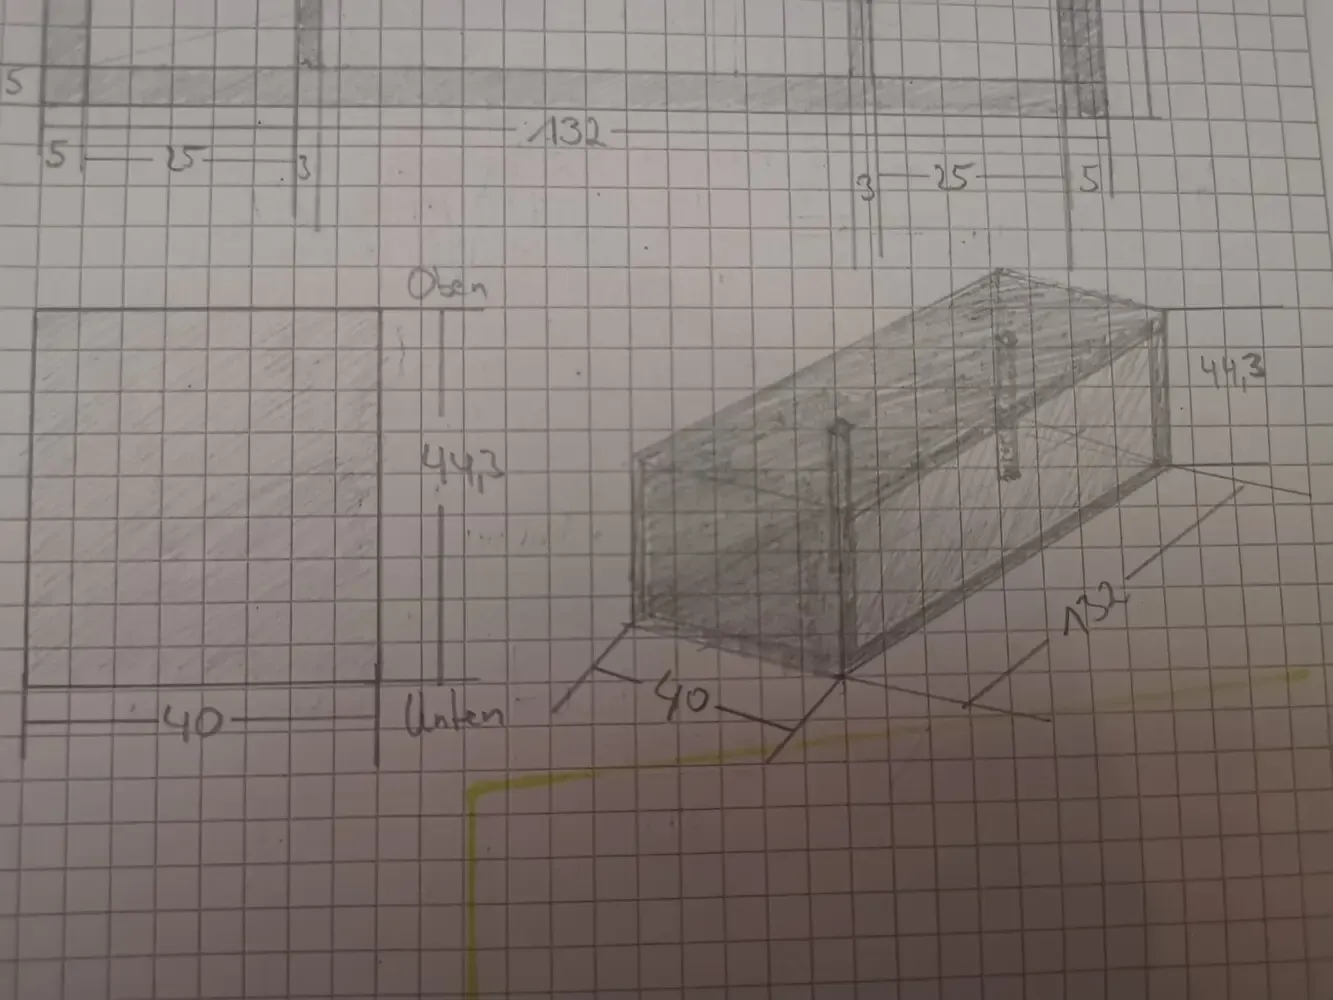
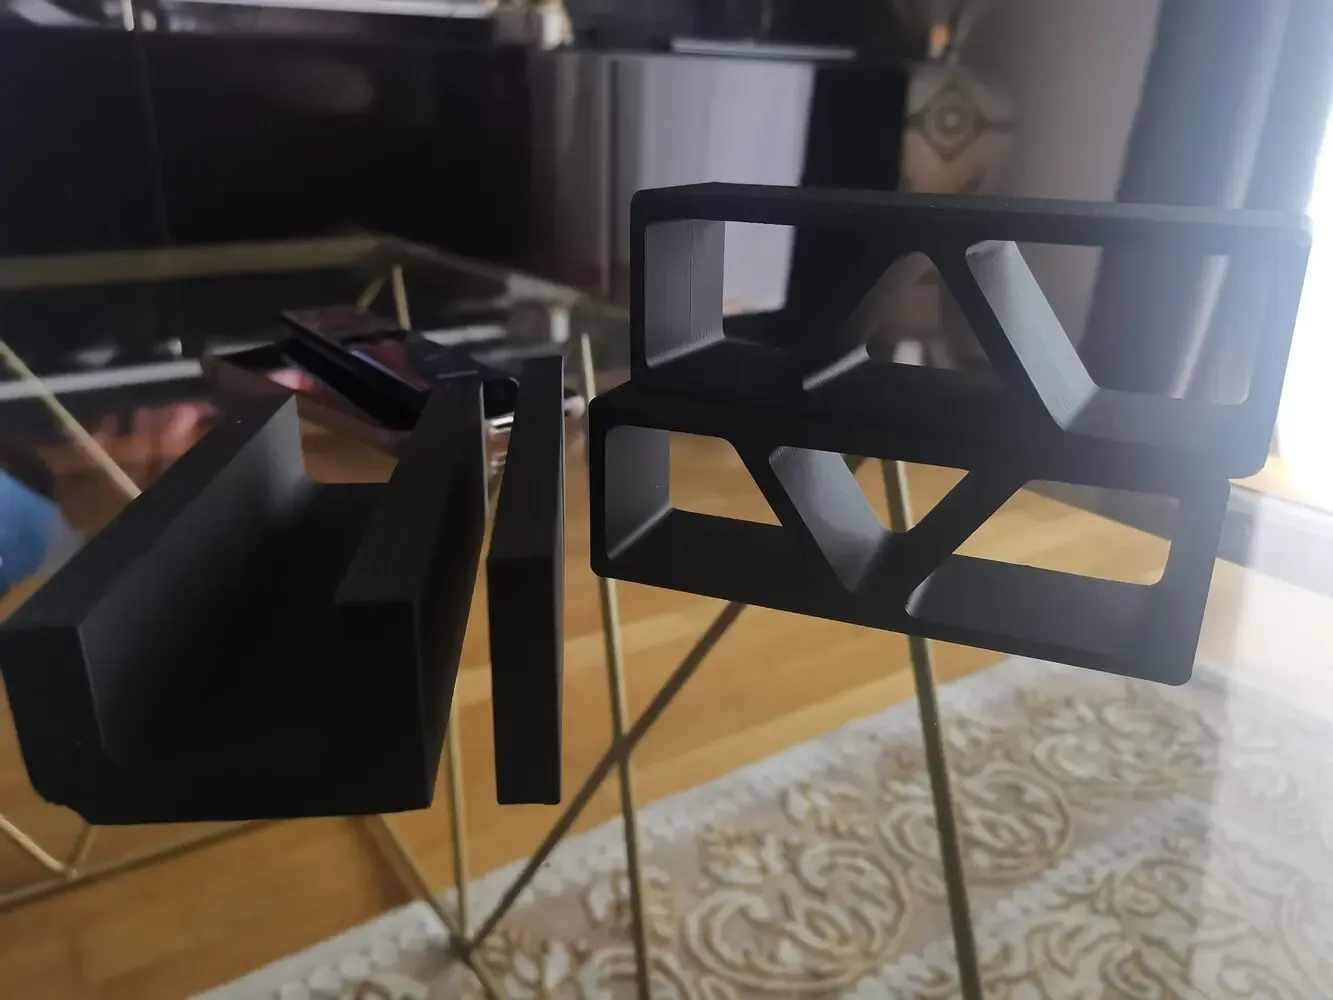
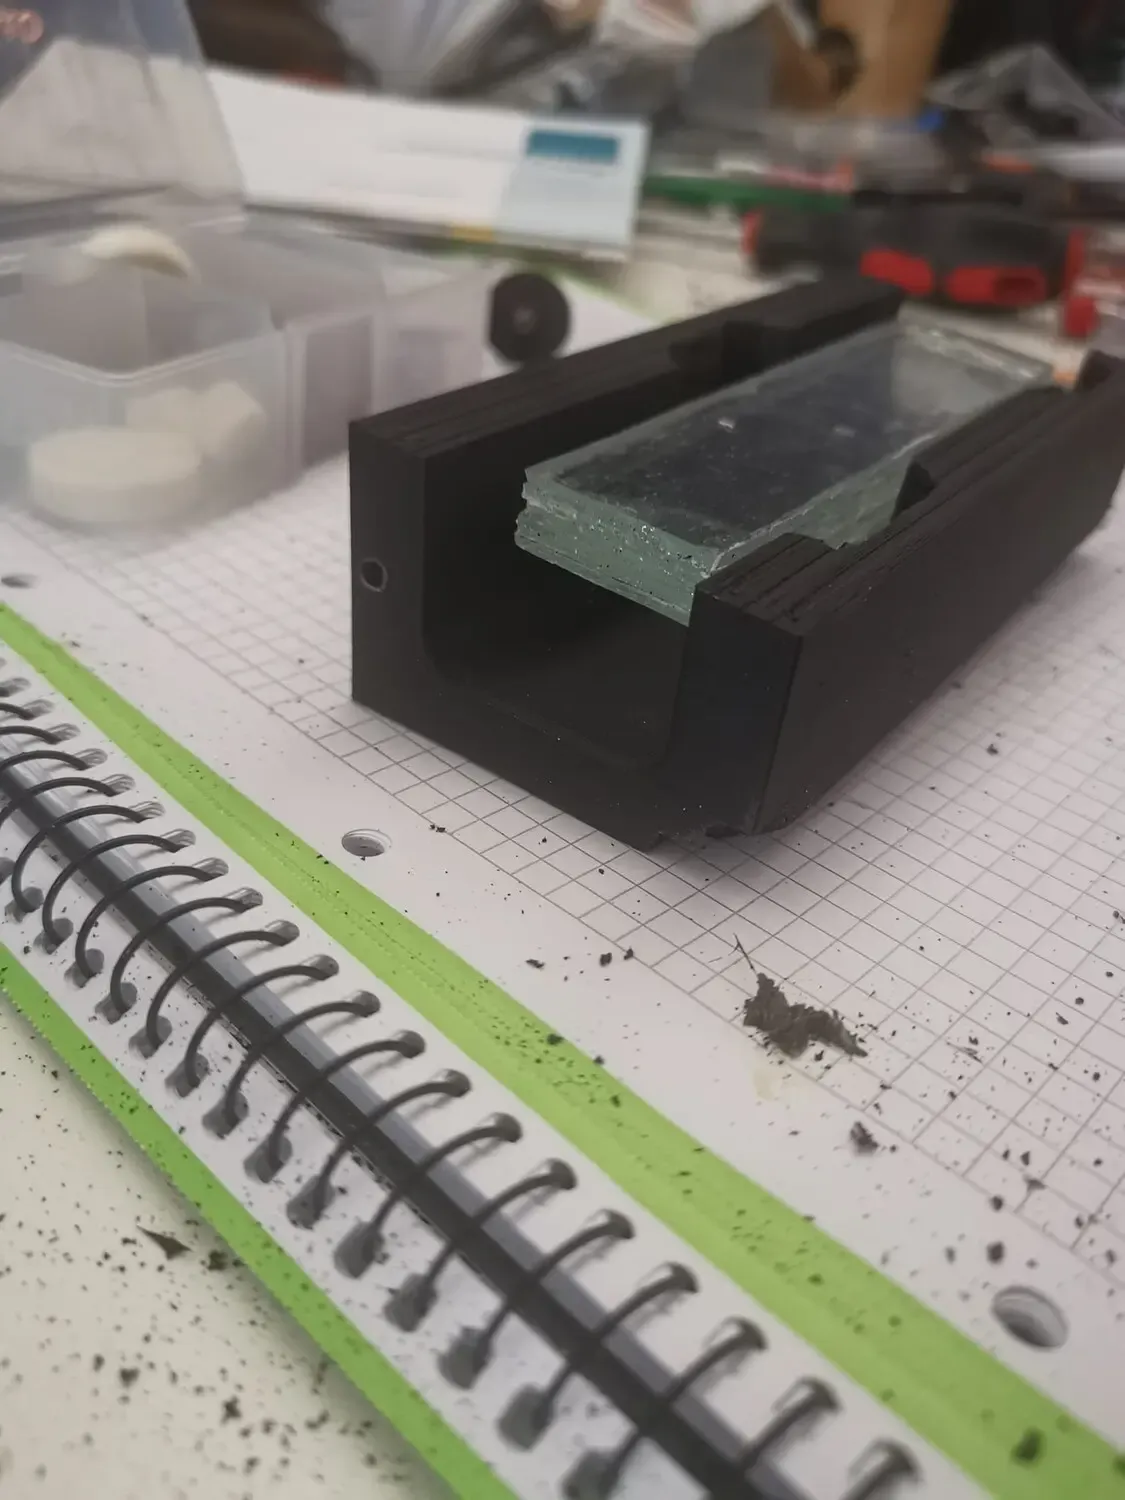
After the very first prototype seemed to be okay and working, I decided to create a more reliable inner build with 3D printing. So, I started by sketching everything on paper and then printed the parts in ABS Carbon mixture.
Plexiglas cover & plastic soldering
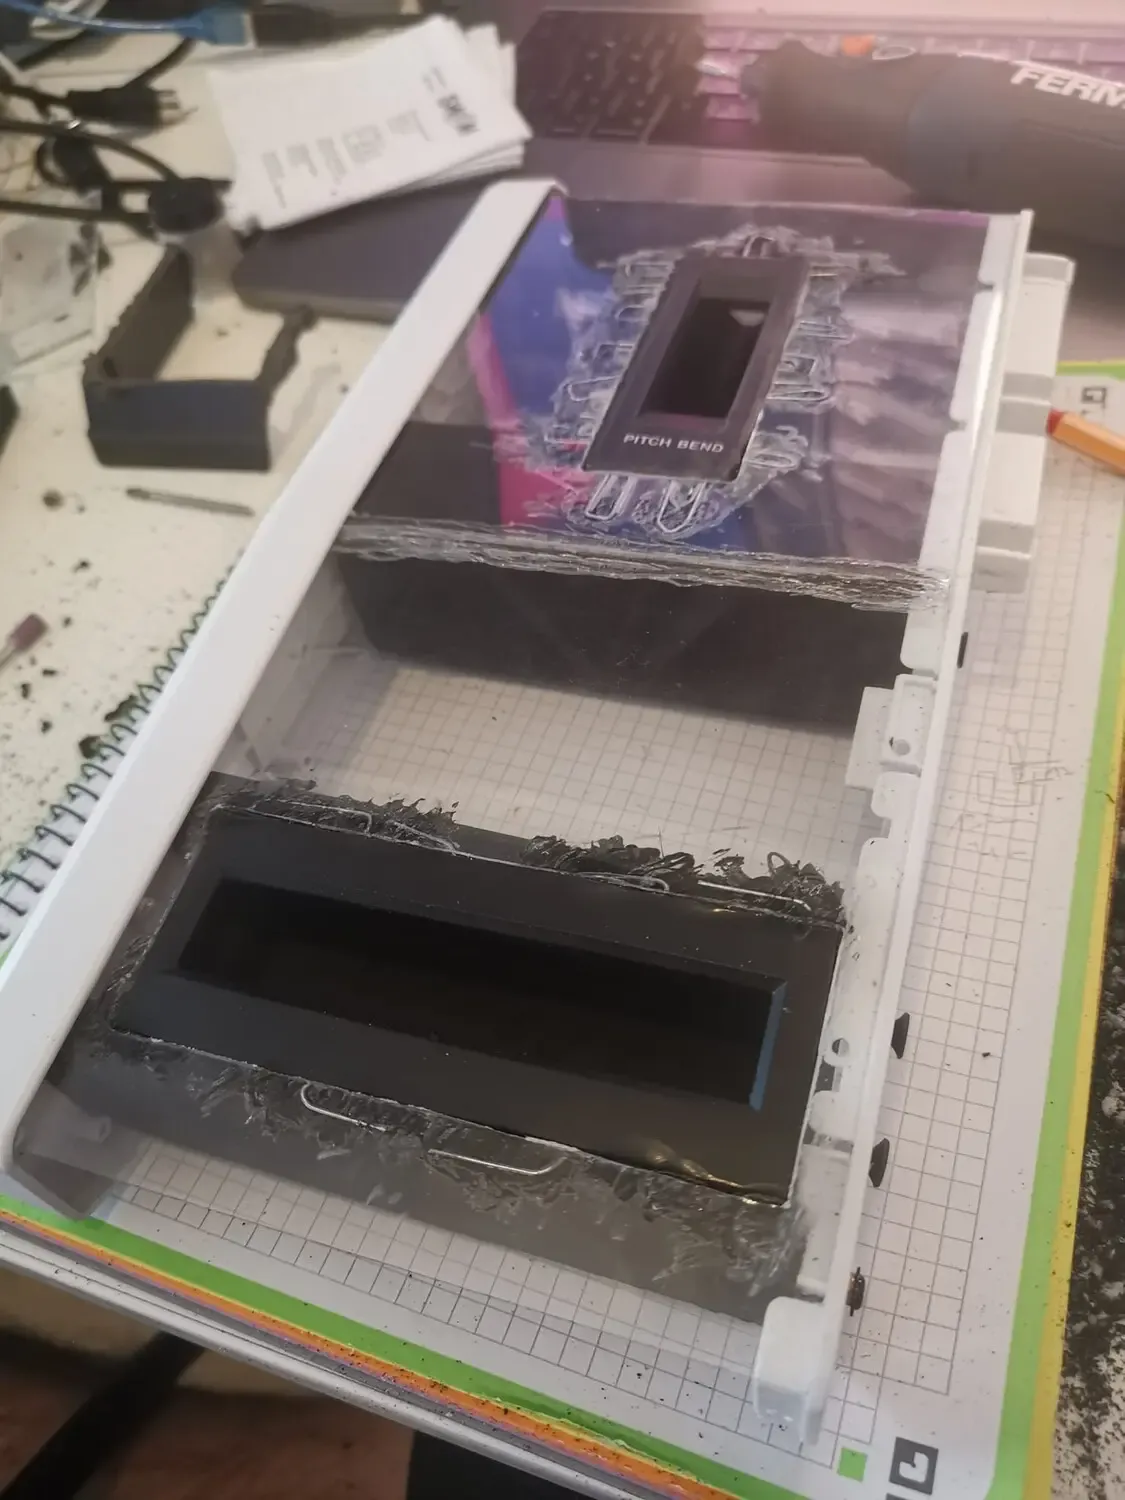
Parts printed, it’s time to test the positioning and layout of the cut offs. After everything seemed to be quite well aligned, I started to build a Plexiglas cover and adjust the slight bending at the right position. I made some parallel calculations for the top cut for the Casio Pitch Bend and started the plastic soldering.
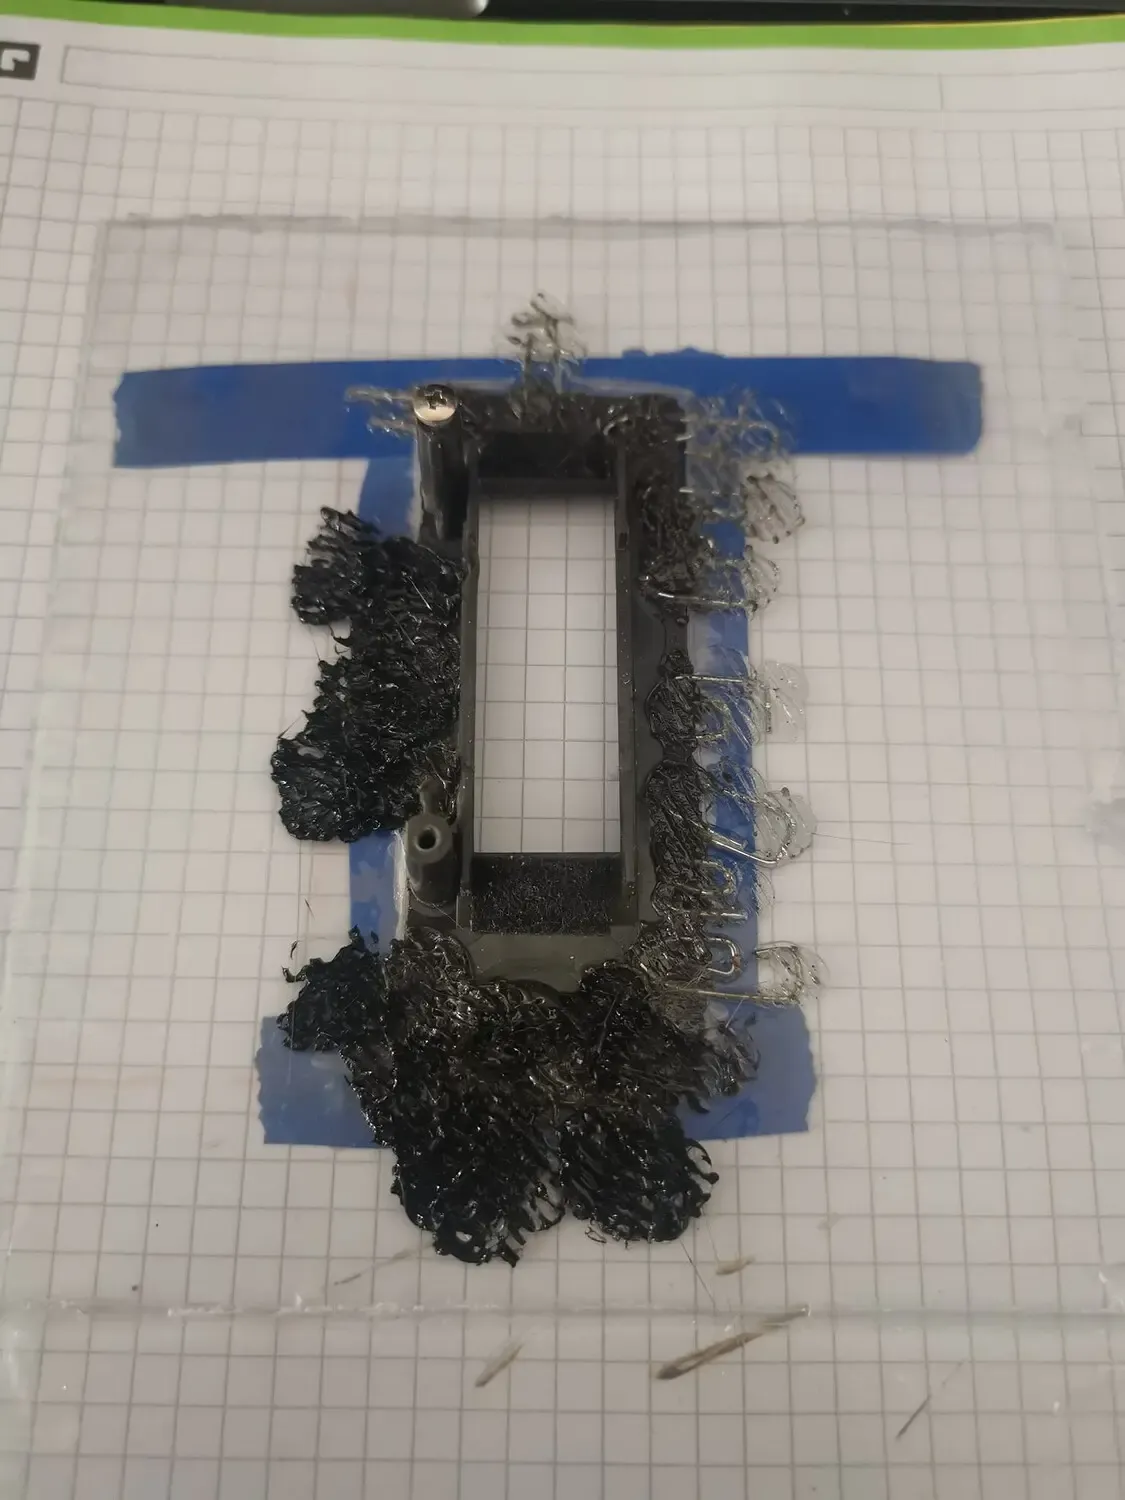
For plastic soldering, it’s essential not only to mix the plastic but also to reinforce its interior with some kind of metal. In my case, I used paper clips in various shapes. If you’re wondering whether this is strong enough, yes, it is. This technique is typically employed to repair damaged plastic parts, especially car bumpers, before applying polyester and sanding for the final restoration.
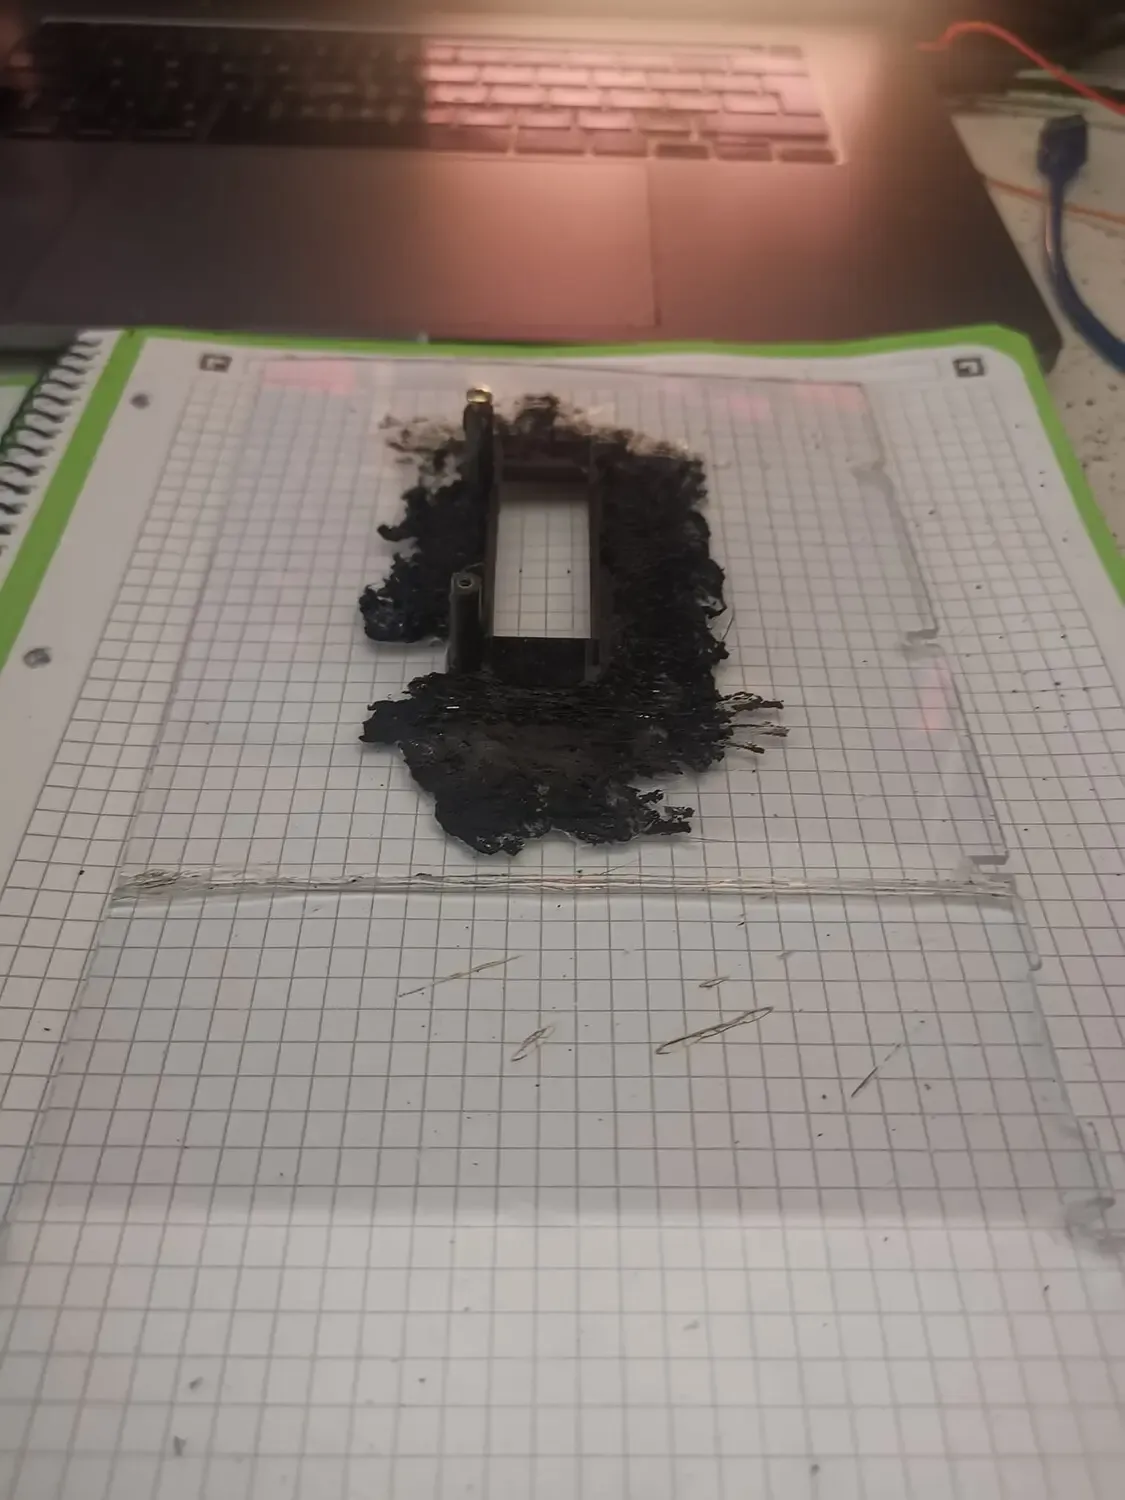
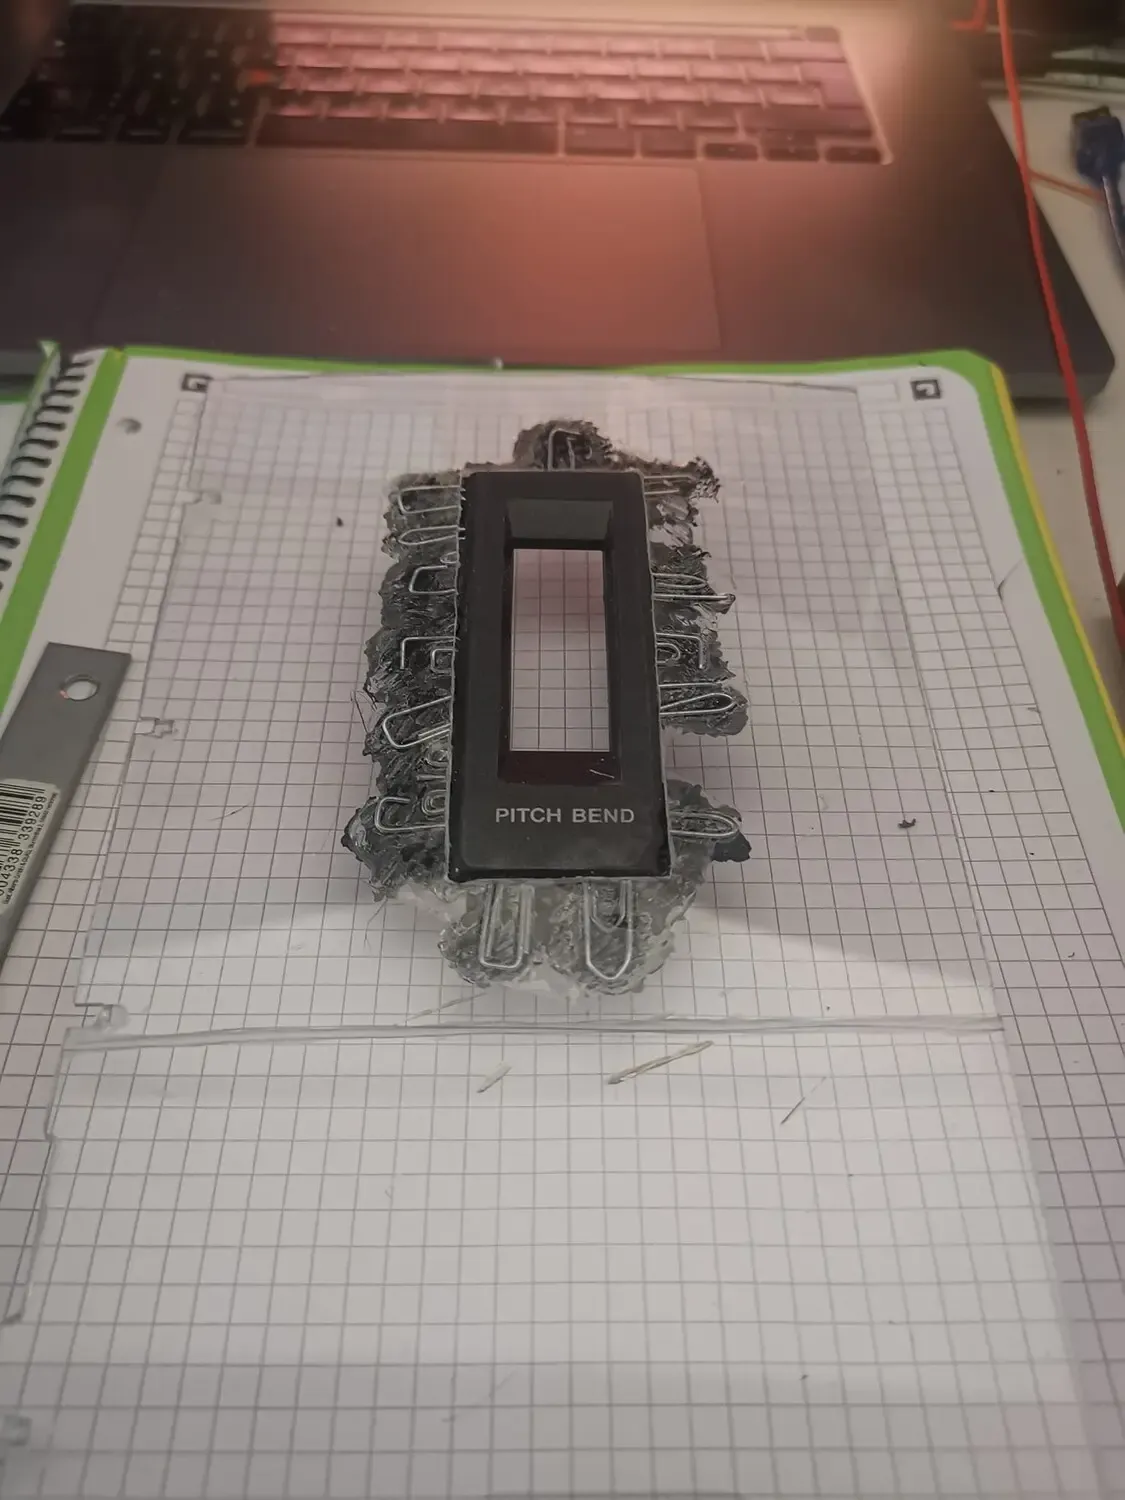
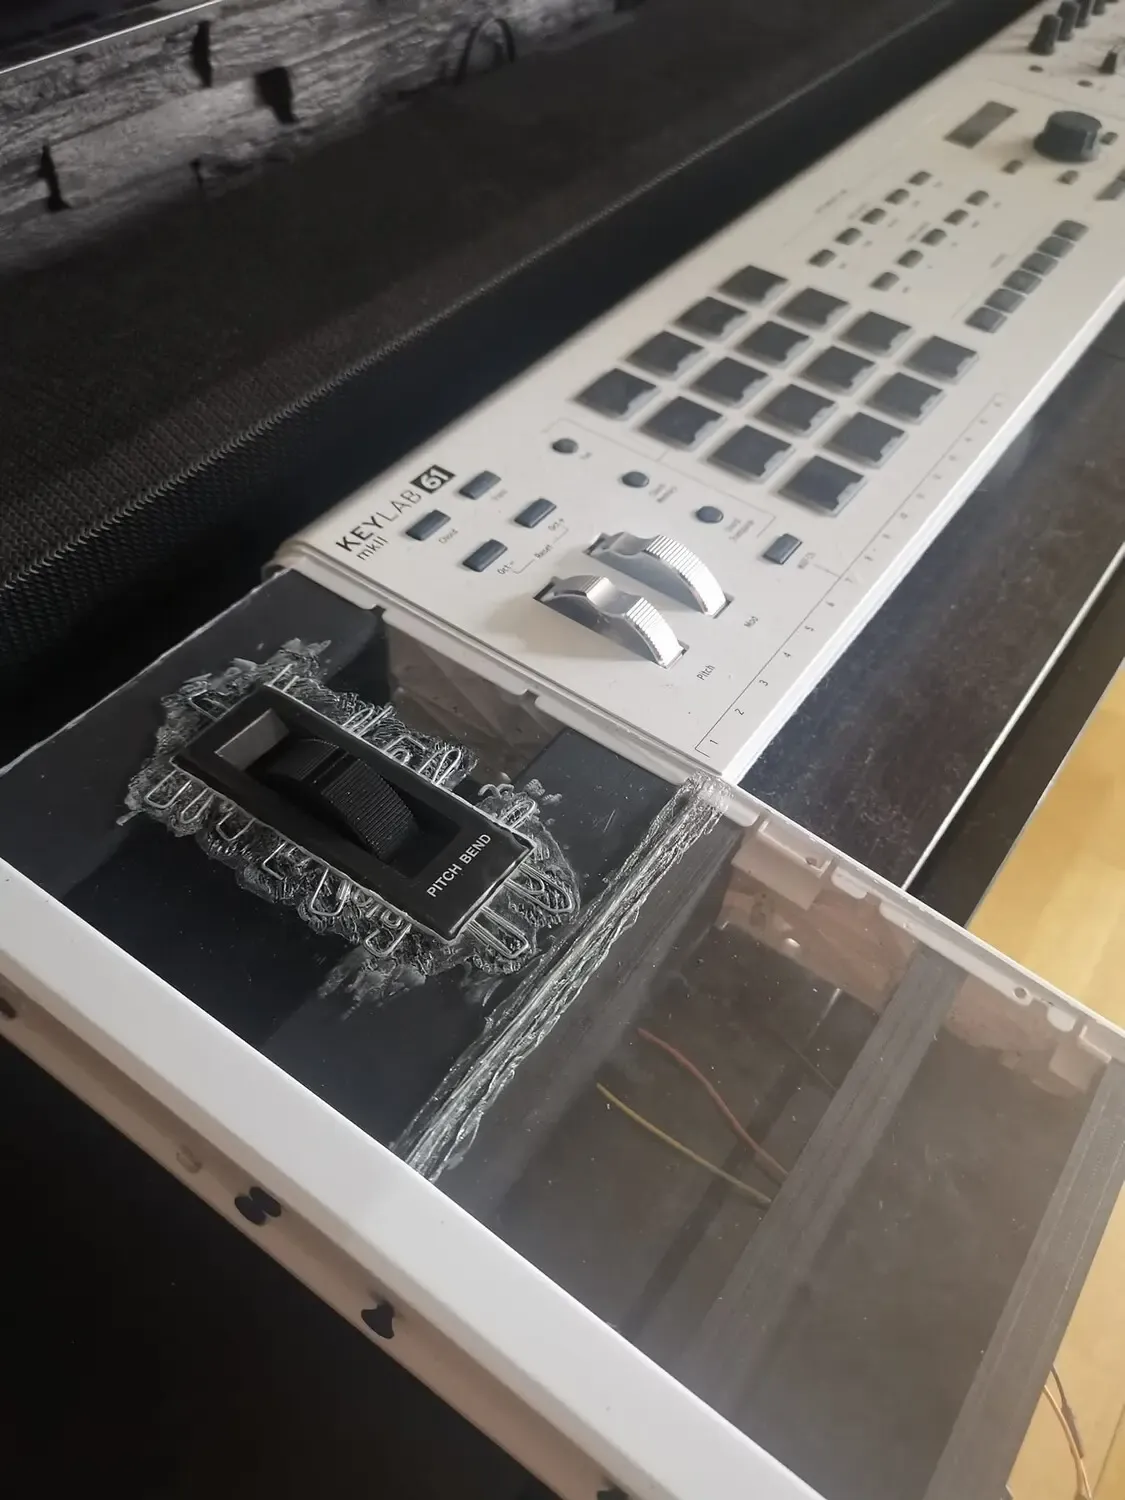
Ribbon cut off
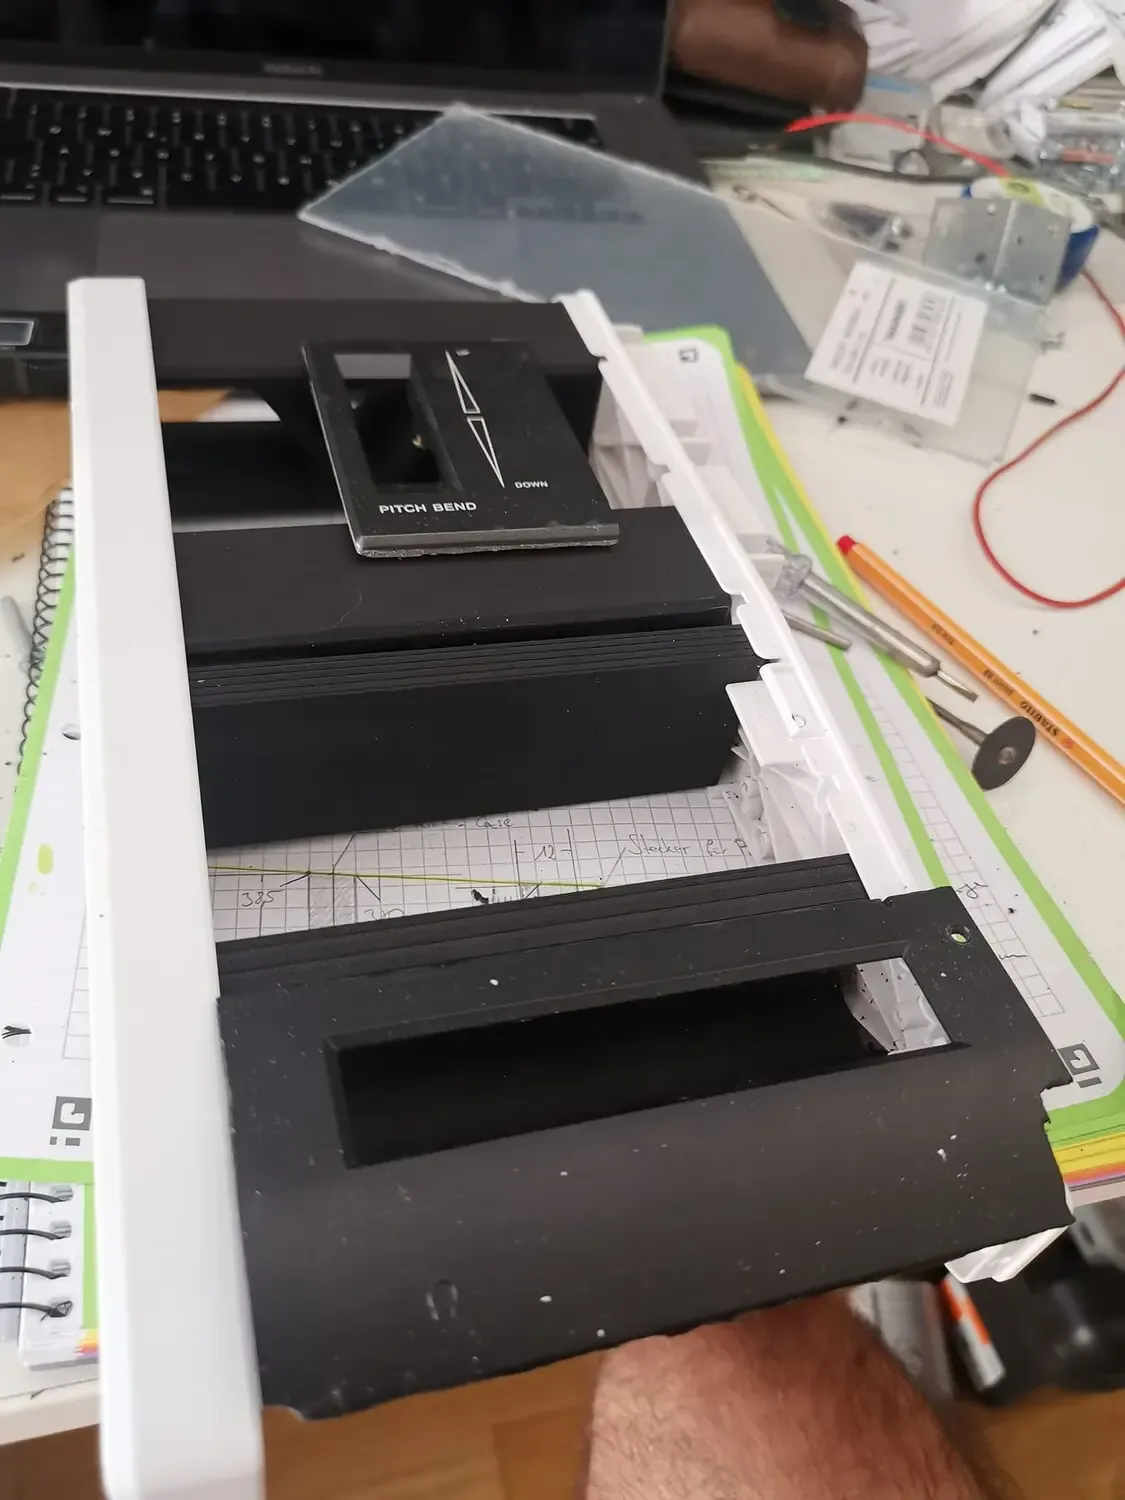
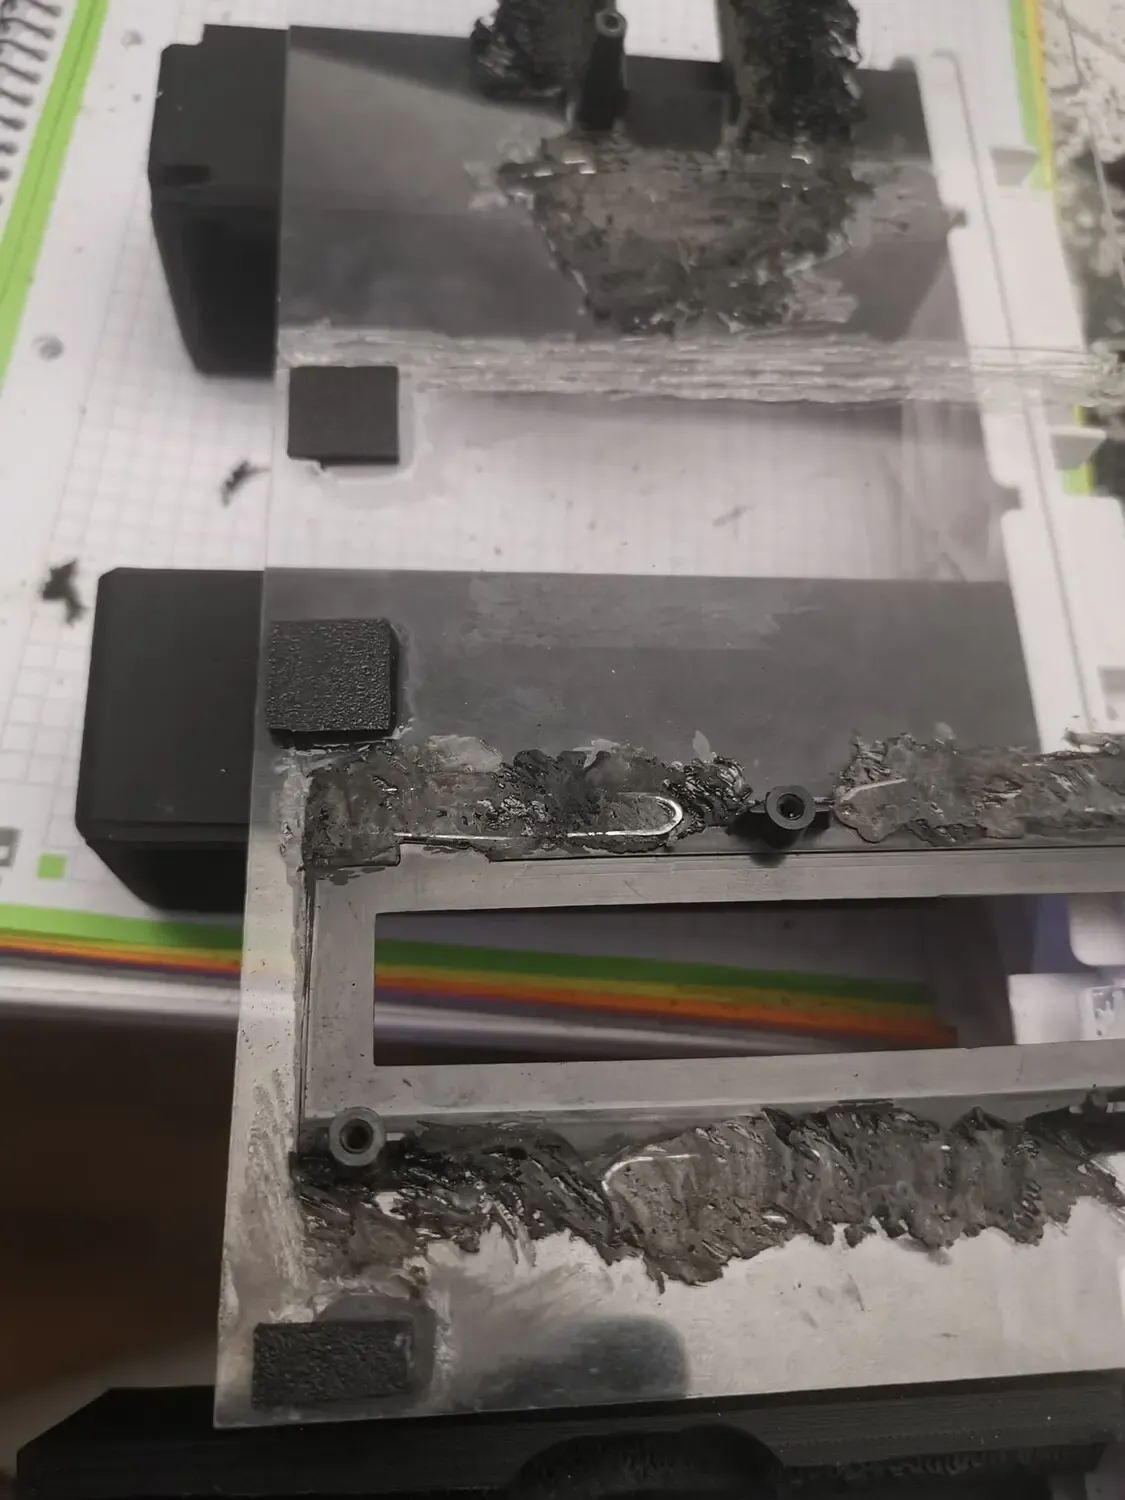
At this stage everything worked out as I have planned it. The cut off is exactly parallel to the edges, the inner Pitch Bend Wheel matches perfectly into the calculated area between the inner 3D printed parts. The soldering is quite strong and almost straight enough, so I just need to fill the gaps with polyester and sand it straight. But before I do that, I need to make the cut off for the Ribbon Sensor first. Let’s go quickly on that.
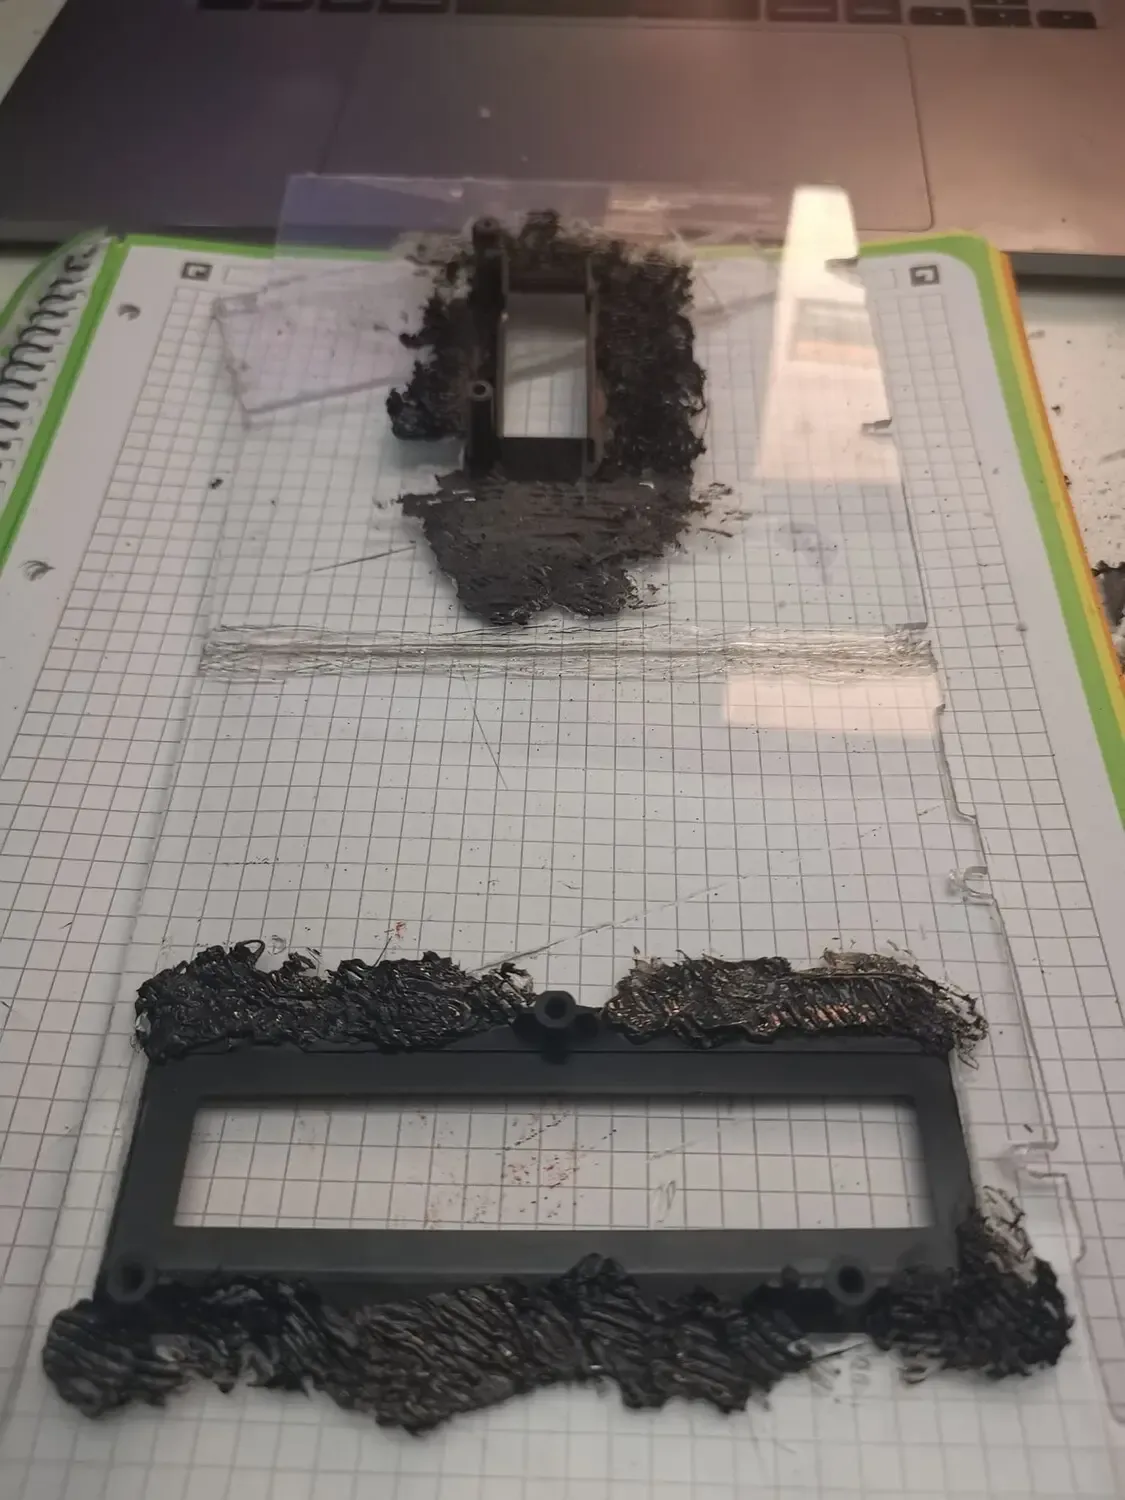
This is fine enough as long the distance to the sides are parallel. One thing is left before I can start with the polyester. See the right side of the Case that has a couple click in areas? I wanted to use them, too. So I’ve created kinda my own click system to hold the top cover tight.
Polyester & filler
Once all welding and soldering stuff is done I can start applying the first layer of polyester. Note: There is no way you can get a perfect surface with the first layer of polyester. To be precise I used a fine spatula here but the progress will be the same. In total there are at least 3 layers before the final layer was applied.
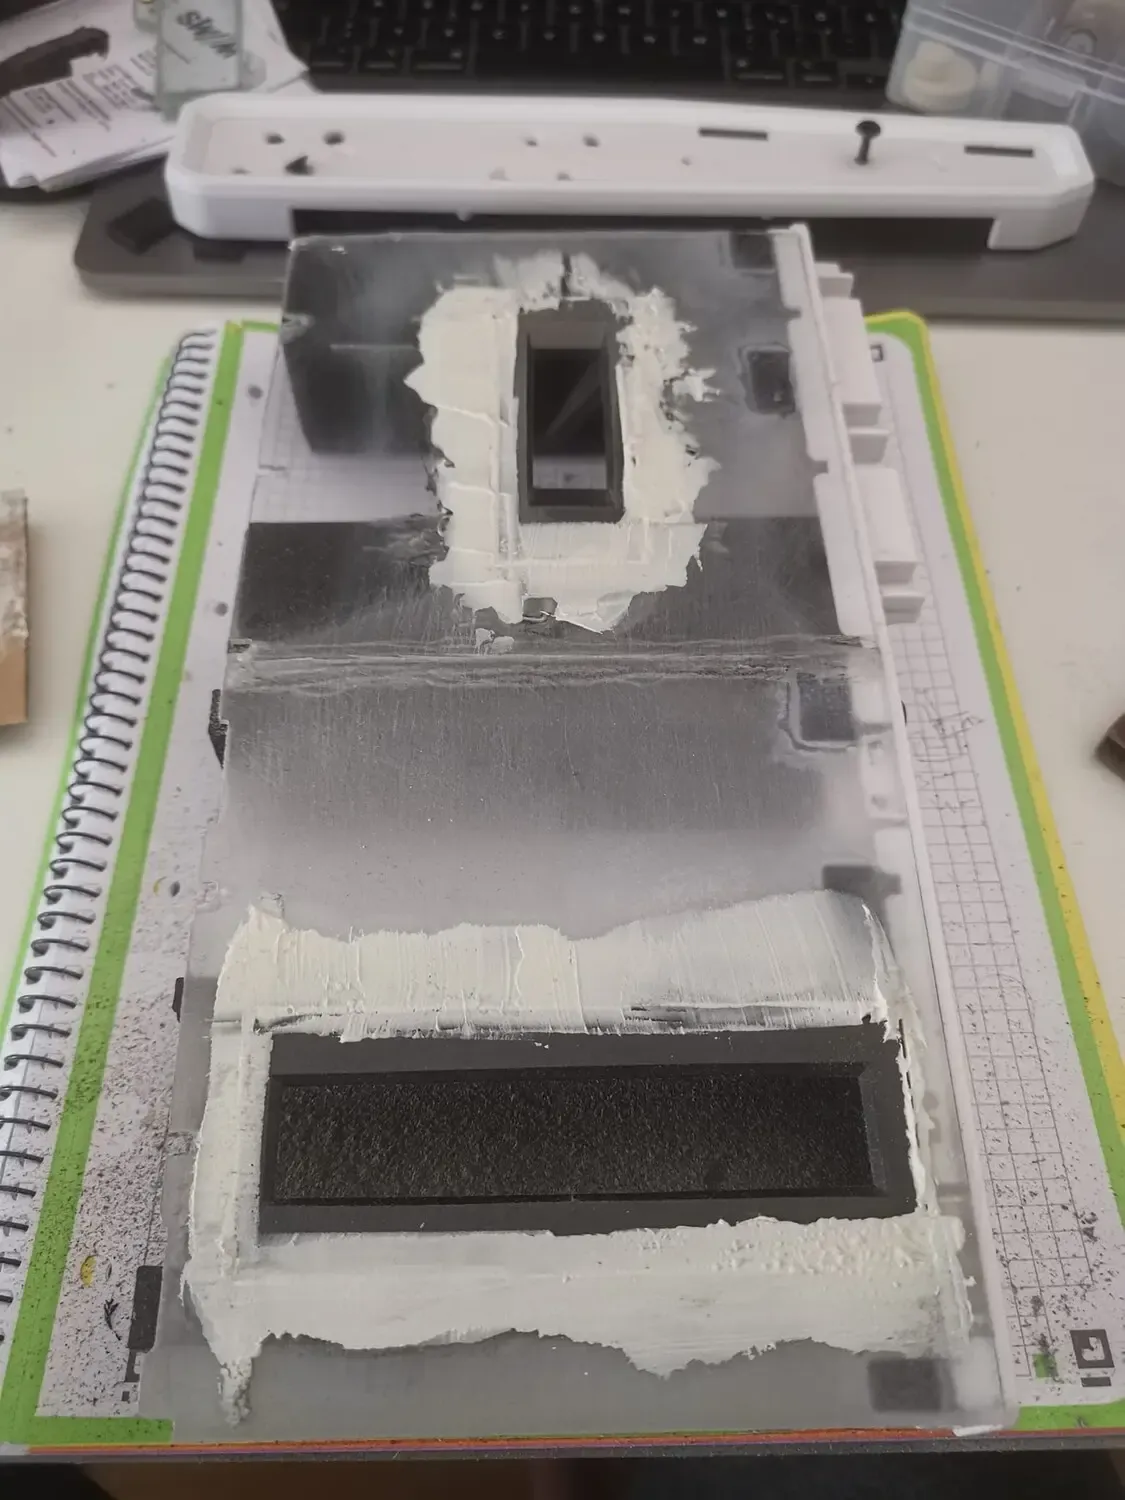
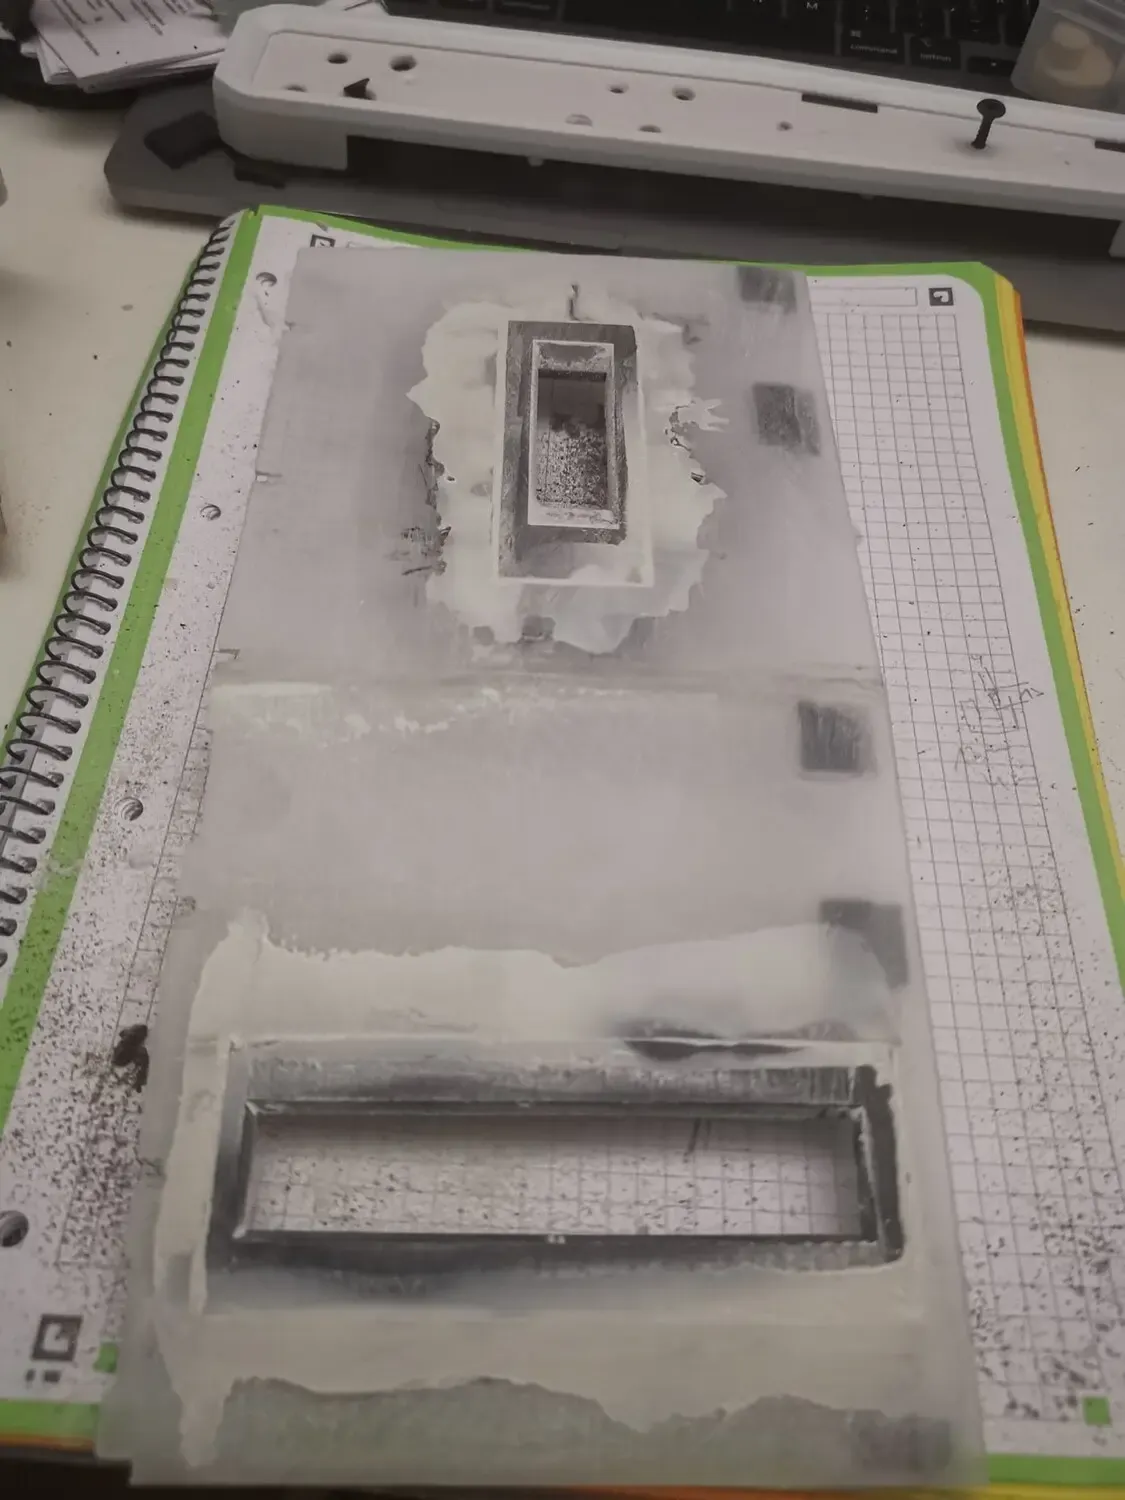
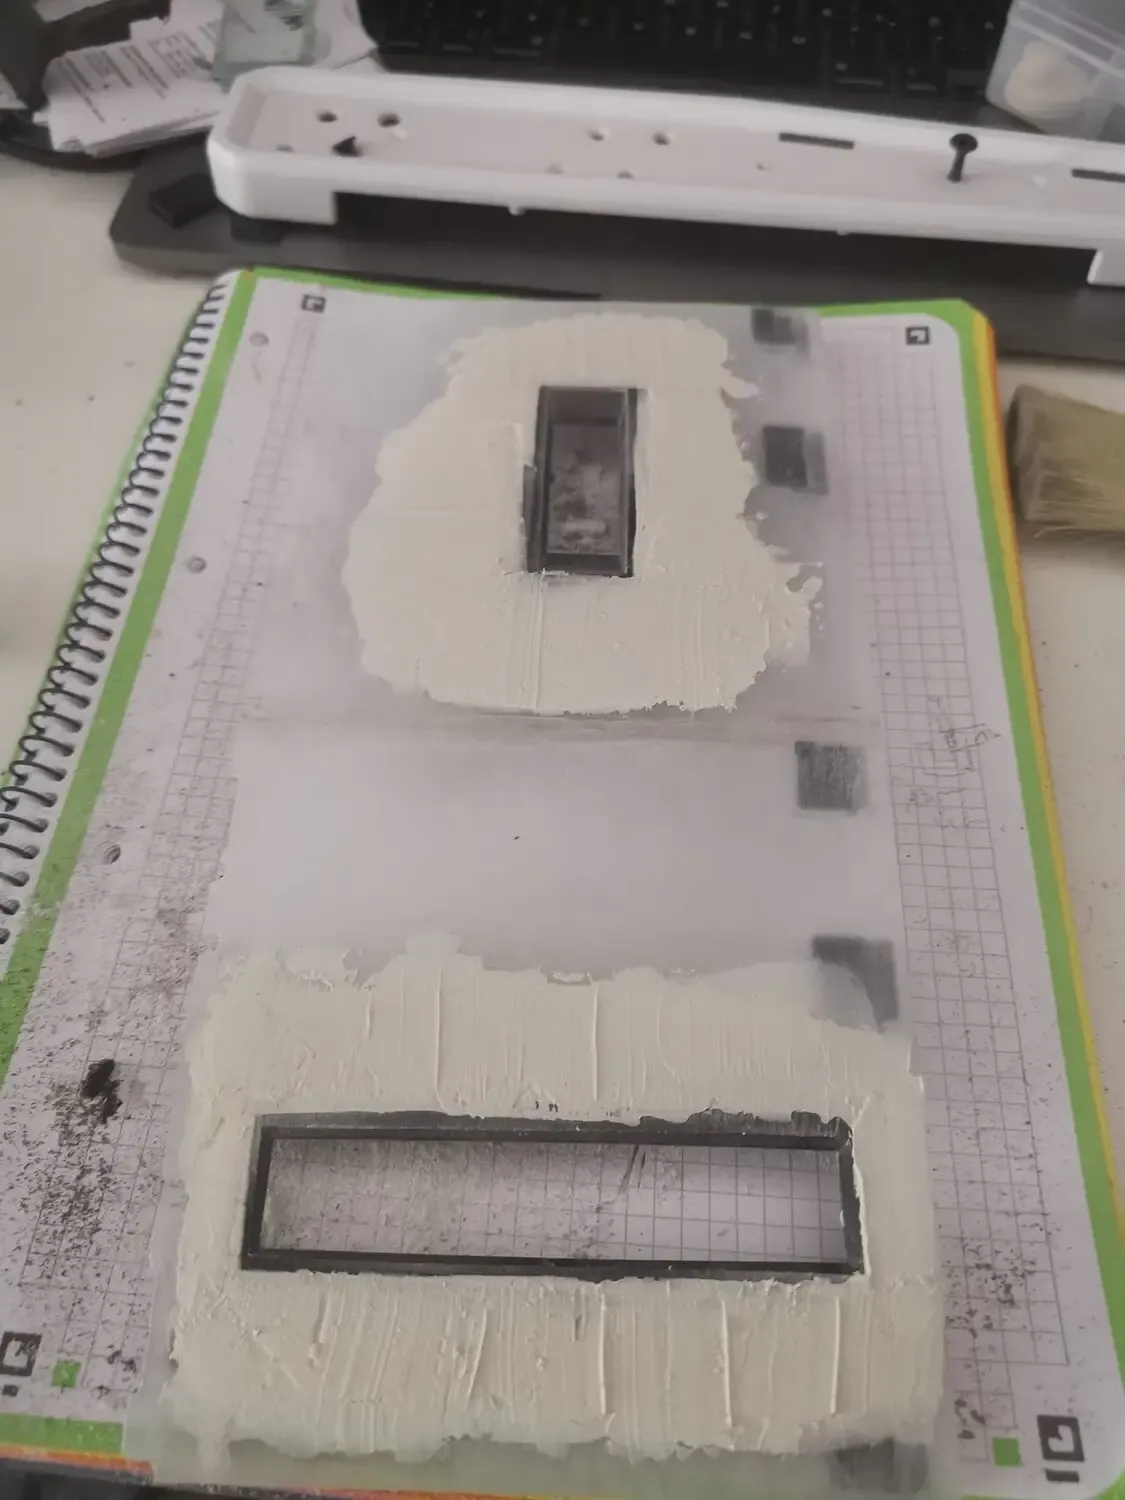
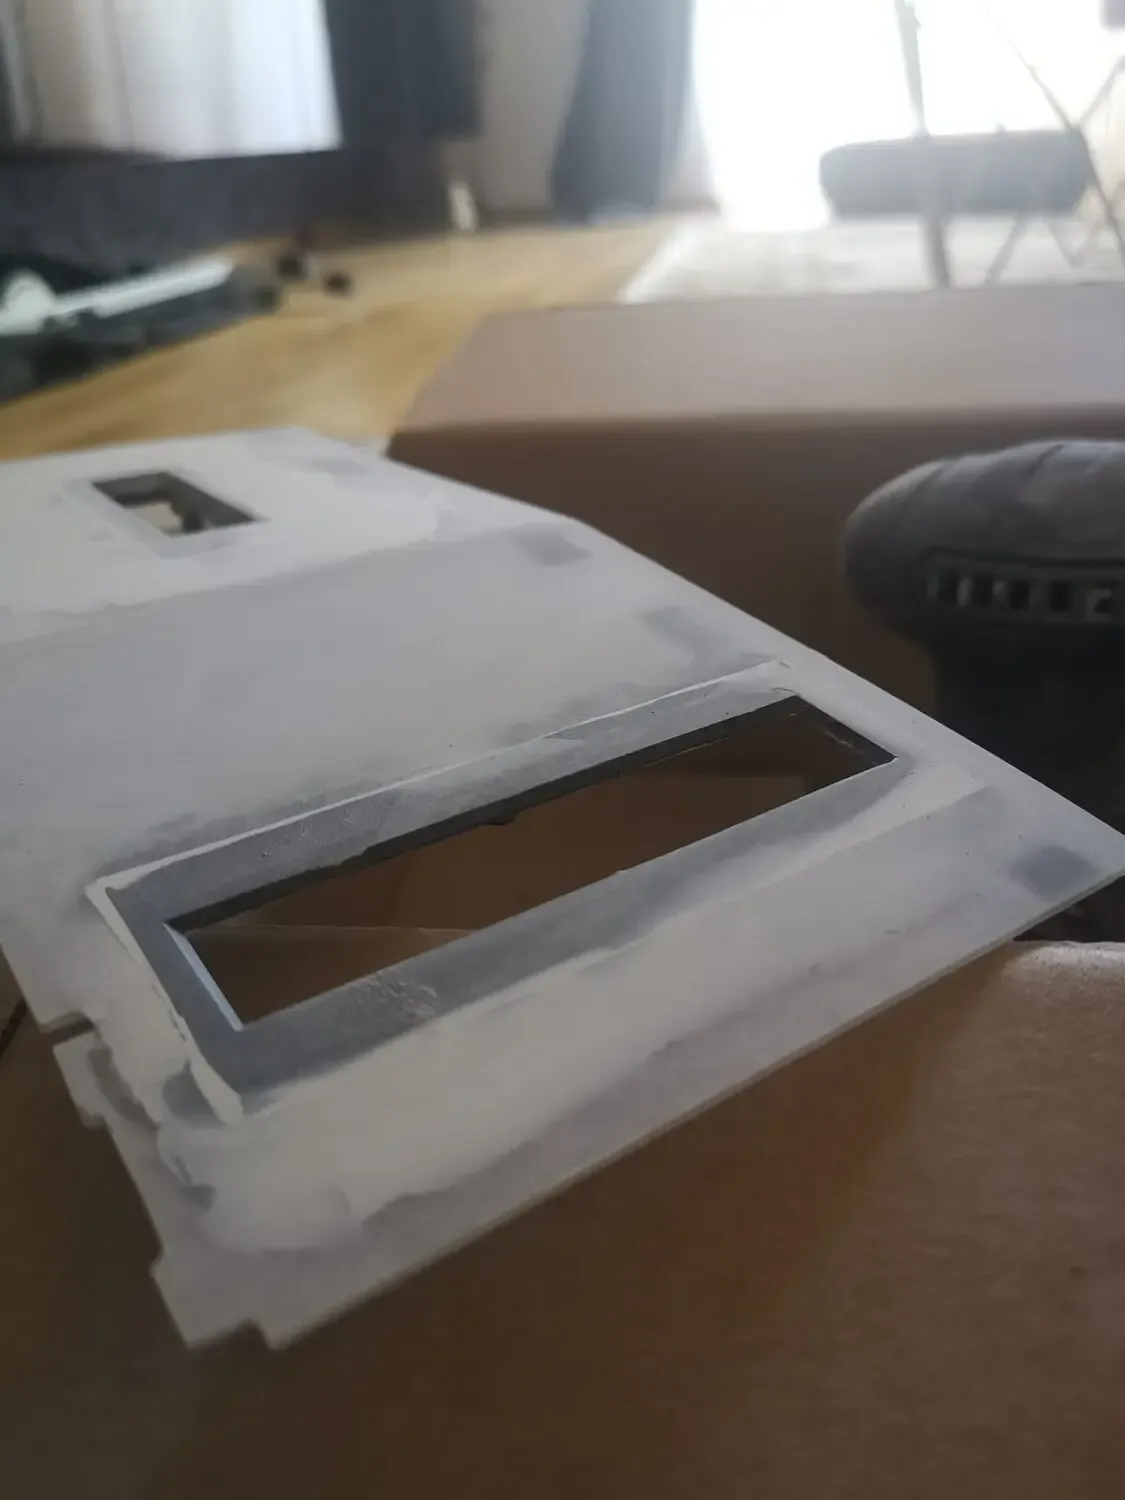
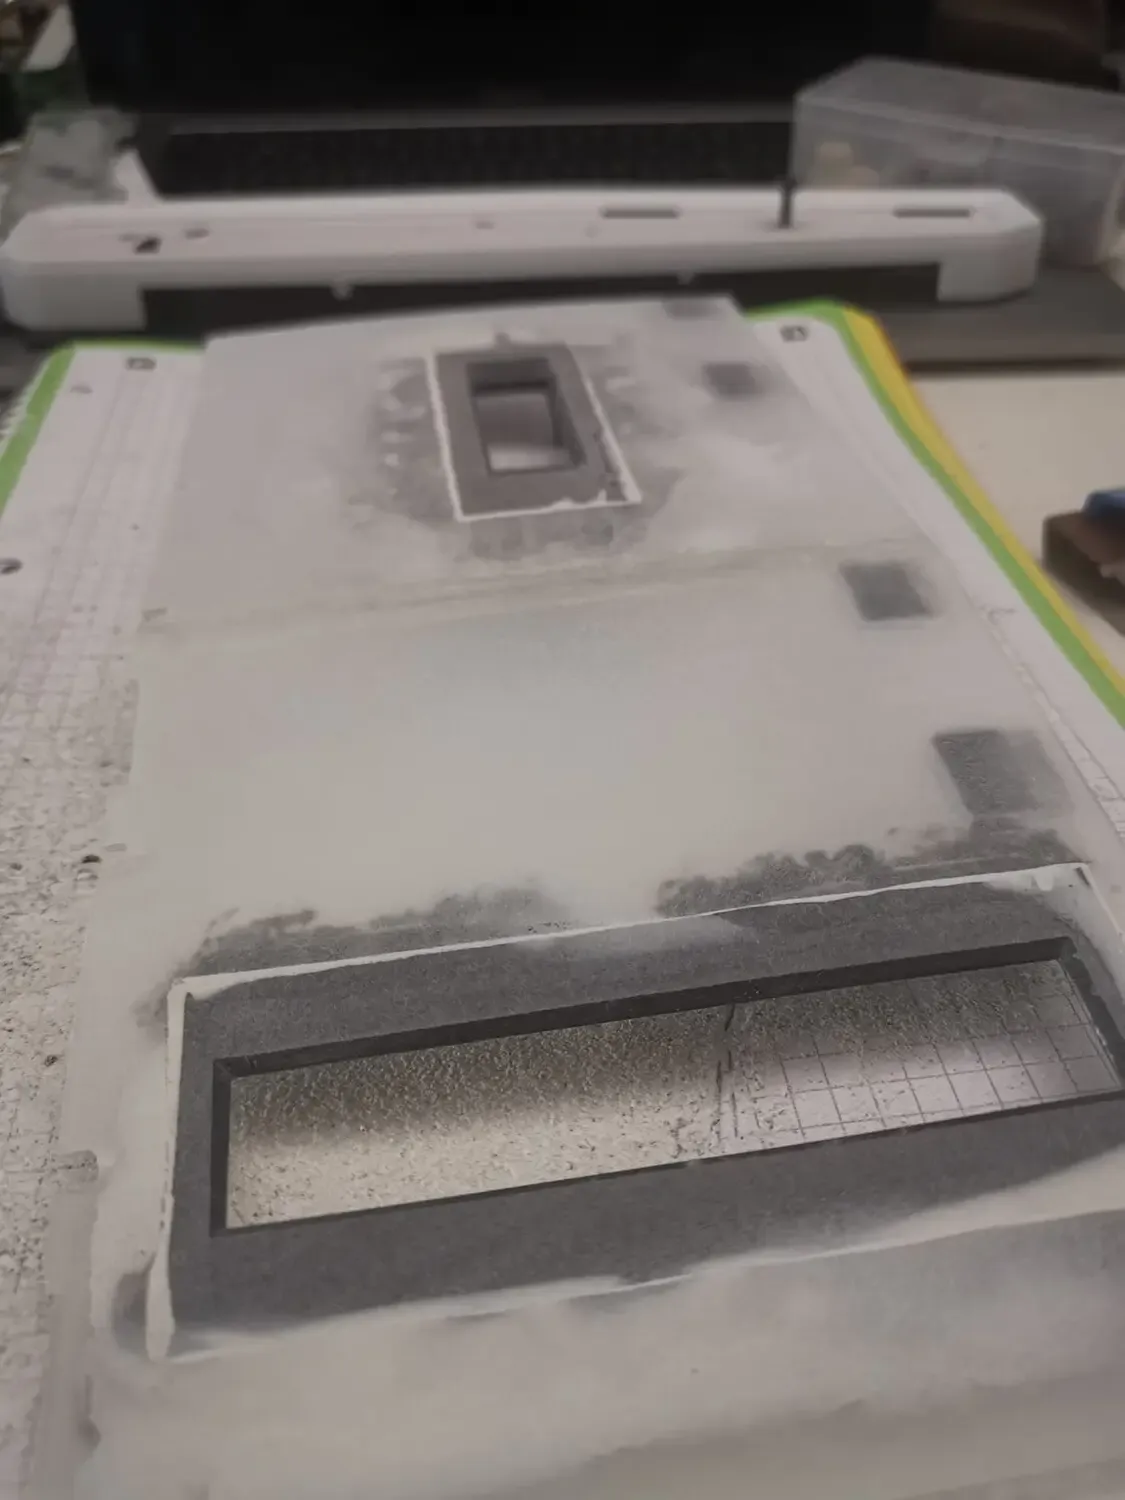
Artisans who are working with polyester and fine spatula will understand what’s going on here. So basically we applied one layer and sanded it, then again, and again until we got the gaps closed and all the front surface became flat and smooth without edges. Then comes the filler combination. I painted it especially with the filler combi to get the filler effect which means it closes little uneven material gaps and provides a primer for the final color paint later.
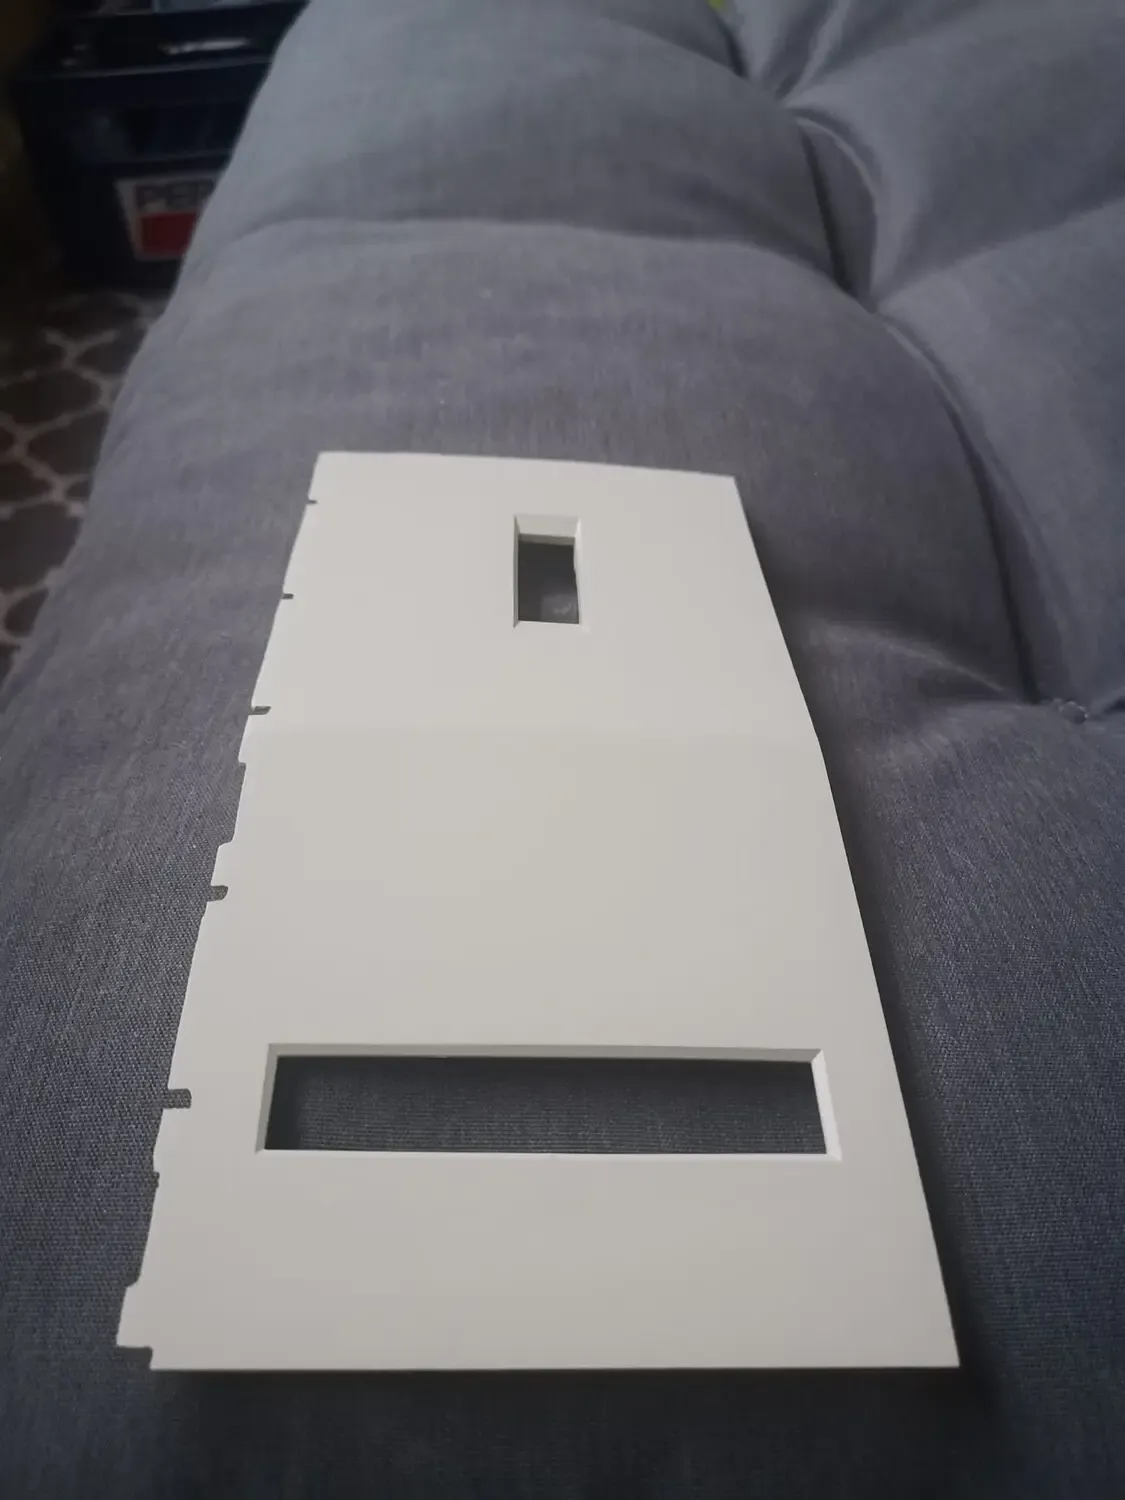
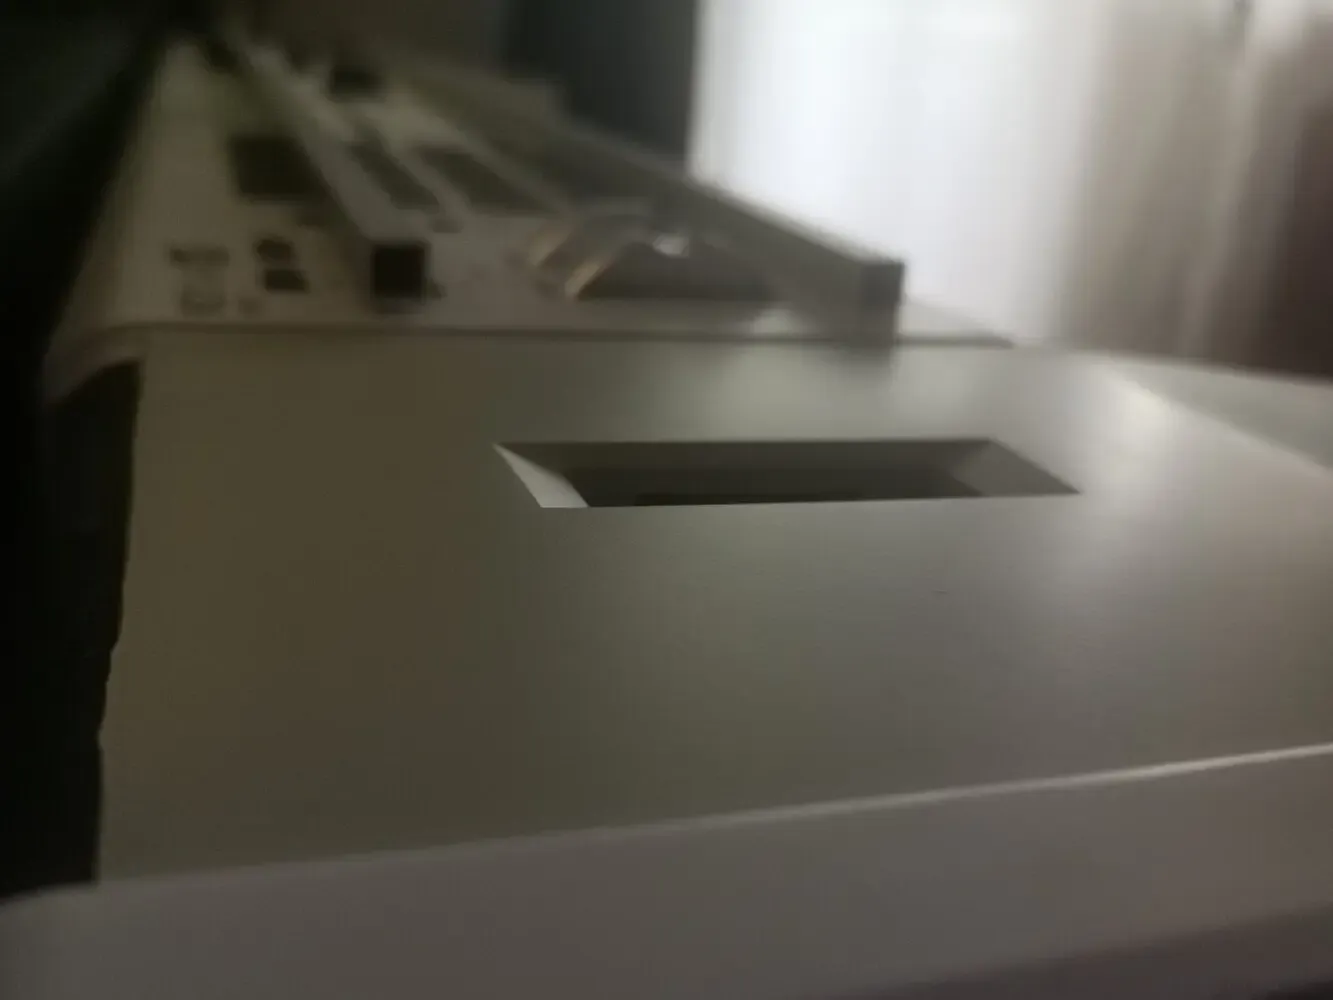
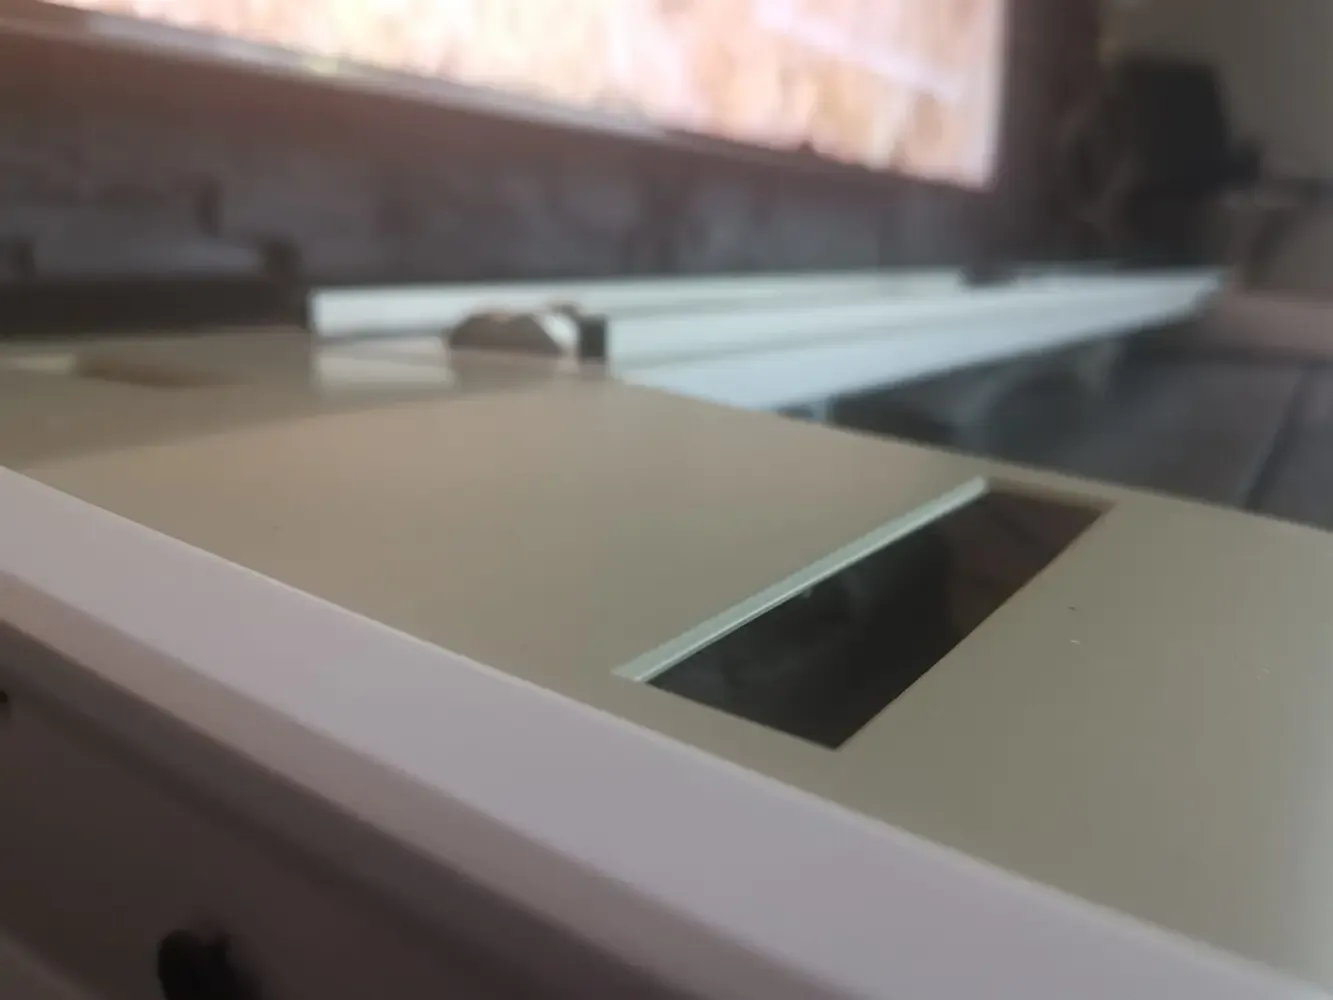
As you can see the surface is smooth and there are no signs of any edges or signs that this part is a handcrafted thing. It looks already promising for the final finish but before we can get into the color I have to make all the curved sides each one by one. This took so long and I had to use different techniques to not only make them stick but to be strong enough as a whole structure.
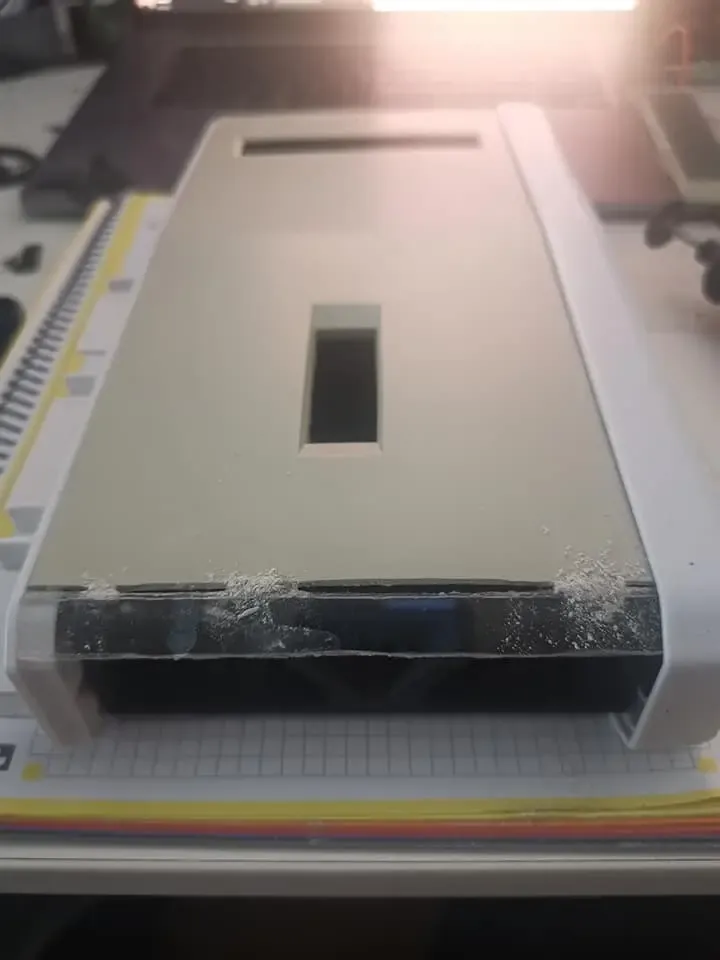
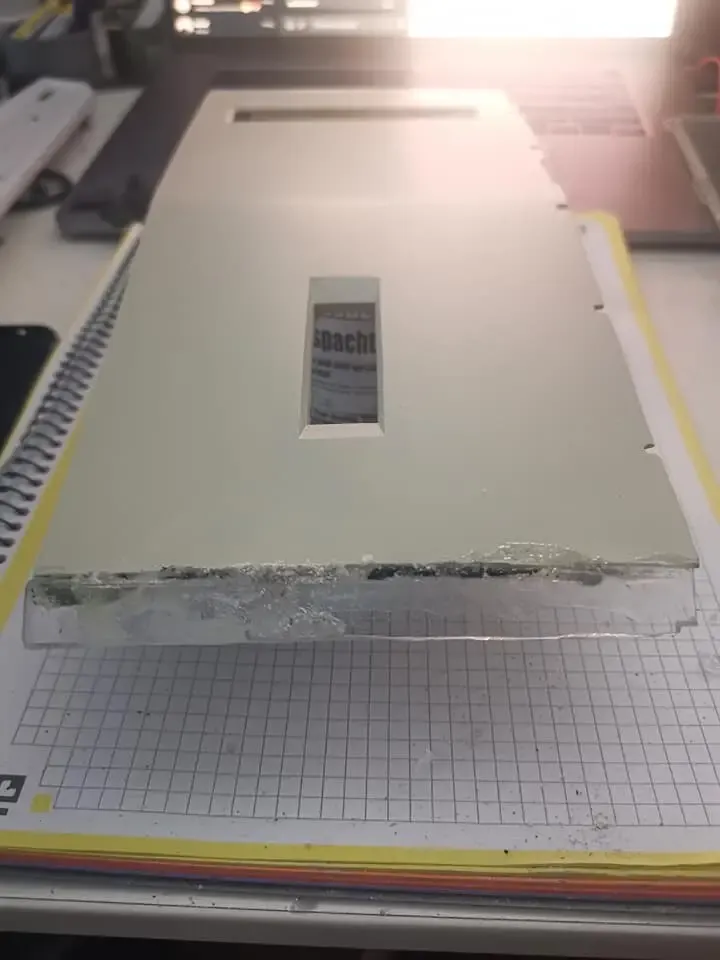
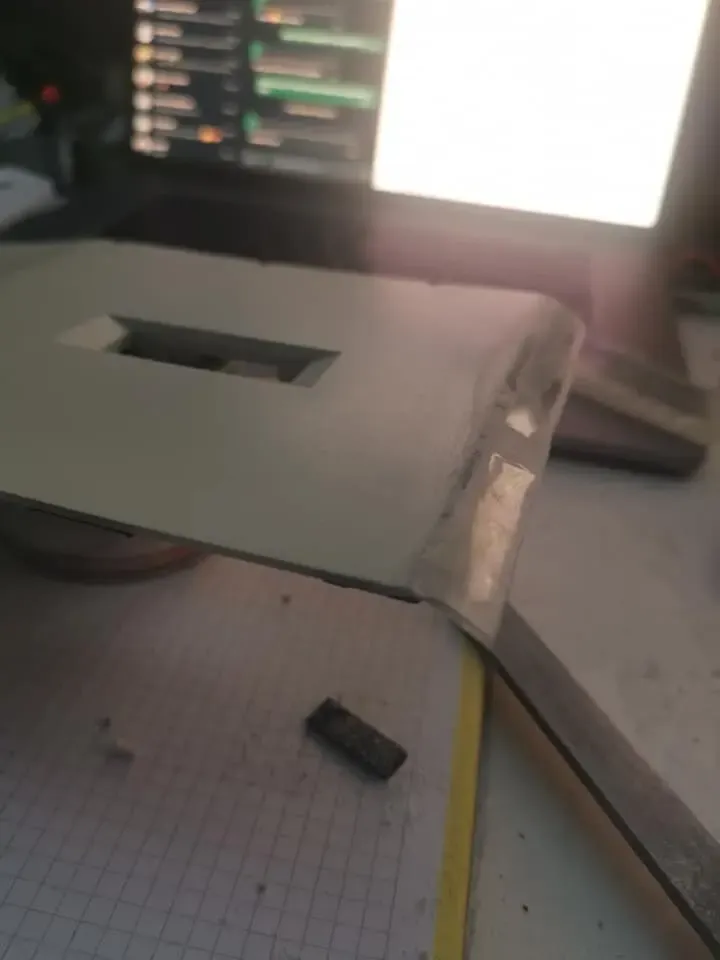
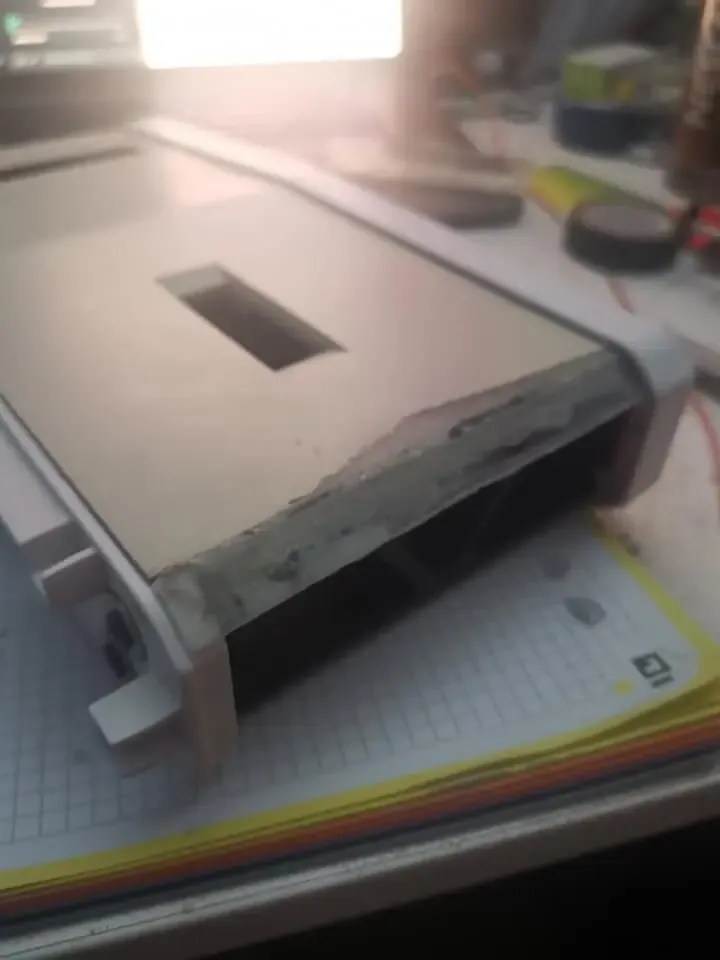
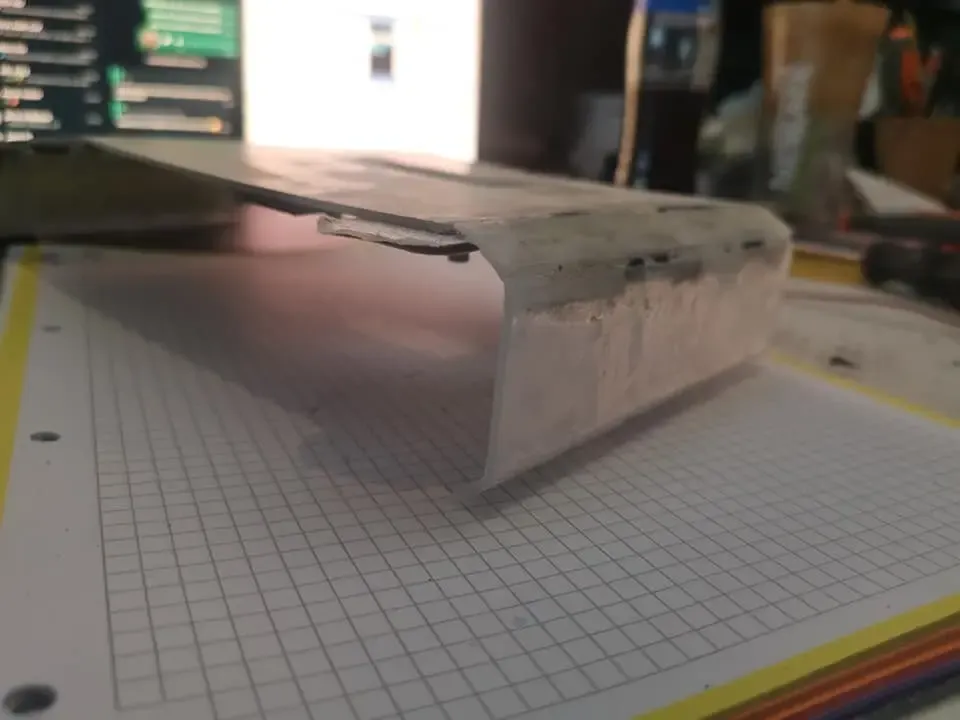
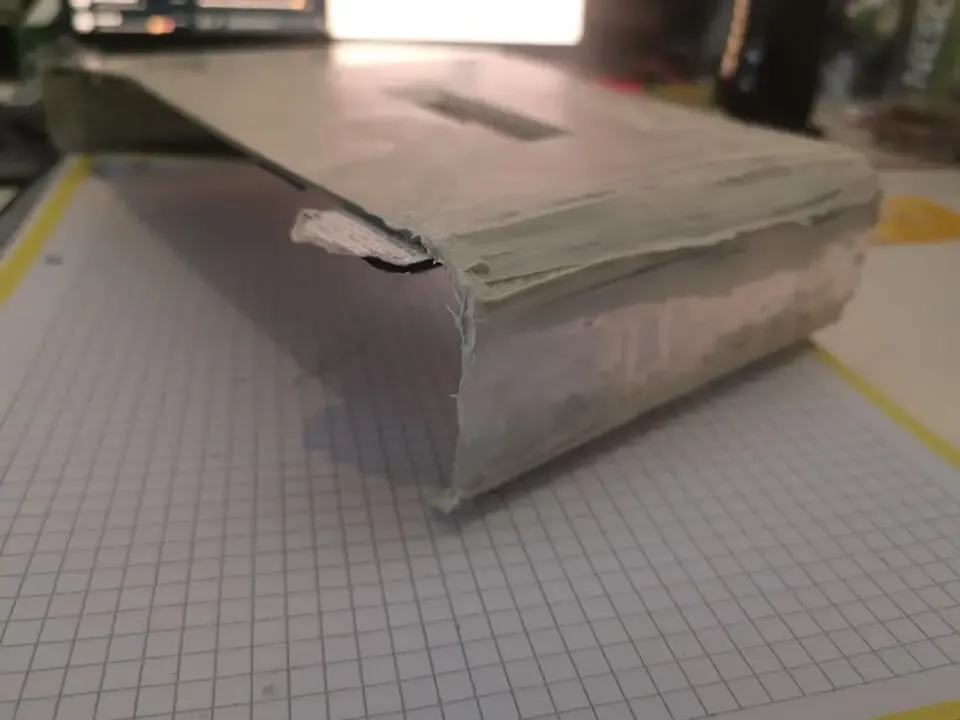
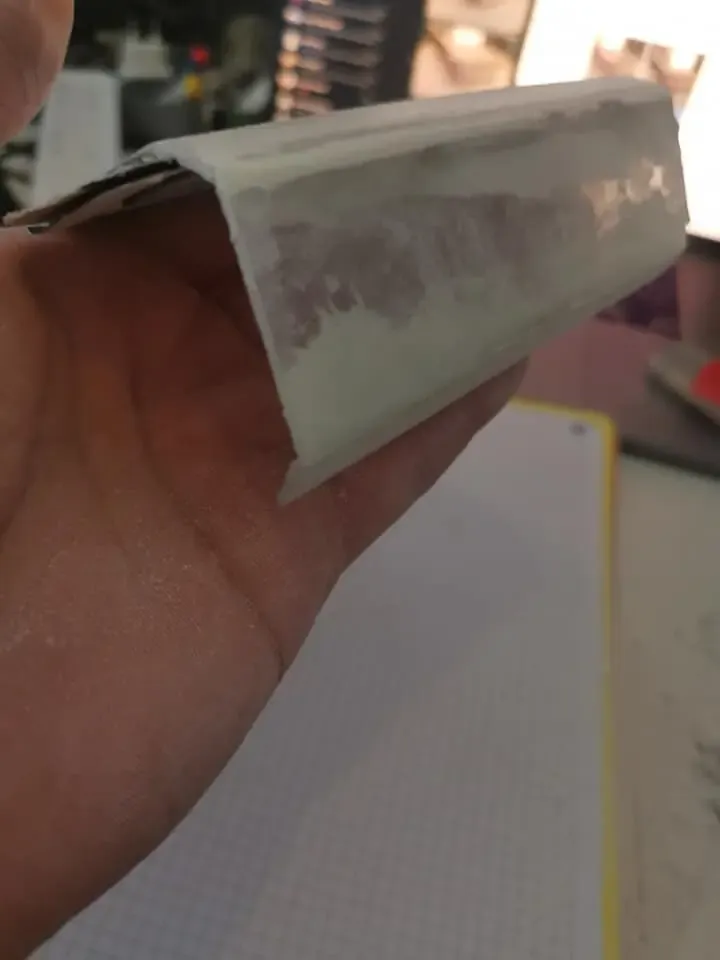
That was the top Area. One quick view to the bottom work, too.
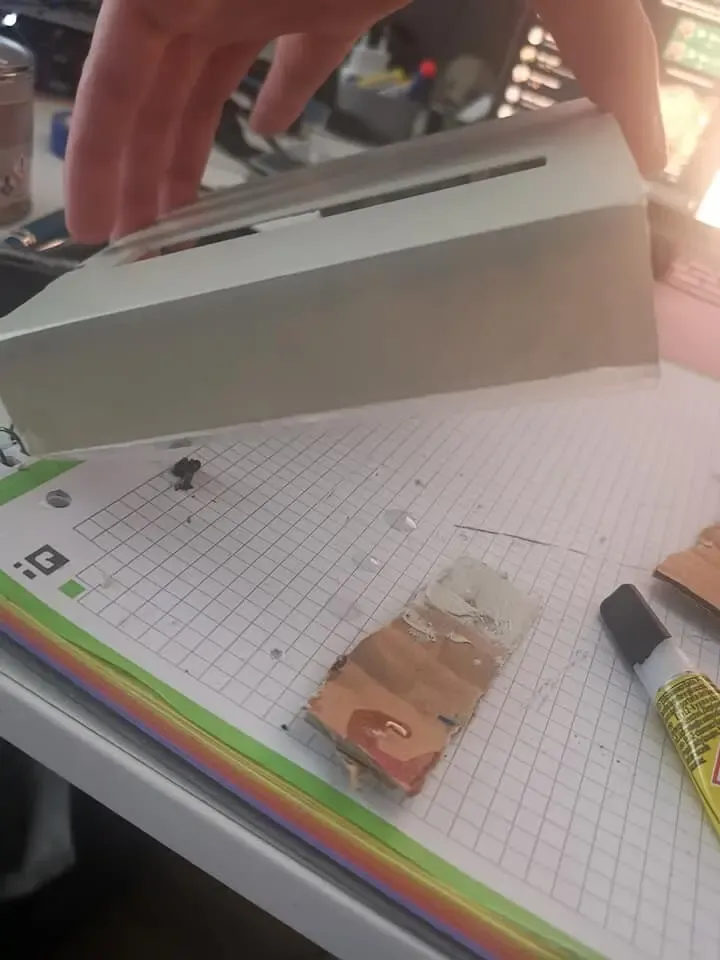
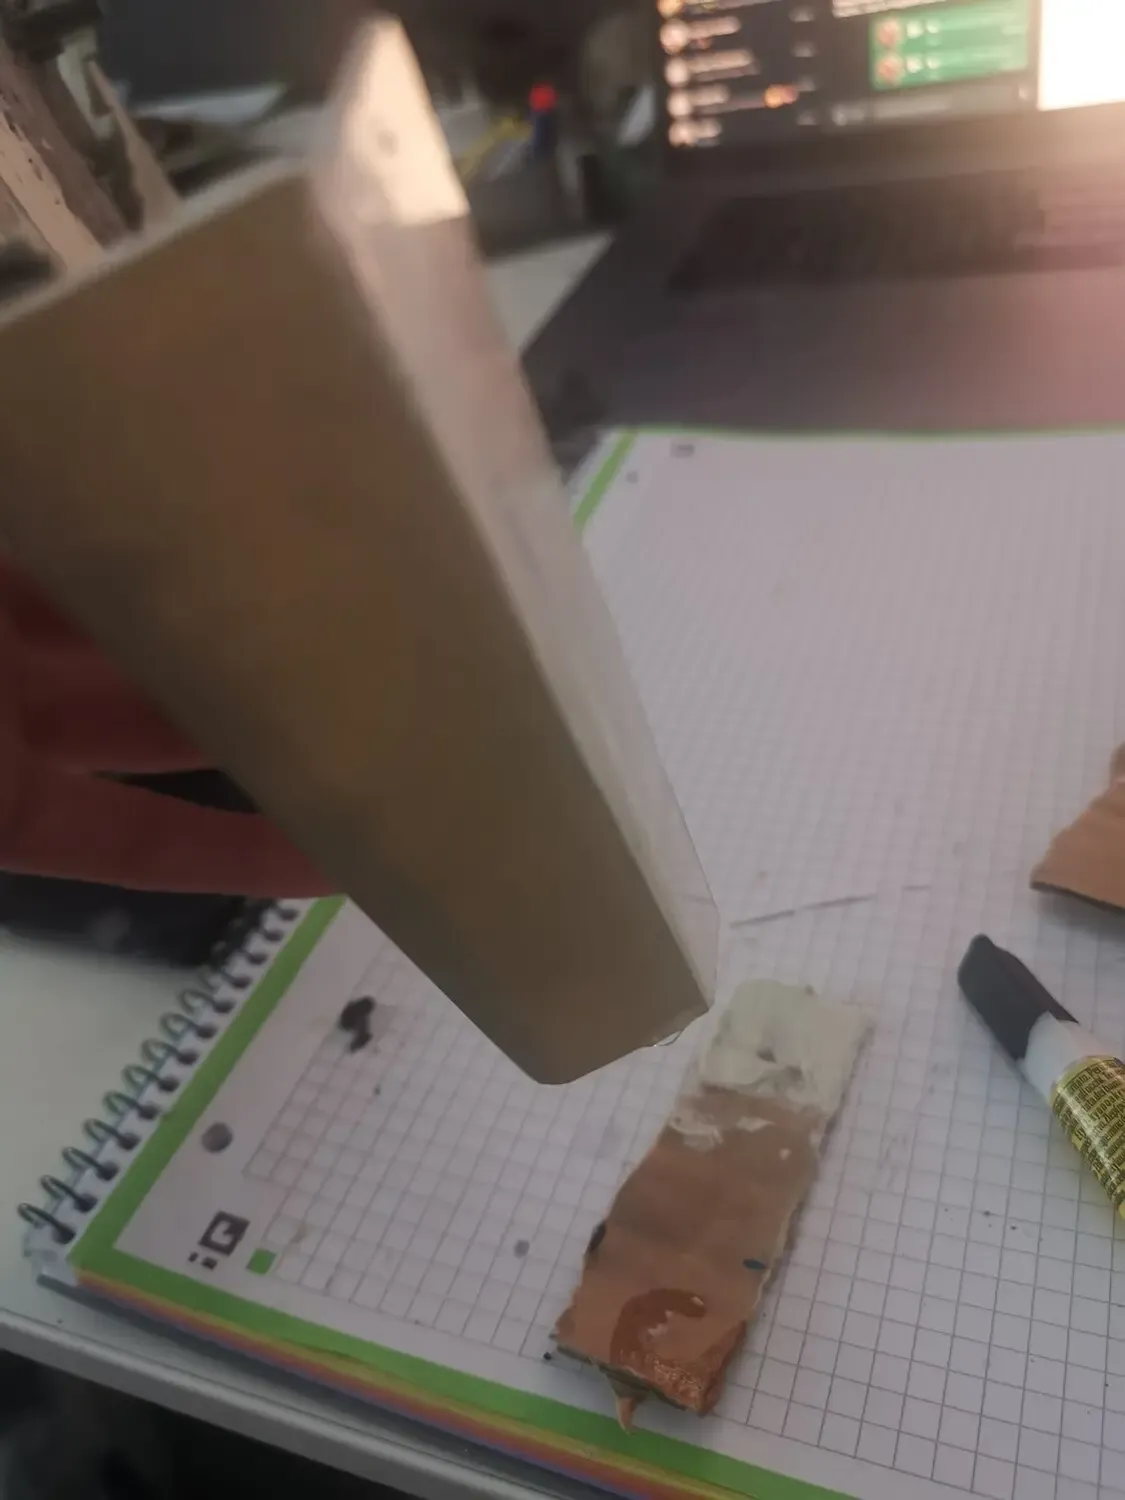
This was probably the most time consuming task on the whole project because there was so much detailed work to be done by hand. This is something like a Lamborghini, all hand crafted and unique.
Paint & clear coat
However, now the fun part can begin. We go quickly on the final color paint and then to the Software part.
For the paint there are 3-5 layers of paint with a pause of a couple Minutes in between. This is necessary because the paint itself
is a Blue Metallic paint and doesn’t cover the filler on one layer. You have to be patient on this one.
One Tip: You have to paint the edges and corners first before you go on the straight areas.
I had to paint the backside and sides first and then finished the top side.
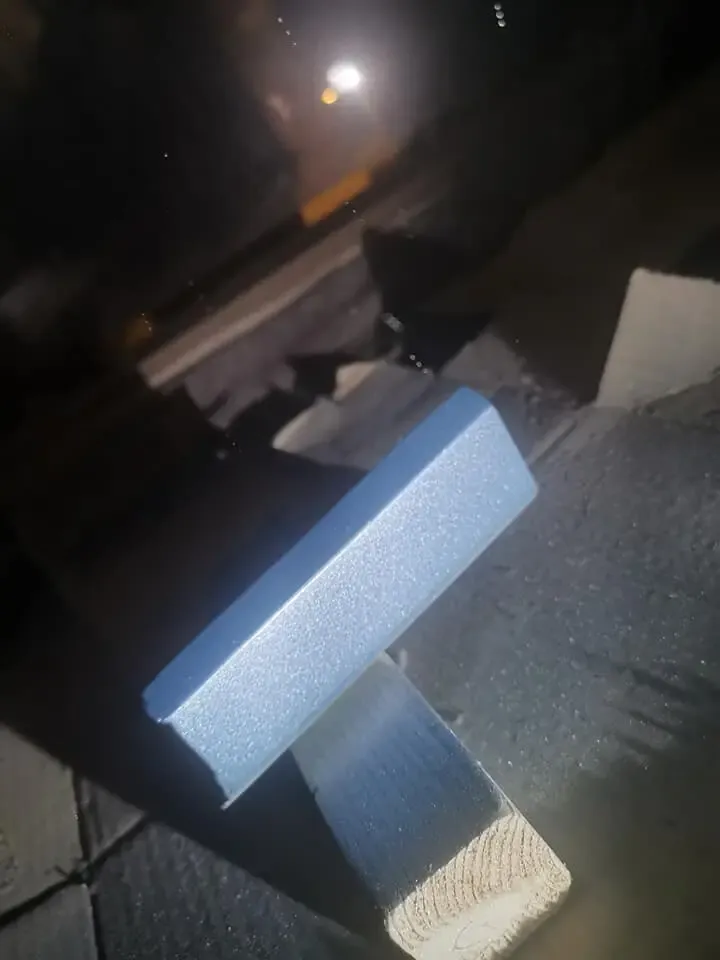
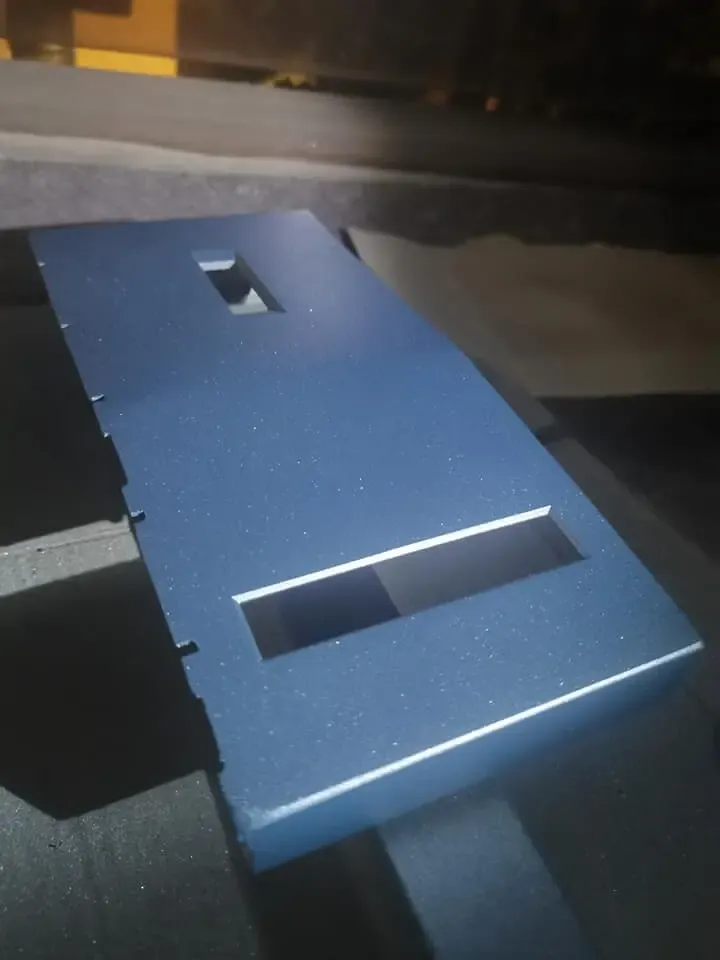
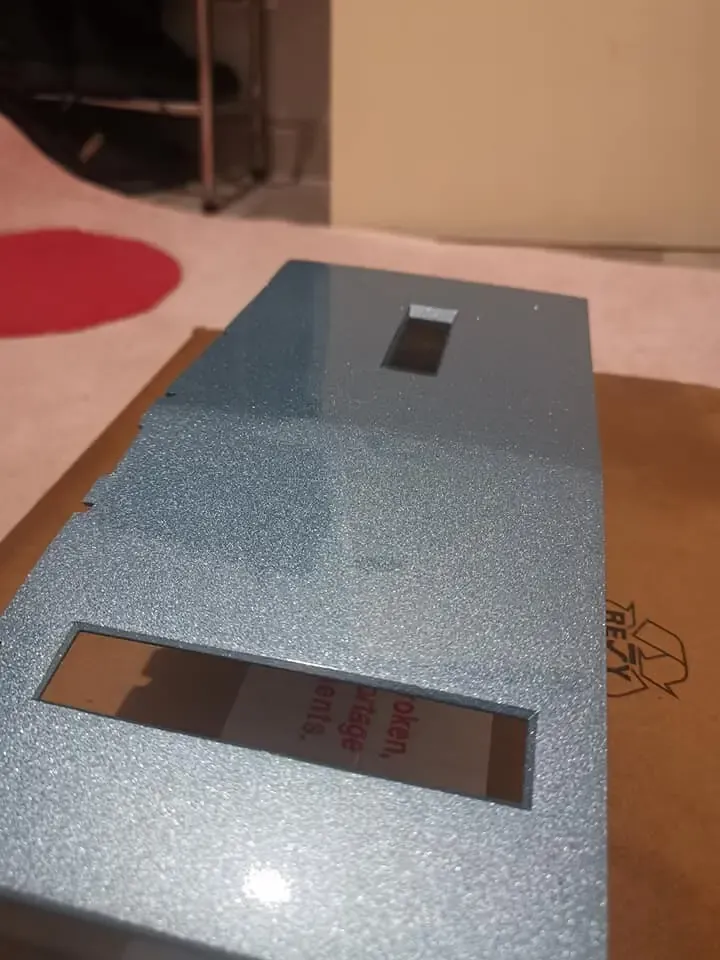
This is nothing spectacular as it is only the color. But now the beauty comes when the Clear Coat is applied. I have used 2 component Clear Coat to be strong and resistant enough for the long run. Usually keyboards tend to blur out if they are used so much at the same spot. But I am doing the Clear Coat way which is basically the same structure as a Car Paint has. Means it can’t be worn out or blurry after long usage and even if, it can be polished.
The final result is something I can be proud of and it looks even better in real life.
Chip, wiring & assembly
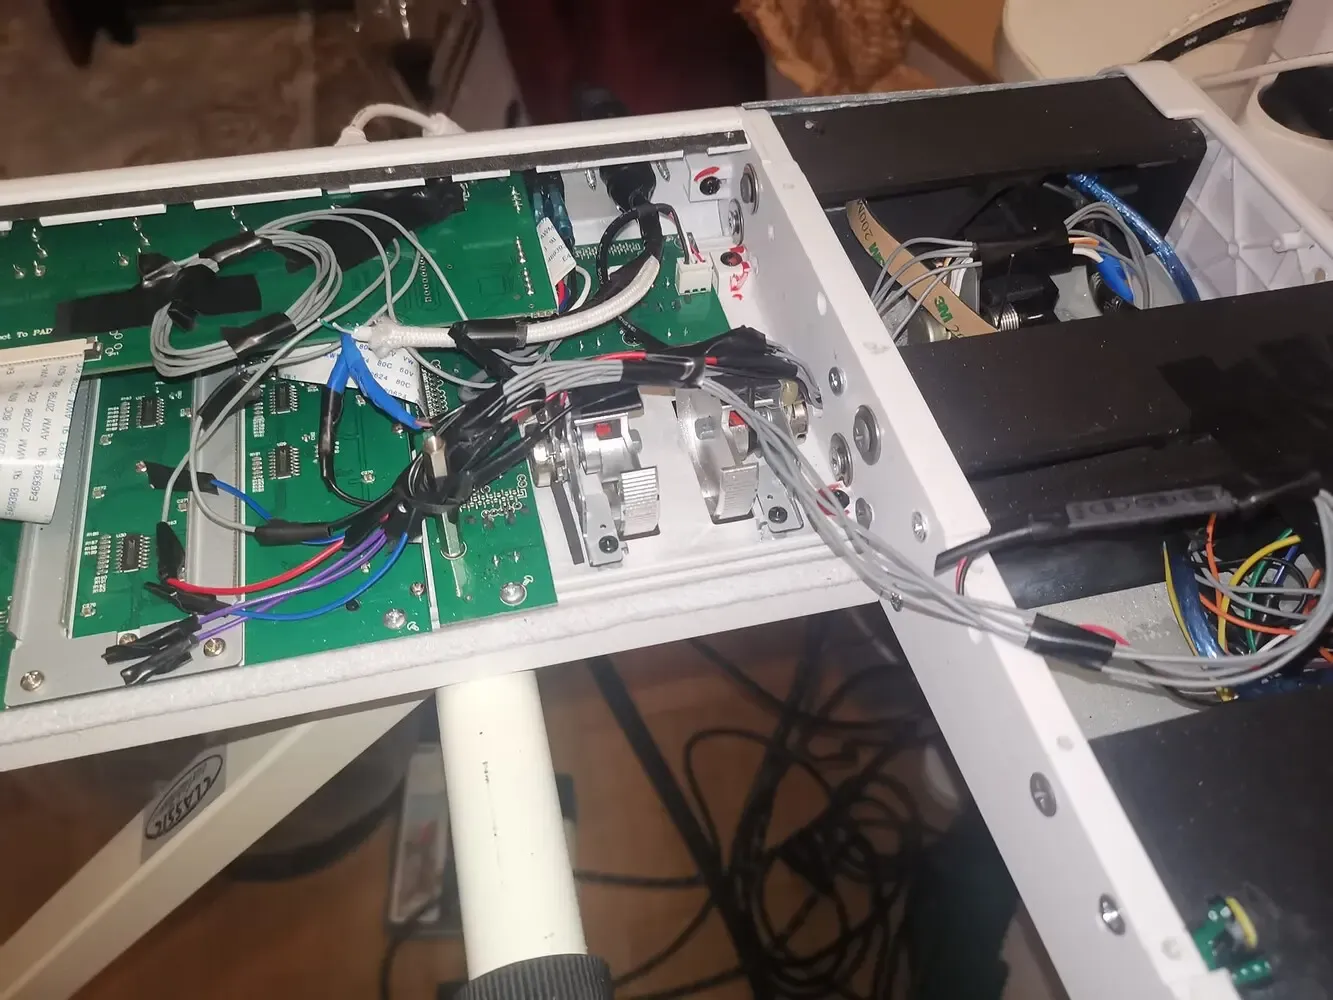
This was the complete part for the crafting. Now I can start assembling everything and go for the Chip and Software Programming. As for the Chip I’ve chosen the Arduino Nano which is more than enough for this use case. Reading two Sensors and pushing the Pitch Bend value as MIDI Command. I won’t share the code as it is closed source, but I can show you the wiring and assembly work.
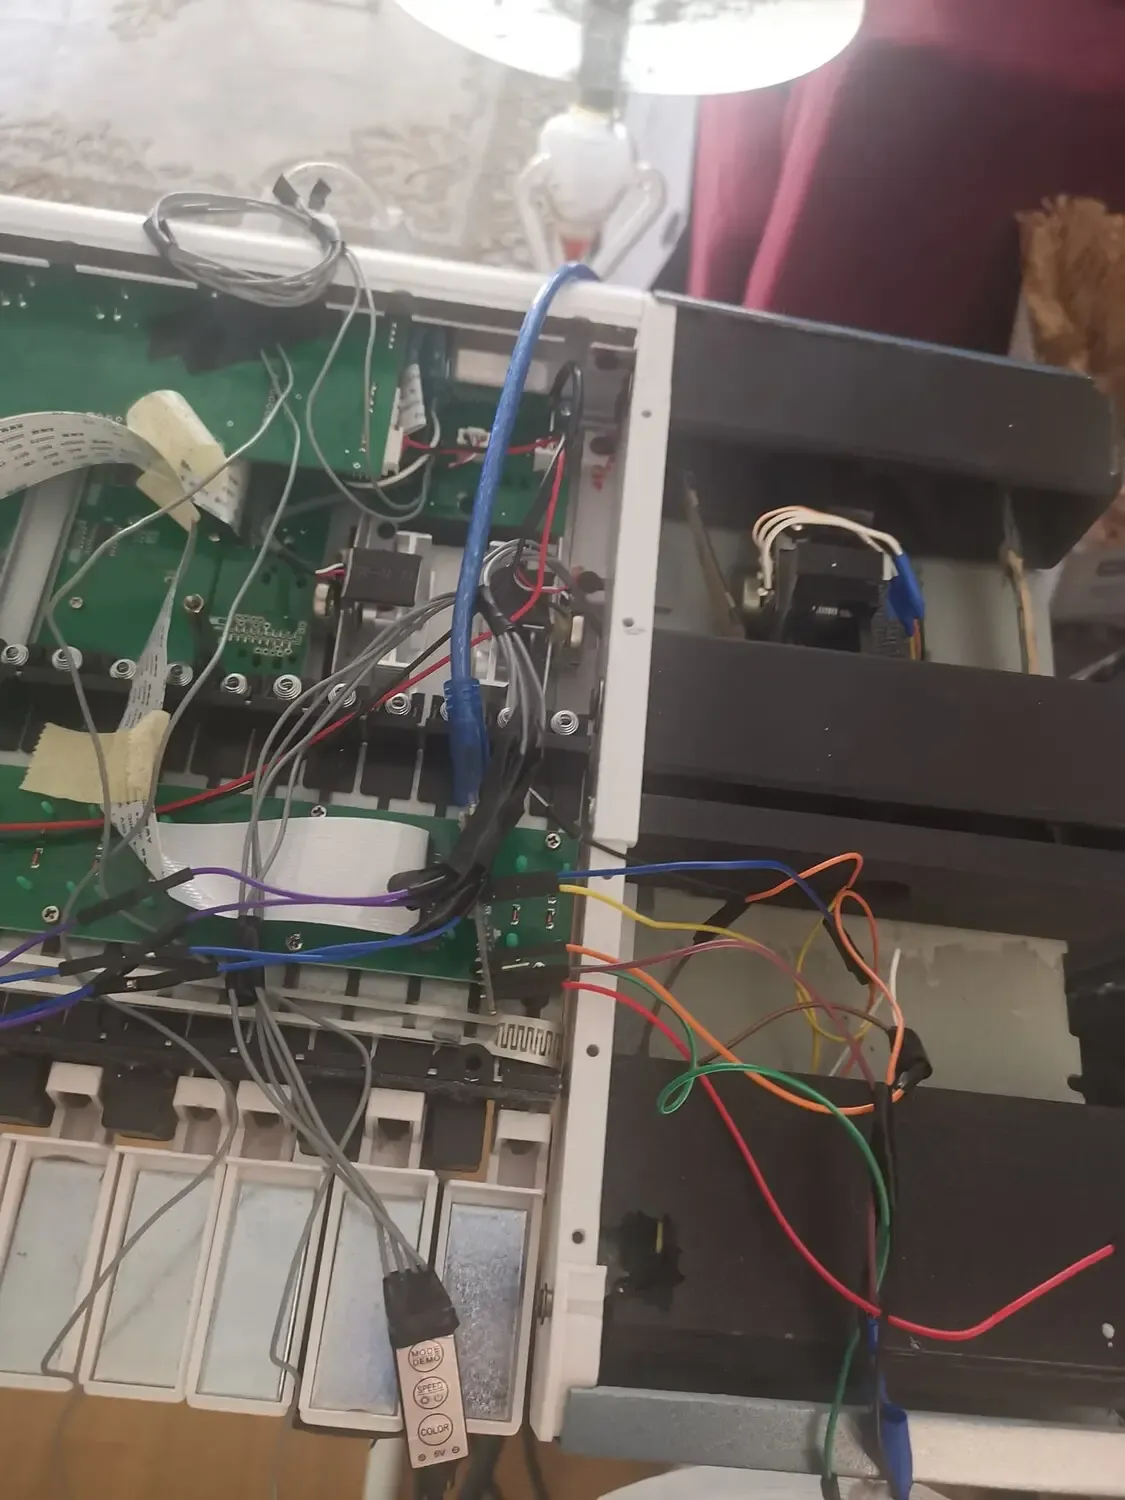
Of course the installation looks like a mess but this belongs to the Task, too. Starting step by step and finishing it over.
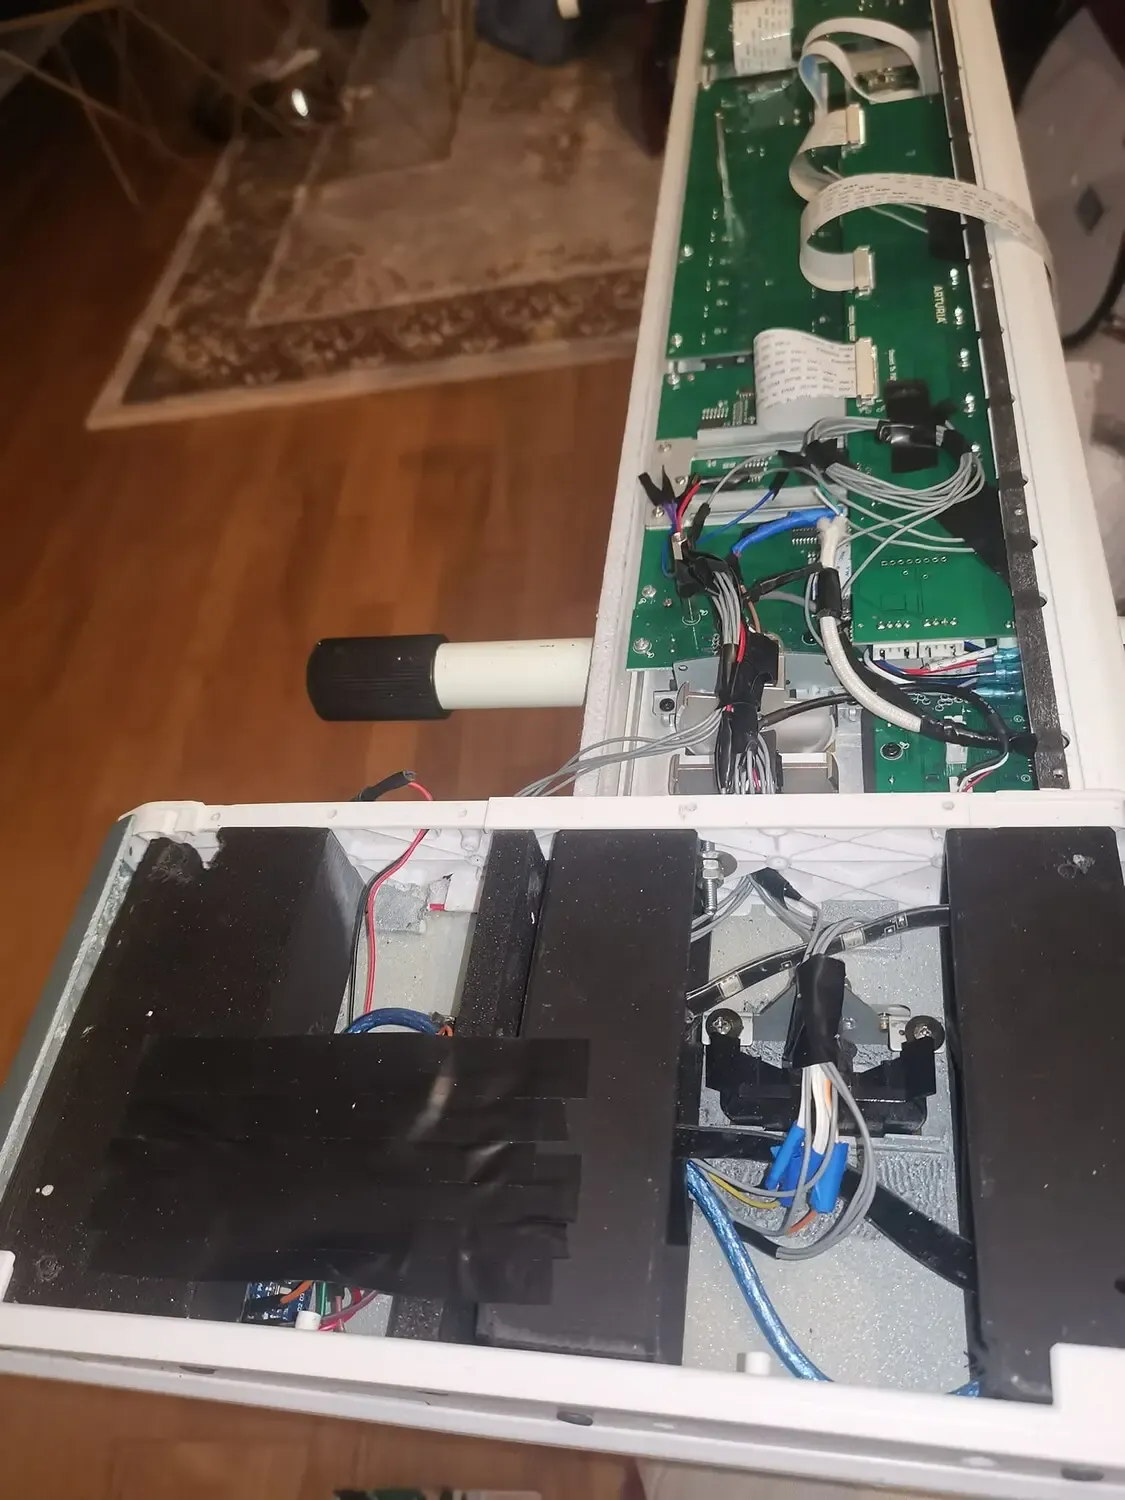
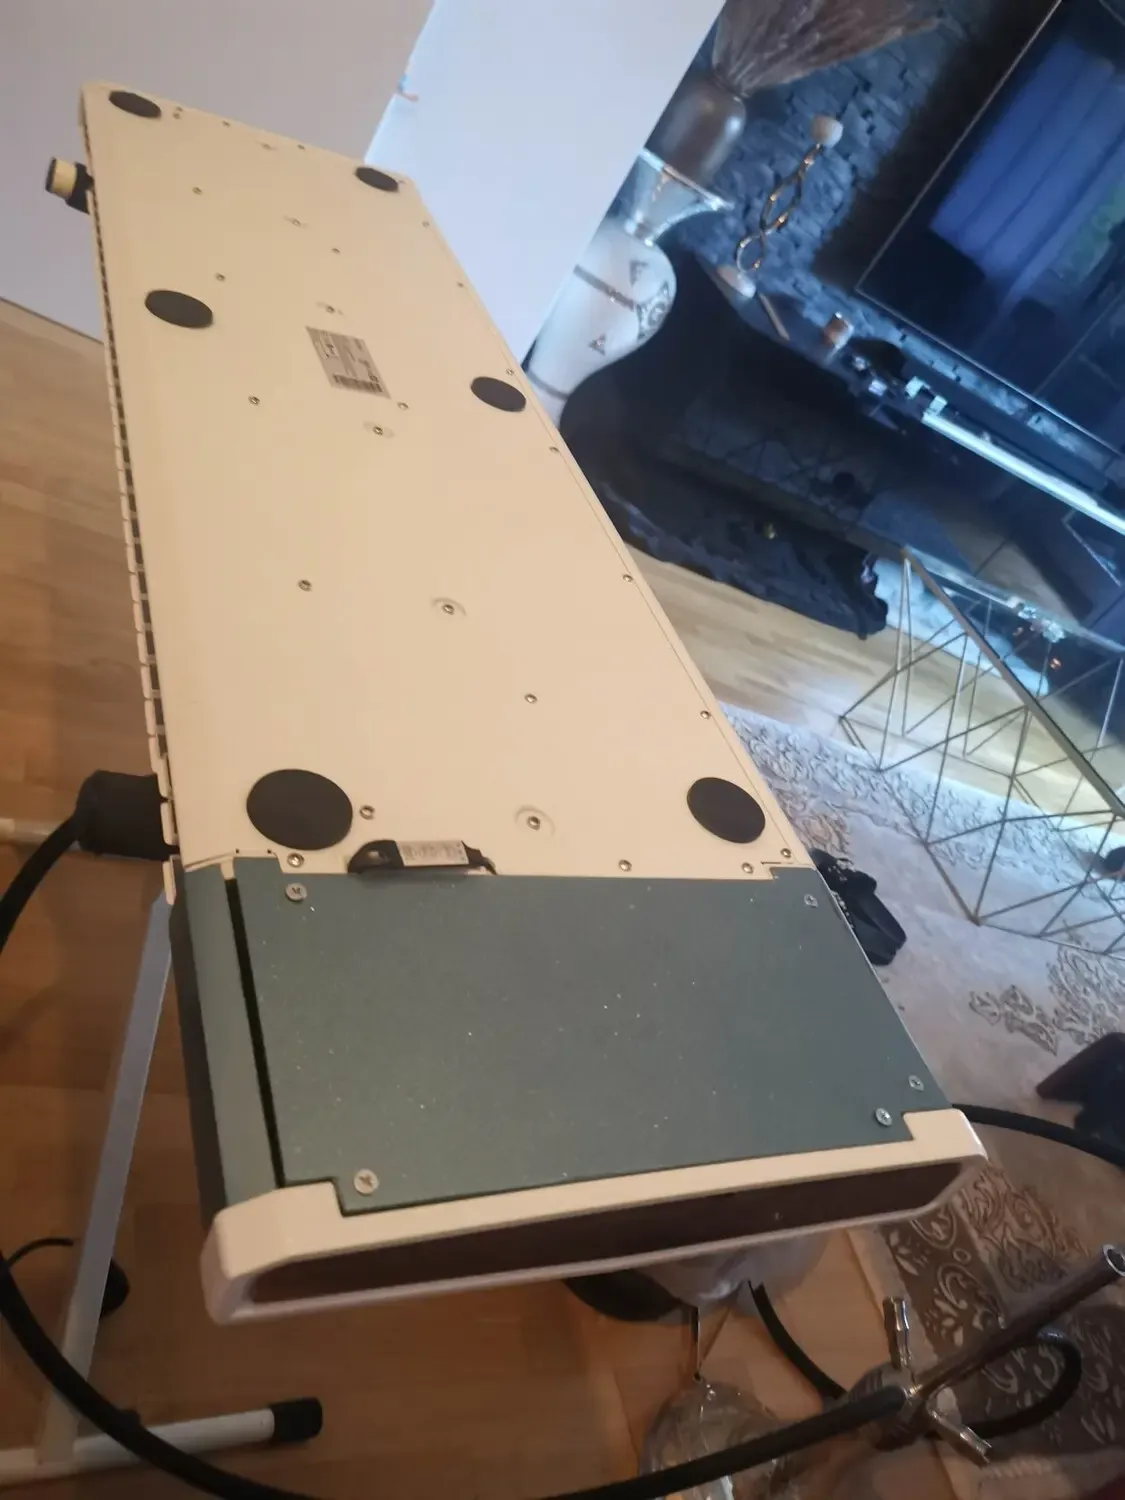
And there we go
The final Build of the Arturia mk2 ext Edition is done. Thanks to Arturia for creating the mk2 which is really a worthy midi keyboard to mention and we like and love the dynamic of the keys for our music (Balkan Music, South/Eastern Oriental). Also thanks to KORG for having the Ribbon Sensor. More about what I do with KORG instruments can be found on the PimpMyKORG Service page.

Thanks for reading. If you have any questions feel free to DM me.
Greetings to all musicians, devs and artisans. Nothing is impossible.